This document provides instructions for performing various querying tasks in Microsoft Access 2013, including:
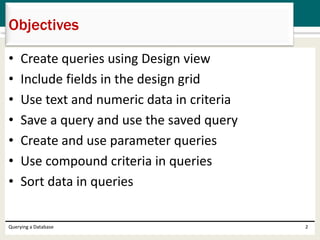
1. Creating queries using Design view and including fields, text and numeric criteria, and saving queries.
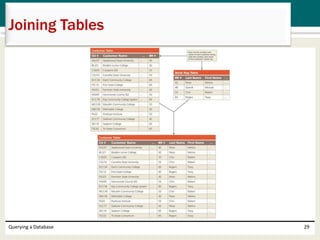
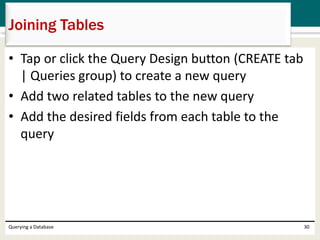
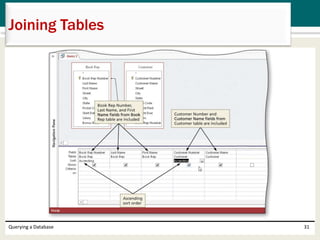
2. Joining tables in queries, creating reports and forms from queries, and exporting query data to other applications.
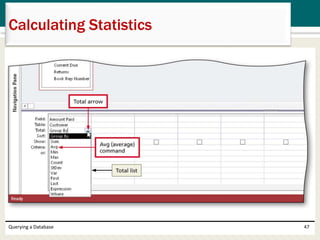
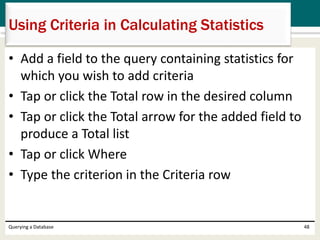
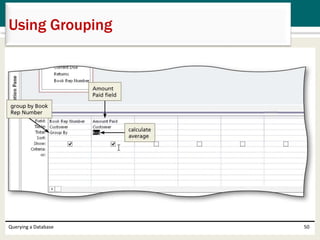
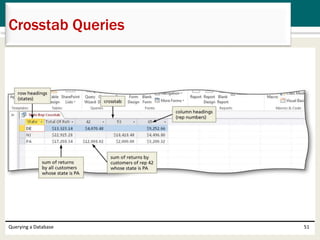
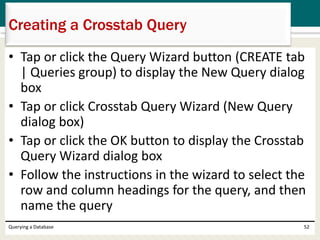
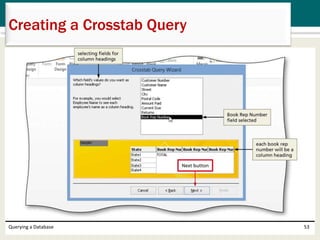
3. Performing calculations and statistics in queries, creating crosstab queries, and customizing the Navigation Pane.
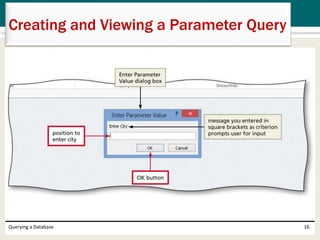
![• If necessary, return to Design view and type the
criterion for a parameter query ([Enter City], for
example)
• Run the query
Querying a Database 15
Creating and Viewing a Parameter Query](https://image.slidesharecdn.com/access2013ch02-140810191038-phpapp02/85/Access-Chapter-02-15-320.jpg)