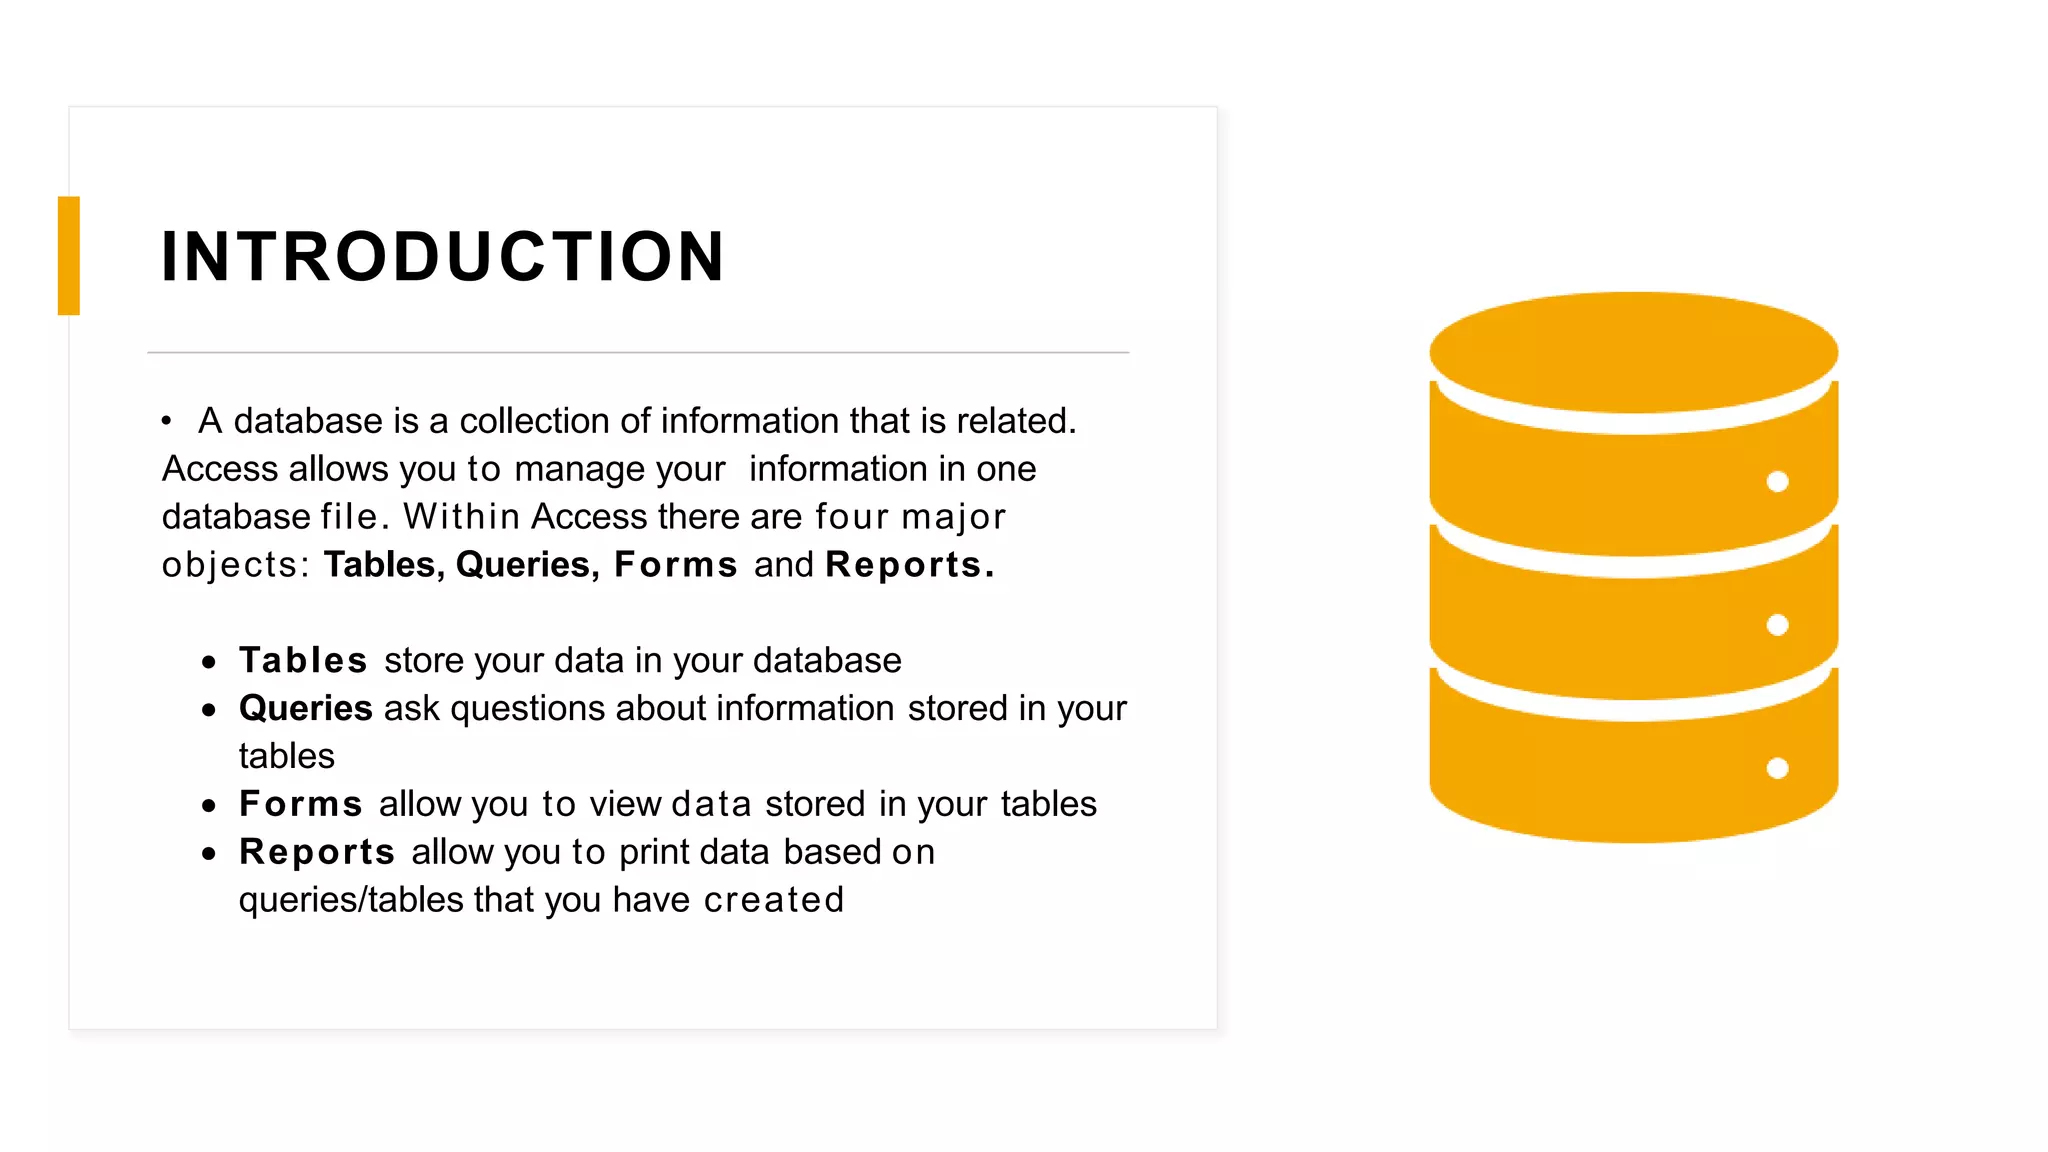
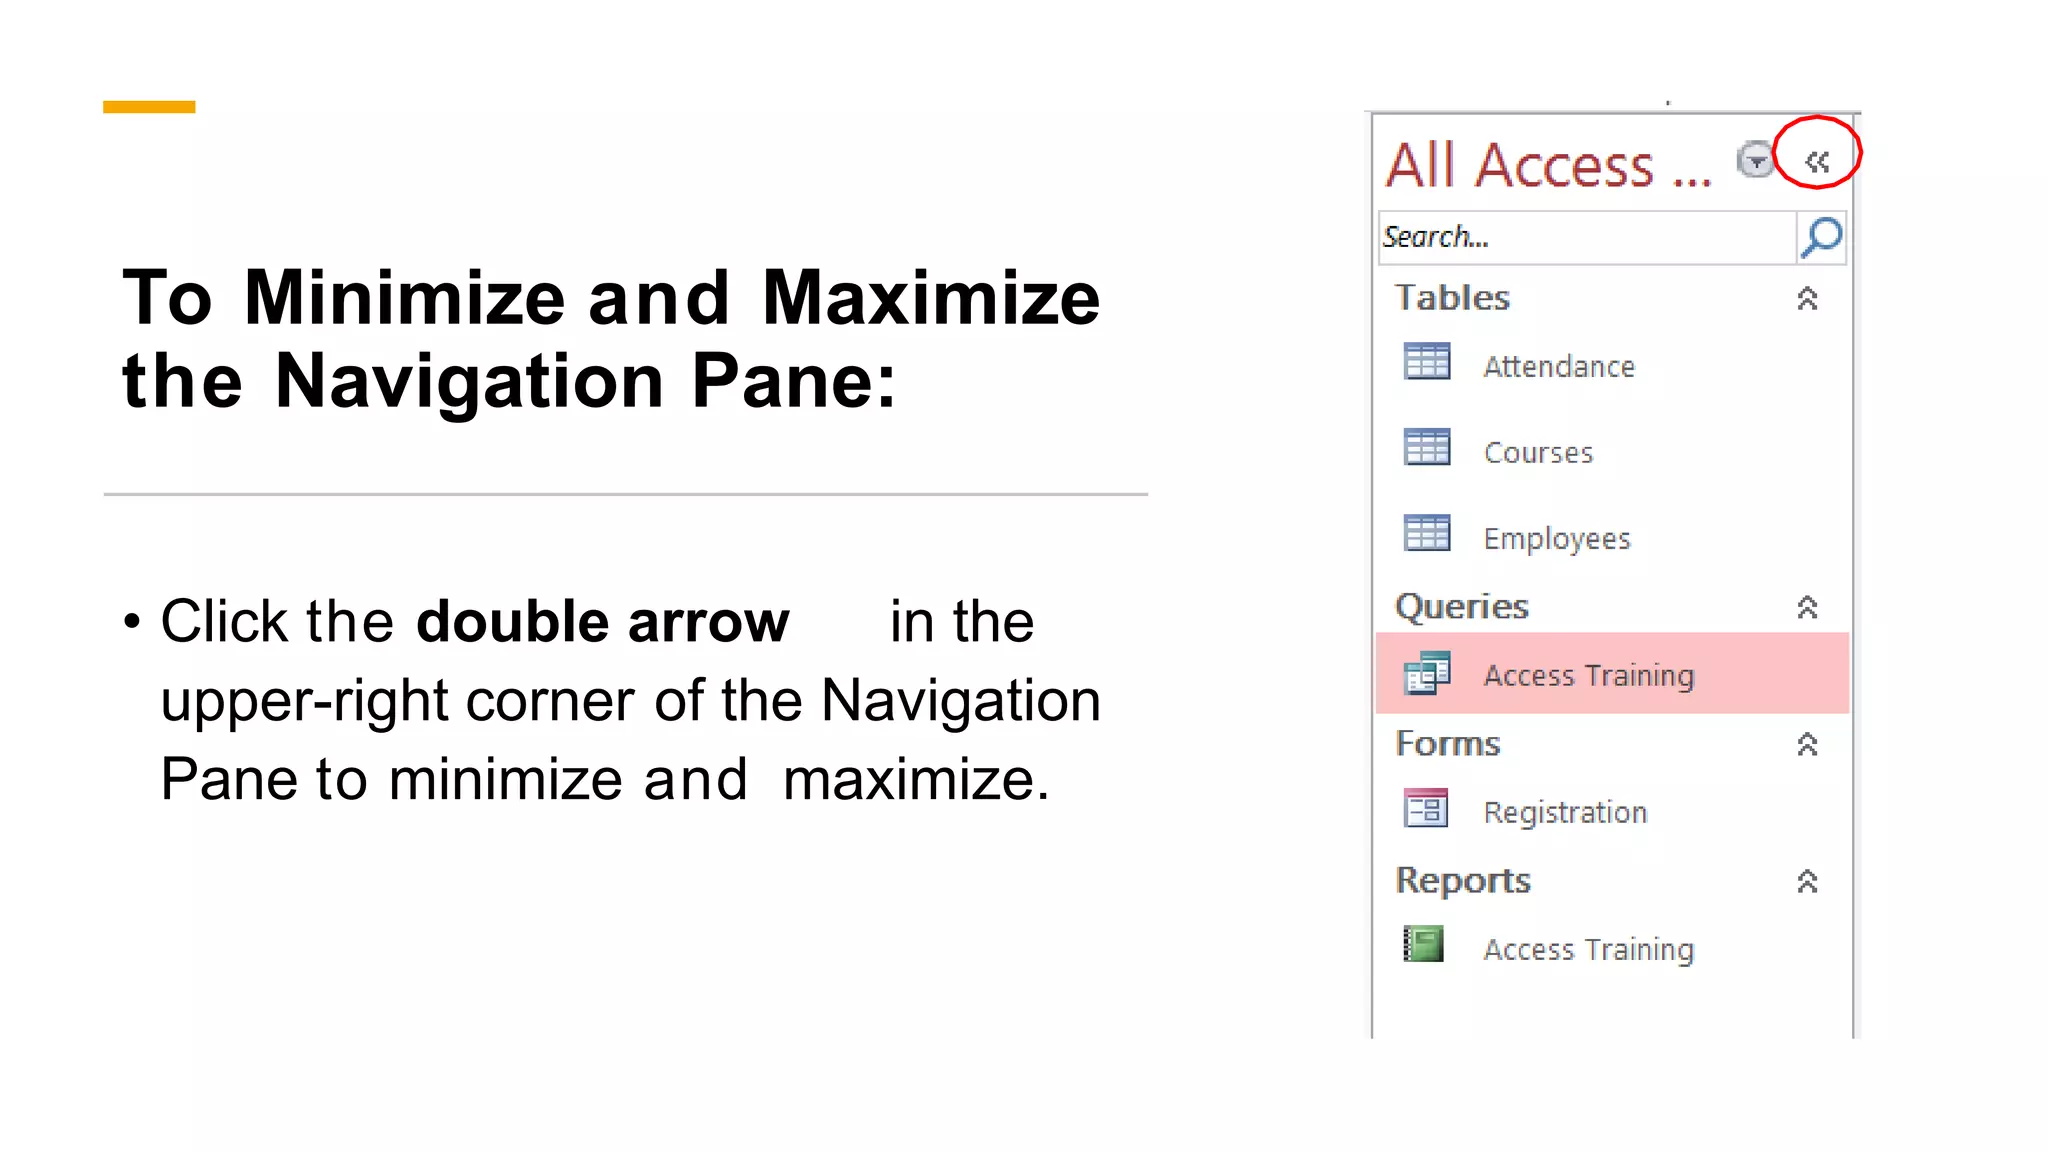
Sourav is a student in batch Noida (238) with registration number NRO0476945. The document introduces Microsoft Access and describes its key objects - tables, queries, forms and reports. It explains how to create and manage each object type, entering data, sorting records, and switching between views. Formatting, fields, data types, primary keys, and printing are also covered at a high level.
3. INTRODUCTION
• A database is a collection of information that is related.
Access allows you to manage your information in one
database file. Within Access there are four major
objects: Tables, Queries, Forms and Reports.
Tables store your data in your database
Queries ask questions about information stored in your
tables
Forms allow you to view data stored in your tables
Reports allow you to print data based on
queries/tables that you have created
4. The Navigation Pane
• The Navigation Pane is a list containing
every object in your database. For easier
viewing, the objects are organized into
groups by type. You can open, rename,
and delete objects using the Navigation
Pane.
5. To Minimize and Maximize
the Navigation Pane:
• Click the double arrow in the
upper-right corner of the Navigation
Pane to minimize and maximize.
6. Sorting the Objects in the Navigation Pane:
• By default, objects are sorted by type, with the tables in one group,
the forms in another, etc. However, you can change how the
objects are sorted.
Click the drop-down arrow to the right of the All
Access Objects and click on a sort option from the
list
7. Creating a Database
• 1. Start Access
• 2. Click on Blank desktop database
3. Under File Name type a name for the database
4. To change the location of where to store the
database, click the folder icon and select a Location
5. Click Create
9. There are multiple ways to view a database object. The two
views for tables are Design View and Datasheet View.
Design View
Design View is used to set the
data types, insert or delete
fields, and set the Primary Key
Datasheet View
Datasheet View is used to enter
and view the data for the
records
10. Switching Between Design View and
Datasheet View
Click the View arrow on the Home tab and click on either
Datasheet View or Design View
12. Table
• A table is a collection of data about a specific topic, such
as employee information, products or customers. The
first step in creating a table is entering the fields and
data types. This can be done in either Datasheet View or
Design View but it is recommended to set up the table in
Design View.
13. Understanding Fields and Their Data Types
FIELD - AN ELEMENT OF A TABLE THAT
CONTAINS A SPECIFIC ITEM OF
INFORMATION, SUCH AS A LAST NAME.
FIELD’S DATA TYPE - DETERMINES WHAT
KIND OF DATA THE FIELD CAN STORE.
14. Format Use to display
Short Text Alphanumeric data (names, titles, etc.) - up to 255 characters
Long Text Large amounts of alphanumeric data: sentences and paragraphs – 64,000 characters
Number Numeric data
Date/Time Dates and times
Currency Monetary values
AutoNumber Unique value generated by Access for each new record
Yes/No Yes and No values and fields that contain only one of two values
OLE Object Pictures, graphs, or other ActiveX objects from another Windows-based application
Hyperlink A link address to a document or file on the Internet
Attachment
You can attach files such as pictures, documents, spreadsheets, or charts; each Attachment
field can contain an unlimited number of attachments per record, up to the
storage limit of the size of a database file.
Calculated You can create an expression that uses data from one or more fields. You can designate
different result data types from the expression.
Lookup Wizard
Displays either a list of values that is retrieved from a table or query, or a set of values
that you specified when you created the field. The Lookup Wizard starts and you can create
a Lookup field. The data type of a Lookup field is either text or number, depending on the
choices that you make in the wizard.
15. To Create a Table
in Design View:
• Click on the Create tab
• Click on Table
• Switch over to Design View on
the Home tab
• prompted to save the table,
enter a name and click on OK
• Type the field names and
select the appropriate data
type for each field
• Continue until all fields are
added
16. Setting a Primary Key
• The Primary Key is the unique identifier for
each record in a table. Access will not allow
duplicate entries in a primary key field. When
creating a new table, Access automatically
creates a field “ID” with the autonumber data
type,and assigns this as the Primary Key.
To Set a
Primary Key:
1
In Design View,
position your cursor
in the field you wish
to set as the Primary
Key
2
Click the
Primary Key
button on the
toolbar
3
Save the table
4
17. Entering Data in a Table
• In Datasheet View, start
typing the data into the
table by pressing the tab
key to move to the next
cell
• When you have completed
the record (row), press
Enter
• You can also click on the
New record icon on the
Home tab in the Records
group
18. Sorting Records in a Table
• 1. Position your cursor in the field that you wish to sort by
clicking on any record in the table
• 2. Click either the Sort Ascending or Sort Descending icon
on the Home tab in the Sort & Filter group
19. Queries
• we use queries to view, change, and analyze data in different
ways. You can also use them as a source of records for forms
and reports.
To Create a Query:
1. Click on the Create tab
2. Click on Query Design in the Queries group
3. Select the table that you would like to base your
query on
4. Click Add
5. Repeat steps 3 and 4 until all tables are added
6. Close the Show Table window
20. Queries (cont.)
The table(s) will now be displayed in the upper part of the
Query Design Screen by boxes
containing the tables’ fields.
7. Double-click on the field names in the field list window
which you would like to include in
the query
21. Creating a Form
A form is a database object that is used to enter
or display data in a database.
To Create a Form:
1. Open the table or query on which you are
basing the form
2. Click on the Create tab
3. Click on Form in the Forms group
4. A form is created and opens in Layout View.
22. Different Views
Form View – this view allows you to view, create and edit records
Layout View - this view is similar to Design View but is more visually-oriented in that
each control displays real data. As a result, this is a very useful view for setting the size
of controls, or performing many other tasks that affect the visual appearance and
usability of the form.
Design View - this view gives you a more detailed view of the structure of the form. You
can
see the header, detail, and footer sections for the form. You cannot see the underlying
data
while you are making design changes.
23. Reports
Reports can be based on tables or queries.
To Create a Report:
1. Open the table or query on which you are basing
the report
2. Click on the Create tab
3. Click on Report in the Reports group
A report is created in Layout View.
24. Different Views
Print Preview – allows you see what the report would look like
on a printed piece of paper
Report View – allows you to see the data without having to
display it in Print Preview
Layout View – allows you make design changes while browsing
your data
Design View - gives you a more detailed view of the structure of
your report
25. Printing Reports
To Print a Report:
1. Switch to Print Preview from View on the Design
tab under Report Layout Tools
2. Click the Print icon
3. Click on OK