Download as PDF, PPTX


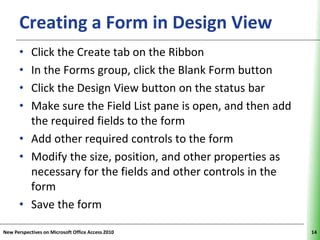
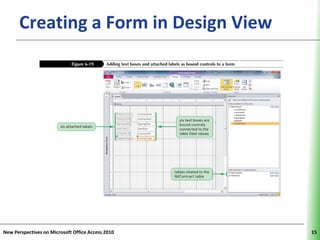

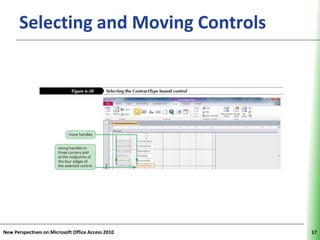


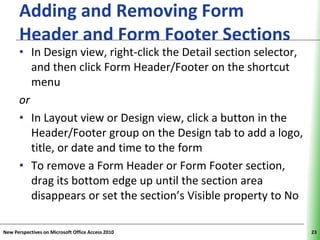


The document provides instructions for customizing forms in Microsoft Access 2010, including changing fields to text, viewing documentation, creating different types of forms, modifying forms, adding controls like combo boxes and subforms, changing properties, and designing custom forms. The steps covered include selecting and positioning controls, adding headers and footers, setting the tab order, and using tools to create rectangles and lines on forms for layout purposes.


