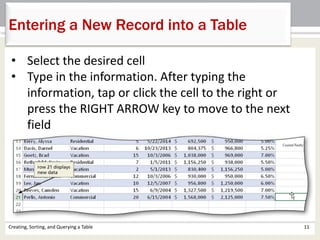
This chapter discusses how to create, manipulate, sort, query and summarize data in tables in Microsoft Excel. It covers how to create and format tables, add calculated fields, use functions like VLOOKUP to lookup values, apply filters and sorting, extract records based on criteria, use database and conditional functions, insert subtotals and use outlining to view data hierarchically. The chapter aims to teach users how to efficiently organize, analyze and display structured data sets in tables through various table features in Excel.


![Creating, Sorting, and Querying a Table 14
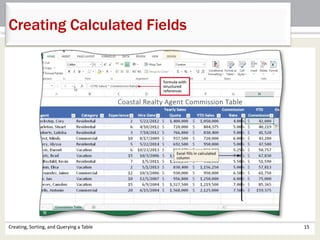
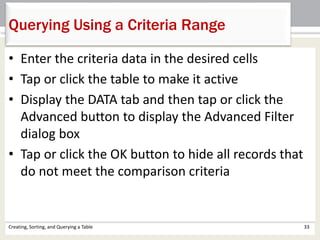
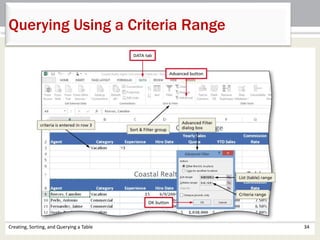
Creating Calculated Fields
• Tap or click the desired cell
• Tap or click the ‘Accounting Number Format’
button on the HOME tab and then tap or click the
Decrease Decimal button on the HOME tab twice
so that data is formatted as whole dollars
• Type =[YTD Sales] * [Commission Rate] to enter
the formula with structured references and then
tap or click the Enter box in the formula bar to
create a calculated column](https://image.slidesharecdn.com/excelch06-140612101336-phpapp02/85/Excel-ch06-14-320.jpg)