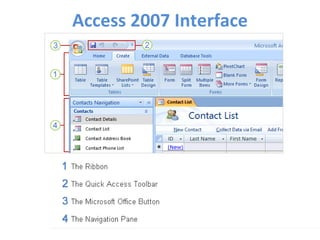
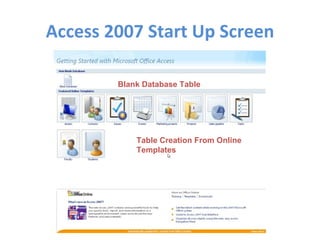
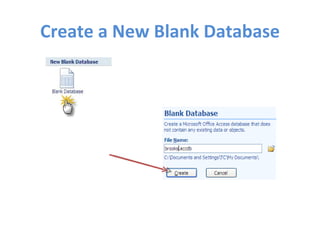
This document outlines the objectives and steps to create and manage a Microsoft Access 2007 database, including:
1) Creating a database file and designing tables, forms, queries, and reports to enter and display data
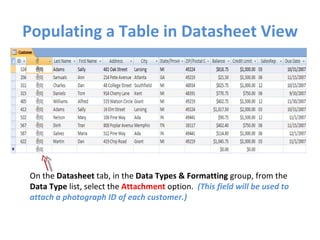
2) Populating tables with data and formatting fields
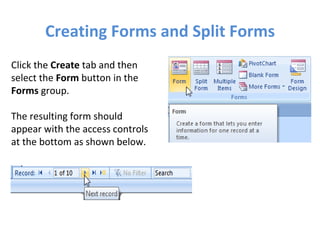
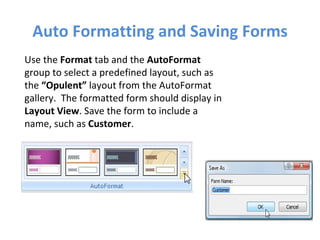
3) Designing forms and queries to view, enter, and extract specific data
4) Creating reports to output selected data
5) Properly closing and exiting the Access program and database


![Picasso[1]](https://cdn.slidesharecdn.com/ss_thumbnails/picasso1-12978056095994-phpapp01-thumbnail.jpg?width=640&height=640&fit=bounds)