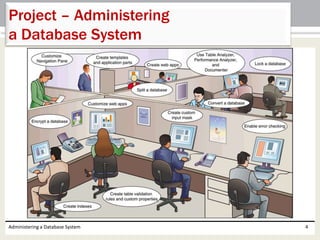
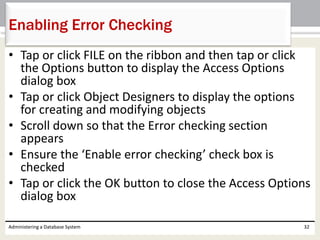
This document provides instructions for administering a Microsoft Access database, including:
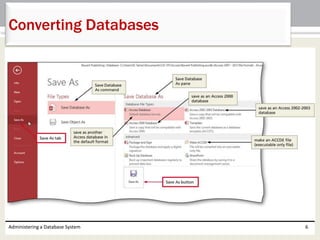
- Converting databases to different versions of Access
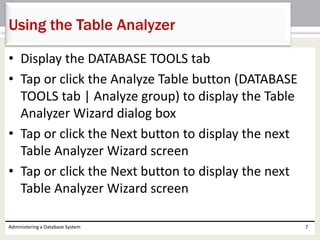
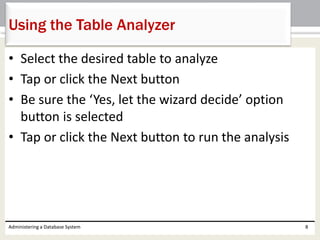
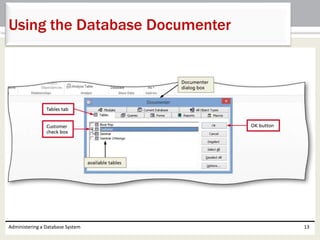
- Using tools like the Table Analyzer, Performance Analyzer, and Database Documenter to analyze and document databases
- Customizing properties, indexes, views, and templates and encrypting, locking, and splitting databases
The overall aim is to teach how to optimize database performance and administration.


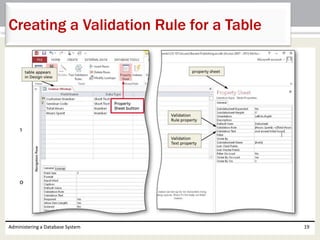
![• Open the desired table in Design view
• Tap or click the Property Sheet button (TABLE
TOOLS DESIGN tab | Show/ Hide group) to display
the table’s property sheet
• Tap or click the Validation Rule property and type
the desired validation rule
– [Hours Spent]<=[Total Hours]
• Tap or click the Validation Text property and type
the desired validation text
Administering a Database System 18
Creating a Validation Rule for a Table](https://image.slidesharecdn.com/access2013ch09-141217091302-conversion-gate01/85/Access2013-ch09-18-320.jpg)


![ECDL module 5: using databases [To be continued]](https://cdn.slidesharecdn.com/ss_thumbnails/icdlmodule5usingdatabases-150417150536-conversion-gate02-thumbnail.jpg?width=640&height=640&fit=bounds)


