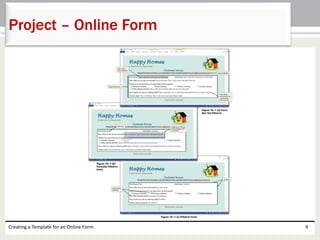
The document discusses how to create a template in Microsoft Word for an online form, including how to:
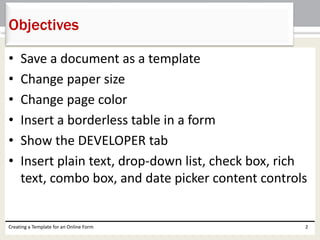
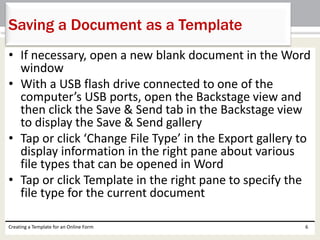
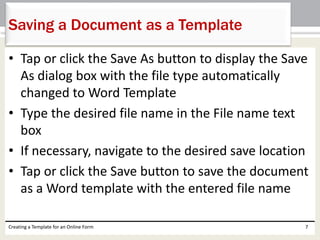
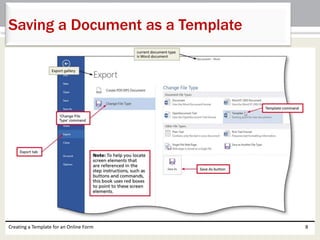
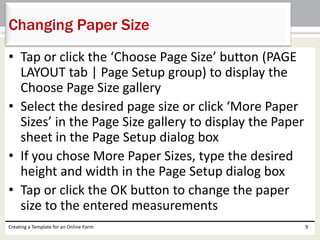
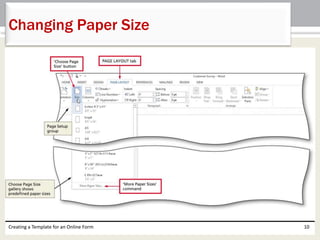
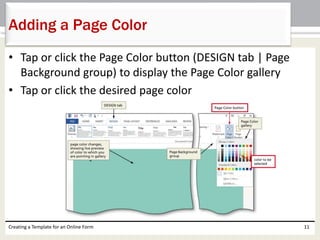
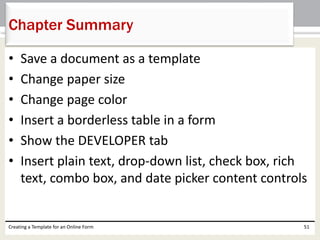
- Save a document as a template and set its page size and color
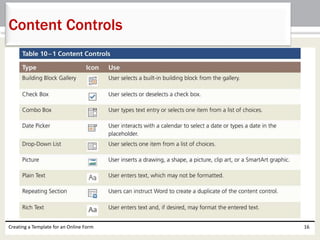
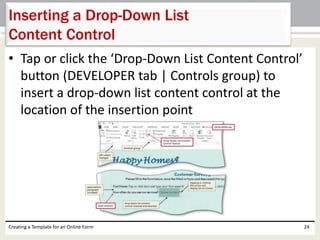
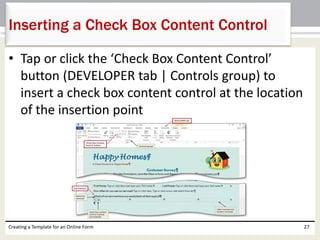
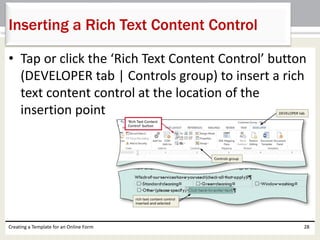
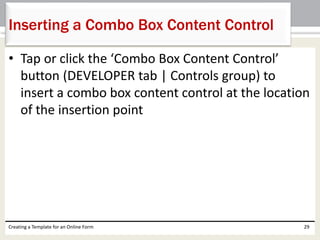
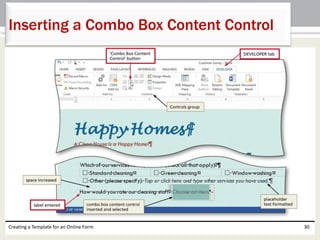
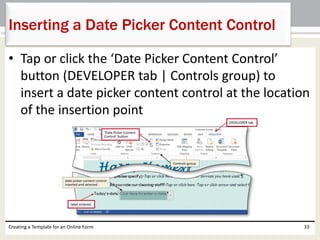
- Insert different types of content controls like text boxes, drop-downs, checkboxes
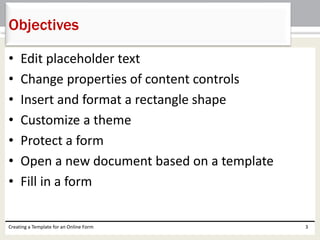
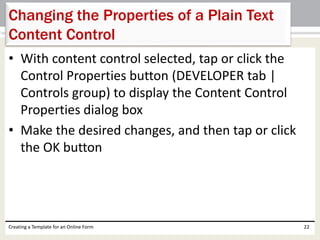
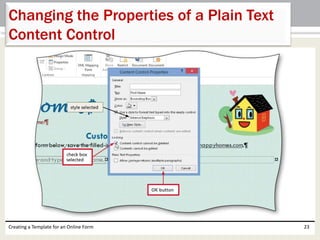
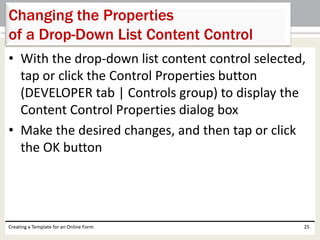
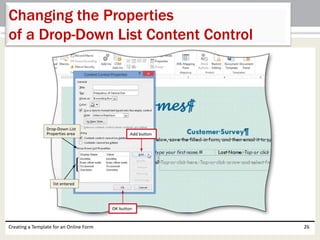
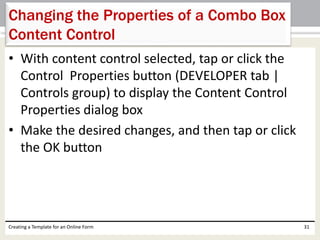
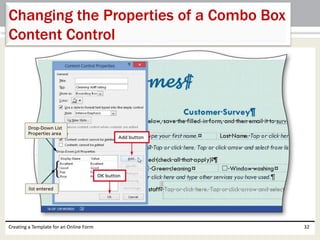
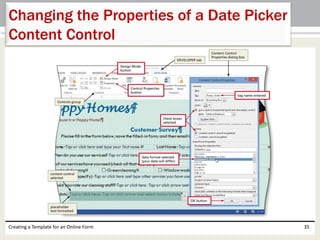
- Change properties of the content controls
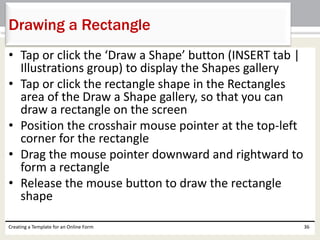
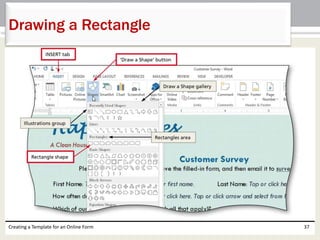
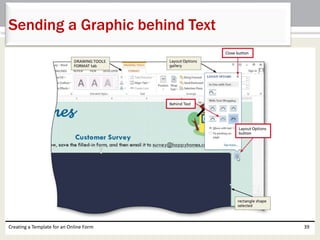
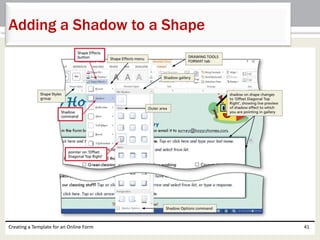
- Add graphics, tables, and formatting to the template
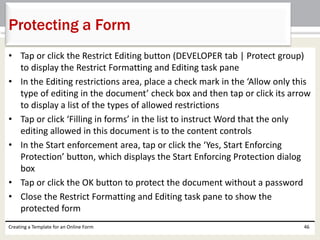
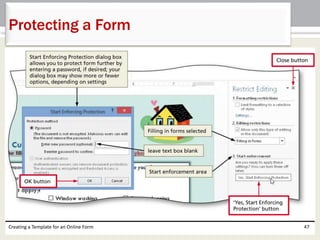
- Protect the completed form template


![Making presentations[1]](https://cdn.slidesharecdn.com/ss_thumbnails/makingpresentations1-160718161043-thumbnail.jpg?width=640&height=640&fit=bounds)


![Control Charts[1]](https://cdn.slidesharecdn.com/ss_thumbnails/controlcharts1-1226961283054520-8-thumbnail.jpg?width=640&height=640&fit=bounds)