Download as PDF, PPTX
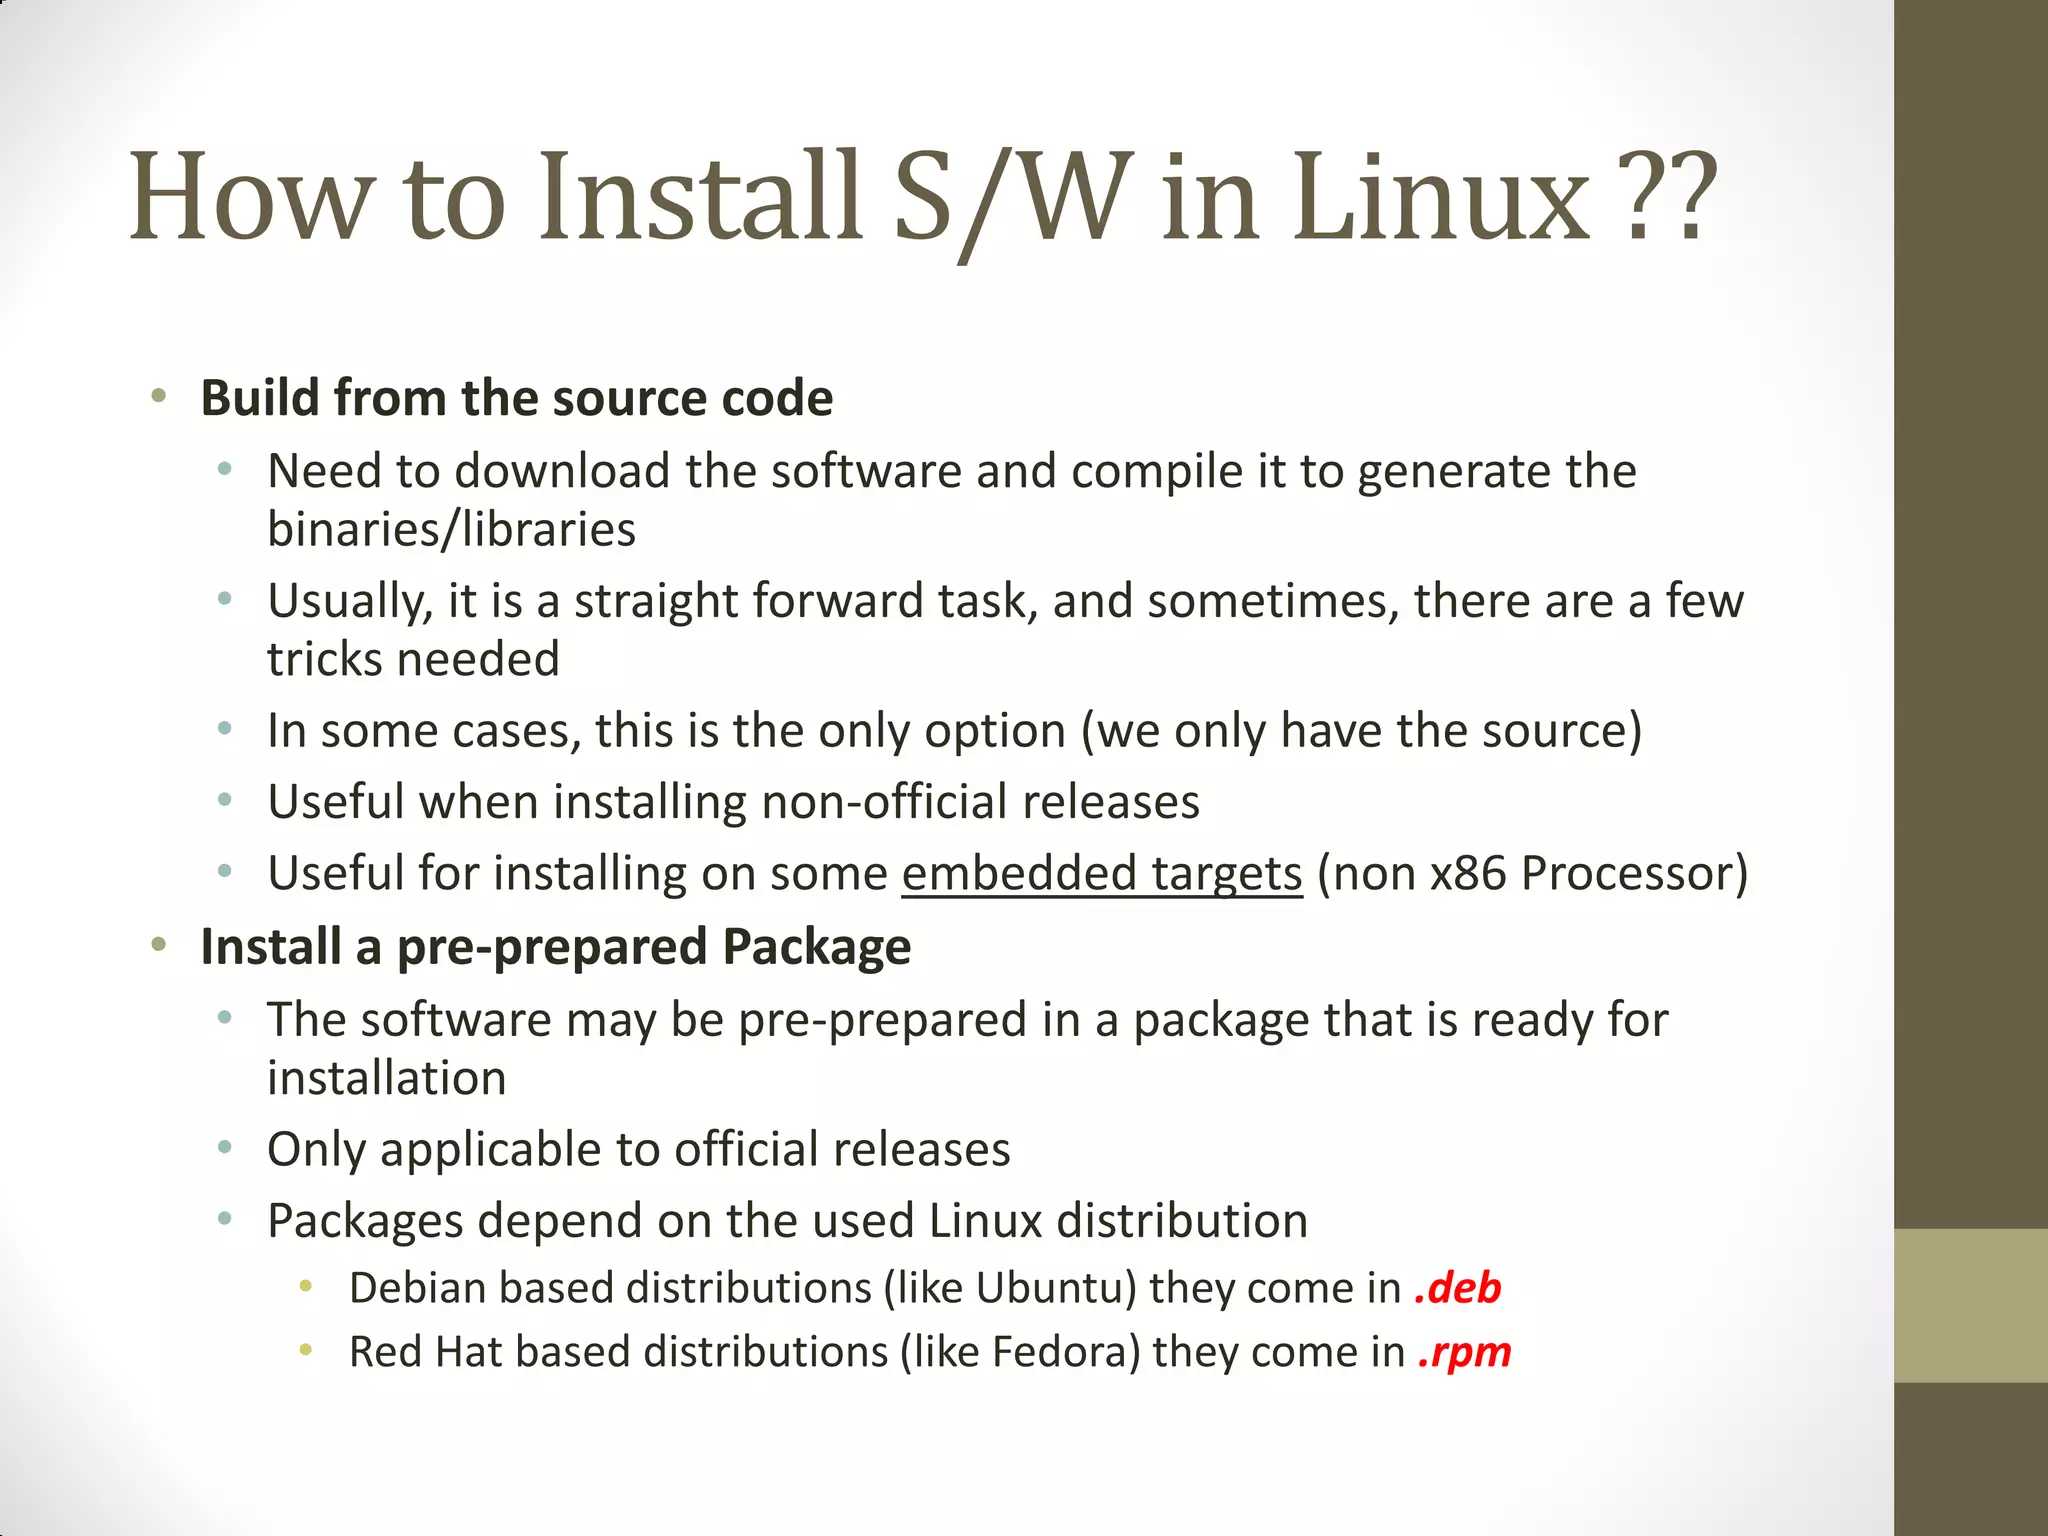
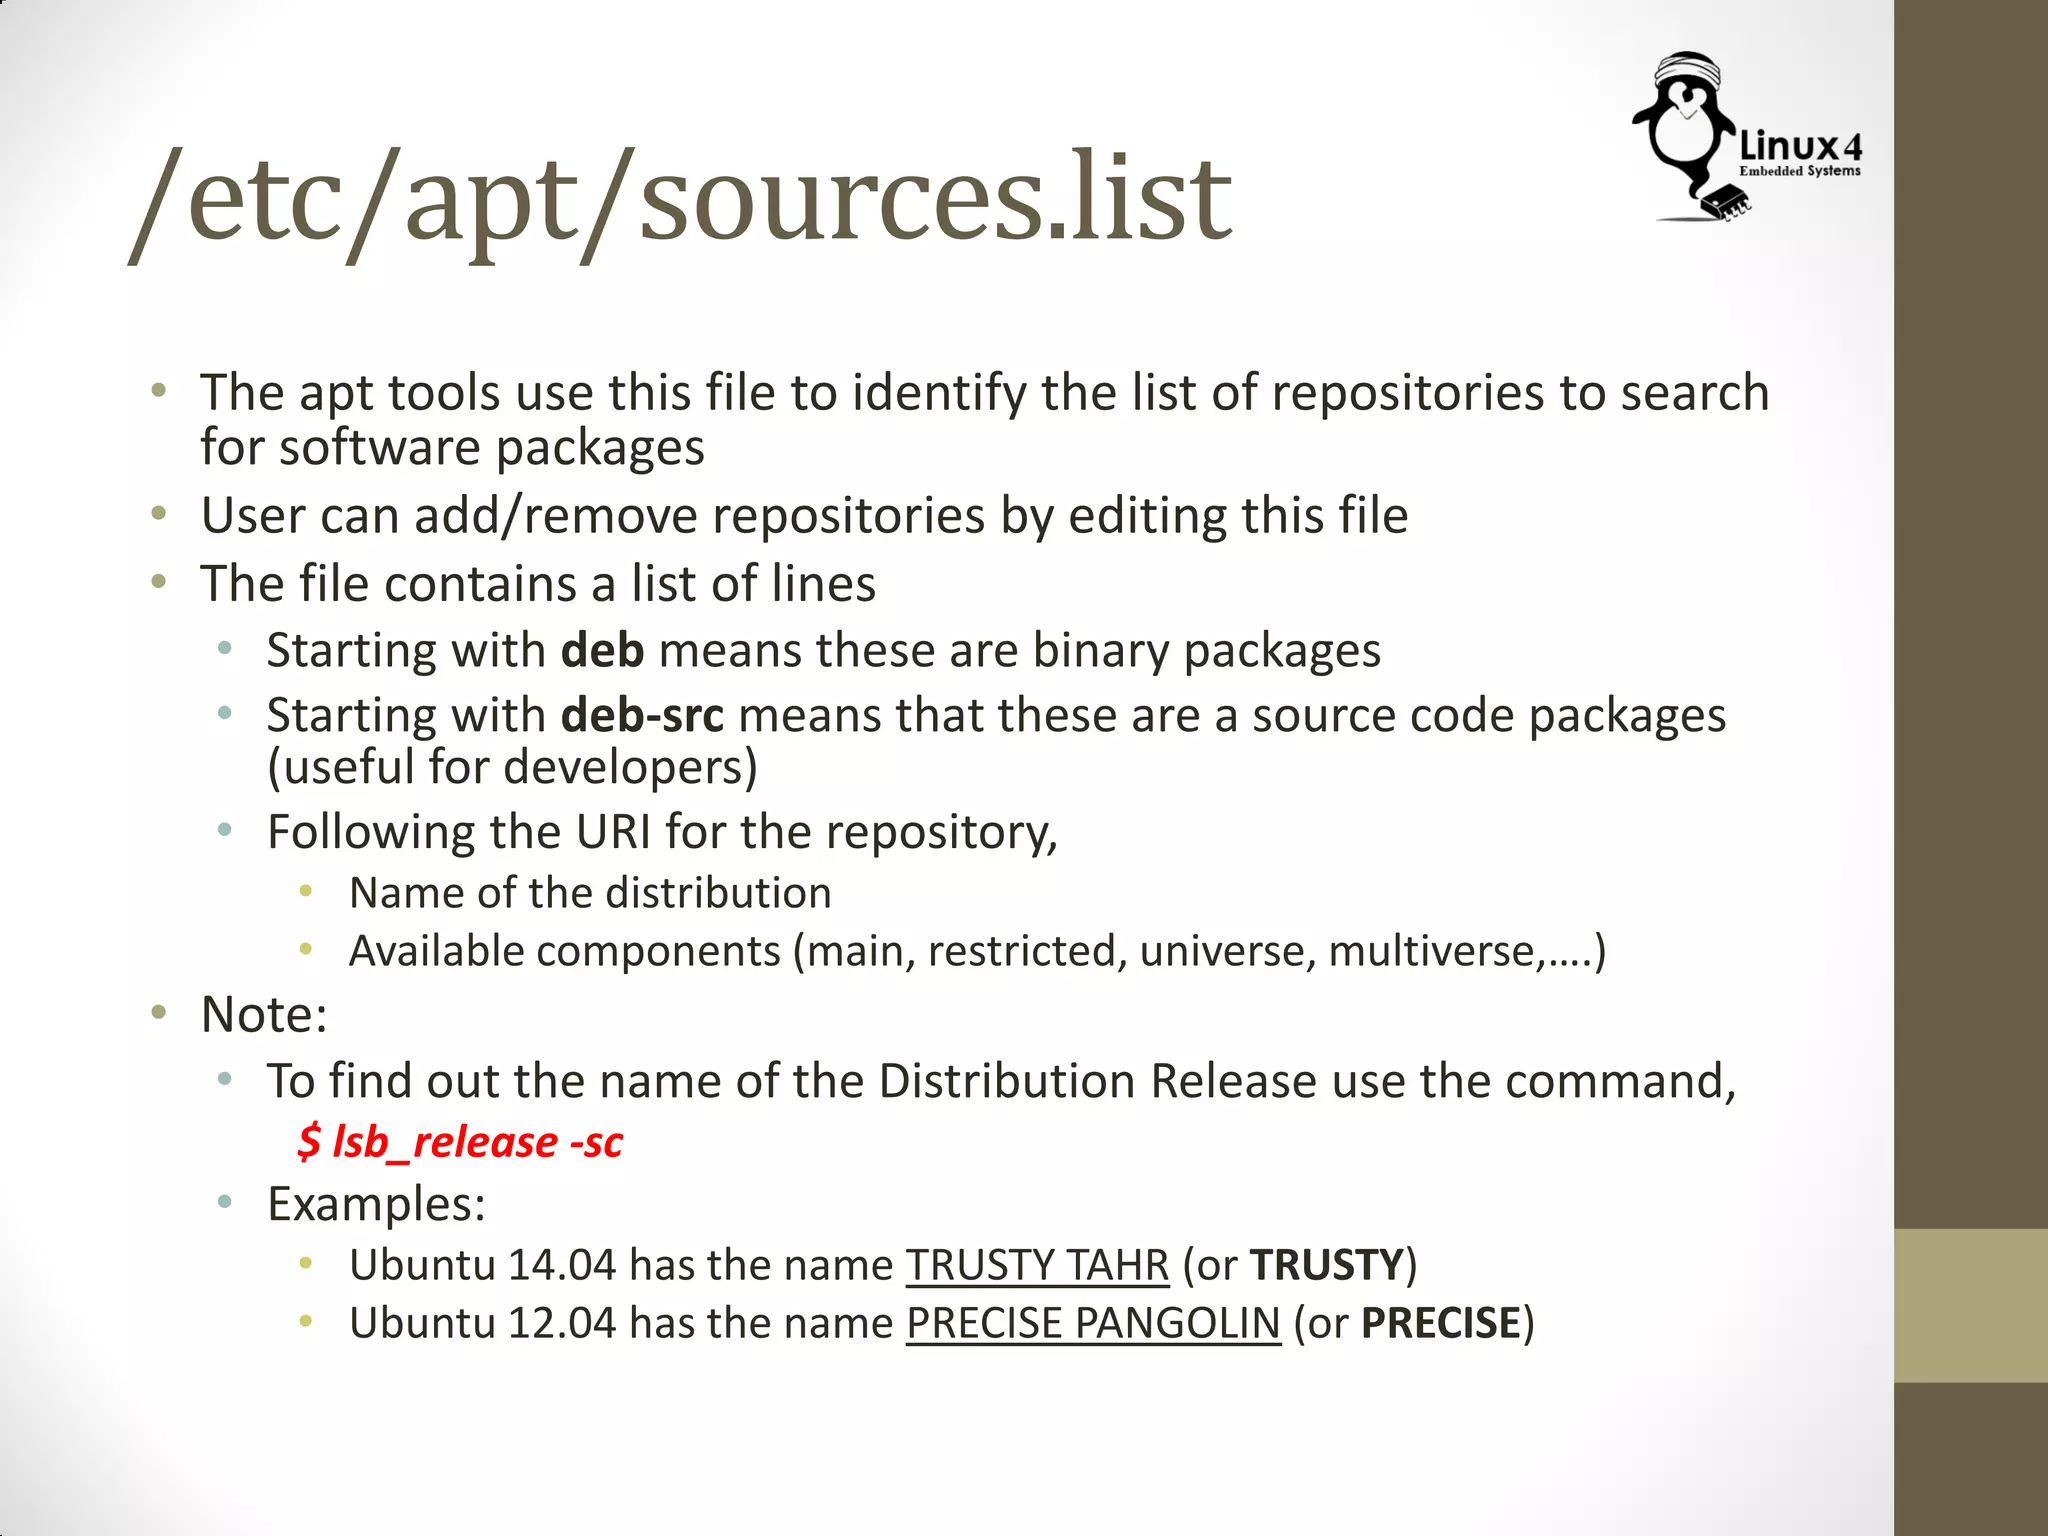
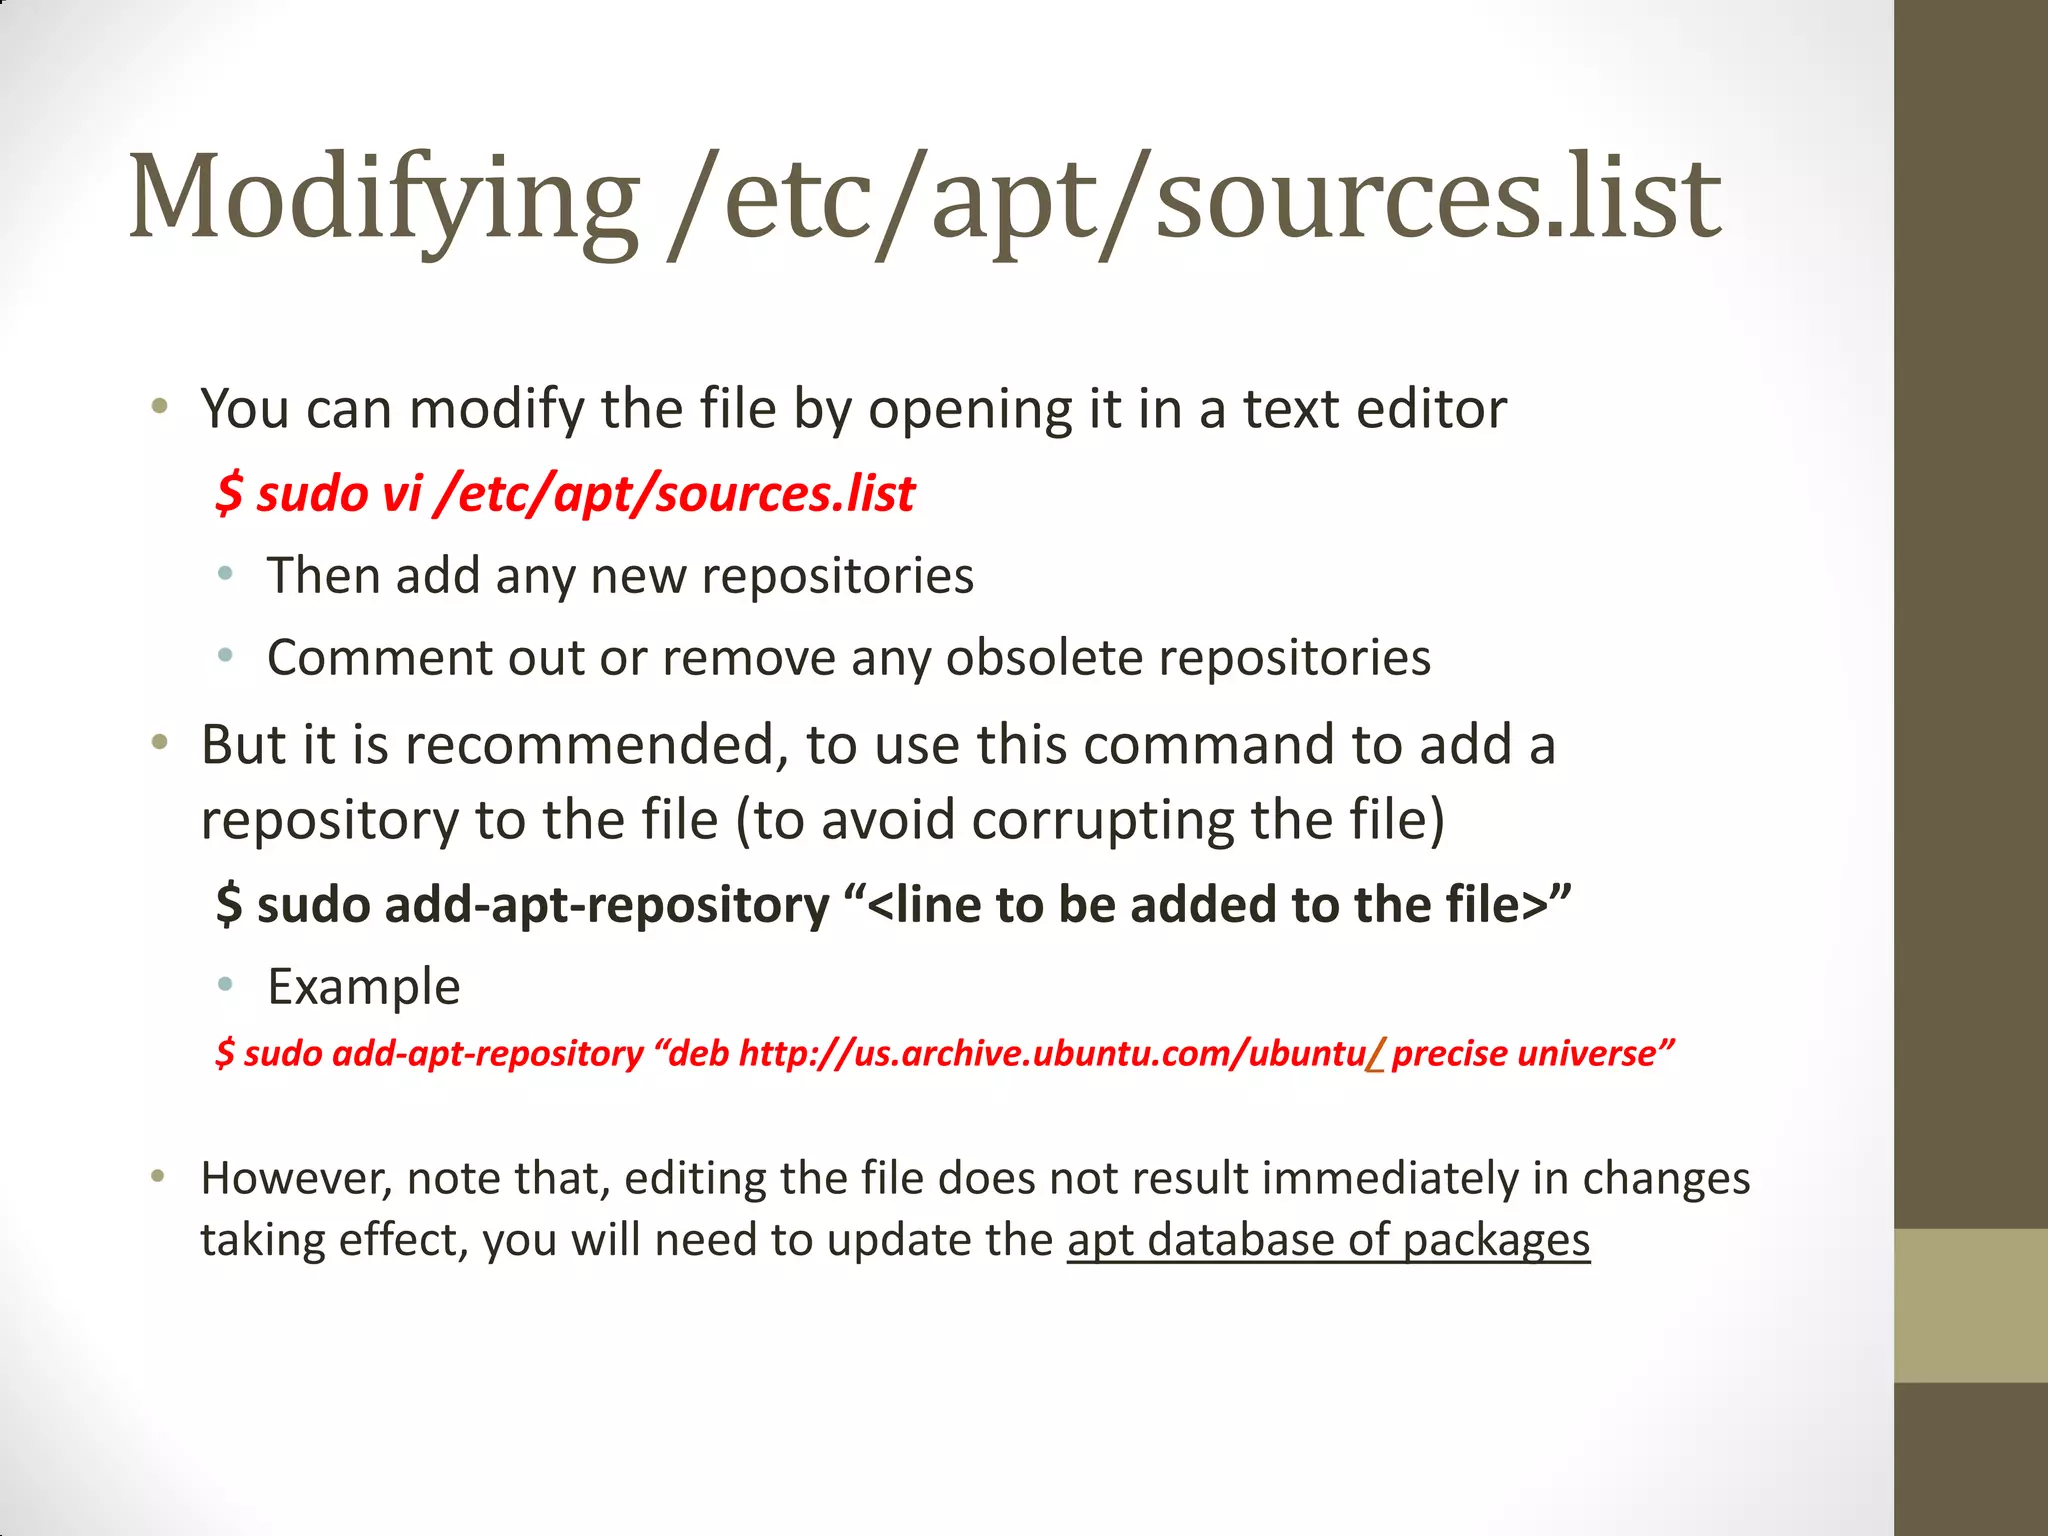
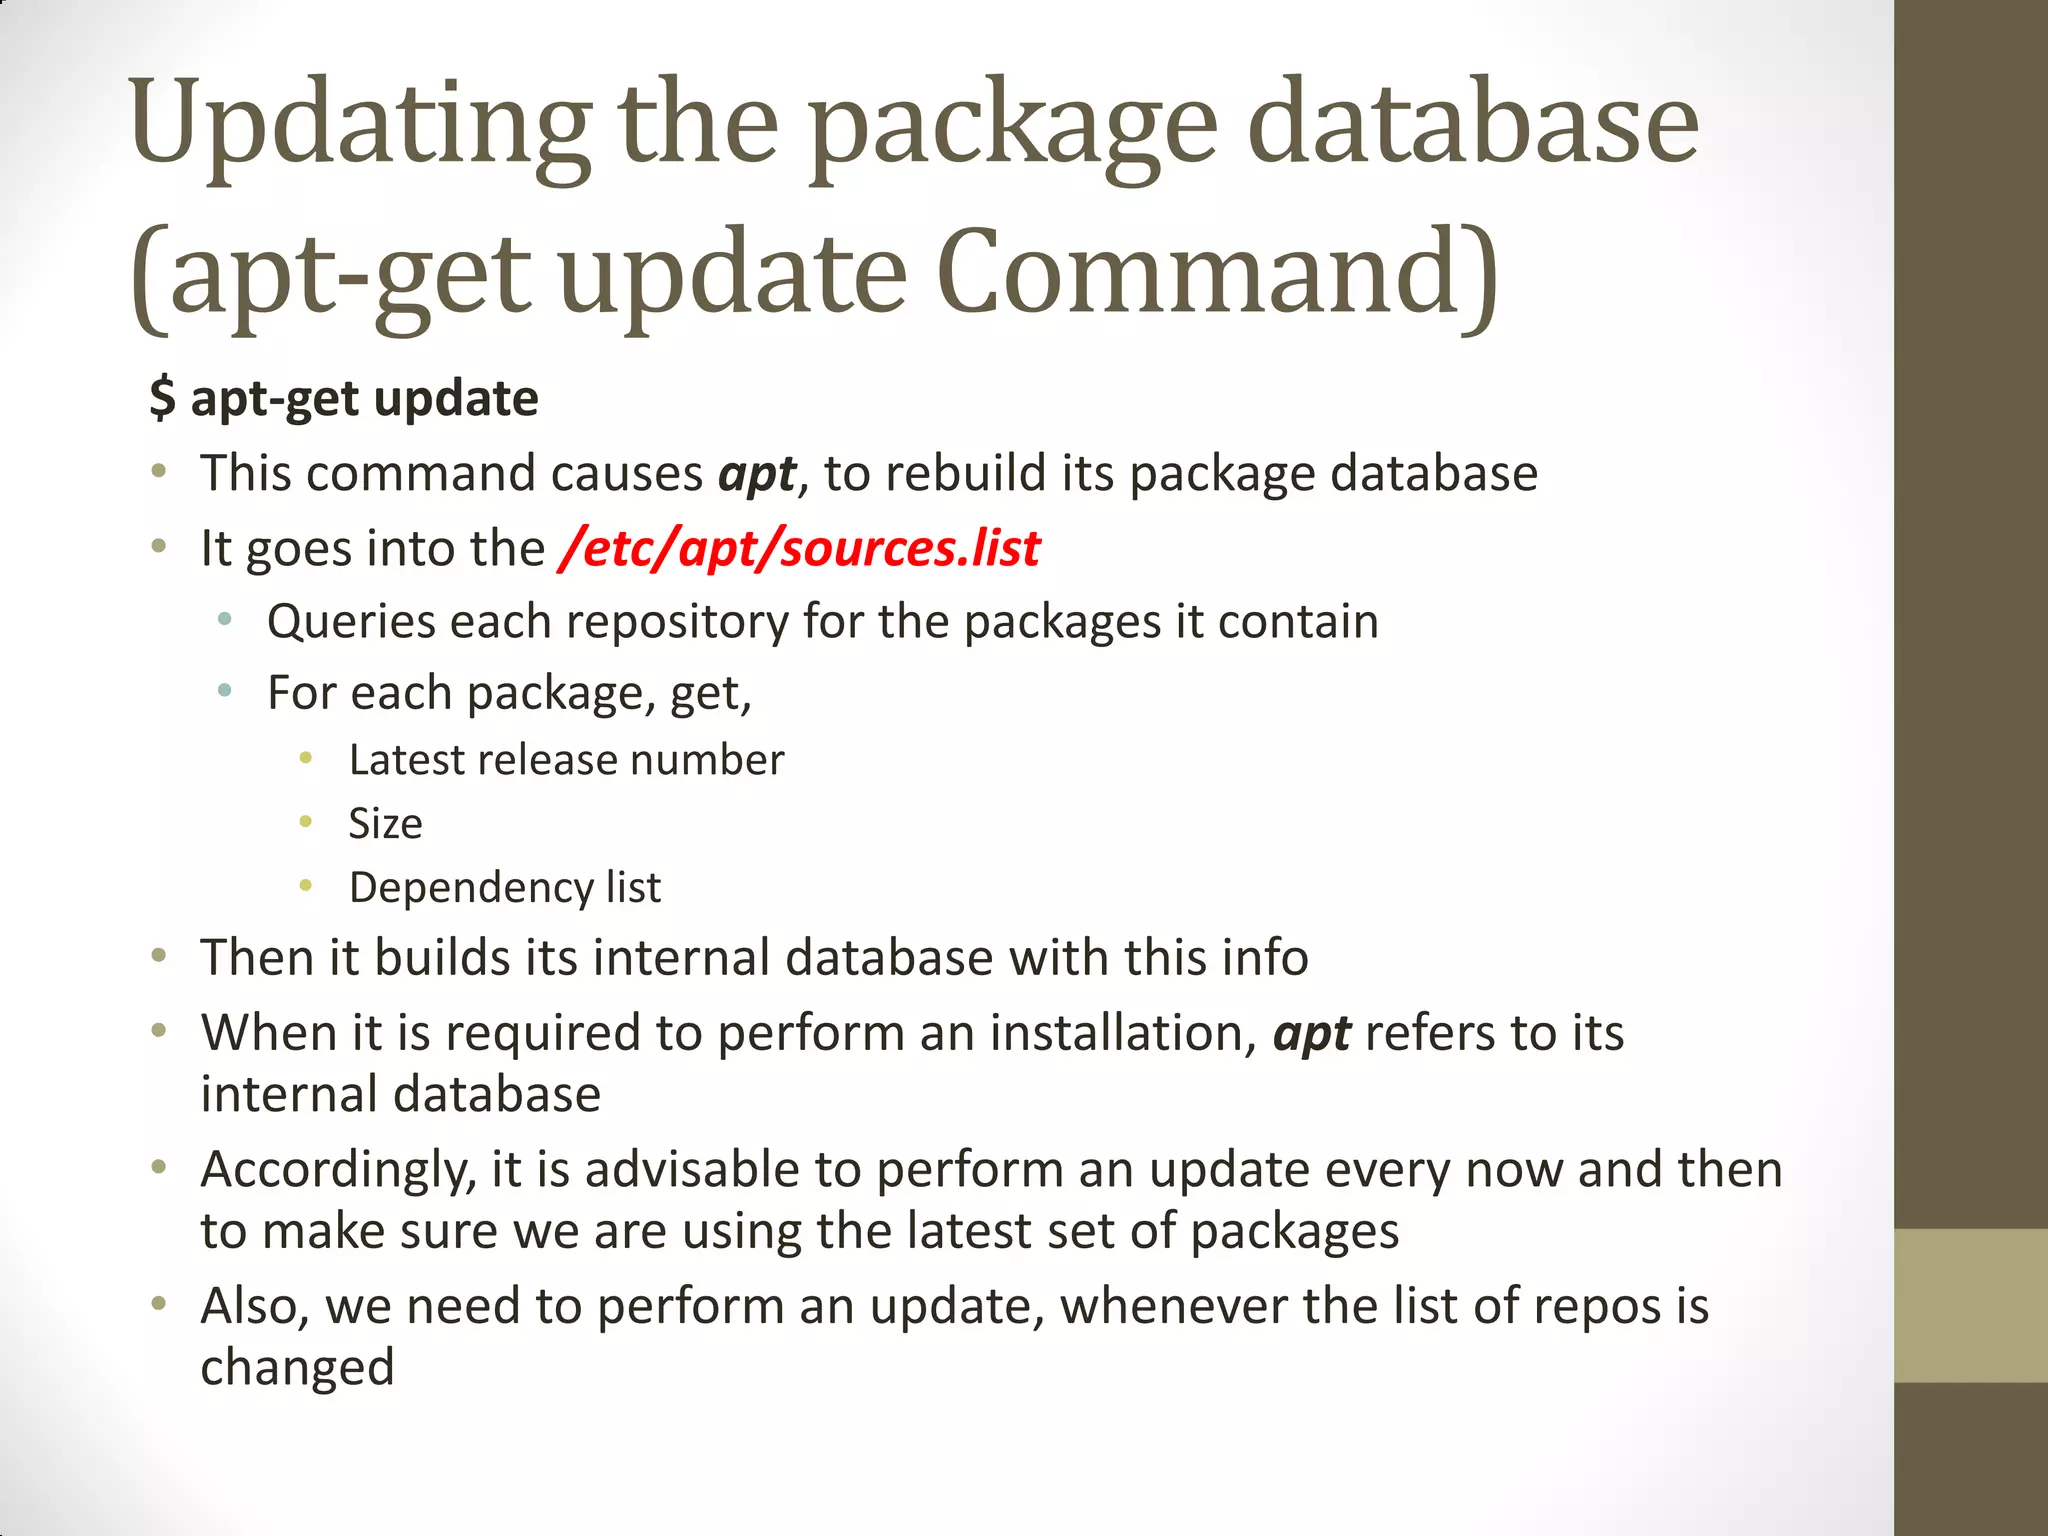
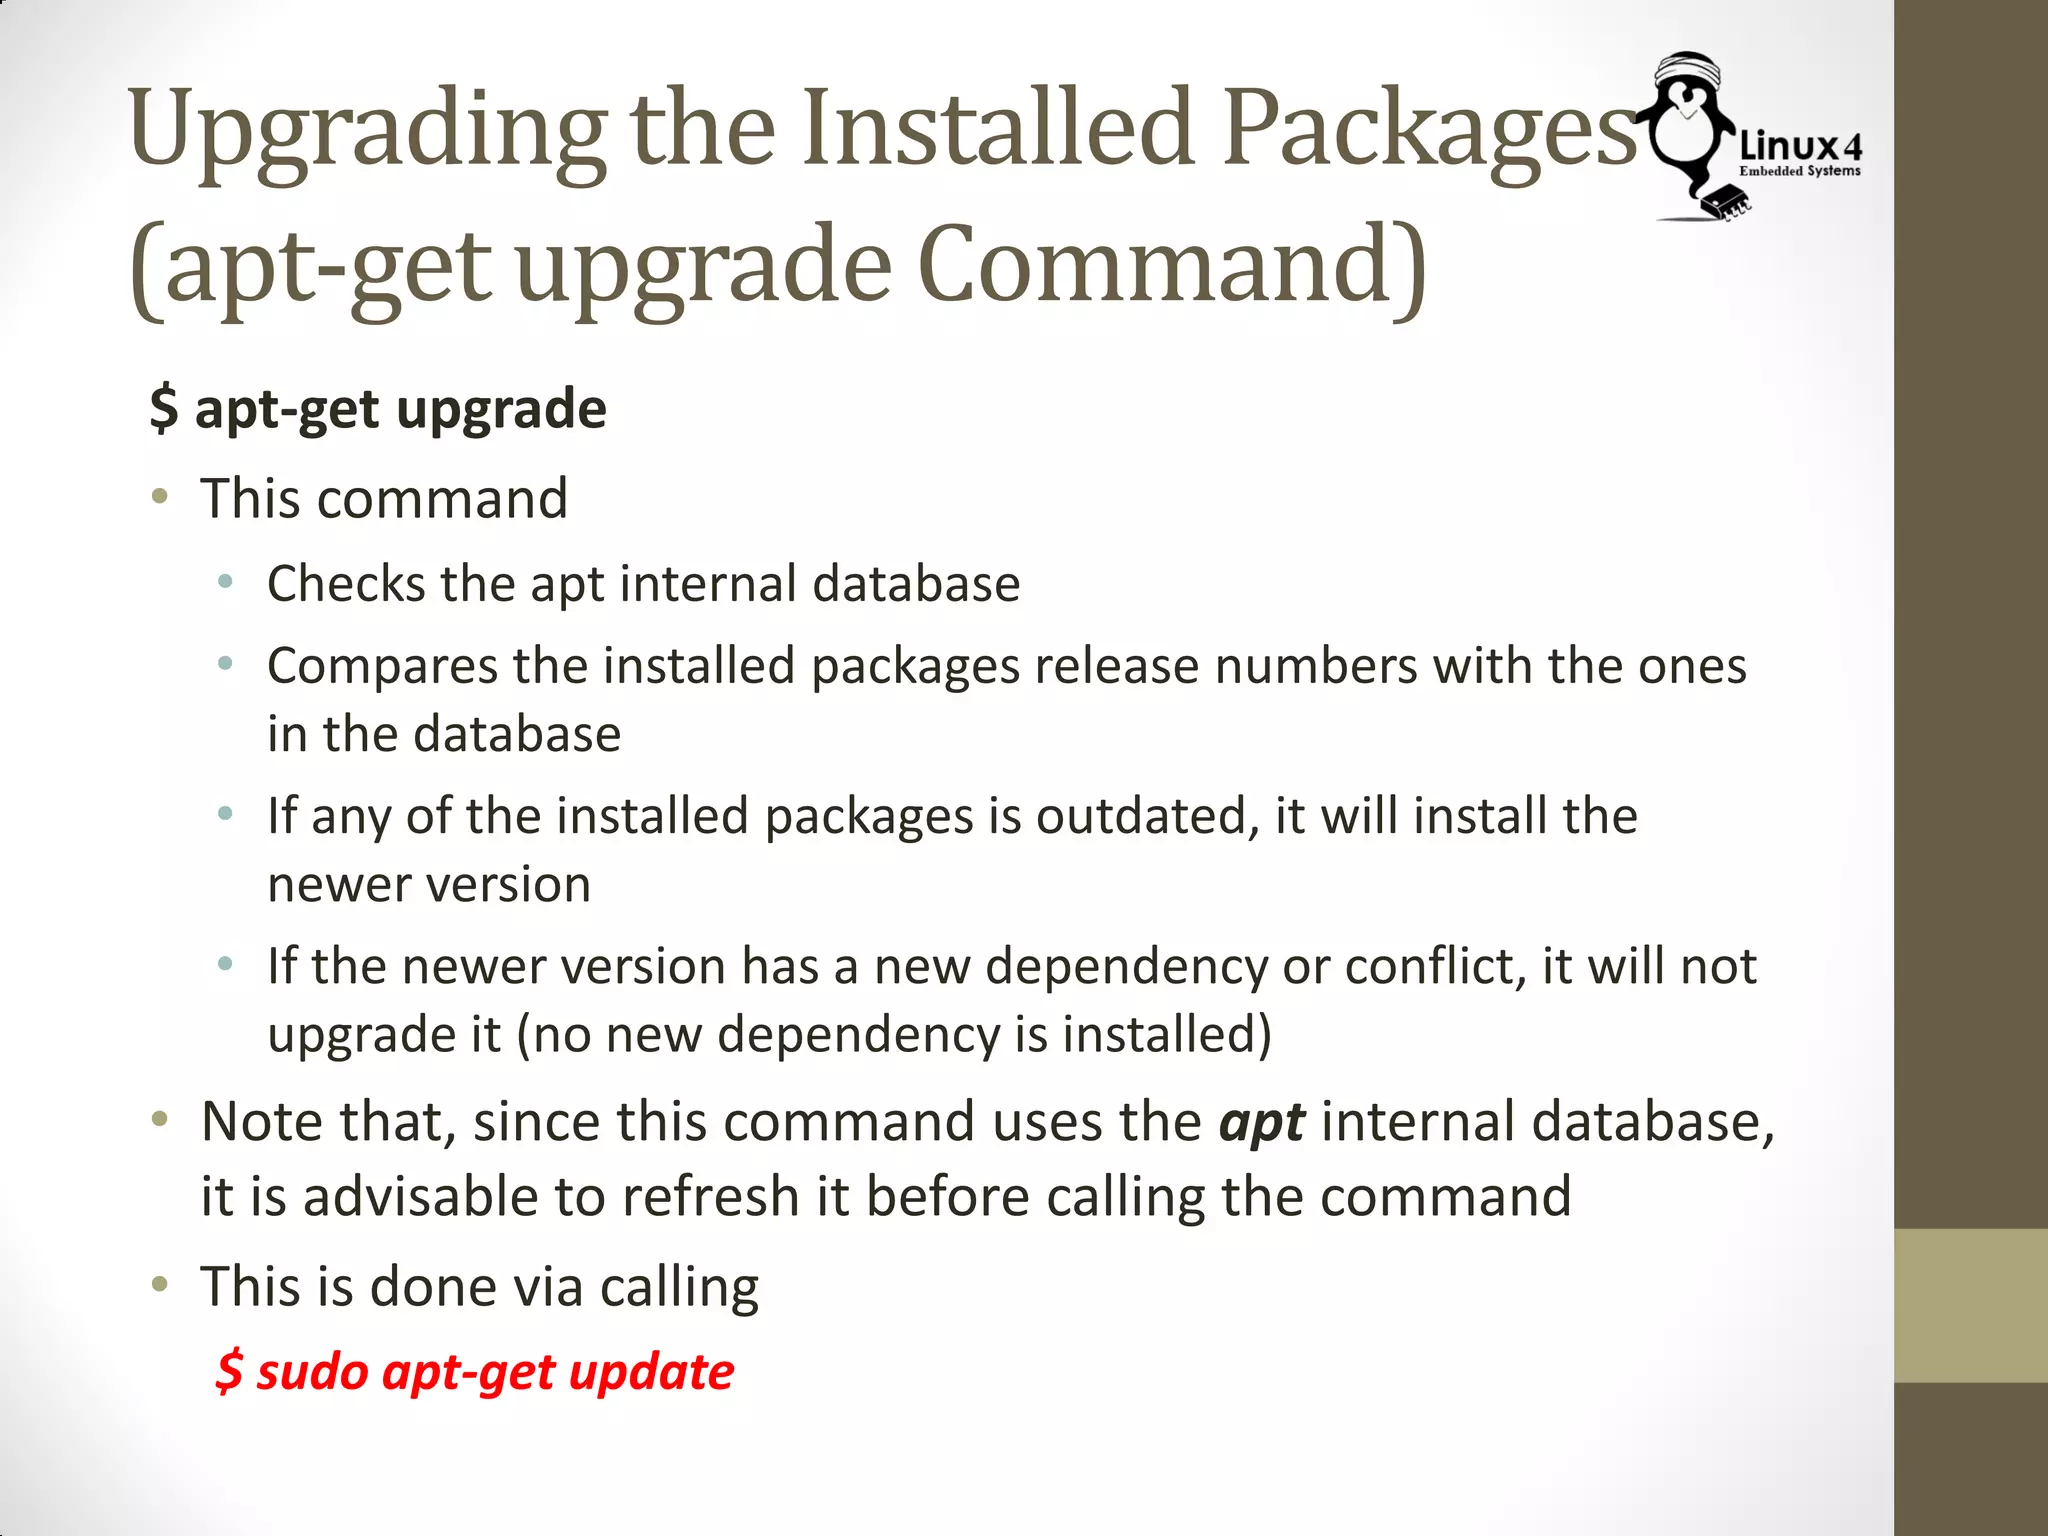


The document provides an in-depth overview of package management in Linux, focusing on methods to install software, including building from source code and using pre-prepared packages in Debian-based systems. It explains the dependency resolution challenges and introduces the Advanced Packaging Tool (APT) for simplifying software installation and updates. The document also discusses repository management, commands for installing and uninstalling packages, and tools for managing package information.


![Vibe Coding vs. Spec-Driven Development [Free Meetup]](https://cdn.slidesharecdn.com/ss_thumbnails/vibecodingvsspecdrivendevelopment-251209105622-43f455e7-thumbnail.jpg?width=640&height=640&fit=bounds)


