Download as PDF, PPTX
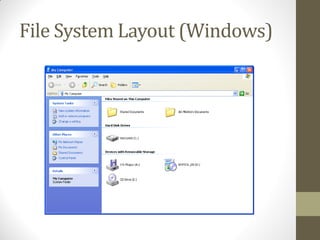

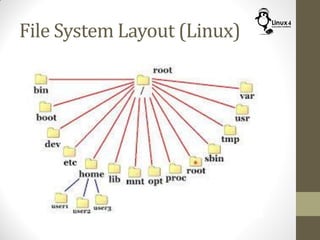


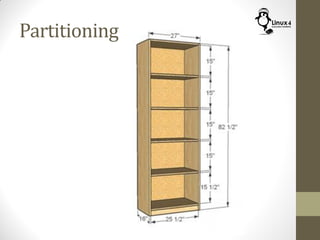


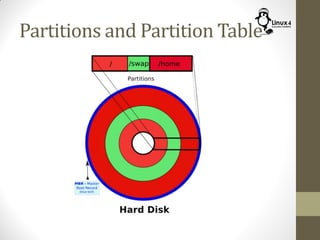
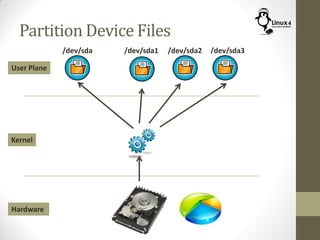
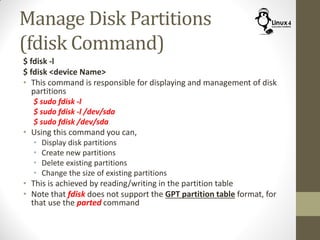
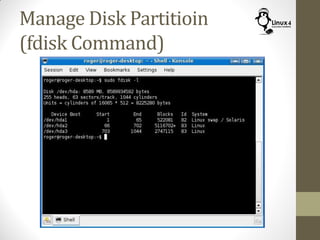
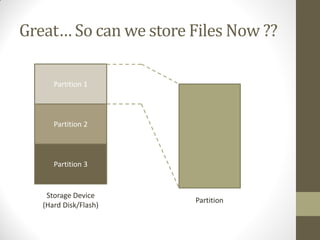

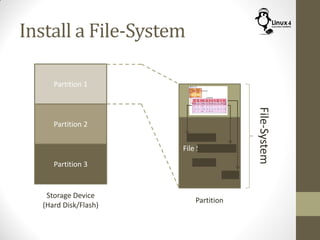
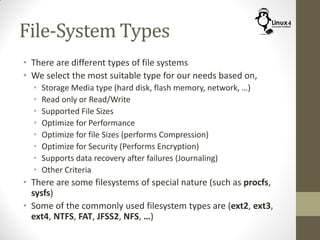

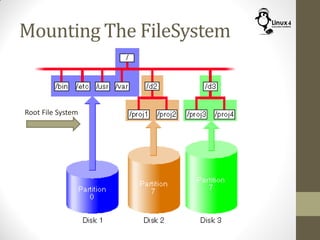


The document covers the Linux filesystem structure, highlighting the differences between Linux and Windows partitioning, including the benefits of having multiple partitions such as improved data isolation and security. It explains the process of partitioning, building and installing filesystems, and the commands used to manage disk partitions. Additionally, it outlines the types of filesystems and the significance of the root filesystem in system operations.