Downloaded 126 times


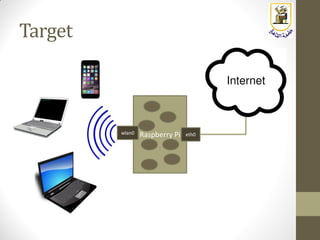
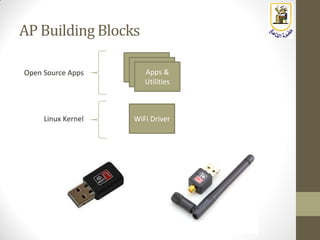
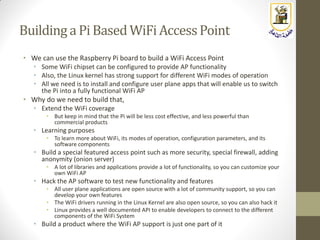


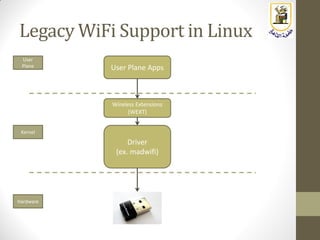
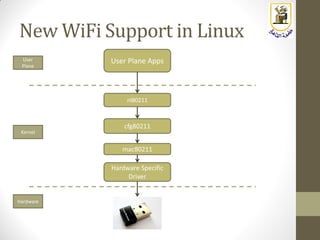
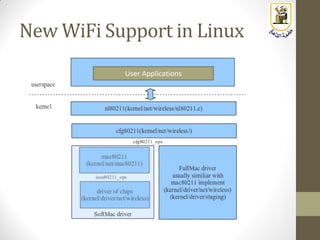


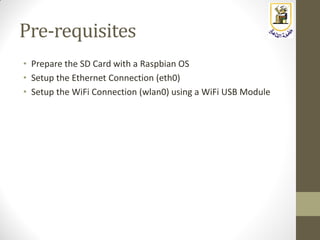
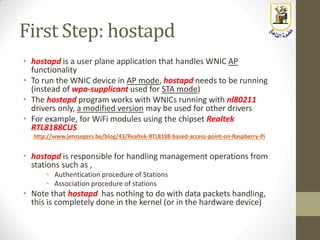
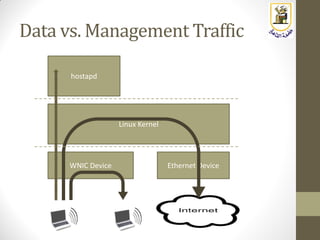
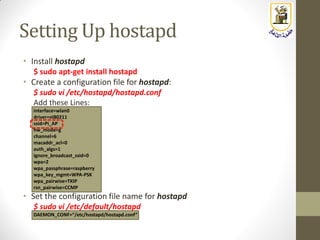
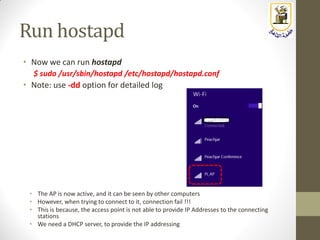
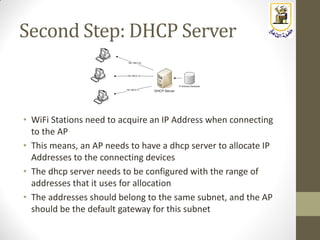
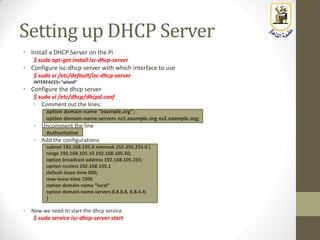
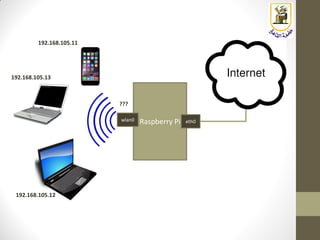
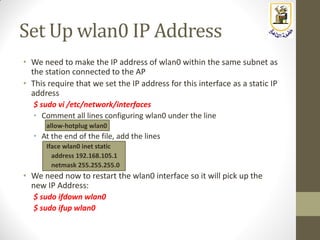
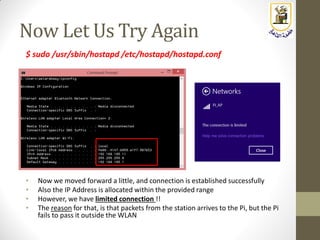
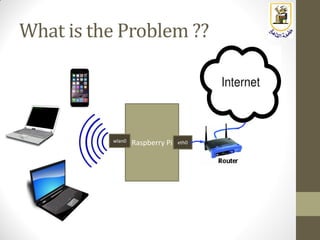


The document discusses building a WiFi access point using a Raspberry Pi, outlining the necessary configurations and software required, such as hostapd and a DHCP server. It covers different WiFi network types, modes, security protocols, and Linux support for WiFi, focusing on both practical setup and theoretical underpinnings of WiFi technology. The document provides detailed instructions on preparing the Raspberry Pi, including software installation and network configuration for creating a functional access point.