Downloaded 849 times
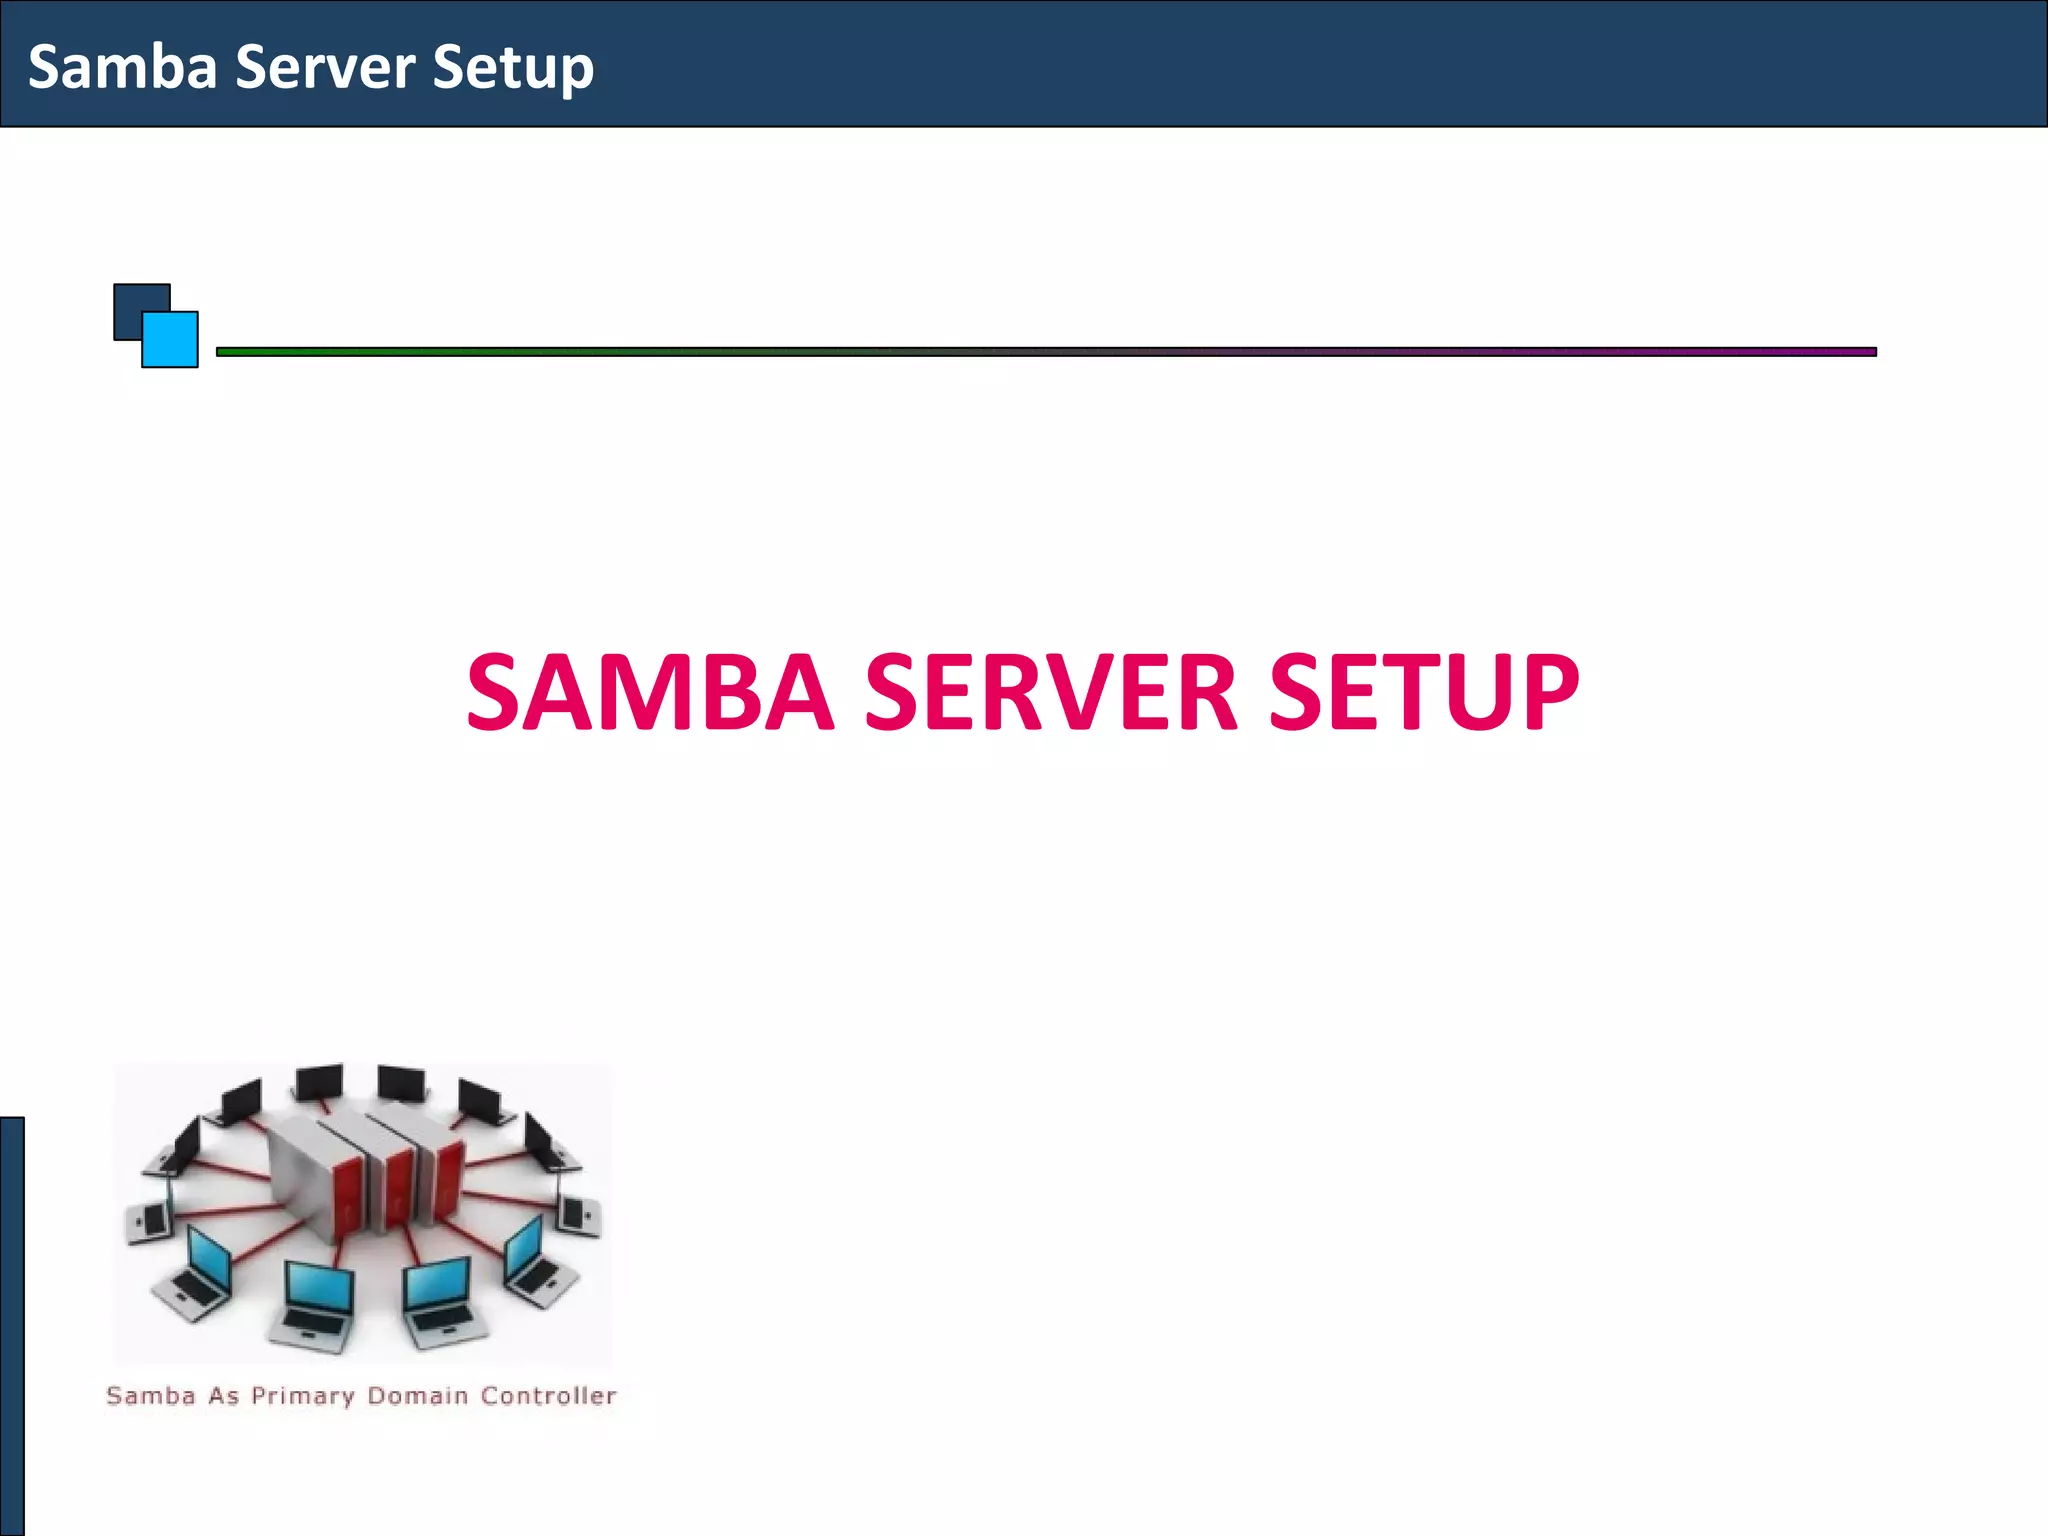
![Samba Server Setup
Installation and Setup
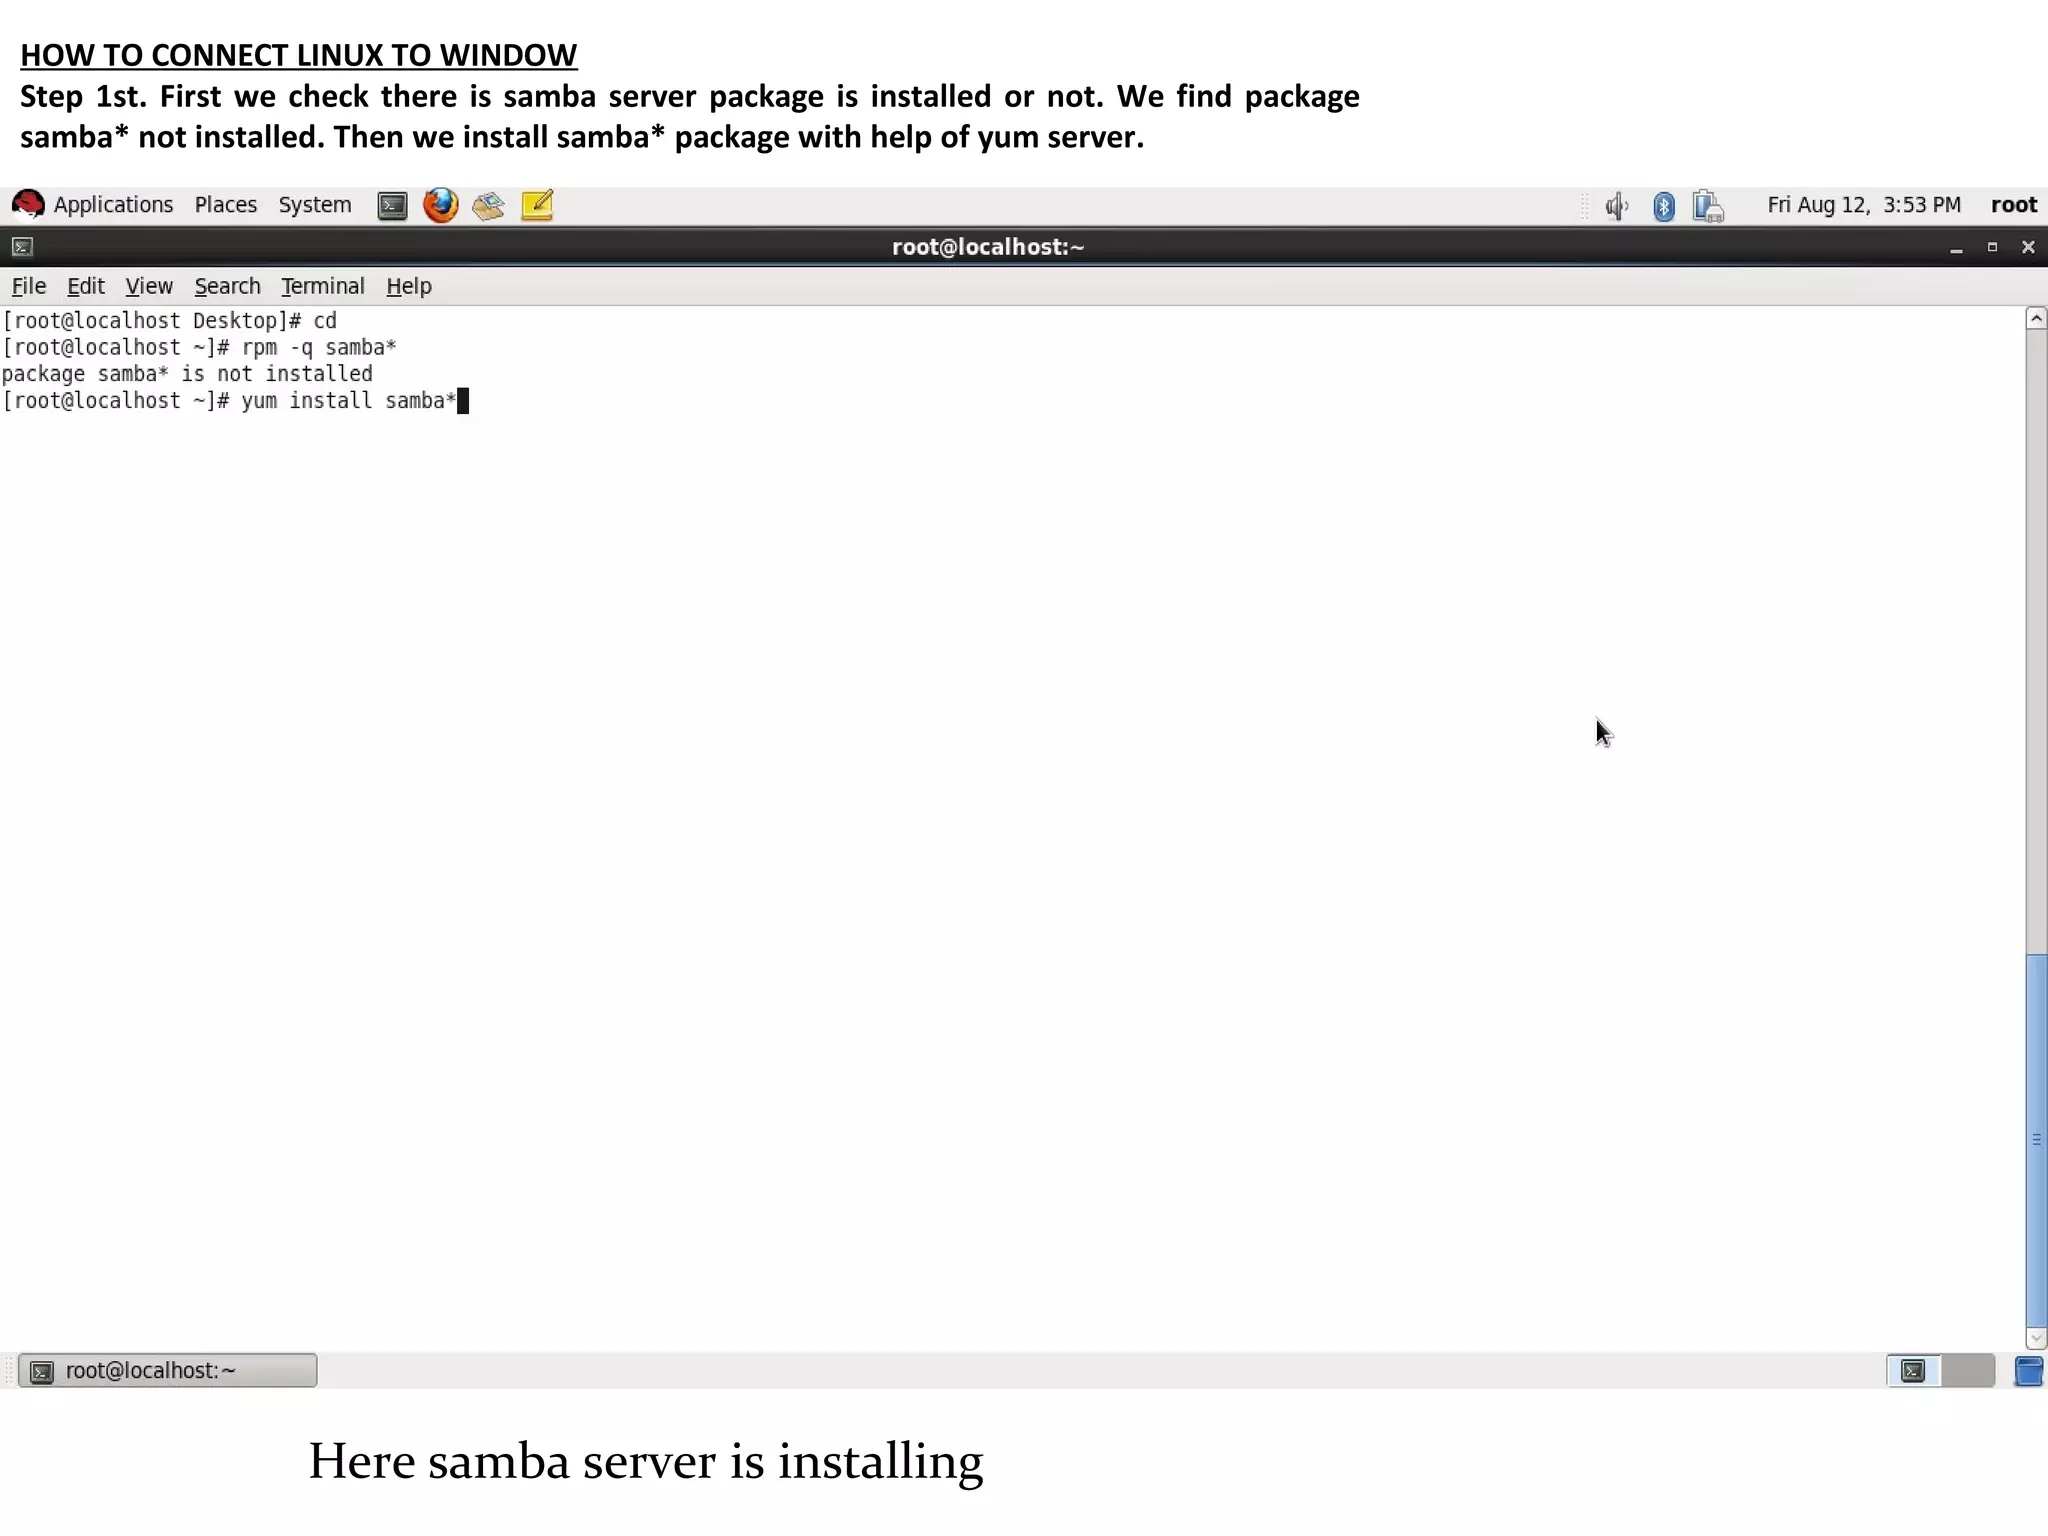
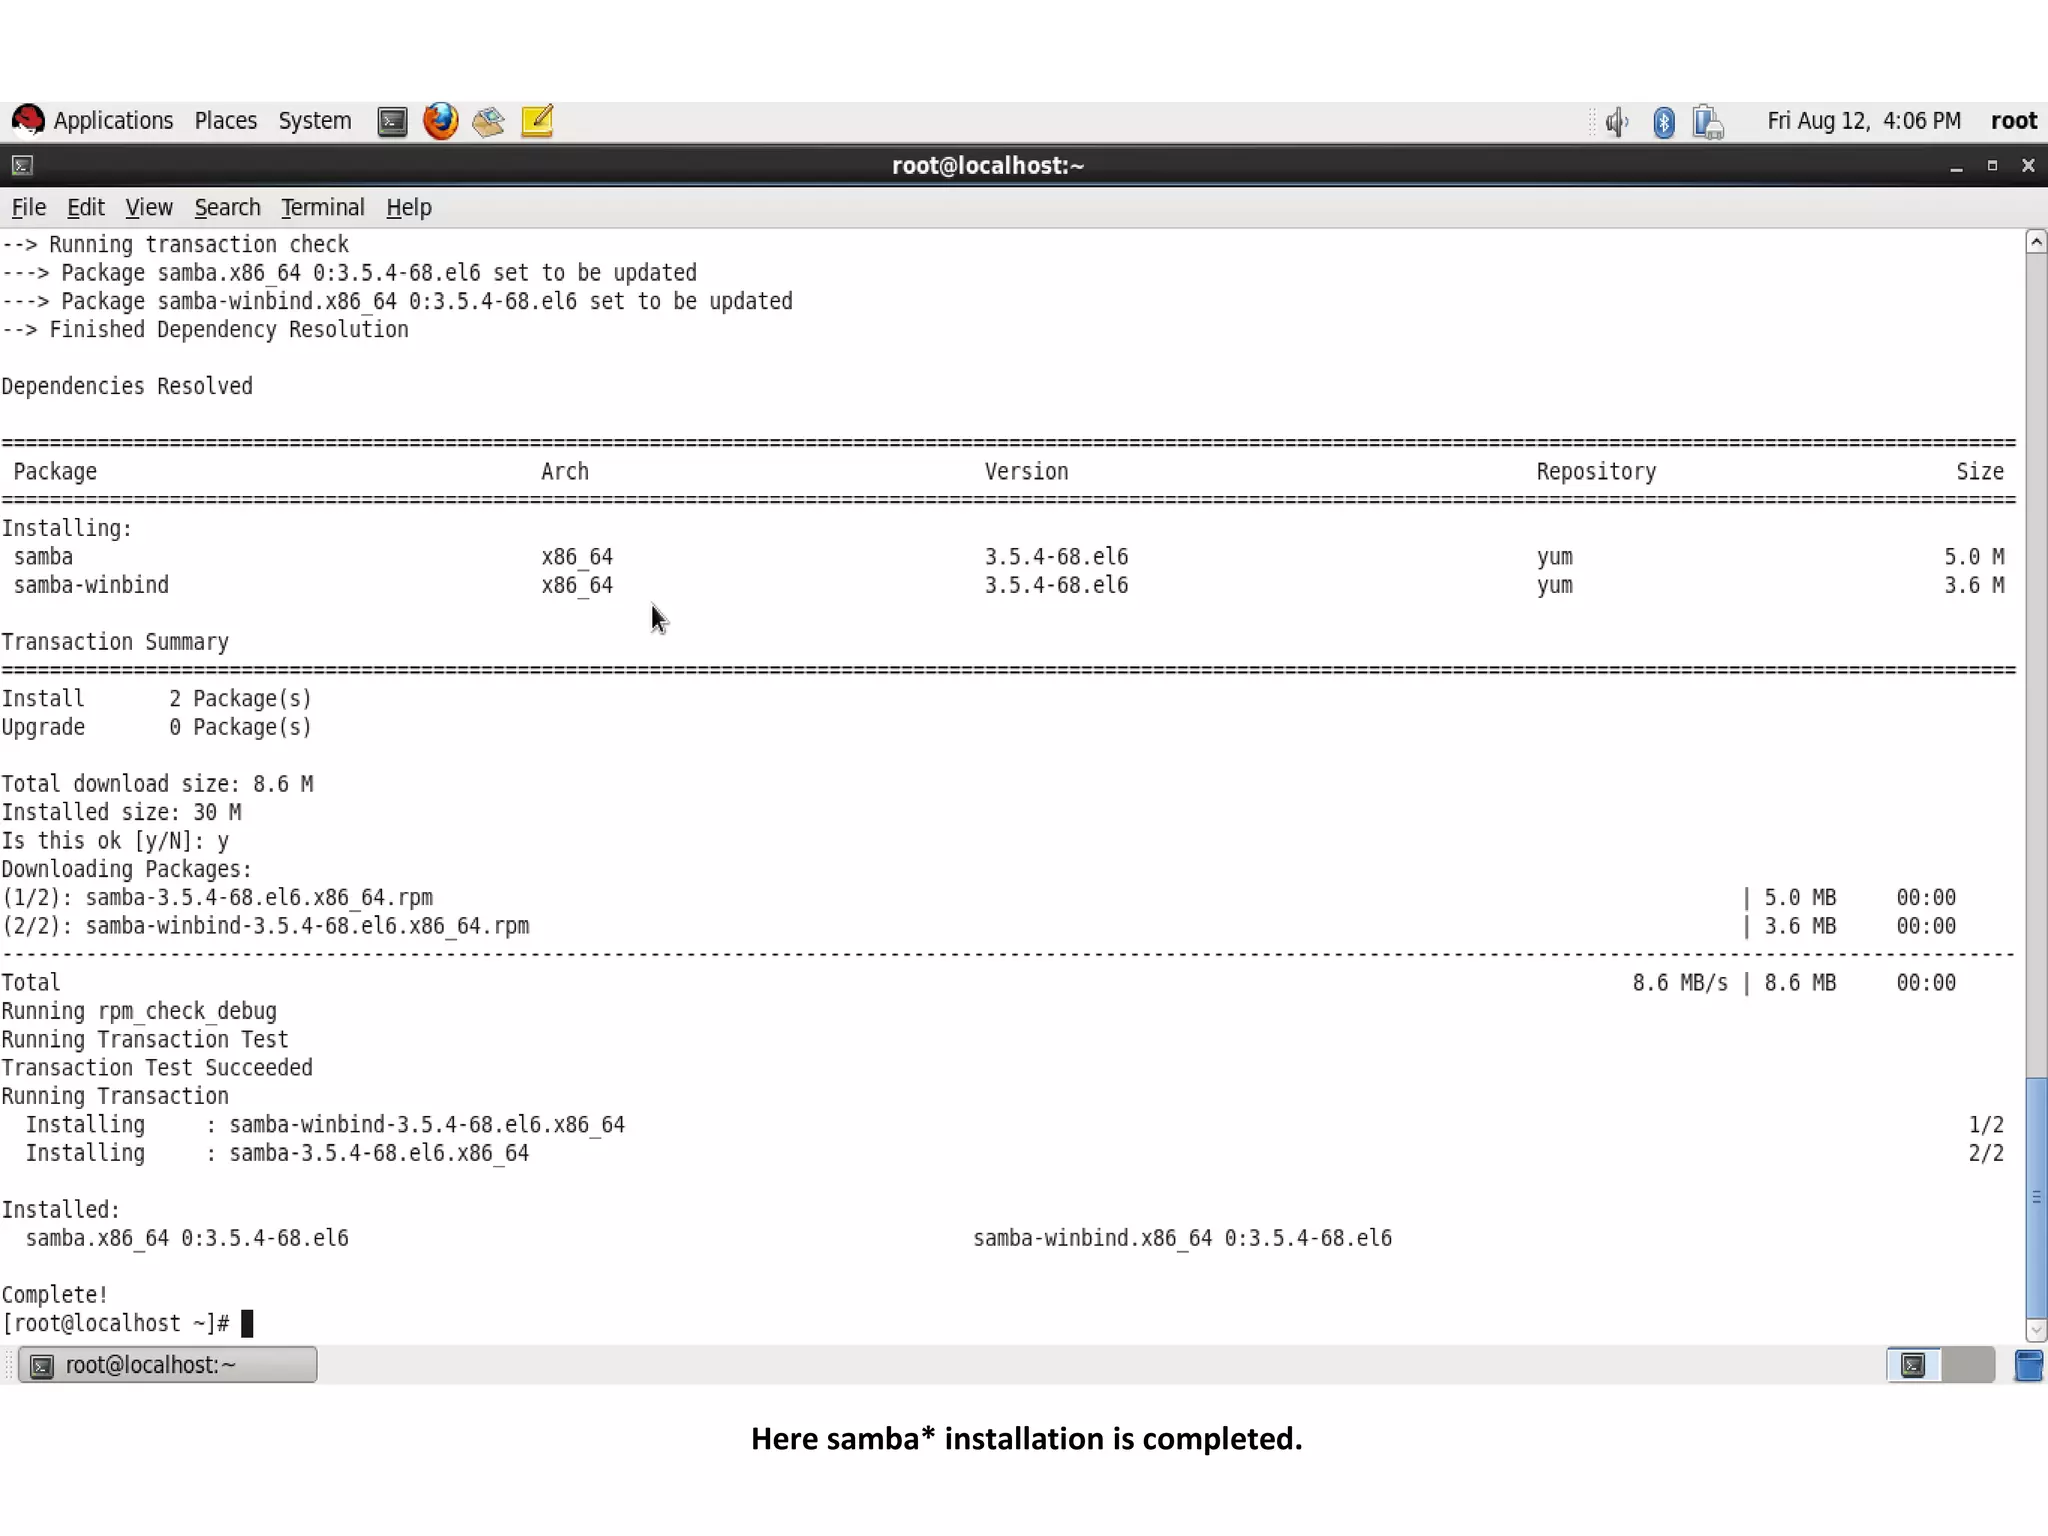
The Samba Server package can be downloaded from the
Samba website.
• The file needs to be untared and then configured using
a ./configure command in the source directory.
• Then the smb.conf file should be created. The smb.conf file
has three separate sections:
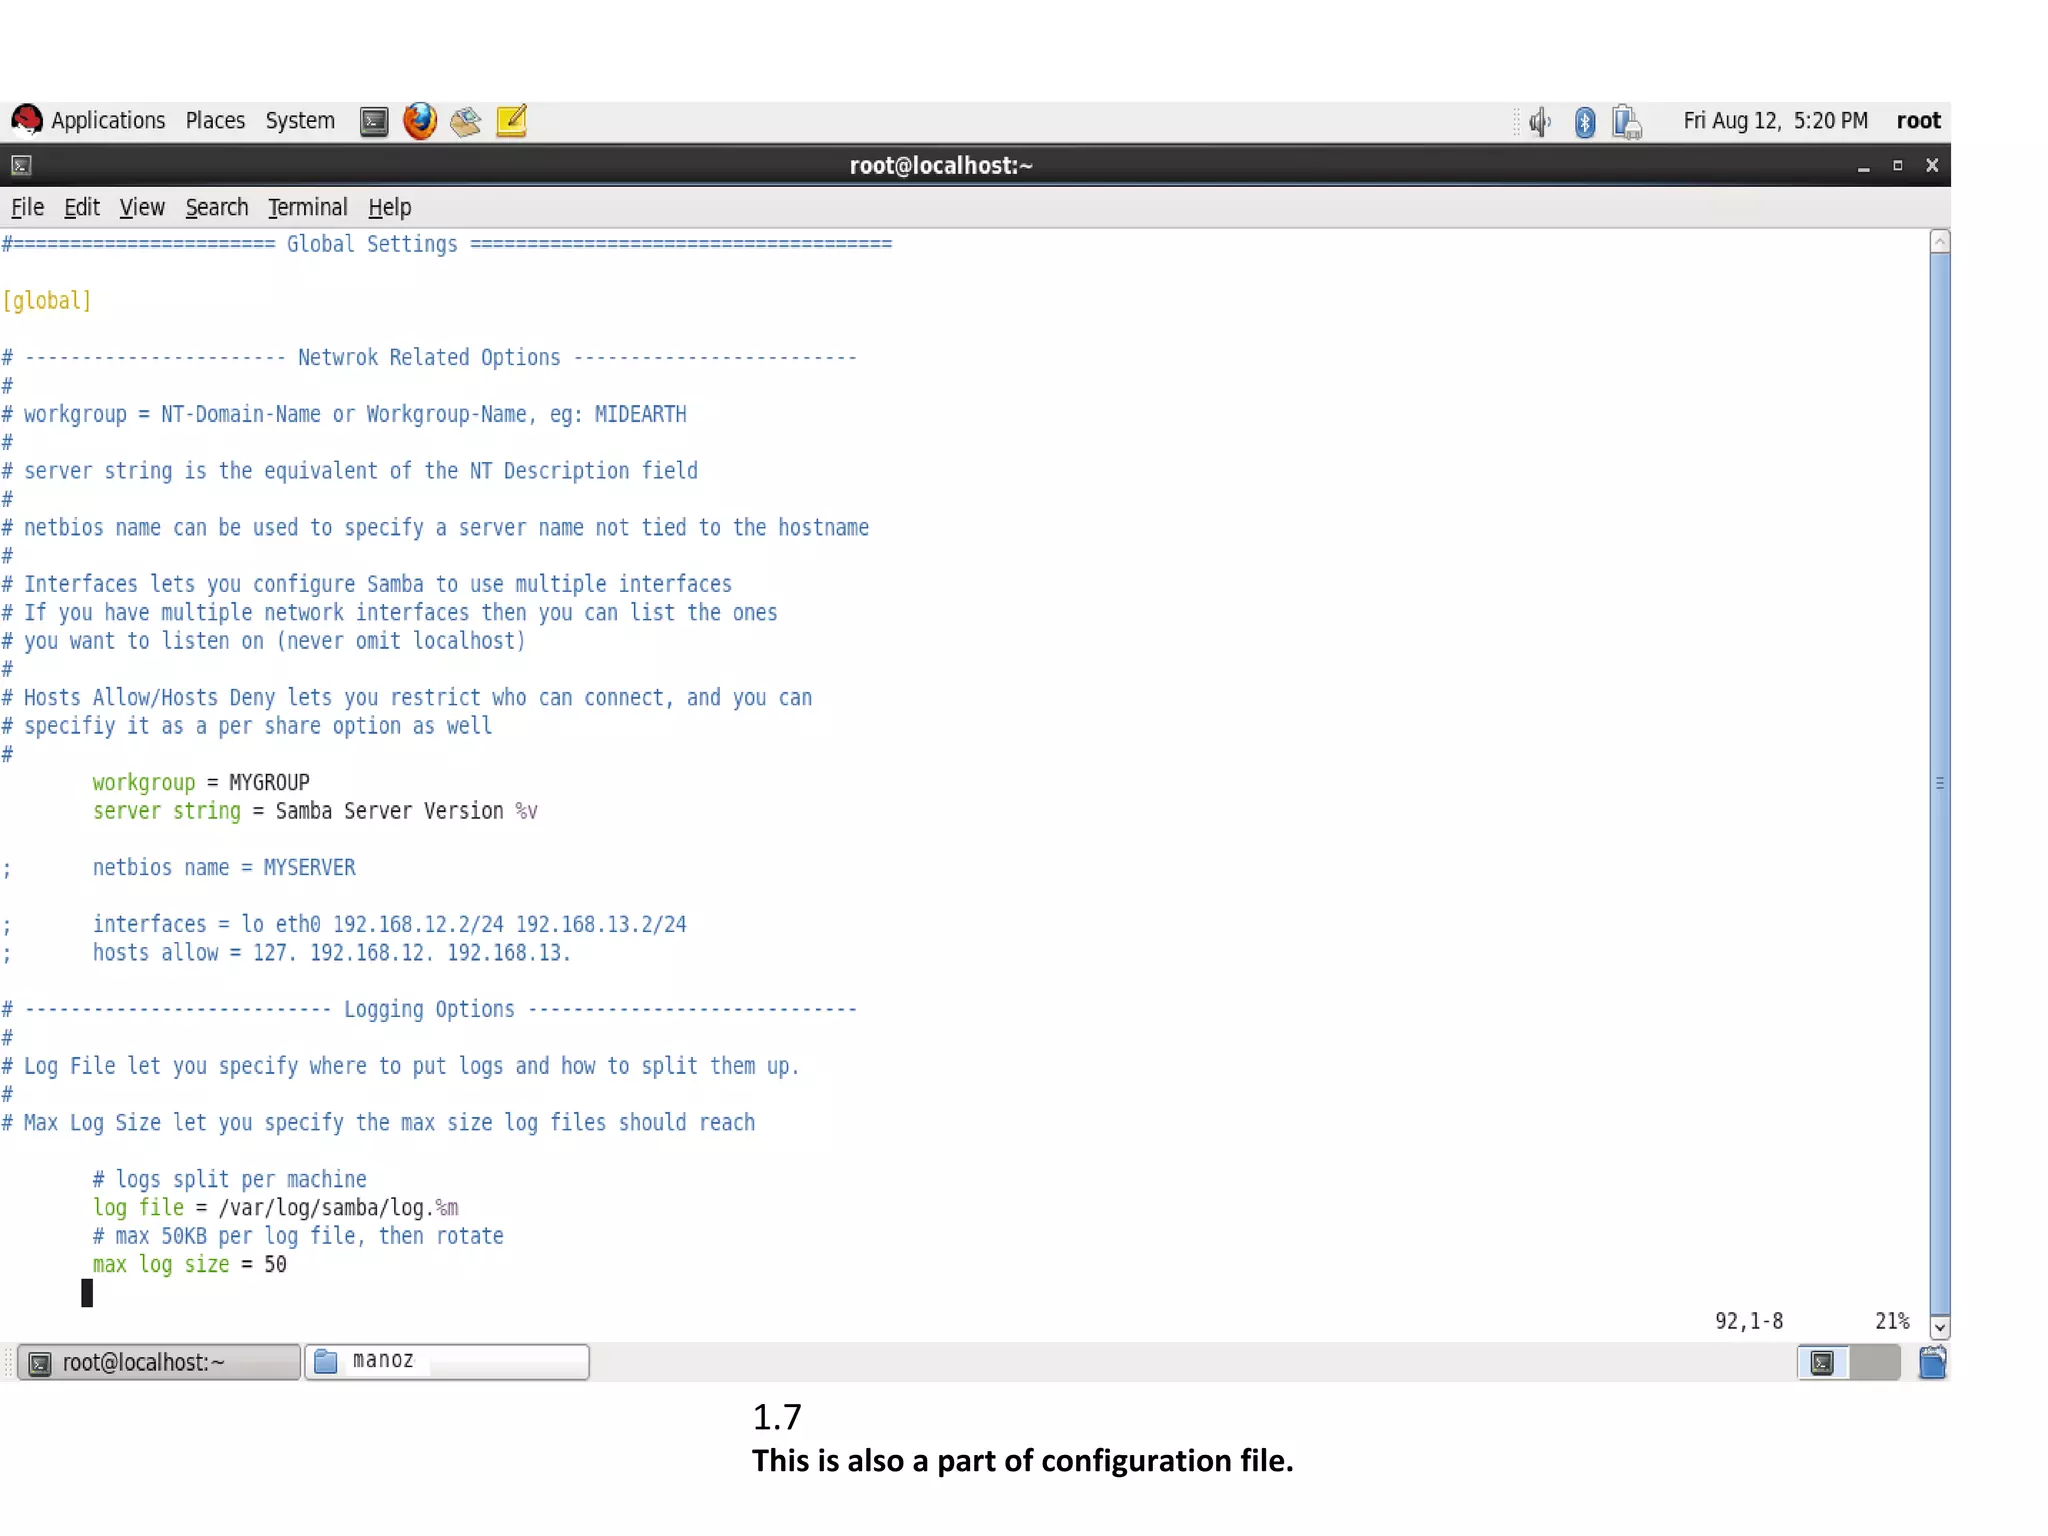
[global] : This section controls parameters for the entire SMB
server. It also provides default values for the other sections.
Examples: workgroup = MYGROUP
server string = Samba Server](https://image.slidesharecdn.com/sambaserver-120809091506-phpapp01/75/Samba-server-7-2048.jpg)
![Samba Server Setup
Installation and Setup
Continued…
hosts allow = 192.168.1 127.
printcap name = /etc/printcap
load printers = yes
guest account = pcguest
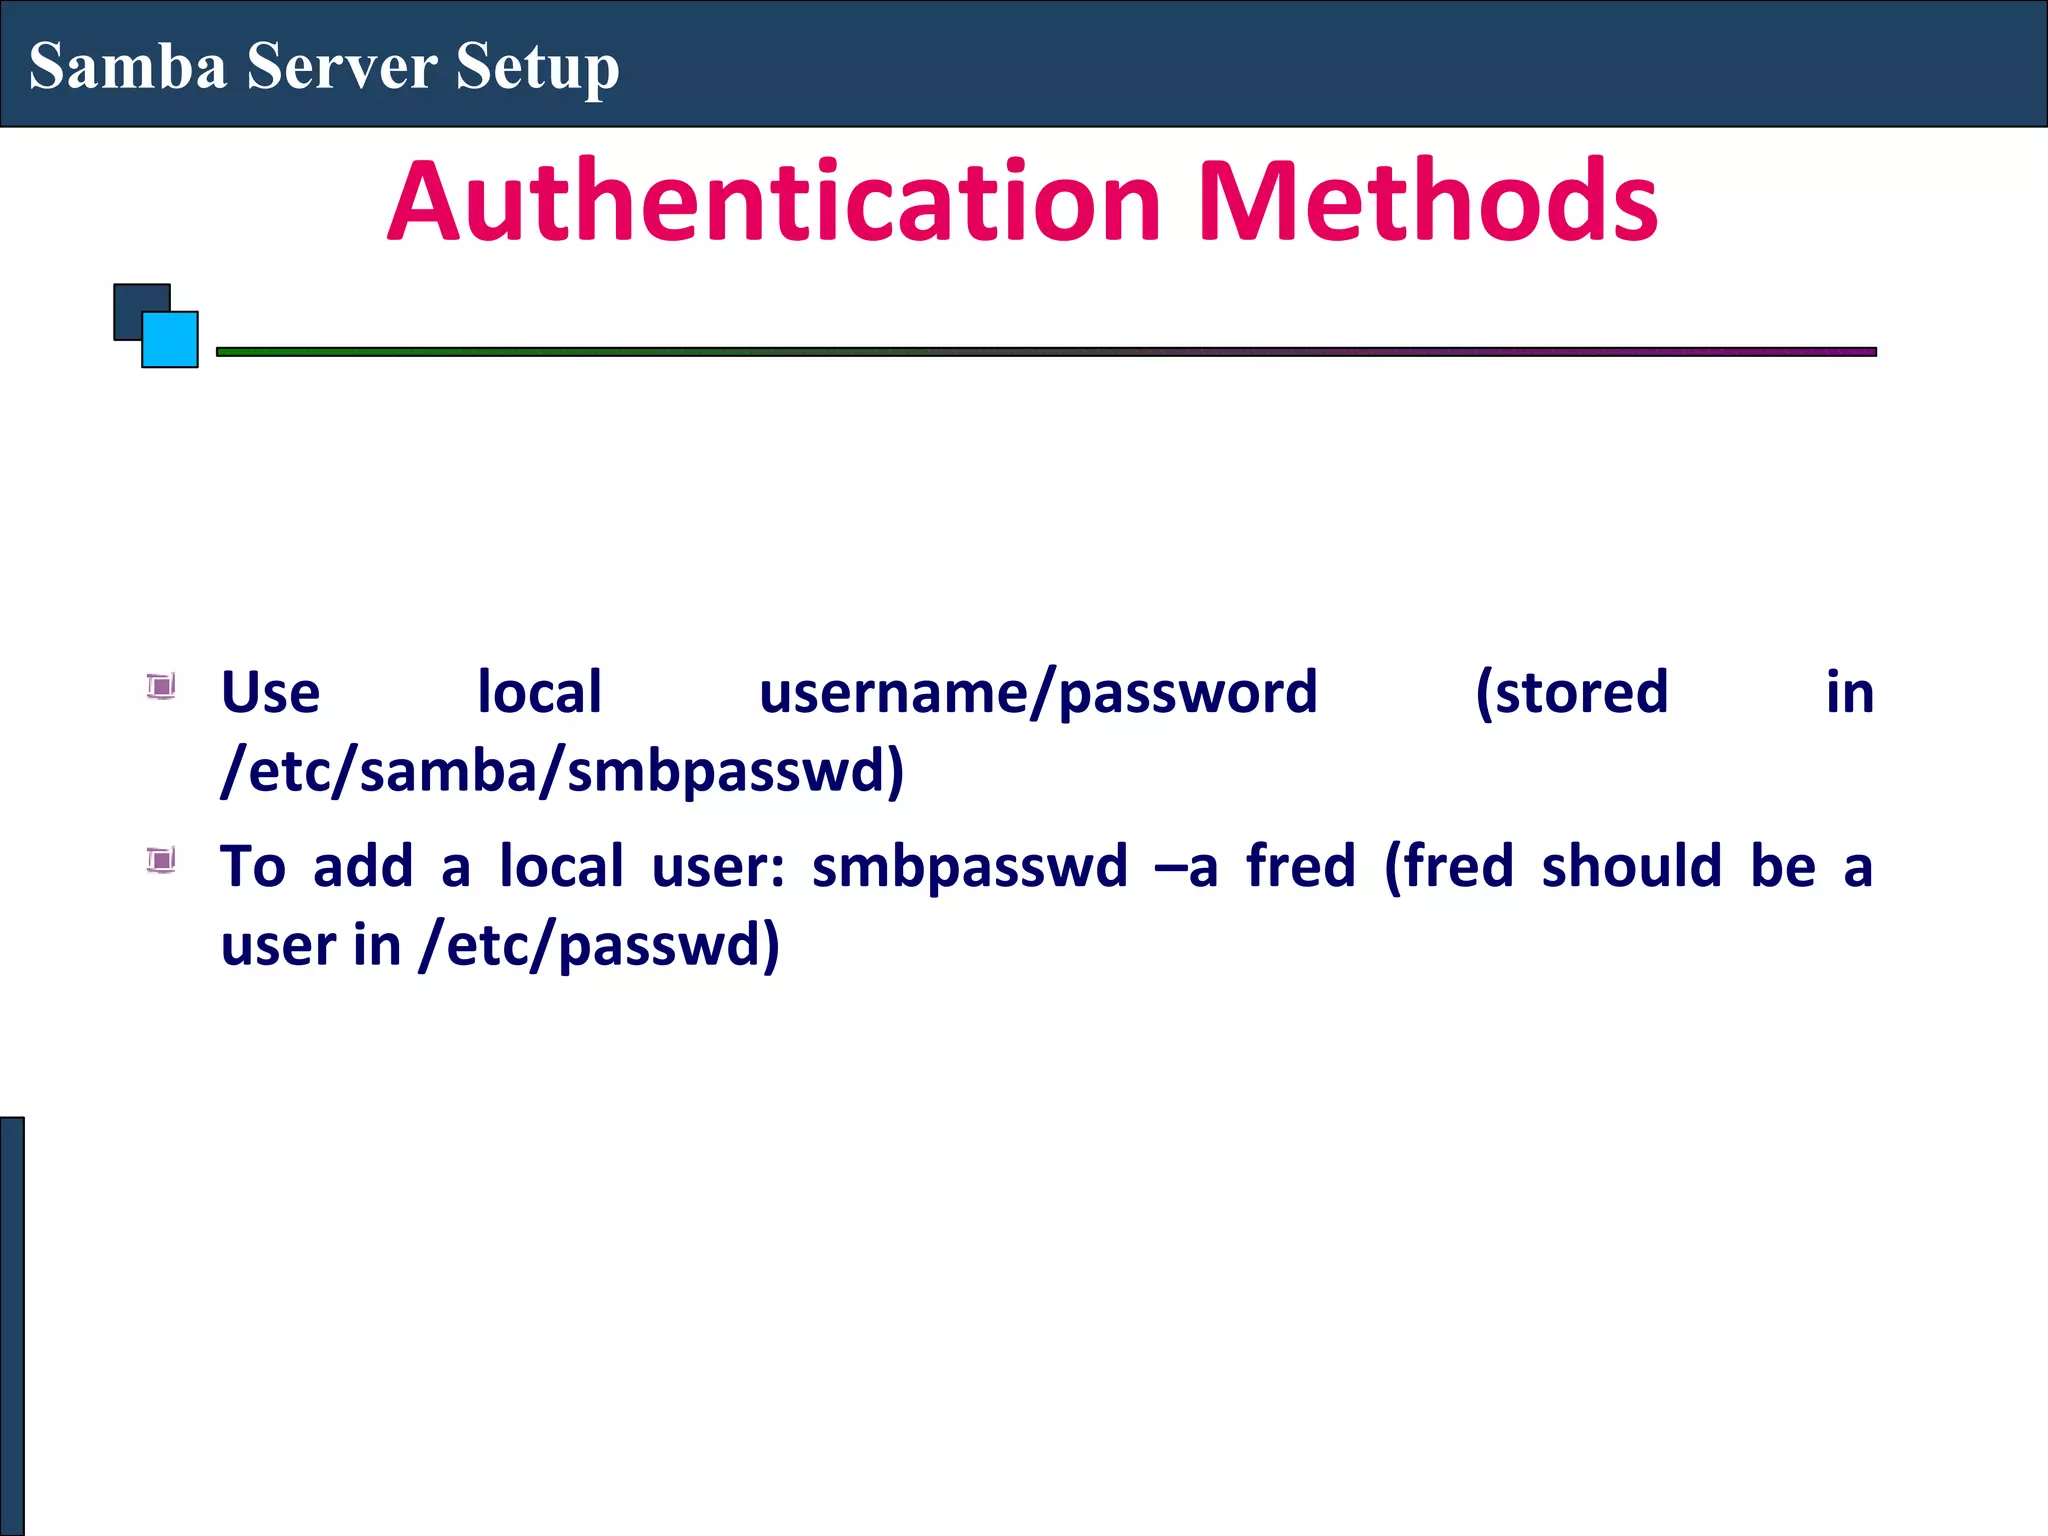
encrypt passwords = yes
smb passwd file = /etc/samba/smbpasswd
[homes]: This section allows network clients to connect to a
user’s home directory without having an explicit entry in the
smb.conf file.
Examples:
[homes]
browseable = no
writeable = yes](https://image.slidesharecdn.com/sambaserver-120809091506-phpapp01/75/Samba-server-8-2048.jpg)
![Samba Server Setup
Installation and Setup
Continued…
[printers]: This section is used to specify which printers
are available.
Examples:
[printers]
print ok = yes
printer name = lp_mine
path = /home/everyone
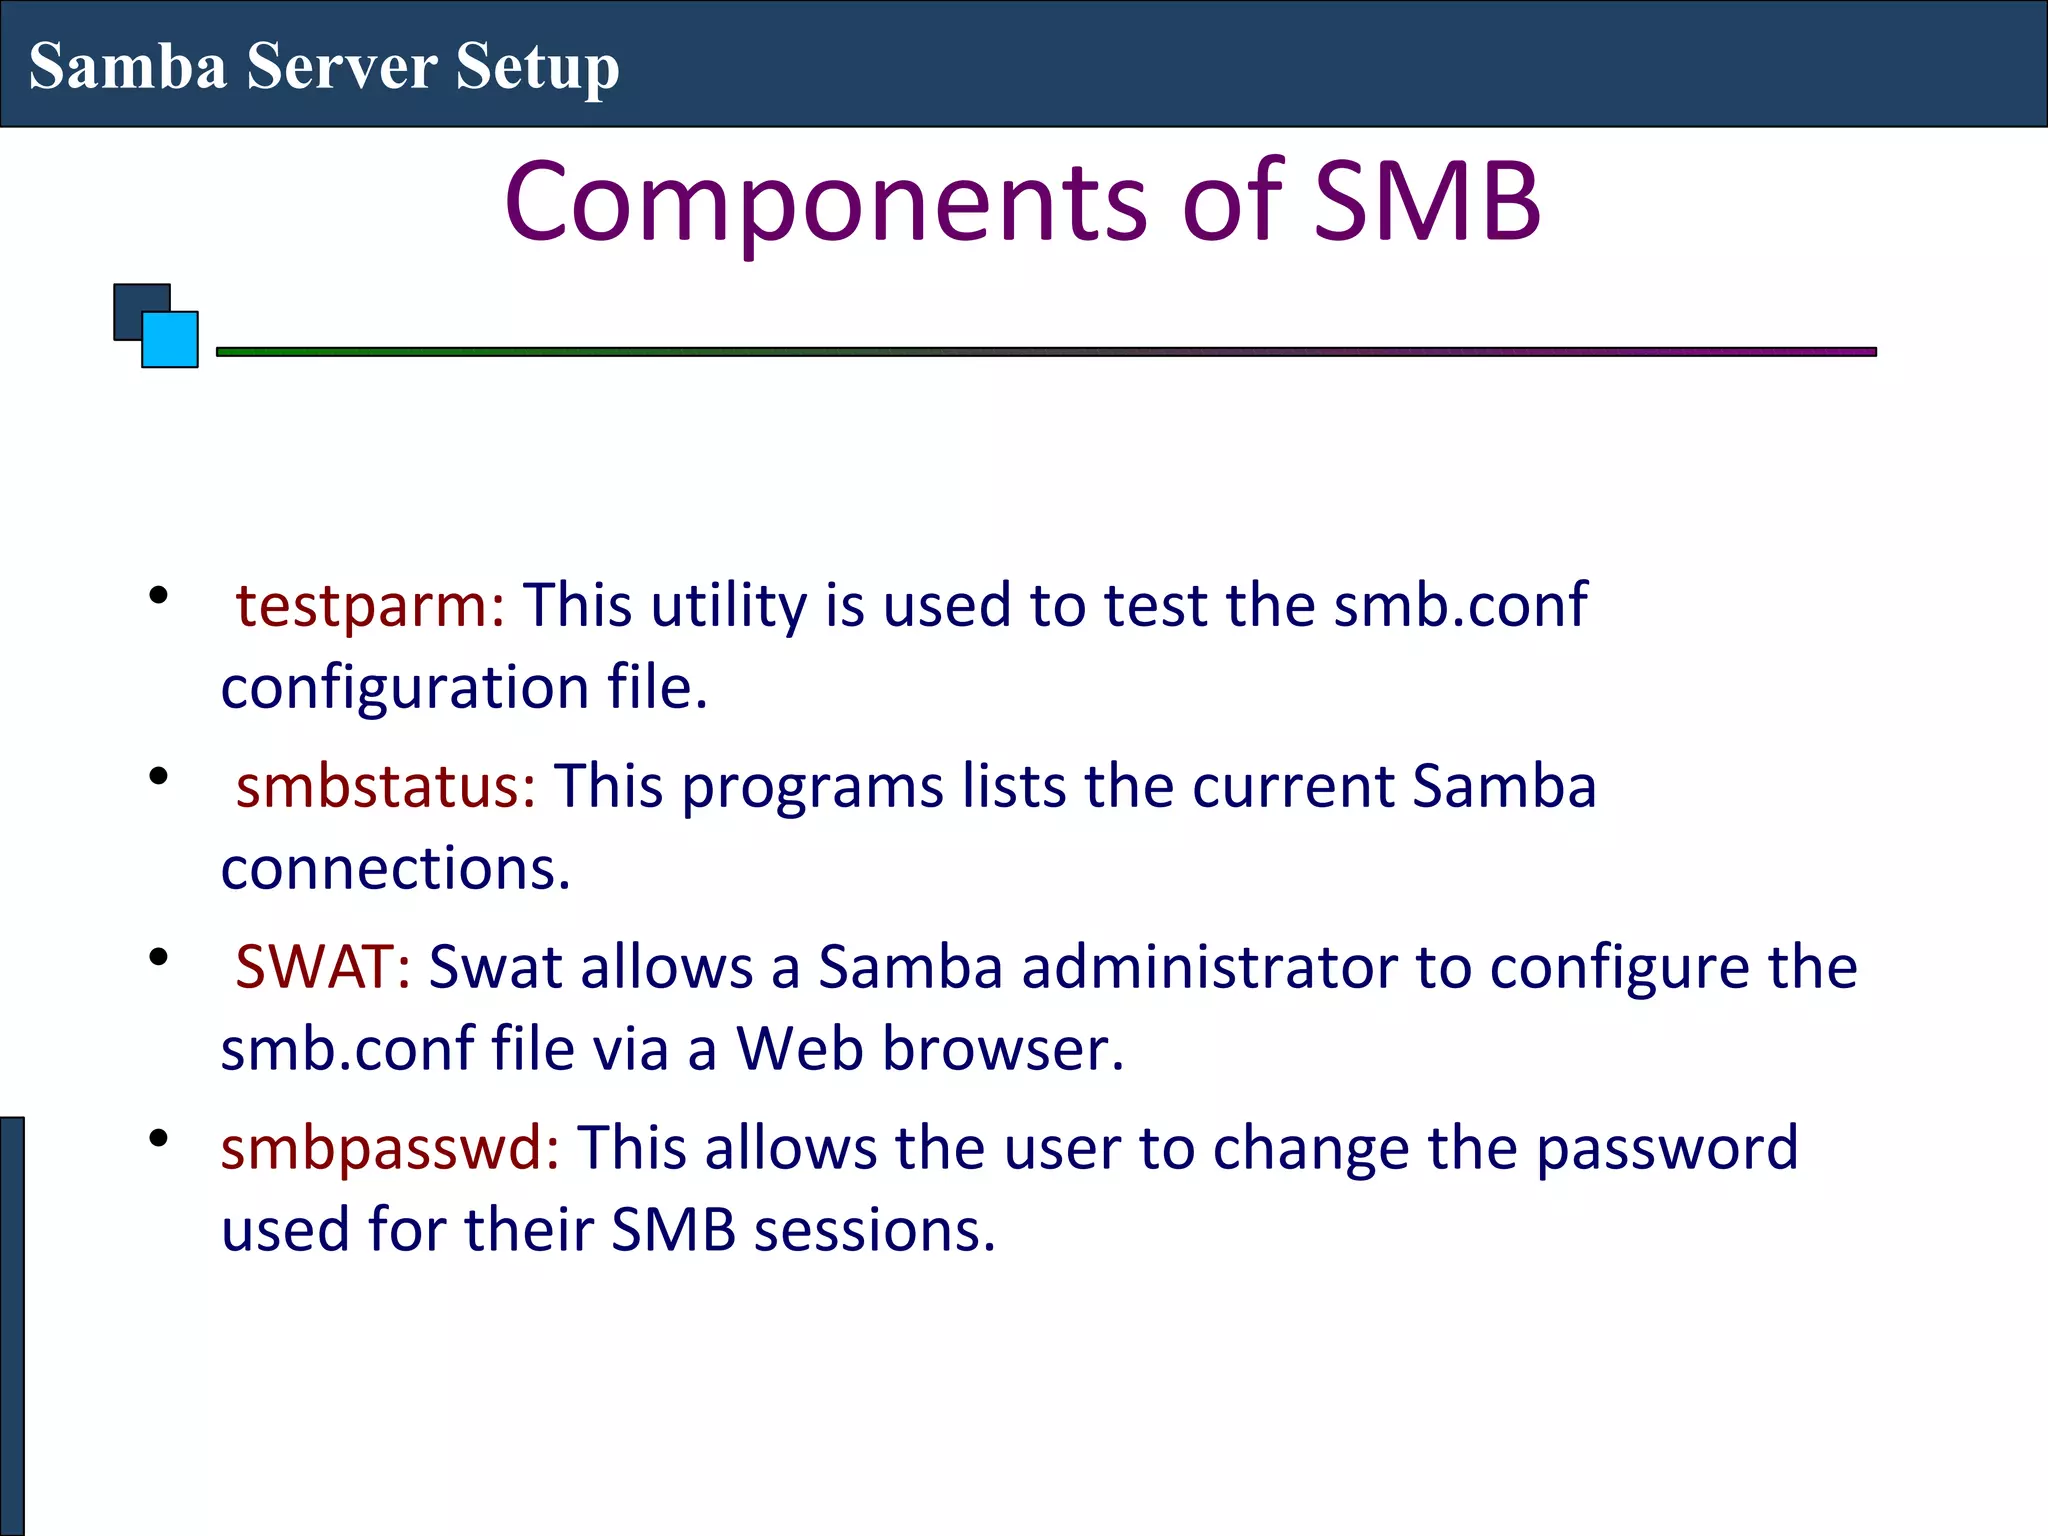
The testparm program helps in testing the smb.conf
file once it is configured.](https://image.slidesharecdn.com/sambaserver-120809091506-phpapp01/75/Samba-server-9-2048.jpg)
![Samba Server Setup
Samba Server Configuration
Use GUI Applications Server Settings Services SMB
Configuration File: /etc/samba/smb.conf
Configuring File and Directory Sharing
[share_name]
comment = Fred's Home Directory
path = /home/fred
valid users = fred
public = no
writable = yes
printable = no](https://image.slidesharecdn.com/sambaserver-120809091506-phpapp01/75/Samba-server-10-2048.jpg)
![Samba Server Setup
Samba Server Configuration
Configuring Printer Sharing
[printer_share_name]
comment = Fred's Printer
valid users = fred
path = /var/spool/samba
printer = freds_printer
public = no
writable = no
printable = yes](https://image.slidesharecdn.com/sambaserver-120809091506-phpapp01/75/Samba-server-11-2048.jpg)

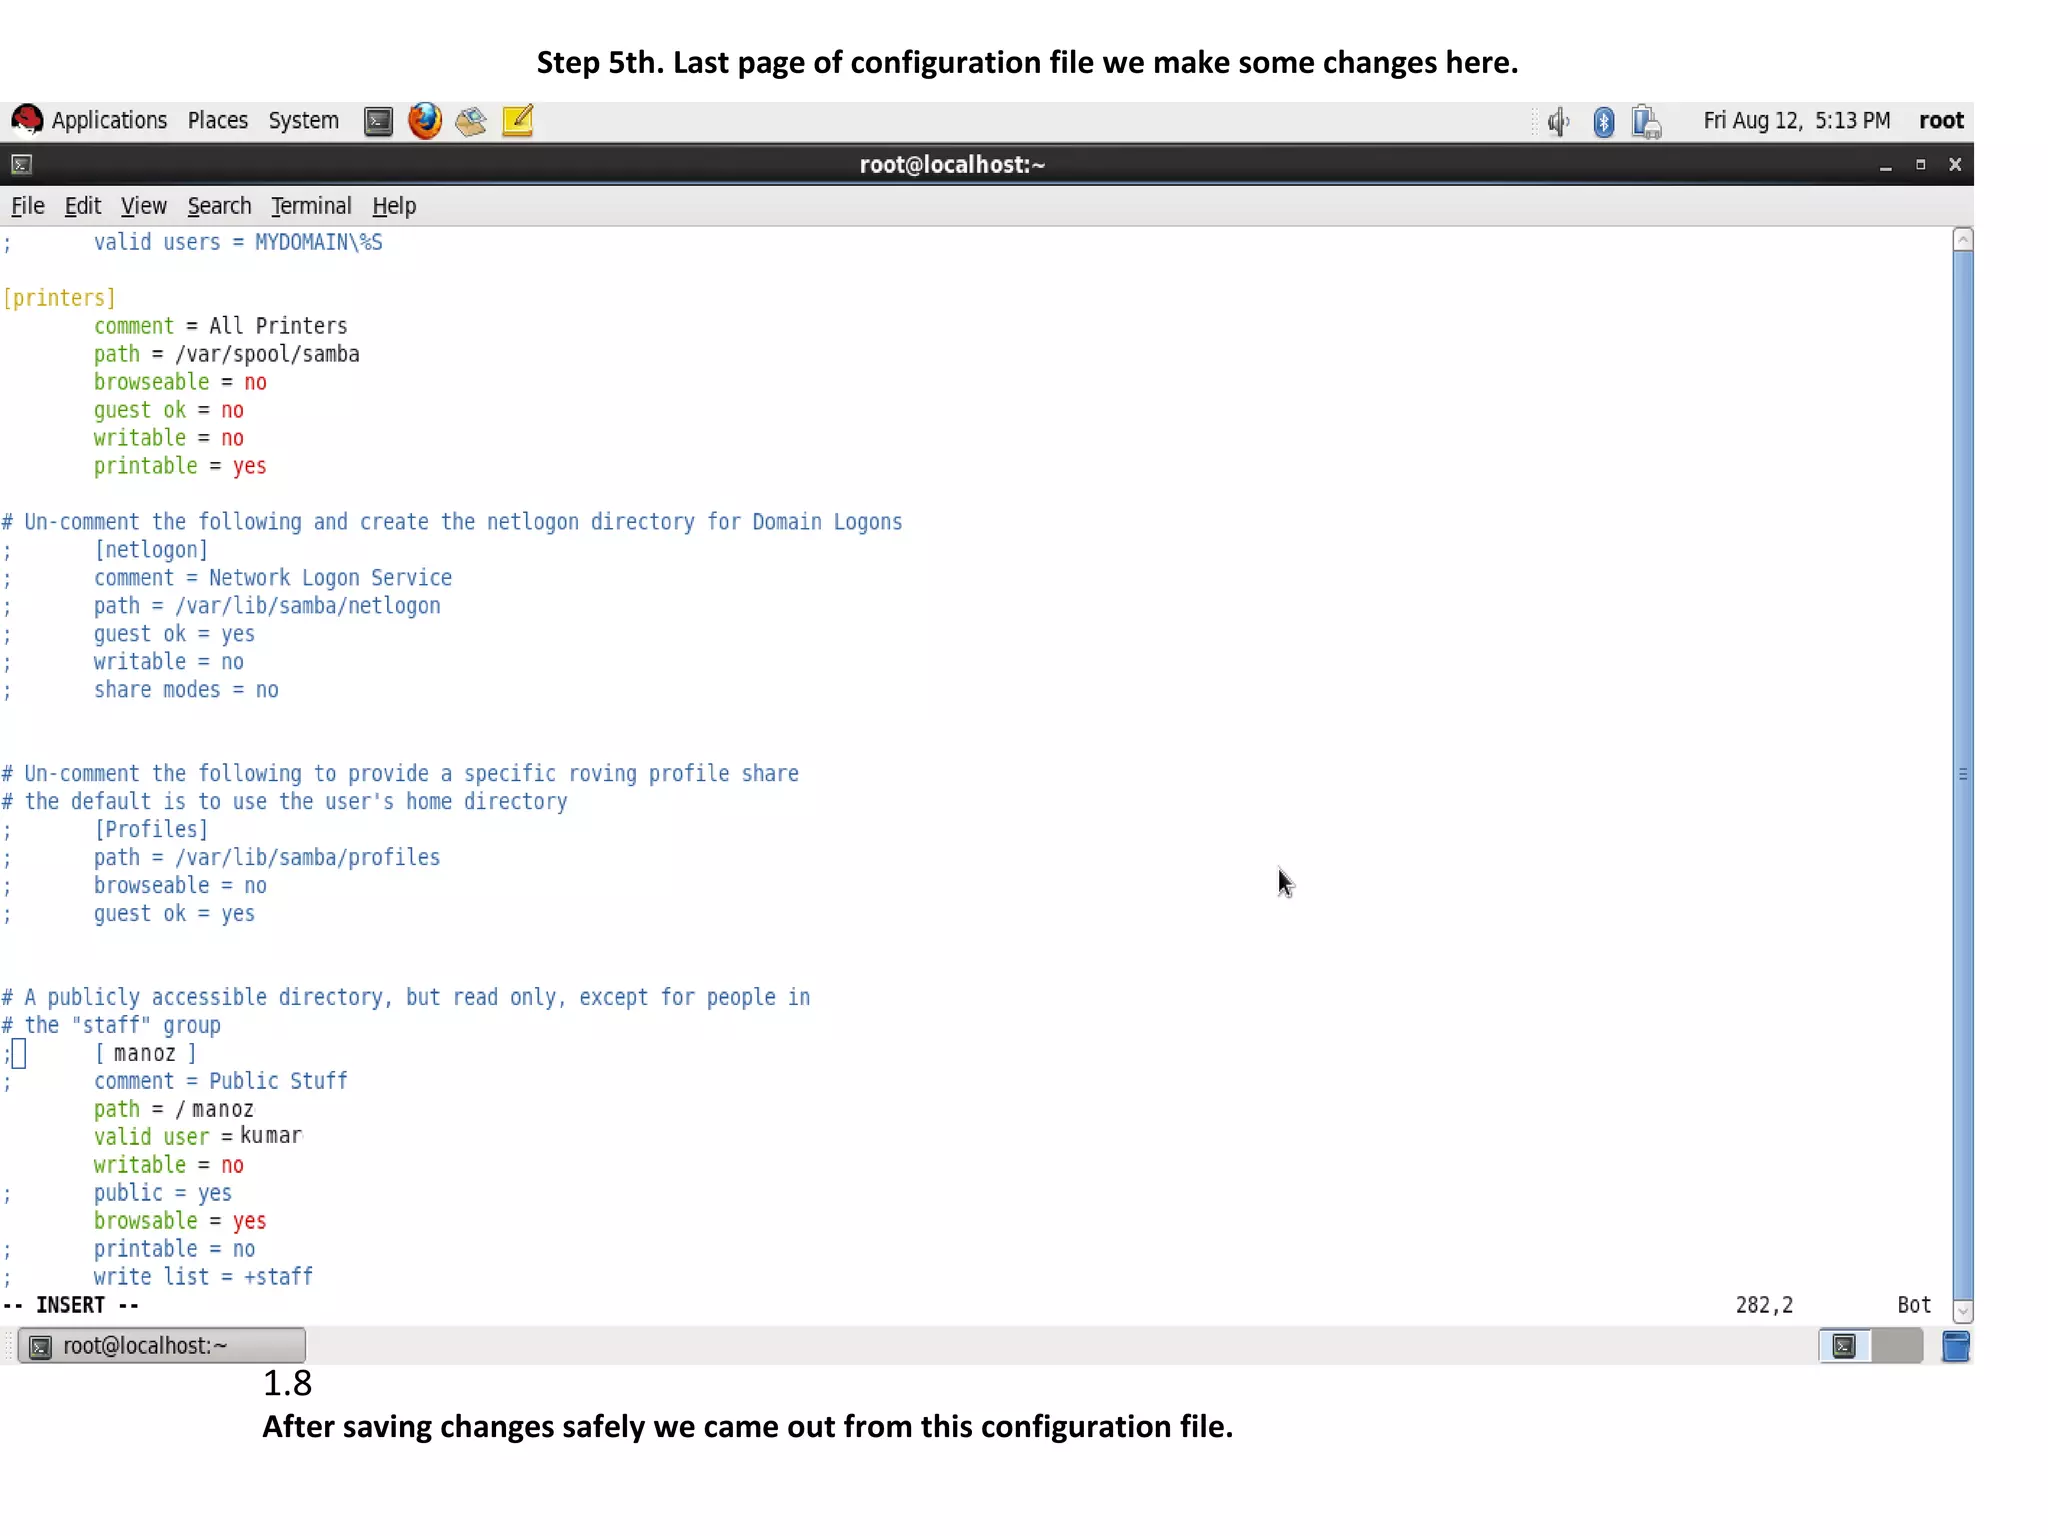

![Samba Server Setup
Samba Basic Configuration
# nano /etc/samba/smb.conf
(Go to end of config file i.e from public and remove the comments)
Make following ammendment
[santoshshare] (by replacing [public])
Comment = My share files
Path = /santosh
Public = yes
Browseable = yes
Valid users = santosh
Writable = no
Hosts allow = 192.168.1. (only 3 octets)
(save and exit)](https://image.slidesharecdn.com/sambaserver-120809091506-phpapp01/75/Samba-server-27-2048.jpg)


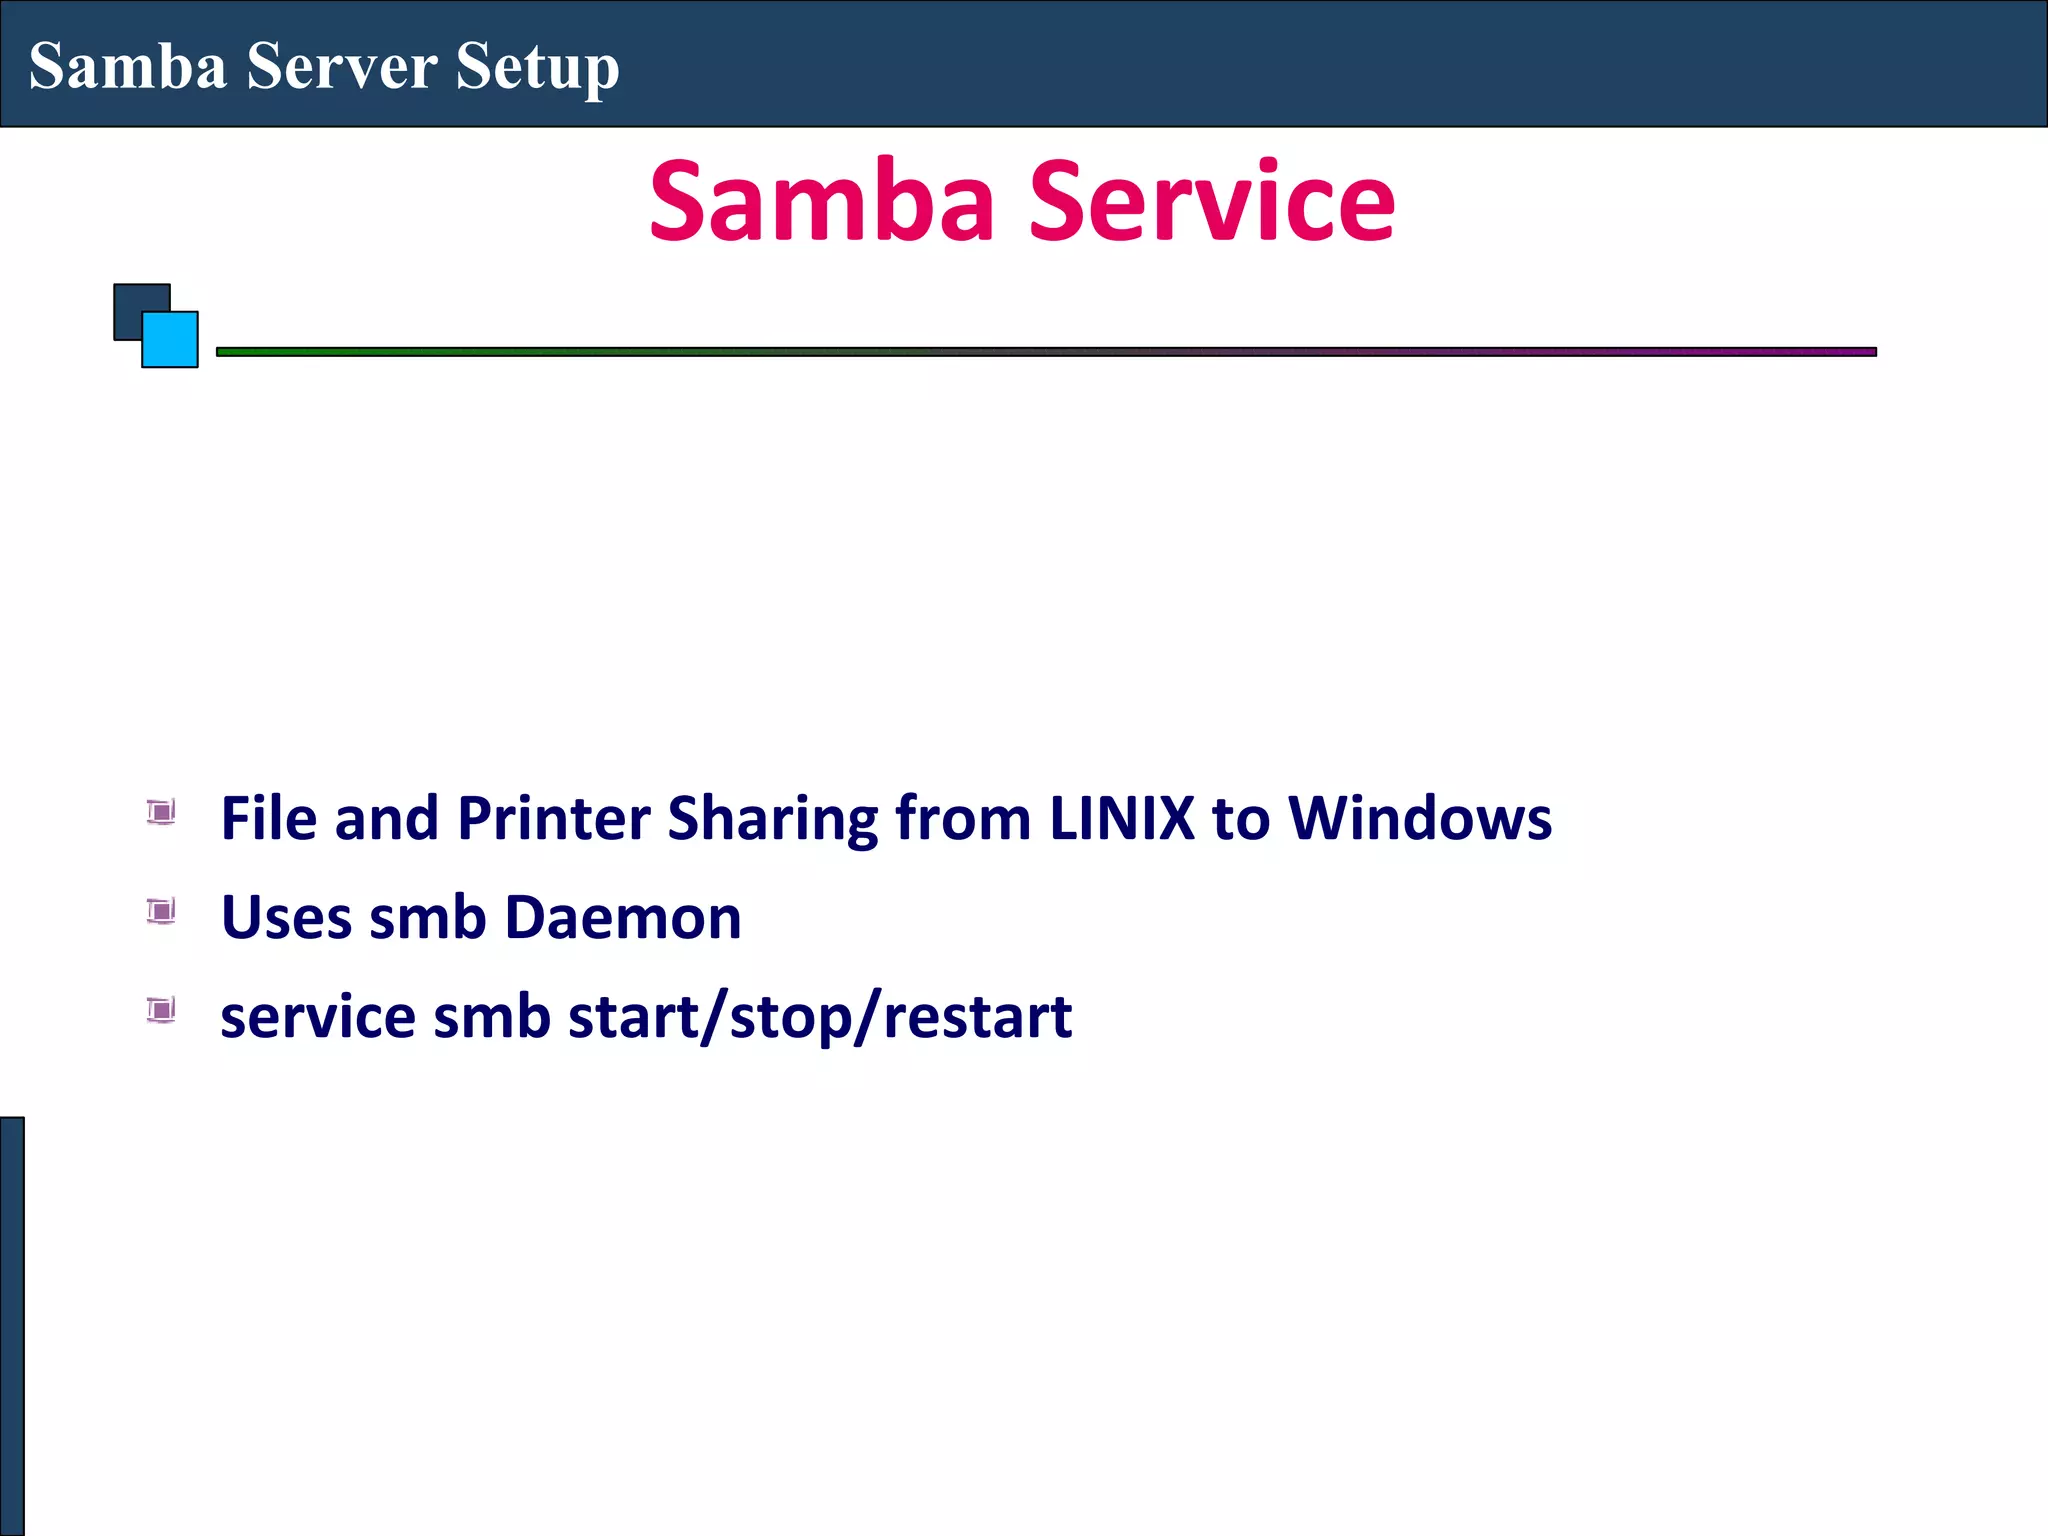
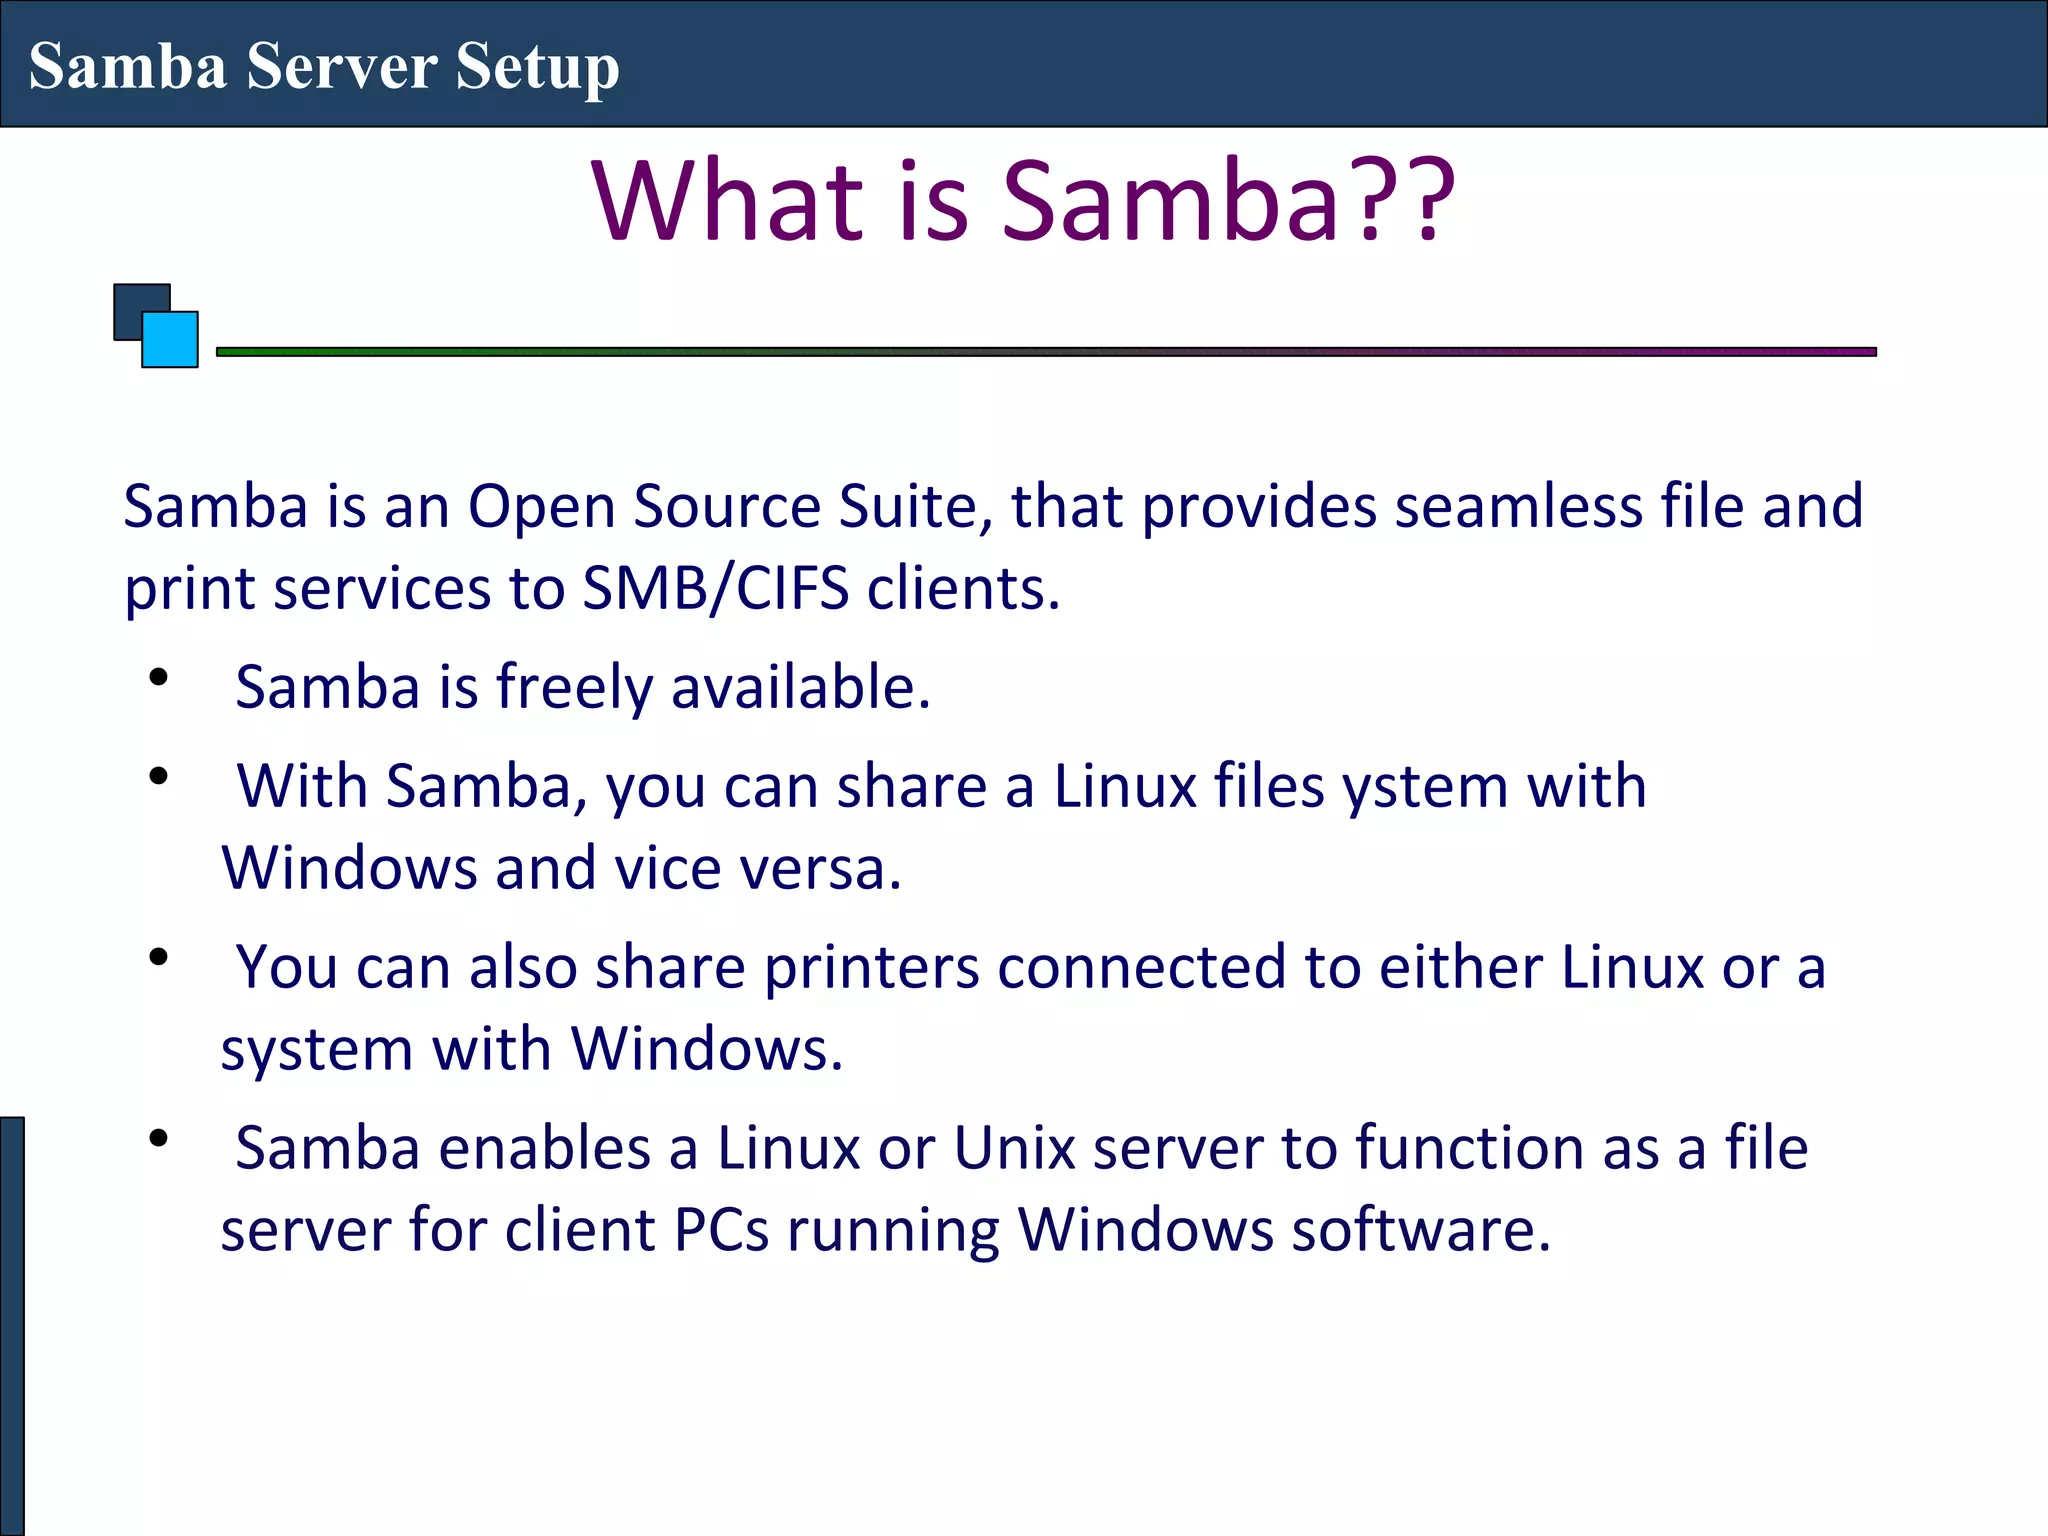
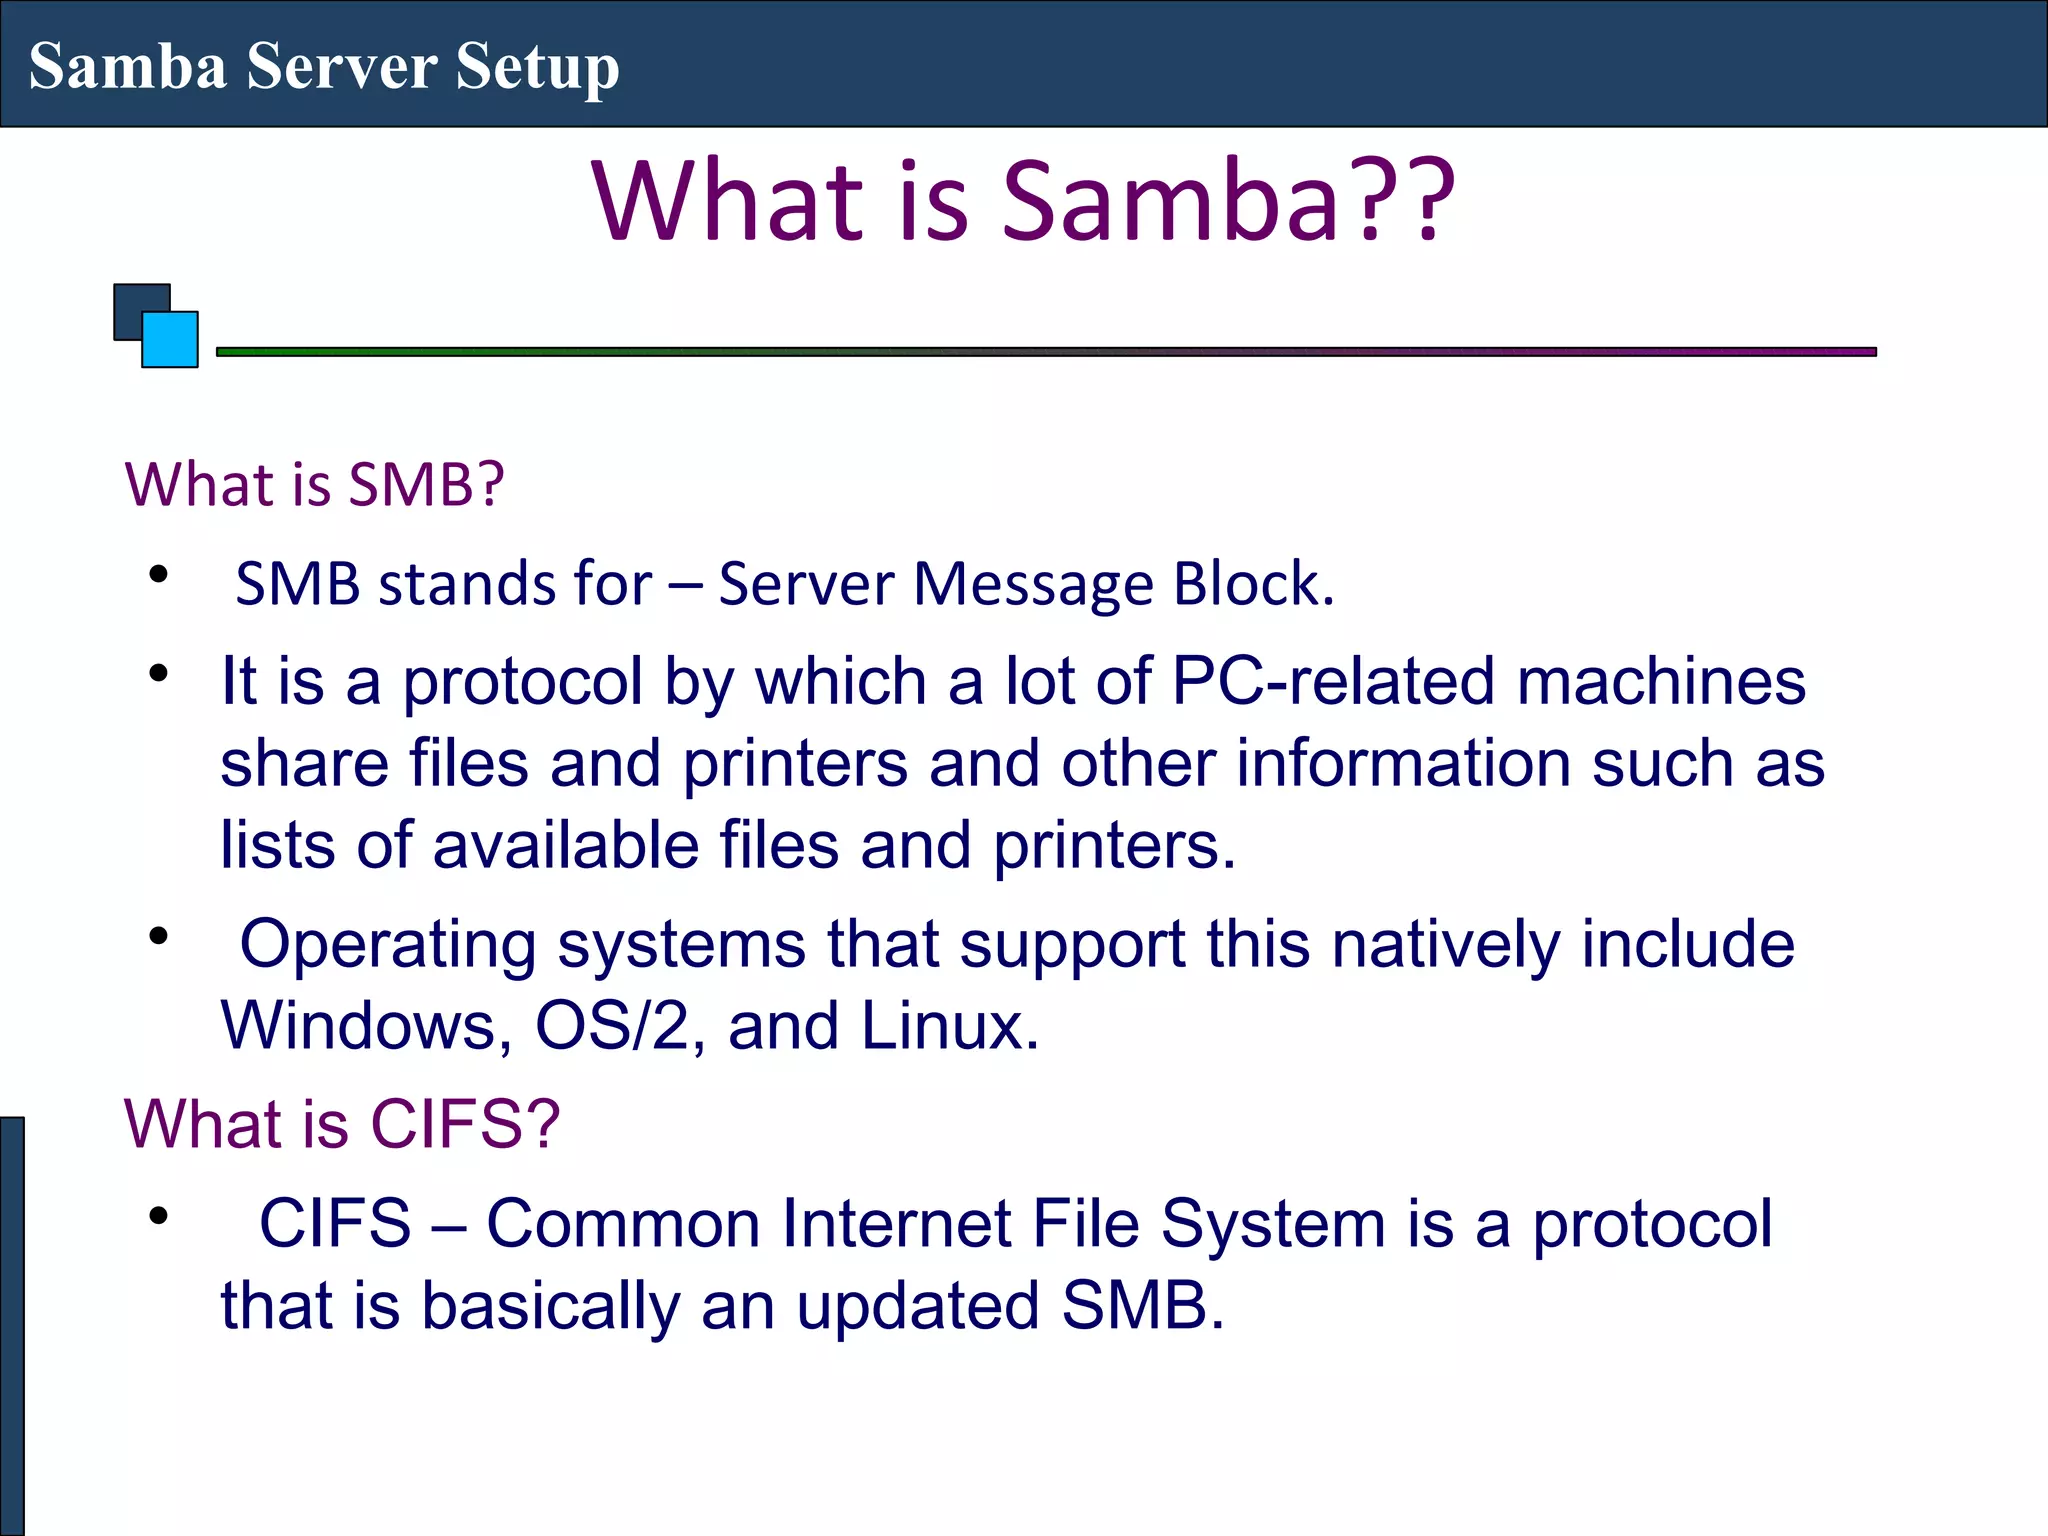
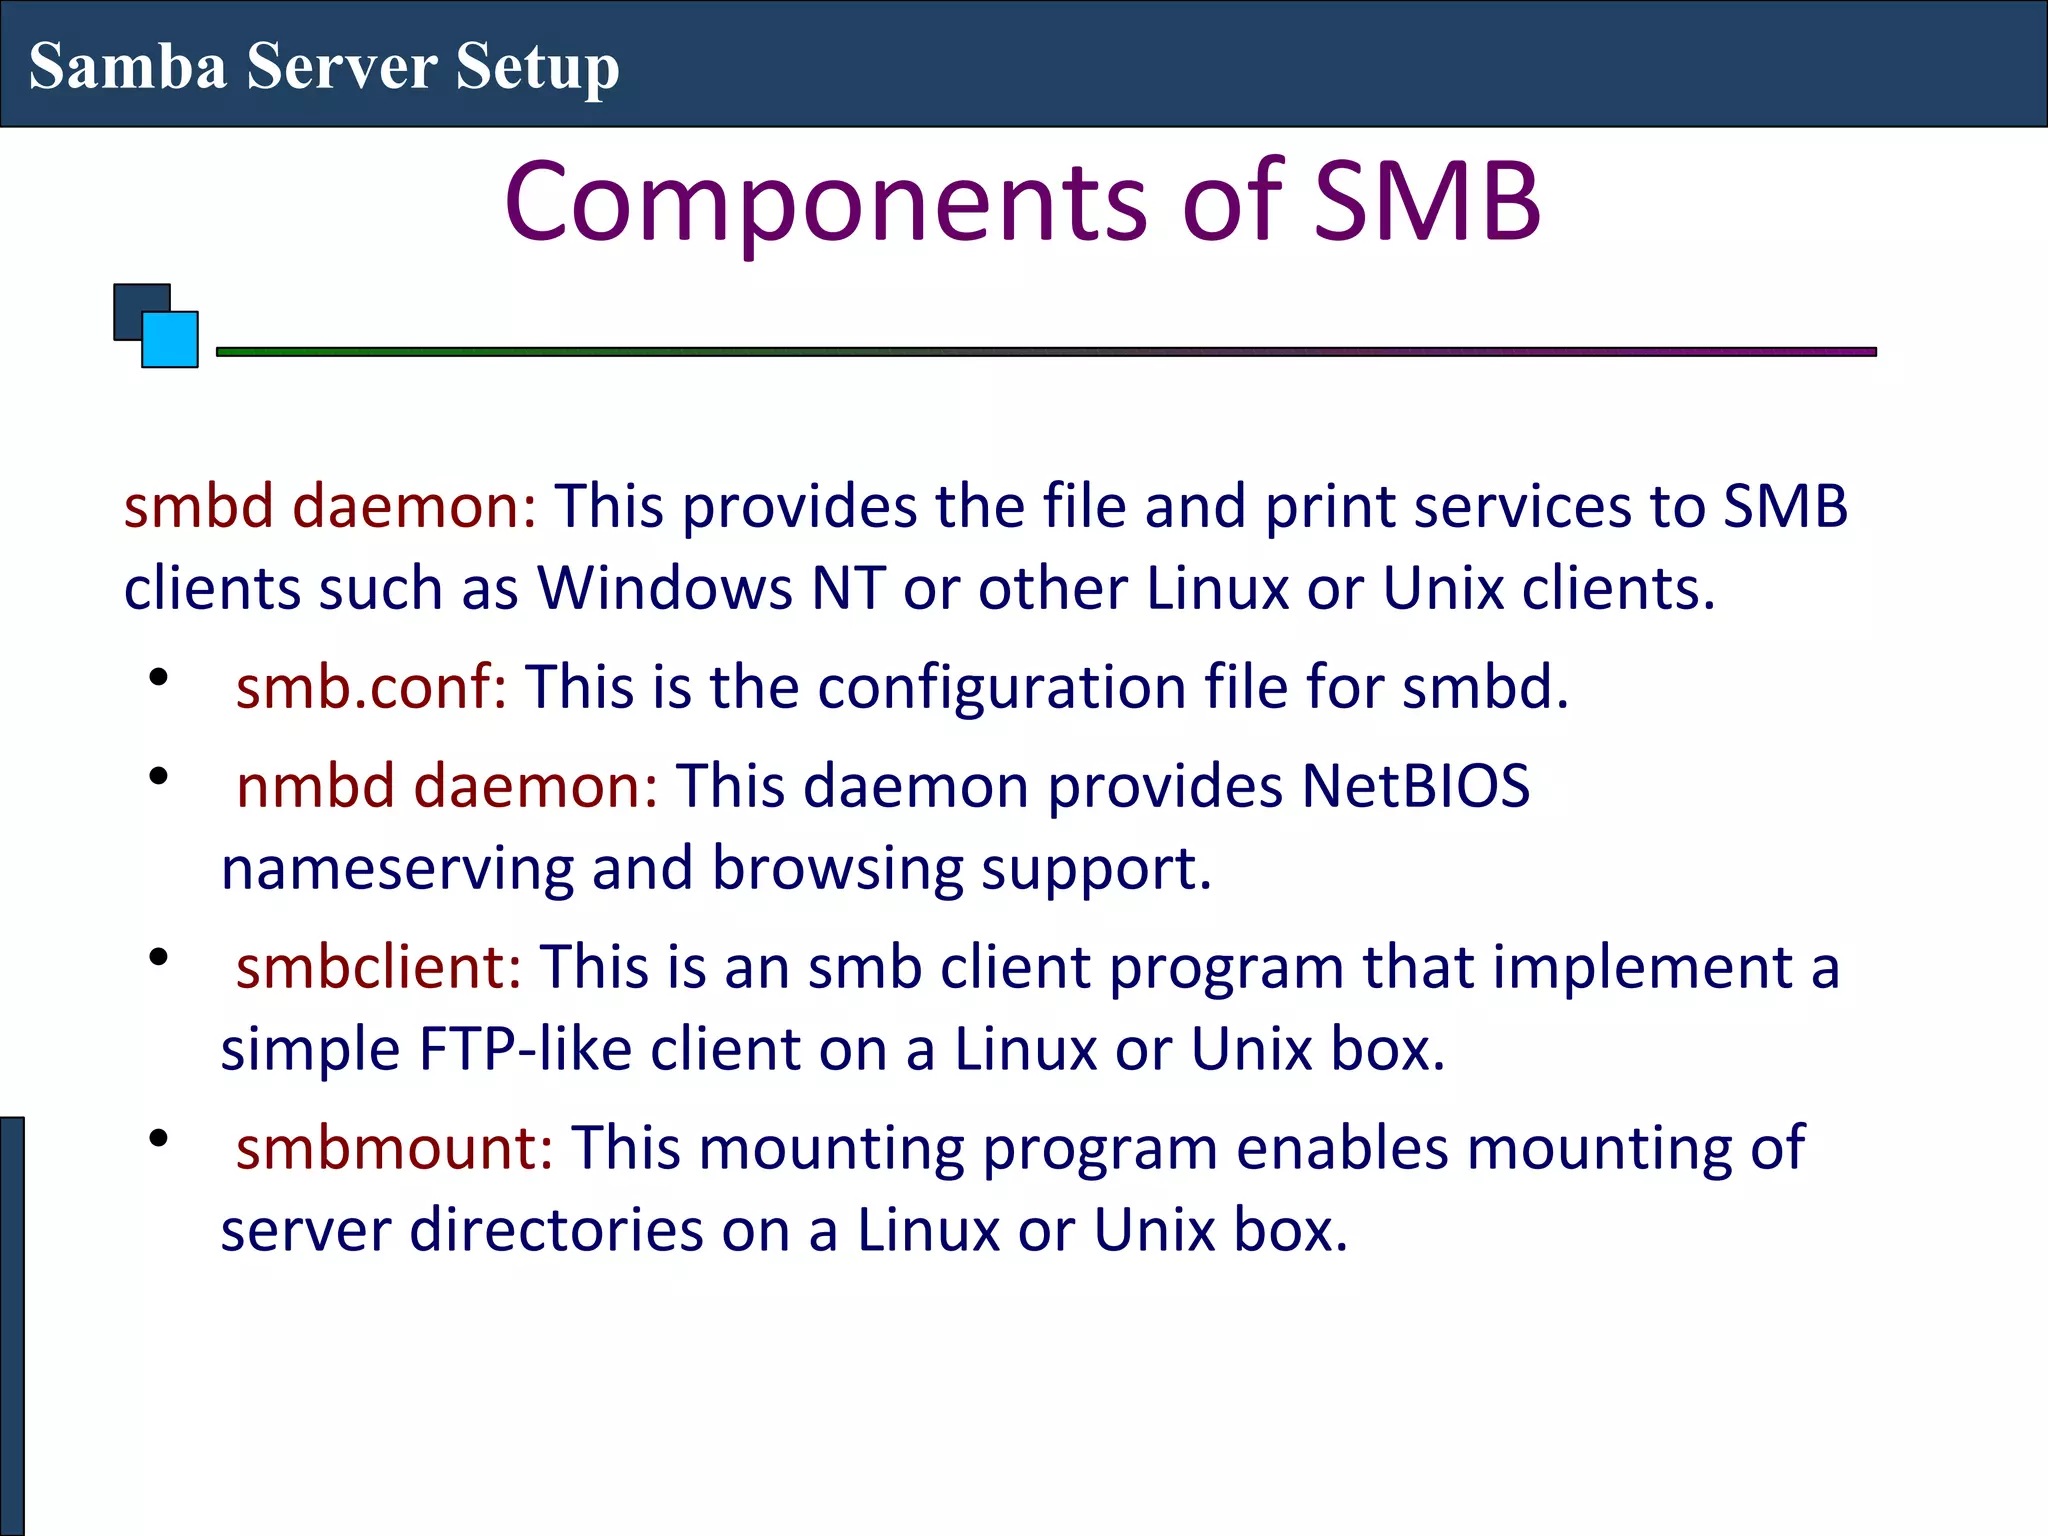
Samba is an open source software suite that allows file and printer sharing between Linux/Unix systems and Windows clients. It uses the SMB protocol to provide services to SMB/CIFS clients. The document discusses installing and configuring Samba, including creating a smb.conf file to define shares, users, and permissions. It also covers connecting Samba clients and basic troubleshooting.