Downloaded 489 times
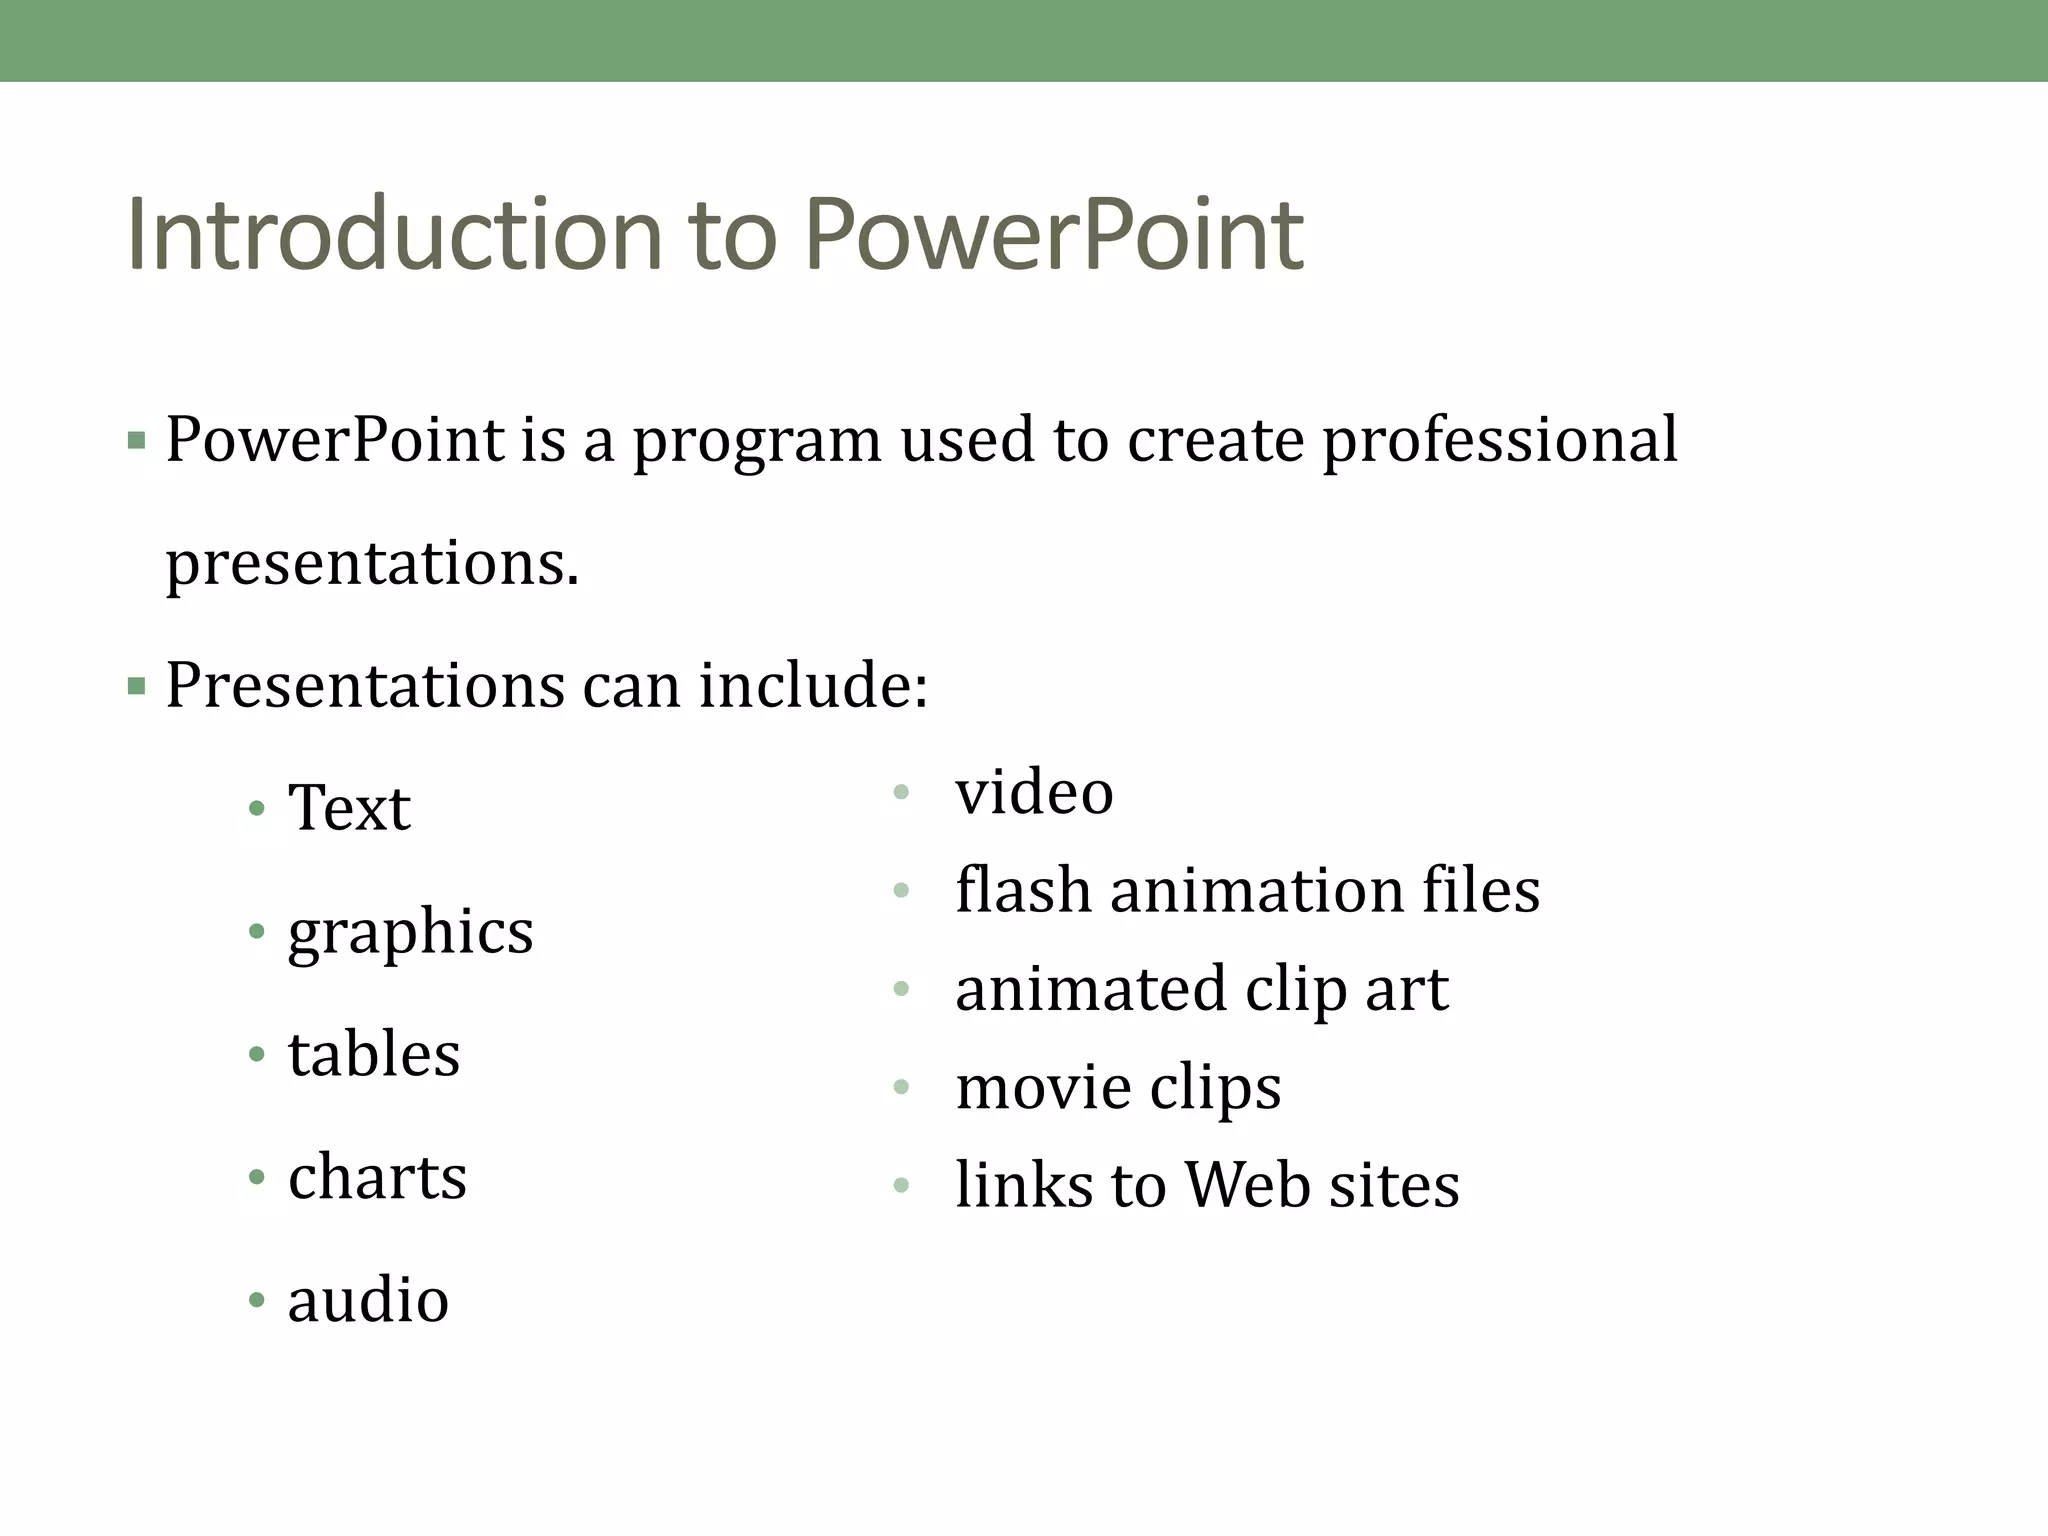
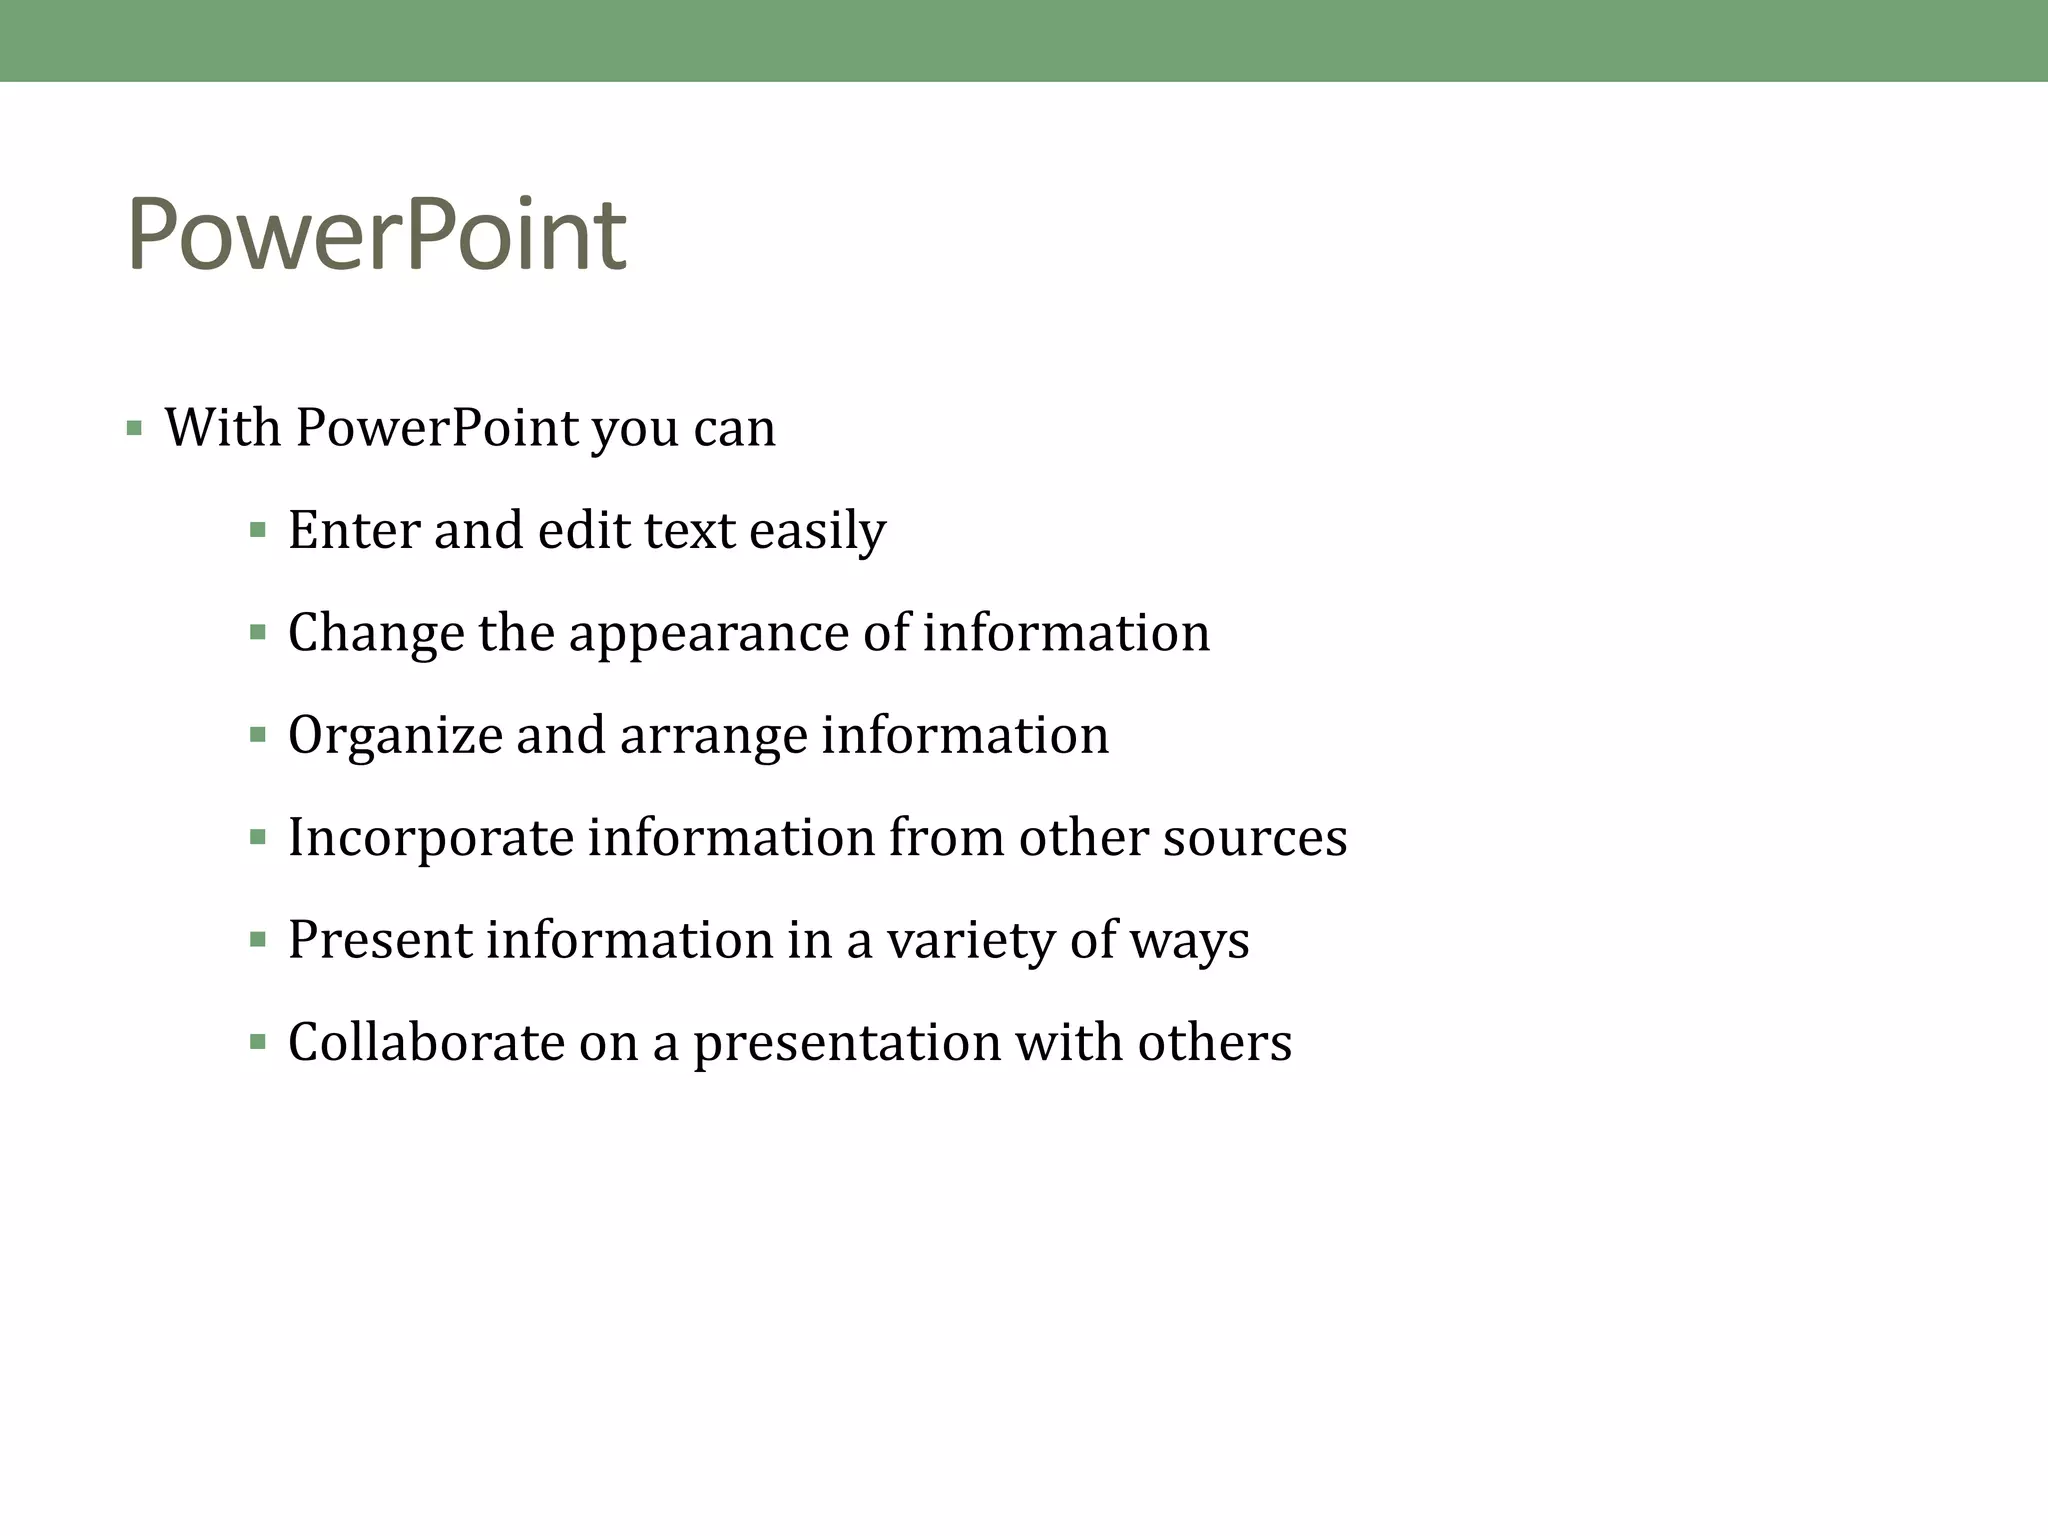
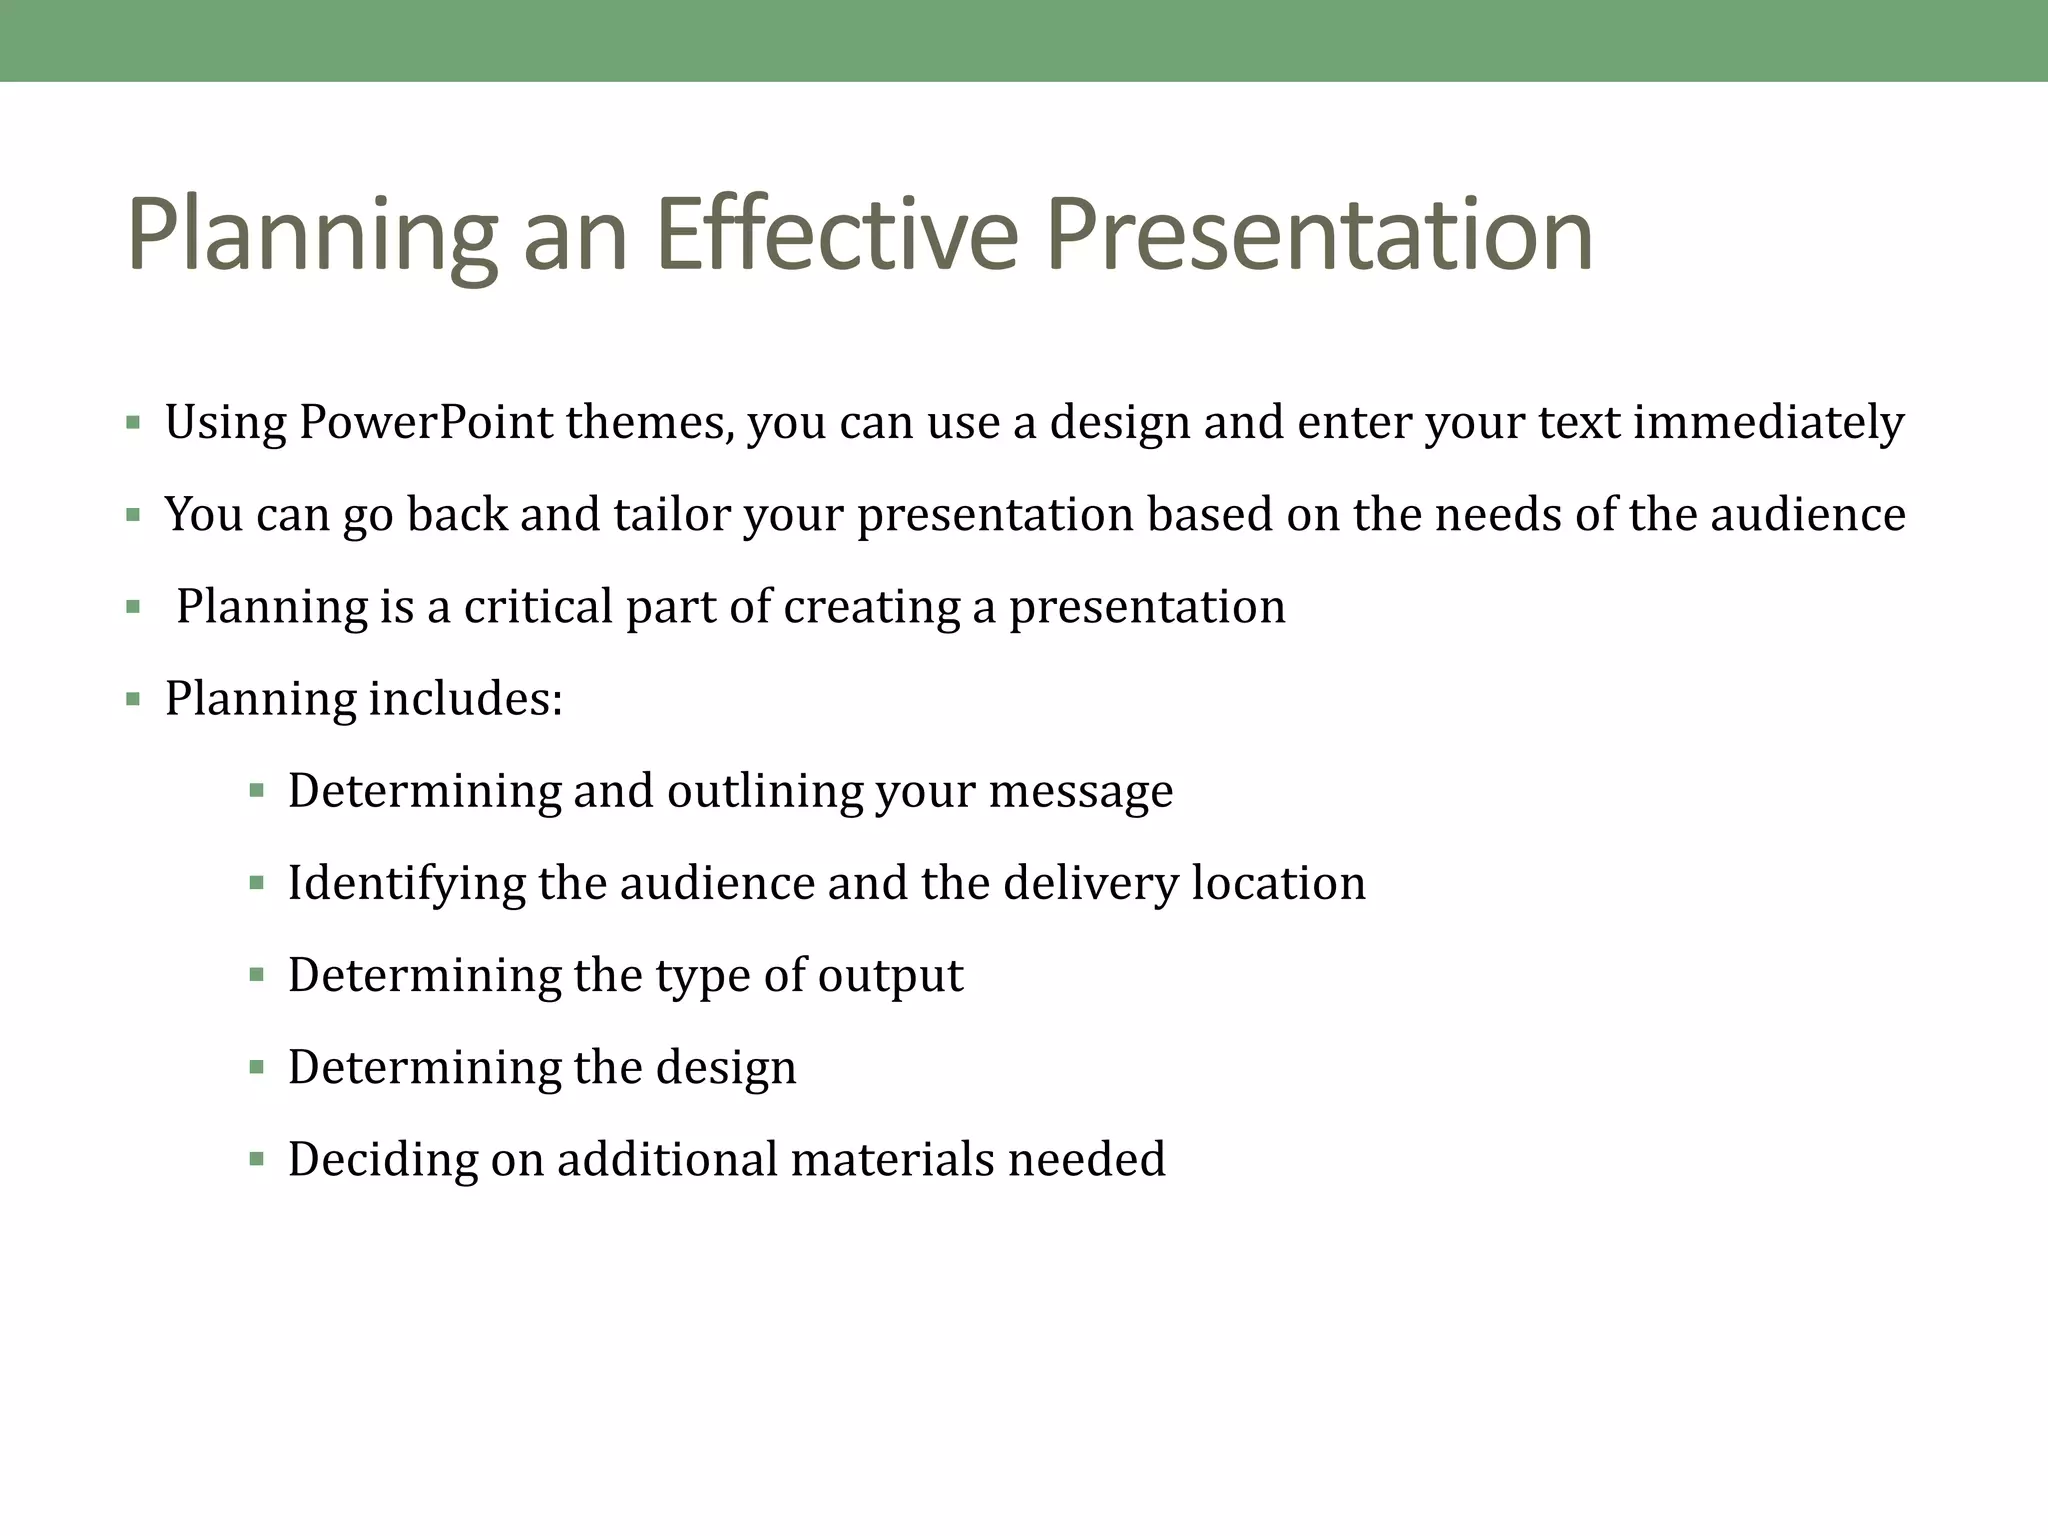

PowerPoint is a program used to create professional presentations that can include text, graphics, tables, charts, audio, video and other media. It allows users to easily enter and edit information, incorporate content from other sources, and present information in various ways. Effective presentations require planning, including determining the message, audience and delivery method. PowerPoint provides various views and tools to organize, design and deliver presentations.