Downloaded 1,435 times


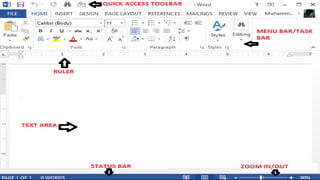
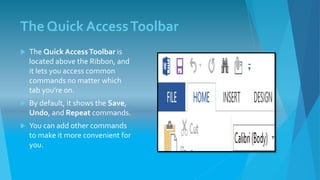
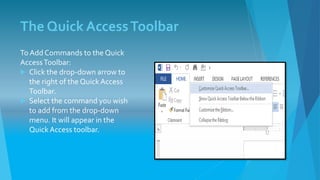
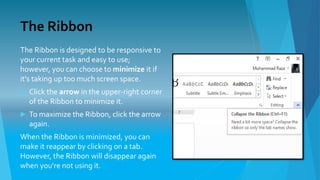
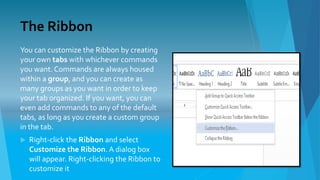


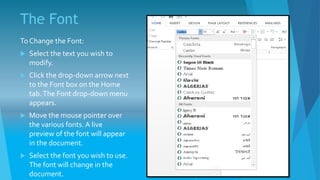
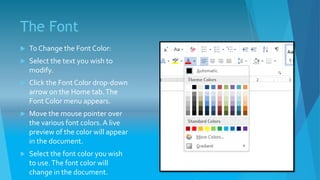


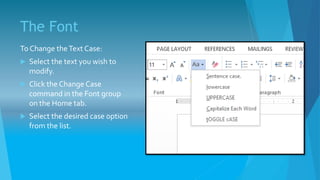


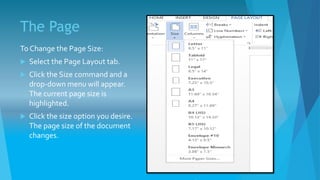


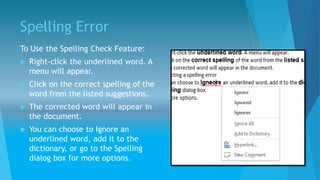
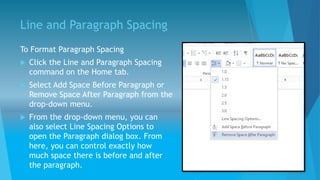


Microsoft Word is a word processing software designed for creating and editing various document types, including letters, reports, and flyers. The document outlines key features including the quick access toolbar, ribbon customization, font adjustments, page setup, and spelling checks. It provides step-by-step instructions for using these features effectively.


