The document provides an overview of the basics of Microsoft PowerPoint, including:
- Descriptions of the main PowerPoint interface elements like the ribbon, file tab, etc.
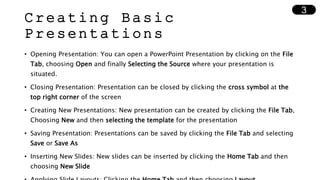
- How to perform basic tasks like opening, closing, creating and saving presentations.
- How to insert and manipulate objects like text, images, charts, tables and more.
- How to change formatting and apply themes, animations, transitions and other customizations.
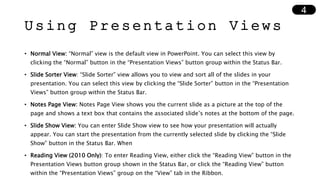
- How to use different PowerPoint views and run slide shows.
- How to set up and rehearse presentations.
It serves as a comprehensive introduction and reference for the main PowerPoint features and functions.