Downloaded 455 times


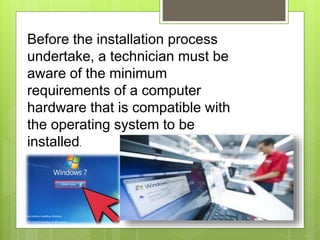
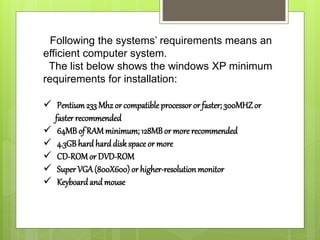


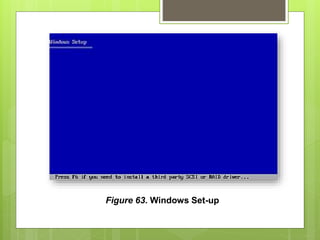


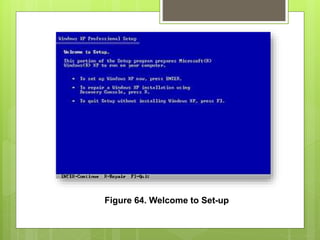


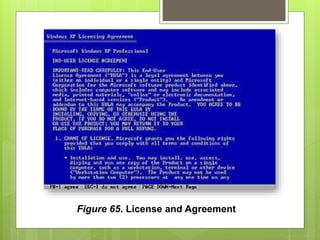

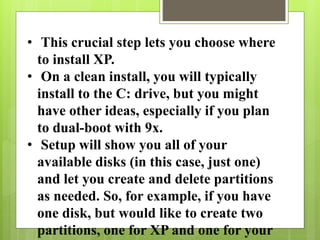


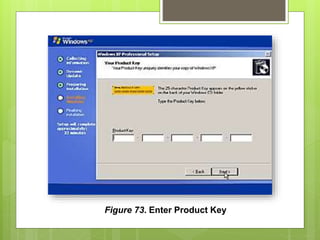


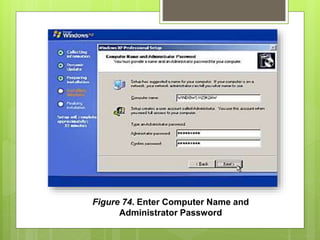

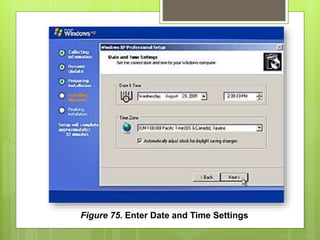


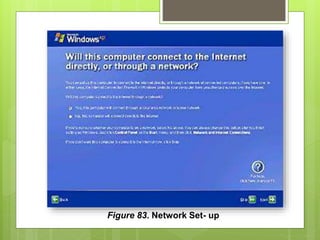

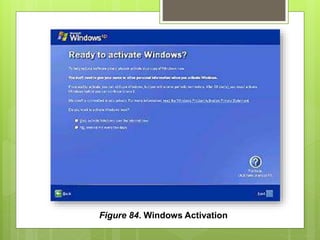


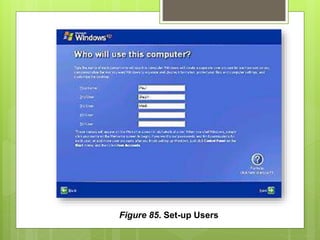


The document provides step-by-step instructions for installing Windows XP on a computer. It begins by listing the minimum system requirements for Windows XP. The installation process involves booting from the Windows XP CD, agreeing to the license terms, selecting partitions and file system settings, entering registration information like the product key, and completing the setup. Upon first boot, the user may be prompted to configure display and network settings before the Windows XP desktop loads.