Downloaded 339 times

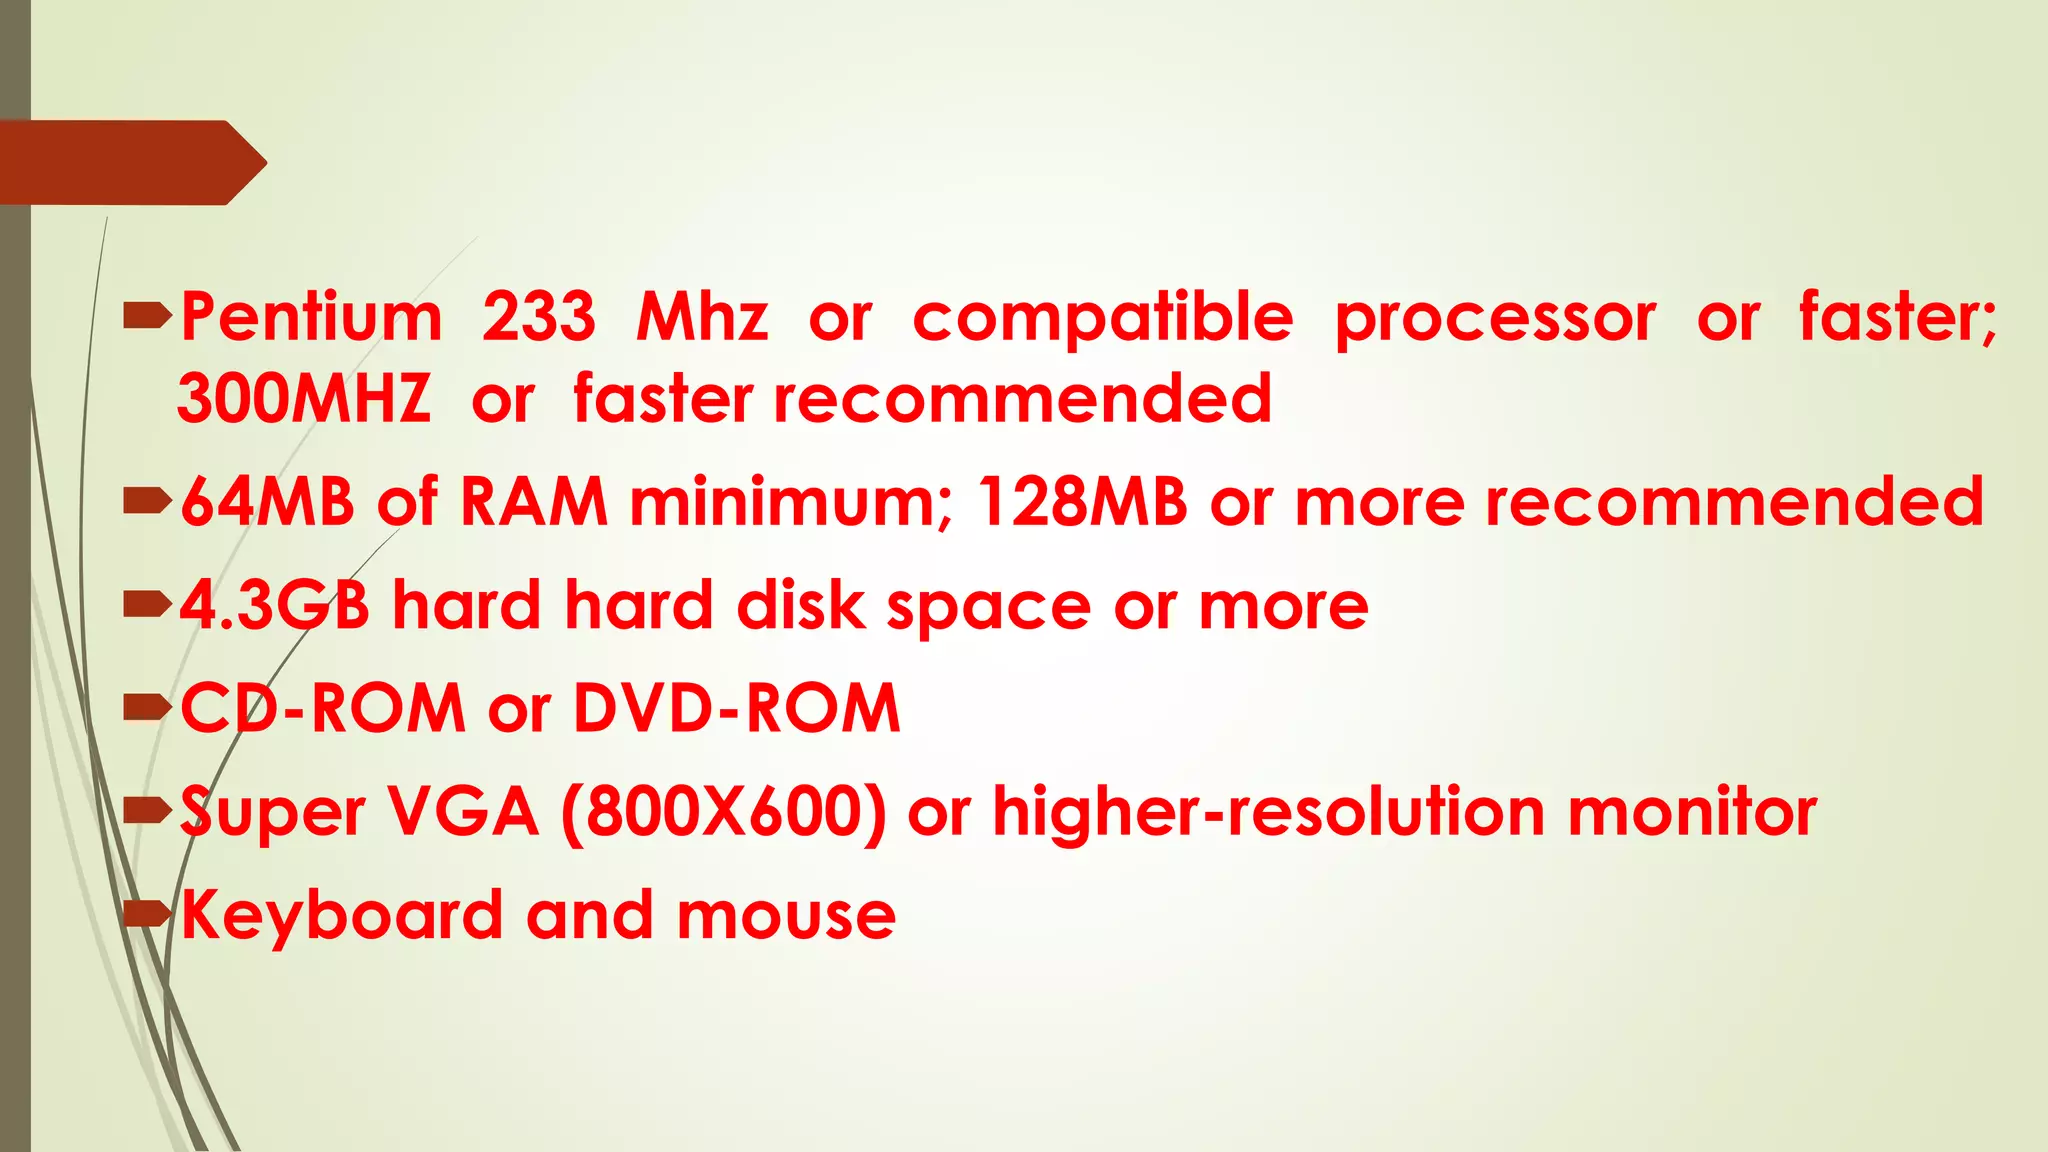


The document provides step-by-step instructions for installing the Windows XP operating system on a computer. It lists the minimum system requirements for Windows XP as a Pentium 233MHz processor, 64MB of RAM, 4.3GB of hard disk space, a CD-ROM drive, and a VGA or higher resolution monitor. The installation process involves inserting the Windows XP CD, selecting an installation partition on the hard drive to install Windows to, formatting and copying system files, and completing post-installation configuration steps like setting the time/date, network settings, and activating Windows.
Introduction to installing an operating system, focusing on minimum hardware requirements for Windows XP.
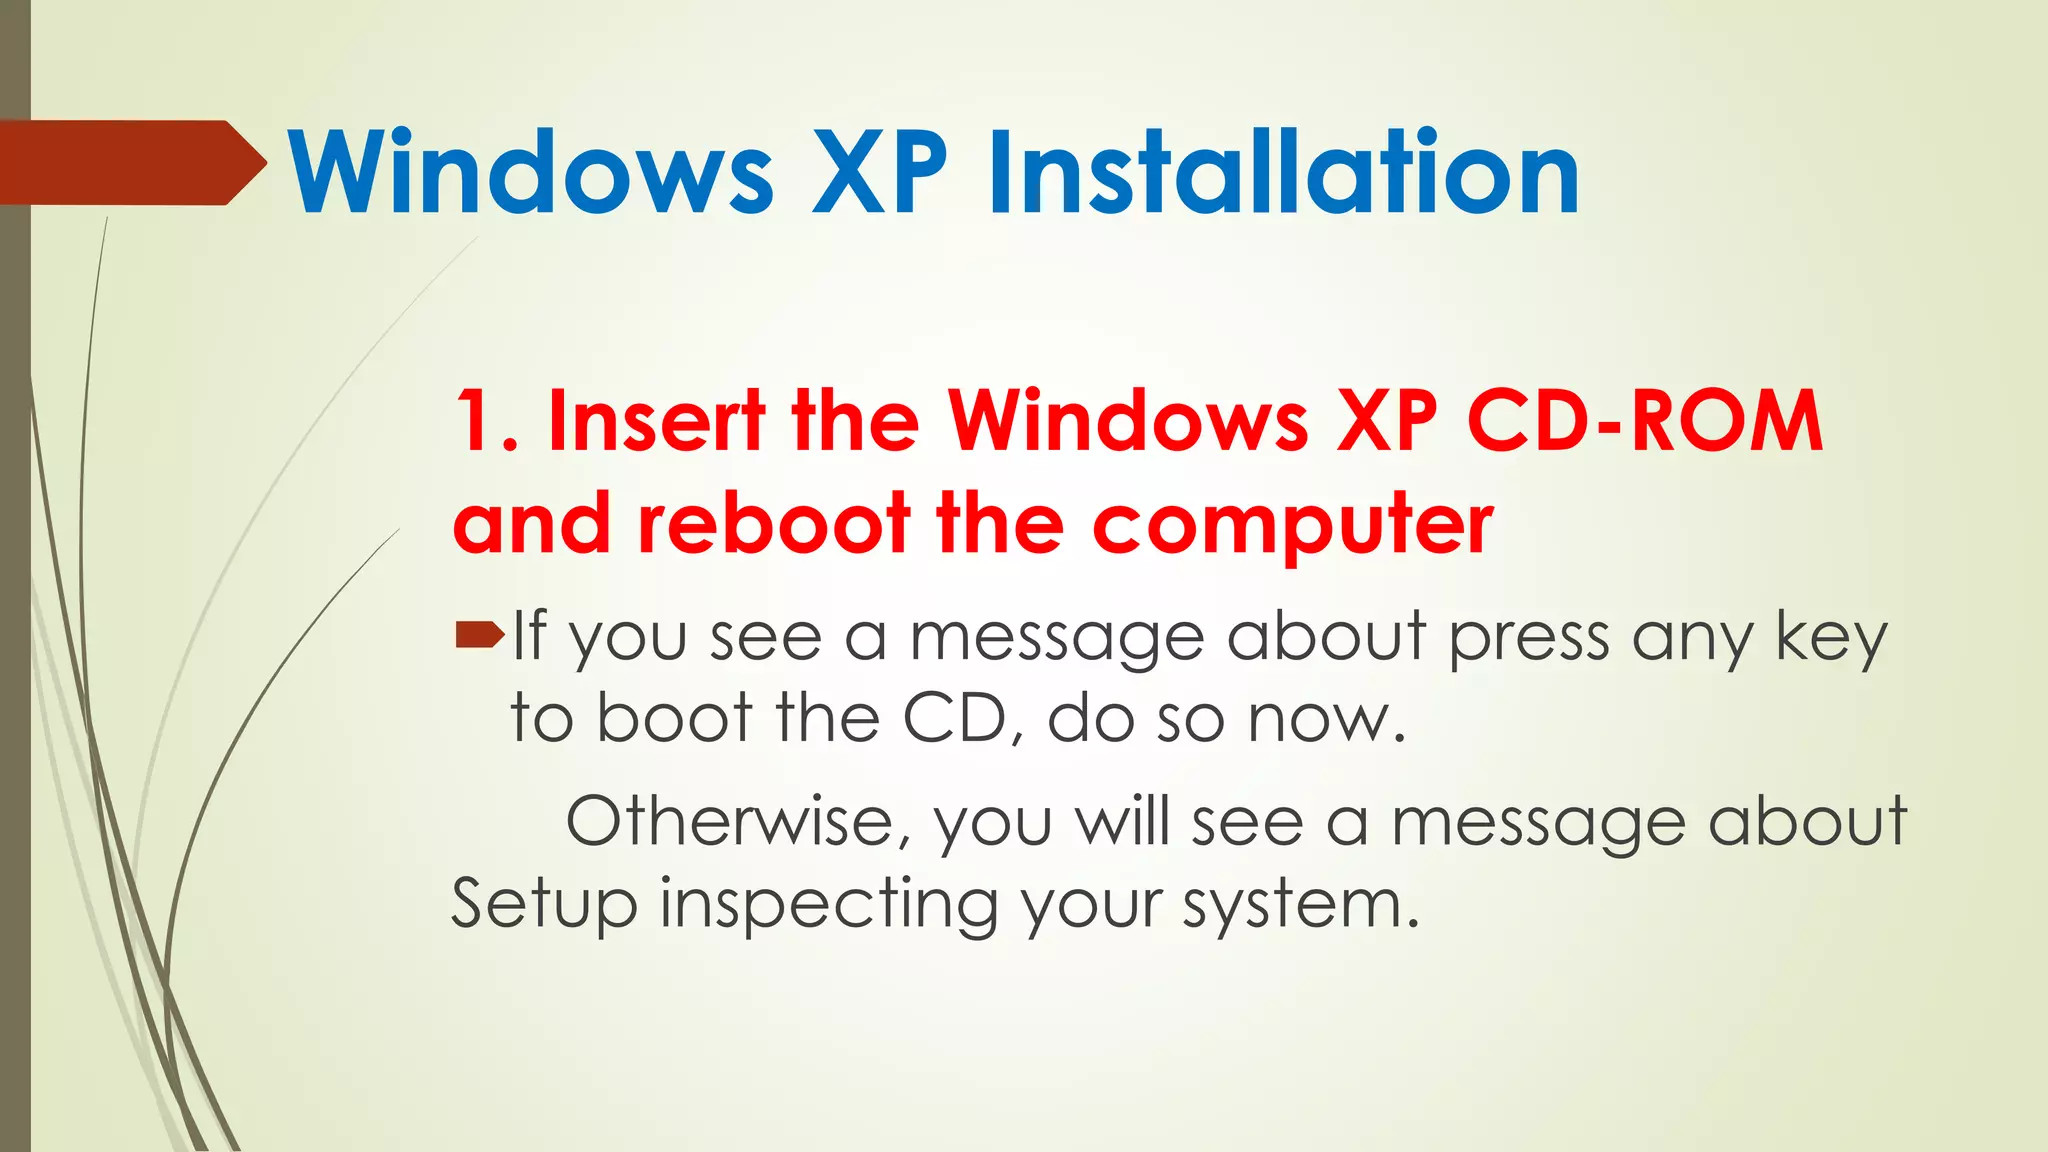
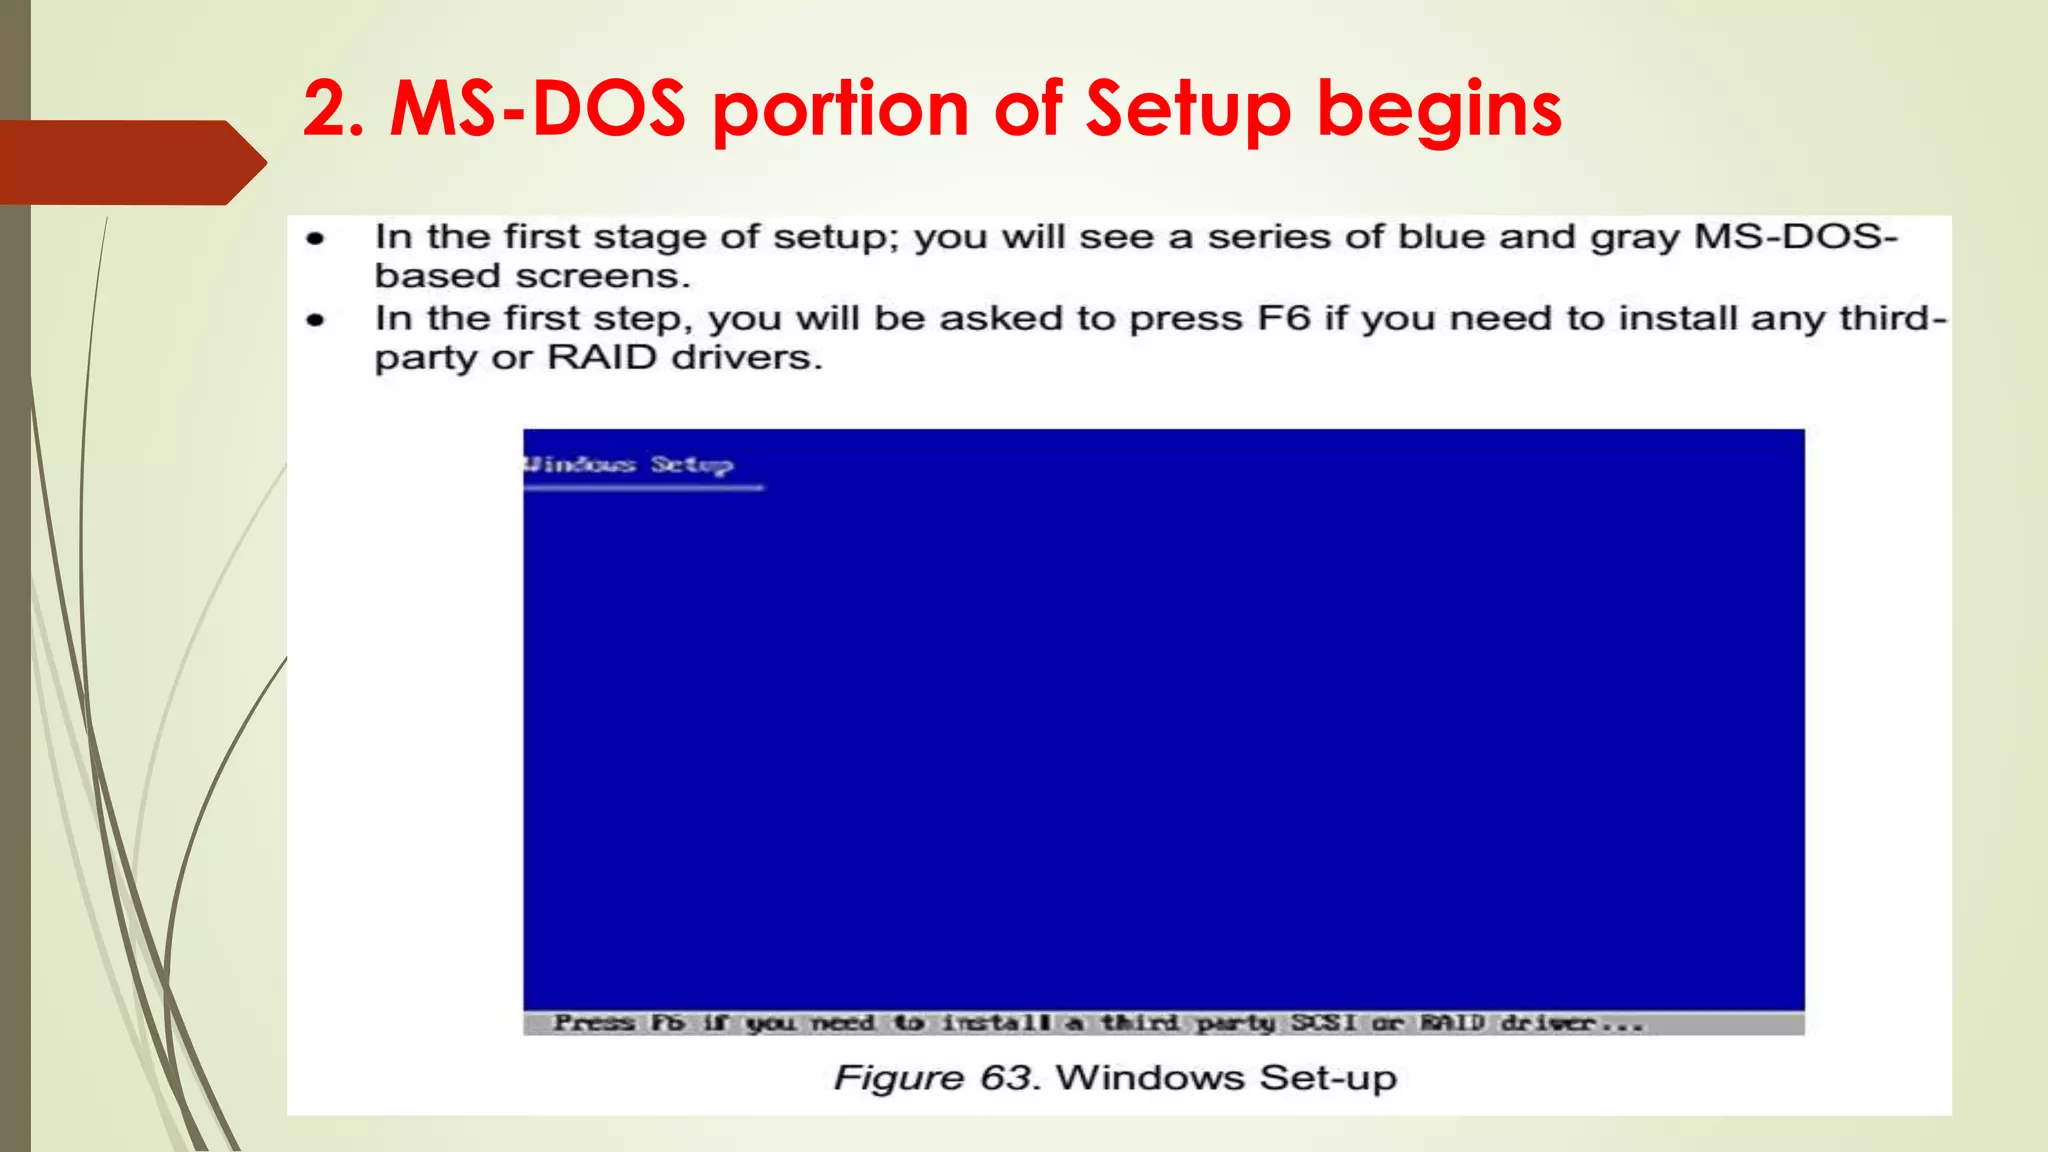
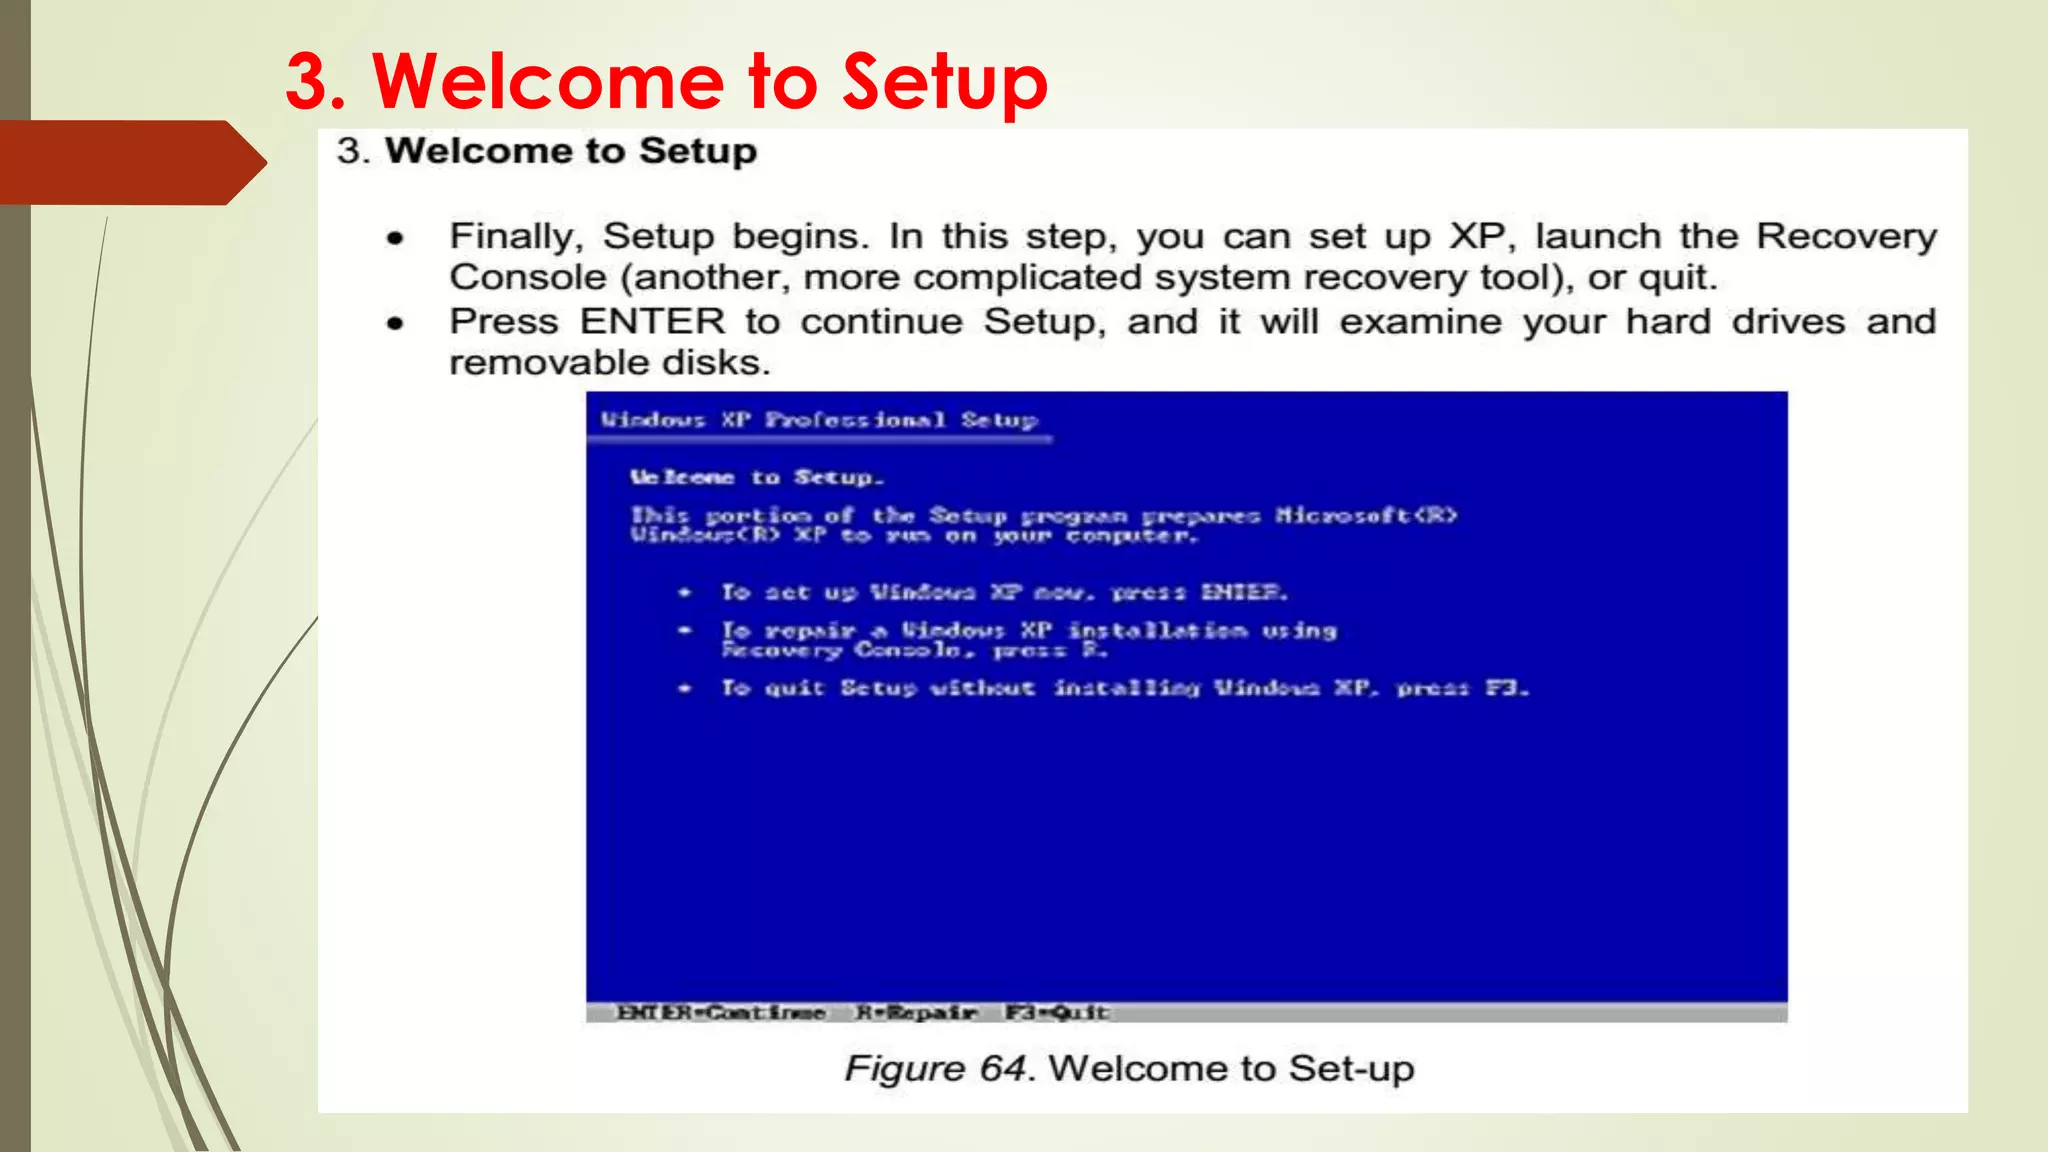
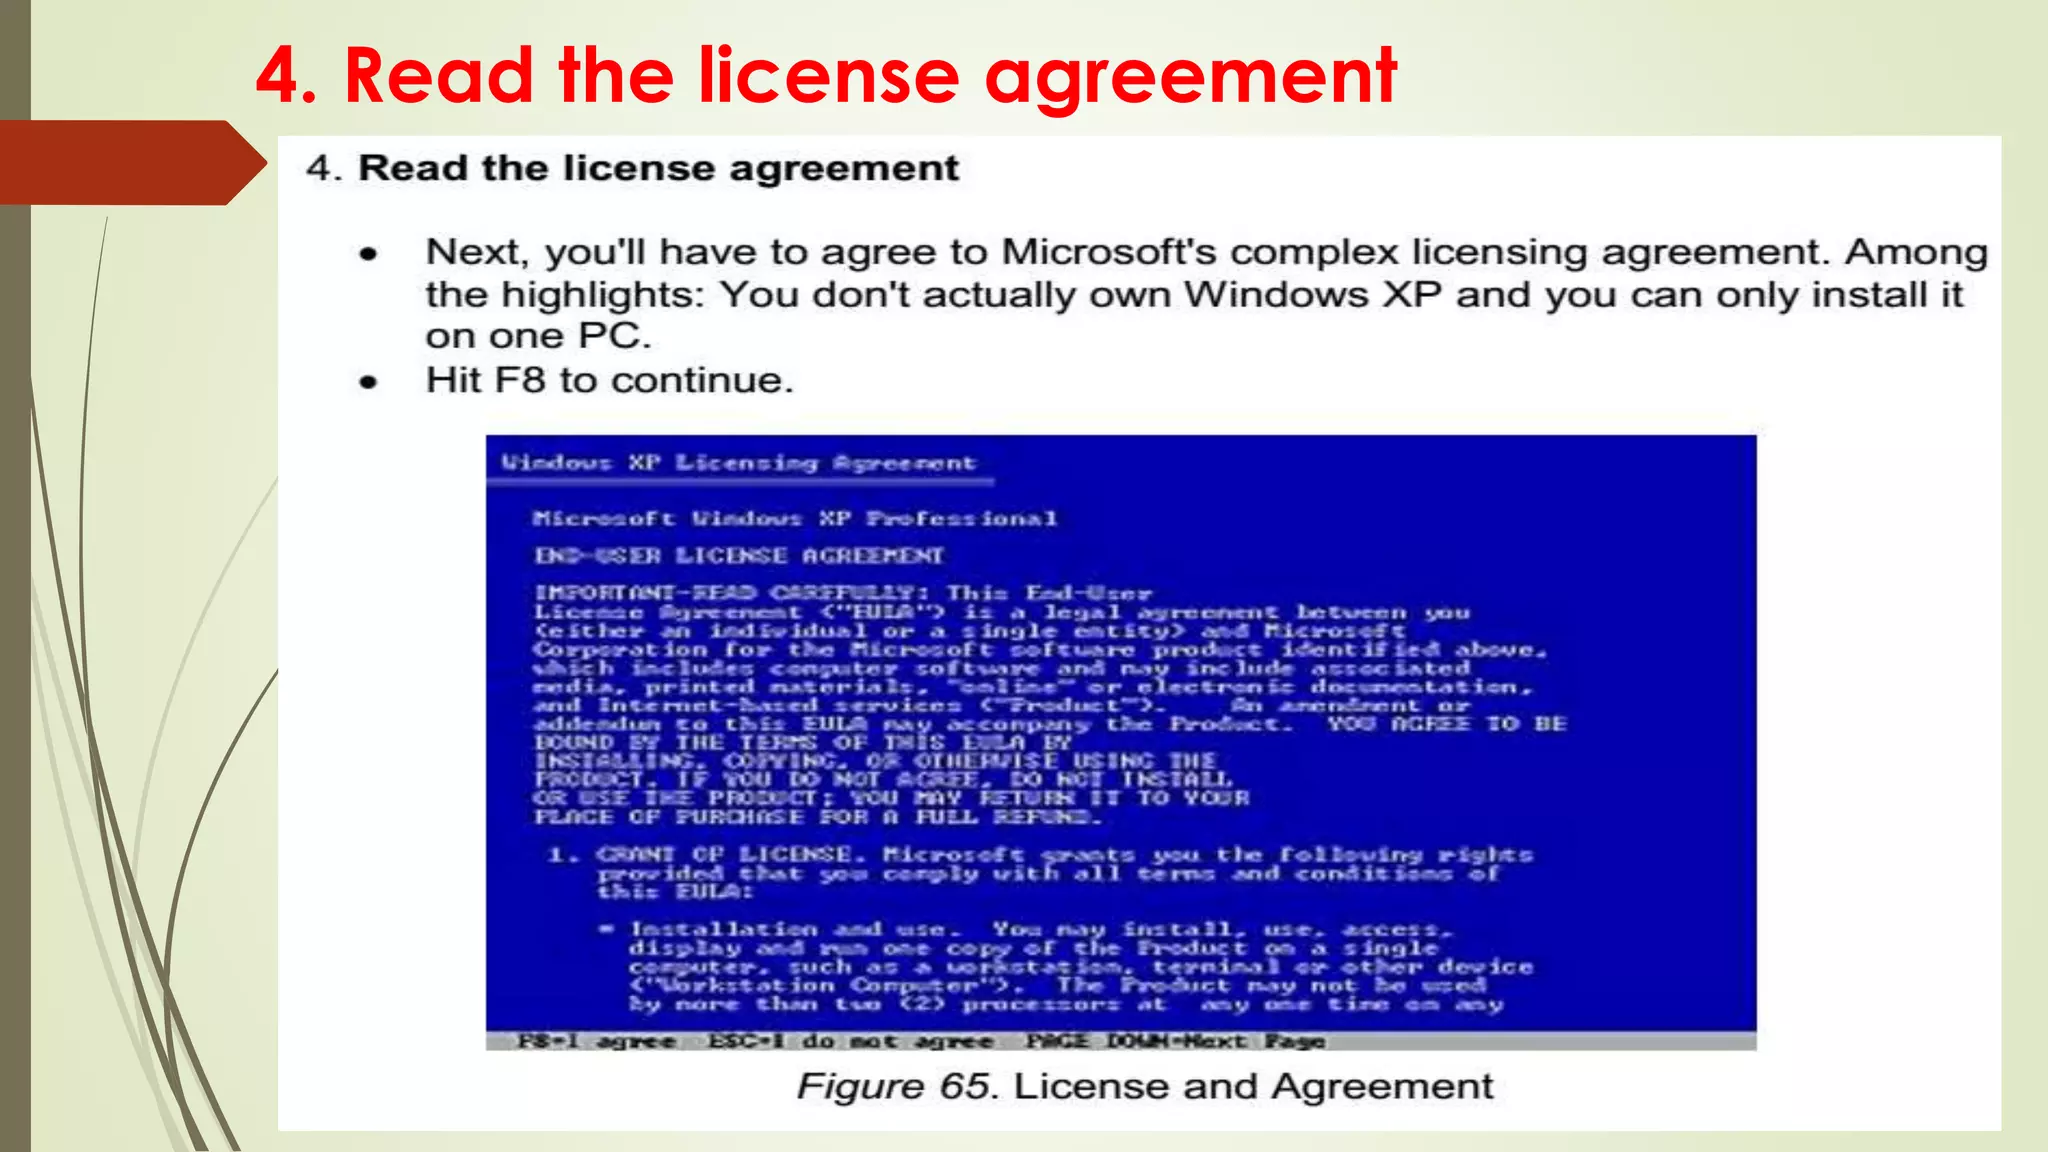
Initial steps for Windows XP installation including CD booting, MS-DOS setup, and license agreement.
Initial steps for Windows XP installation including CD booting, MS-DOS setup, and license agreement.
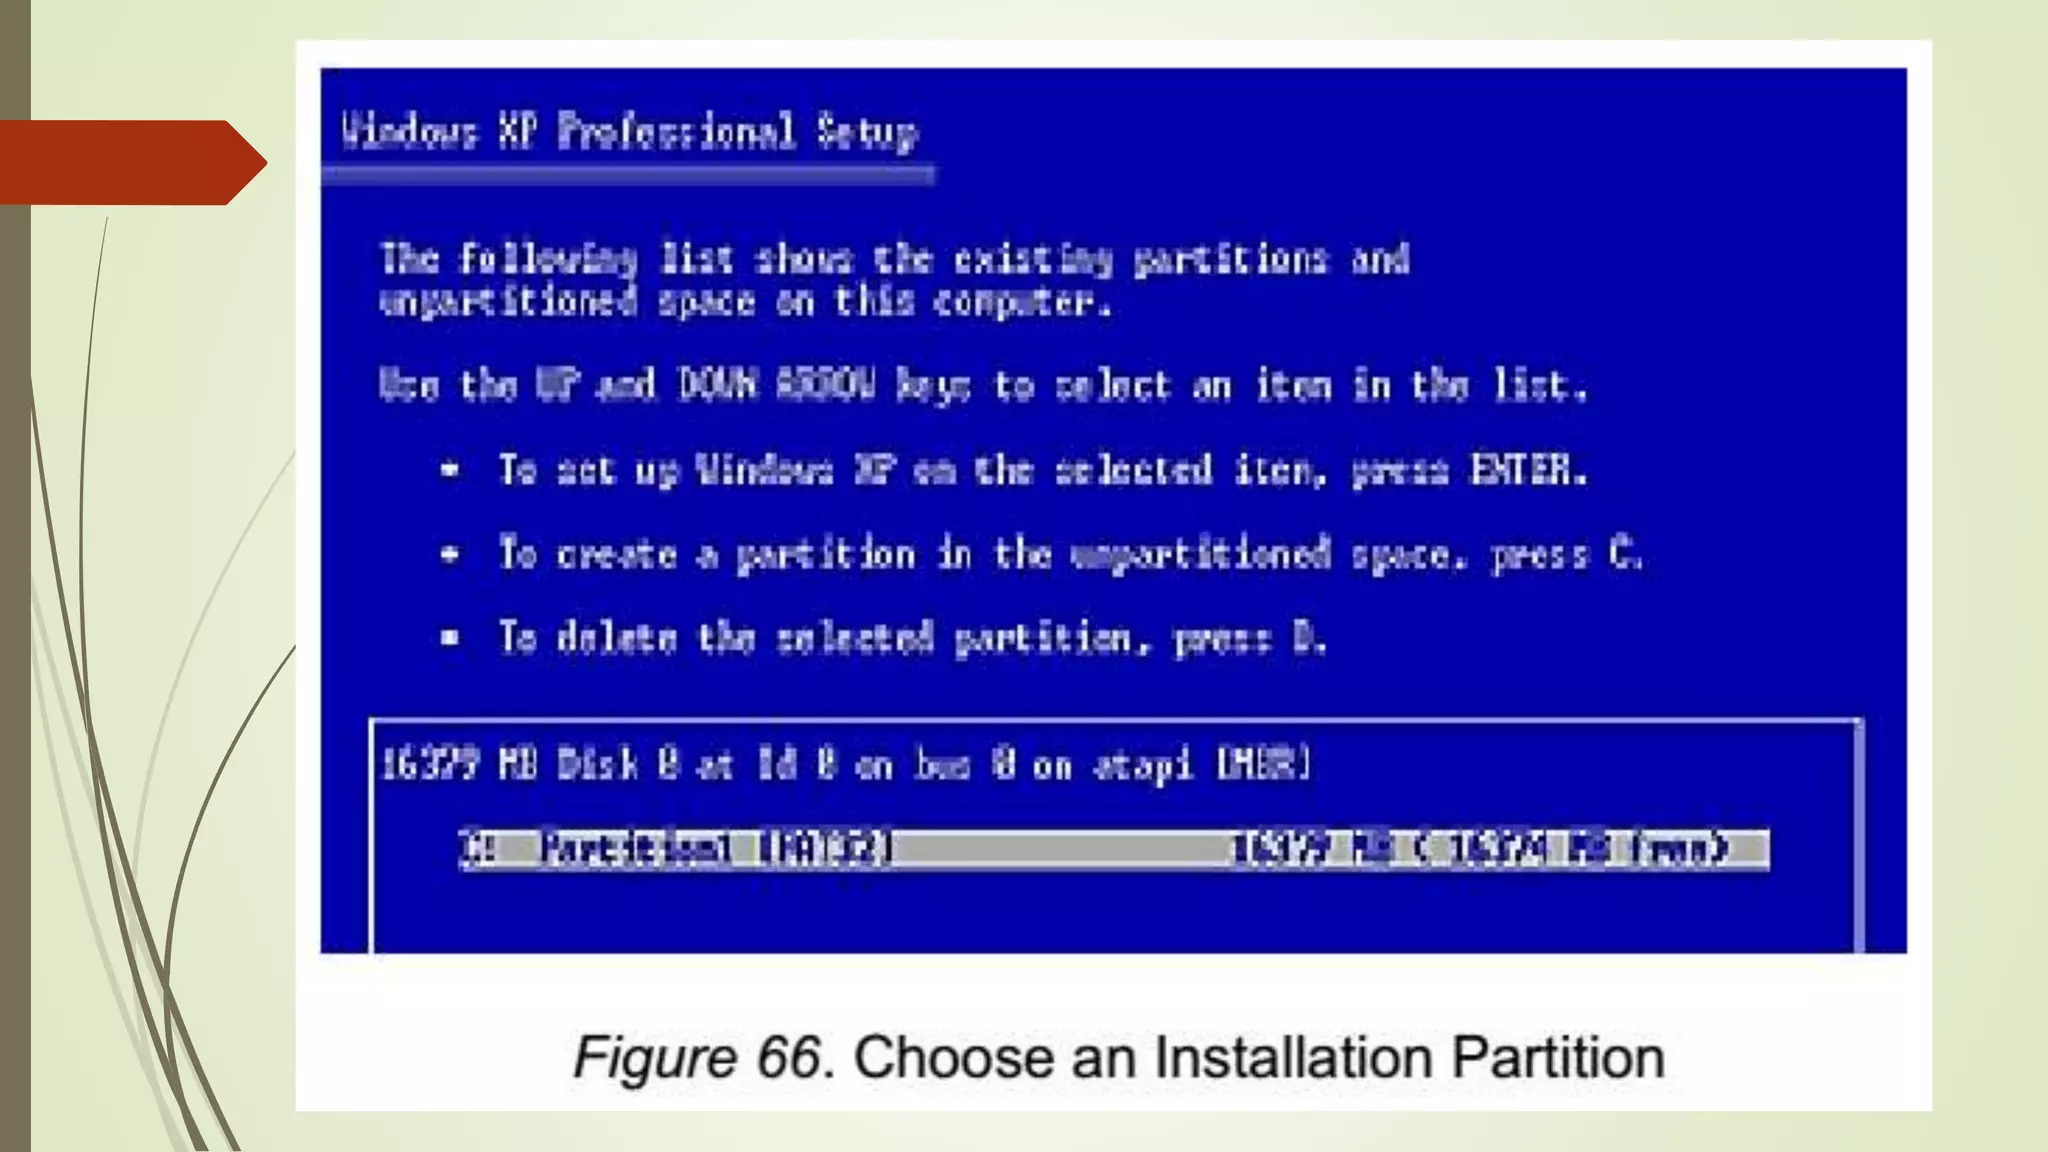
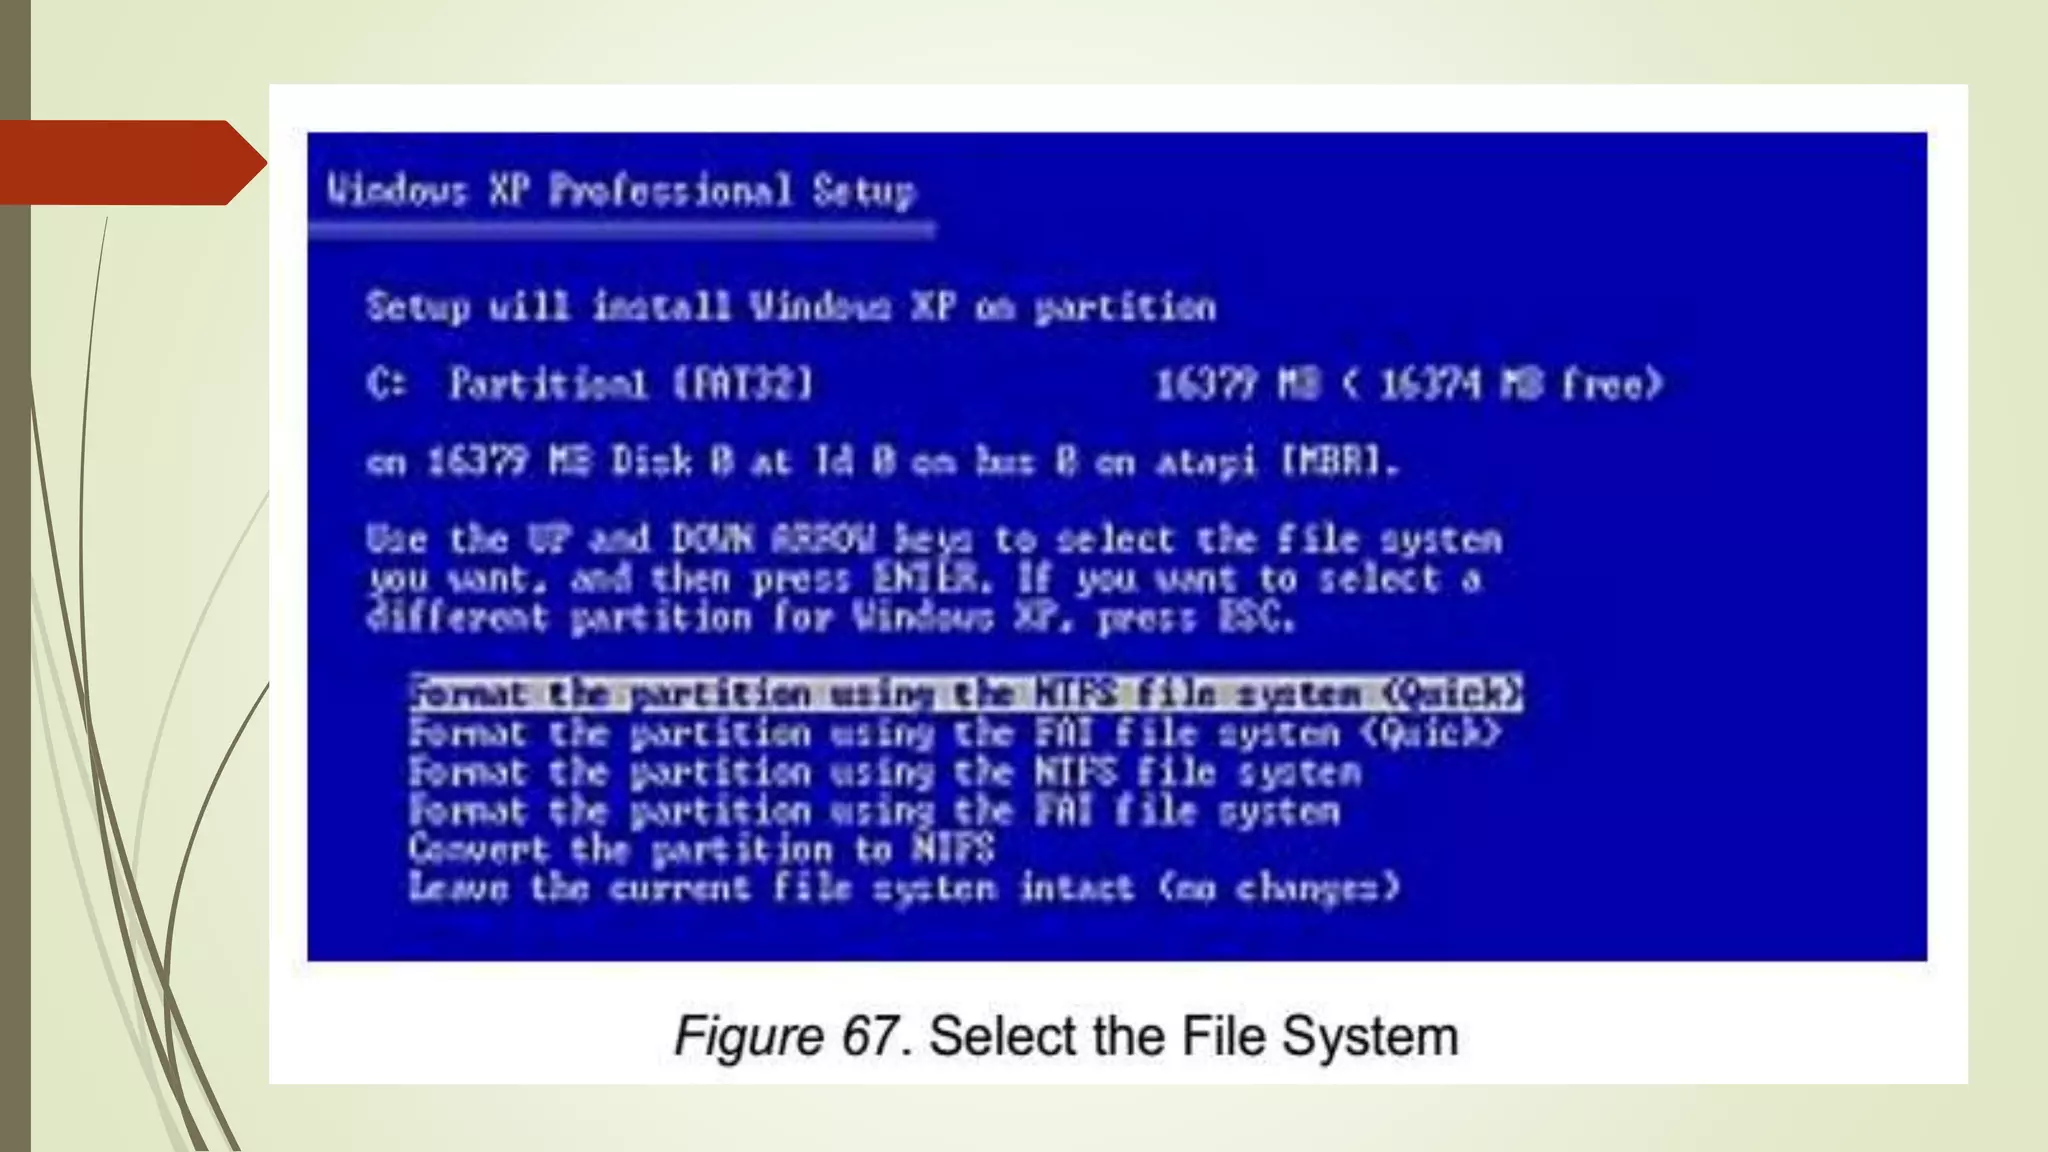
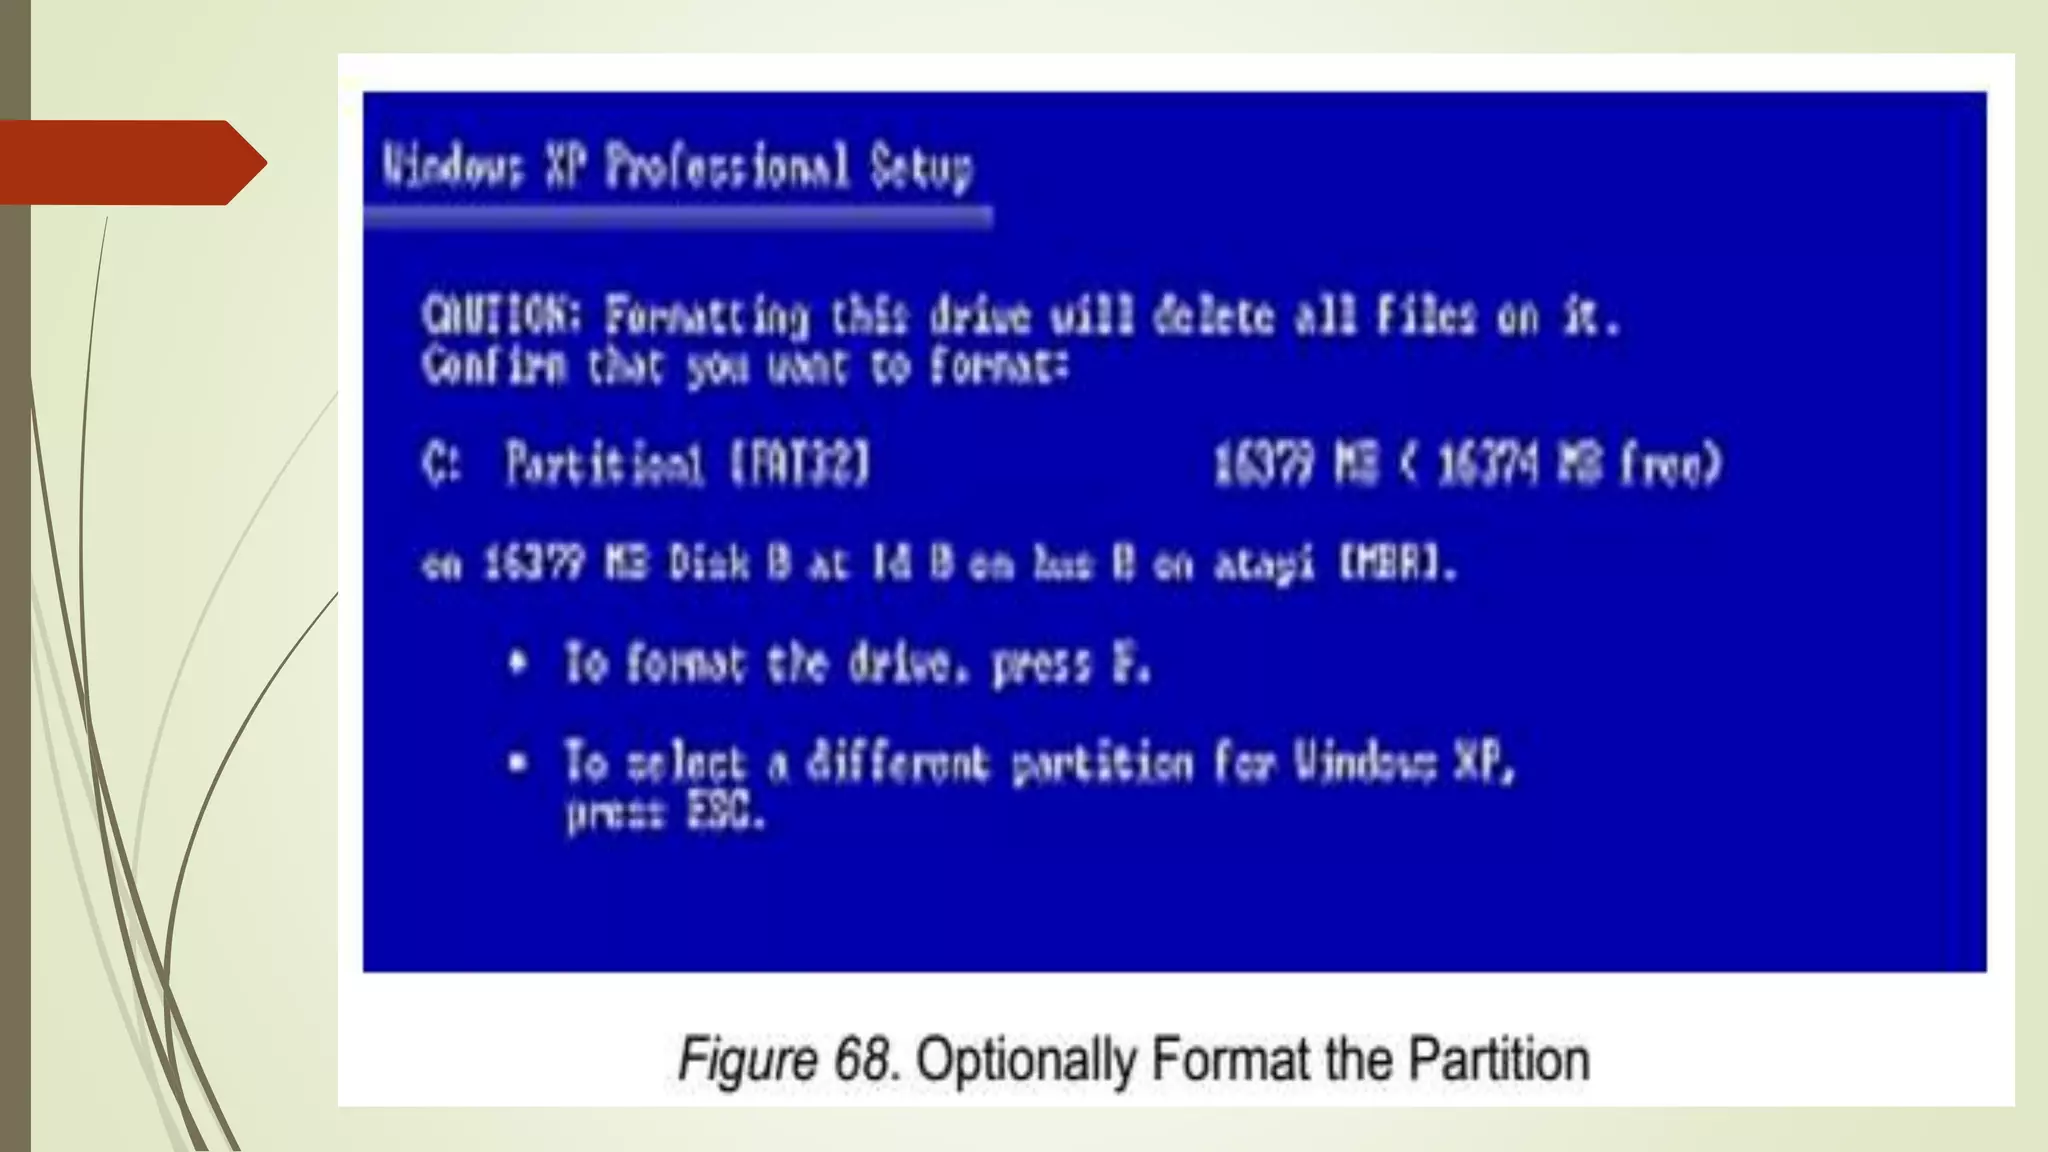
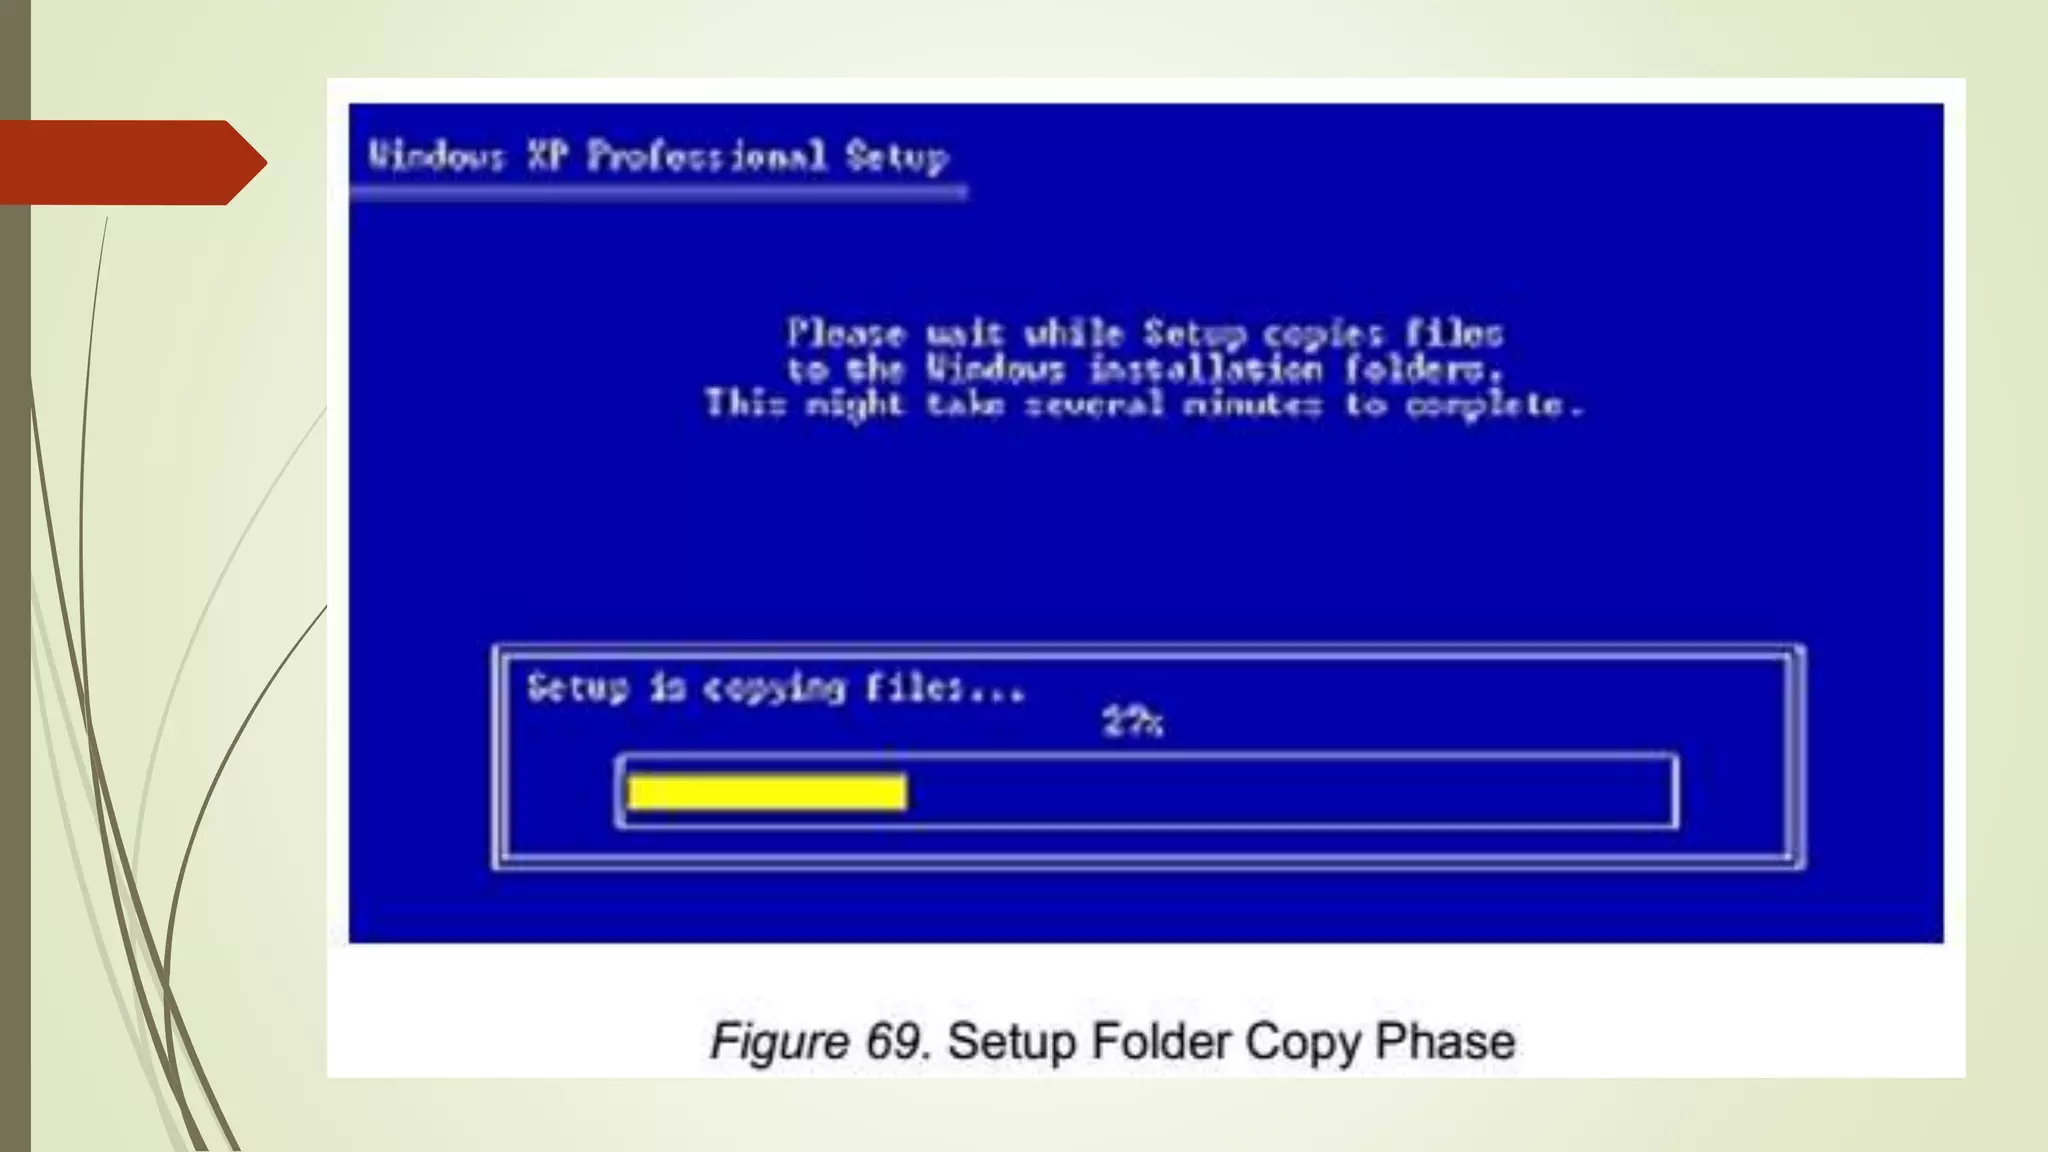
Selecting installation partition, file system options (NTFS vs FAT), and formatting steps.
Selecting installation partition, file system options (NTFS vs FAT), and formatting steps.
Selecting installation partition, file system options (NTFS vs FAT), and formatting steps.
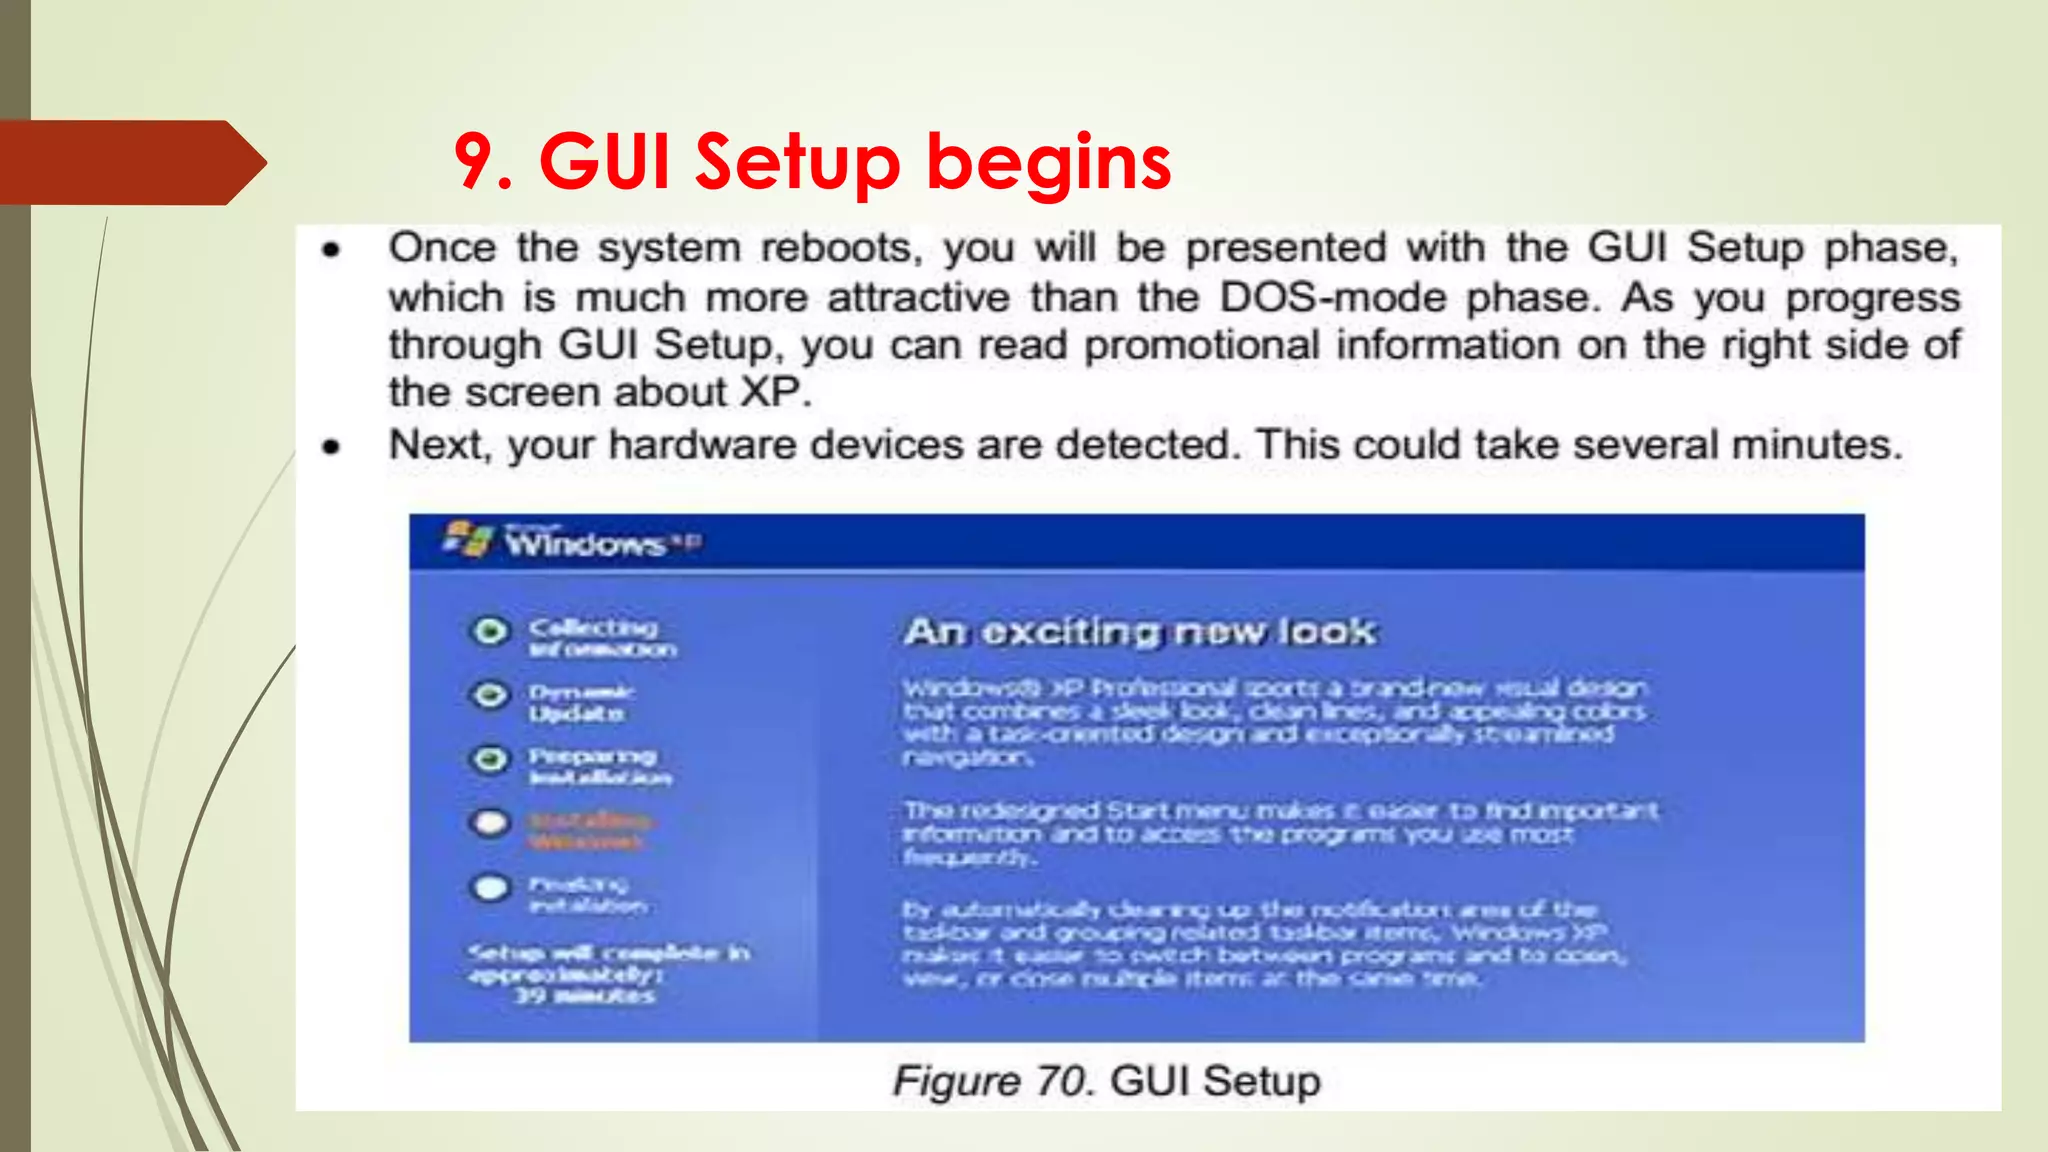
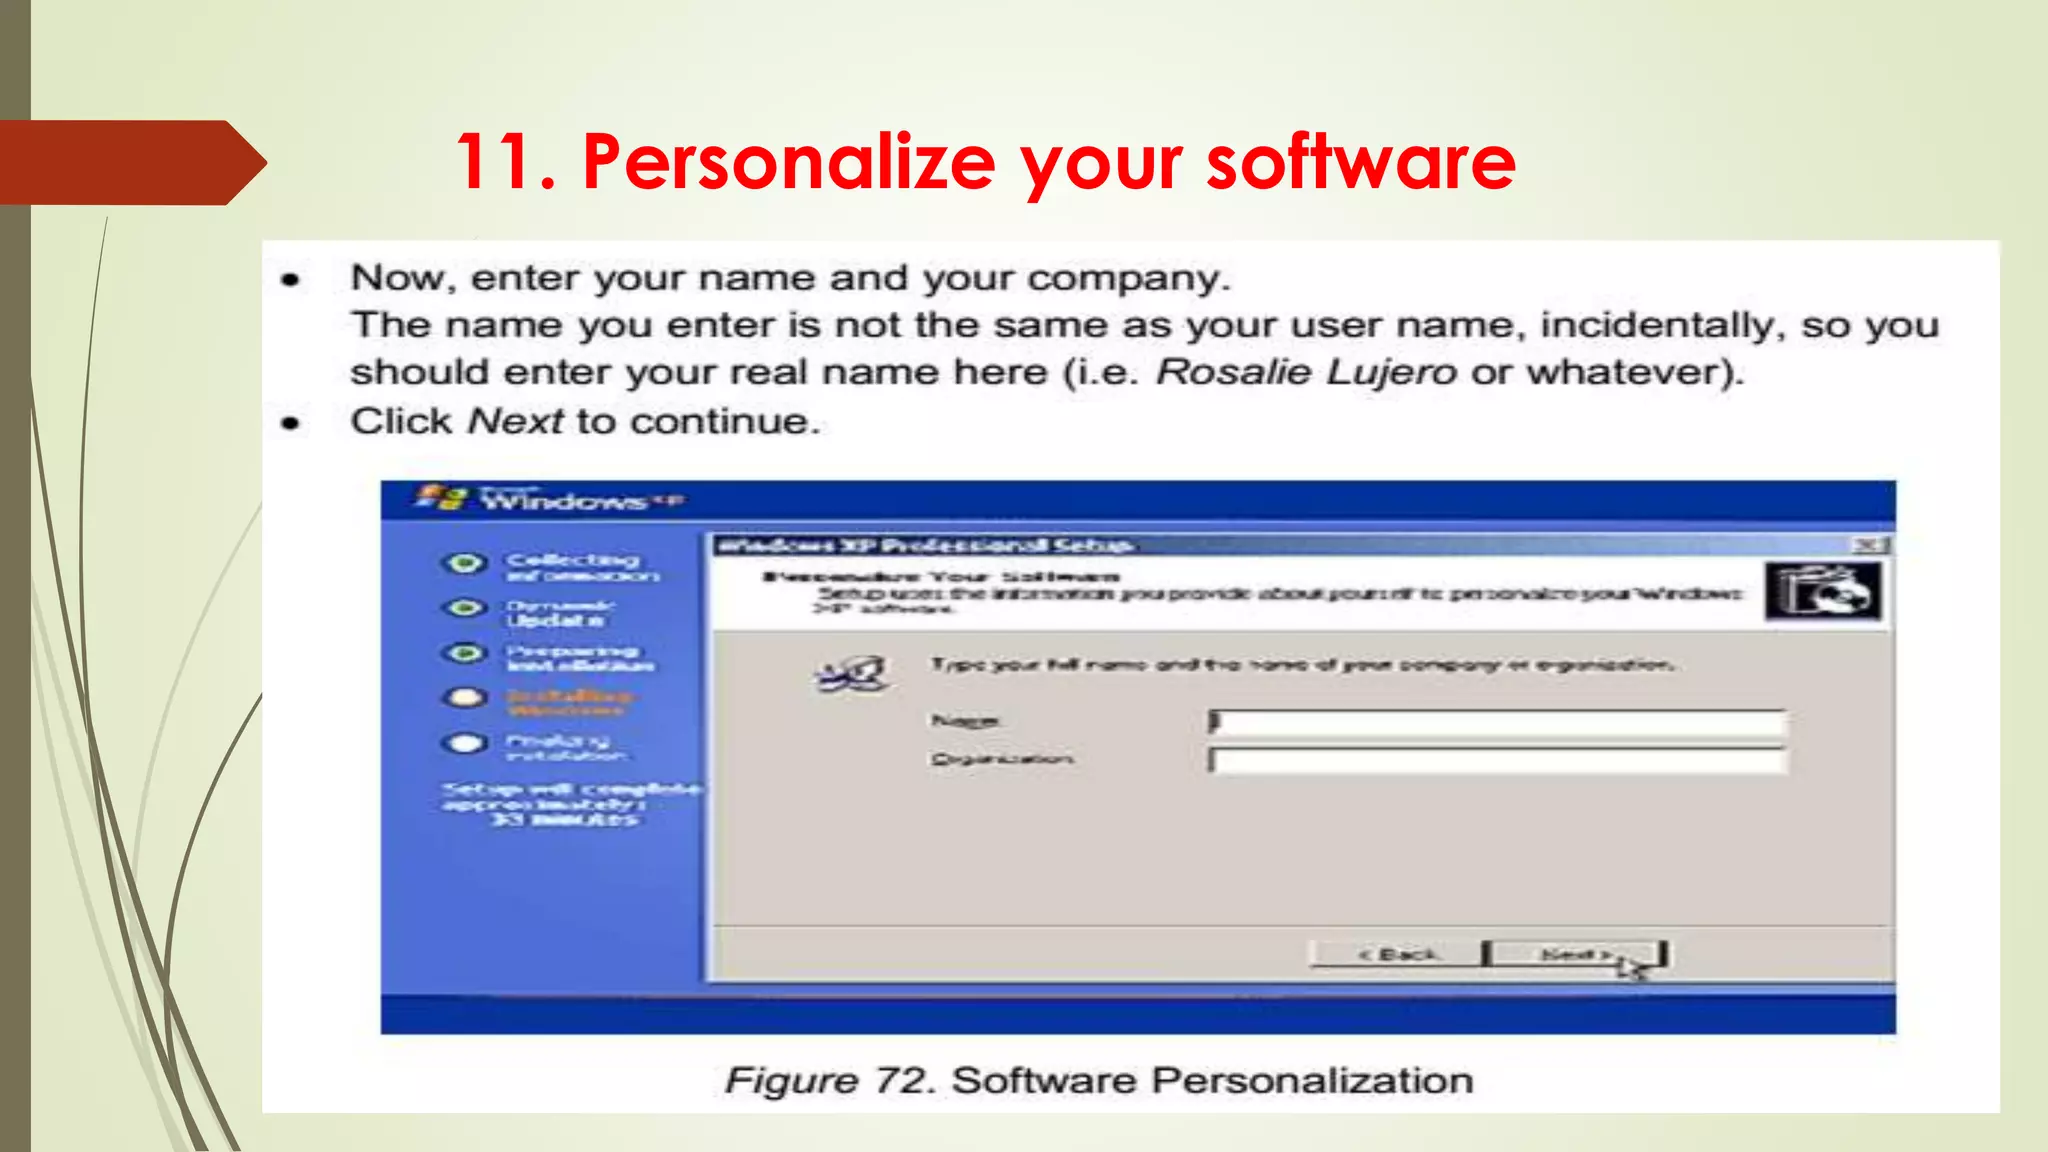
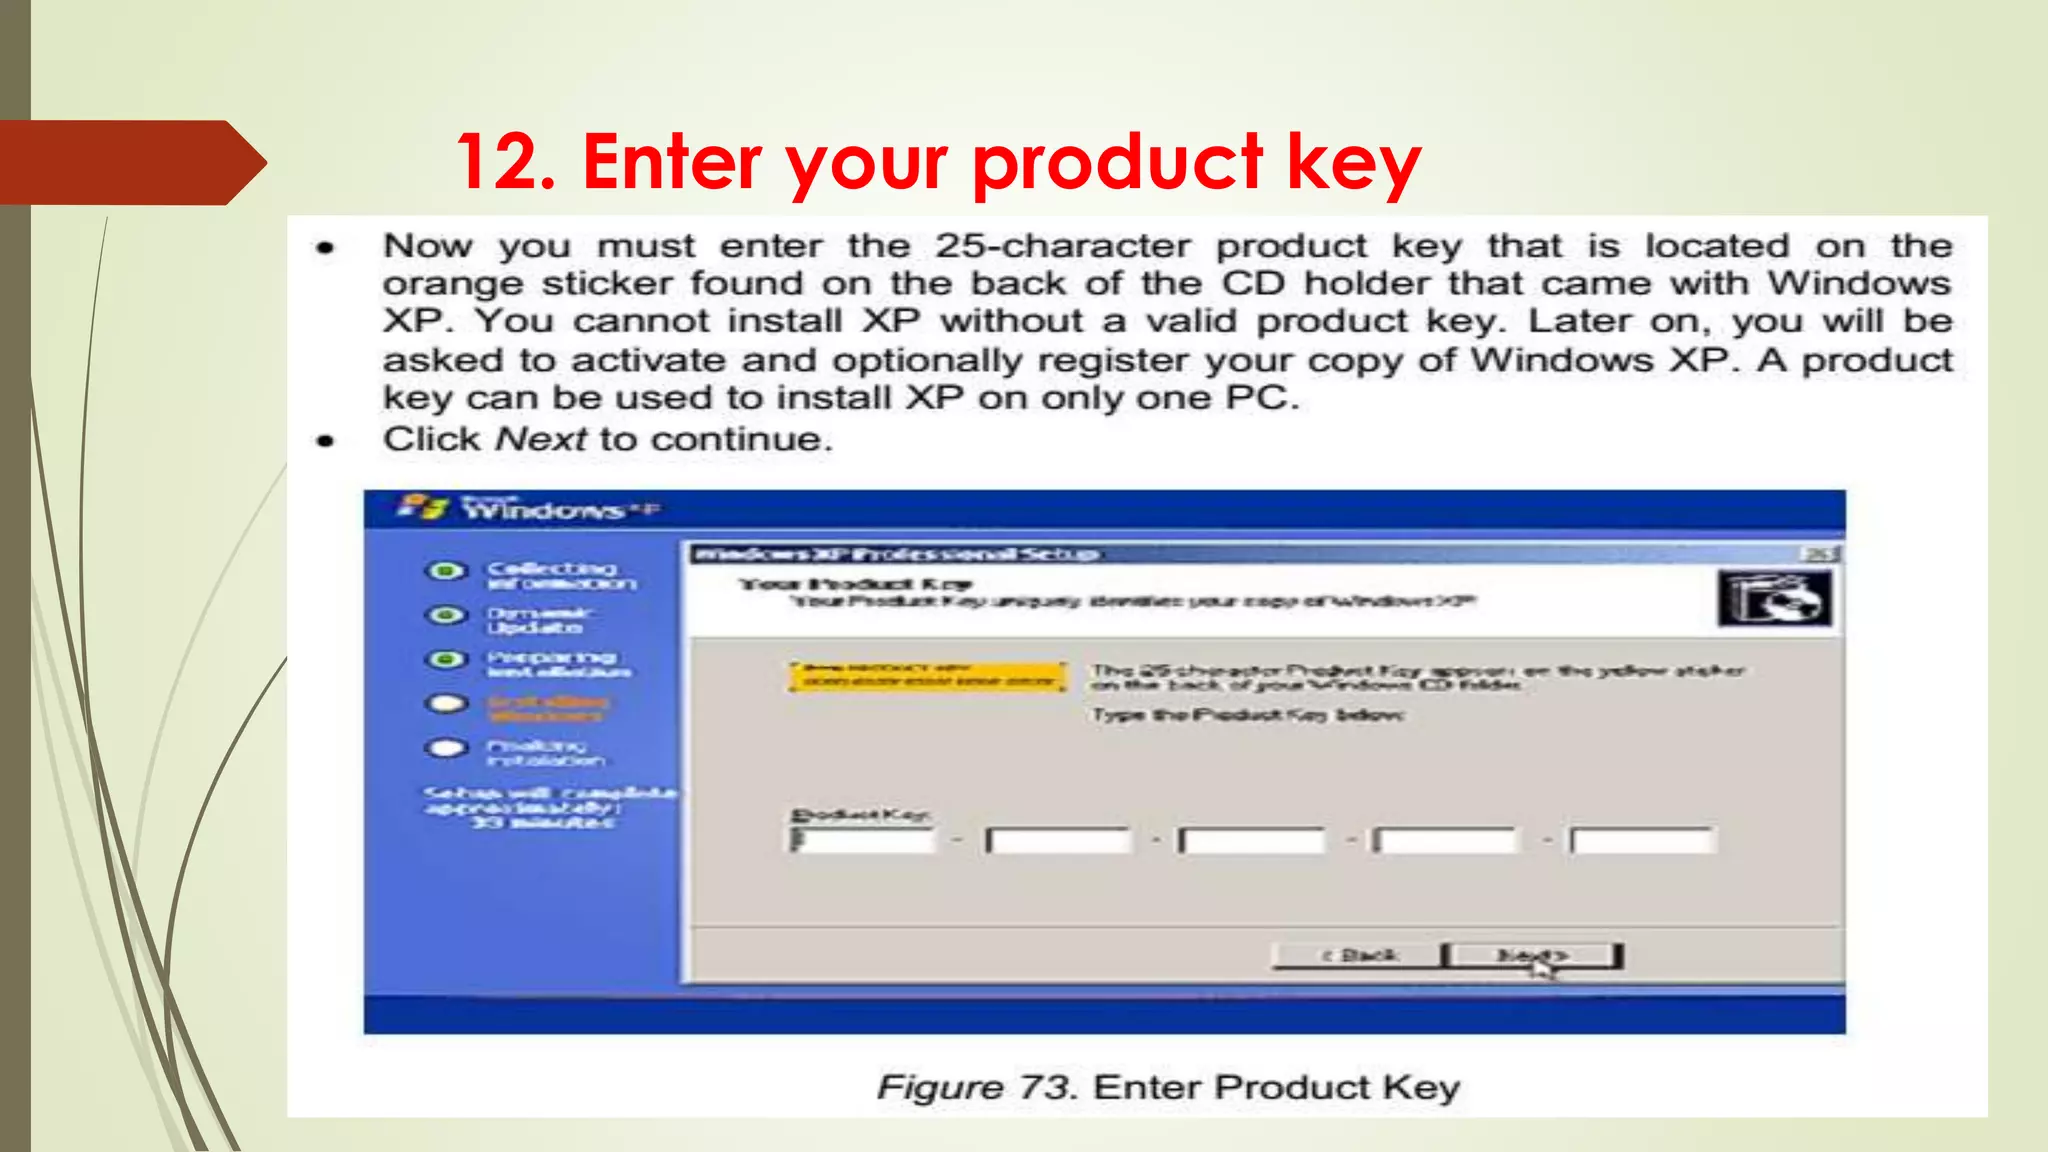
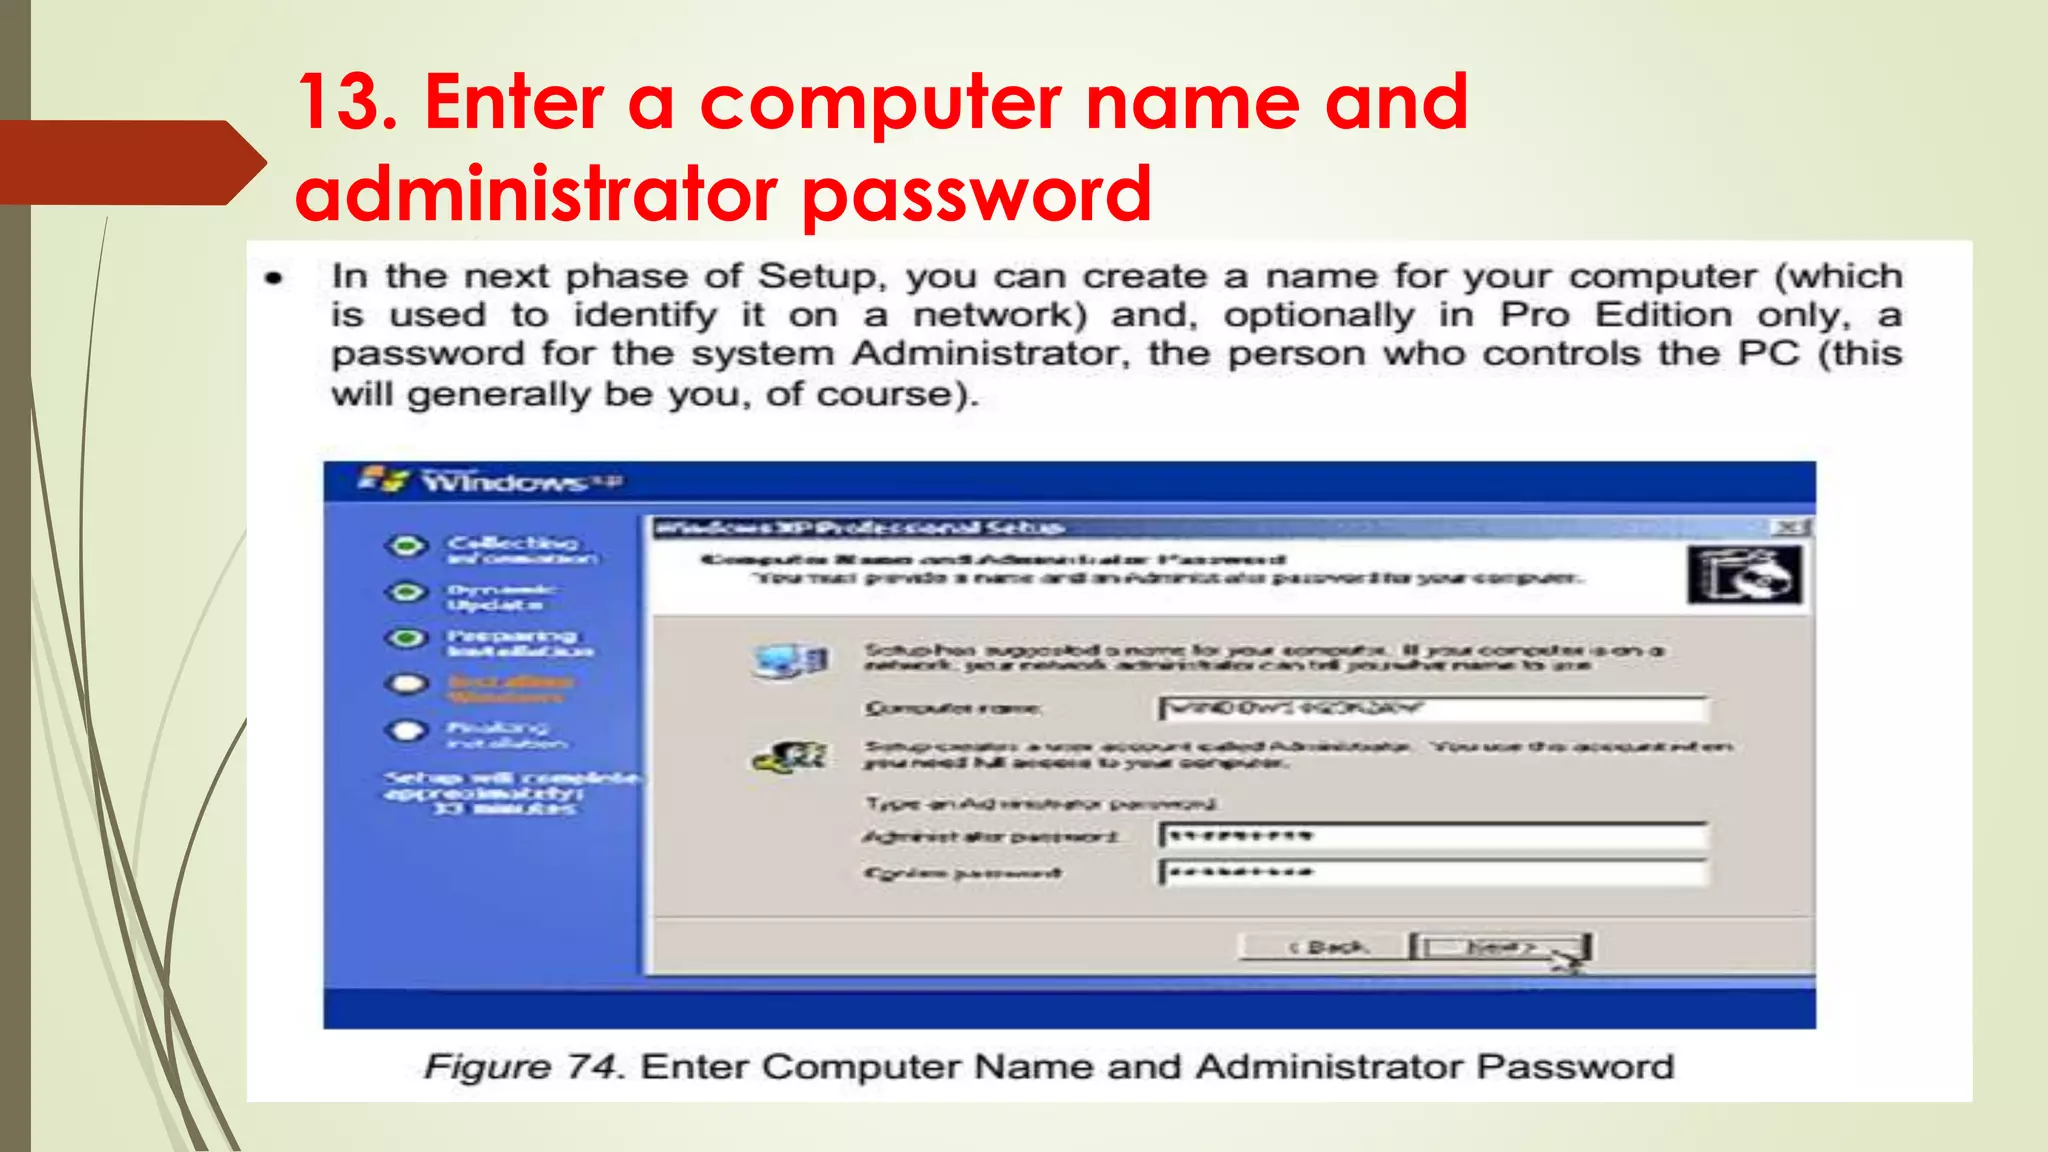
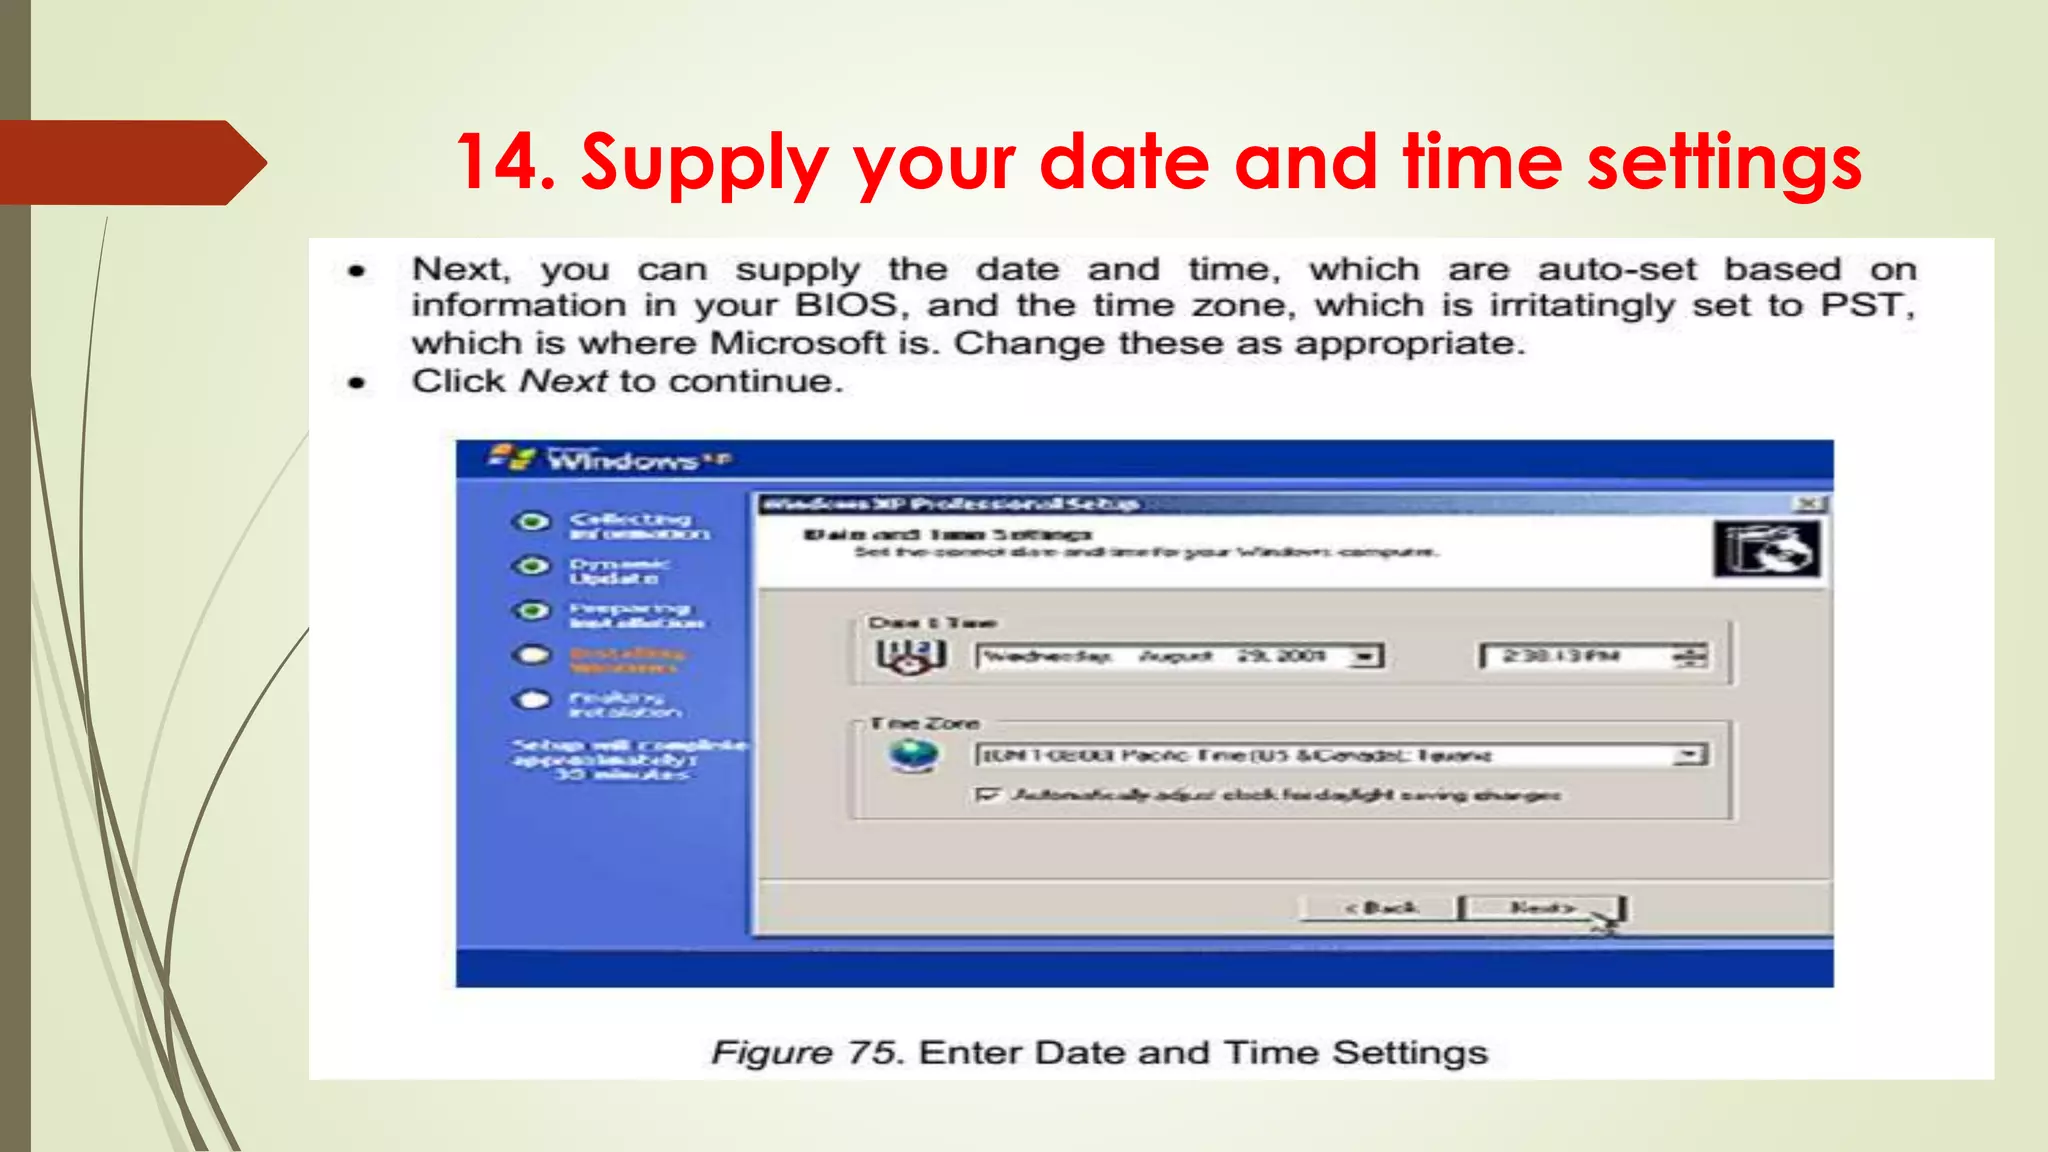
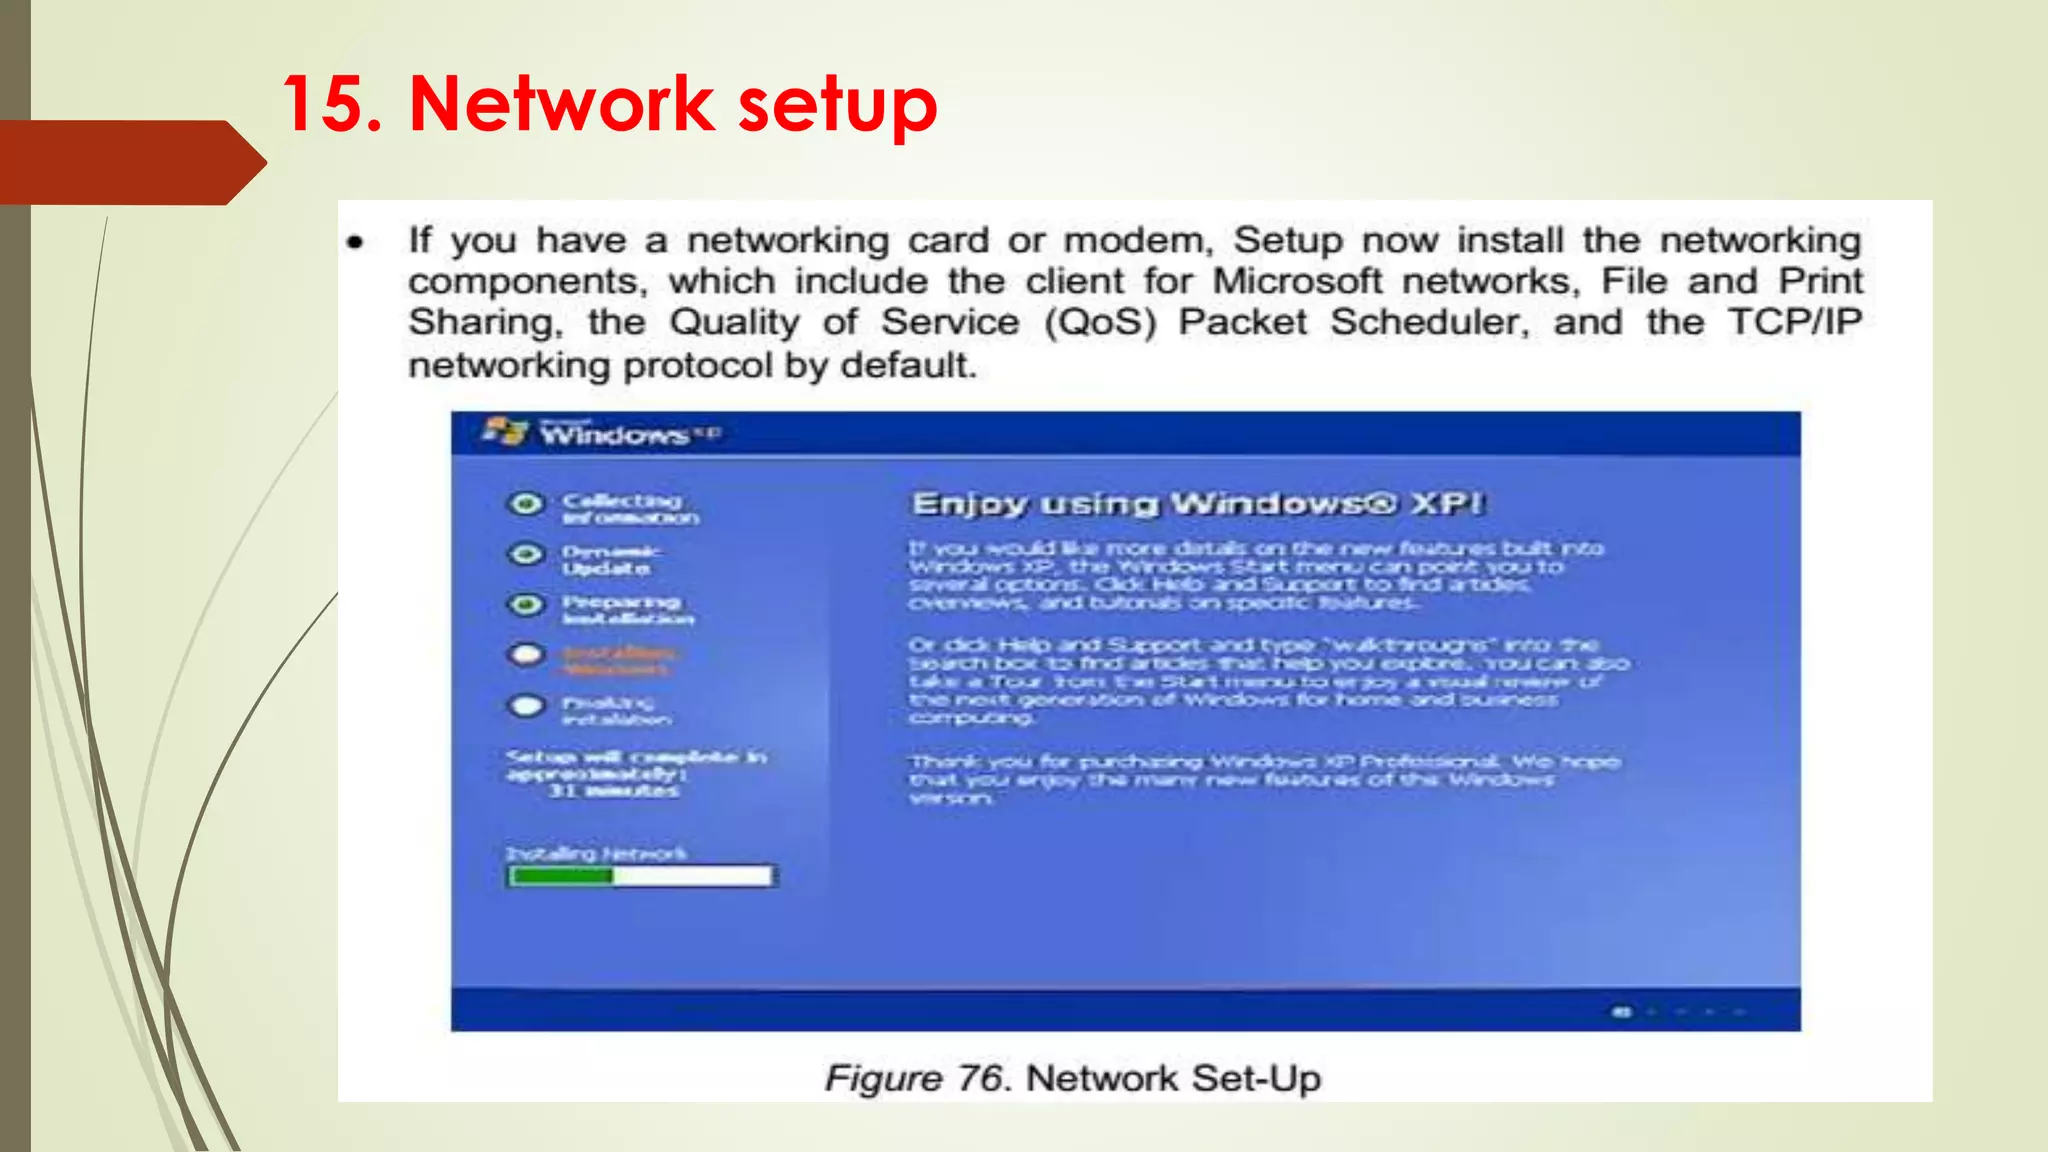
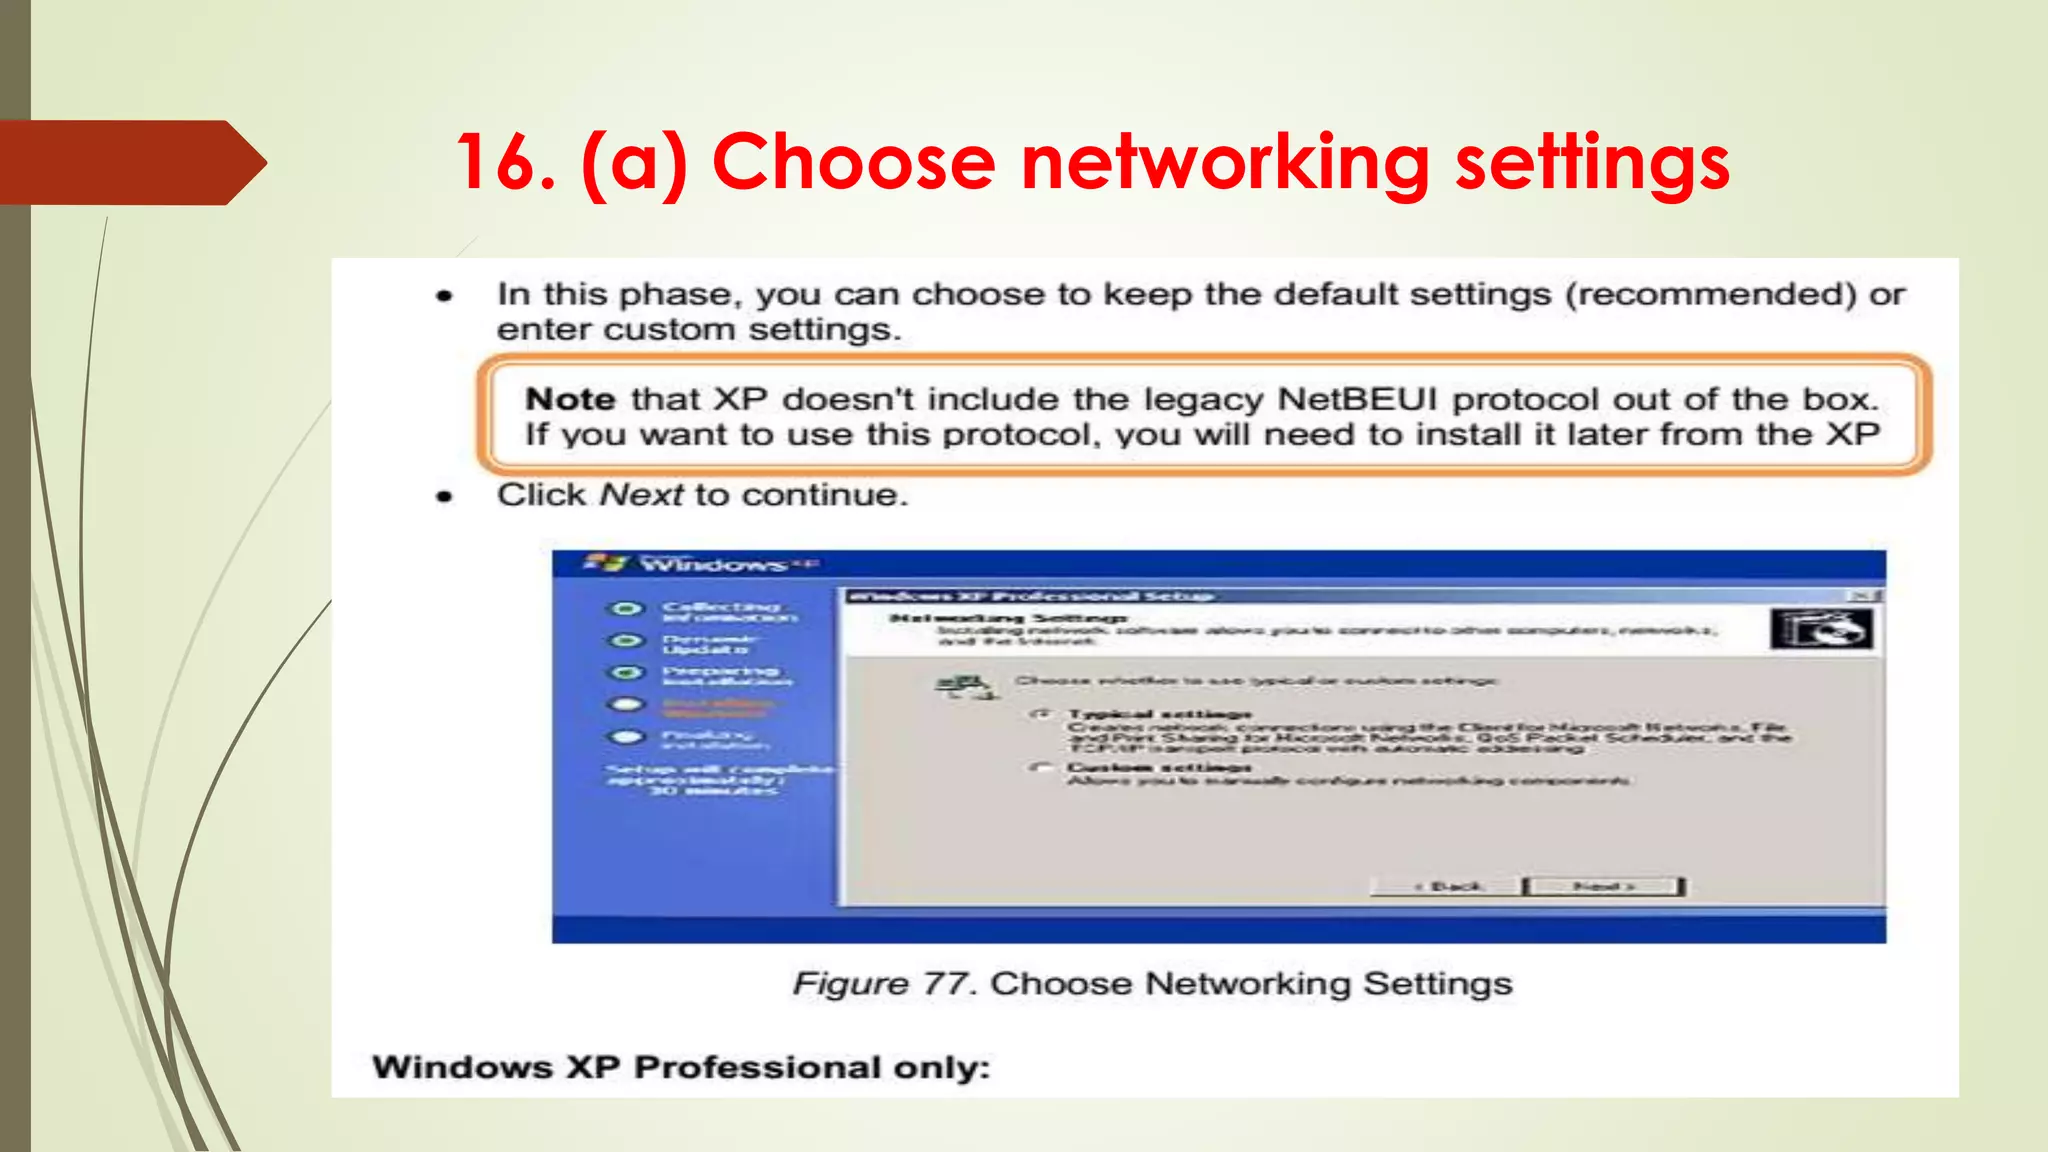
GUI setup steps covering regional settings, software personalization, product key, and network setup.
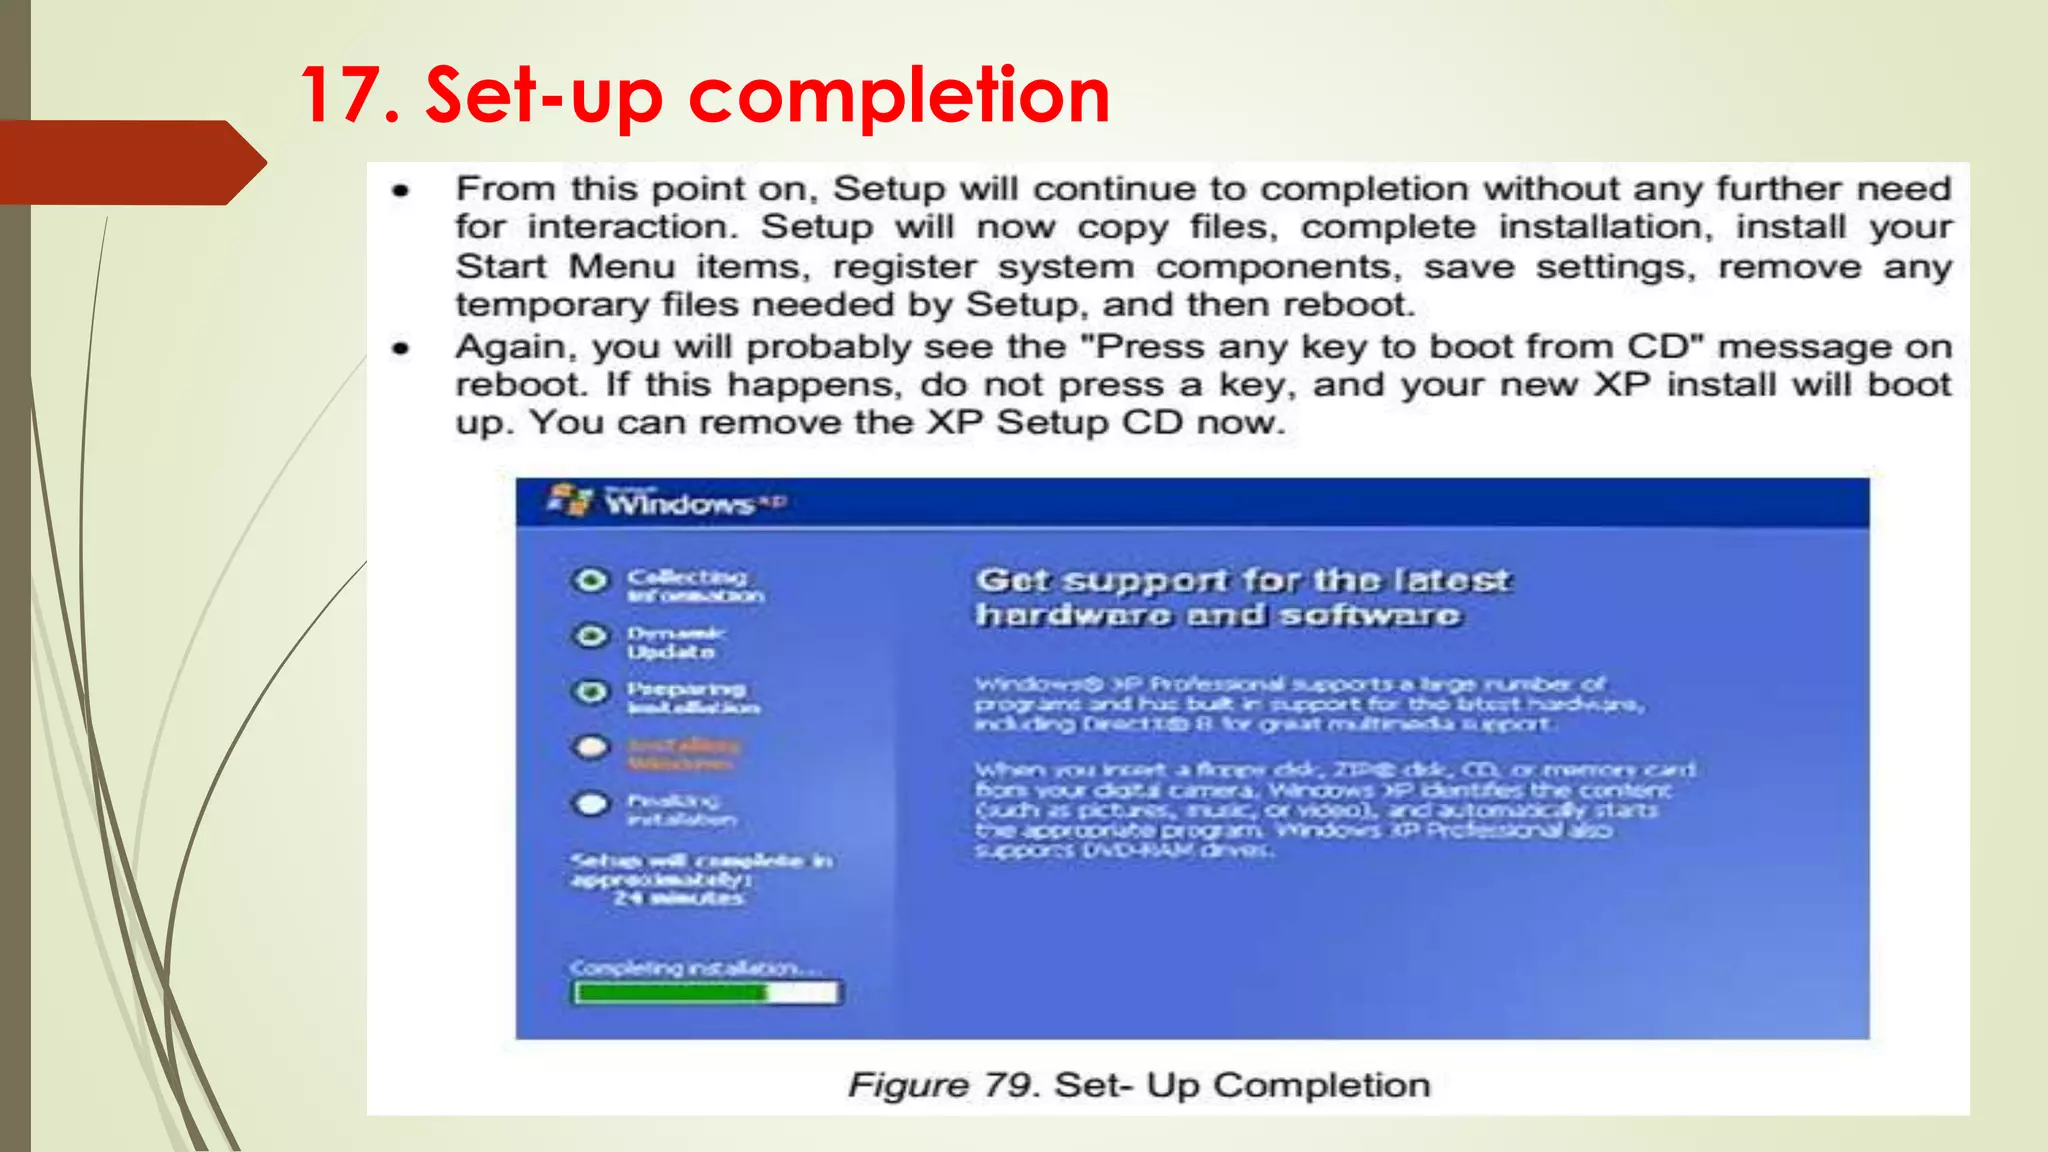
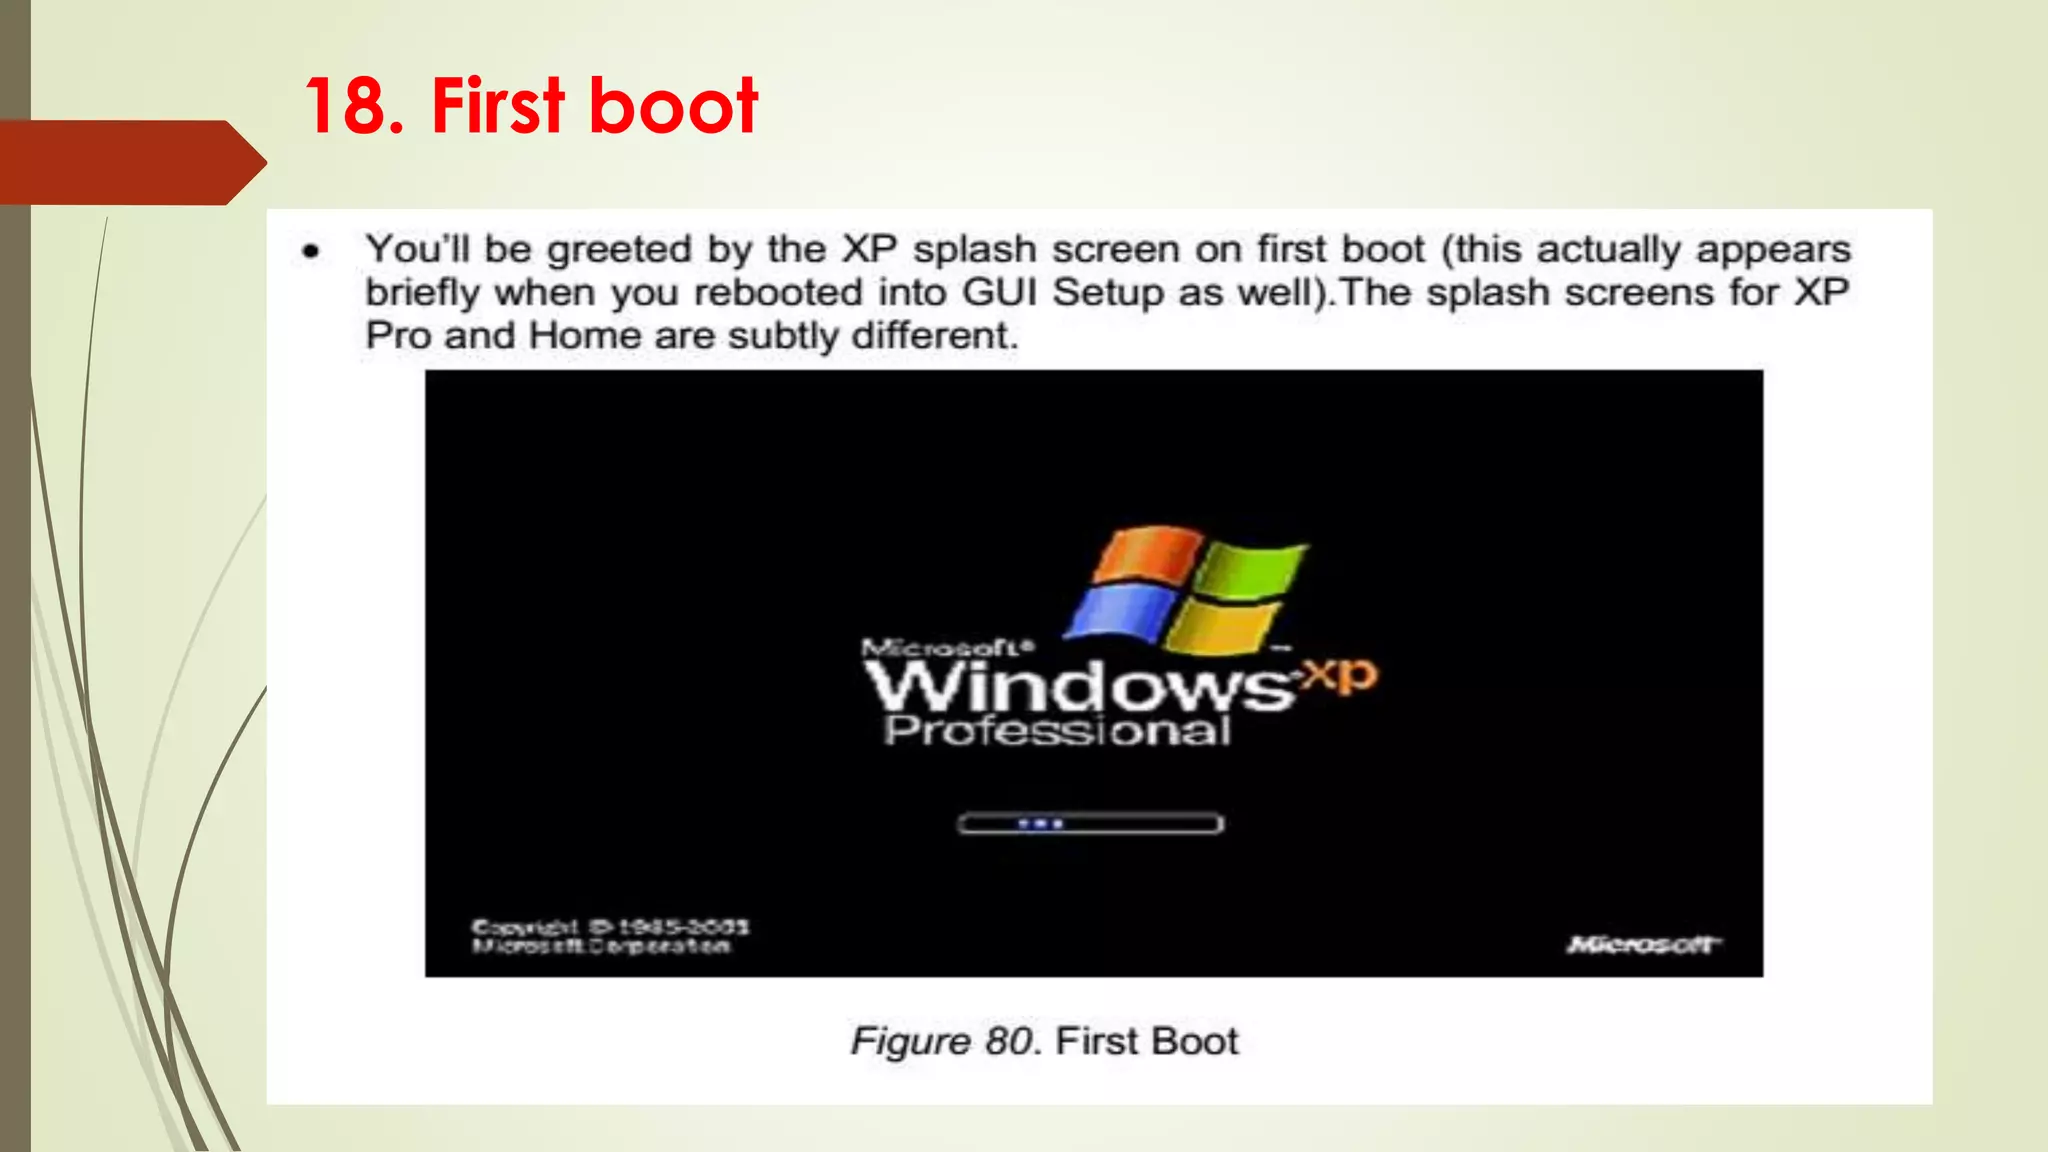
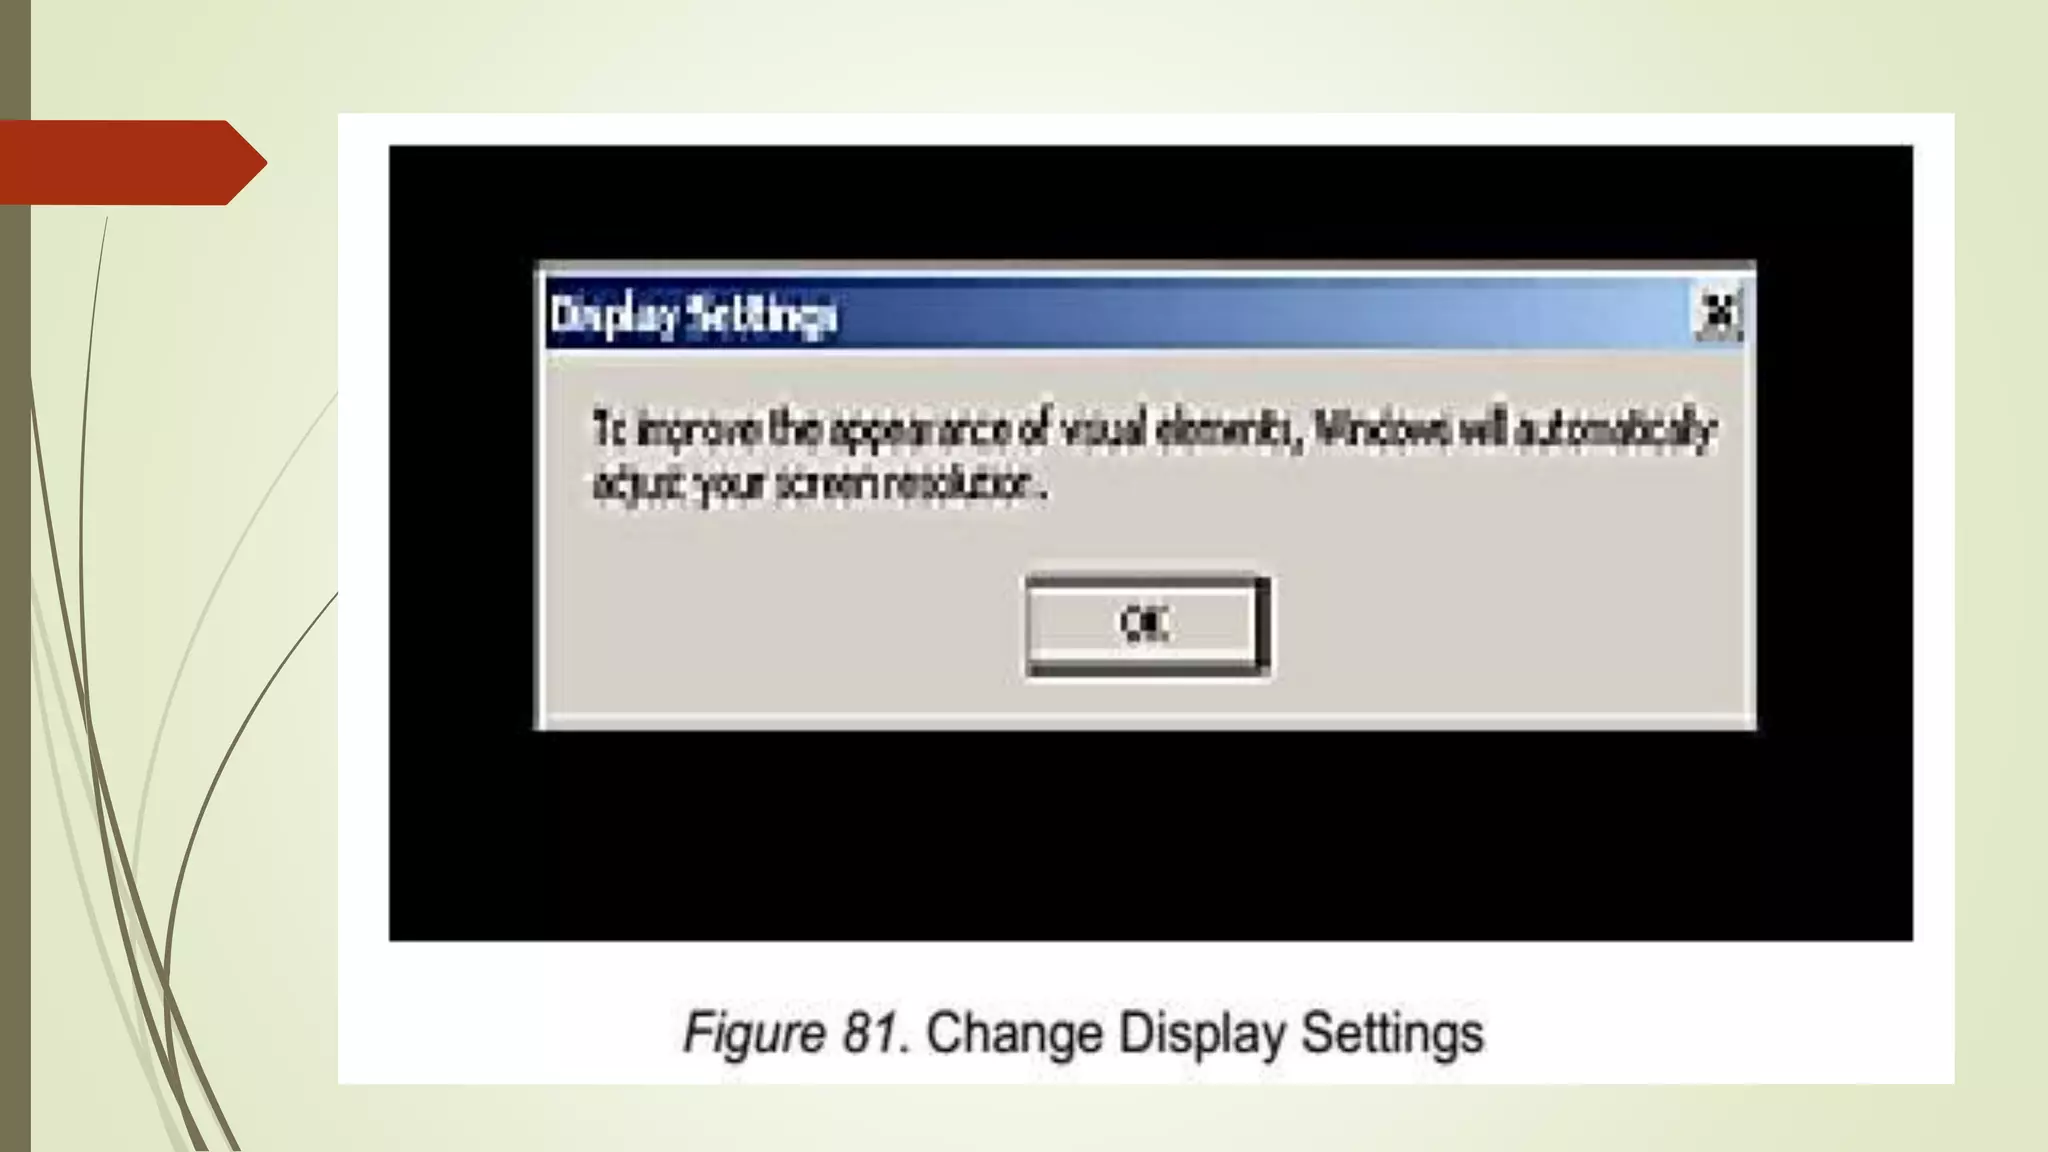
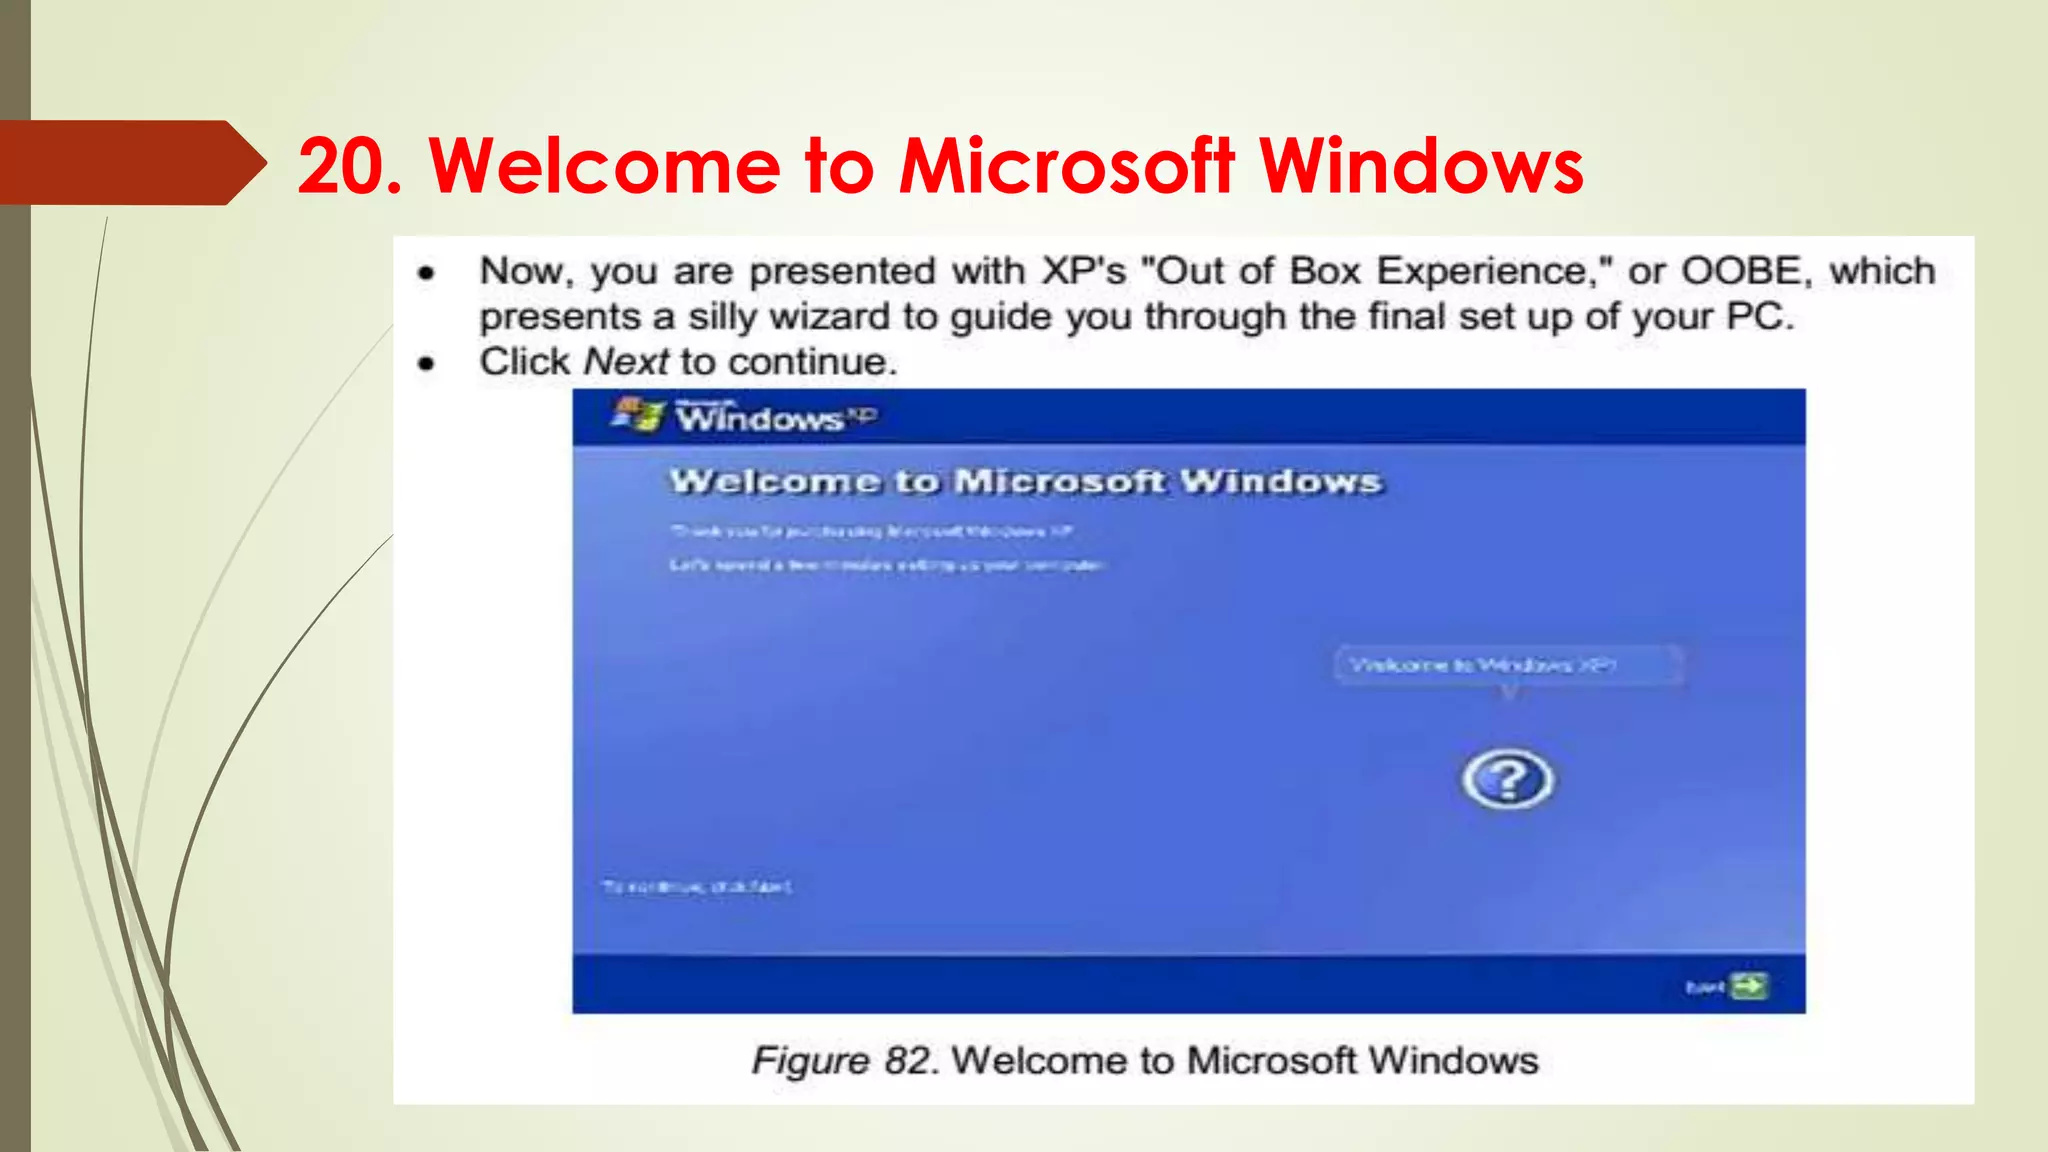
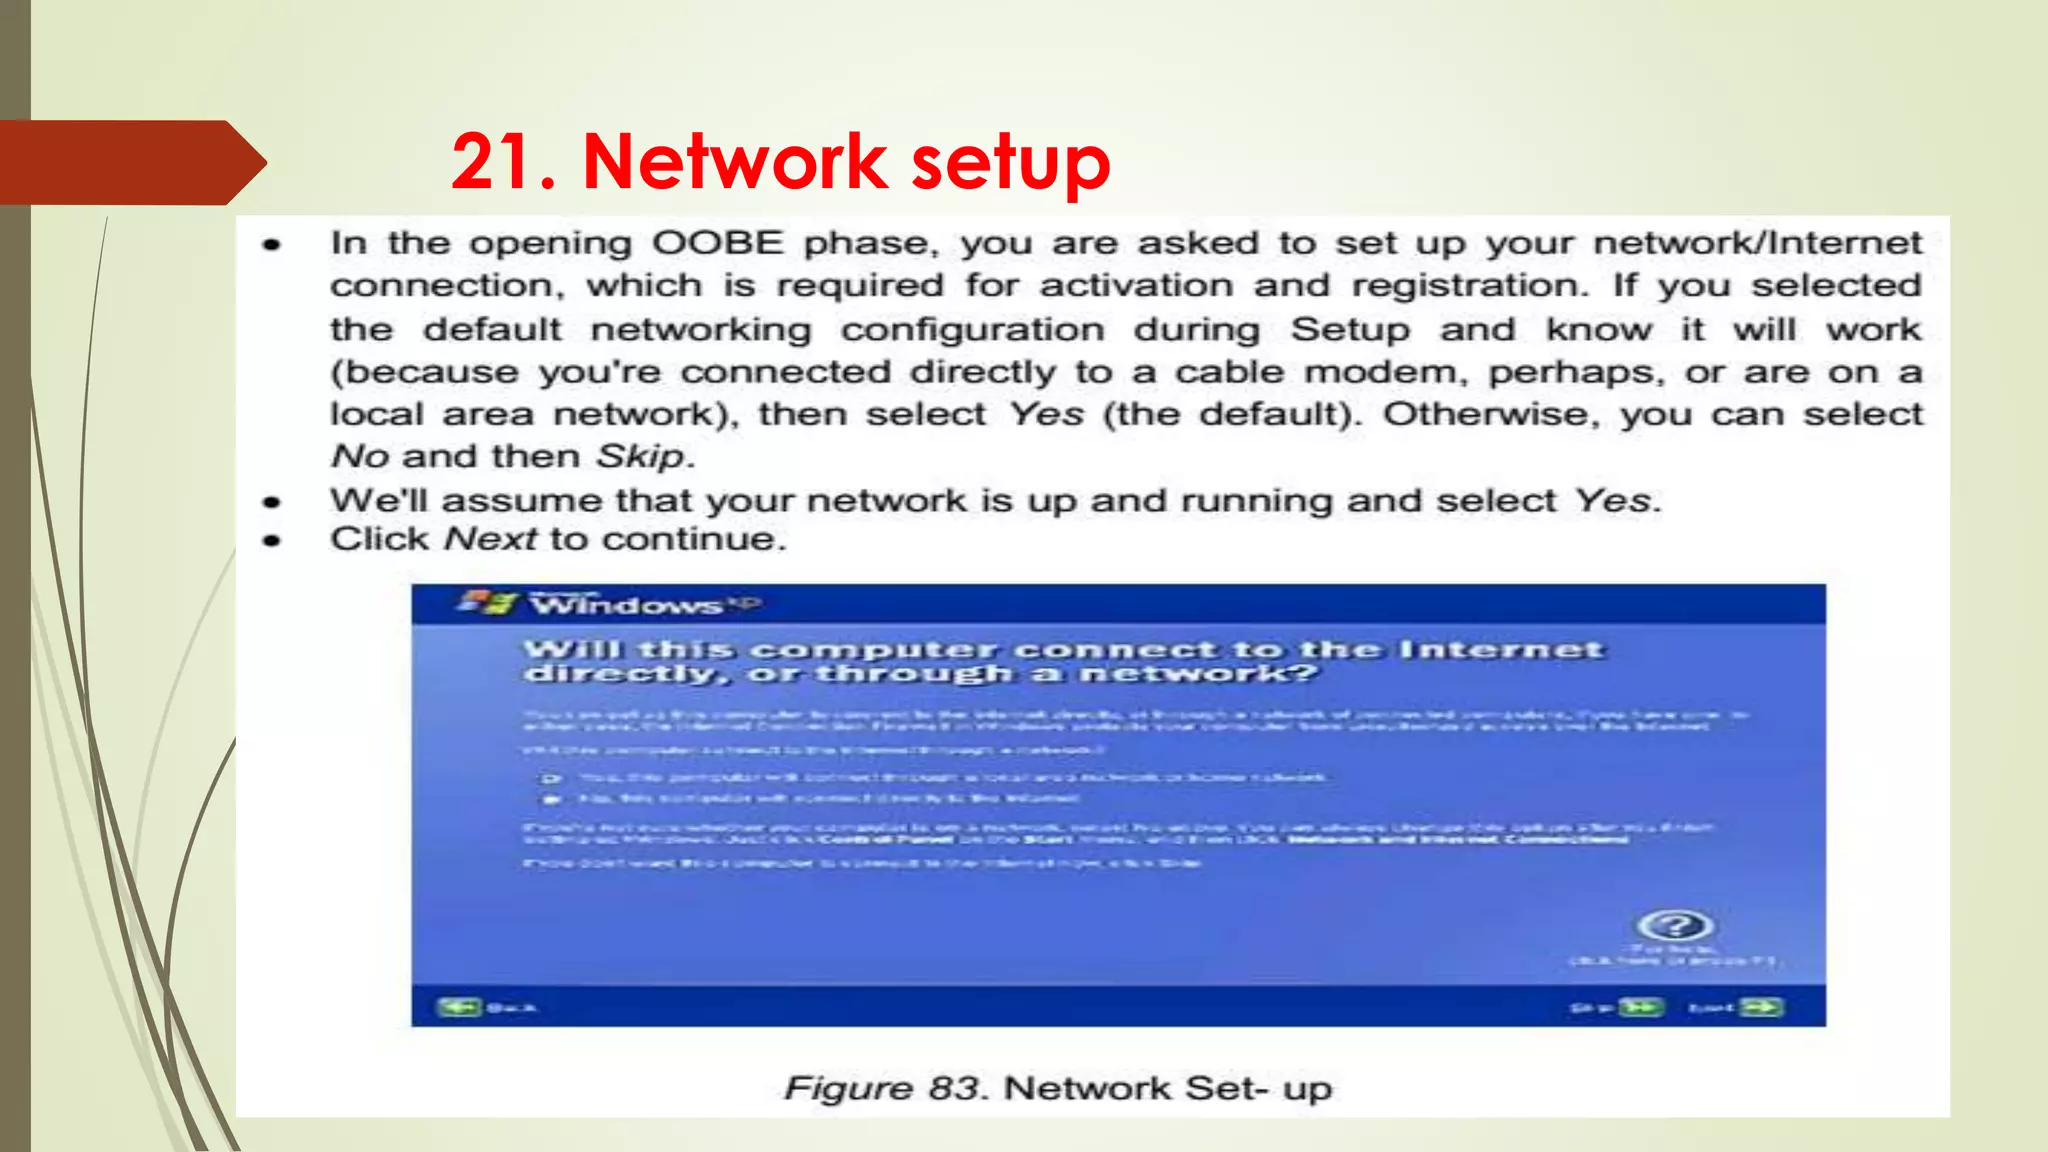
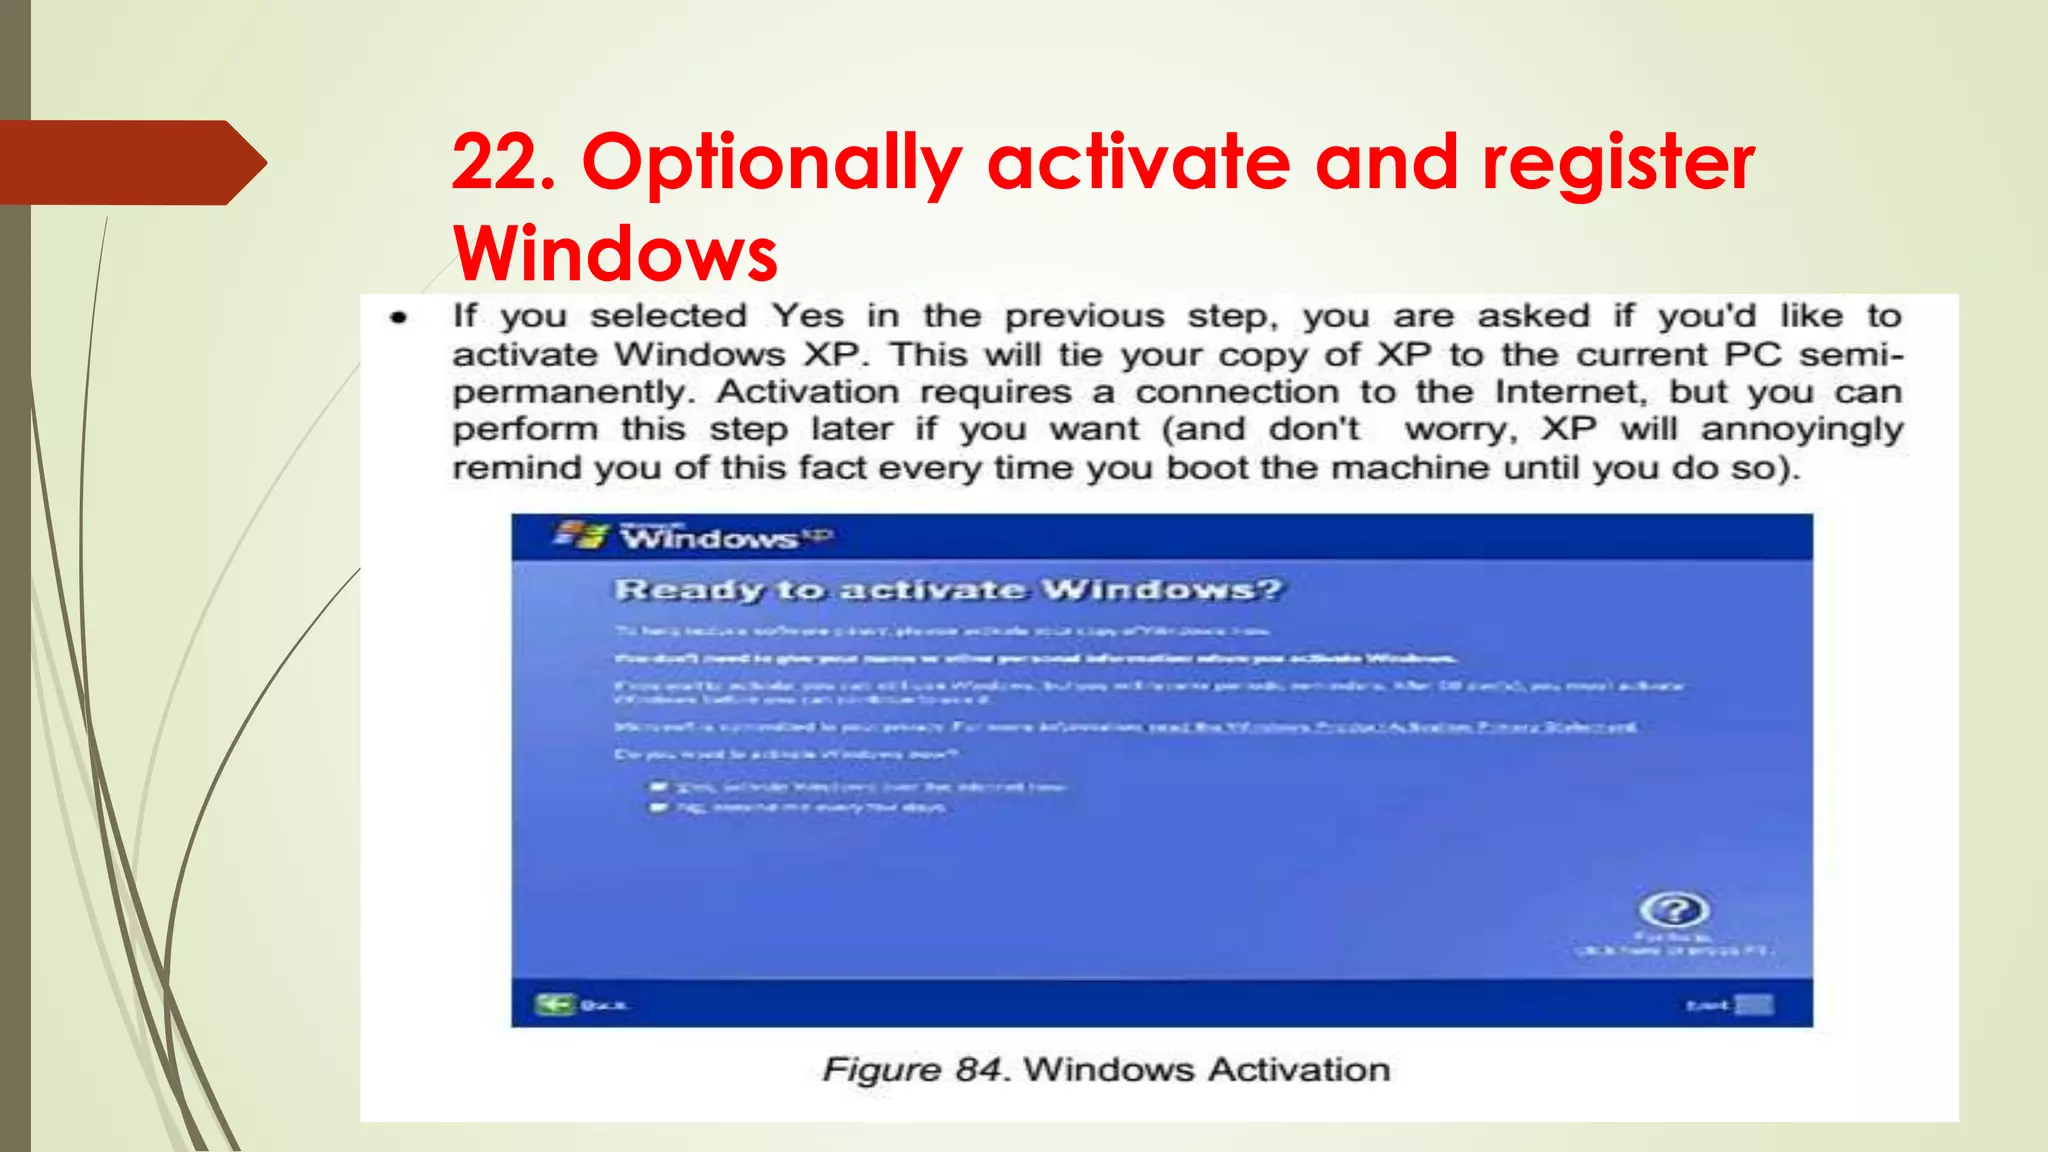
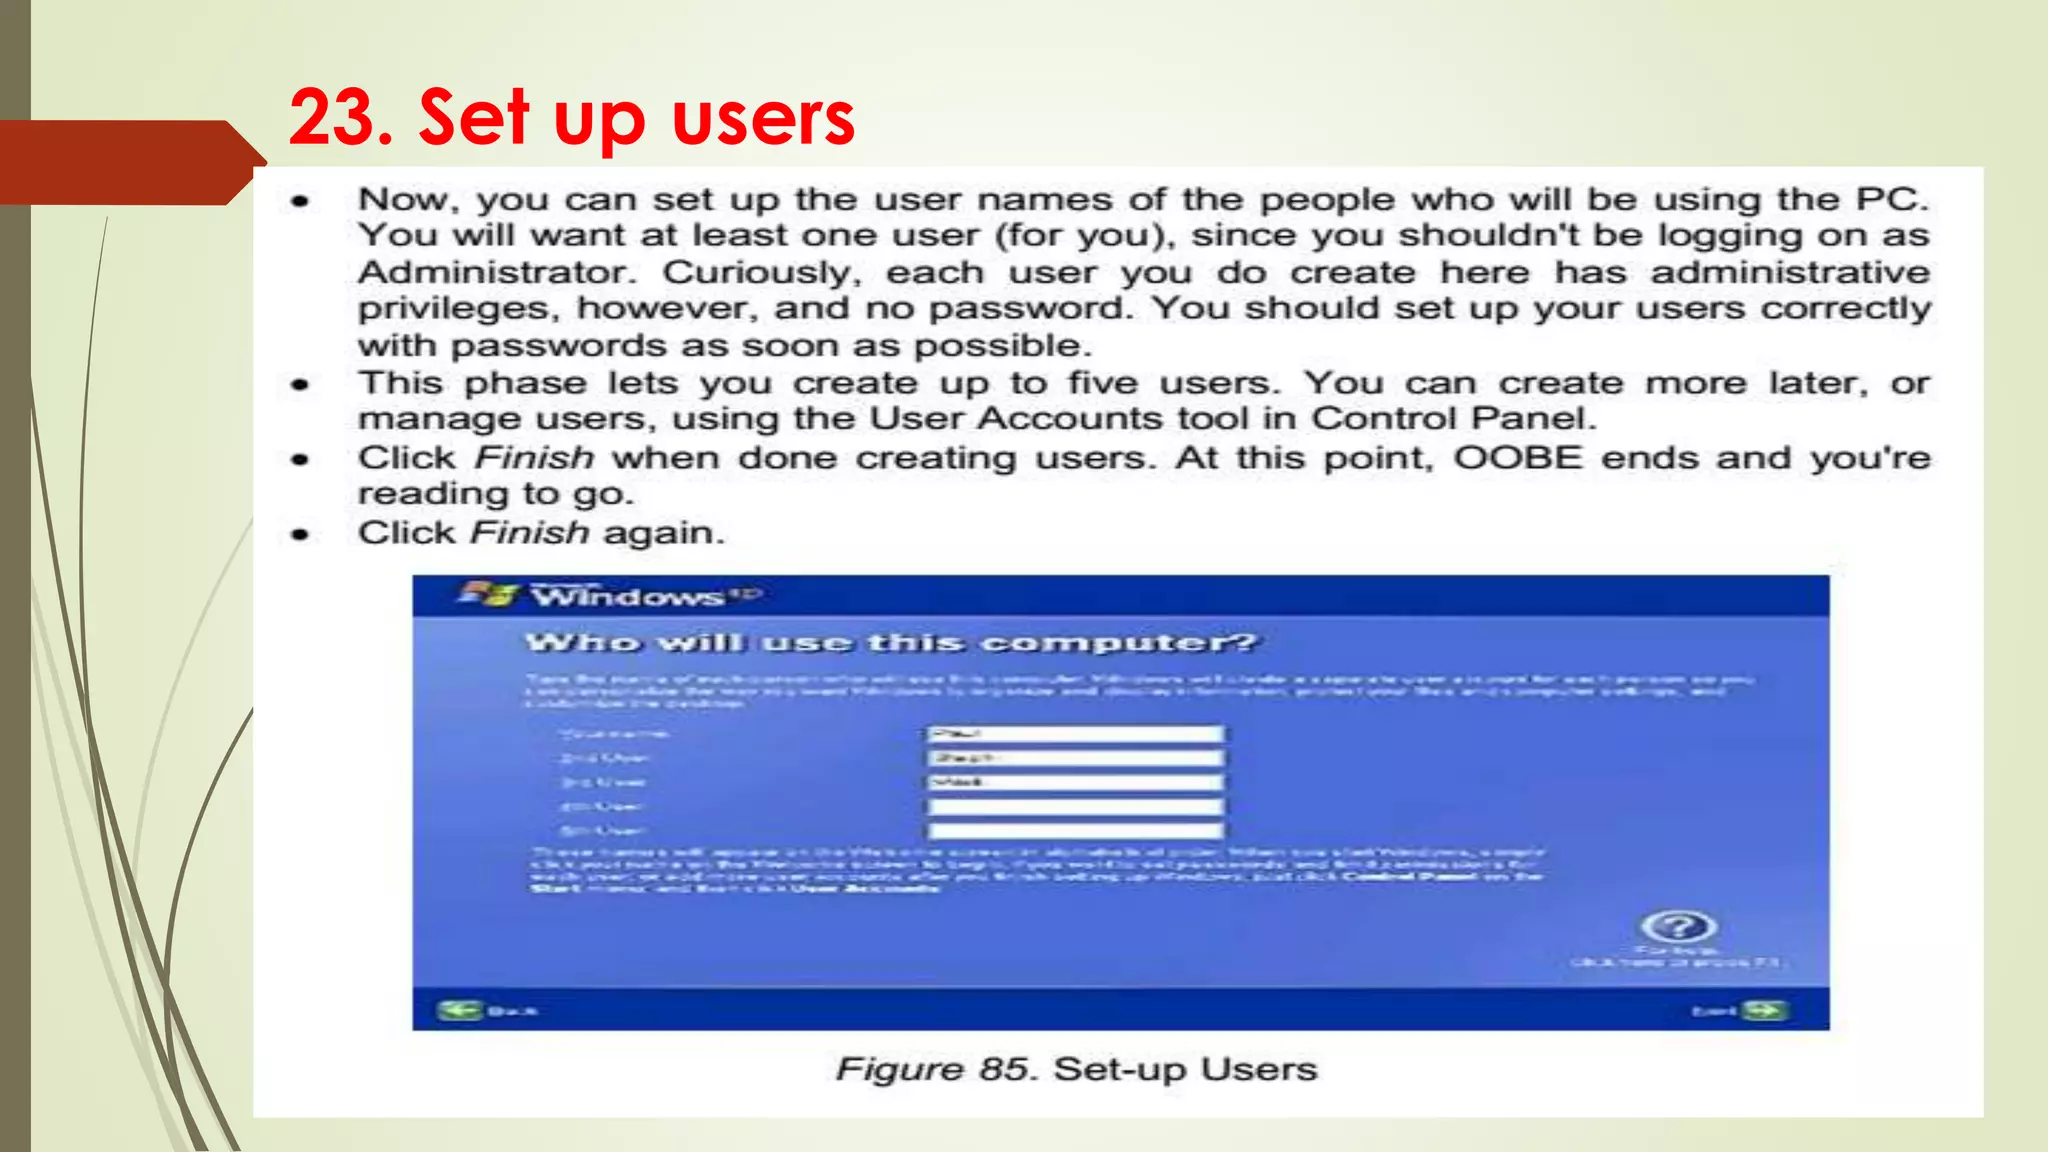
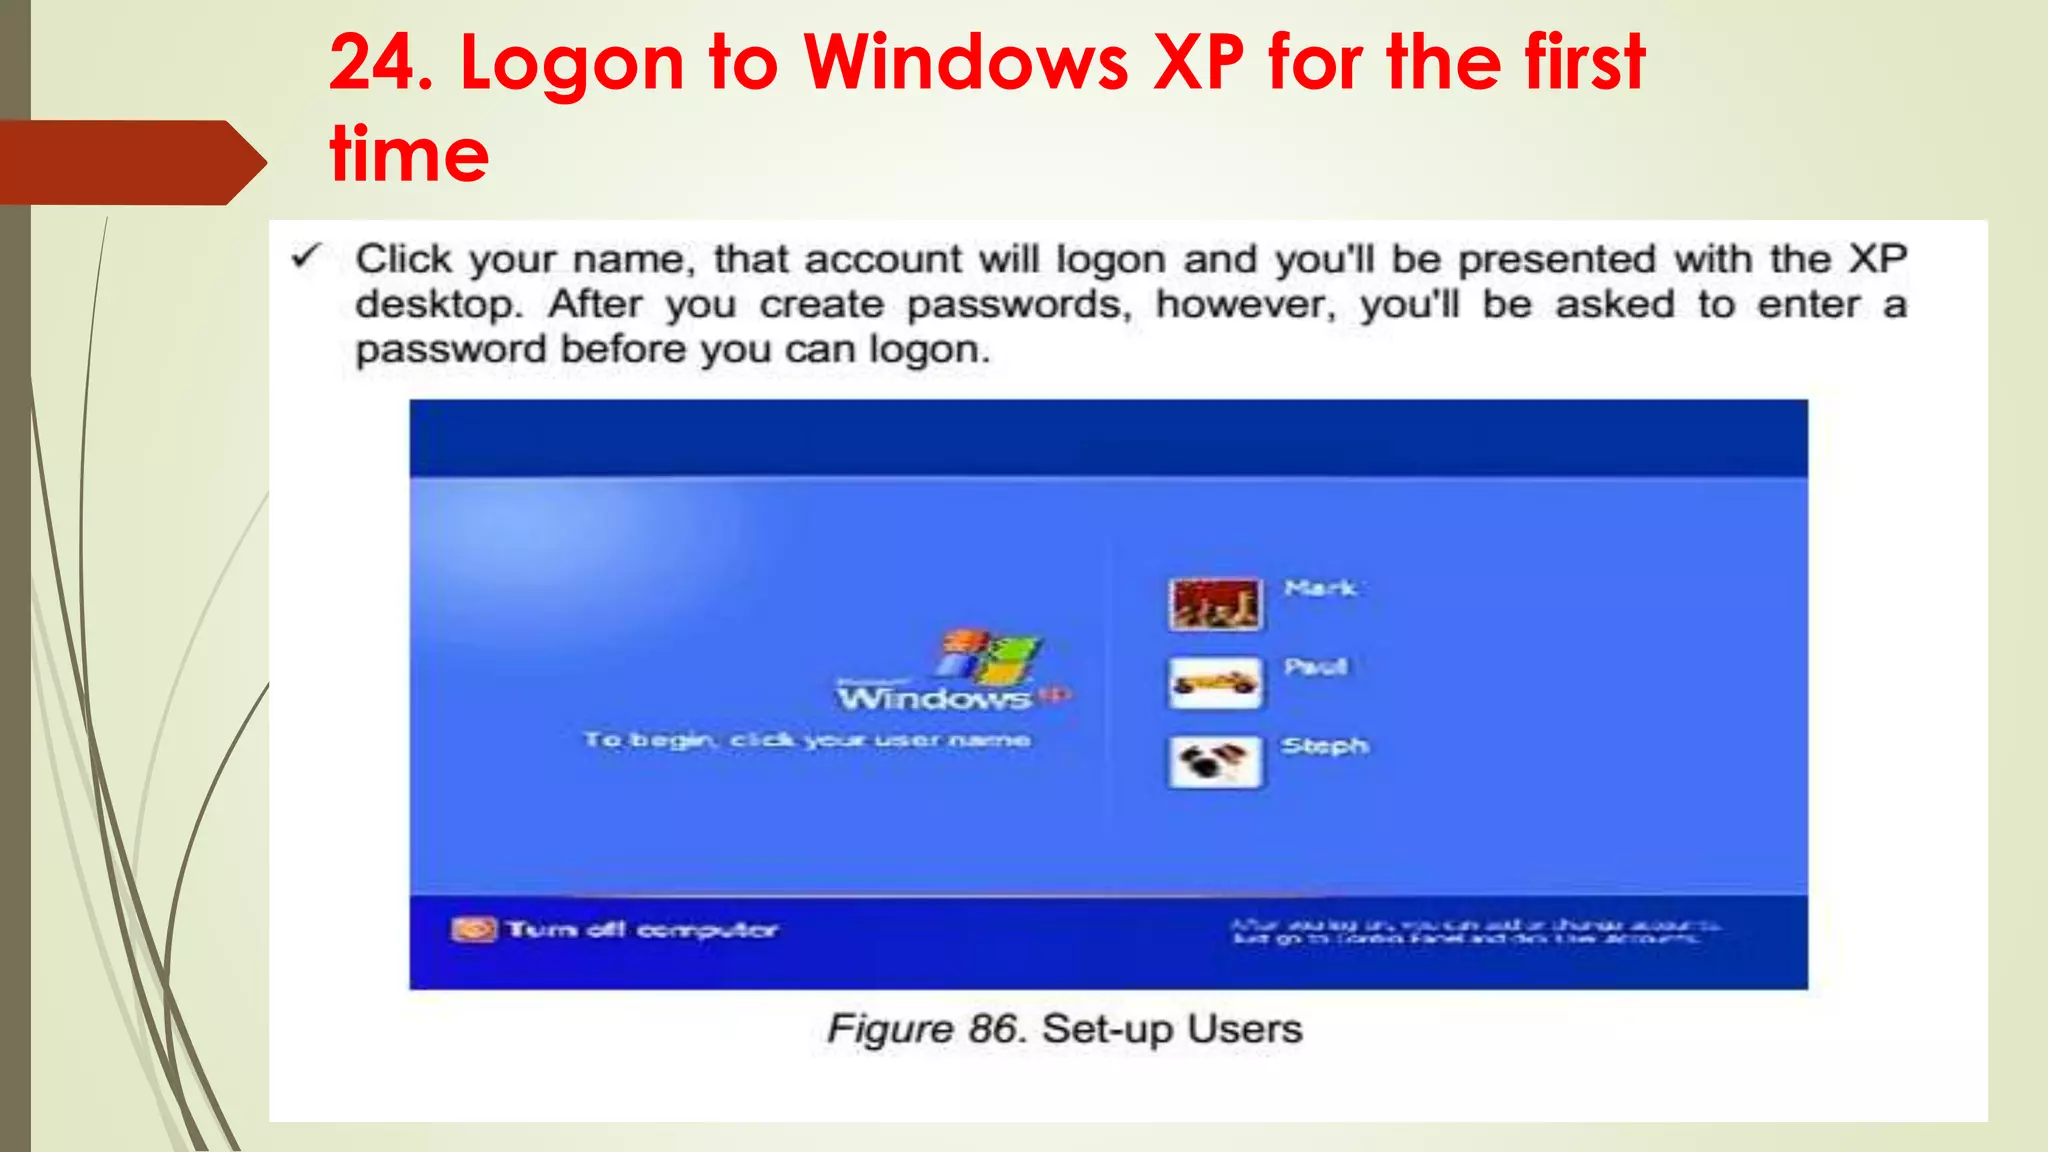
Completion of Windows XP setup, initial boot, display settings adjustment, network setup, and user configuration.
Completion of Windows XP setup, initial boot, display settings adjustment, network setup, and user configuration.
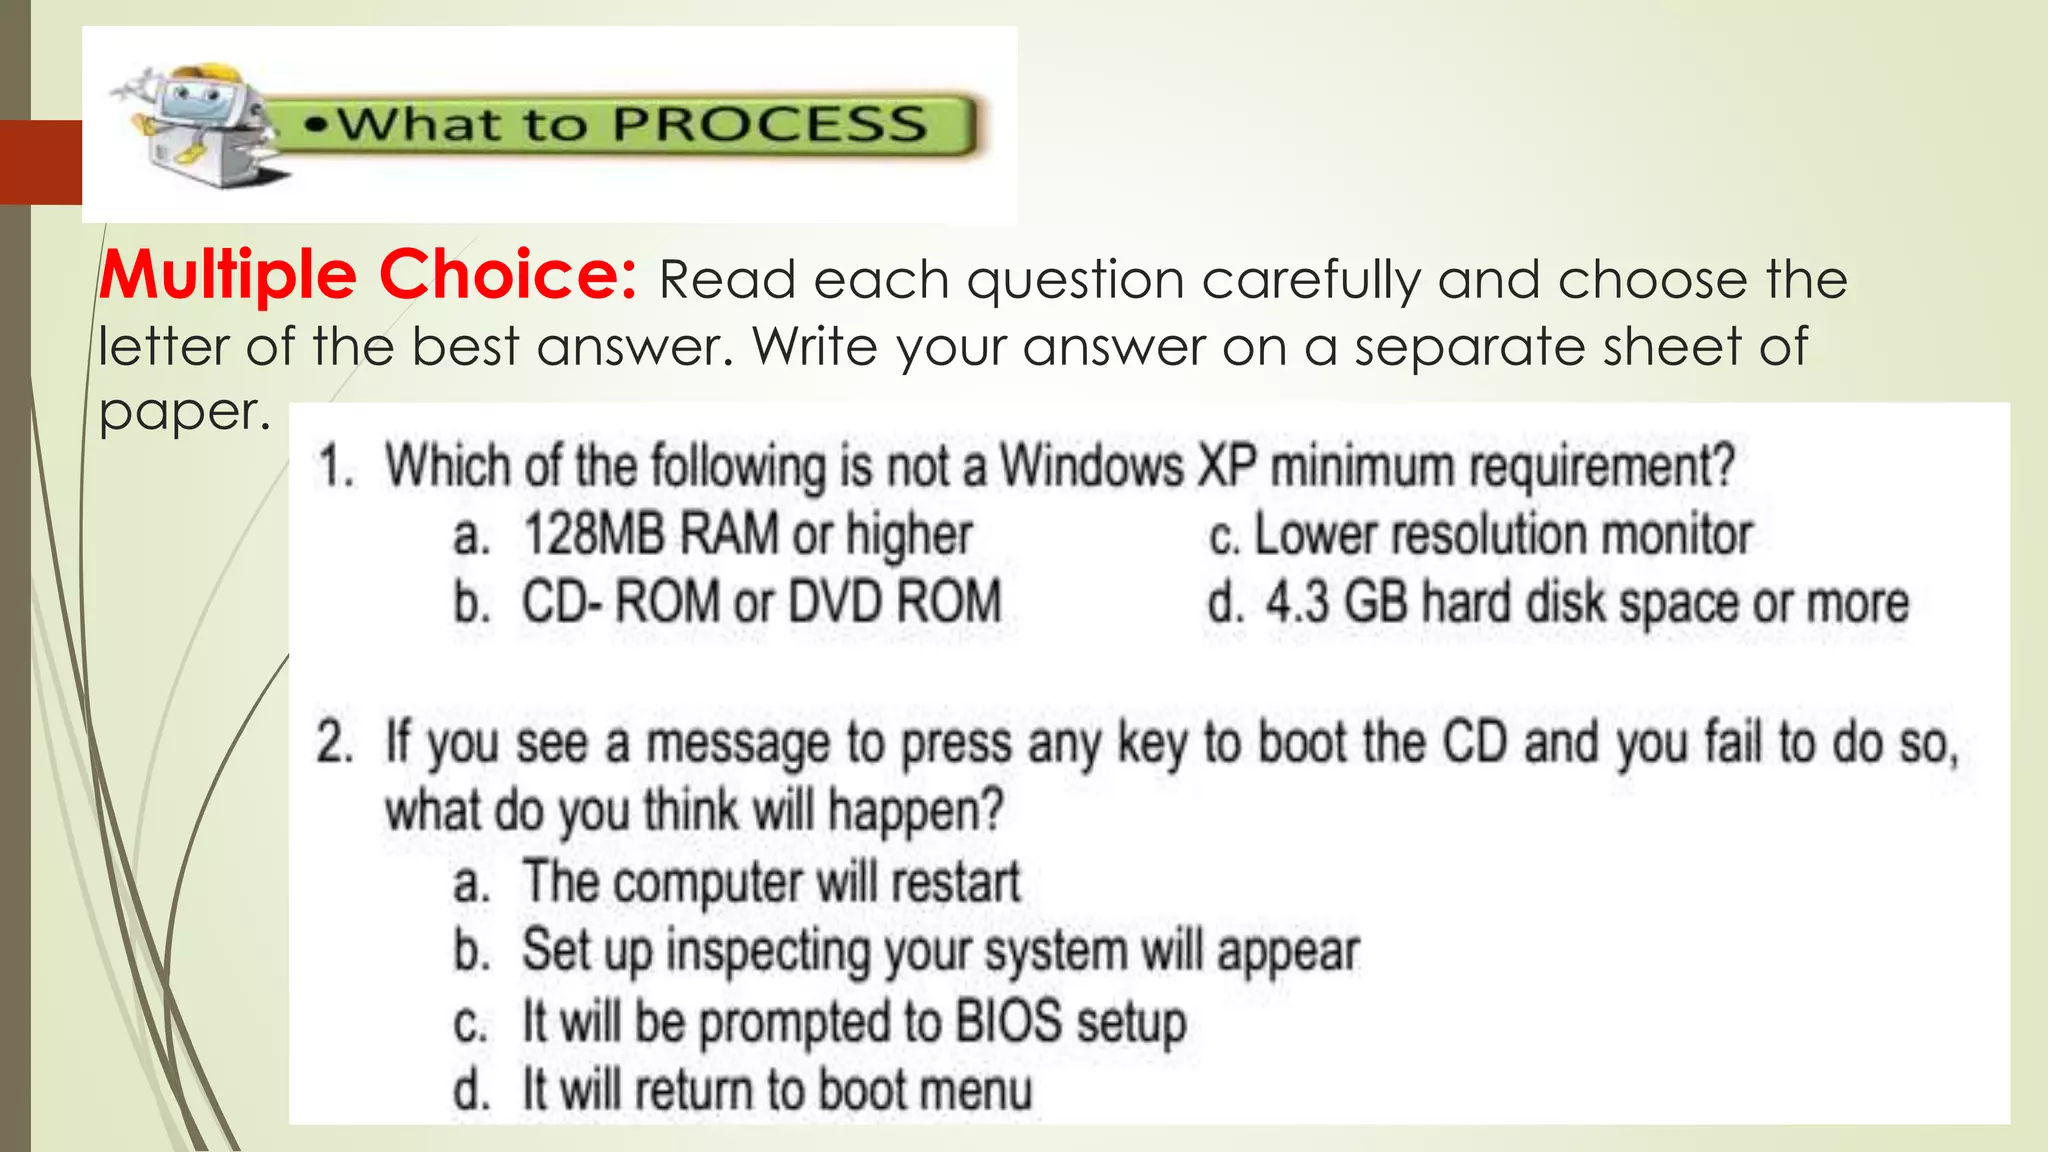
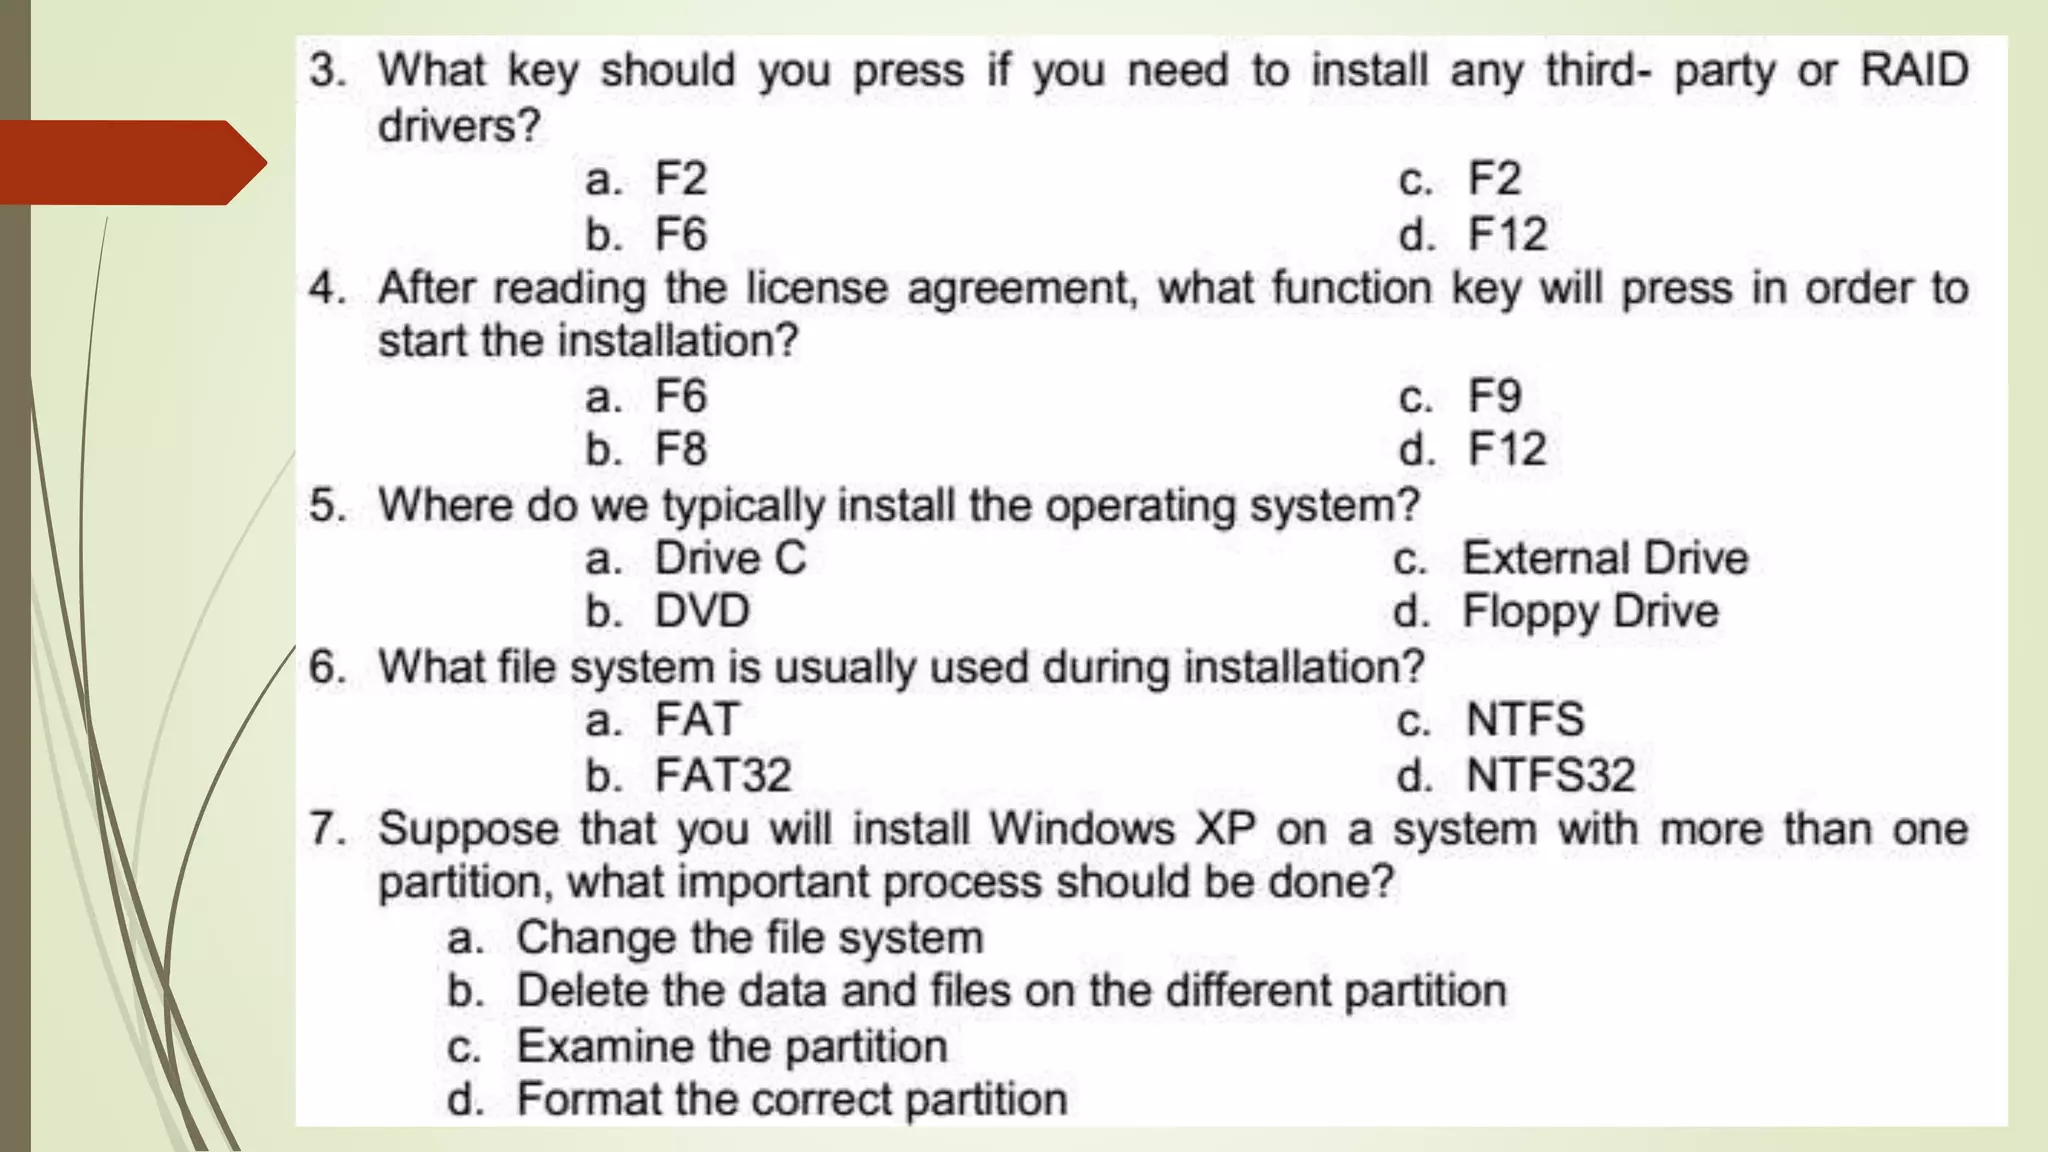
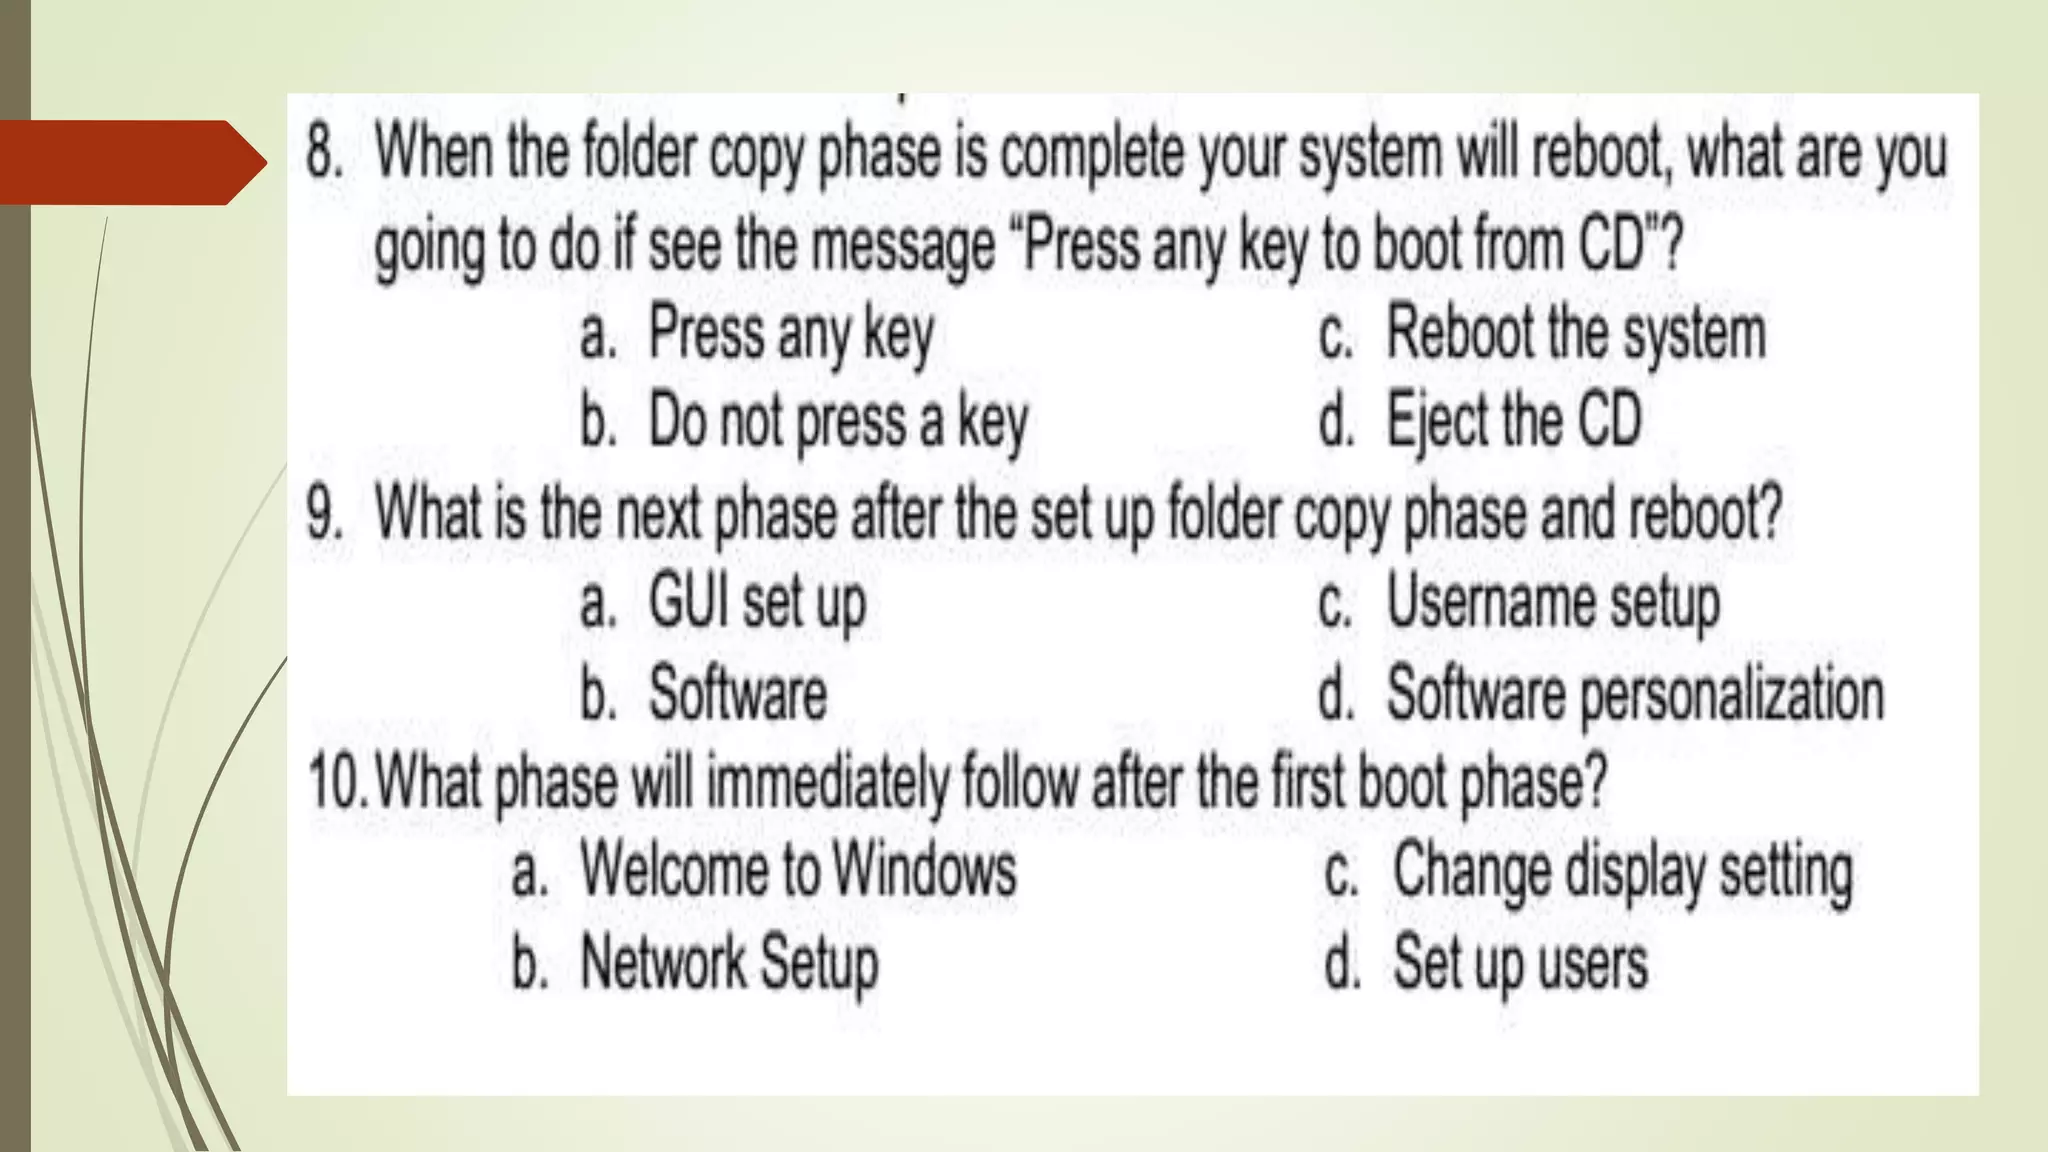
Multiple choice questions designed to test understanding of the Windows XP installation process.


![Number_Guessing_Game_Dsbsbssbzboc[1].pptx](https://cdn.slidesharecdn.com/ss_thumbnails/numberguessinggamedoc1-251206215042-a076fc05-thumbnail.jpg?width=640&height=640&fit=bounds)


