Downloaded 178 times

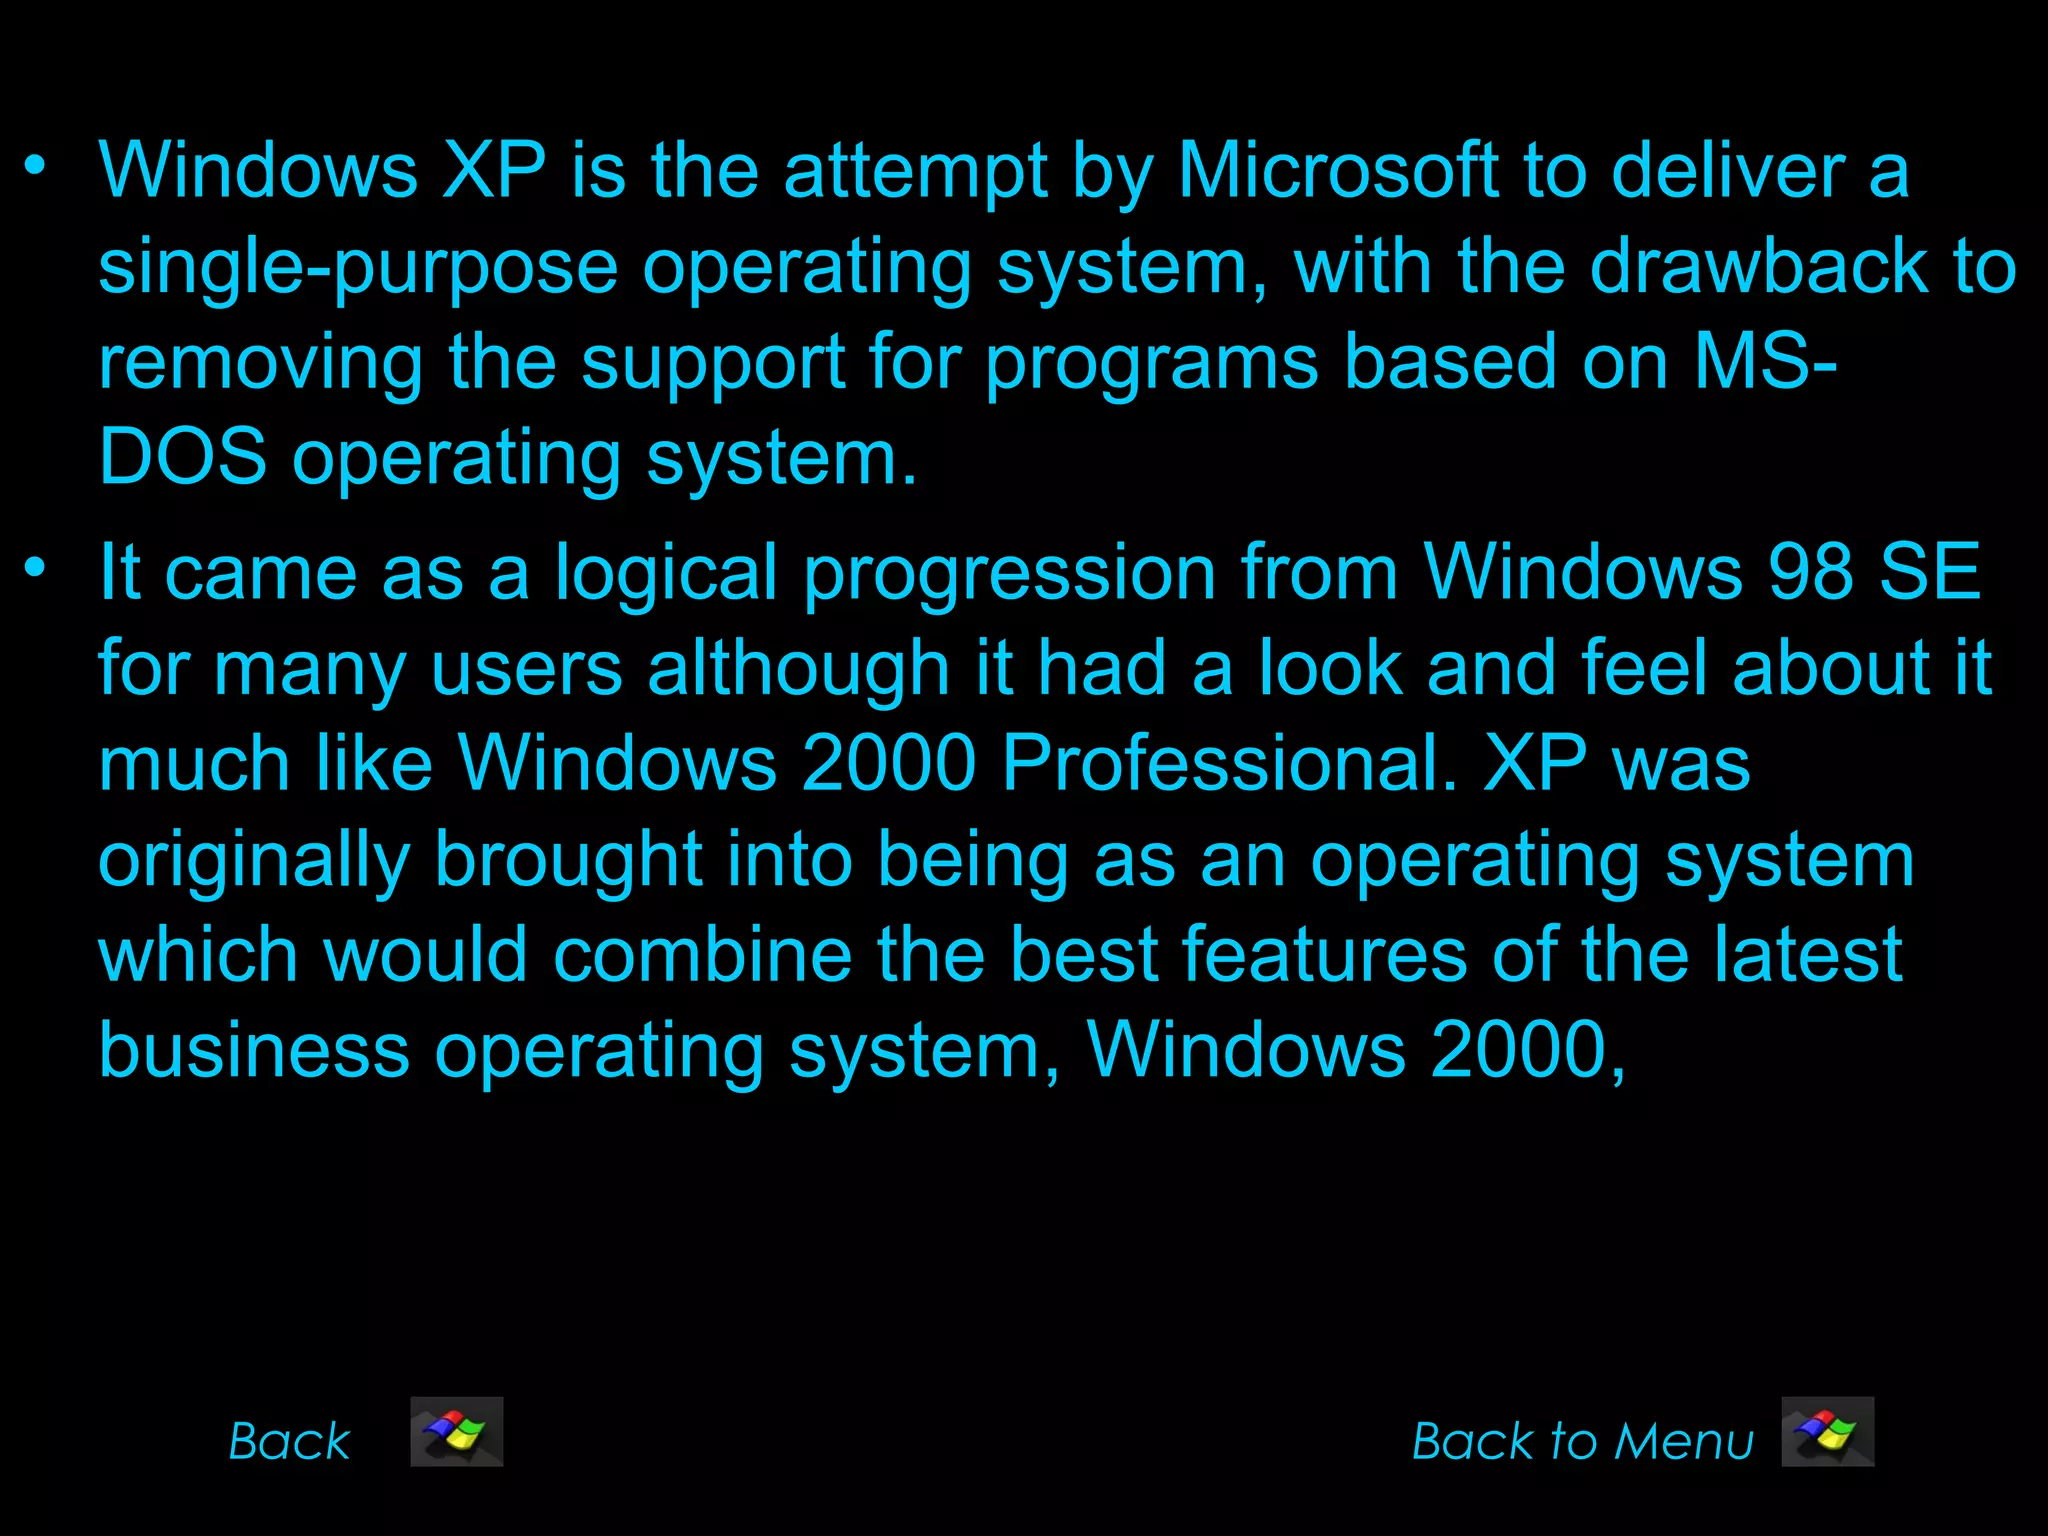
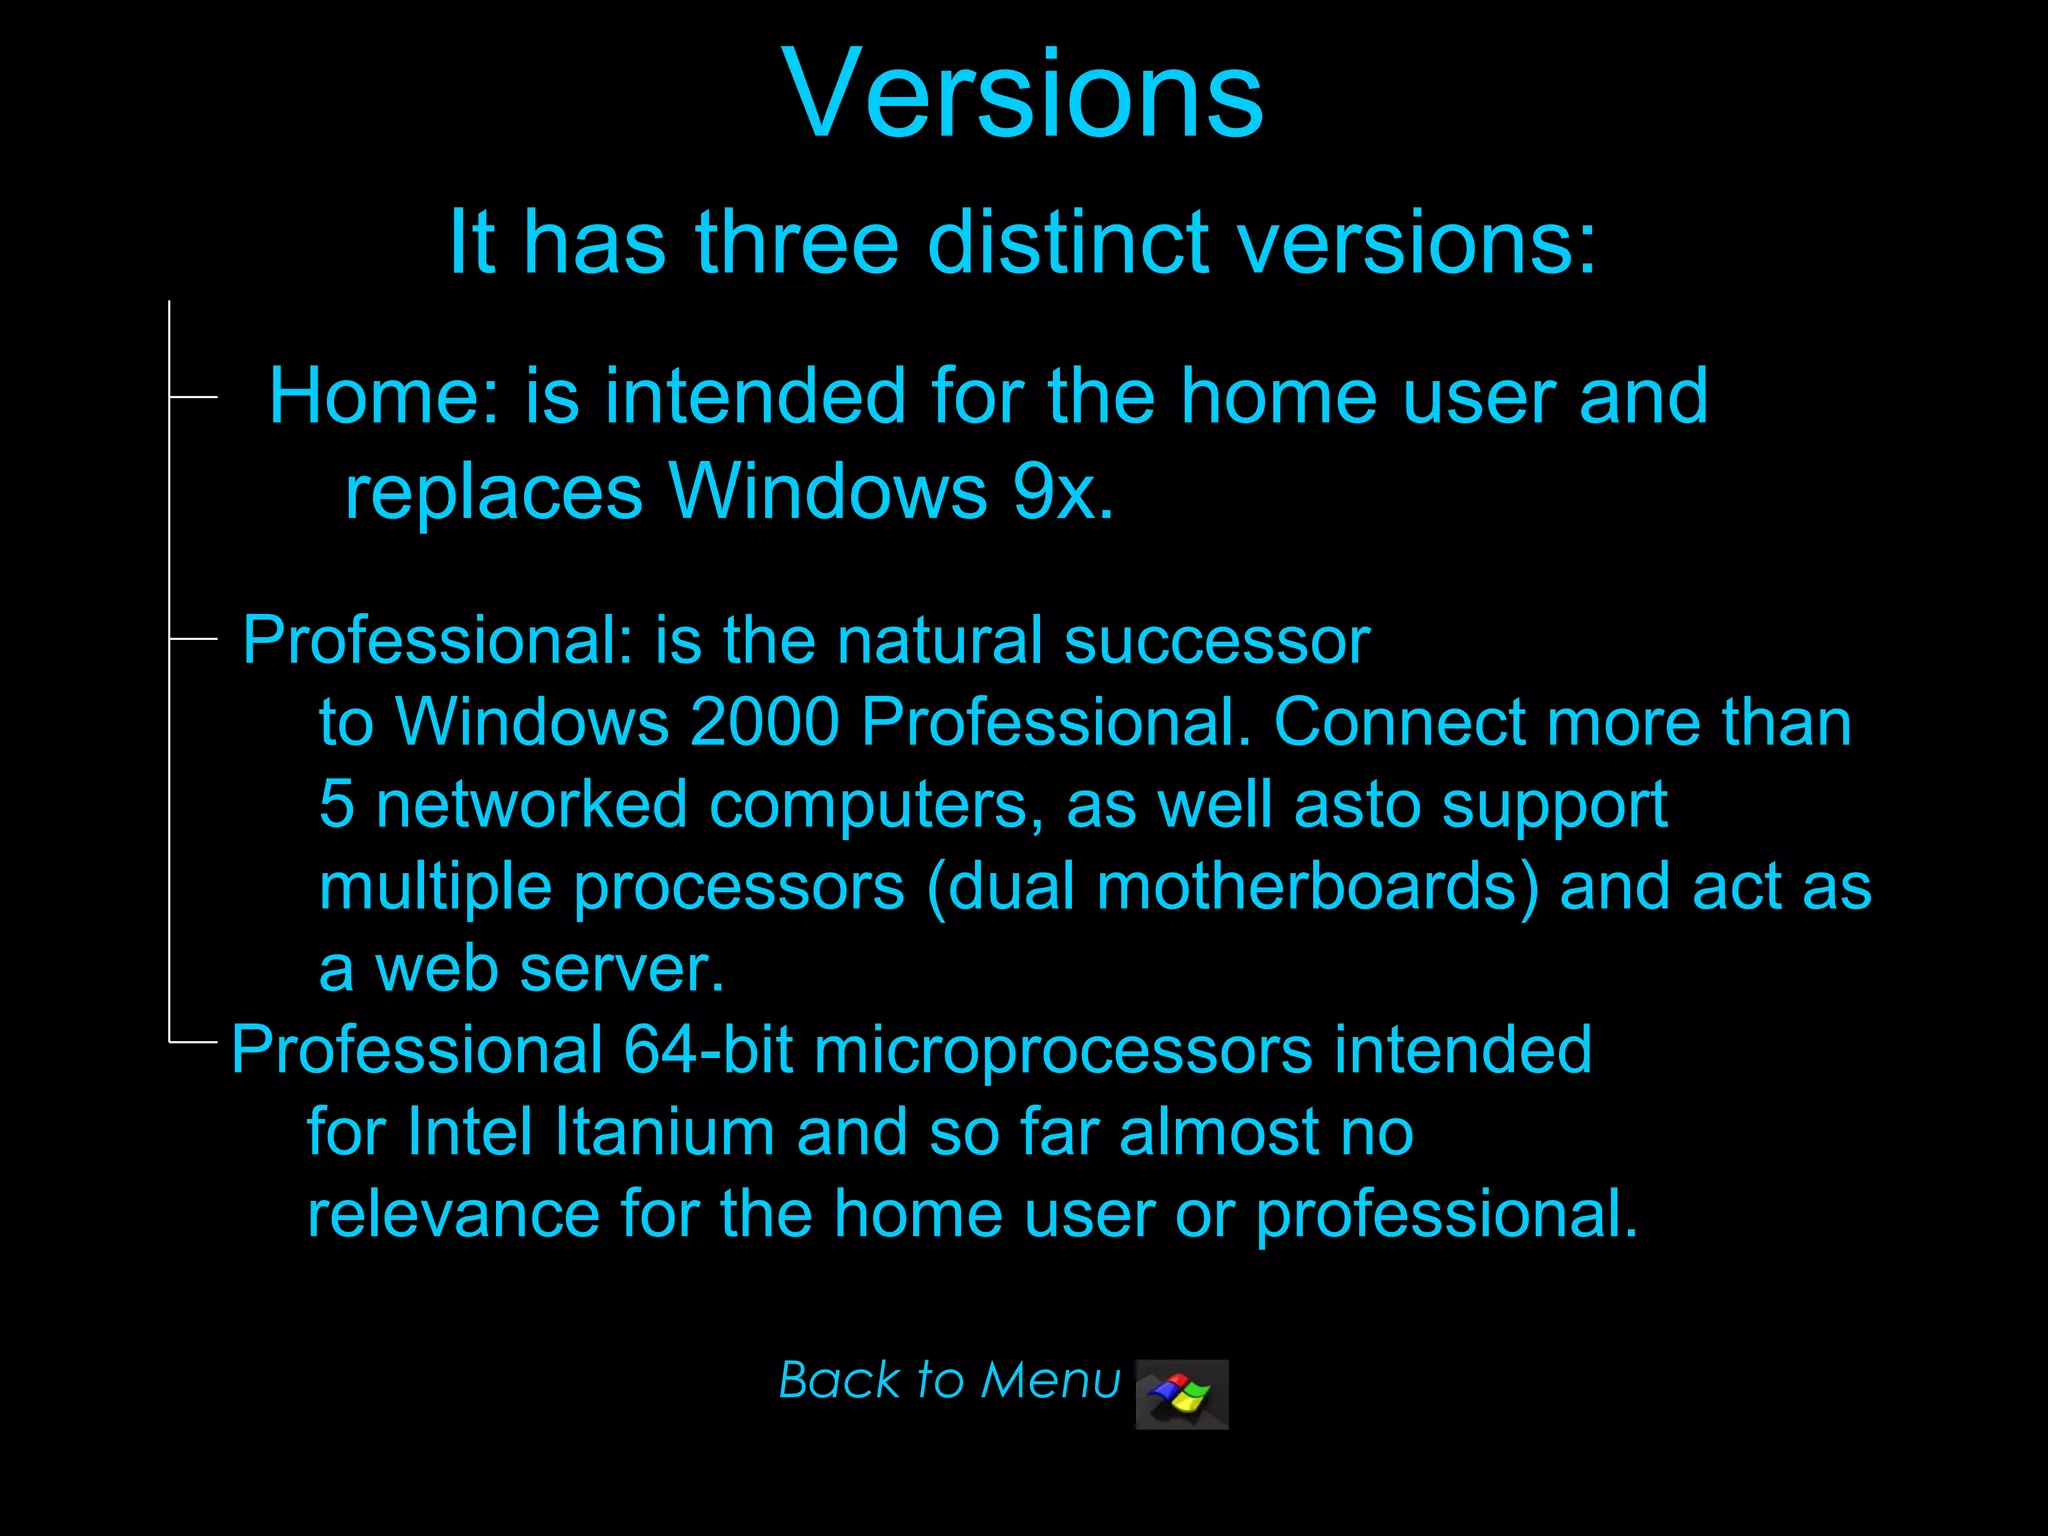
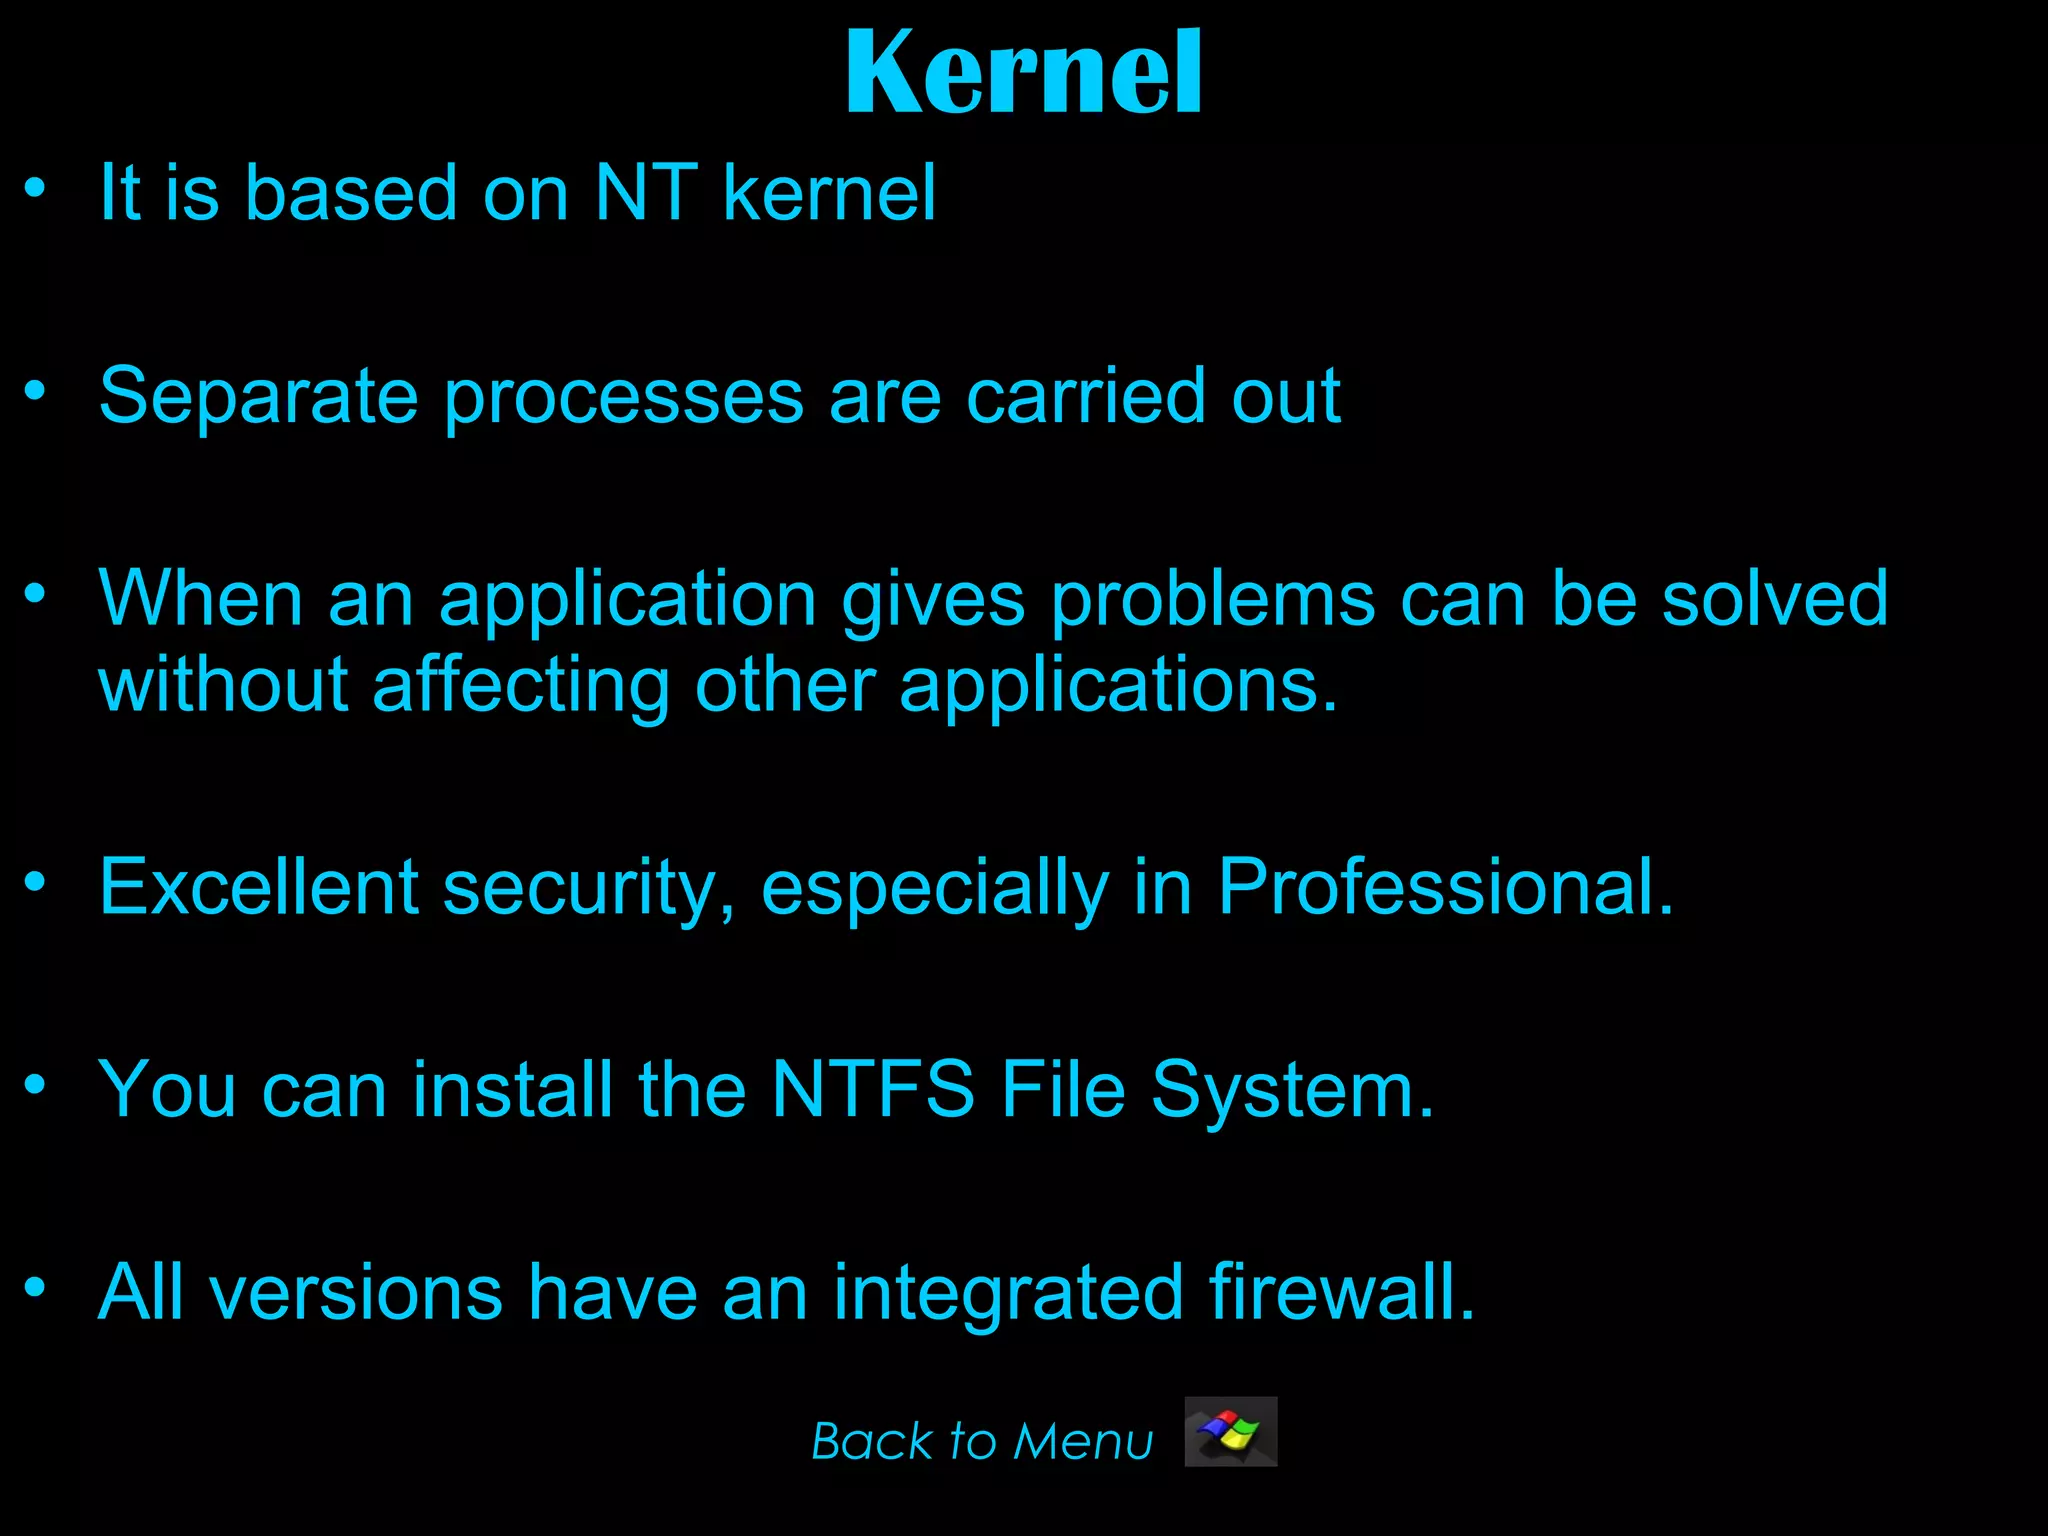


Microsoft Windows XP is an operating system released in 2001 that combined features of Windows 2000 and earlier consumer versions of Windows. It has three versions - Home for home users, Professional for businesses, and Professional 64-bit. Windows XP was based on the NT kernel for stability and security. It included improvements like easier setup of home networks and faster startup times compared to Windows 98. The presentation covered accessories in Windows XP like the Control Panel, installing hardware and software, managing files and folders, using the Recycle Bin, and sharing printers and folders on a home network.