Download to read offline

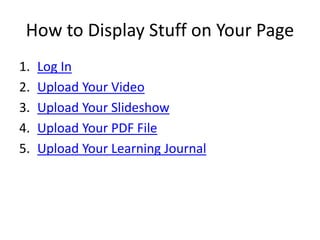

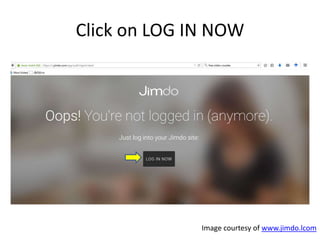


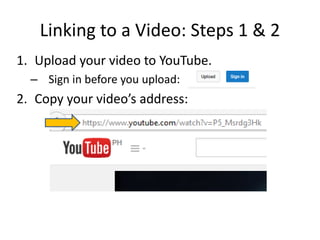
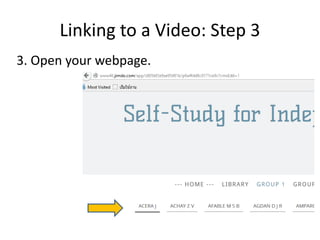
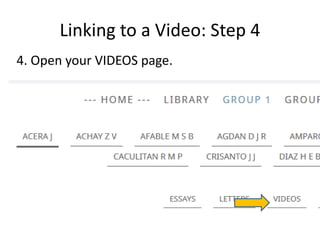

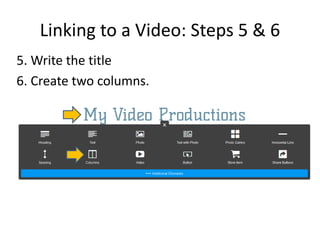


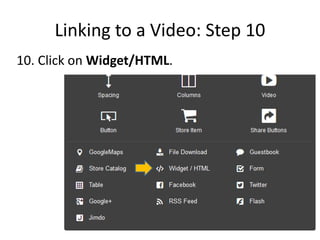
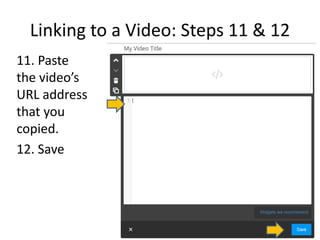


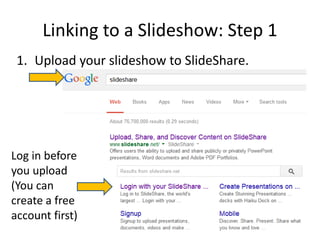
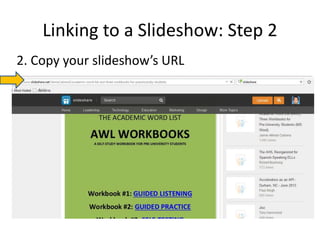
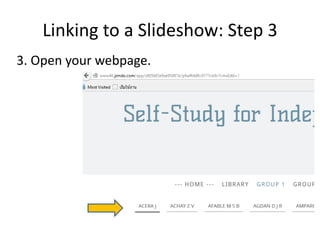
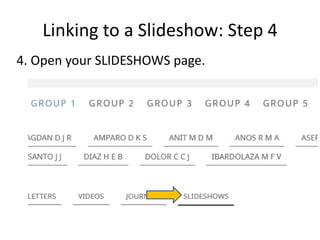


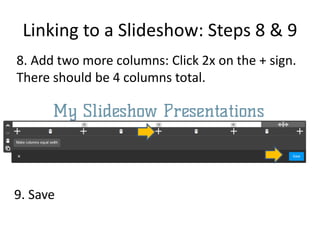


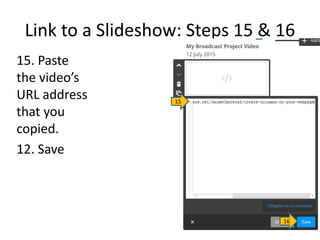
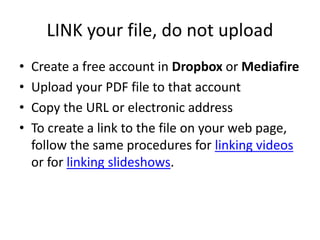

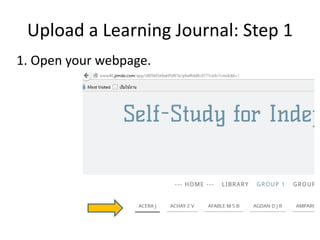
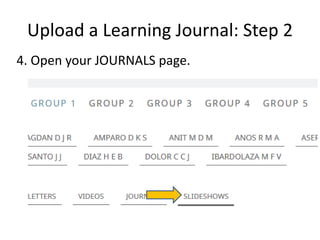

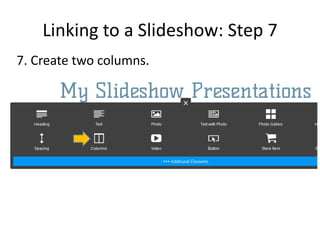

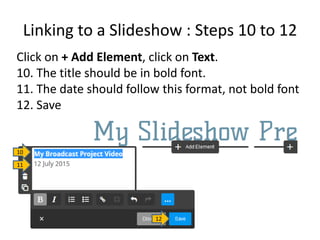
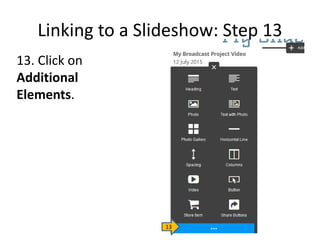
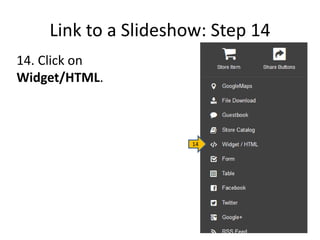


This document provides a visual step-by-step guide for displaying different types of media on a webpage. It explains how to link videos, slideshows, PDFs, and learning journals instead of directly uploading them due to limited storage. The guide instructs the user to upload media files to sites like YouTube and SlideShare first, then copy the link and paste it into the webpage to display. Steps include logging in, selecting the media type page, formatting with titles and columns, and inserting the link. Users are reminded to always log out for security after editing a page.