Download to read offline

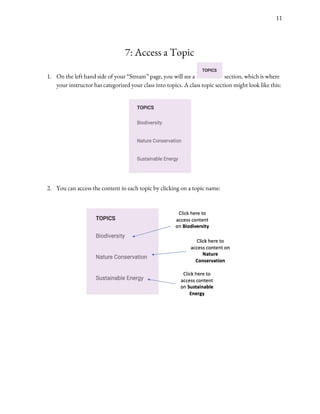
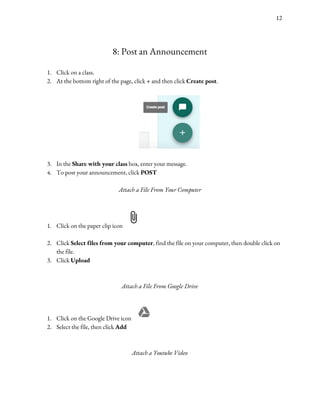
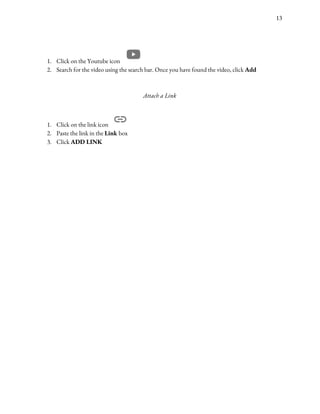
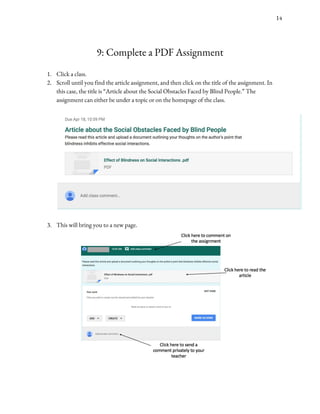


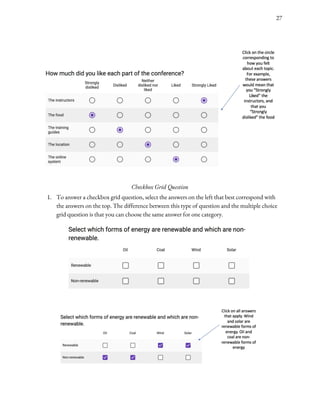
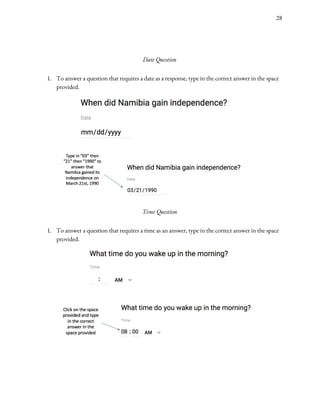
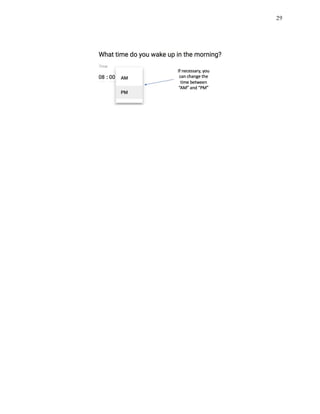
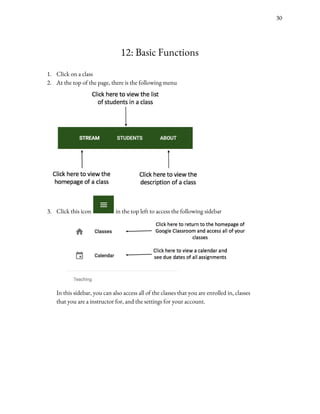


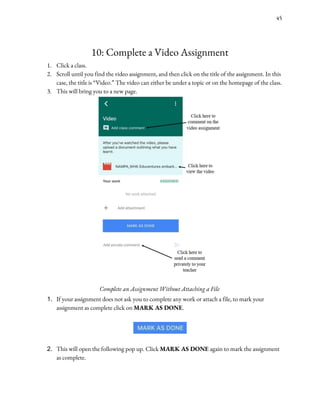
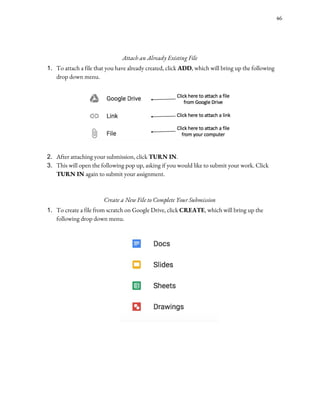
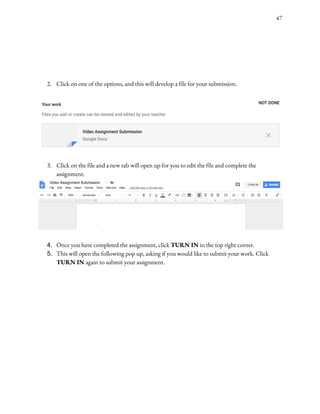
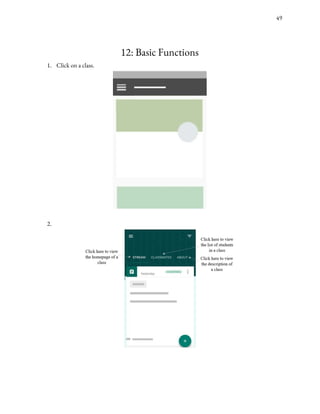
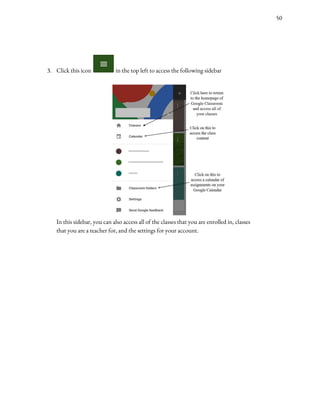
This document provides instructions for using Google Classroom both on a computer and mobile device. It covers how to create an account, join a class, view class materials, comment on announcements, complete and submit assignments, take quizzes, and more. The instructions include screenshots and step-by-step guidance for common classroom tasks.