Download as PDF, PPTX

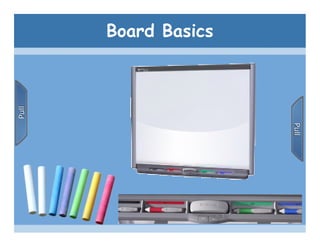
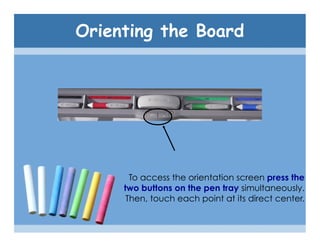
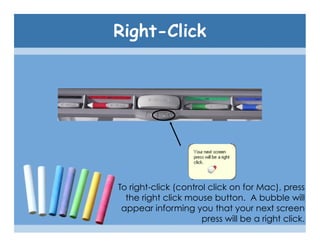

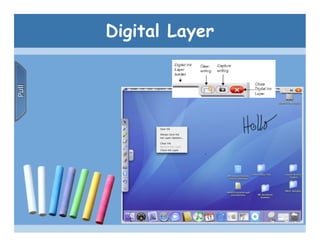
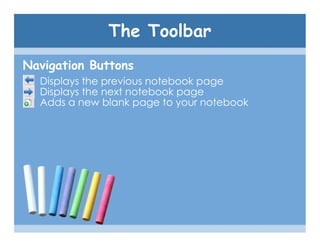
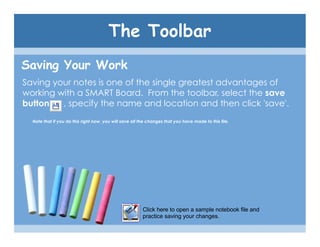
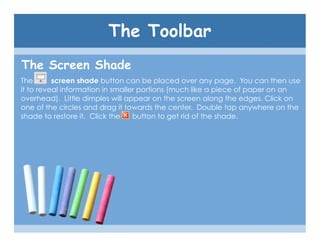

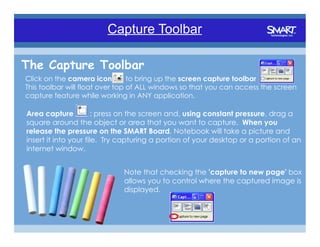
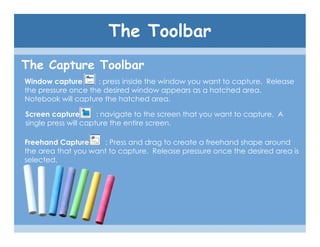
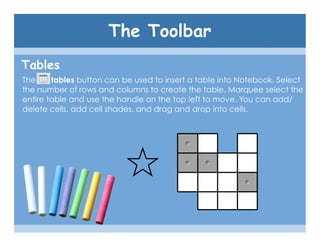

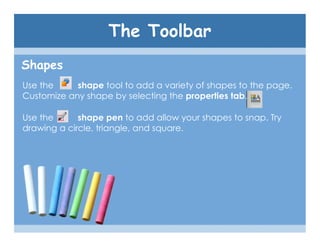
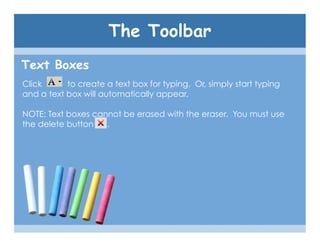
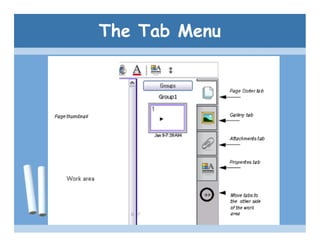
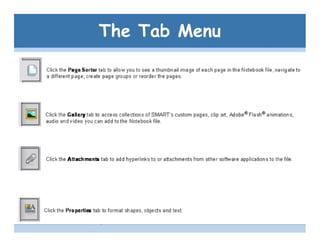
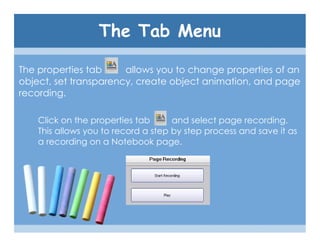
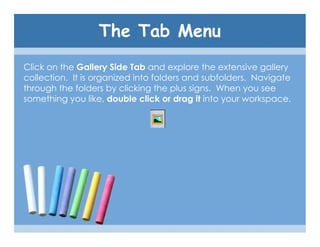


The SMART Board tutorial summarizes how to use the basic features of a SMART Board. It explains that the SMART Board allows digital ink annotation on its surface and has toolbar buttons to perform functions like saving work, taking screenshots, inserting tables and shapes, changing pen properties, and linking to other files. The tutorial also describes how to use the orientation screen, right click, erase with a circle tap gesture, and explore the gallery of images and objects.