Downloaded 148 times

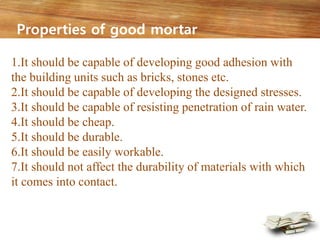
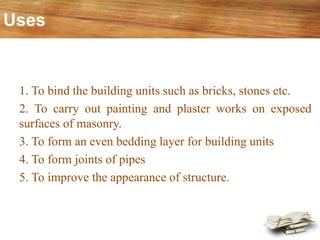

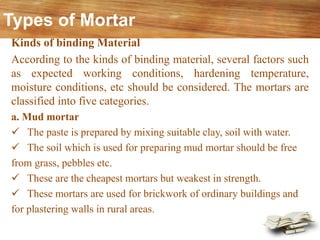
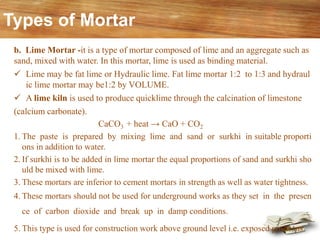
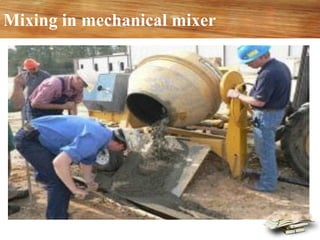
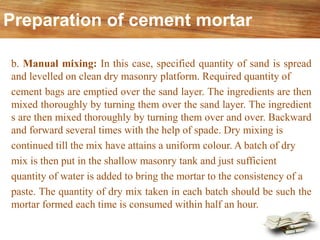


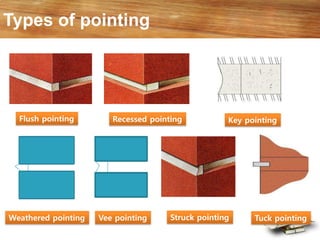
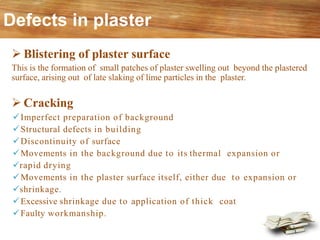
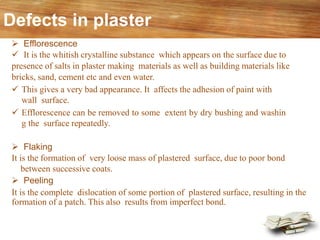
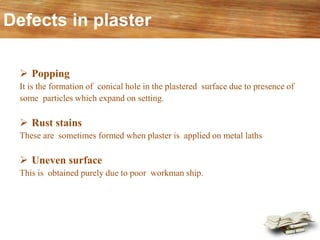


The document discusses mortar, a mixture of binding materials like cement or lime and aggregates like sand, essential for various construction purposes. It outlines the properties, types, and applications of mortar, including mud, lime, cement, gauged, and gypsum mortars, as well as special mortars designed for specific functions. Additionally, it emphasizes the proper mixing techniques, precautions during use, and requirements for effective plastering in construction projects.


