Downloaded 196 times
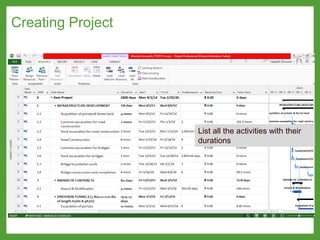
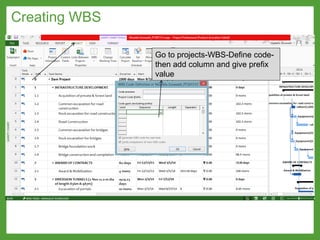
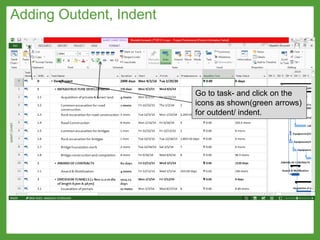
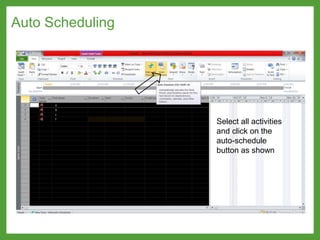
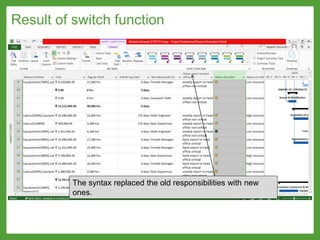
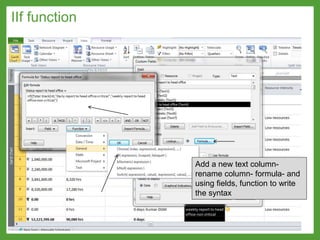
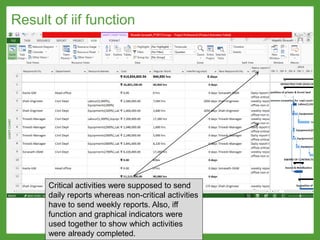

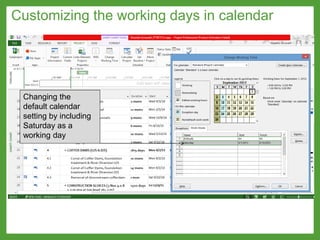
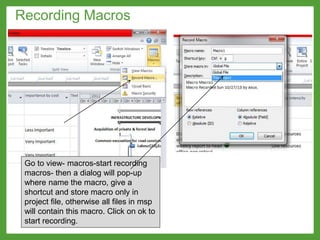

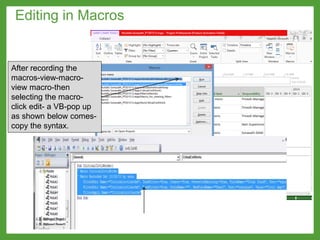
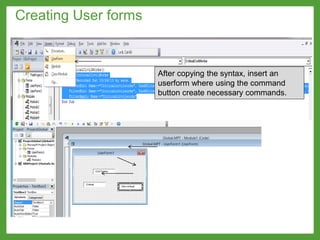
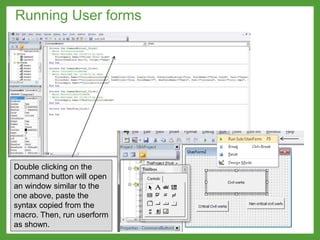
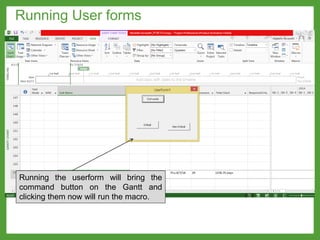
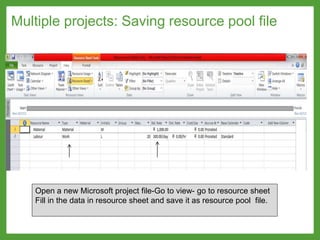
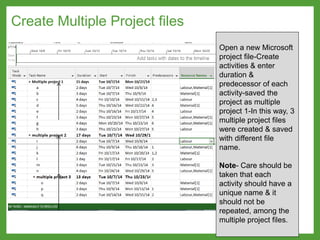
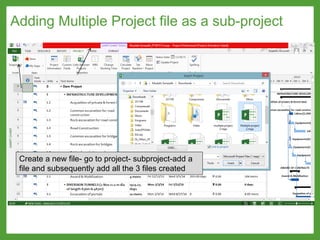
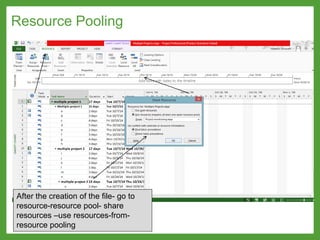
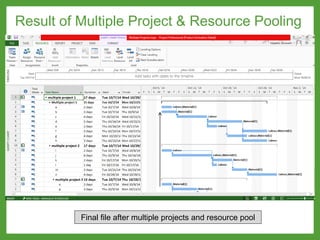
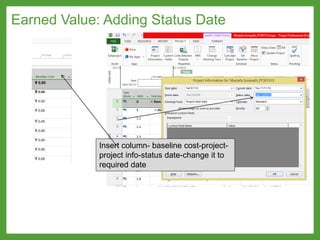
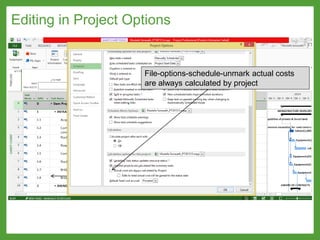
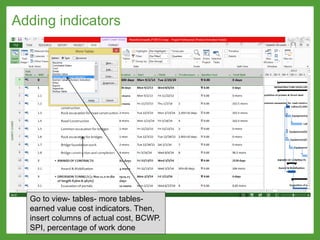
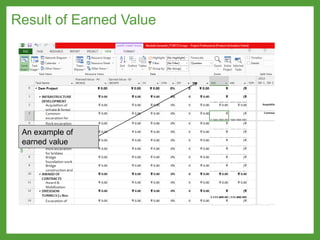
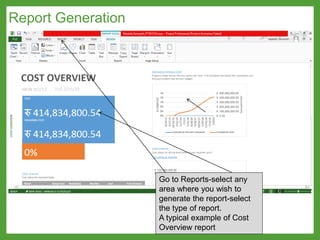
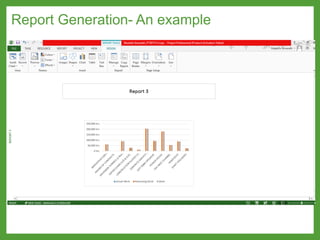


The document is a tutorial on using MS Project for managing a dam project, detailing steps for creating project lists, defining work breakdown structures (WBS), assigning tasks and resources, and customizing features like Gantt charts and calendars. It also covers advanced topics such as resource leveling, filtering, recording macros, and managing multiple projects using a resource pool. Key aspects include assigning responsibilities, tracking progress through earned value analysis, and generating reports.