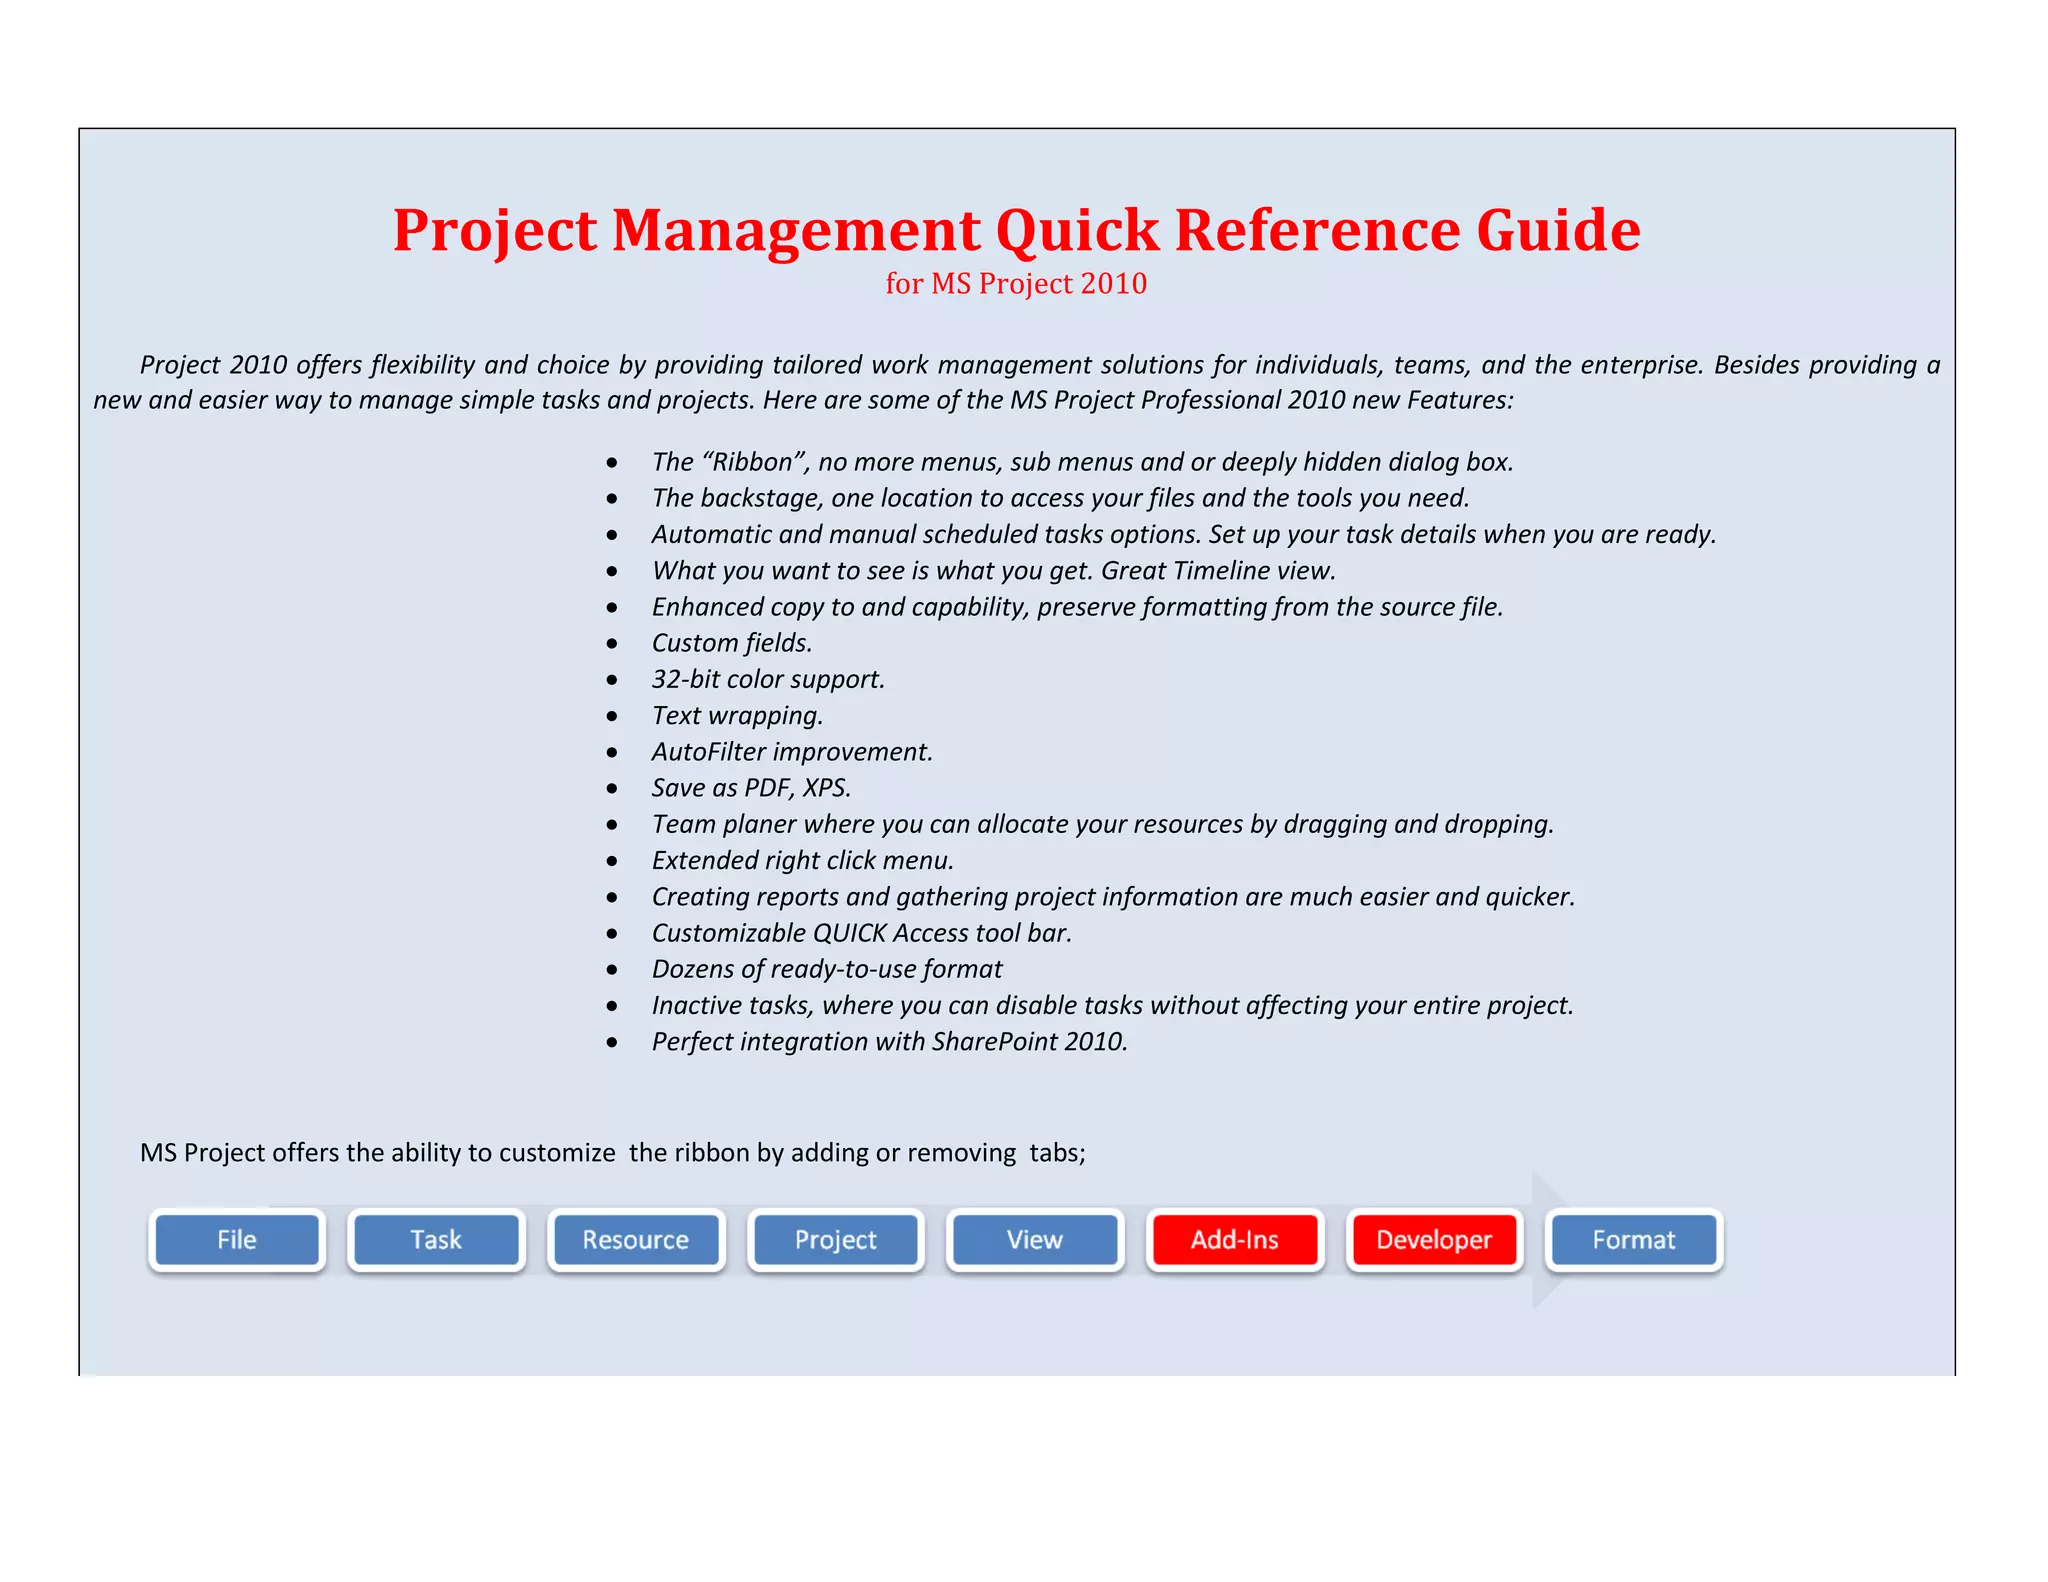
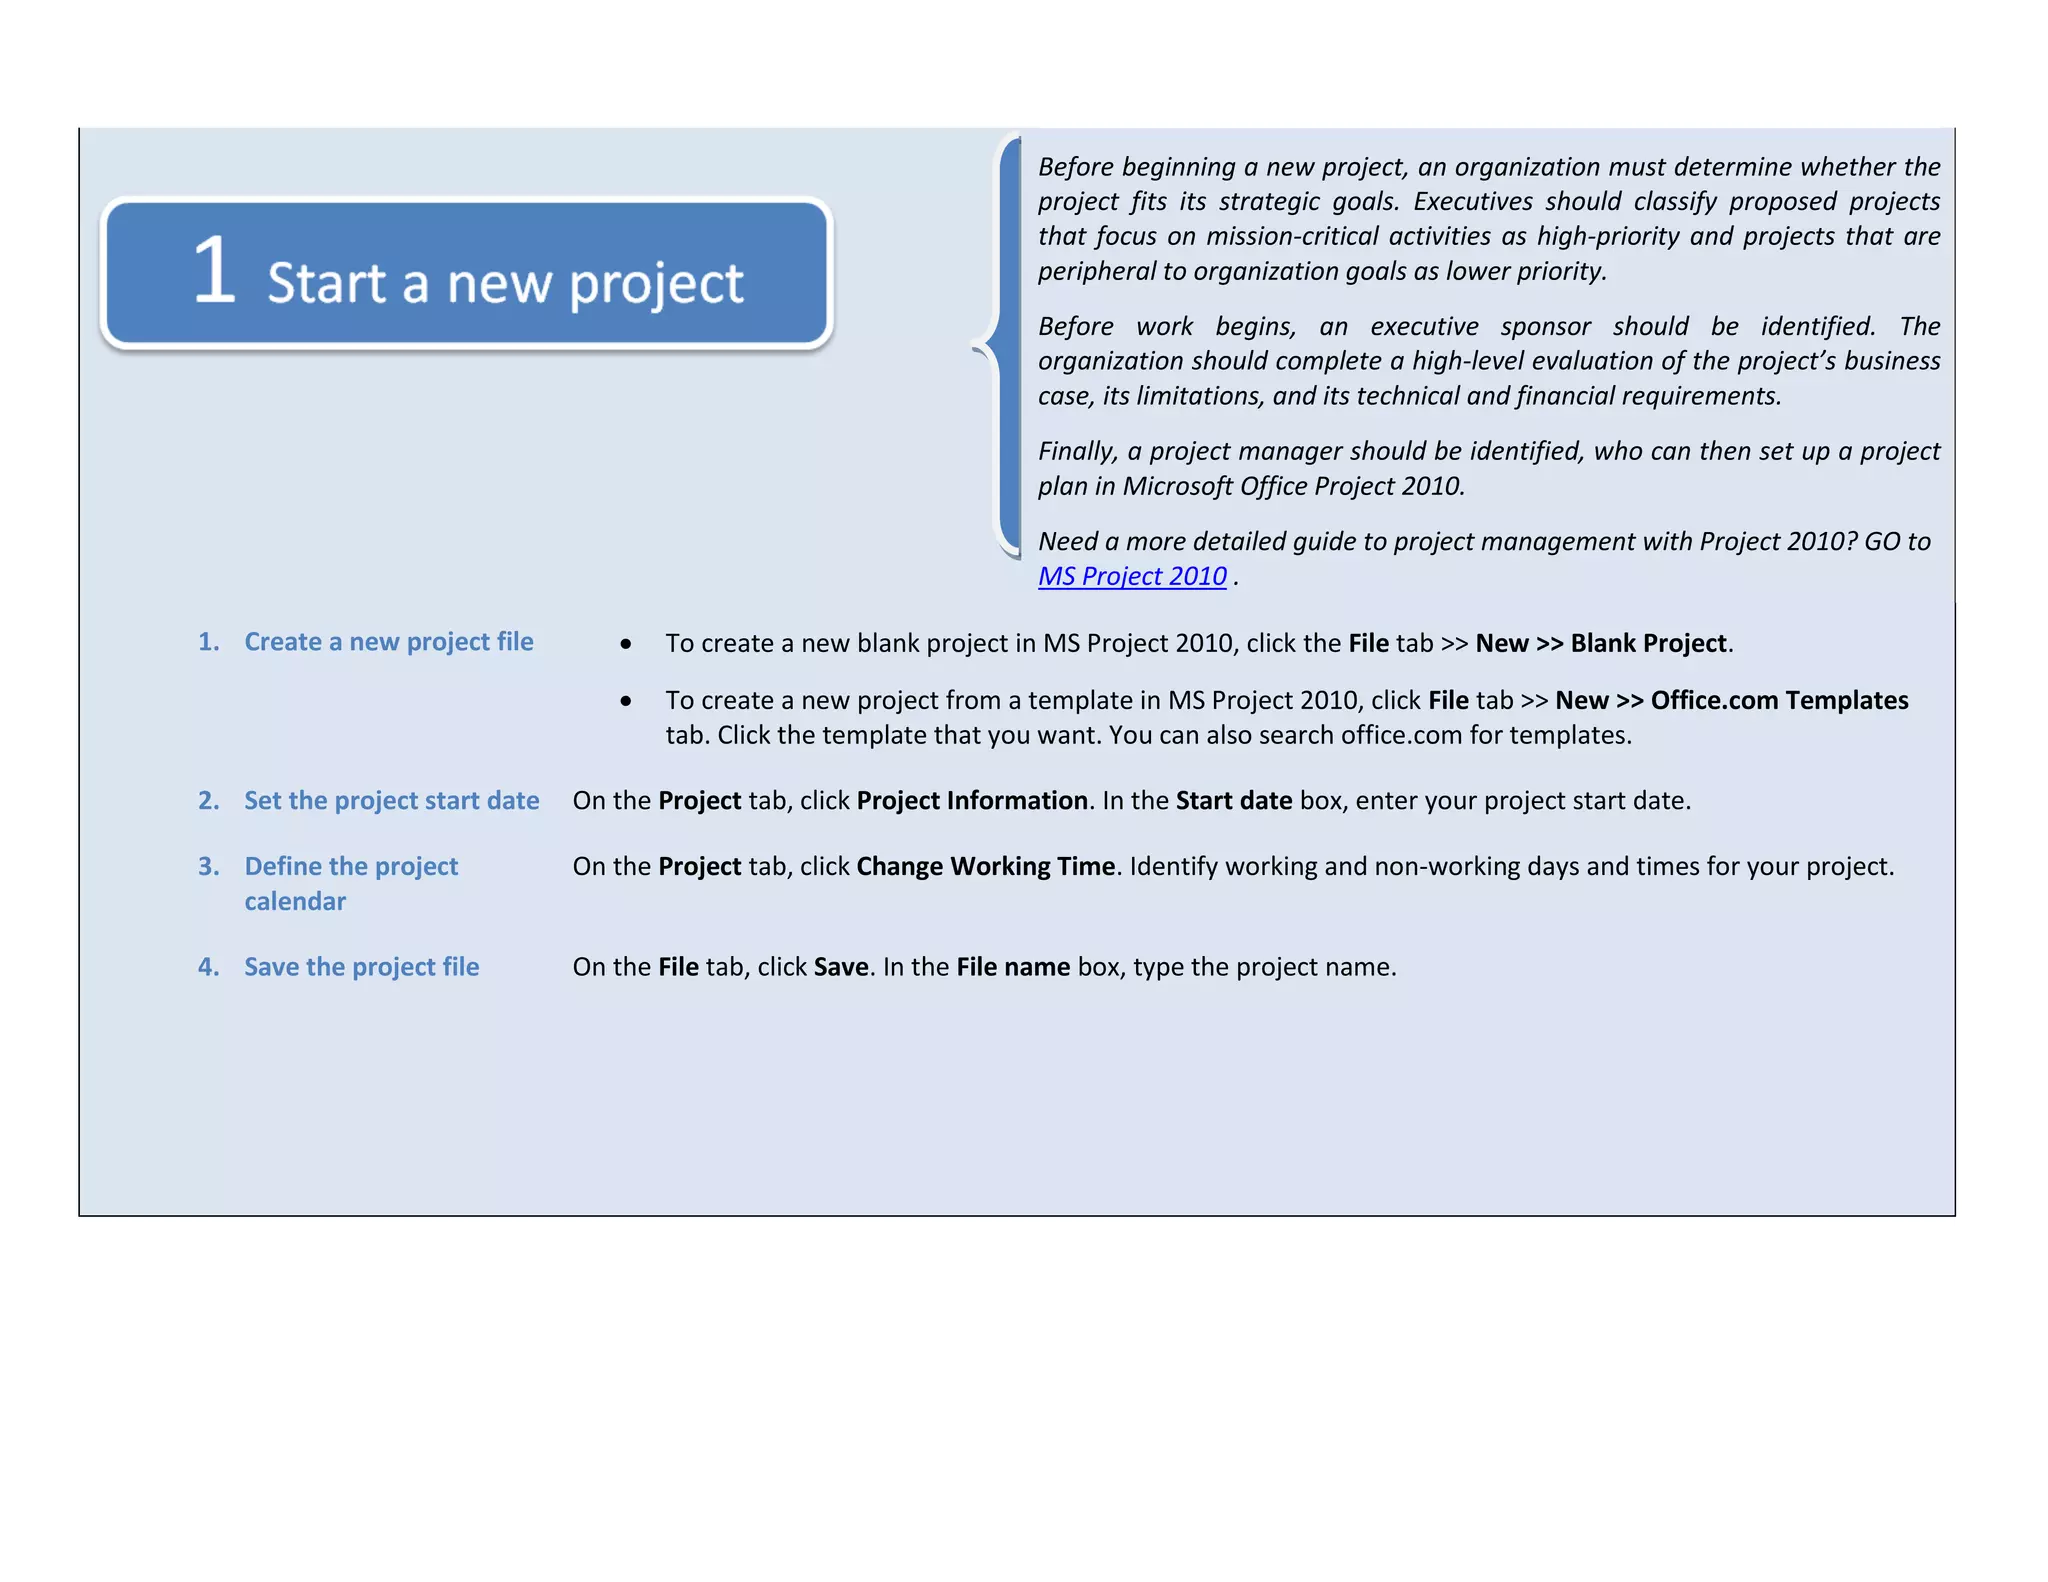
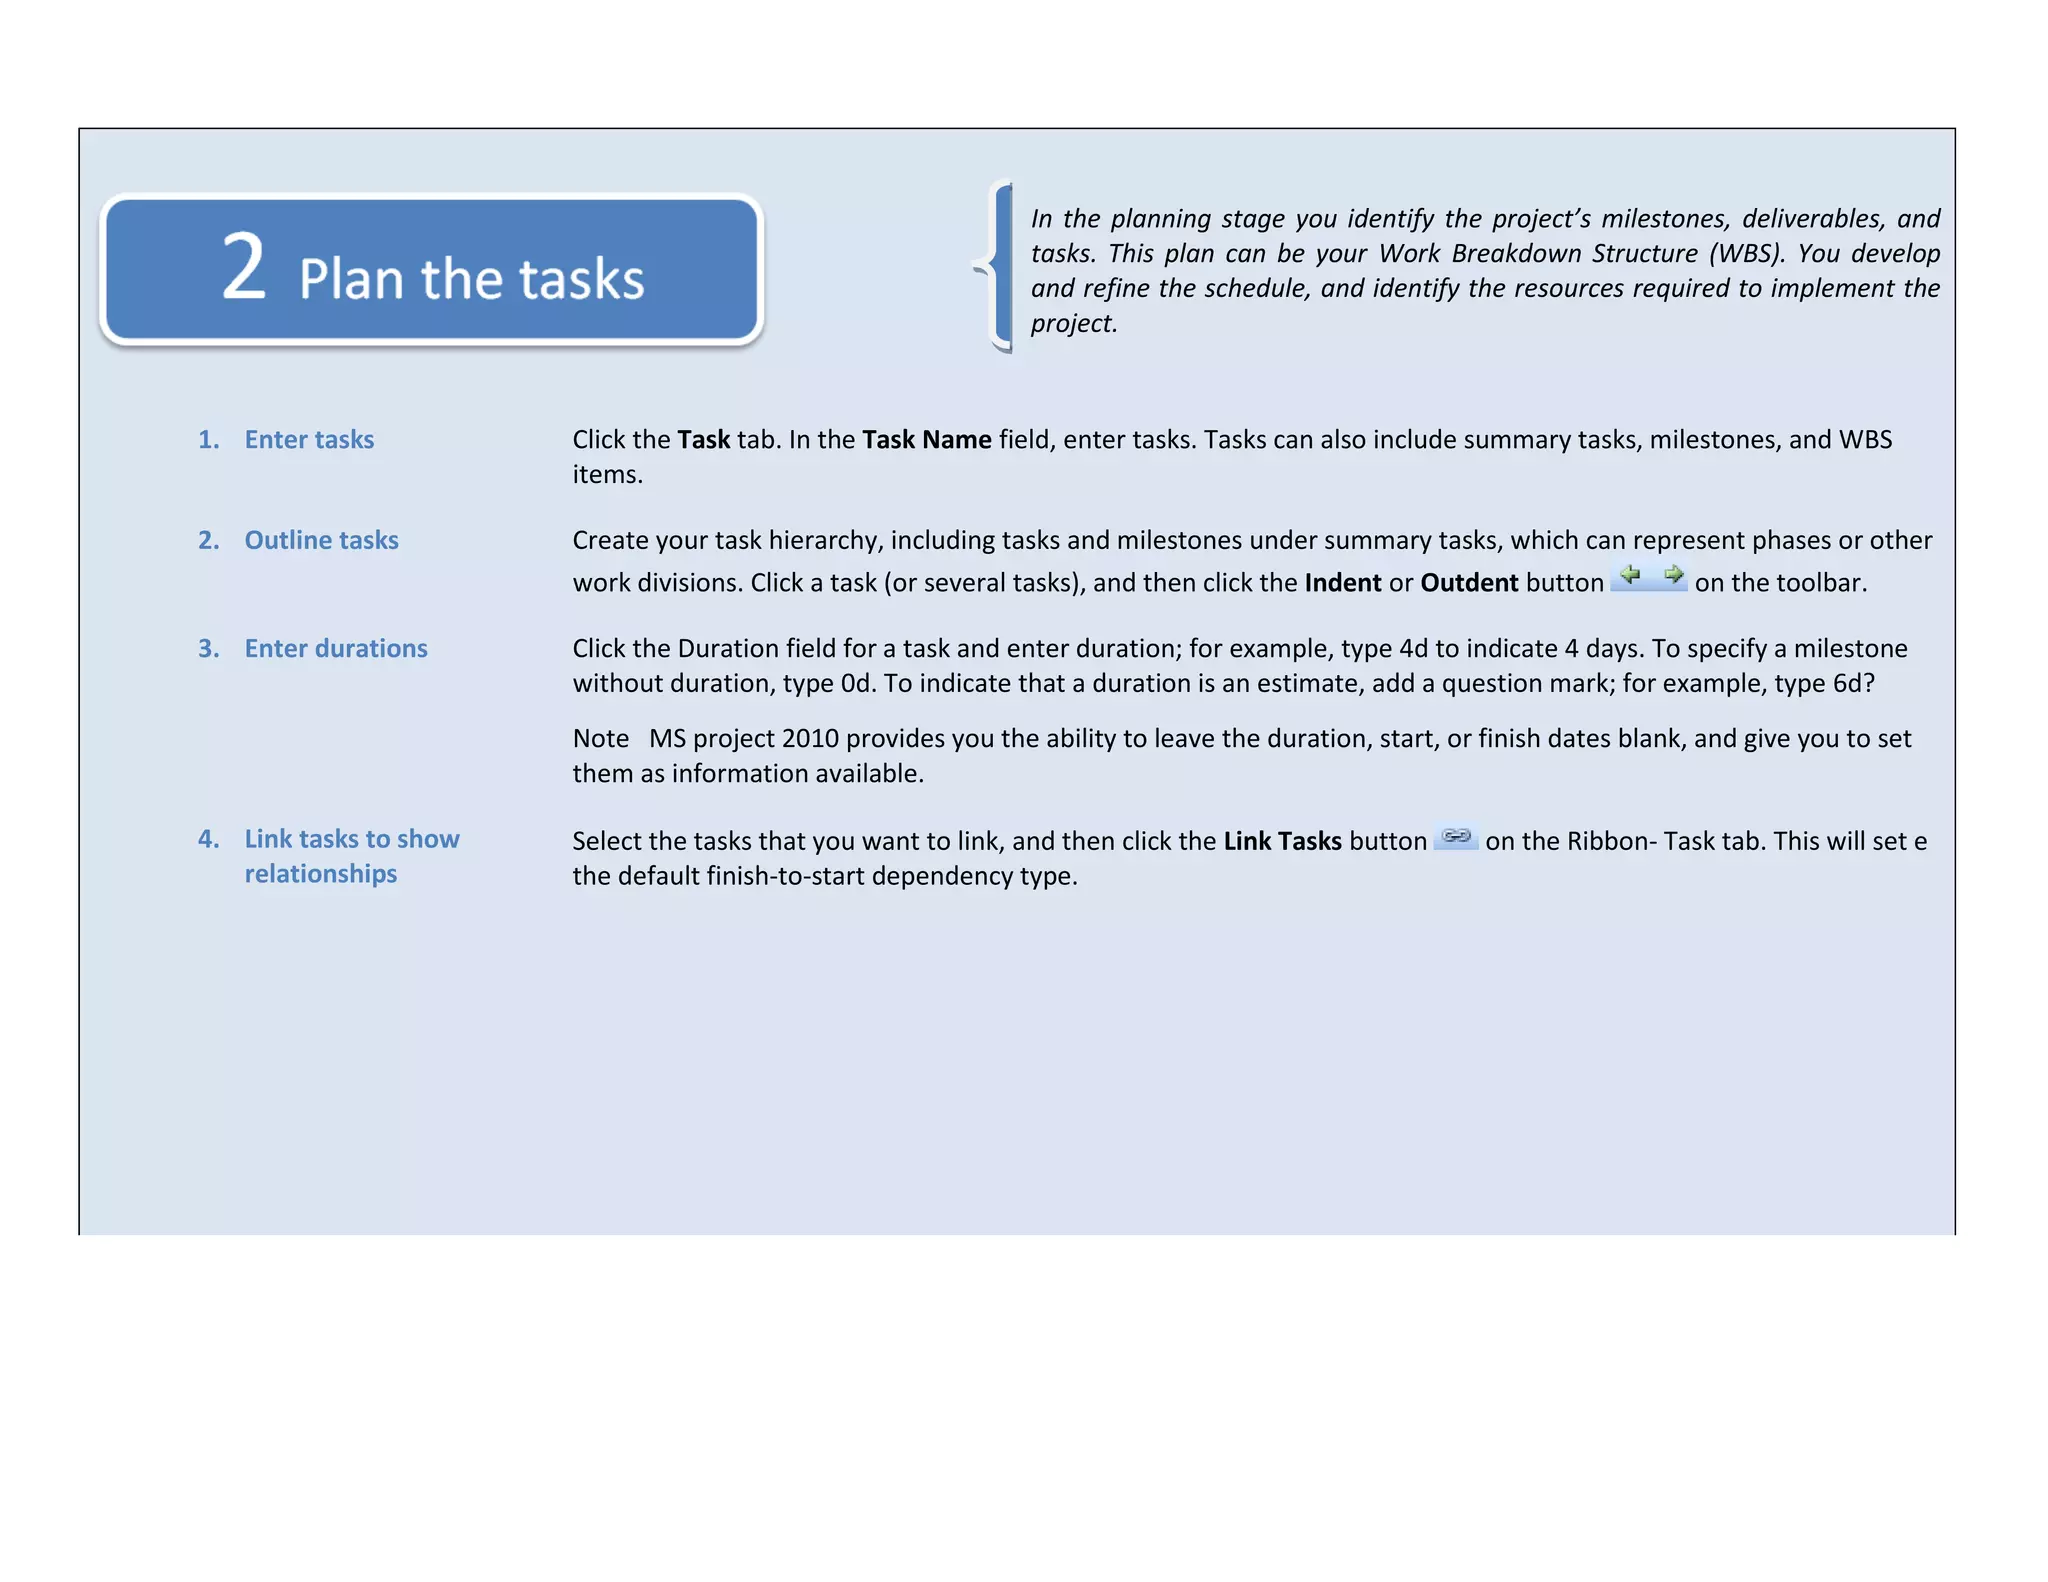
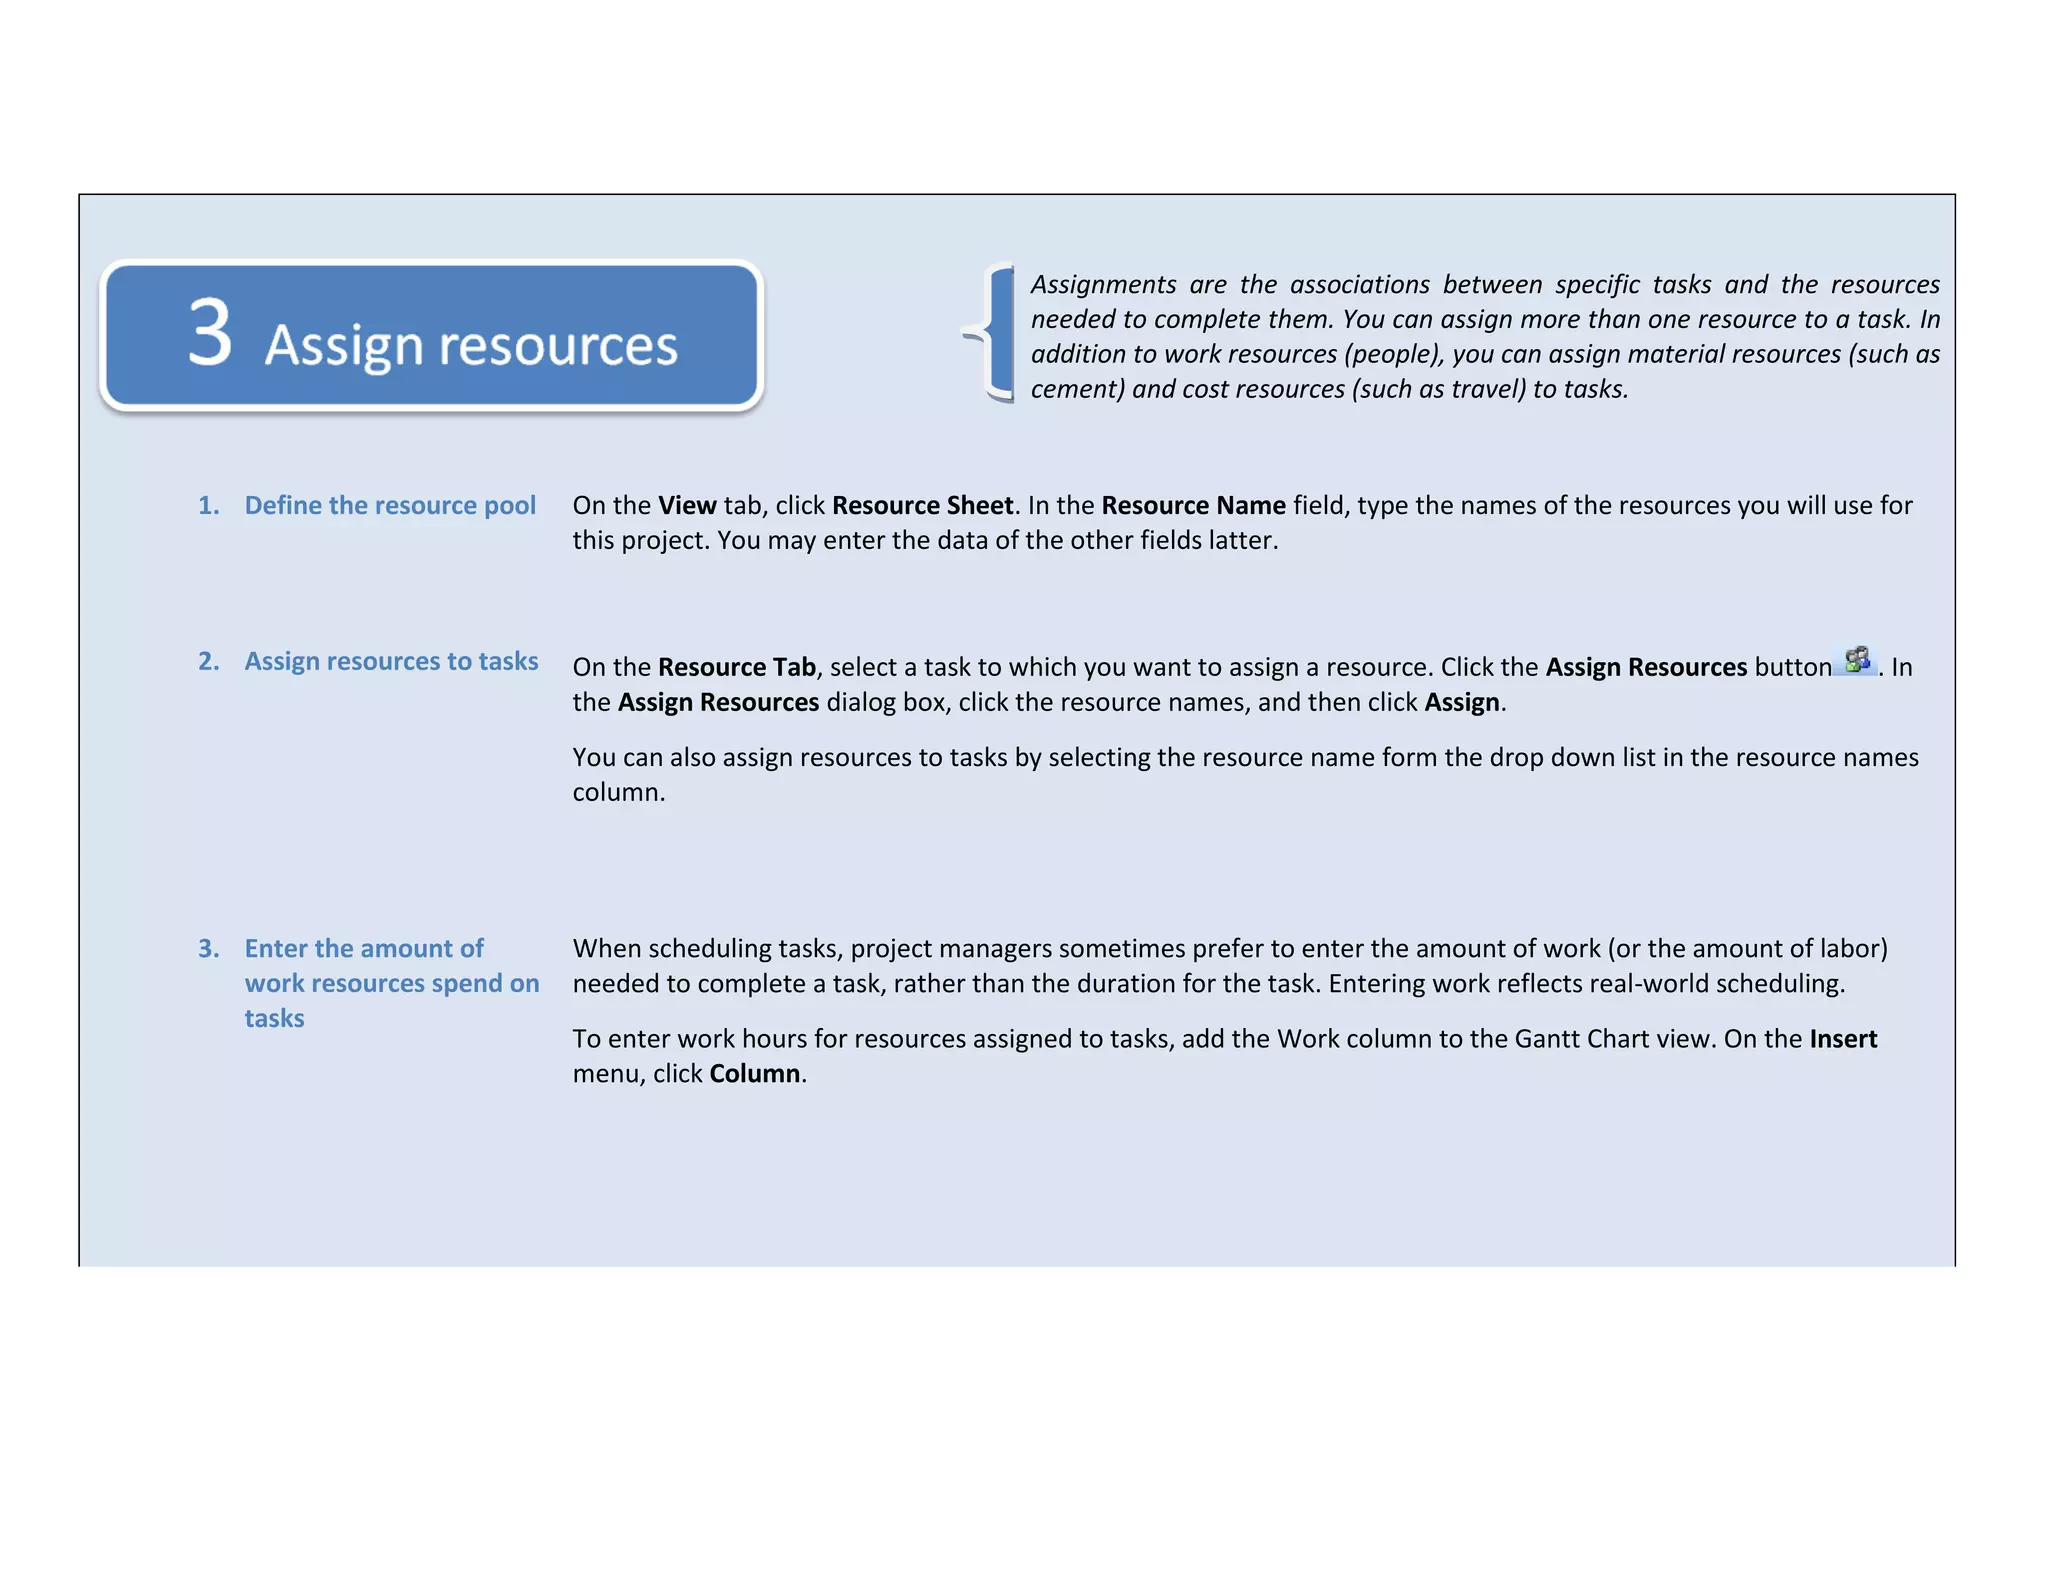
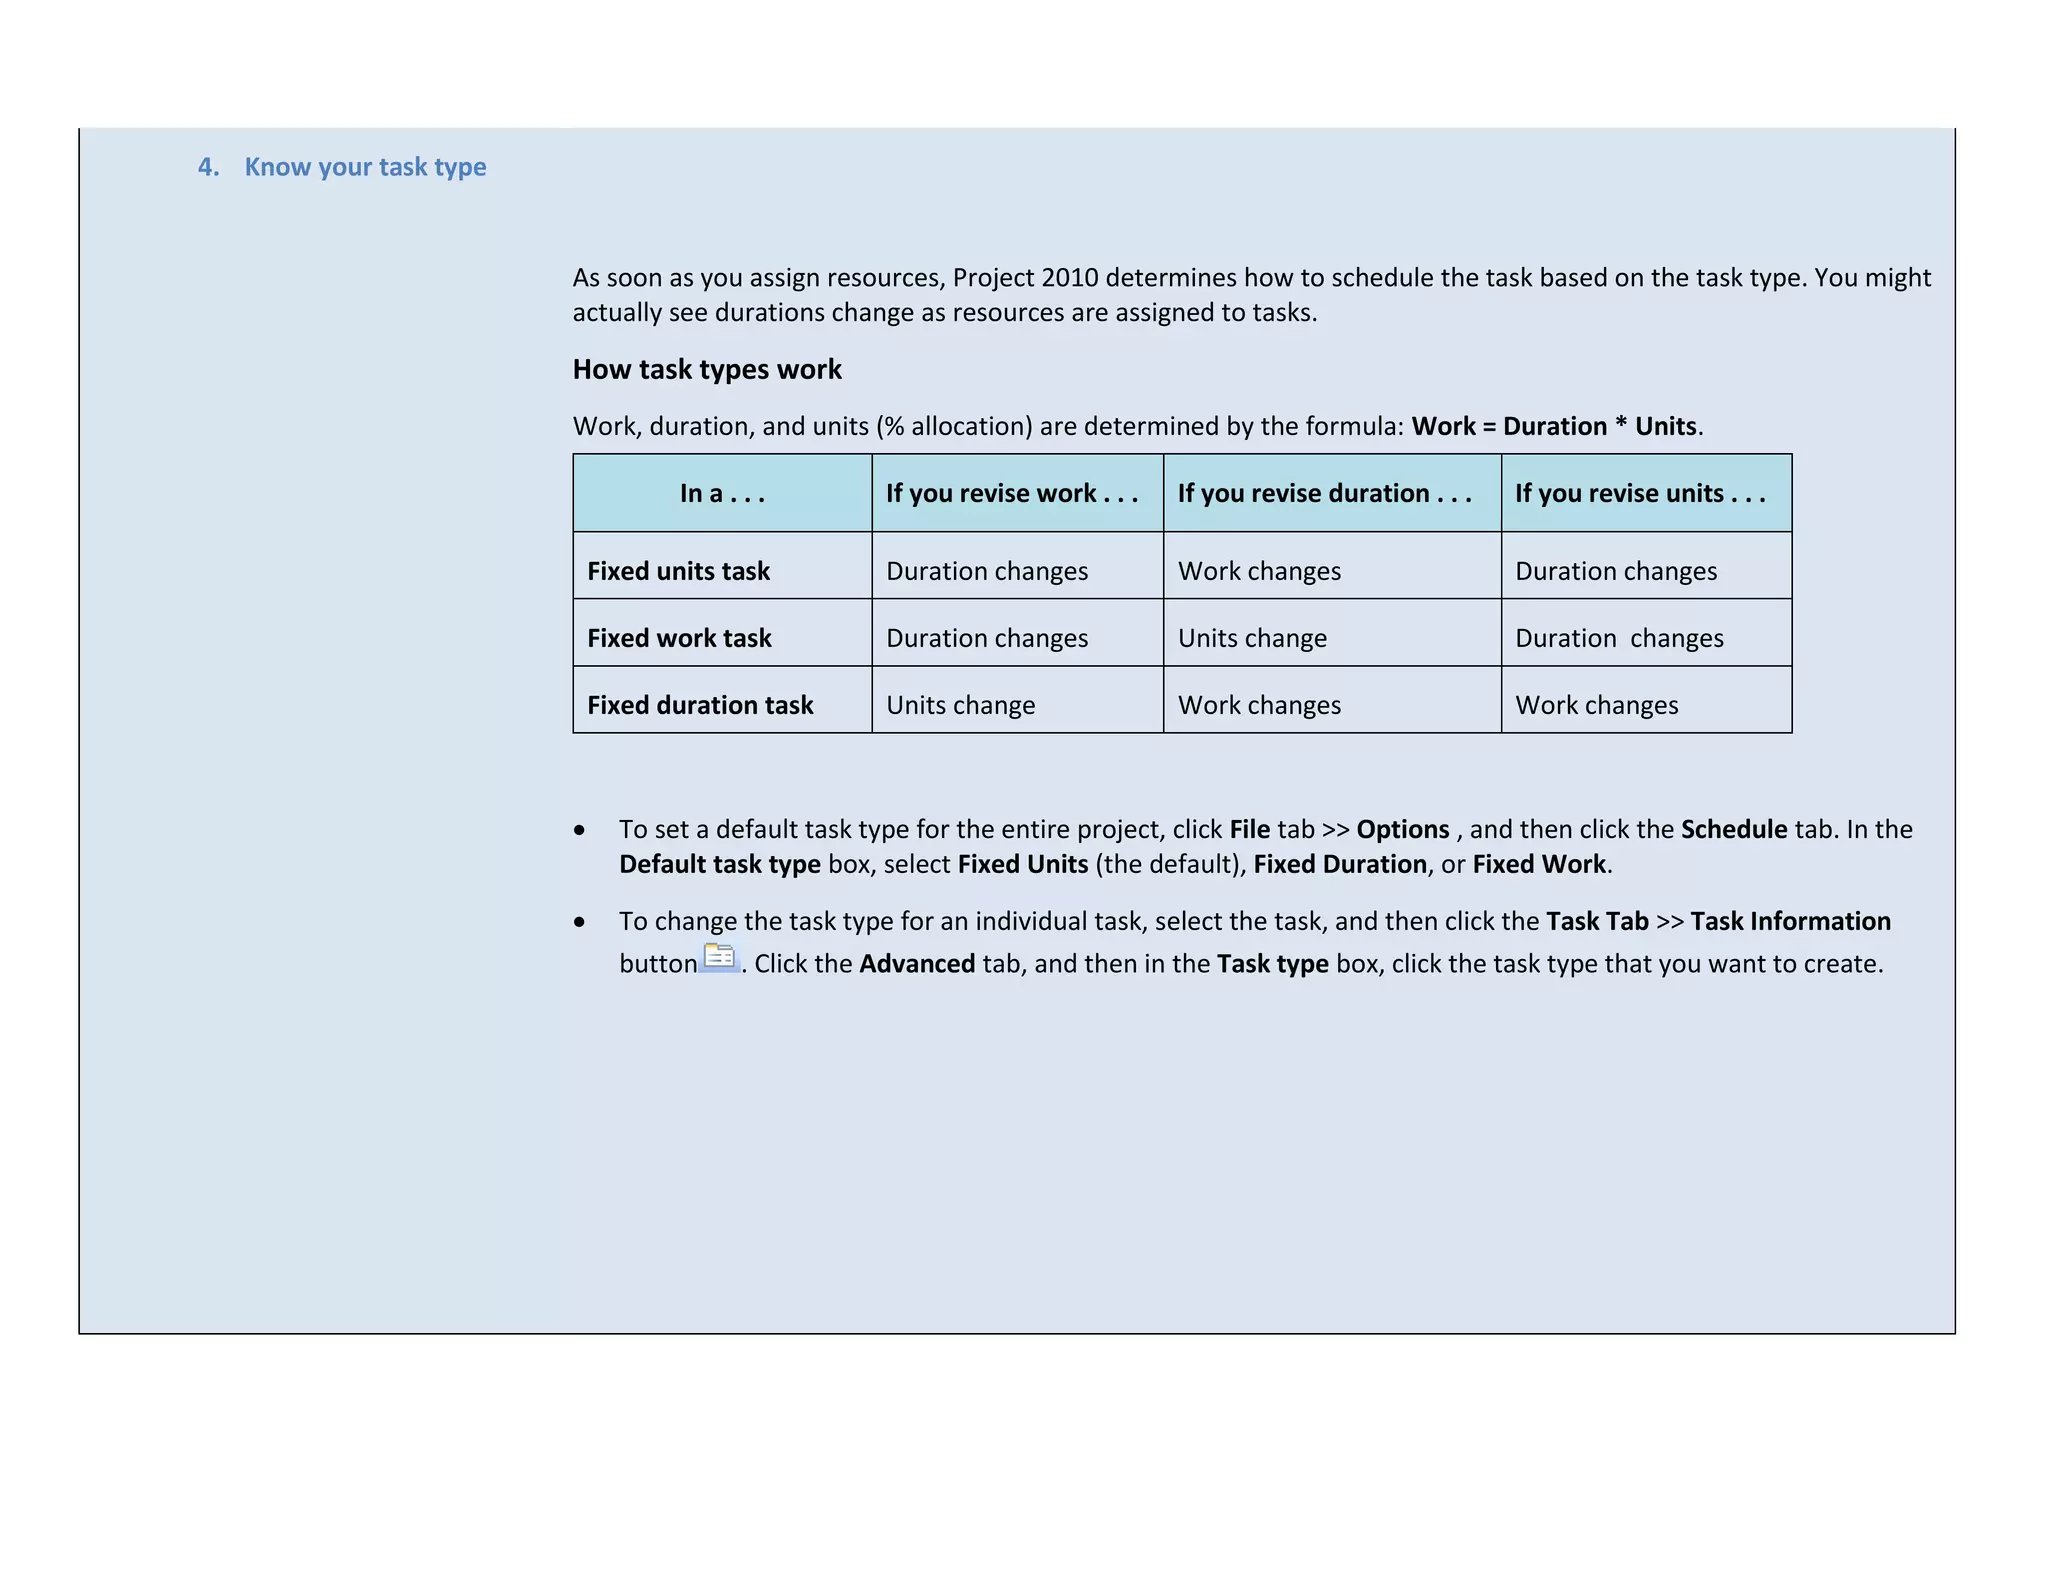
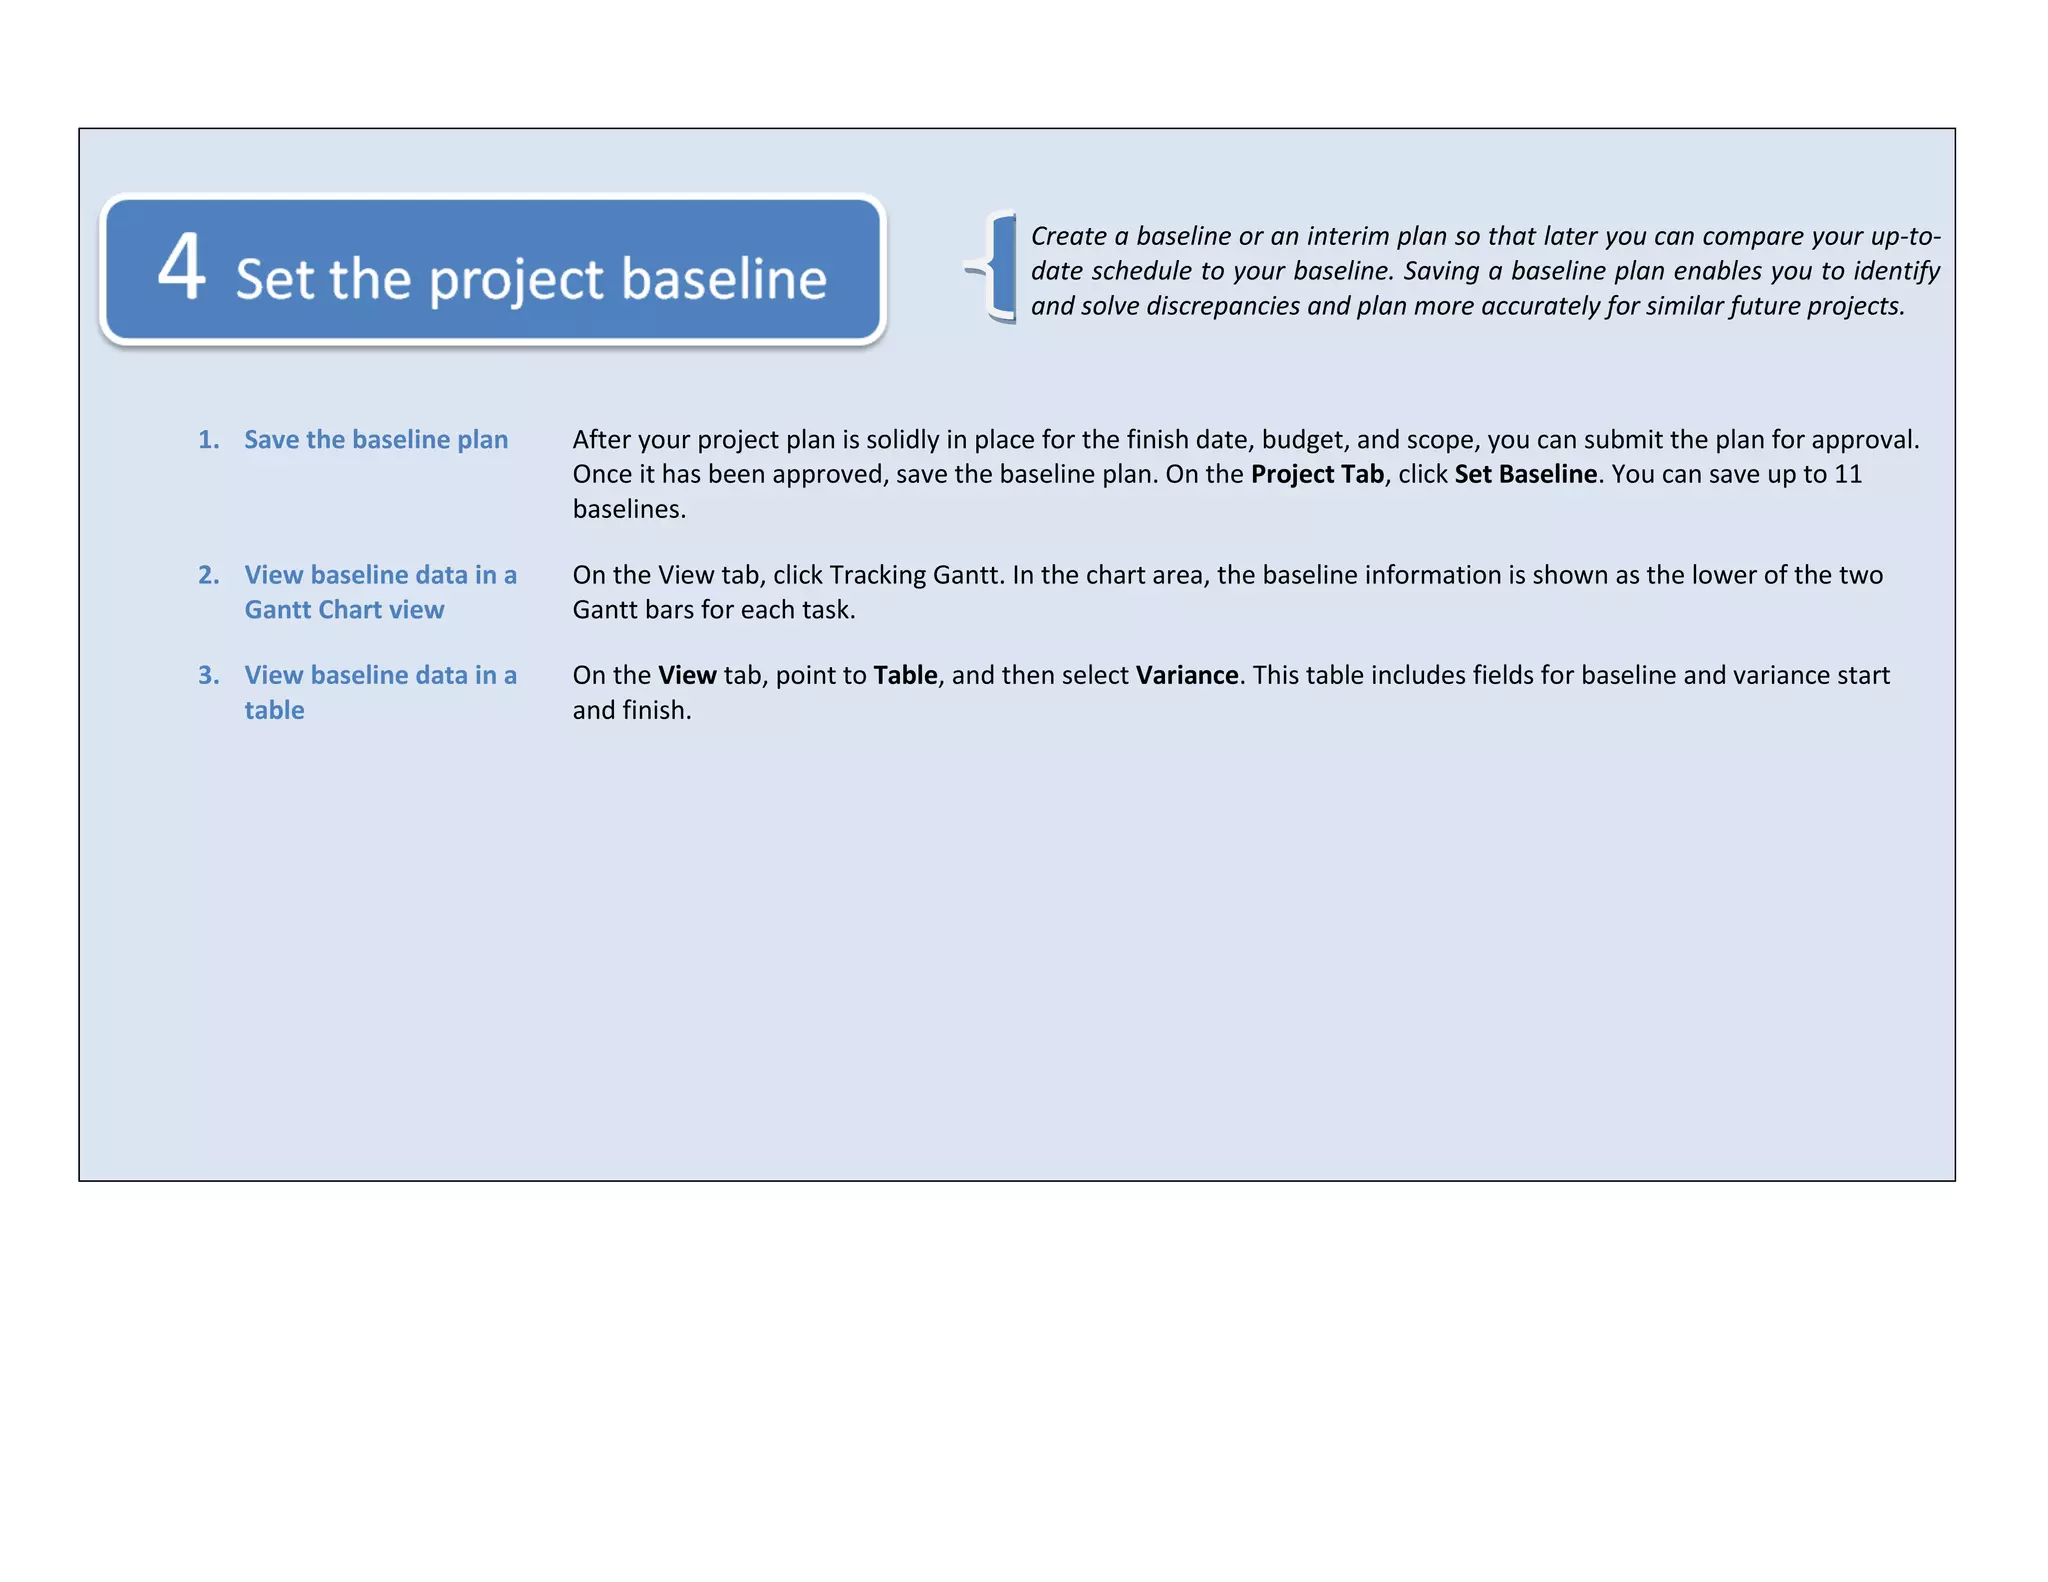
The document provides instructions for using key features in Microsoft Project 2010 for project management. It outlines steps for creating a new project file, setting the project start date and calendar, saving the project file, entering and outlining tasks, entering task durations and linking tasks to show relationships, defining resource pools and assigning resources to tasks, entering the amount of work resources spend on tasks, understanding different task types, and saving a baseline project plan.
Product Management Training - MS Project Trainingguest2739cfb
Product Managers must wear many hats - Project Management is one important one. This overview helps Product Managers understand the expectations for planning, tracking, and managing a new Product Release project.
This presentation explains the MS Project with proper steps. An example of particular project is taken and various steps such as creating project, WBS, adding outdent, indent, auto scheduling, setting up predecessors, adding Gantt bar chart, formula's, creating columns, assigning responsibilities, resources, changing currency, levelling over allocated resources, types of filters, switch anf iff function, calendar, macros, multiple project, earned value, report generation are explained.
You can use customized field feature in Microsoft Project 2010 to create a dashboard and to quickly identify problem areas in the project. In this exercise, we will create the following four customized fields:
• Status_as_text: This will be a field with a drop down menu to select text: Red, Yellow, Green
• Status_as_Image: This will provide the user a drop down menu to select an image to display the status as an image.
• Status_as_Eval_text: This will be an automated field that evaluates %complete and displays the result as text.
• Status_as_Eval_Image: This will be an automated field to evaluate %complete and display the result as an image.
Project 2013 - 4 Simple & Practical Steps to Mastering Reporting Basics in un...DeltaBahn
Discover the efficient reporting possibilities of Project 2013 and explore the inner workings of tables and views in this last part of our Project 2013 basics series.
The whole blog post:
http://deltabahn.com/project-2013-microsoft-project-for-professionals-4-simple-practical-steps-to-mastering-reporting-basics-in-under-20-minutes/
MS Project Integration: Tips, Tricks and What's New for YouCA Technologies
Have you scheduled in Microsoft Project (MSP) and are now presented with the "Tasks" to maintain a schedule in CA Project & Portfolio Manager (CA PPM)? Is your organization using CA PPM but still wants to schedule in MS Project? Have you noticed that the logic in how CA PPM schedules is different in MS Project? And most importantly – wouldn't it be awesome to be able to explain why CA PPM and MS Project behave differently but ultimately get you the same result? This presentation shows you where and how MSP and CA PPM bi-directionally map data, how to create and manage tasks, assignments and scheduling, as well as updating task status and work. It includes a broad discussion where and when data should be entered in CA PPM and MS Project, on defining data elements and how to capture them.
For more information on Management Cloud solutions from CA Technologies, please visit: http://bit.ly/1wEnPhz
Outline
MS Project Intro
Calendar
Project Summary
Network Diagram
WBS
Resources
Filter and Grouping
Customization
Constraint
Recurring Task
Resource Analysis and Leveling
Tracking
Earned Value Analysis
Reports
If you want more details or service related MS Project You can reach me through my email agrawalakshay28@gmail.com .
These slides attempt to explain a rather complicated part of MS Project: setting up calendars, understanding how 'schedule options' influence duration, how to set up non-working days other than weekends using the Exceptions tab, etc.
CSCI 714 Software Project Planning and EstimationLec.docxmydrynan
*
CSCI 714: Software Project Planning and Estimation
Lecture 4B: Work Breakdown Structure
Gursimran Singh Walia
North Dakota State University
[email protected]
*
The Work Breakdown StructureA work breakdown structure (WBS) is an outcome-oriented analysis of the work involved in a project that defines the total scope of the projectIt is a foundation document in project management because it provides the basis for planning and managing project schedules, costs, and changes
Approaches to Developing WBSsUsing guidelines: Some organizations, like the DOD, provide guidelines for preparing WBSsThe analogy approach: It often helps to review WBSs of similar projectsThe top-down approach: Start with the largest items of the project and keep breaking them downThe bottoms-up approach: Start with the detailed tasks and roll them up
Basic Principles for Creating WBSs*
1. A unit of work should appear at only one place in the WBS.
3. A WBS item is the responsibility of only one individual, even though many people may be working on it.
4. The WBS must be consistent with the way in which work is actually going to be performed; it should serve the project team first and other purposes only if practical.
5. Project team members should be involved in developing the WBS to ensure consistency and buy-in.
6. Each WBS item must be documented to ensure accurate understanding of the scope of work included and not included in that item.
7. The WBS must be a flexible tool to accommodate inevitable changes while properly maintaining control of the work content in the project according to the scope statement. *Cleland, David I. Project Management: Strategic Design and Implementation, 1994
Good WBS Design PrinciplesThe 100% RuleThe WBS defines 100% of the work of the projectAnything that isn’t defined in the WBS is outside the scope of the project.The work content on any item is the sum of what is included under that work itemUpper Levels are Planned outcomes (deliverables), not planned actionsEnds of WBS include the activities needed to create the project deliverablesMutually-exclusive elementsWork should only appear in one place in the WBSWBS must be consistent with the way the project will be performed and controlledMust be easy to update
WBS RolePartition the major project deliverables into smaller components to improve the accuracy of cost estimatesProvide a mechanism for collecting actual costsProvide a mechanism for performance measurement and control
Why create a WBS?Cost EstimatingCost BudgetingResource PlanningRisk Management PlanningActivity Definition
SchedulingScheduling forces:Quantification of discrete effortPlacement of tasks in proper relationshipTwo most common scheduling methodologiesBar Charts (aka Gantt Charts)Critical Path Method (CPM) using Precedence Diagramming Method (PDM)
Bar / Gantt Charts Defined:Analyze and specify the basic approach in executionSegment into reasonable number of activitiesEstimate the time required.
Student Assignment for Presentation Ready in a Work Break Down Structure. You will find any things in this lesson even a Software you would like to Practice a Work Break Down Structure. thank
Microsoft has begun to integrate the various task-based capabilities within the Microsoft 365 ecosystem, creating a consolidated user experience. We're not 100% there yet, but for project managers and task-driven stakeholders, it is important to understand what is available today, how tasks communicate (and don't communicate) with each other across workloads, and where Microsoft is going in the future. This session is a review of task management across the entire Microsoft 365 landscape to help you understand where tasks are created, integrated, and managed end-to-end. Presented at M365 Friday Utah in Feb 2020, and as part of a Zen3 webinar in March 2020.
The Work Breakdown Structure: Lack Of A Good One Already Sets Your Project Up...Ed Kozak
The work breakdown structure (WBS) is often one of the most overlooked artifacts in any project but it's also the most important for project success. The schedule, budget, resource requirements, risks, and communication plan all are derived from the WBS. Many project failures--over-budget, poor quality, incorrect functionality, delayed schedule--can be traced back to a poor WBS. Failure to plan is planning to fail. How does your organization stack up?
6 Work Breakdown Structure and SchedulingCavan ImagesSto.docxevonnehoggarth79783
6 Work Breakdown Structure and Scheduling
Cavan Images/Stone/Getty Images
Learning Objectives
By the end of this chapter, you will be able to:
• Discuss the creation of a project work breakdown structure.
• Describe the scheduling process.
• Explain how to create schedules.
CO_CRD
CN
CT
CO_LO
CO_TX
CO_BL
co-cn
co-cr
co-box
co-intro
co-photo
co
bar81677_06_c06_173-198.indd 173 9/9/14 10:52 AM
Section 6.1 The Work Breakdown Structure
Pretest
1. To prepare a work breakdown structure for a project, the project manager starts from
the project’s end point and works backward.
a. True
b. False
2. Project schedules can act as constraints rather than efficiency tools.
a. True
b. False
3. Using a project template is recommended for simplifying the scheduling process.
a. True
b. False
Answers can be found at the end of the chapter.
Introduction
If you have ever been part of a team effort where it was unclear who was doing what, then you
have experienced the consequences of not planning out project work. When a team takes on
a project, there must be a plan for the work, a way to identify all the work tasks that must be
done in sequence to produce the project deliverable. In project management, this is called the
work breakdown structure. The WBS is the “what” in the question of who does what. Later,
team members are assigned to the work, but the first step is deciding what the work is.
This chapter will cover the process of defining and breaking down project work and schedul-
ing work tasks and milestones. It will focus on the WBS and scheduling process and the issues
involved in effective scheduling. This is important because outlining what needs to be done to
produce a project’s requirements and deliverables is a proven technique in producing a suc-
cessful project. This process of breaking down project work is a bread-and-butter function in
the project management field.
This chapter covers the definition of project work using a top-down WBS and scheduling the
work from the bottom up. It will illustrate the process and identify ways to reflect risk and
uncertainty in the scheduling process.
6.1 The Work Breakdown Structure
A WBS is a valuable description and documentation of the work involved in producing the
project deliverable. Sometimes the WBS is easy to define, but in more complex projects it is a
complicated and detailed listing of work tasks, milestones, and resources (resources include
personnel, materials, equipment, supplies, facilities, and other assets used in a project). The
WBS is the structure of the work, not the components of the product. Although some work is
directly related to product parts, the purpose of the WBS is to enable an accounting of the costs
of the project and the sequence of work activity and resource use so these can be scheduled.
H1
sec_n sec_t
bar81677_06_c06_173-198.indd 174 9/9/14 10:52 AM
Design Develop
Get
acceptance
Deliver
New information .
Learn MS Project Software Free PDF Download - Nice Presentation done by Bhadanis Quantity Surveying Institute Call 9990990844 or visit www.billingengineer.com
Top 20 Office and Office 365 Productivity Features You Need to KnowChristian Buckley
Most people understand the core capabilities in Micrfosoft Office and Office 365: they can log in, access email, upload documents, join in discussions. But are there features that go largely unused, but which can help you unlock personal or team productivity? This presentation walks through the Top 20 Office and Office 365 productivity features that can help your end users get the most out of the and related Microsoft Office functionality.
Summary of the PMI PMBOK 6th edition to help PMP / CAPM exam practitioners to understand the guide much better and focus on its most important contents.Also it is very helpful for practicing project mangers to stay up to date with the recent changes made on the PMBOK guide
Understanding how does PMI PMBOK 6th edition structured will help you to read the guid easily and understand its contents much better. For PMP exam practitioners
This document is part of a series that explain the newly released PMBOK 5th edition. These documents provide simple explanation and summary of the book. However they do not replace the necessity of reading the book.(The 10 Knowledge Areas & ITTOs)
This document is part of a series that explain the newly released PMBOK 5th edition. These documents provide simple explanation and summary of the book. However they do not replace the necessity of reading the book.
Welcome to the Program Your Destiny course. In this course, we will be learning the technology of personal transformation, neuroassociative conditioning (NAC) as pioneered by Tony Robbins. NAC is used to deprogram negative neuroassociations that are causing approach avoidance and instead reprogram yourself with positive neuroassociations that lead to being approach automatic. In doing so, you change your destiny, moving towards unlocking the hypersocial self within, the true self free from fear and operating from a place of personal power and love.
Program Your Destiny eBook - Destiny University.pdf
Master MSProject 2010
1. Project Management Quick Reference Guide
for MS Project 2010
Project 2010 offers flexibility and choice by providing tailored work management solutions for individuals, teams, and the enterprise. Besides providing a
new and easier way to manage simple tasks and projects. Here are some of the MS Project Professional 2010 new Features:
The “Ribbon”, no more menus, sub menus and or deeply hidden dialog box.
The backstage, one location to access your files and the tools you need.
Automatic and manual scheduled tasks options. Set up your task details when you are ready.
What you want to see is what you get. Great Timeline view.
Enhanced copy to and capability, preserve formatting from the source file.
Custom fields.
32-bit color support.
Text wrapping.
AutoFilter improvement.
Save as PDF, XPS.
Team planer where you can allocate your resources by dragging and dropping.
Extended right click menu.
Creating reports and gathering project information are much easier and quicker.
Customizable QUICK Access tool bar.
Dozens of ready-to-use format
Inactive tasks, where you can disable tasks without affecting your entire project.
Perfect integration with SharePoint 2010.
MS Project offers the ability to customize the ribbon by adding or removing tabs;
2. Before beginning a new project, an organization must determine whether the
project fits its strategic goals. Executives should classify proposed projects
that focus on mission-critical activities as high-priority and projects that are
peripheral to organization goals as lower priority.
Before work begins, an executive sponsor should be identified. The
organization should complete a high-level evaluation of the project’s business
case, its limitations, and its technical and financial requirements.
Finally, a project manager should be identified, who can then set up a project
plan in Microsoft Office Project 2010.
Need a more detailed guide to project management with Project 2010? GO to
MS Project 2010 .
1. Create a new project file To create a new blank project in MS Project 2010, click the File tab >> New >> Blank Project.
To create a new project from a template in MS Project 2010, click File tab >> New >> Office.com Templates
tab. Click the template that you want. You can also search office.com for templates.
2. Set the project start date On the Project tab, click Project Information. In the Start date box, enter your project start date.
3. Define the project On the Project tab, click Change Working Time. Identify working and non-working days and times for your project.
calendar
4. Save the project file On the File tab, click Save. In the File name box, type the project name.
3. In the planning stage you identify the project’s milestones, deliverables, and
tasks. This plan can be your Work Breakdown Structure (WBS). You develop
and refine the schedule, and identify the resources required to implement the
project.
1. Enter tasks Click the Task tab. In the Task Name field, enter tasks. Tasks can also include summary tasks, milestones, and WBS
items.
2. Outline tasks Create your task hierarchy, including tasks and milestones under summary tasks, which can represent phases or other
work divisions. Click a task (or several tasks), and then click the Indent or Outdent button on the toolbar.
3. Enter durations Click the Duration field for a task and enter duration; for example, type 4d to indicate 4 days. To specify a milestone
without duration, type 0d. To indicate that a duration is an estimate, add a question mark; for example, type 6d?
Note MS project 2010 provides you the ability to leave the duration, start, or finish dates blank, and give you to set
them as information available.
4. Link tasks to show Select the tasks that you want to link, and then click the Link Tasks button on the Ribbon- Task tab. This will set e
relationships the default finish-to-start dependency type.
4. Assignments are the associations between specific tasks and the resources
needed to complete them. You can assign more than one resource to a task. In
addition to work resources (people), you can assign material resources (such as
cement) and cost resources (such as travel) to tasks.
1. Define the resource pool On the View tab, click Resource Sheet. In the Resource Name field, type the names of the resources you will use for
this project. You may enter the data of the other fields latter.
2. Assign resources to tasks On the Resource Tab, select a task to which you want to assign a resource. Click the Assign Resources button . In
the Assign Resources dialog box, click the resource names, and then click Assign.
You can also assign resources to tasks by selecting the resource name form the drop down list in the resource names
column.
3. Enter the amount of When scheduling tasks, project managers sometimes prefer to enter the amount of work (or the amount of labor)
work resources spend on needed to complete a task, rather than the duration for the task. Entering work reflects real-world scheduling.
tasks
To enter work hours for resources assigned to tasks, add the Work column to the Gantt Chart view. On the Insert
menu, click Column.
5. 4. Know your task type
As soon as you assign resources, Project 2010 determines how to schedule the task based on the task type. You might
actually see durations change as resources are assigned to tasks.
How task types work
Work, duration, and units (% allocation) are determined by the formula: Work = Duration * Units.
In a . . . If you revise work . . . If you revise duration . . . If you revise units . . .
Fixed units task Duration changes Work changes Duration changes
Fixed work task Duration changes Units change Duration changes
Fixed duration task Units change Work changes Work changes
To set a default task type for the entire project, click File tab >> Options , and then click the Schedule tab. In the
Default task type box, select Fixed Units (the default), Fixed Duration, or Fixed Work.
To change the task type for an individual task, select the task, and then click the Task Tab >> Task Information
button . Click the Advanced tab, and then in the Task type box, click the task type that you want to create.
6. Create a baseline or an interim plan so that later you can compare your up-to-
date schedule to your baseline. Saving a baseline plan enables you to identify
and solve discrepancies and plan more accurately for similar future projects.
1. Save the baseline plan After your project plan is solidly in place for the finish date, budget, and scope, you can submit the plan for approval.
Once it has been approved, save the baseline plan. On the Project Tab, click Set Baseline. You can save up to 11
baselines.
2. View baseline data in a On the View tab, click Tracking Gantt. In the chart area, the baseline information is shown as the lower of the two
Gantt Chart view Gantt bars for each task.
3. View baseline data in a On the View tab, point to Table, and then select Variance. This table includes fields for baseline and variance start
table and finish.
7. Updating the progress of your project is the only way to make sure it stays on
track as work is performed. The focus at this point is on managing changes,
updating the schedule, tracking progress, and communicating project
information.
Project 2010 tracks three sets of dates: current, baseline, and actual. When
you first set the baseline, current = baseline. When a task is 100% complete,
current = actual. Baseline, current, and actual values exist for the start date,
finish date, duration, cost, and work.
1. Manage changes Managing changes involves modifying durations, dates, dependencies, resource assignments, or tasks based on
requested changes or new information. Keep the current fields up to date and compare them to the baseline.
2. Track actual dates and It’s best to decide on a single method for tracking progress. You can enter percentage complete, actual start and finish
durations dates, actual and remaining durations, or actual and remaining work.
Select the task for which you want to enter actual progress. On the Task tab, point to Schedule group, and then click
Mark on Track right arrow >> Update Tasks. In the Update Tasks dialog box, enter progress data in the fields that
match your tracking method.
3. Track actual hours and If you want to enter actual and remaining work hours or costs, use the tracking table. On the View tab, point to Table,
costs and then click Tracking. Enter progress data in the Act. Work or Act. Cost fields for the task.
You can also use the tracking table to enter percent complete, actual start and finish dates, and actual and remaining
duration.
8. Keep stakeholders and team members up-to-date on project progress by
providing them with access to online or printed views and reports.
Project 2010 provides many ways to print and distribute both detailed and
overview information project information quickly and efficiently.
1. Format a view for On the Format tab, click Text Styles or Bar Styles to set up styles that will apply to multiple tasks. Or, on the Format
printing group, click Font or Bar to format individual elements for a specific task. Click Timescale, Gridlines, or Layout on the
Format tab to change those aspects of the current view.
2. Print a view as a report Set up the current view the way that you want it to look when printed. On the File tab >> Print, set up printer
properties or change the page view then click print to print the view.
3. Generate a report On the Project tab >> reports group, click Visual Reports to see your project’s data in PivotTable reports in Microsoft
Office Excel and Pivot Diagram views in Microsoft Office Visio Professional.
You can also view basic reports that don’t require Excel or Visio. Click Reports. Double-click a report category, and
then double-click the predefined report. Enter any requested information. A preview of the report appears. To print
the report, click Print.
4. Add a field (column) to a Click anywhere in a column to the left of where you want to insert a new column.
table
5. Customize views On the View tab, click More Views. Click New or Edit. In the View Definition dialog box, specify the table, group, and
filter that you want to use to define the view.
6. Customize tables On the View tab, point to Table, and then click More Tables. Click New or Edit. In the Table Definition dialog box,
specify the information that you want to include in the table.
7. Customize groups On the View tab, point to Data >> Group by, and then from the drop down list Click more groups. Click New or Edit. In
the Group Definition dialog box, specify how you want to group project information.
8. Customize filters On the View tab, point to Filter and then select More Filters from the drop down list. Click New or Edit. In the Filter
Definition dialog box, specify how you want to filter project information.
9. Just because your project is almost finished doesn’t mean that your work is
done. You still need to resolve any final project details and obtain customer
acceptance of final deliverables. Conduct a “lessons learned” session,
recording information about areas for improvement and best practices. Make
any final updates to the project plan. Finally, archive the project plan
according to your organization’s guidelines.
1. Save a project as a After completing a project, you should leverage what you’ve learned in the project by making it a template for future
template projects. On the File tab, click Save As, and then in the Save As Type box, click Template.
Please refer to Microsoft Project 2010 step by step tom get the maximum and to be MS Project 2010 Expert.
References:
Microsoft Project 2010 step by step…By Carl Chatfeld and Timothy Johnson
http://www.microsoft.com/learning
www.microsoft.com/project
Amr Miqdadi, PMP, MCSE
amiqdadi@pmlead.net
www.pmlead.net