Download as PPSX, PPTX

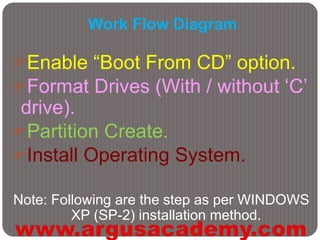


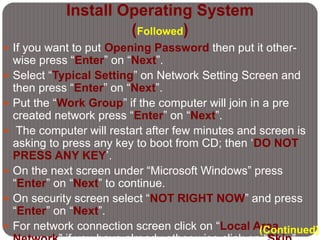


This document provides step-by-step instructions for installing Windows XP operating system software. It details how to enable booting from a CD, format drives, create partitions, and complete the Windows XP installation. Key steps include enabling the BIOS to boot from the CD/DVD drive, formatting drives using the NTFS file system, creating primary partitions for drives C and others, and completing the Windows XP setup by entering registration information and configuring network and security settings. Users are advised to follow all steps carefully to successfully install Windows XP.