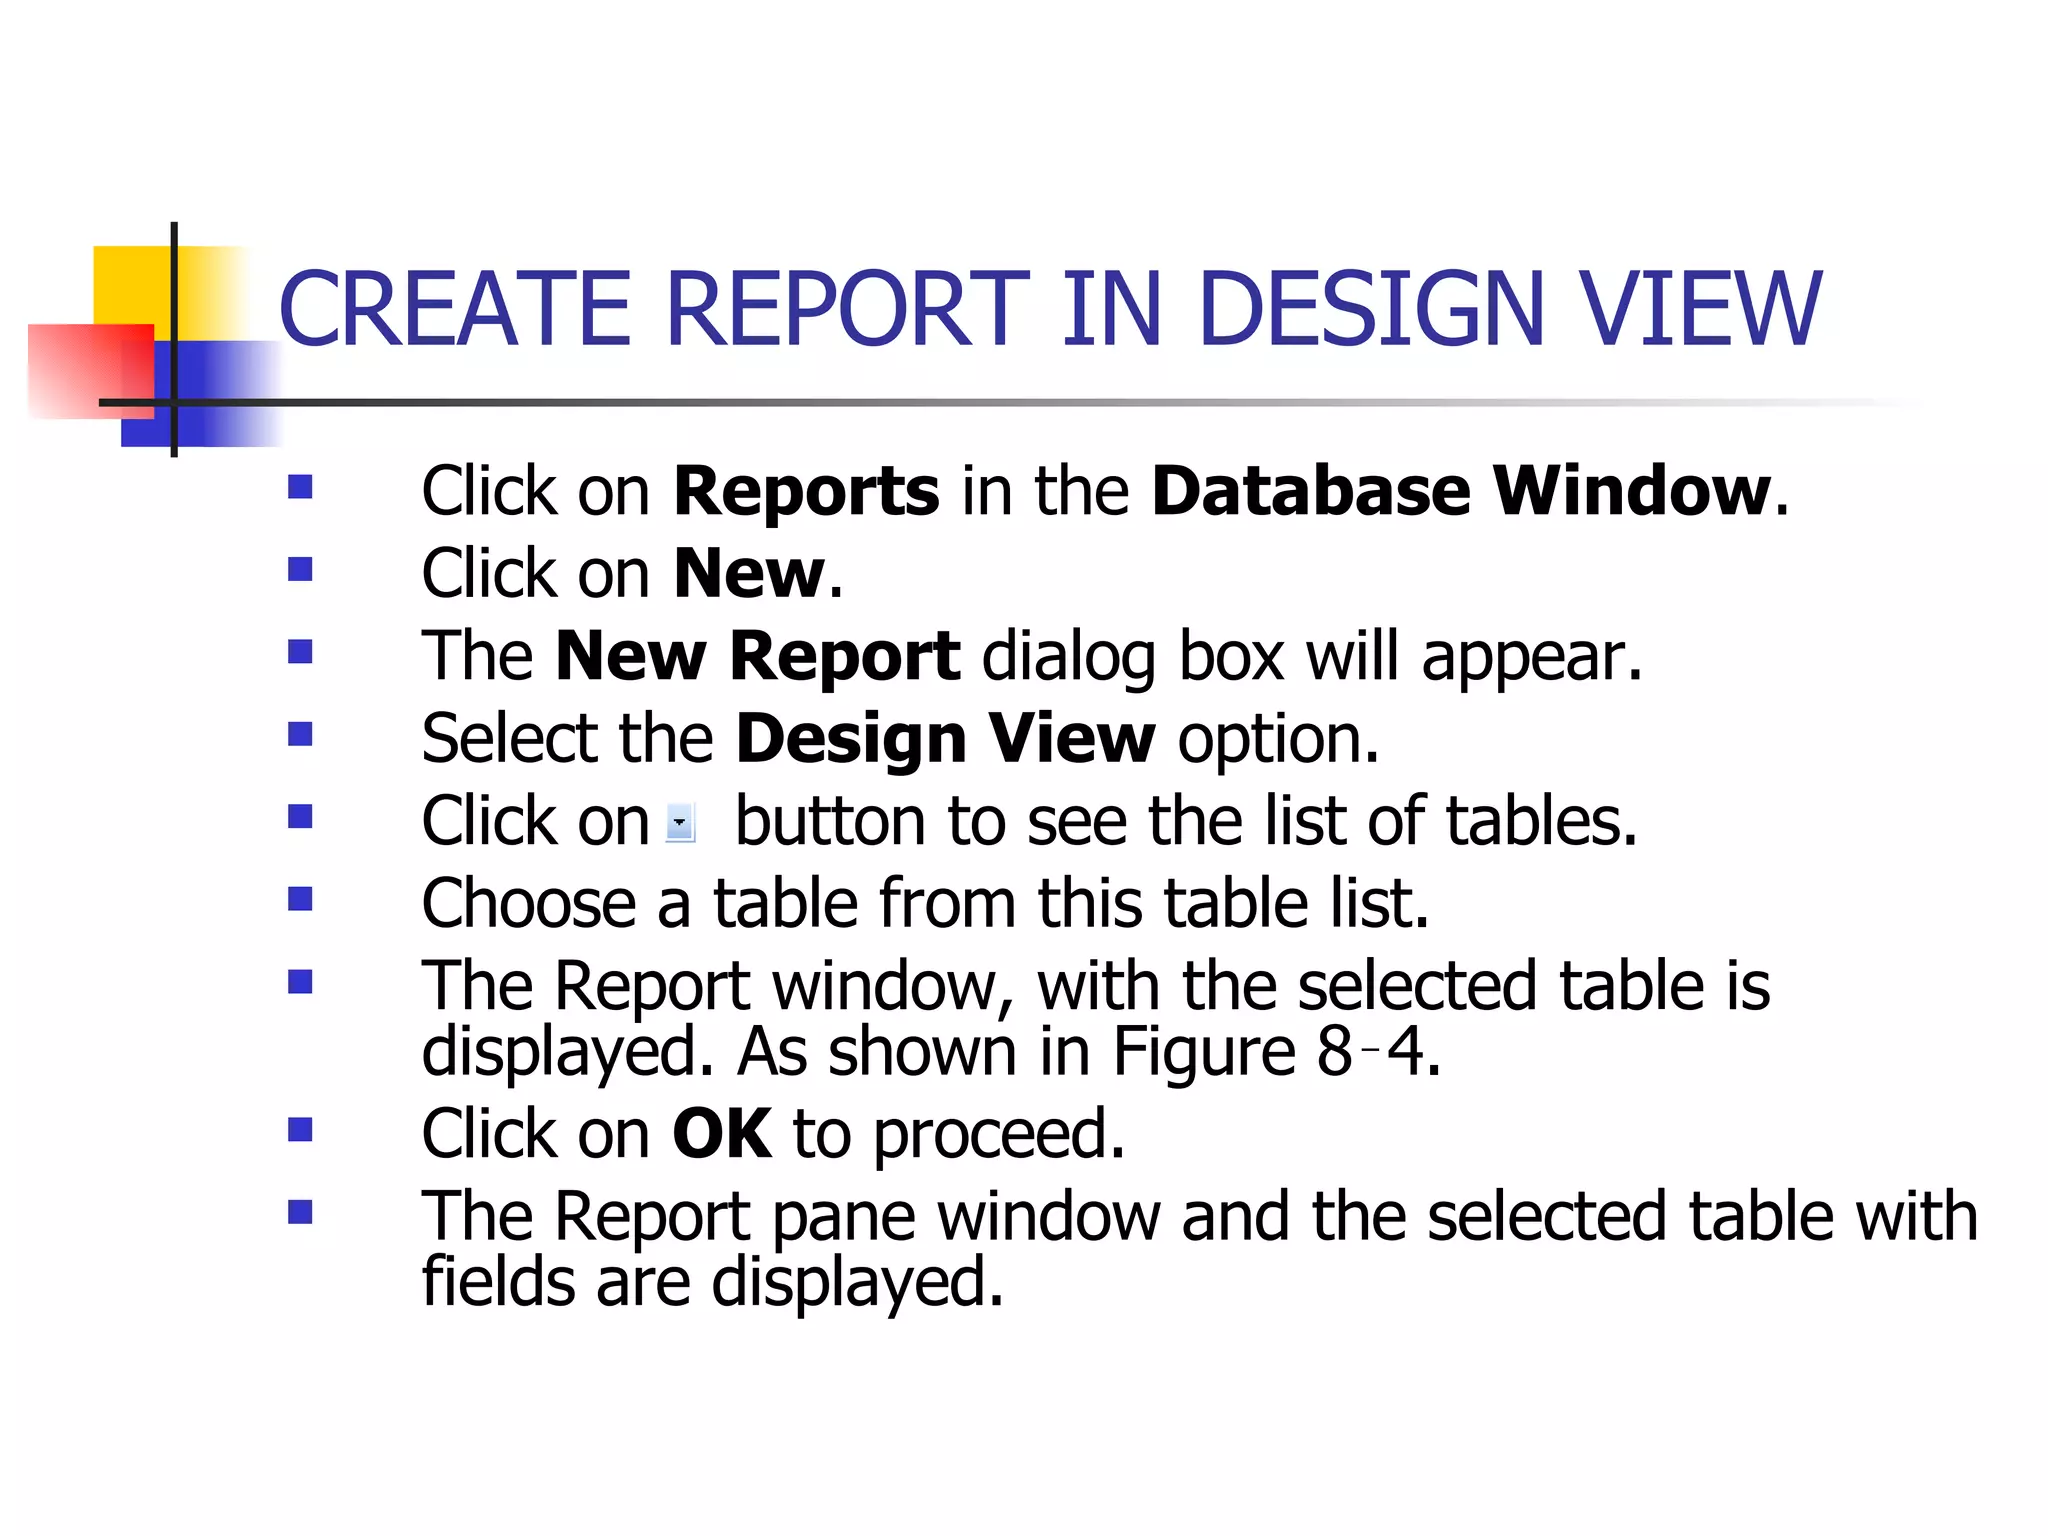
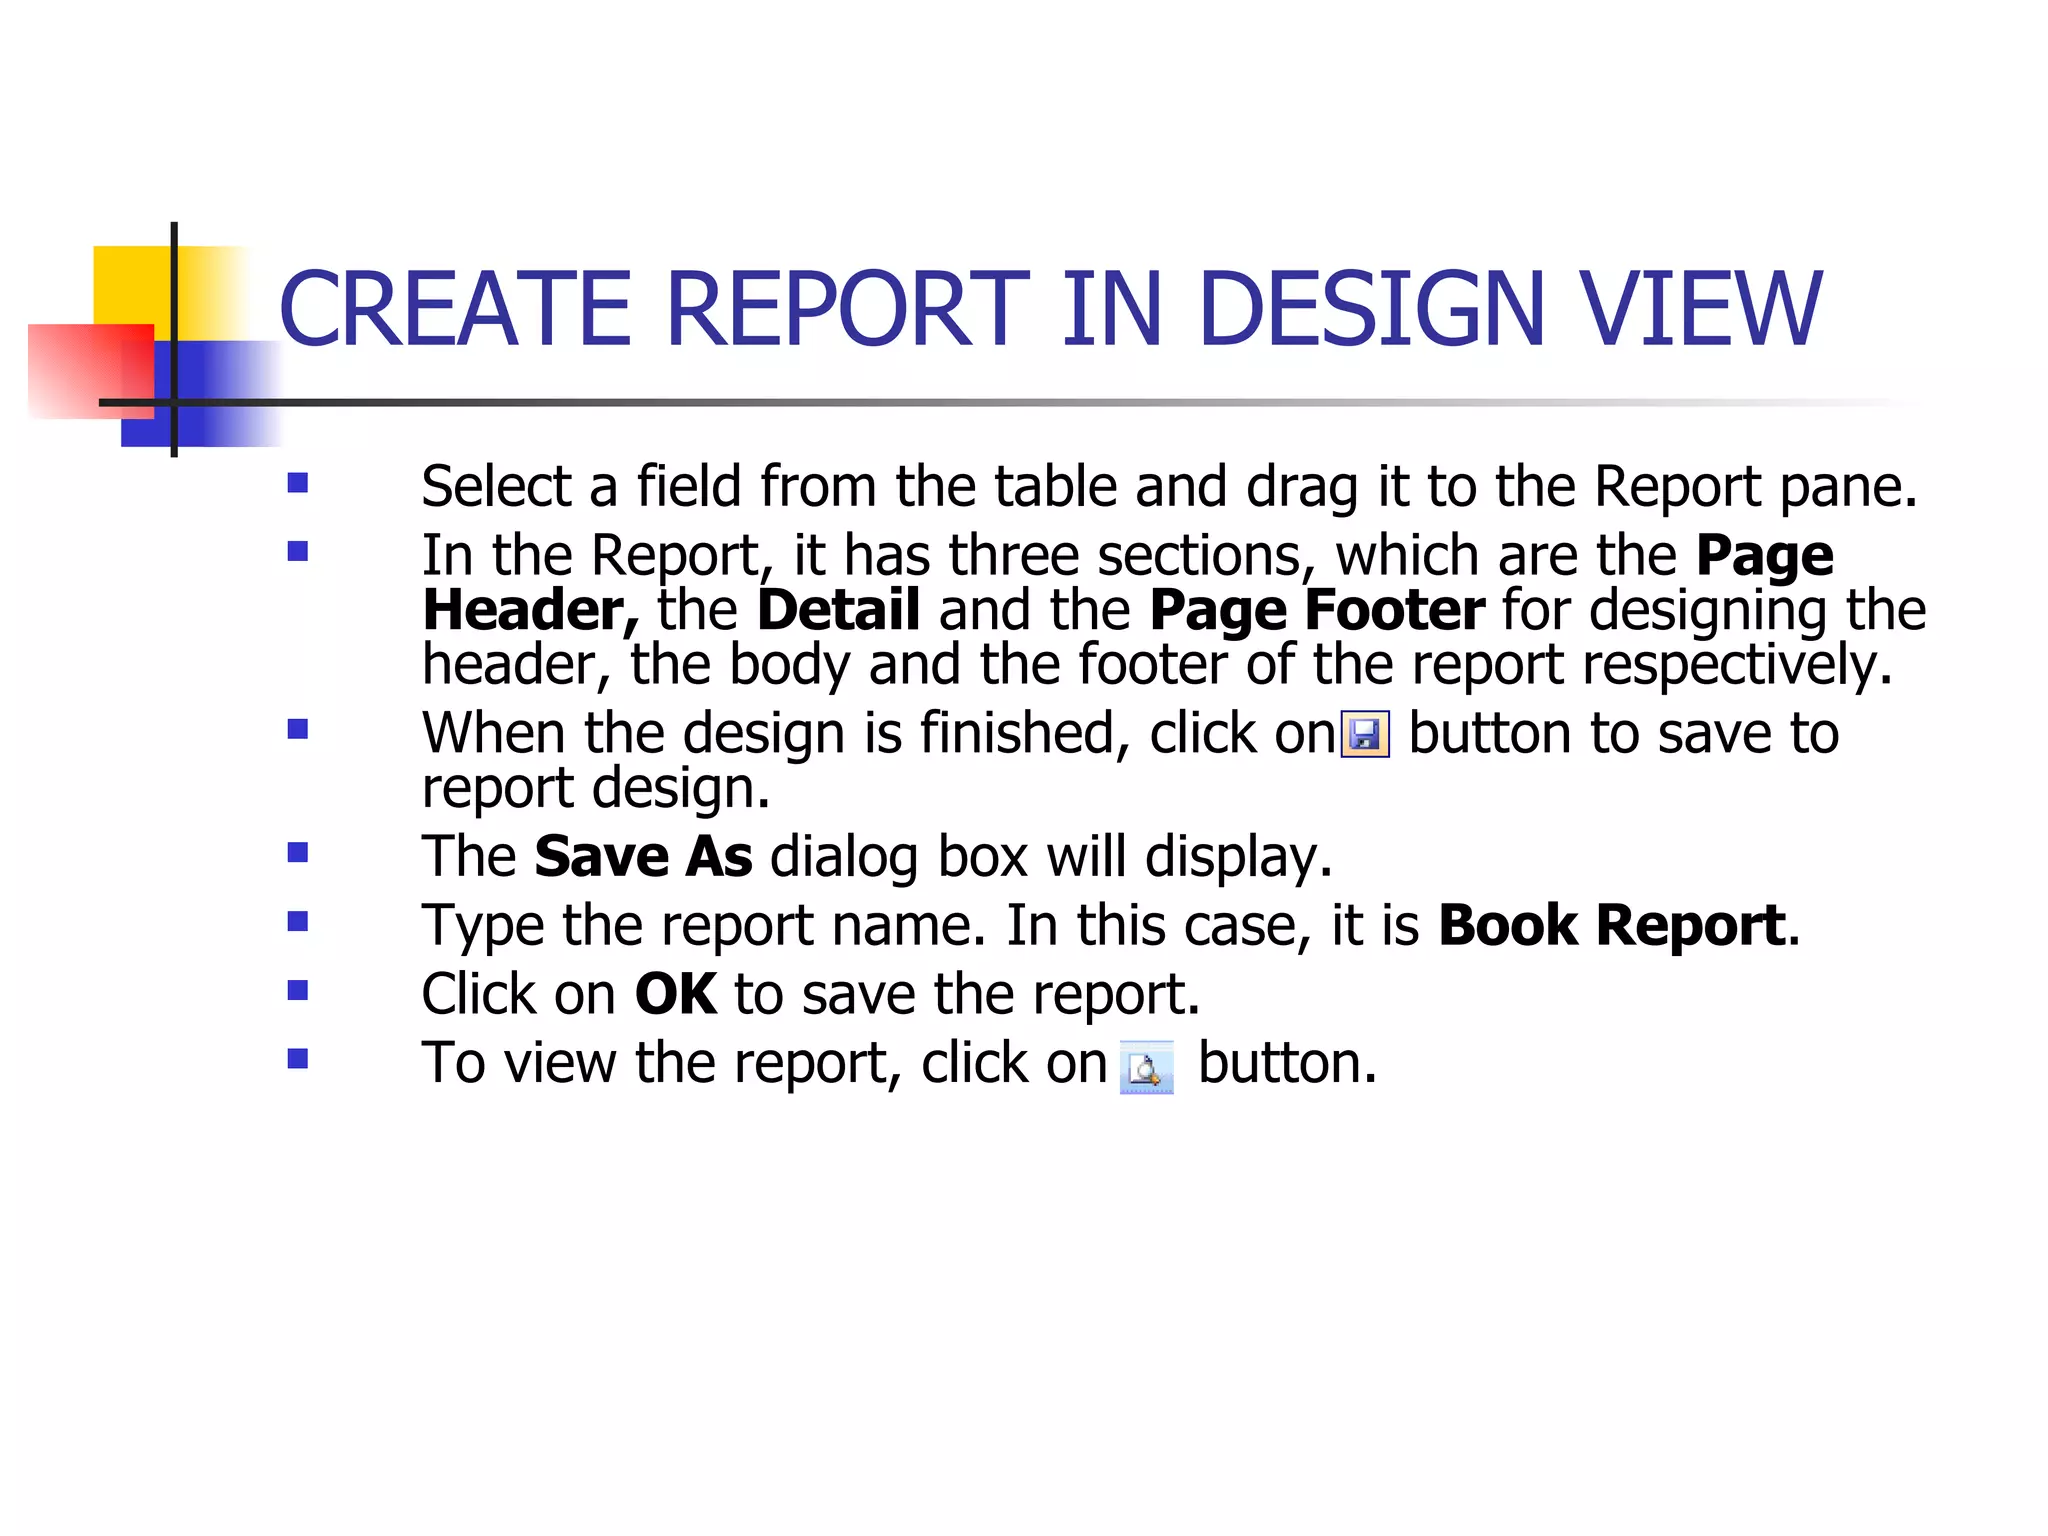
CHAPTER 8 CREATING REPORT
LAB 5 : CREATING REPORT 8.1  Create Report 8.2  Creating Report in Design View 8.3  Creating Report Using Report Wizard 8.4  Create Report Using AutoReport 8.5  Open a Report 8.6  Moving through Report 8.7  Changing the View of a Report
LAB 5 : CREATING REPORT 8.8  Adding a Picture 8.9  Renaming a Report 8.10 Deleting a Report 8.11 Printing a Report 8.11.1 Print Preview 8.11.2 Page Setup 8.11.3 Print
CREATE REPORT IN DESIGN VIEW   Click on  Reports  in the  Database Window . Click on  New .  The  New Report  dialog box will appear. Select the  Design View  option. Click on  button to see the list of tables. Choose a table from this table list. The Report window, with the selected table is displayed. As shown in Figure 8‑4. Click on  OK  to proceed. The Report pane window and the selected table with fields are displayed.
Select a field from the table and drag it to the Report pane. In the Report, it has three sections, which are the  Page Header,  the  Detail  and the  Page Footer  for designing the header, the body and the footer of the report respectively. When the design is finished, click on  button to save to report design. The  Save As  dialog box will display. Type the report name. In this case, it is  Book Report . Click on  OK  to save the report. To view the report, click on  button. CREATE REPORT IN DESIGN VIEW
CREATE REPORT USING REPORT WIZARD   Click on Reports in the Database window. Double click on Create report by using wizard. The report Wizard appears. Click in the tables/queries area to select the table with the fields for the report. Double click or click on > buttom for the field to include in the report. Click on  Next . Click on the Type field to group report data. Click on  Next  to continue.
Click on  and select the field for sorting the records. (e.g. Book_Code). Click on  Next . Select a layout. (e.g. stepped) Select orientation. (e.g. portrait) Click on  Next . Select on  the report style. (e.g. Soft Gray) Click on  Next . Type a name for your report. Click on  Finish . CREATE REPORT USING REPORT WIZARD
CREATE REPORT USING AUTOREPORT   Click on  Reports  in the  Database window . Click on  New . Click on the  AutoReport: Columnar  type on the  New Report  dialog box. Click on  in the  Table/Query  area to select the tables for the report. Click on  OK  to create your report.
CREATE REPORT USING AUTOREPORT   A report view with your designed is displayed. Click on  File  and  Save As. Type the report name. Click on  OK . When you finished viewing the report, click on  button to close the report.
OPEN A REPORT   Click on  Report  in the  Database window . Double click on the name of the report to be opened
NAVIGATE THROUGH A REPORT (AT PRINT PREVIEW)
CHANGE THE VIEW OF A REPORT (AT PRINT PREVIEW)   Click on this  symbol, which is the view button. Select a view from the drop-down list. (e.g. design view)
ADD A PICTURE TO A REPORT   Open the report in the design view. Click on  to add a picture to your report. Click on where you want the picture to appear in your report. The  Insert Picture  dialog box appears.  Click on  in the  Look In:  dialog box. Click on the name of the picture you to be added to your report. Click on  OK  to add the picture to your report.
RENAME A REPORT   Click on report in the  Database Window . Right click on the name of the report to be renamed. Click on the rename option. Type a new name for the report and then press  ENTER  key. The report is displayed with new name in the  Database Window .
DELETE A REPORT   Click on  Reports  in the  Database Window. Click on the name of the report you to be deleted. Click on  button to delete the report. A dialog box appears, confirming the deletion. Click on  Yes  to permanently delete the report. The report is disappeared from the  Database Window .
PRINT A REPORT   Double click on the report to be printed. Choose  File->Print .

D I T211 Chapter 8 ( Lab 5)

  • 1.
  • 2.
    LAB 5 :CREATING REPORT 8.1 Create Report 8.2 Creating Report in Design View 8.3 Creating Report Using Report Wizard 8.4 Create Report Using AutoReport 8.5 Open a Report 8.6 Moving through Report 8.7 Changing the View of a Report
  • 3.
    LAB 5 :CREATING REPORT 8.8 Adding a Picture 8.9 Renaming a Report 8.10 Deleting a Report 8.11 Printing a Report 8.11.1 Print Preview 8.11.2 Page Setup 8.11.3 Print
  • 4.
    CREATE REPORT INDESIGN VIEW Click on Reports in the Database Window . Click on New . The New Report dialog box will appear. Select the Design View option. Click on button to see the list of tables. Choose a table from this table list. The Report window, with the selected table is displayed. As shown in Figure 8‑4. Click on OK to proceed. The Report pane window and the selected table with fields are displayed.
  • 5.
    Select a fieldfrom the table and drag it to the Report pane. In the Report, it has three sections, which are the Page Header, the Detail and the Page Footer for designing the header, the body and the footer of the report respectively. When the design is finished, click on button to save to report design. The Save As dialog box will display. Type the report name. In this case, it is Book Report . Click on OK to save the report. To view the report, click on button. CREATE REPORT IN DESIGN VIEW
  • 6.
    CREATE REPORT USINGREPORT WIZARD Click on Reports in the Database window. Double click on Create report by using wizard. The report Wizard appears. Click in the tables/queries area to select the table with the fields for the report. Double click or click on > buttom for the field to include in the report. Click on Next . Click on the Type field to group report data. Click on Next to continue.
  • 7.
    Click on and select the field for sorting the records. (e.g. Book_Code). Click on Next . Select a layout. (e.g. stepped) Select orientation. (e.g. portrait) Click on Next . Select on the report style. (e.g. Soft Gray) Click on Next . Type a name for your report. Click on Finish . CREATE REPORT USING REPORT WIZARD
  • 8.
    CREATE REPORT USINGAUTOREPORT Click on Reports in the Database window . Click on New . Click on the AutoReport: Columnar type on the New Report dialog box. Click on in the Table/Query area to select the tables for the report. Click on OK to create your report.
  • 9.
    CREATE REPORT USINGAUTOREPORT A report view with your designed is displayed. Click on File and Save As. Type the report name. Click on OK . When you finished viewing the report, click on button to close the report.
  • 10.
    OPEN A REPORT Click on Report in the Database window . Double click on the name of the report to be opened
  • 11.
    NAVIGATE THROUGH AREPORT (AT PRINT PREVIEW)
  • 12.
    CHANGE THE VIEWOF A REPORT (AT PRINT PREVIEW) Click on this symbol, which is the view button. Select a view from the drop-down list. (e.g. design view)
  • 13.
    ADD A PICTURETO A REPORT Open the report in the design view. Click on to add a picture to your report. Click on where you want the picture to appear in your report. The Insert Picture dialog box appears. Click on in the Look In: dialog box. Click on the name of the picture you to be added to your report. Click on OK to add the picture to your report.
  • 14.
    RENAME A REPORT Click on report in the Database Window . Right click on the name of the report to be renamed. Click on the rename option. Type a new name for the report and then press ENTER key. The report is displayed with new name in the Database Window .
  • 15.
    DELETE A REPORT Click on Reports in the Database Window. Click on the name of the report you to be deleted. Click on button to delete the report. A dialog box appears, confirming the deletion. Click on Yes to permanently delete the report. The report is disappeared from the Database Window .
  • 16.
    PRINT A REPORT Double click on the report to be printed. Choose File->Print .