Downloaded 226 times
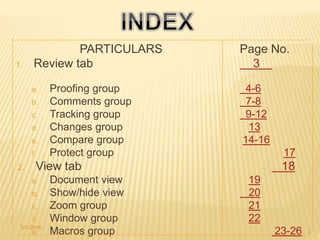
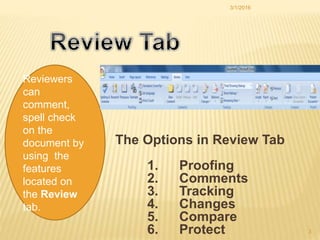
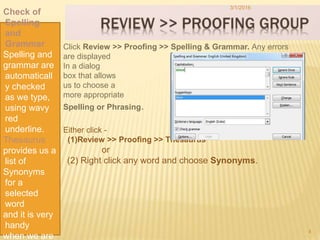
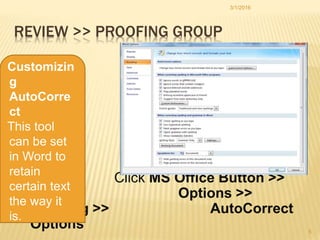
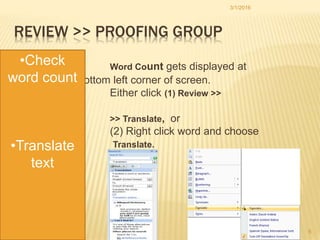
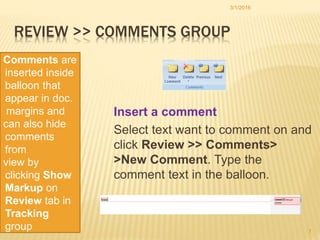


This document provides information about the various options available in the Review and View tabs in Microsoft Word. It discusses the different groups within the Review tab including Proofing, Comments, Tracking, Changes, Compare, and Protect. It also covers the various views available in the View tab like Document Views, Show/Hide, Zoom, Window, and Macros. The document includes steps for using features like inserting comments, tracking changes, comparing documents, and recording macros.


