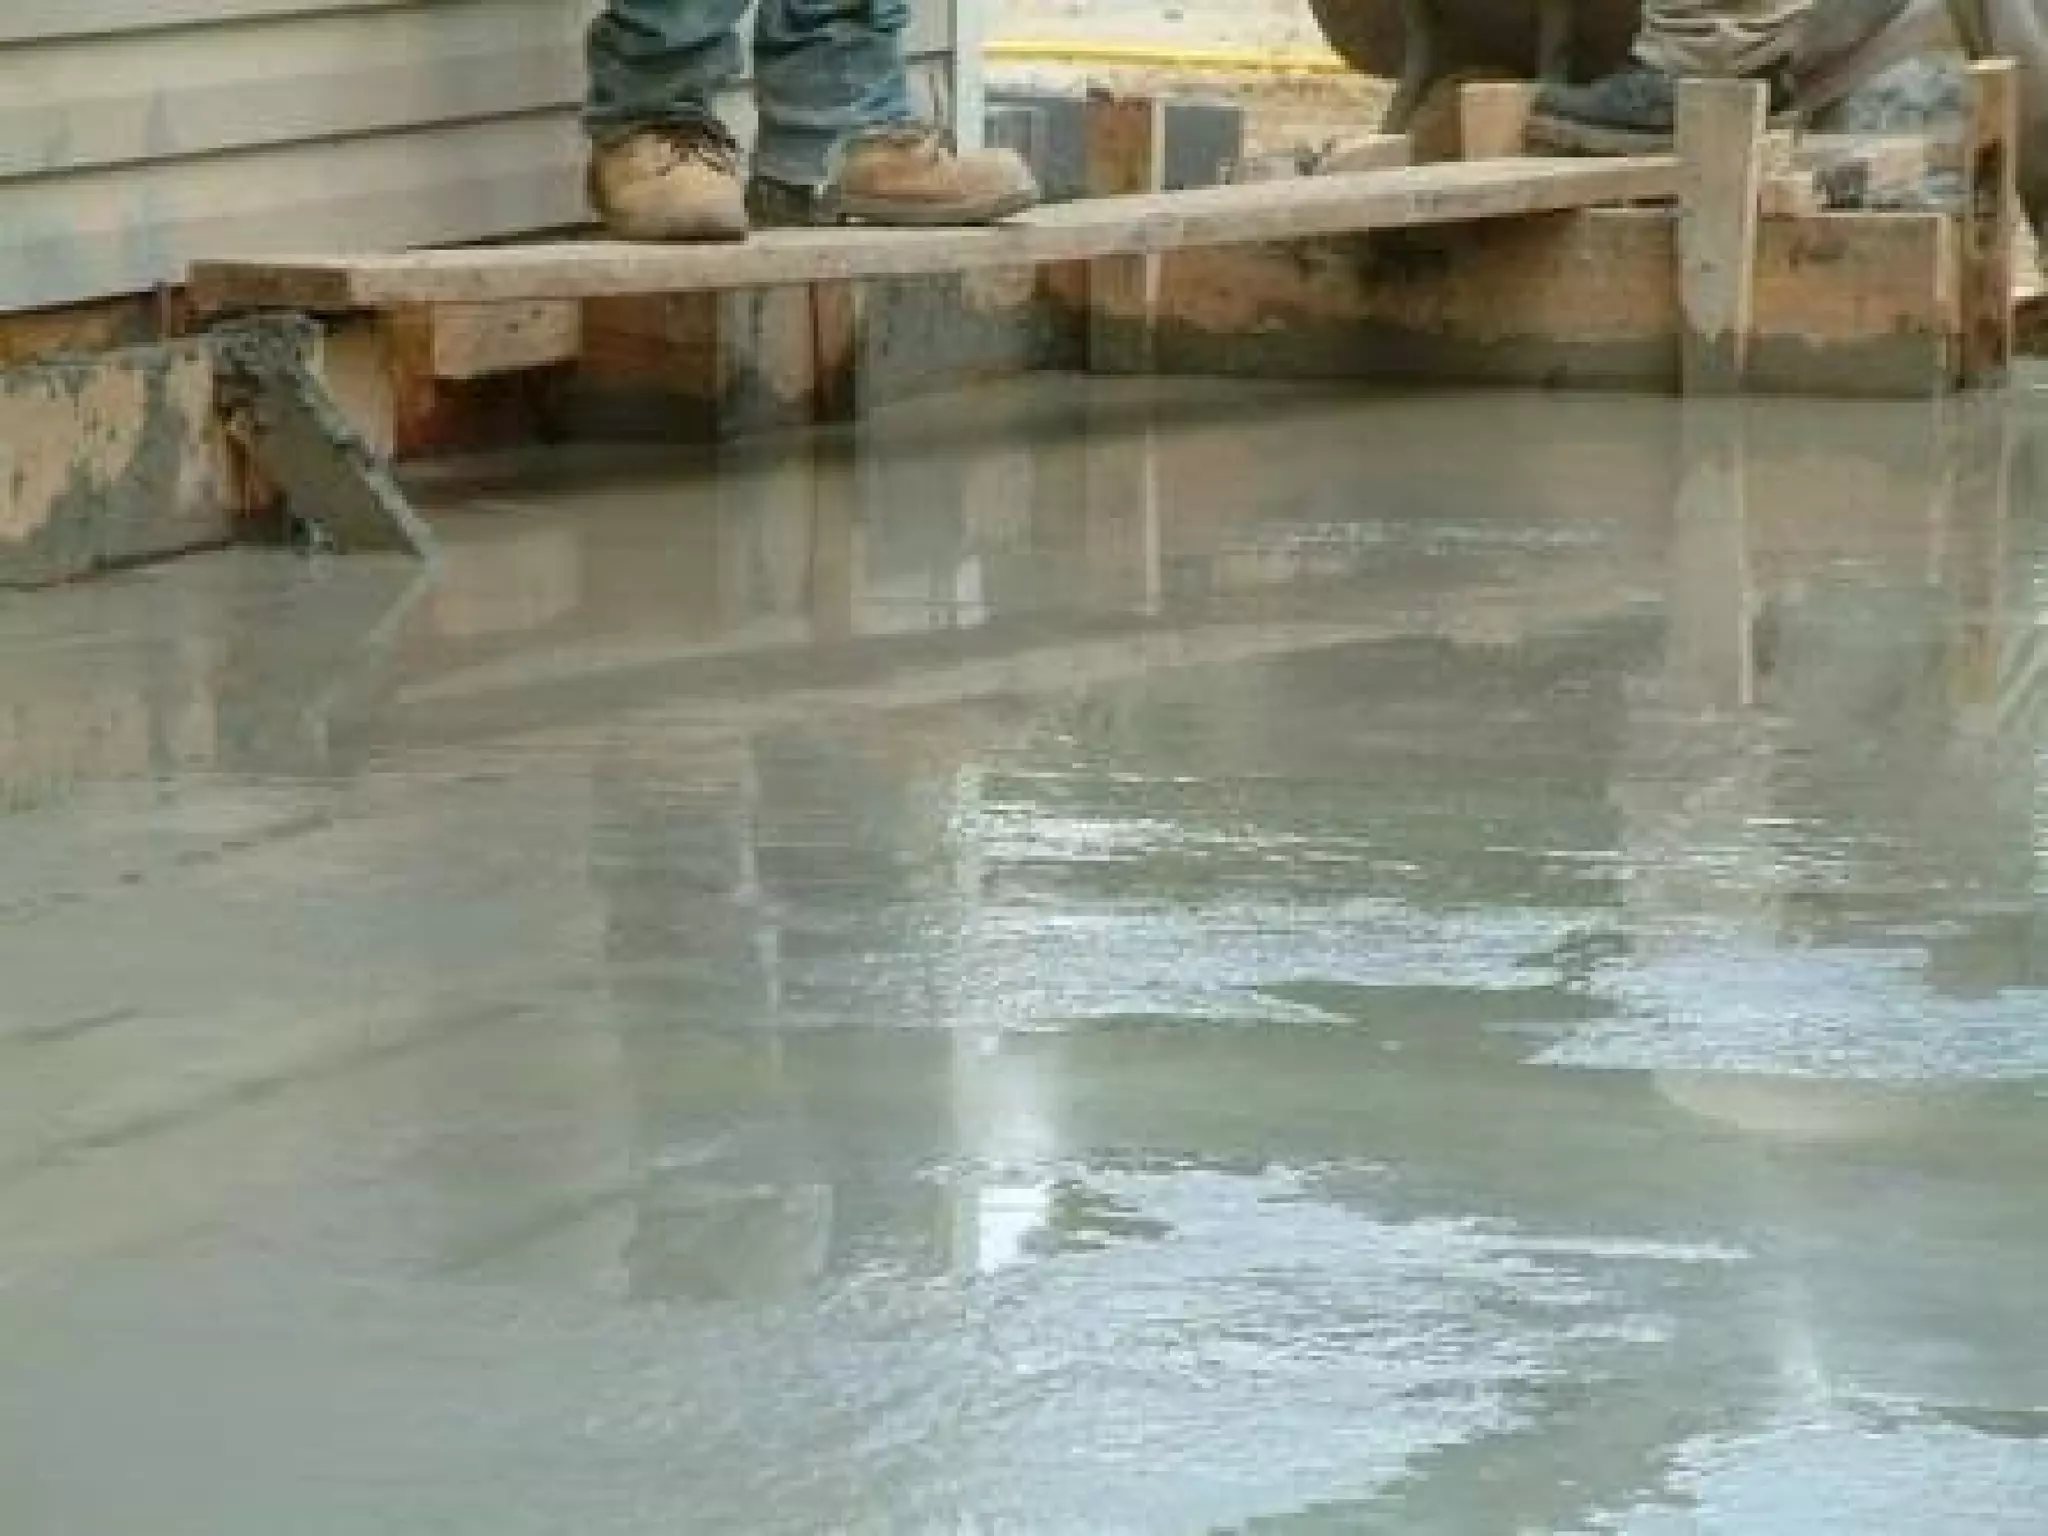
CEMENT AND ADMIXTURE
VARIOUS LABORATORY TESTS FOR CEMENT
Fineness Test:
• The principle of this is that we determine the proportion of cement
whose grain size is larger then specified mesh size.
• The apparatus used are 90µm IS Sieve, Balance capable of weighing
10g to the nearest 10mg.
• When its is sieved the residue should not more than 10% of wt. for
OPC and 5% for RHS & LHS.
CONSISTENCY:
• To find out the water content required to produce a
cement paste of standard consistency as specified by the
IS: 4031 (Part 4) – 1988.
• The principle is that standard consistency of cement is
that consistency at which the Vicat plunger penetrates to
a point 5-7mm from the bottom of Vicat mould.
i)Weigh approximately 400g of cement and
mix it with a weighed quantity of water.
The time of gauging should be between 3
to 5 minutes.
ii) Fill the Vicat mould with paste and level
it with a trowel.
iii) Lower the plunger gently till it touches
the cement surface.
iv) Release the plunger allowing it to
sink into the paste.
vi) Repeat the above procedure taking fresh
samples of cement and different quantities
of water until the reading on the gauge is 5 to 7mm.
INITIAL AND FINAL SETTING TIME
• We need to calculate the initial and final setting time as per IS:
4031 (Part 5) – 1988. To do so we need Vicat apparatus.
i) Prepare a cement paste by gauging the cement with 0.85 times the
water required to give a paste of standard consistency.
ii) Start a stop-watch, the moment water is added to the cement.
iii) Fill the Vicat mould completely with the cement paste gauged as
above, the mould resting on a non-porous plate and smooth off the
surface of the paste making it level with the top of the mould. The
cement block thus prepared in the mould is the test block.
A) INITIAL SETTING TIME
• Place the test block under the rod bearing the needle.
• Lower the needle gently in order to make contact with the surface
of the cement paste and release quickly, allowing it to penetrate
the test block.
• Repeat the procedure till the needle fails to pierce the test block to
a point 5.0 ± 0.5mm measured from the bottom of the mould.
• The time period elapsing between the time, water is added to the
cement and the time, the needle fails to pierce the test block by 5.0
± 0.5mm measured from the bottom of the mould, is the initial
setting time.
B)FINAL SETTING TIME
• Replace the above needle by the one with an annular attachment.
• The cement should be considered as finally set when, upon
applying the needle gently to the surface of the test block.
• The needle makes an impression therein, while the attachment
fails to do so.
• The period elapsing between the time, water is added to the
cement and the time, the needle makes an impression on the
surface of the test block, while the attachment fails to do so, is the
final setting time.
• Initial setting time=t2-t1
• Final setting time=t3-t1,
Where,
t1=Time at which water is first added to cement
t2=Time when needle fails to penetrate 5 mm to 7 mm
from bottom of the mould
t3=Time when the needle makes an impression but the
attachment fails to do so.
SOUNDNESS TEST
• To determine the presence of un combined
lime in cement.
• The apparatus for conducting the Le-Chatelier
test should conform to IS: 5514 – 1969.
i) Place the mould on a glass sheet and fill it with the cement paste
formed by gauging cement with 0.78 times the water required to
give a paste of standard consistency.
ii) Cover the mould with another piece of glass sheet, place a small
weight on this covering glass sheet and immediately submerge the
whole assembly in water at a temperature of 27 ± 2o
C and keep it
there for 24hrs.
iii) Measure the distance separating the indicator points to the nearest
0.5mm (say d1 ).
iv) Submerge the mould again in water at the temperature prescribed
above.
v) Bring the water to boiling point in 25 to 30 minutes and keep it
boiling for 3hrs.
v) Remove the mould from the water, allow it to cool and
measure the distance between the indicator points (say
d2 ).
vi) (d2 – d1 ) represents the expansion of cement.
vii) The expansion of cement 10mm for 24hrs and 5mm
for 7 days for OPC,RHC,LHC.
COMPRESSIVE STRENGTH OF CEMENT:
• Is determined by compressive strength test on mortar cubes
compacted by means of a standard vibration machine.
• The specimen is in the form of cubes 70.6mm*70.6mm*70.6mm.
• Take 200 g of cement and 600 g of standard sand and mix them
dry thoroughly.
• The cement required is 185 gm and 235 gm respectively.
• The mortar, after being placed in the moulds, is compacted in
vibrating machine for 2 minutes.
• The moulds are placed in a damp cabin for 24 hours.
• The specimens are removed from the moulds and they are
submerged in clean water for curing.
• The cubes are then tested in compression testing machine at the
end of 3 days and 7 days.
• Thus three cubes are tested each time to find out the compressive
strength at the end of 3 days and 7 days.
• The average value is then worked out. During the test, the load is to
be applied uniformly at the rate of 350 kg/cm2 or 35 N/mm2.
• The compressive strength of cement at the end of 3 days should
not be less than 115 kg/cm2 or 11.50 N/mm2 and that at the end of
7 days should no be less than 175 kg/cm2 or 17.50 N/mm2.
Various ingredients of cement concrete :
The importance of the ingredients should be known before there are
used in cement concrete.
1. CEMENT
2. WATER
• The water is used in concrete plays an important part in the mixing,
laying compaction setting and hardening of concrete.
• The strength of concrete directly depends on the quantity and
quality of water is used in the mix.
3. AGGREGATE
• In the cement concrete, to provide good quality of concrete
aggregate is used in two size groups:
• Fine aggregate (sand) particle size less than 4.75mm
• Coarse aggregate – Particle size more than 4.75mm
VARIOUS TESTS FOR CONCRETE:
WORKABILITY TEST:
Slump test is used to determine the workability of fresh concrete.
Slump test as per IS: 1199 – 1959 is followed.
The apparatus used for doing slump test are Slump cone and Tamping
rod.
Procedure to determine workability of fresh concrete by slump
test.
i) The internal surface of the mould is thoroughly cleaned and applied
with a light coat of oil.
ii) The mould is placed on a smooth, horizontal, rigid and
nonabsorbent surface.
iii) The mould is then filled in four layers with freshly mixed concrete,
each approximately to one-fourth of the height of the mould.
iv) Each layer is tamped 25 times by the rounded end of the tamping
rod (strokes are distributed evenly over the cross section).
v) After the top layer is rodded, the concrete is struck off the level with
a trowel.
vi) The mould is removed from the concrete immediately by raising
it slowly in the vertical direction.
vii) The difference in level between the height of the mould and that
of the highest point of the subsided concrete is measured.
viii) This difference in height in mm is the slump of the concrete.
• Collapse: In a collapse slump the concrete collapses completely.
• Shear: In a shear slump the top portion of the concrete shears
off and slips sideways.
• True: In a true slump the concrete simply subsides, keeping
more or less to shape.
COMPACTION FACTOR TEST FOR CONCRETE
WORKABILITY:
• Compaction factor test is the workability test for concrete
conducted in laboratory. The compaction factor is the ratio of
weights of partially compacted to fully compacted concrete.
Apparatus:
• Compaction factor apparatus consists of trowels, hand scoop
(15.2 cm long), a rod of steel or other suitable material (1.6 cm
diameter, 61 cm long rounded at one end ) and a balance.
Procedure of Compaction Factor Test on Concrete
• Place the concrete sample gently in the upper hopper to its brim
using the hand scoop and level it.
• Cover the cylinder.
• Open the trapdoor at the bottom of the upper hopper so that
concrete fall into the lower hopper. Push the concrete sticking on
its sides gently with the road.
• Open the trapdoor of the lower hopper and allow the concrete to
fall into the cylinder below.
• Cut of the excess of concrete above the top level of cylinder using
trowels and level it.
• Clean the outside of the cylinder.
• Weight the cylinder with concrete to the nearest 10 g. This weight is
known as the weight of partially compacted concrete (W1).
• Empty the cylinder and then refill it with the same concrete mix in
layers approximately 5 cm deep, each layer being heavily rammed
to obtain full compaction.
• Level the top surface.
• Weigh the cylinder with fully compacted. This weight is known as
the weight of fully compacted concrete (W2).
• Find the weight of empty cylinder (W).
Compaction Factor Value= (W1-W) / (W2-W)
The Compaction factor values ranges from 0.7 to 0.95.
ADMIXTURES:
• Admixtures are the special ingredients added during concrete
mixing to enhance the properties and performance of fresh concrete.
• Various types of admixtures are available in the market which is
used in construction work.
FUNCTION OF ADMIXTURES:
1. To accelerate or retard the setting time of fresh concrete.
2. To increase the strength and durability of concrete.
3. To reduce the heat of hydration.
4. To decrease the permeability.
5. To reduce the segregation and bleeding.
TYPES OF CHEMICAL ADMIXTURES:
1. ACCELERATING ADMIXTURES:
• This admixture is added in concrete or mortar for increasing the
rate of hydration of hydraulic cement and for shortening the
setting time. Calcium chloride (CaCl2) is the most widely used
accelerating admixture.
2. RETARDING ADMIXTURES:
• Retarding admixtures delay the initial rate of hydration of cement
and extend the setting time of cement paste. This admixture can be
used in high temperature and where the concrete has to be
transported to a long distance. It is also suitable for using in
grouting oil wells.
3. AIR-ENTRAINING ADMIXTURES:
• Air entraining admixtures help to produce a certain amount of air
bubbles in the concrete mixture. It also improves the workability
of fresh concrete without changing the setting or the rate of
hardening.
4. WATER REDUCING ADMIXTURES:
• As the name suggest, water reducers are added to a concrete
mixture, mortar or grout to increase the flowability without
increasing the water content.
• Advantages Of Water Reducing Admixtures:
• The rate of concrete placement is faster.
• Strength, durability, density etc. are significantly improved.
• Segregation, permeability, and cracking are reduced.
• Advantages Of Water Reducing Admixtures:
• The rate of concrete placement is faster.
• Strength, durability, density etc. are
significantly improved.
• Segregation, permeability, and cracking are
reduced.
Mineral Admixtures:
• Also called ‘Supplementary Cementing Materials’.
• Used when special performance is needed: Increase in strength,
reduction in water demand, impermeability, low heat of
hydration, improved durability, correcting deficiencies in
aggregate gradation (as fillers), etc.
• Result in cost and energy savings: Replacement of cement leads
to cost savings; energy required to process these materials is also
much lower than cement
• Environmental damage and pollution is minimized by the use of
these by-products – about 6 – 7% of total CO2 emission occurs
from the production of cement

Cement and admixtures

  • 1.
  • 2.
    VARIOUS LABORATORY TESTSFOR CEMENT Fineness Test: • The principle of this is that we determine the proportion of cement whose grain size is larger then specified mesh size. • The apparatus used are 90µm IS Sieve, Balance capable of weighing 10g to the nearest 10mg. • When its is sieved the residue should not more than 10% of wt. for OPC and 5% for RHS & LHS.
  • 3.
    CONSISTENCY: • To findout the water content required to produce a cement paste of standard consistency as specified by the IS: 4031 (Part 4) – 1988. • The principle is that standard consistency of cement is that consistency at which the Vicat plunger penetrates to a point 5-7mm from the bottom of Vicat mould.
  • 4.
    i)Weigh approximately 400gof cement and mix it with a weighed quantity of water. The time of gauging should be between 3 to 5 minutes. ii) Fill the Vicat mould with paste and level it with a trowel. iii) Lower the plunger gently till it touches the cement surface. iv) Release the plunger allowing it to sink into the paste. vi) Repeat the above procedure taking fresh samples of cement and different quantities of water until the reading on the gauge is 5 to 7mm.
  • 5.
    INITIAL AND FINALSETTING TIME • We need to calculate the initial and final setting time as per IS: 4031 (Part 5) – 1988. To do so we need Vicat apparatus. i) Prepare a cement paste by gauging the cement with 0.85 times the water required to give a paste of standard consistency. ii) Start a stop-watch, the moment water is added to the cement. iii) Fill the Vicat mould completely with the cement paste gauged as above, the mould resting on a non-porous plate and smooth off the surface of the paste making it level with the top of the mould. The cement block thus prepared in the mould is the test block.
  • 6.
    A) INITIAL SETTING TIME • Place thetest block under the rod bearing the needle. • Lower the needle gently in order to make contact with the surface of the cement paste and release quickly, allowing it to penetrate the test block. • Repeat the procedure till the needle fails to pierce the test block to a point 5.0 ± 0.5mm measured from the bottom of the mould. • The time period elapsing between the time, water is added to the cement and the time, the needle fails to pierce the test block by 5.0 ± 0.5mm measured from the bottom of the mould, is the initial setting time.
  • 7.
    B)FINAL SETTING TIME • Replace theabove needle by the one with an annular attachment. • The cement should be considered as finally set when, upon applying the needle gently to the surface of the test block. • The needle makes an impression therein, while the attachment fails to do so. • The period elapsing between the time, water is added to the cement and the time, the needle makes an impression on the surface of the test block, while the attachment fails to do so, is the final setting time.
  • 8.
    • Initial settingtime=t2-t1 • Final setting time=t3-t1, Where, t1=Time at which water is first added to cement t2=Time when needle fails to penetrate 5 mm to 7 mm from bottom of the mould t3=Time when the needle makes an impression but the attachment fails to do so.
  • 9.
    SOUNDNESS TEST • Todetermine the presence of un combined lime in cement. • The apparatus for conducting the Le-Chatelier test should conform to IS: 5514 – 1969.
  • 10.
    i) Place themould on a glass sheet and fill it with the cement paste formed by gauging cement with 0.78 times the water required to give a paste of standard consistency. ii) Cover the mould with another piece of glass sheet, place a small weight on this covering glass sheet and immediately submerge the whole assembly in water at a temperature of 27 ± 2o C and keep it there for 24hrs. iii) Measure the distance separating the indicator points to the nearest 0.5mm (say d1 ). iv) Submerge the mould again in water at the temperature prescribed above. v) Bring the water to boiling point in 25 to 30 minutes and keep it boiling for 3hrs.
  • 11.
    v) Remove themould from the water, allow it to cool and measure the distance between the indicator points (say d2 ). vi) (d2 – d1 ) represents the expansion of cement. vii) The expansion of cement 10mm for 24hrs and 5mm for 7 days for OPC,RHC,LHC.
  • 12.
    COMPRESSIVE STRENGTH OFCEMENT: • Is determined by compressive strength test on mortar cubes compacted by means of a standard vibration machine. • The specimen is in the form of cubes 70.6mm*70.6mm*70.6mm. • Take 200 g of cement and 600 g of standard sand and mix them dry thoroughly. • The cement required is 185 gm and 235 gm respectively. • The mortar, after being placed in the moulds, is compacted in vibrating machine for 2 minutes. • The moulds are placed in a damp cabin for 24 hours. • The specimens are removed from the moulds and they are submerged in clean water for curing.
  • 14.
    • The cubesare then tested in compression testing machine at the end of 3 days and 7 days. • Thus three cubes are tested each time to find out the compressive strength at the end of 3 days and 7 days. • The average value is then worked out. During the test, the load is to be applied uniformly at the rate of 350 kg/cm2 or 35 N/mm2. • The compressive strength of cement at the end of 3 days should not be less than 115 kg/cm2 or 11.50 N/mm2 and that at the end of 7 days should no be less than 175 kg/cm2 or 17.50 N/mm2.
  • 15.
    Various ingredients ofcement concrete : The importance of the ingredients should be known before there are used in cement concrete. 1. CEMENT 2. WATER • The water is used in concrete plays an important part in the mixing, laying compaction setting and hardening of concrete. • The strength of concrete directly depends on the quantity and quality of water is used in the mix. 3. AGGREGATE • In the cement concrete, to provide good quality of concrete aggregate is used in two size groups: • Fine aggregate (sand) particle size less than 4.75mm • Coarse aggregate – Particle size more than 4.75mm
  • 17.
    VARIOUS TESTS FORCONCRETE: WORKABILITY TEST: Slump test is used to determine the workability of fresh concrete. Slump test as per IS: 1199 – 1959 is followed. The apparatus used for doing slump test are Slump cone and Tamping rod.
  • 18.
    Procedure to determineworkability of fresh concrete by slump test. i) The internal surface of the mould is thoroughly cleaned and applied with a light coat of oil. ii) The mould is placed on a smooth, horizontal, rigid and nonabsorbent surface. iii) The mould is then filled in four layers with freshly mixed concrete, each approximately to one-fourth of the height of the mould. iv) Each layer is tamped 25 times by the rounded end of the tamping rod (strokes are distributed evenly over the cross section). v) After the top layer is rodded, the concrete is struck off the level with a trowel.
  • 19.
    vi) The mouldis removed from the concrete immediately by raising it slowly in the vertical direction. vii) The difference in level between the height of the mould and that of the highest point of the subsided concrete is measured. viii) This difference in height in mm is the slump of the concrete.
  • 20.
    • Collapse: Ina collapse slump the concrete collapses completely. • Shear: In a shear slump the top portion of the concrete shears off and slips sideways. • True: In a true slump the concrete simply subsides, keeping more or less to shape.
  • 21.
    COMPACTION FACTOR TESTFOR CONCRETE WORKABILITY: • Compaction factor test is the workability test for concrete conducted in laboratory. The compaction factor is the ratio of weights of partially compacted to fully compacted concrete. Apparatus: • Compaction factor apparatus consists of trowels, hand scoop (15.2 cm long), a rod of steel or other suitable material (1.6 cm diameter, 61 cm long rounded at one end ) and a balance.
  • 23.
    Procedure of CompactionFactor Test on Concrete • Place the concrete sample gently in the upper hopper to its brim using the hand scoop and level it. • Cover the cylinder. • Open the trapdoor at the bottom of the upper hopper so that concrete fall into the lower hopper. Push the concrete sticking on its sides gently with the road. • Open the trapdoor of the lower hopper and allow the concrete to fall into the cylinder below.
  • 24.
    • Cut ofthe excess of concrete above the top level of cylinder using trowels and level it. • Clean the outside of the cylinder. • Weight the cylinder with concrete to the nearest 10 g. This weight is known as the weight of partially compacted concrete (W1). • Empty the cylinder and then refill it with the same concrete mix in layers approximately 5 cm deep, each layer being heavily rammed to obtain full compaction. • Level the top surface. • Weigh the cylinder with fully compacted. This weight is known as the weight of fully compacted concrete (W2). • Find the weight of empty cylinder (W).
  • 25.
    Compaction Factor Value=(W1-W) / (W2-W) The Compaction factor values ranges from 0.7 to 0.95.
  • 26.
    ADMIXTURES: • Admixtures arethe special ingredients added during concrete mixing to enhance the properties and performance of fresh concrete. • Various types of admixtures are available in the market which is used in construction work. FUNCTION OF ADMIXTURES: 1. To accelerate or retard the setting time of fresh concrete. 2. To increase the strength and durability of concrete. 3. To reduce the heat of hydration. 4. To decrease the permeability. 5. To reduce the segregation and bleeding.
  • 28.
    TYPES OF CHEMICALADMIXTURES: 1. ACCELERATING ADMIXTURES: • This admixture is added in concrete or mortar for increasing the rate of hydration of hydraulic cement and for shortening the setting time. Calcium chloride (CaCl2) is the most widely used accelerating admixture. 2. RETARDING ADMIXTURES: • Retarding admixtures delay the initial rate of hydration of cement and extend the setting time of cement paste. This admixture can be used in high temperature and where the concrete has to be transported to a long distance. It is also suitable for using in grouting oil wells.
  • 29.
    3. AIR-ENTRAINING ADMIXTURES: •Air entraining admixtures help to produce a certain amount of air bubbles in the concrete mixture. It also improves the workability of fresh concrete without changing the setting or the rate of hardening. 4. WATER REDUCING ADMIXTURES: • As the name suggest, water reducers are added to a concrete mixture, mortar or grout to increase the flowability without increasing the water content. • Advantages Of Water Reducing Admixtures: • The rate of concrete placement is faster. • Strength, durability, density etc. are significantly improved. • Segregation, permeability, and cracking are reduced.
  • 30.
    • Advantages OfWater Reducing Admixtures: • The rate of concrete placement is faster. • Strength, durability, density etc. are significantly improved. • Segregation, permeability, and cracking are reduced.
  • 31.
    Mineral Admixtures: • Alsocalled ‘Supplementary Cementing Materials’. • Used when special performance is needed: Increase in strength, reduction in water demand, impermeability, low heat of hydration, improved durability, correcting deficiencies in aggregate gradation (as fillers), etc. • Result in cost and energy savings: Replacement of cement leads to cost savings; energy required to process these materials is also much lower than cement • Environmental damage and pollution is minimized by the use of these by-products – about 6 – 7% of total CO2 emission occurs from the production of cement