Download to read offline

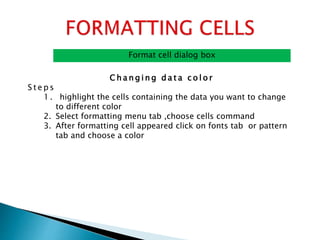
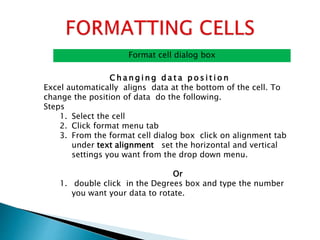
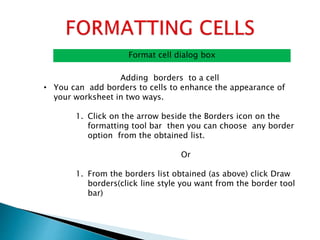
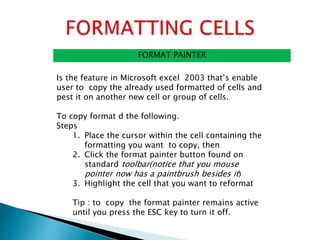
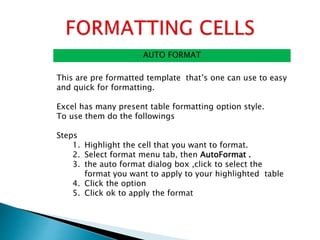

This document provides instructions for formatting cells in Microsoft Excel. It describes how to format cells using the formatting toolbar or format cell dialog box. Specific formatting options that can be applied include changing the font, cell alignment, borders, data color, and data position. The document also explains how to use the format painter to copy formatting between cells and how to apply pre-set autoformatting templates to tables.