Downloaded 10,972 times

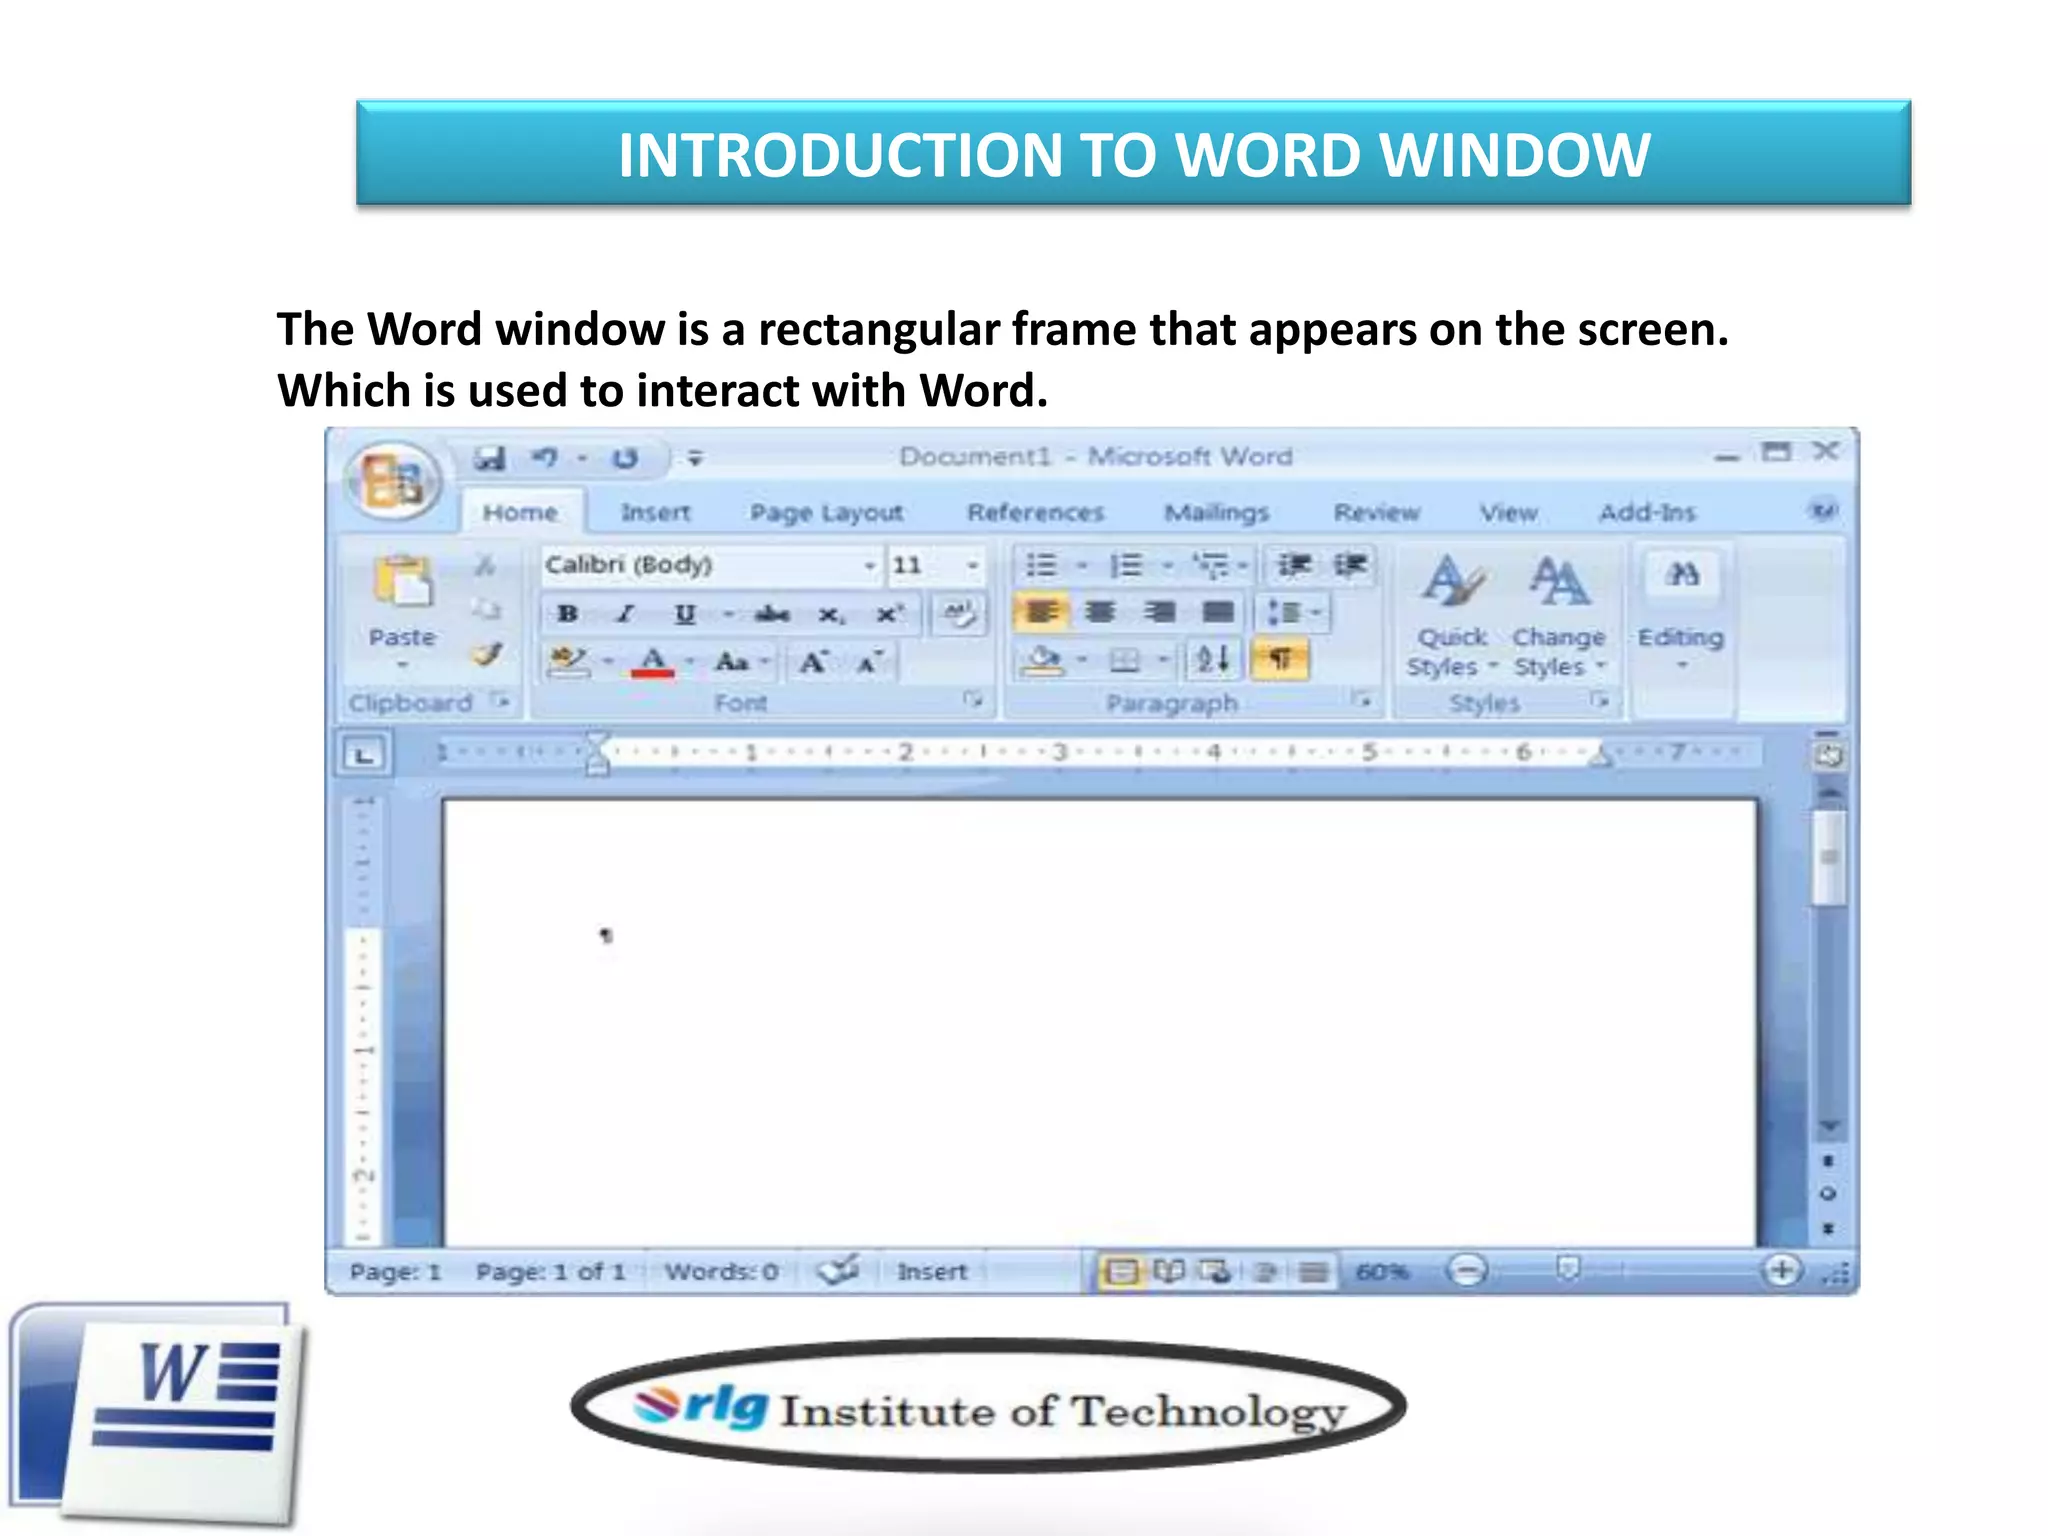
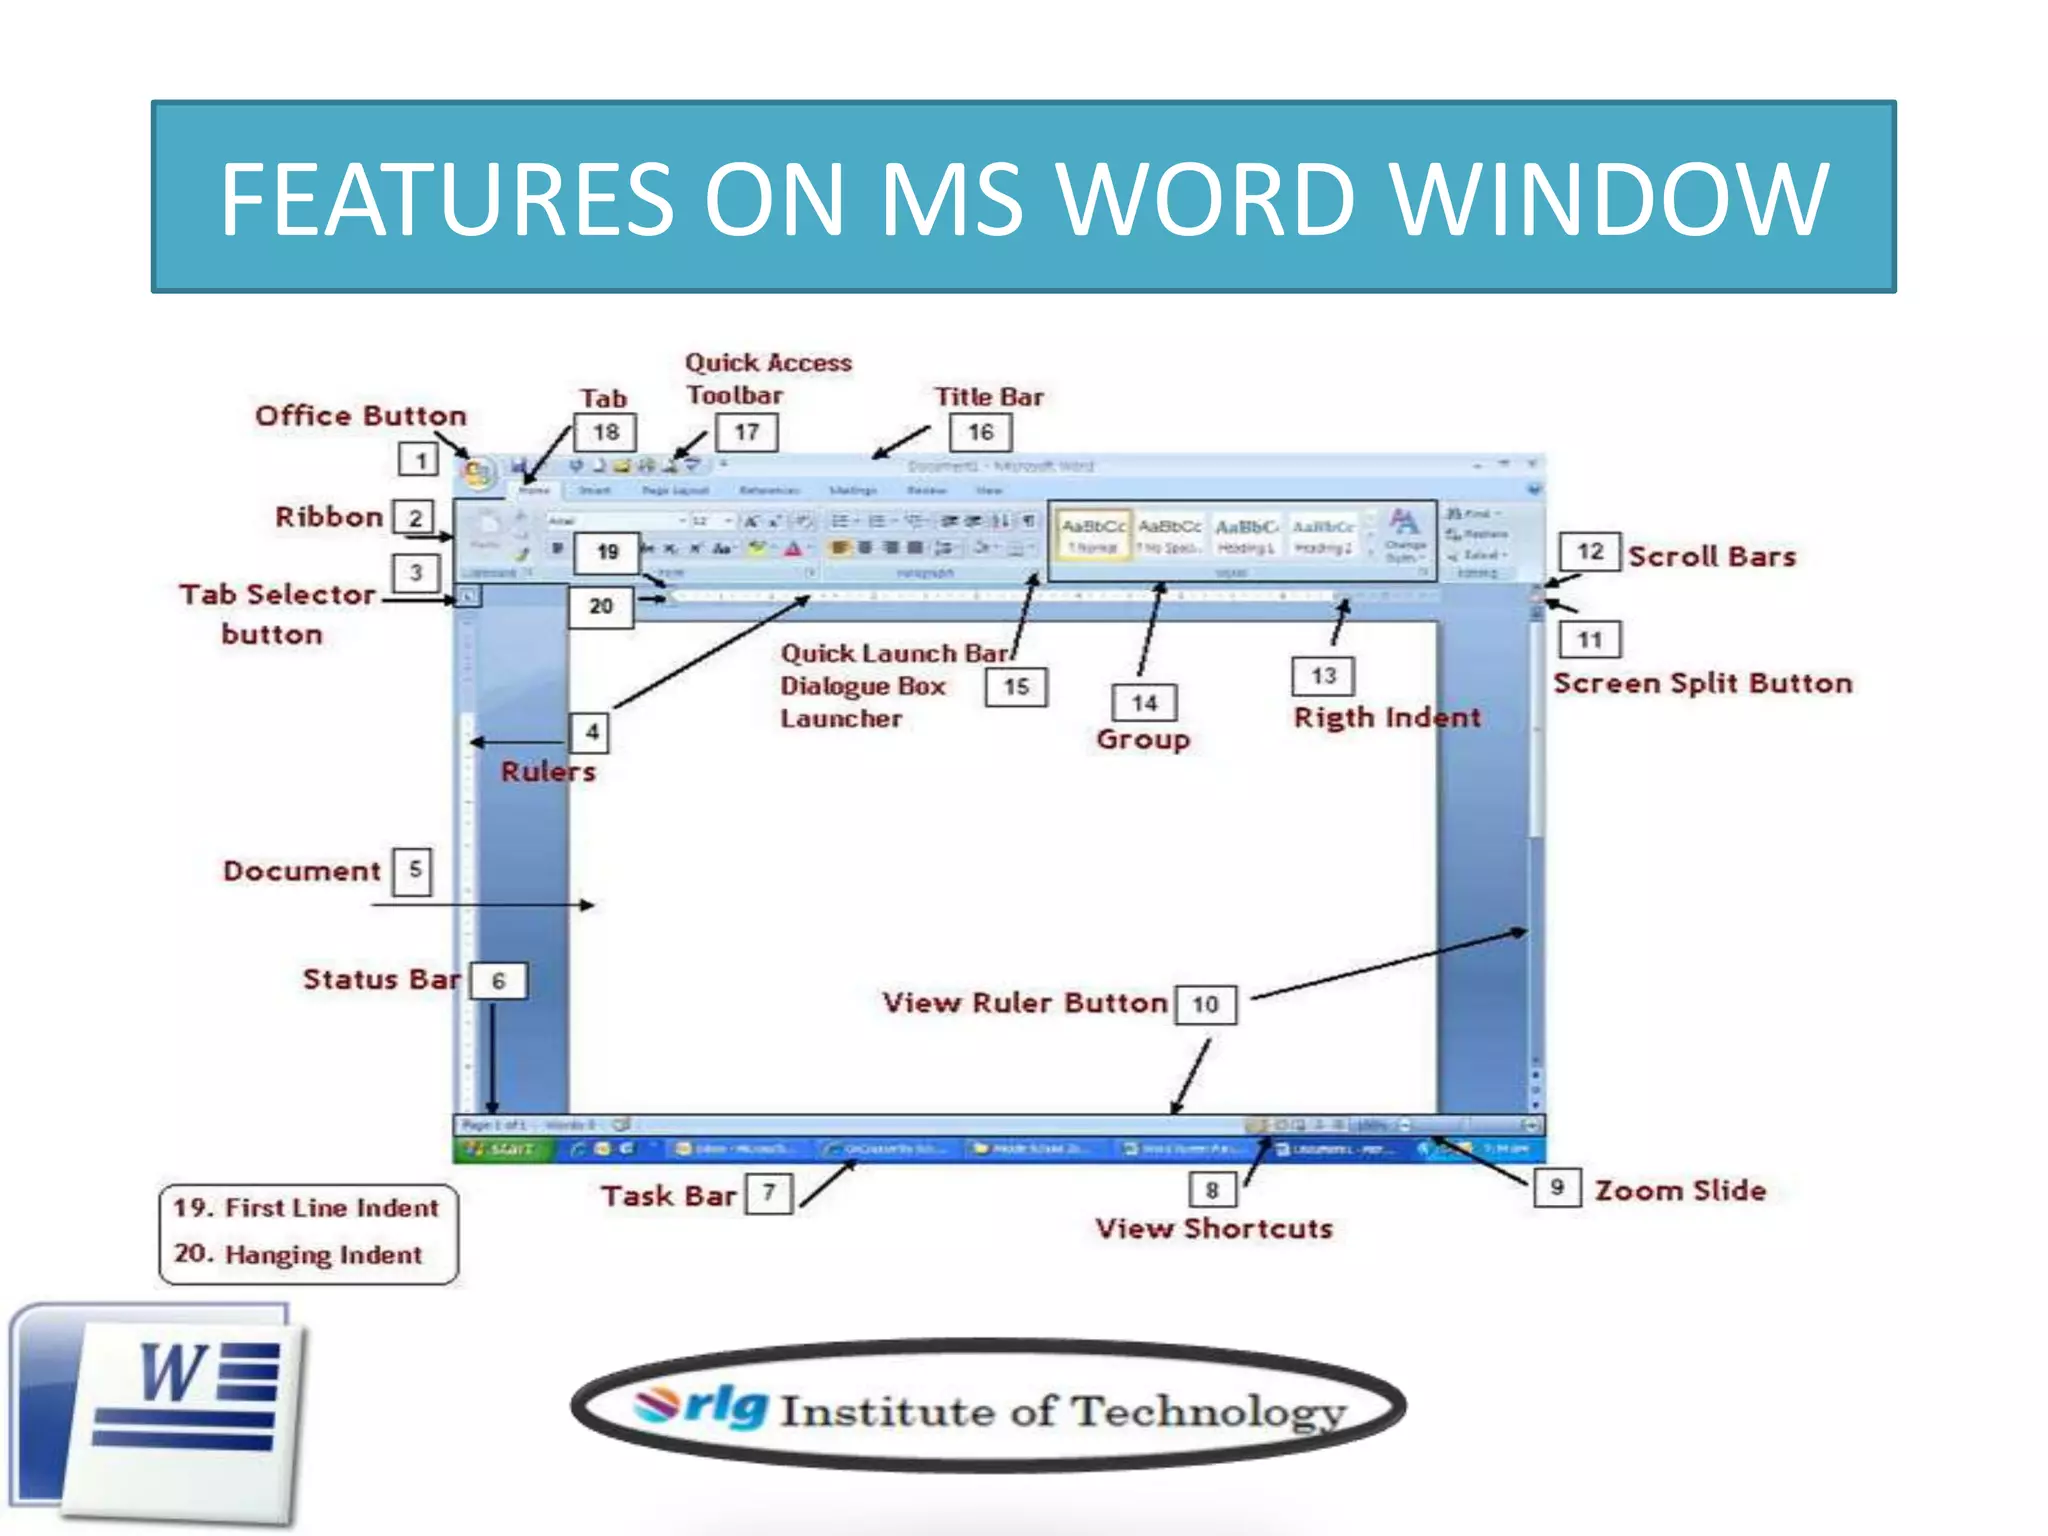
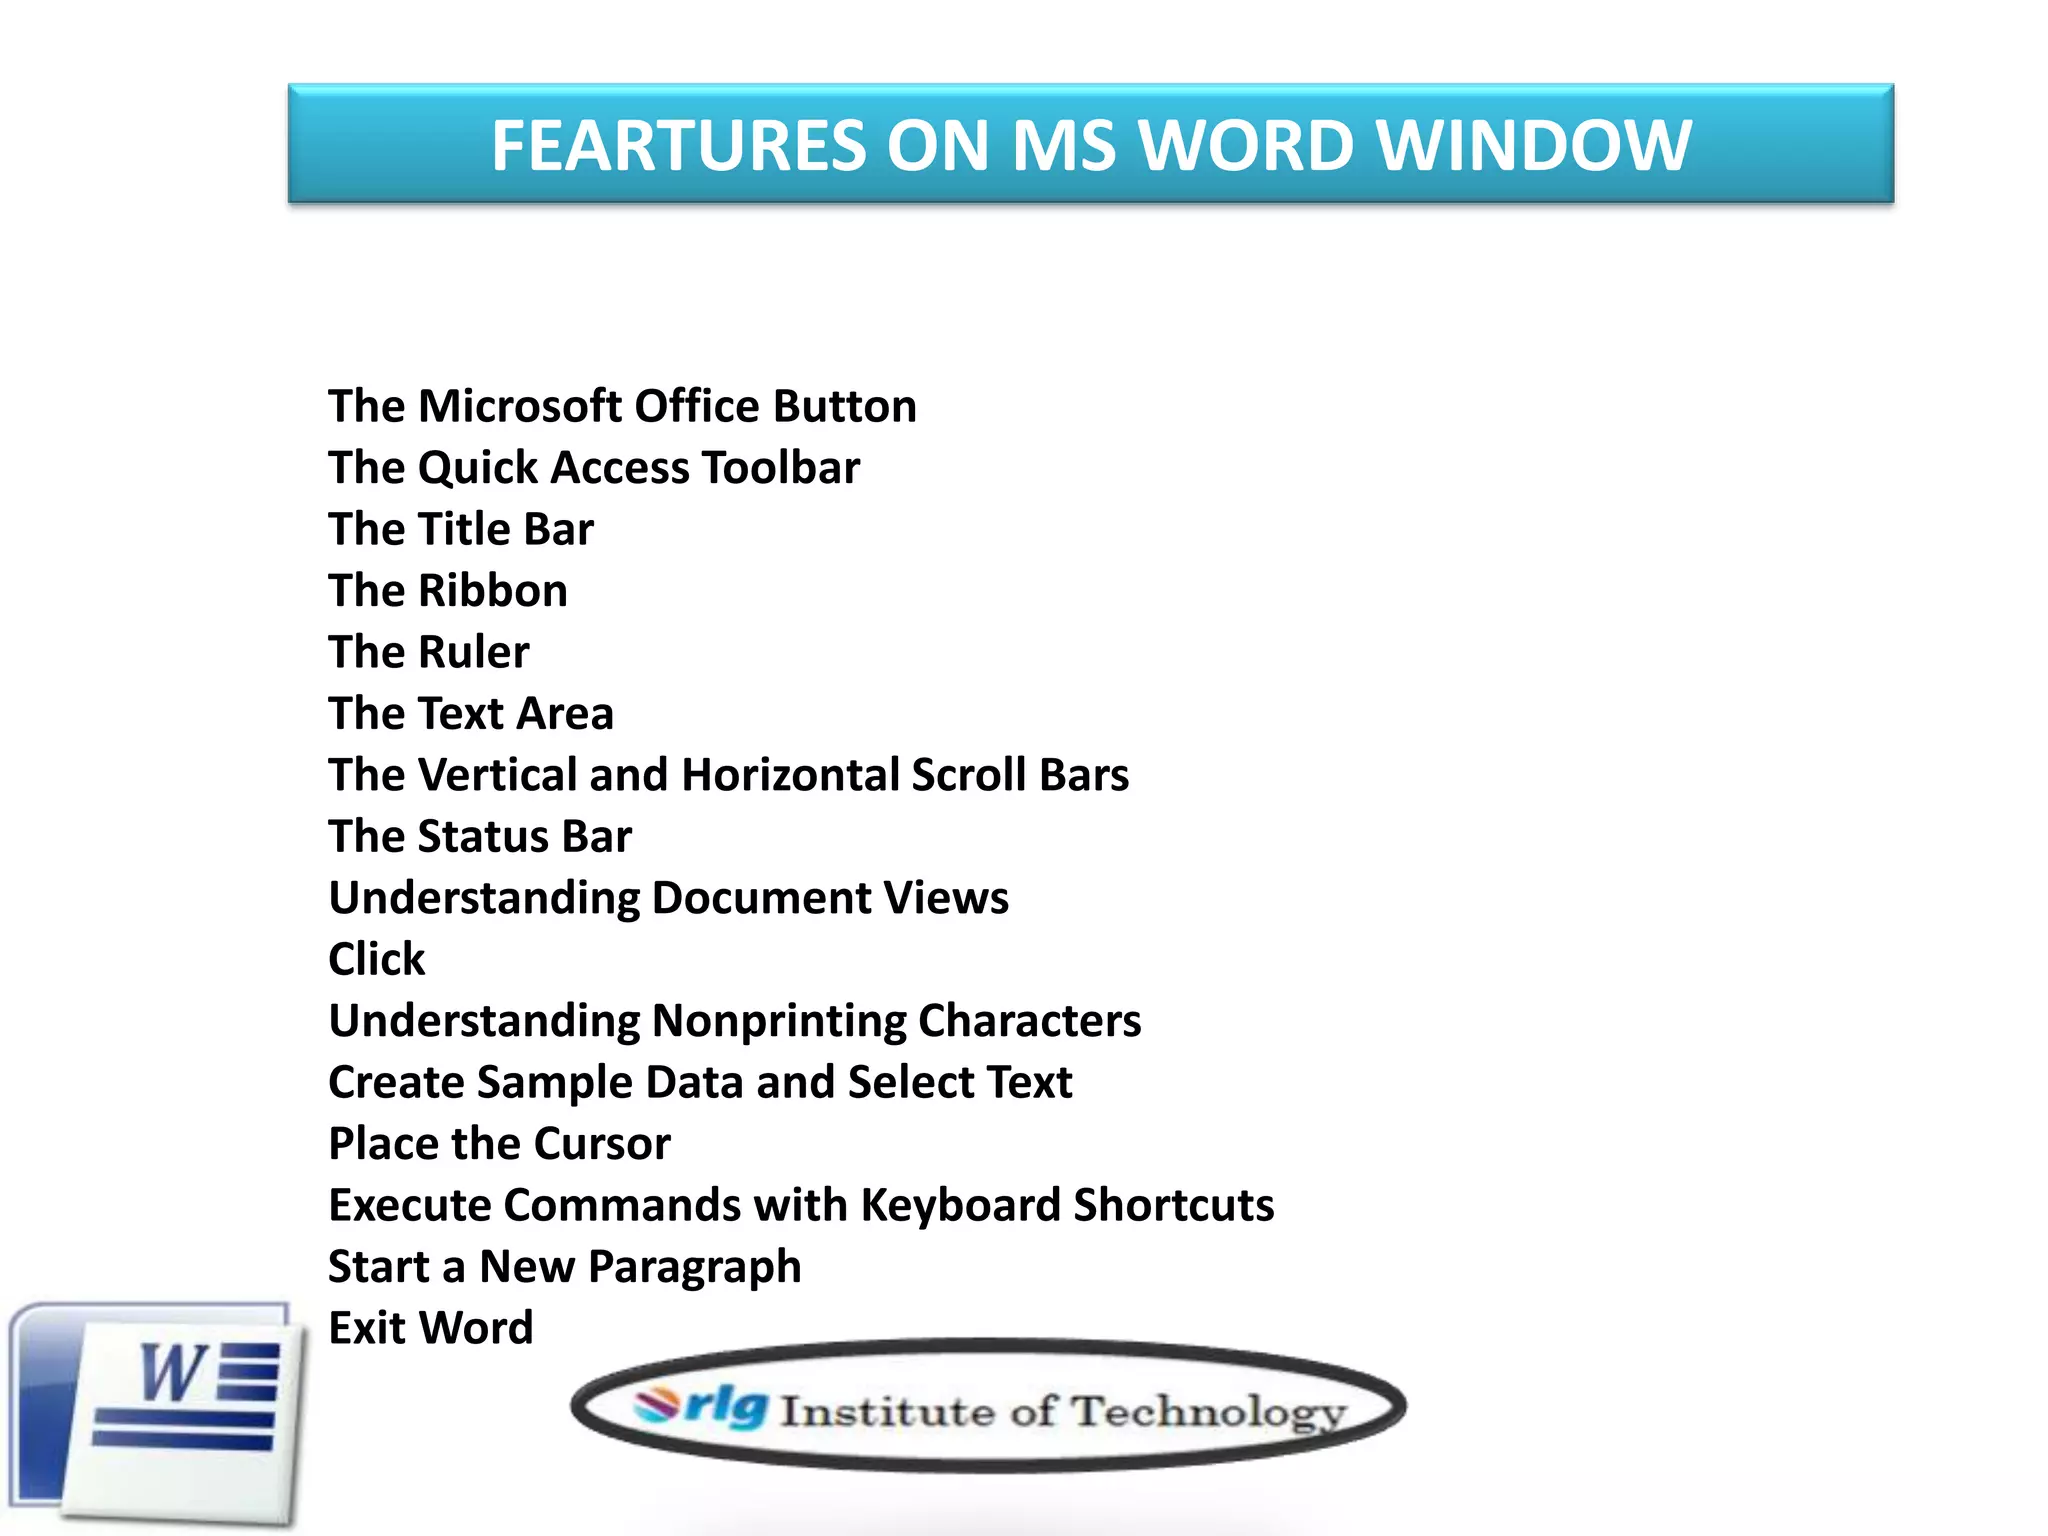
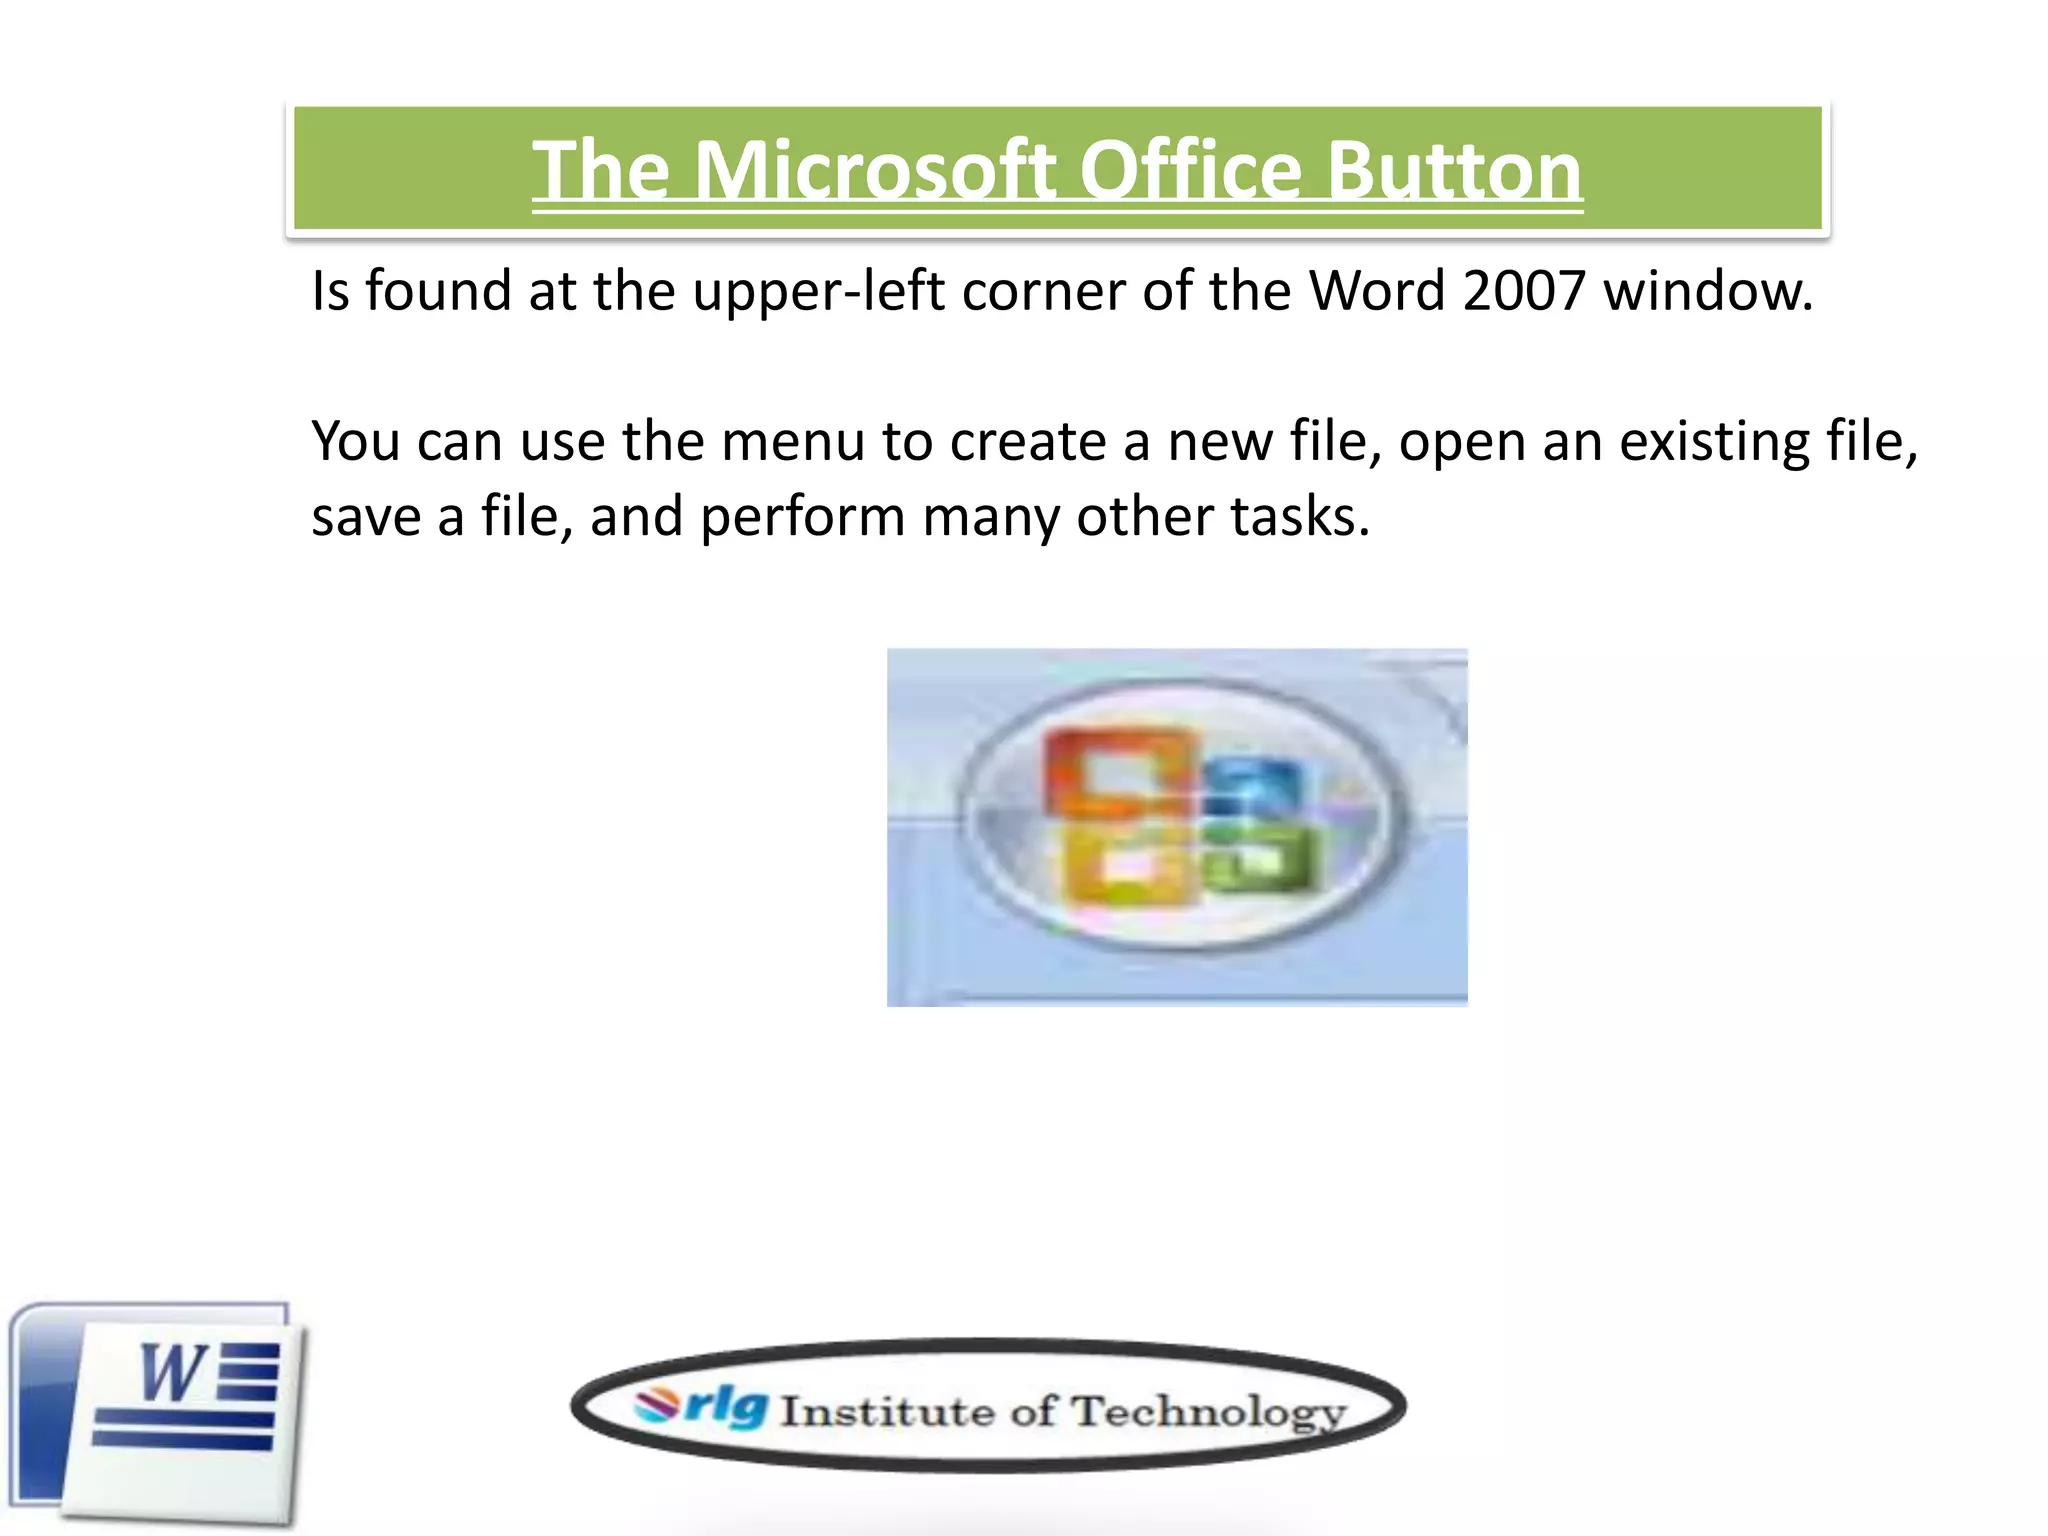
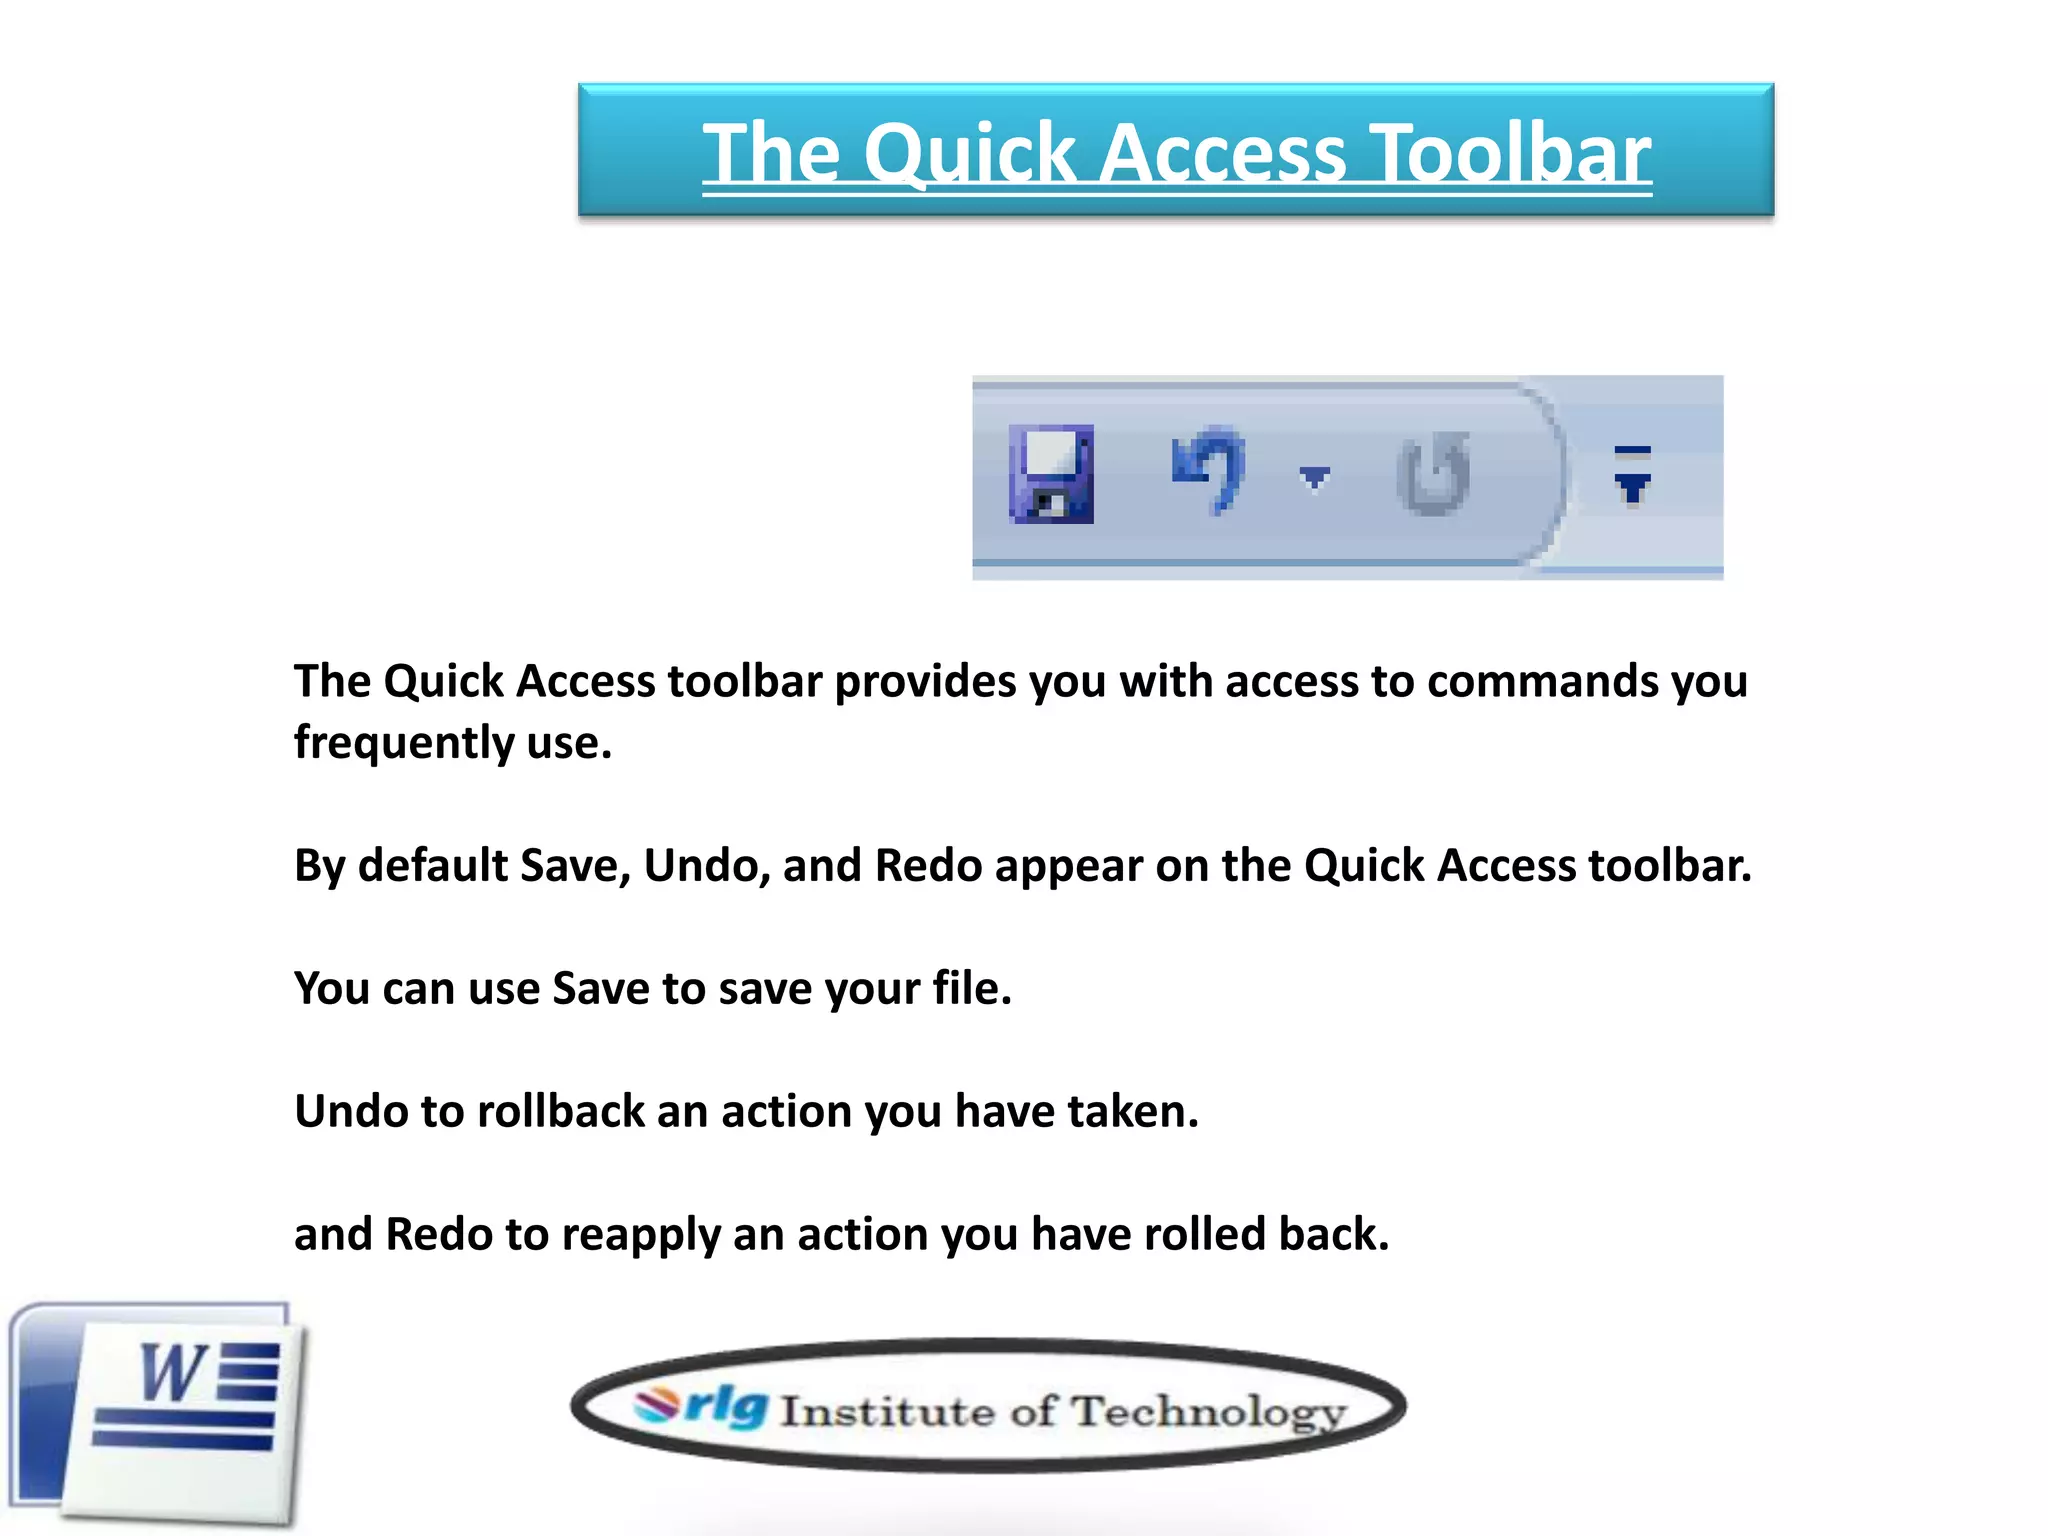
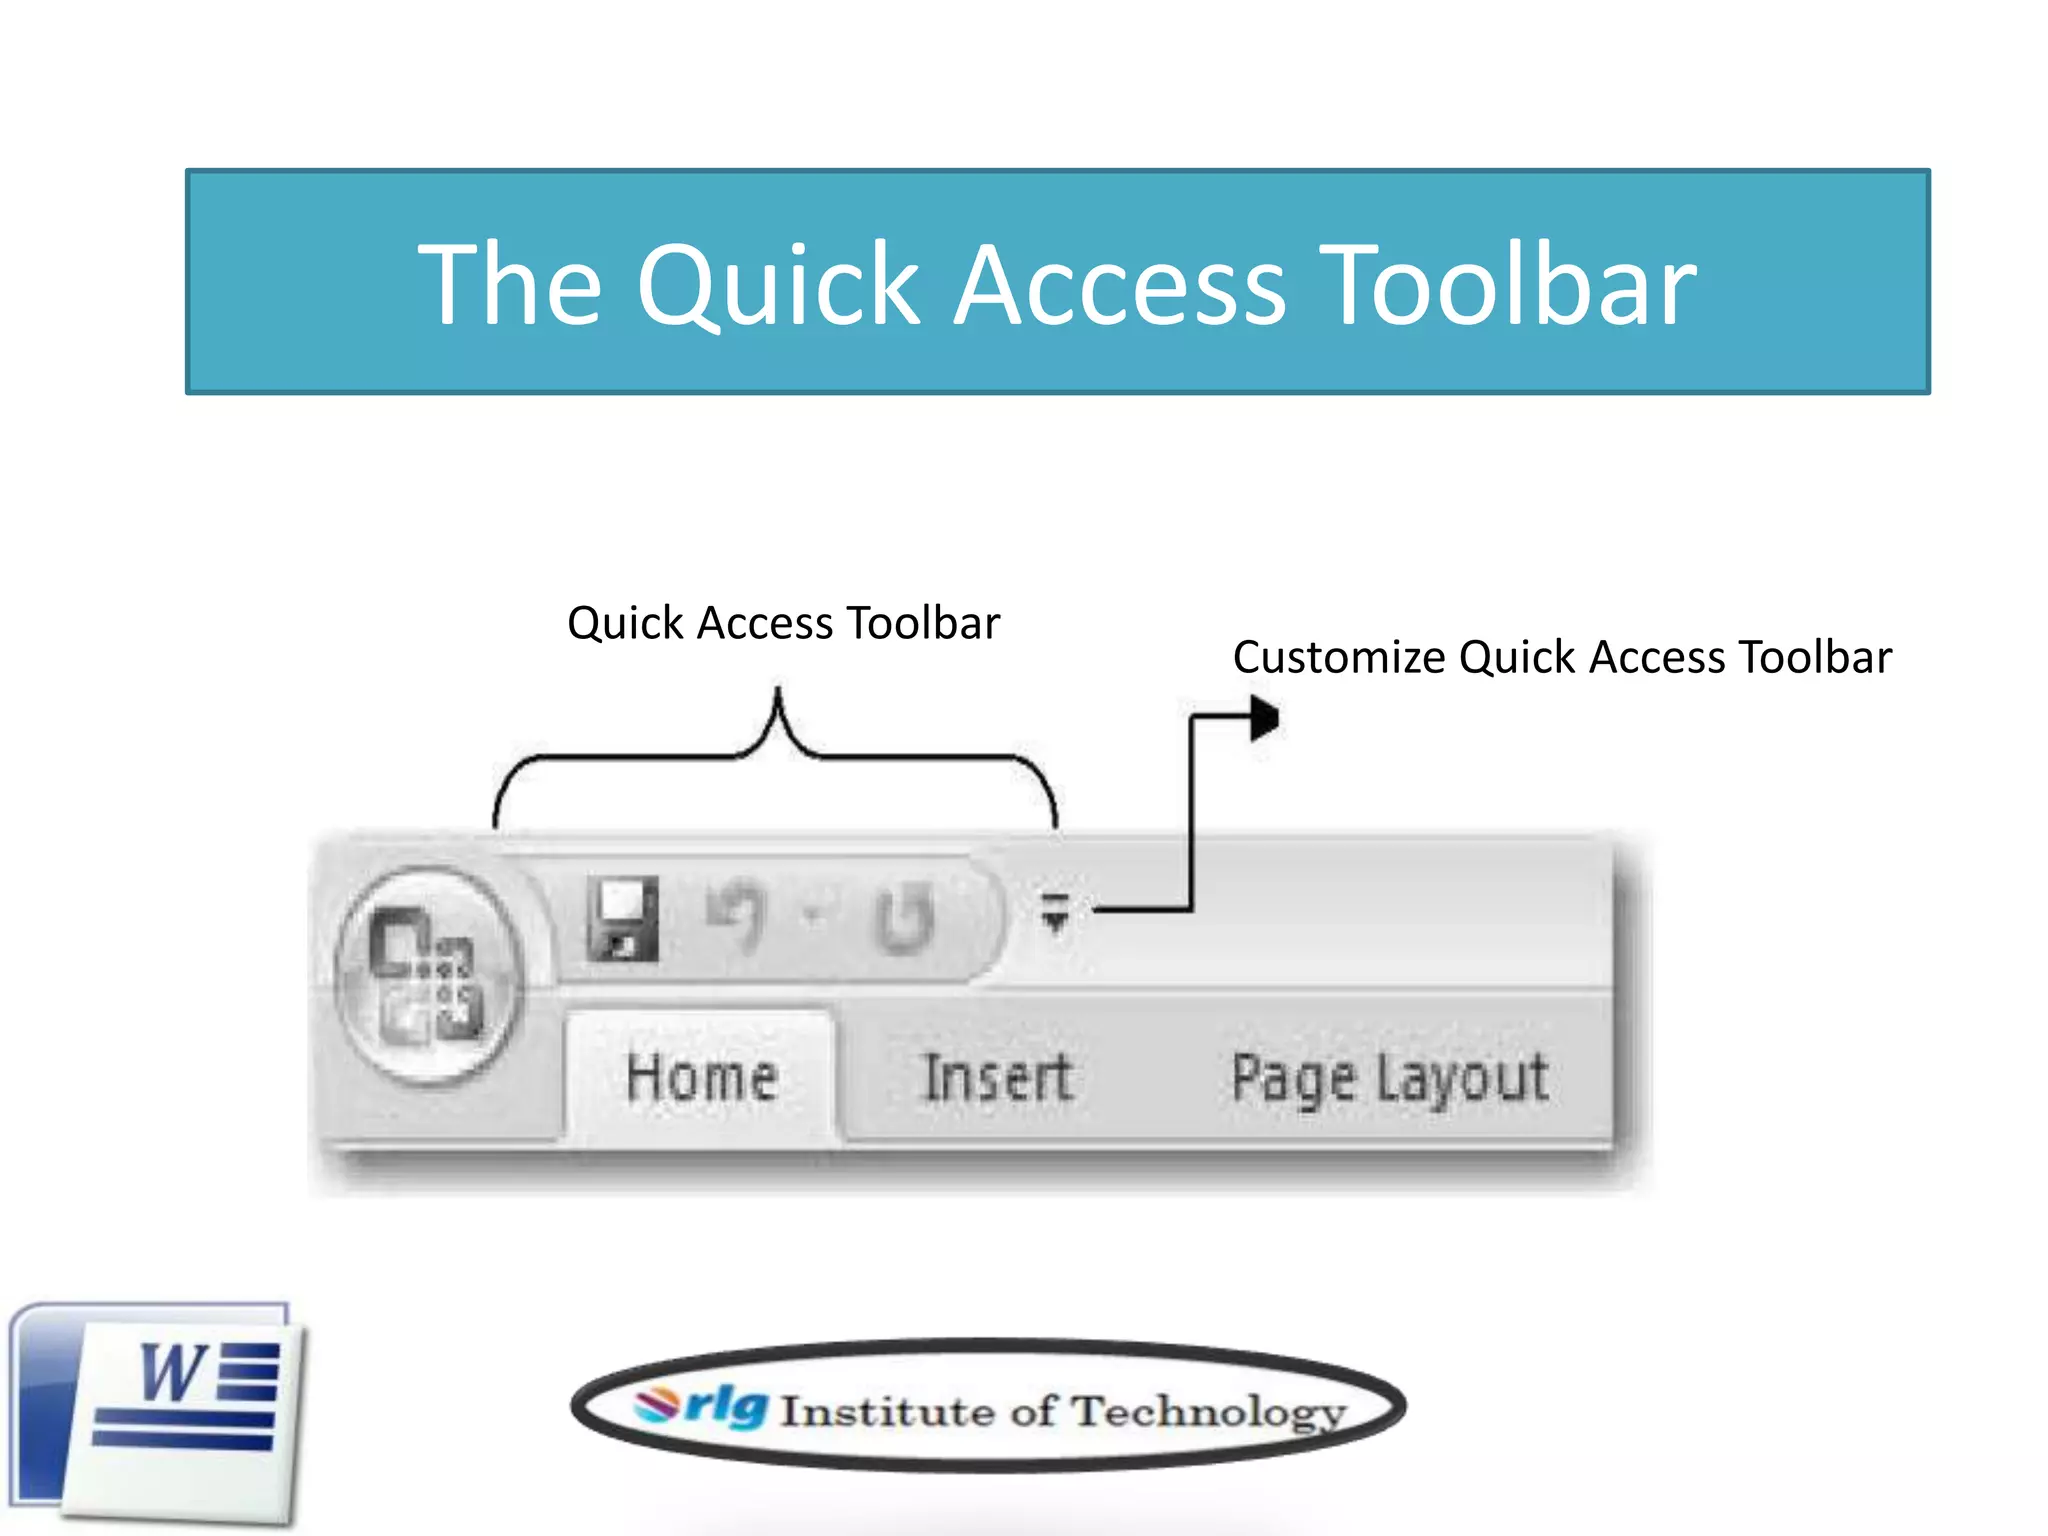
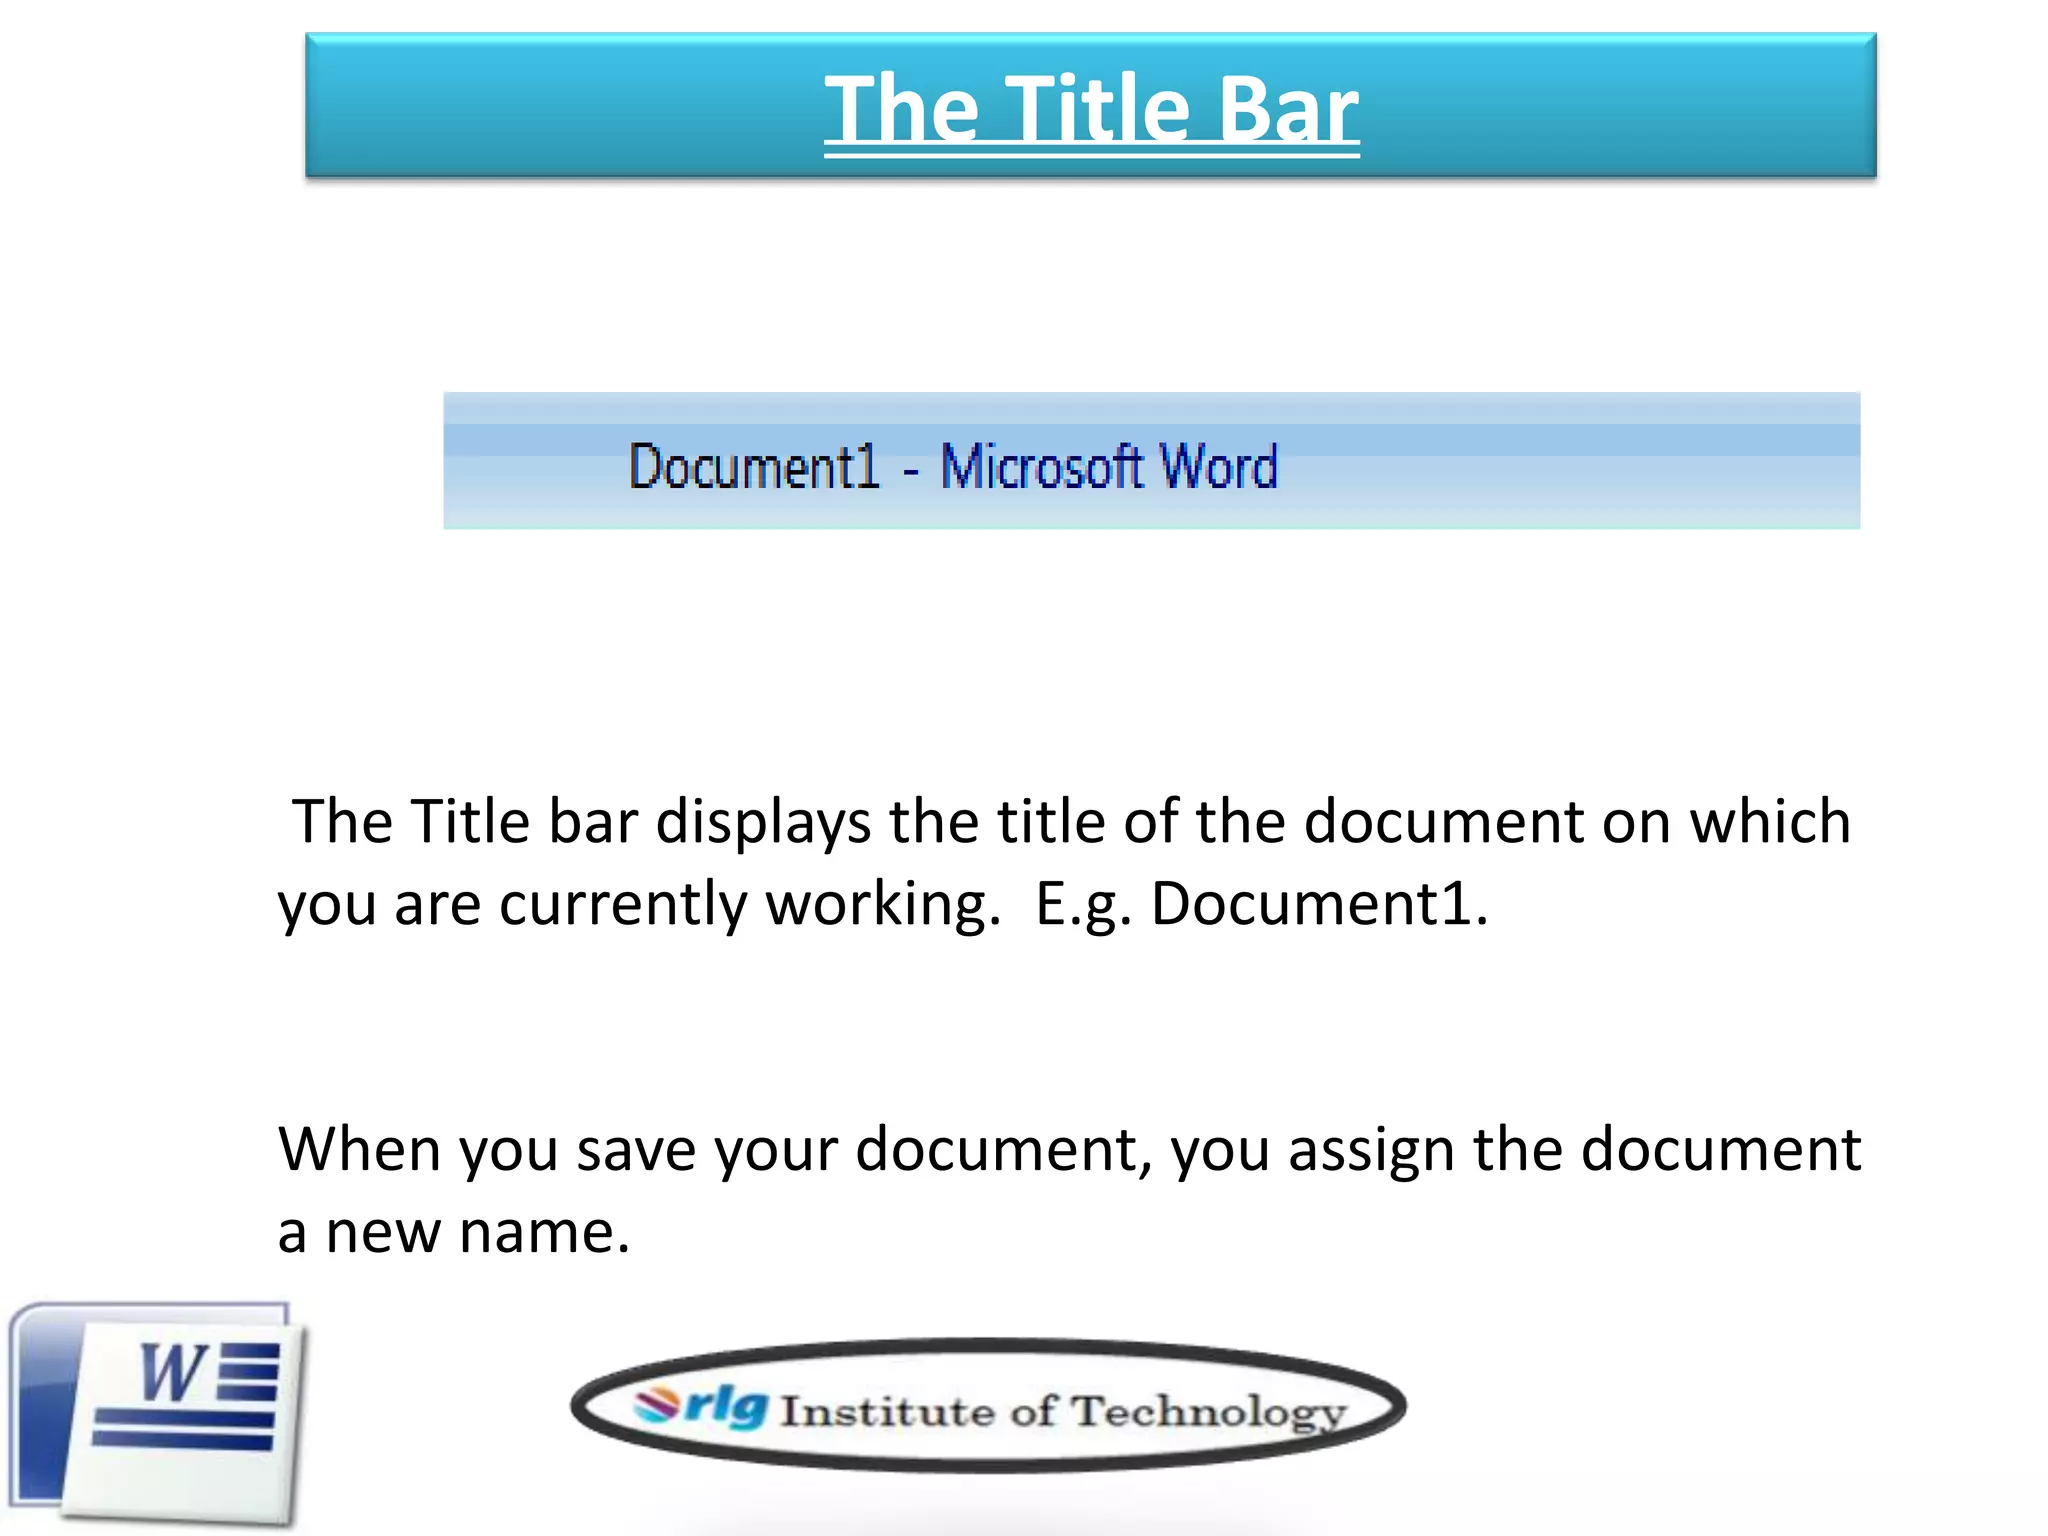
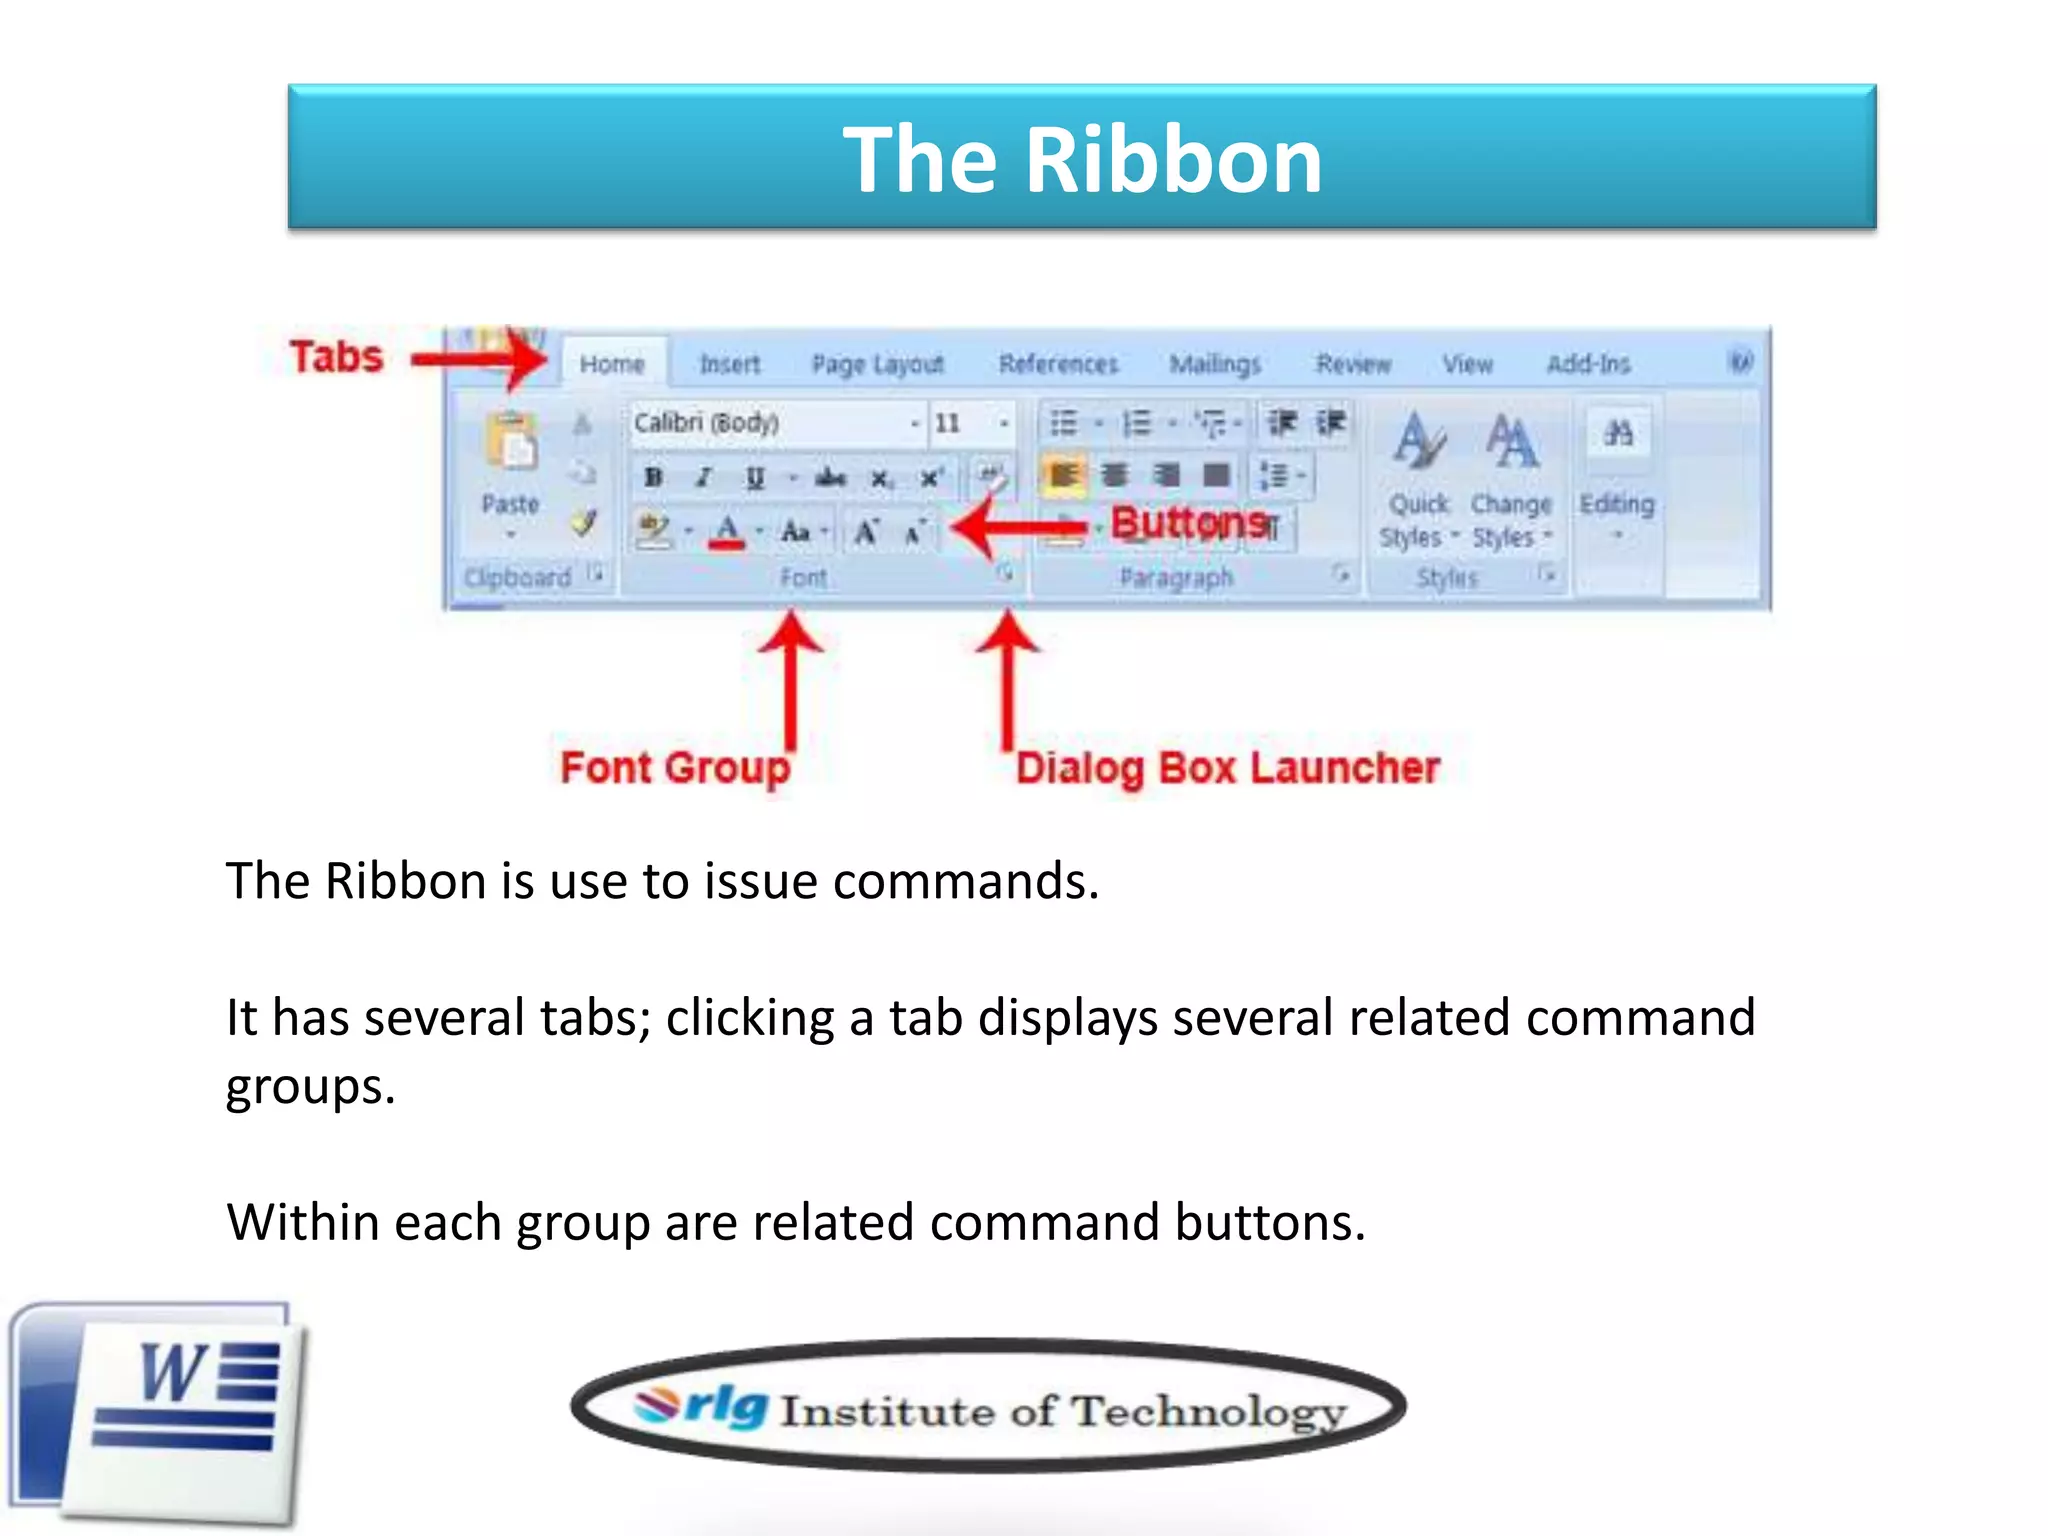
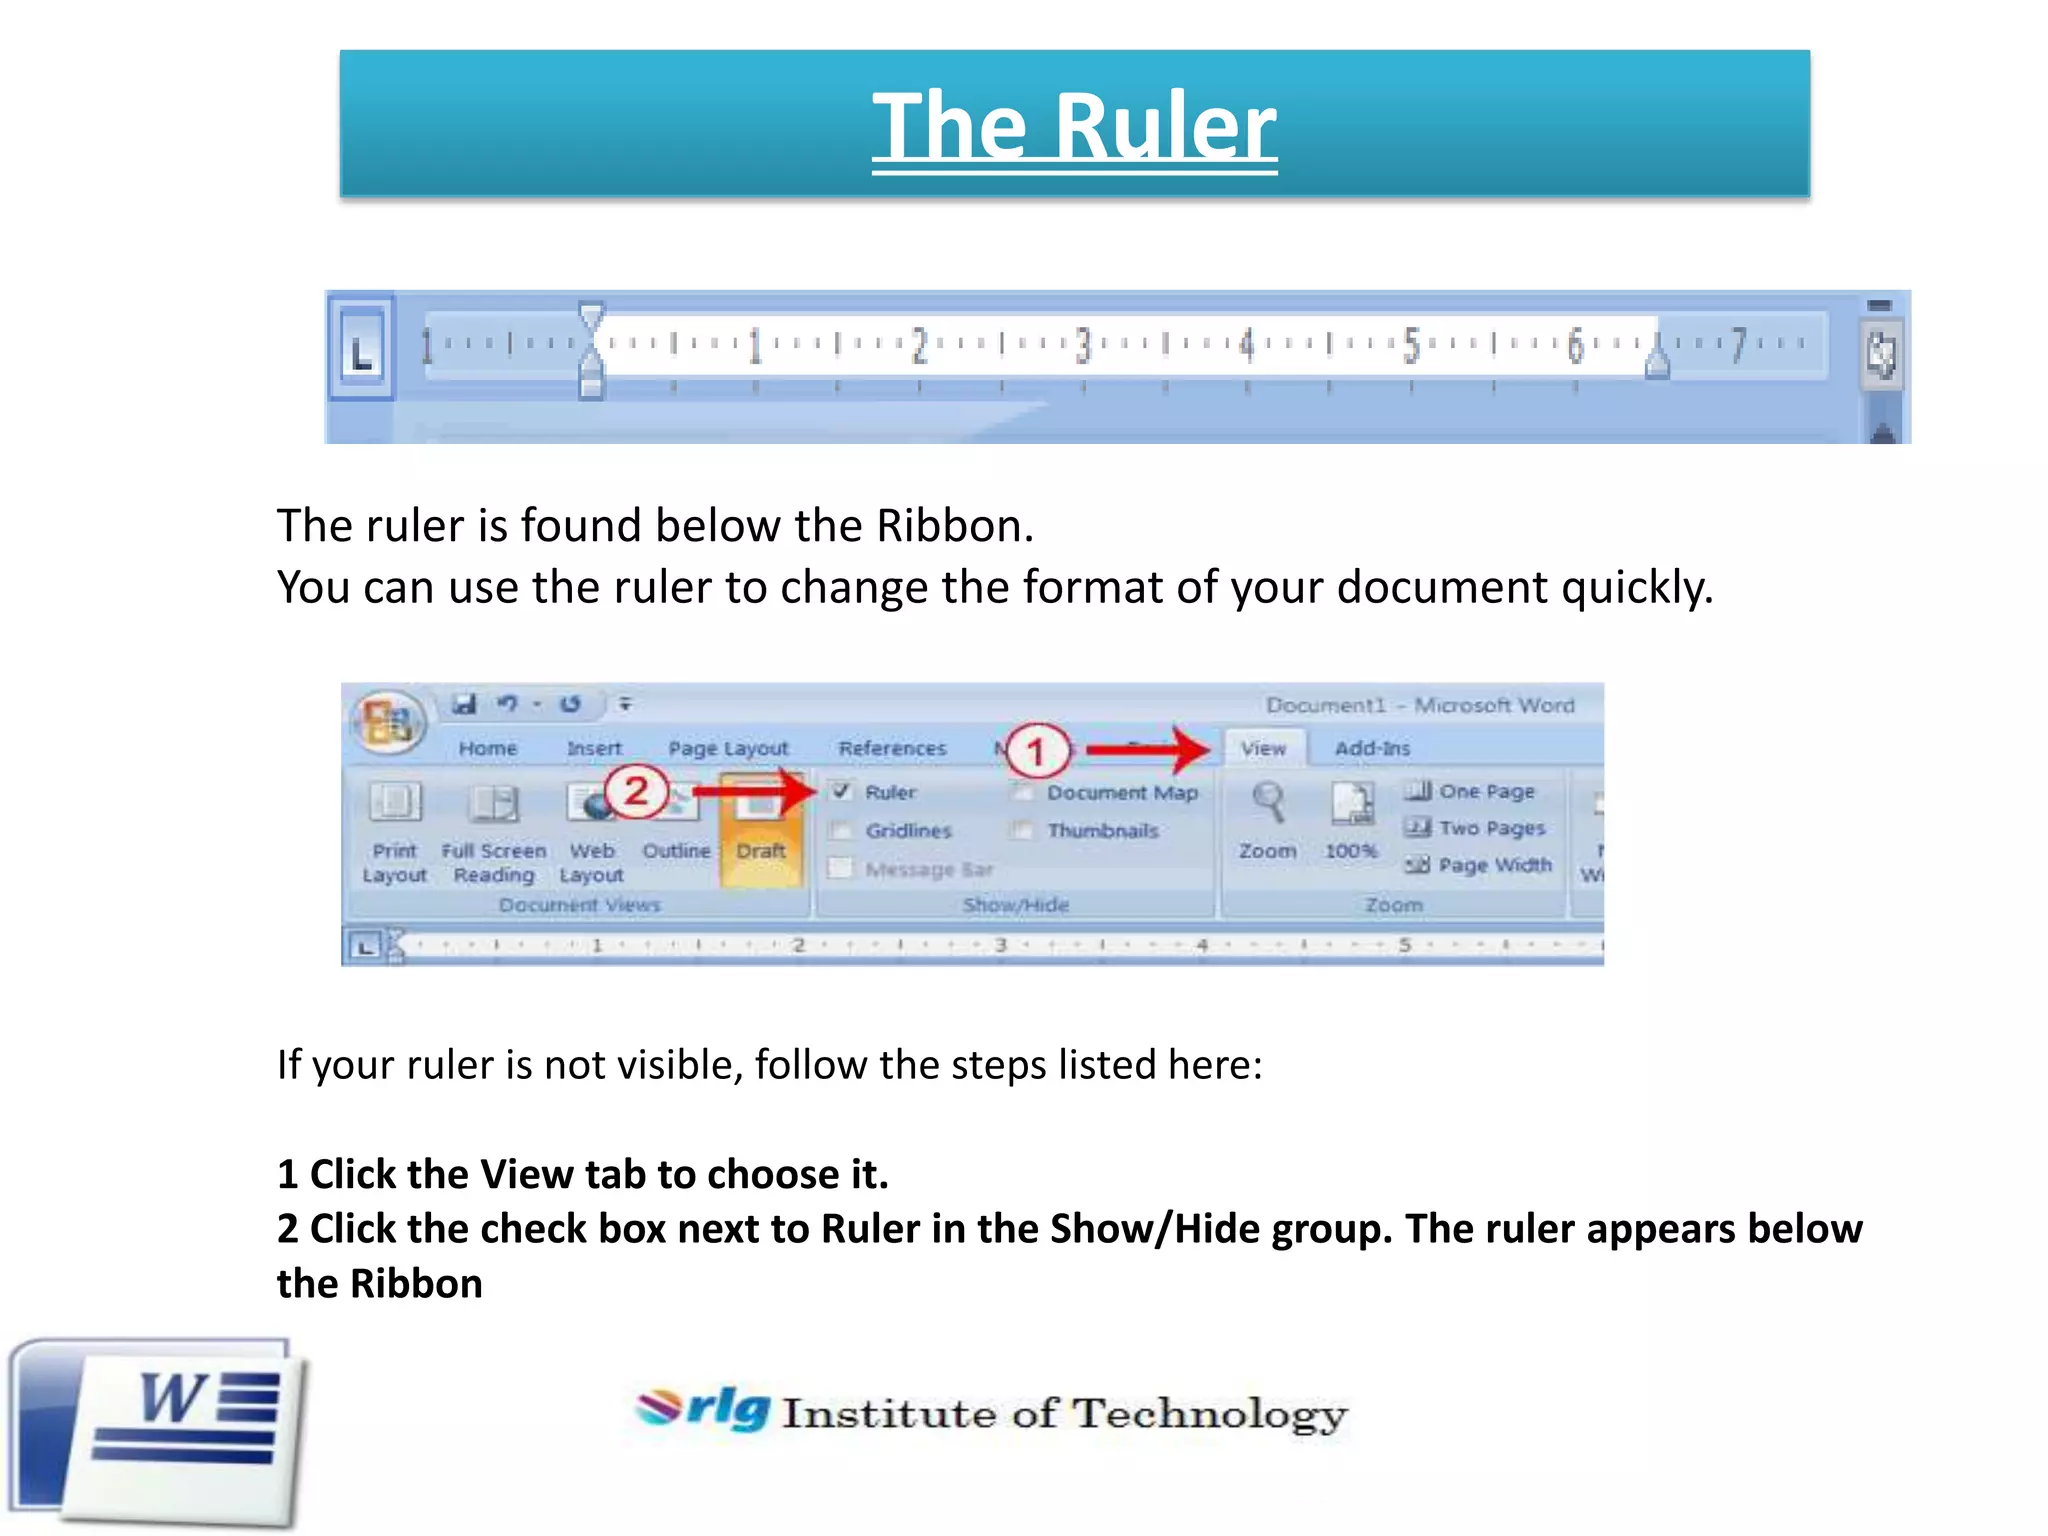
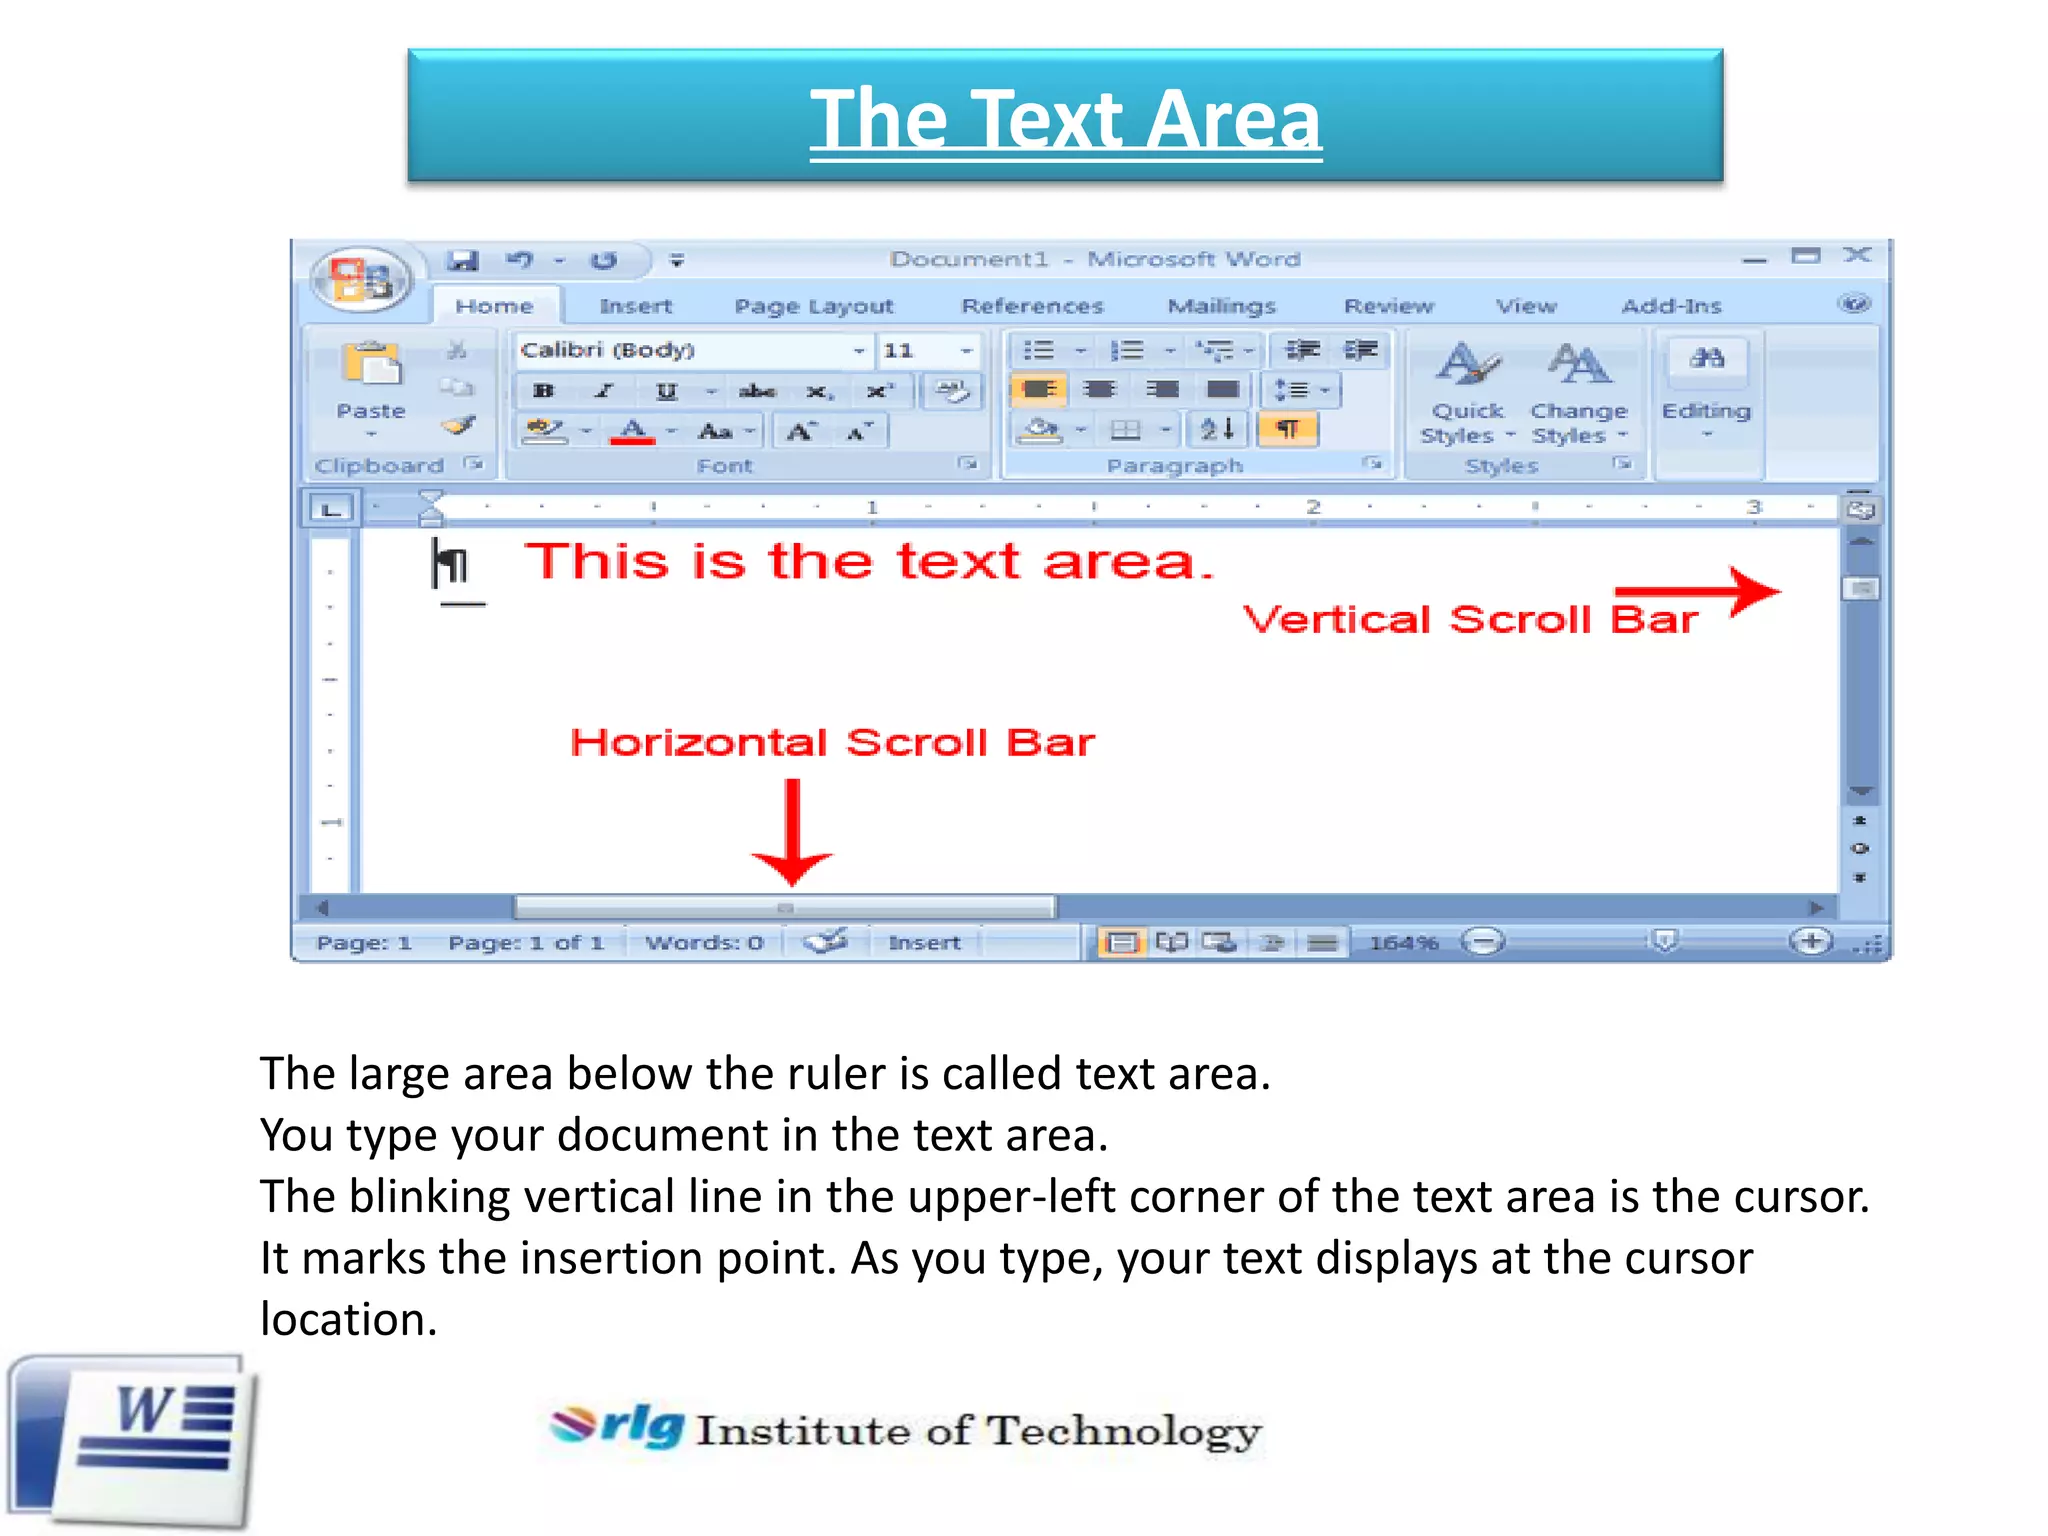
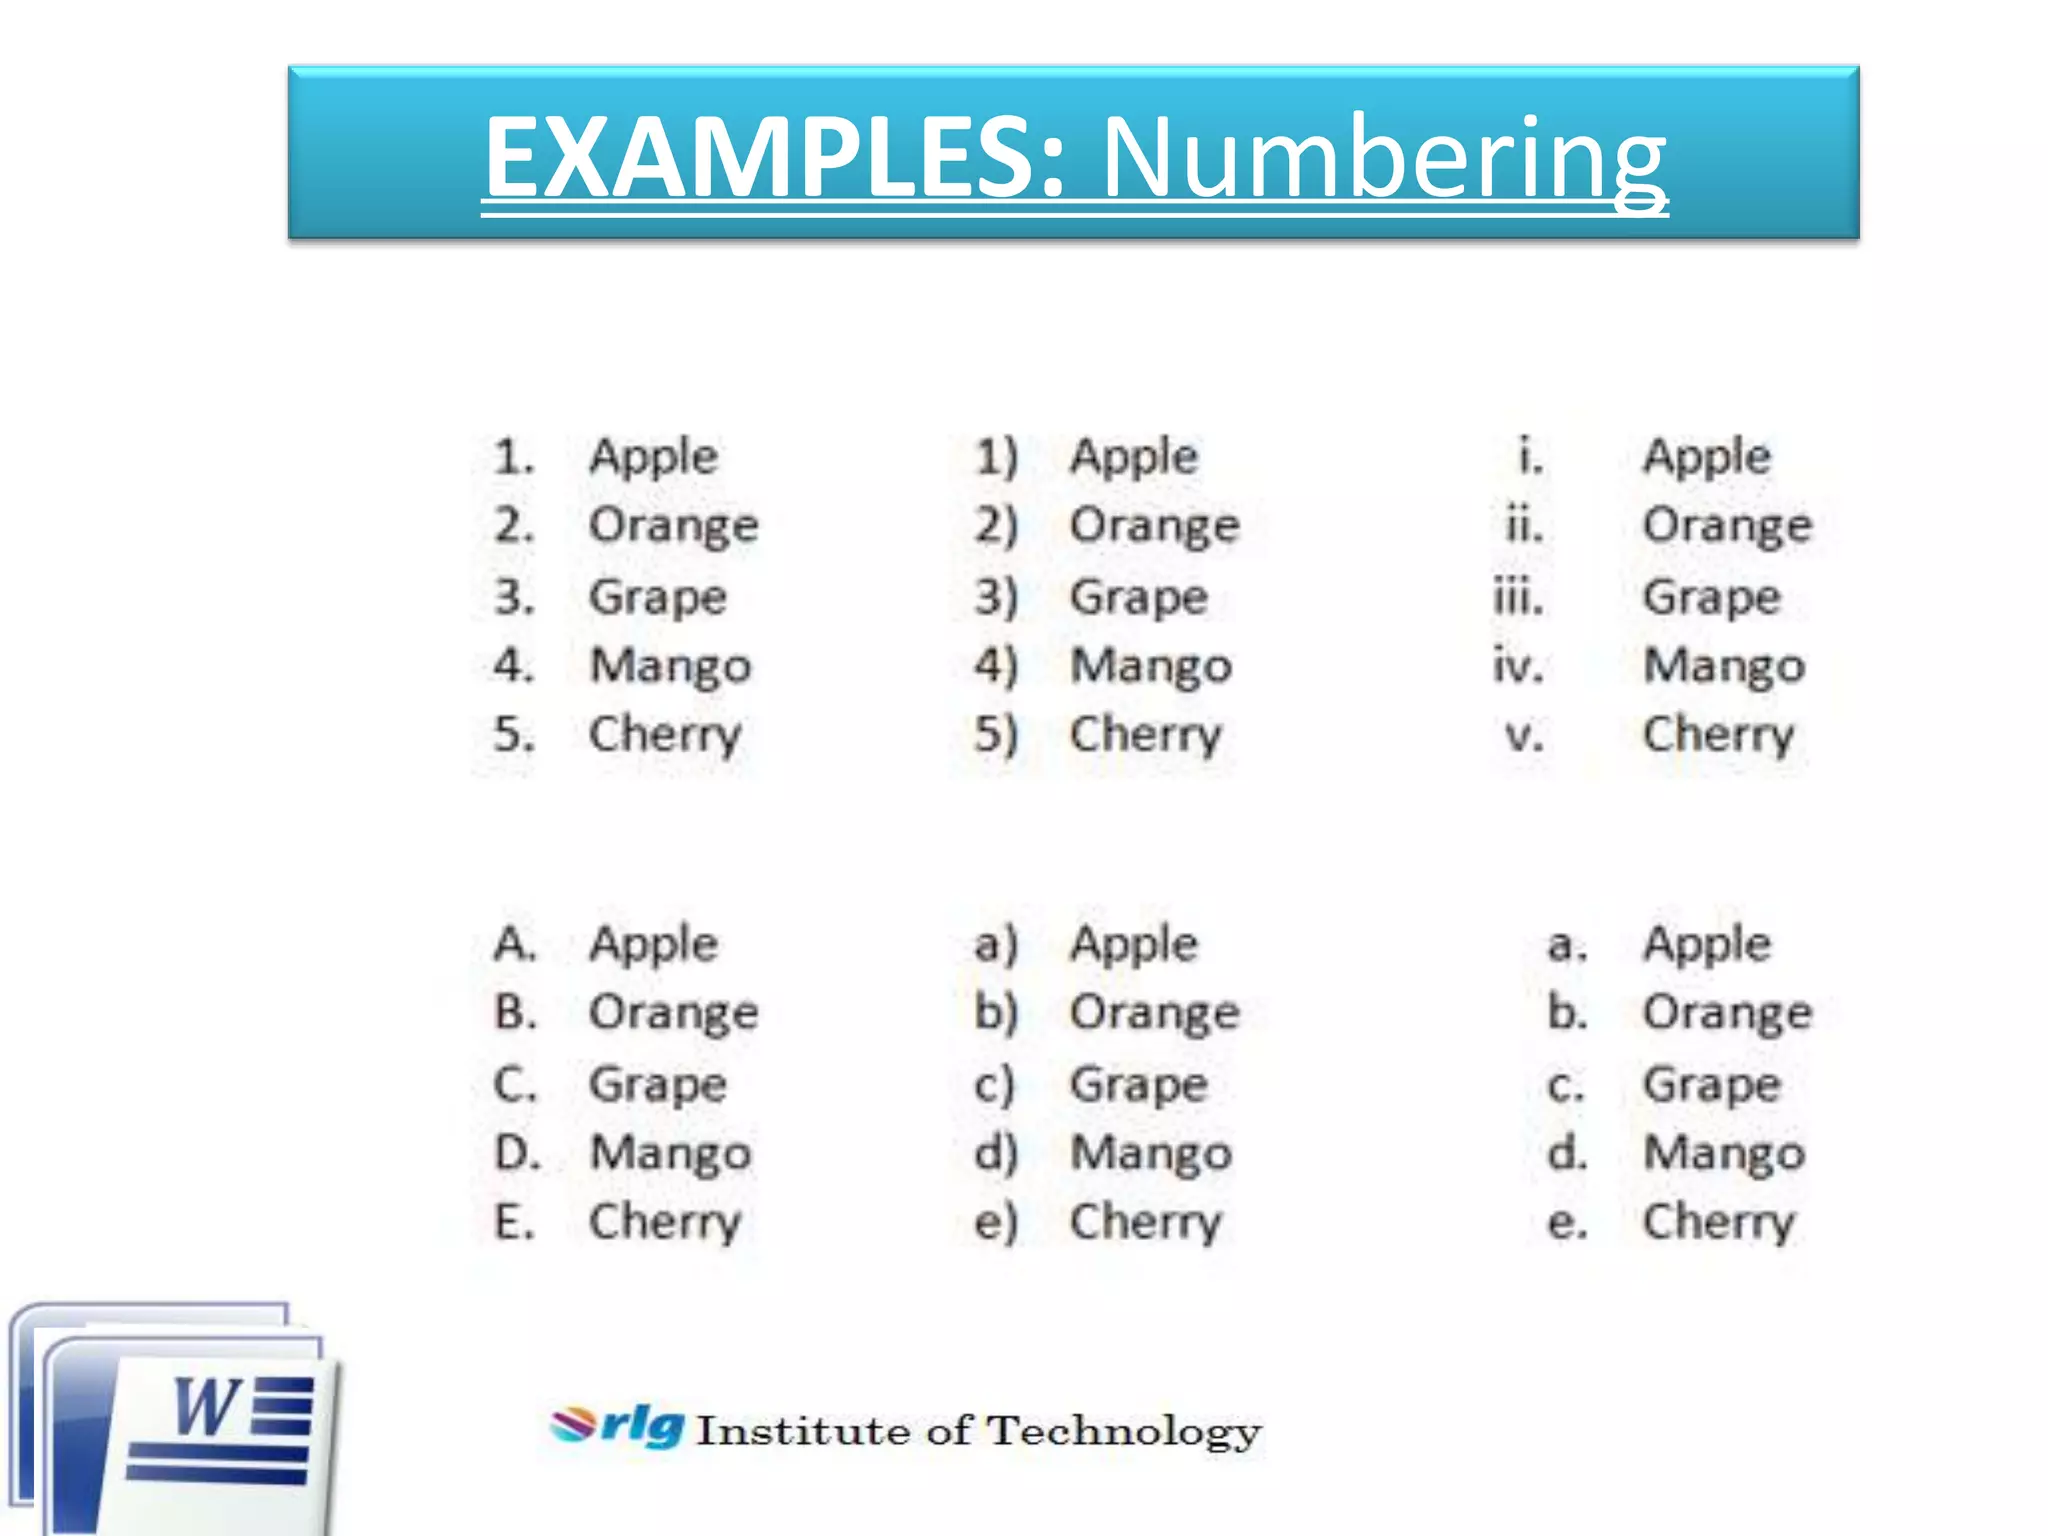
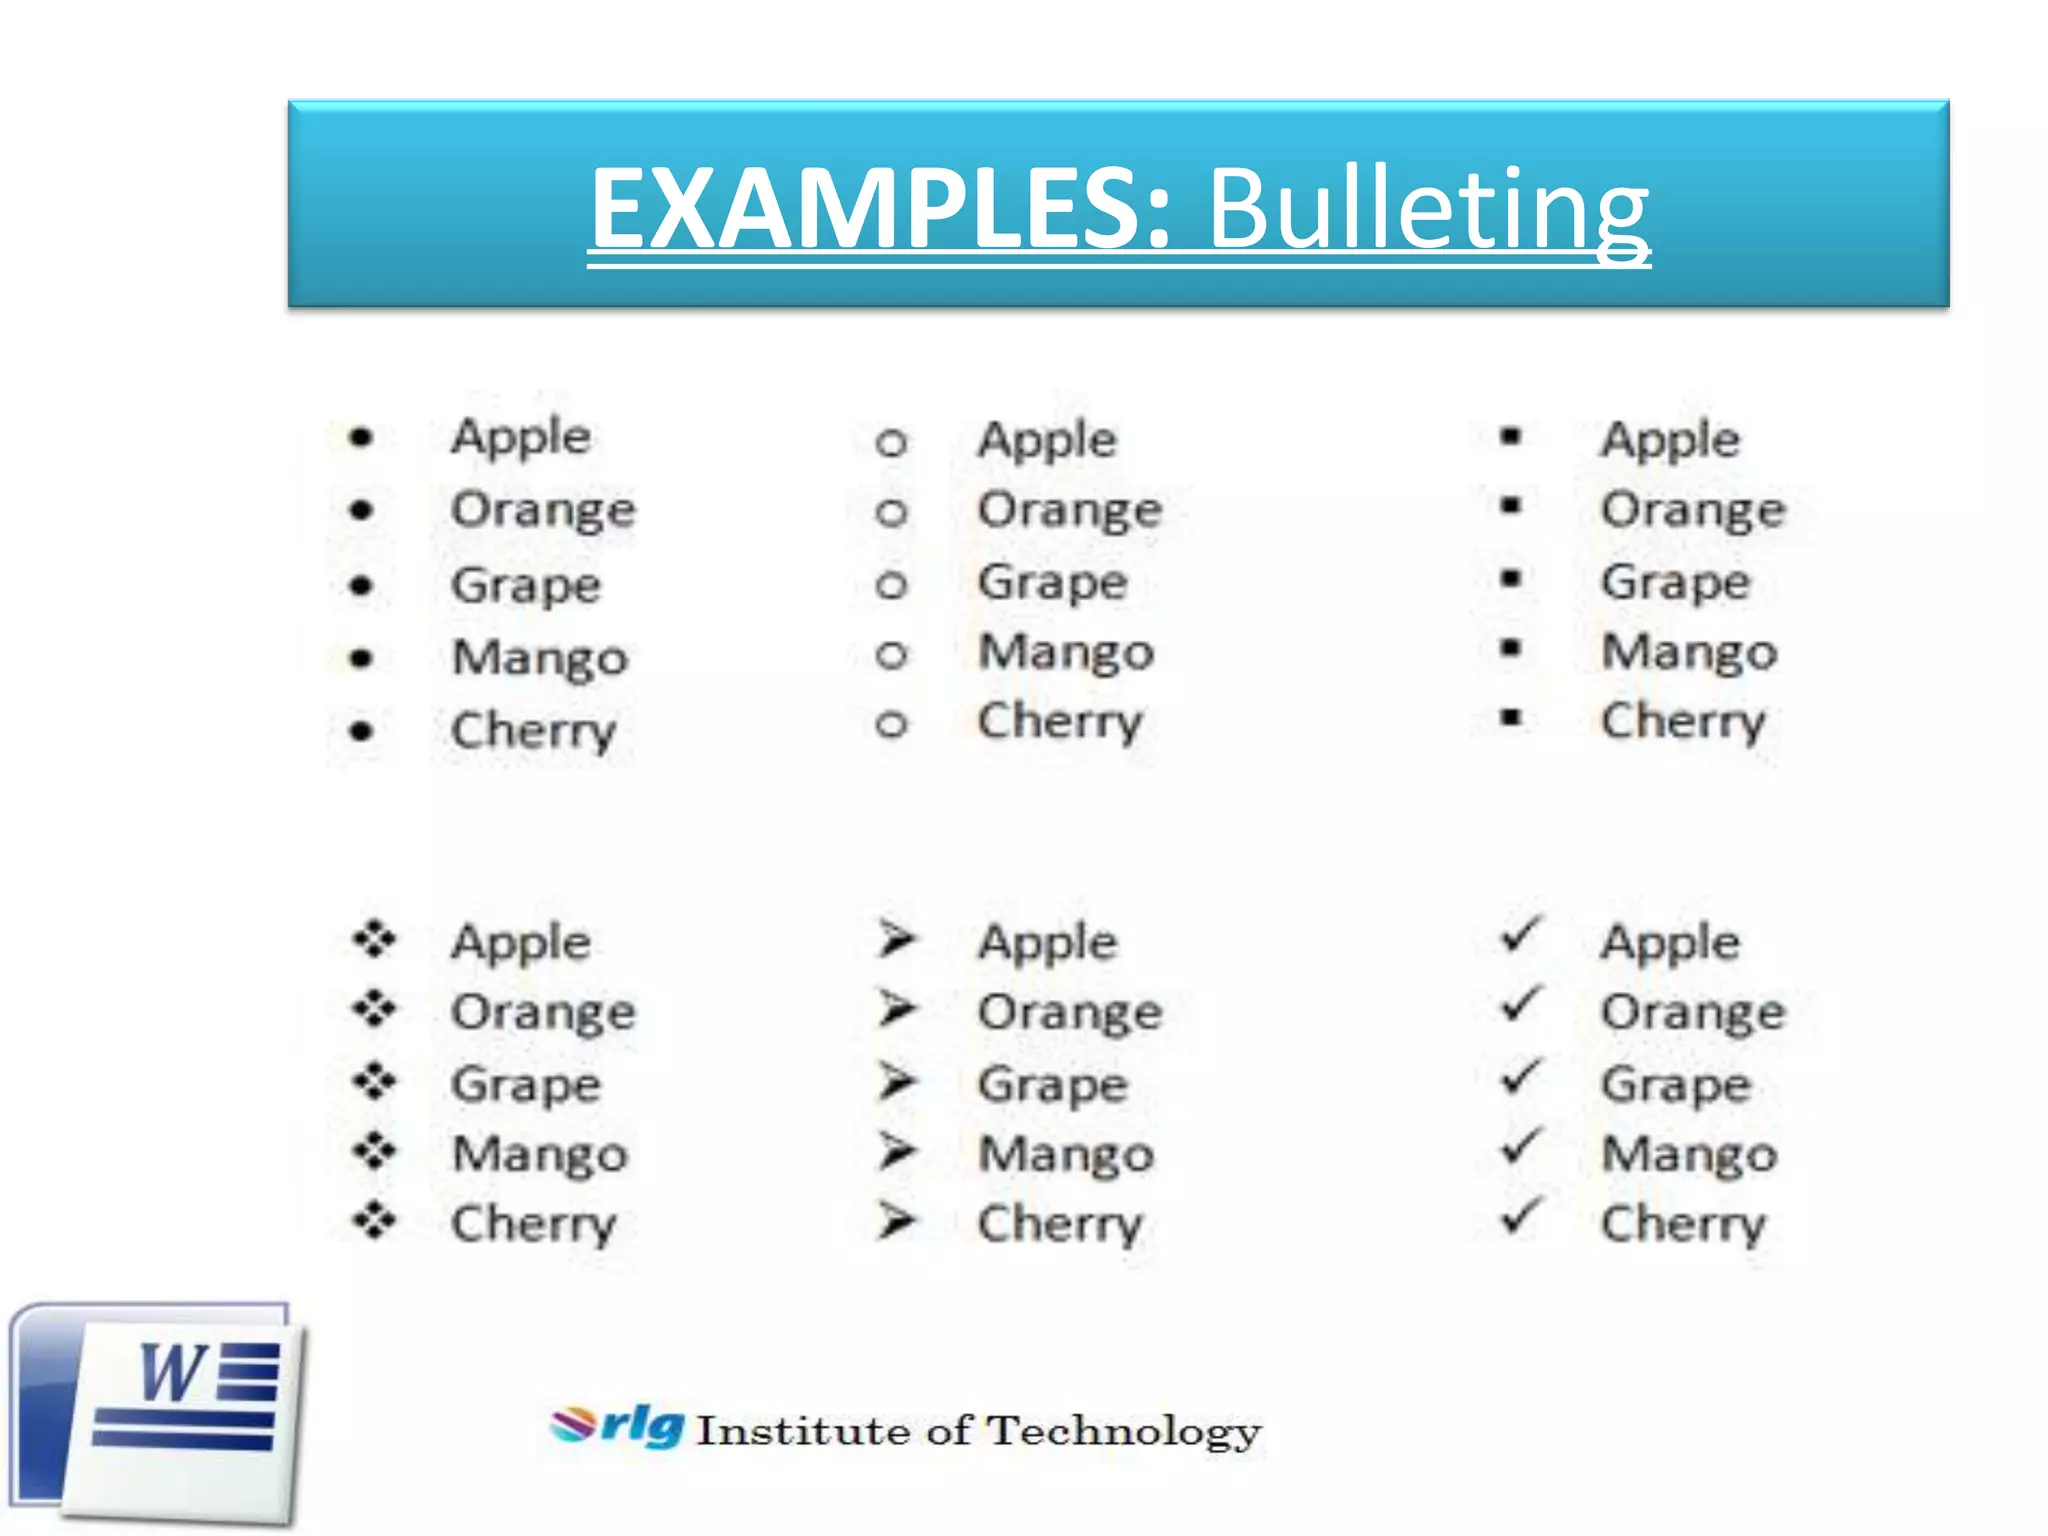
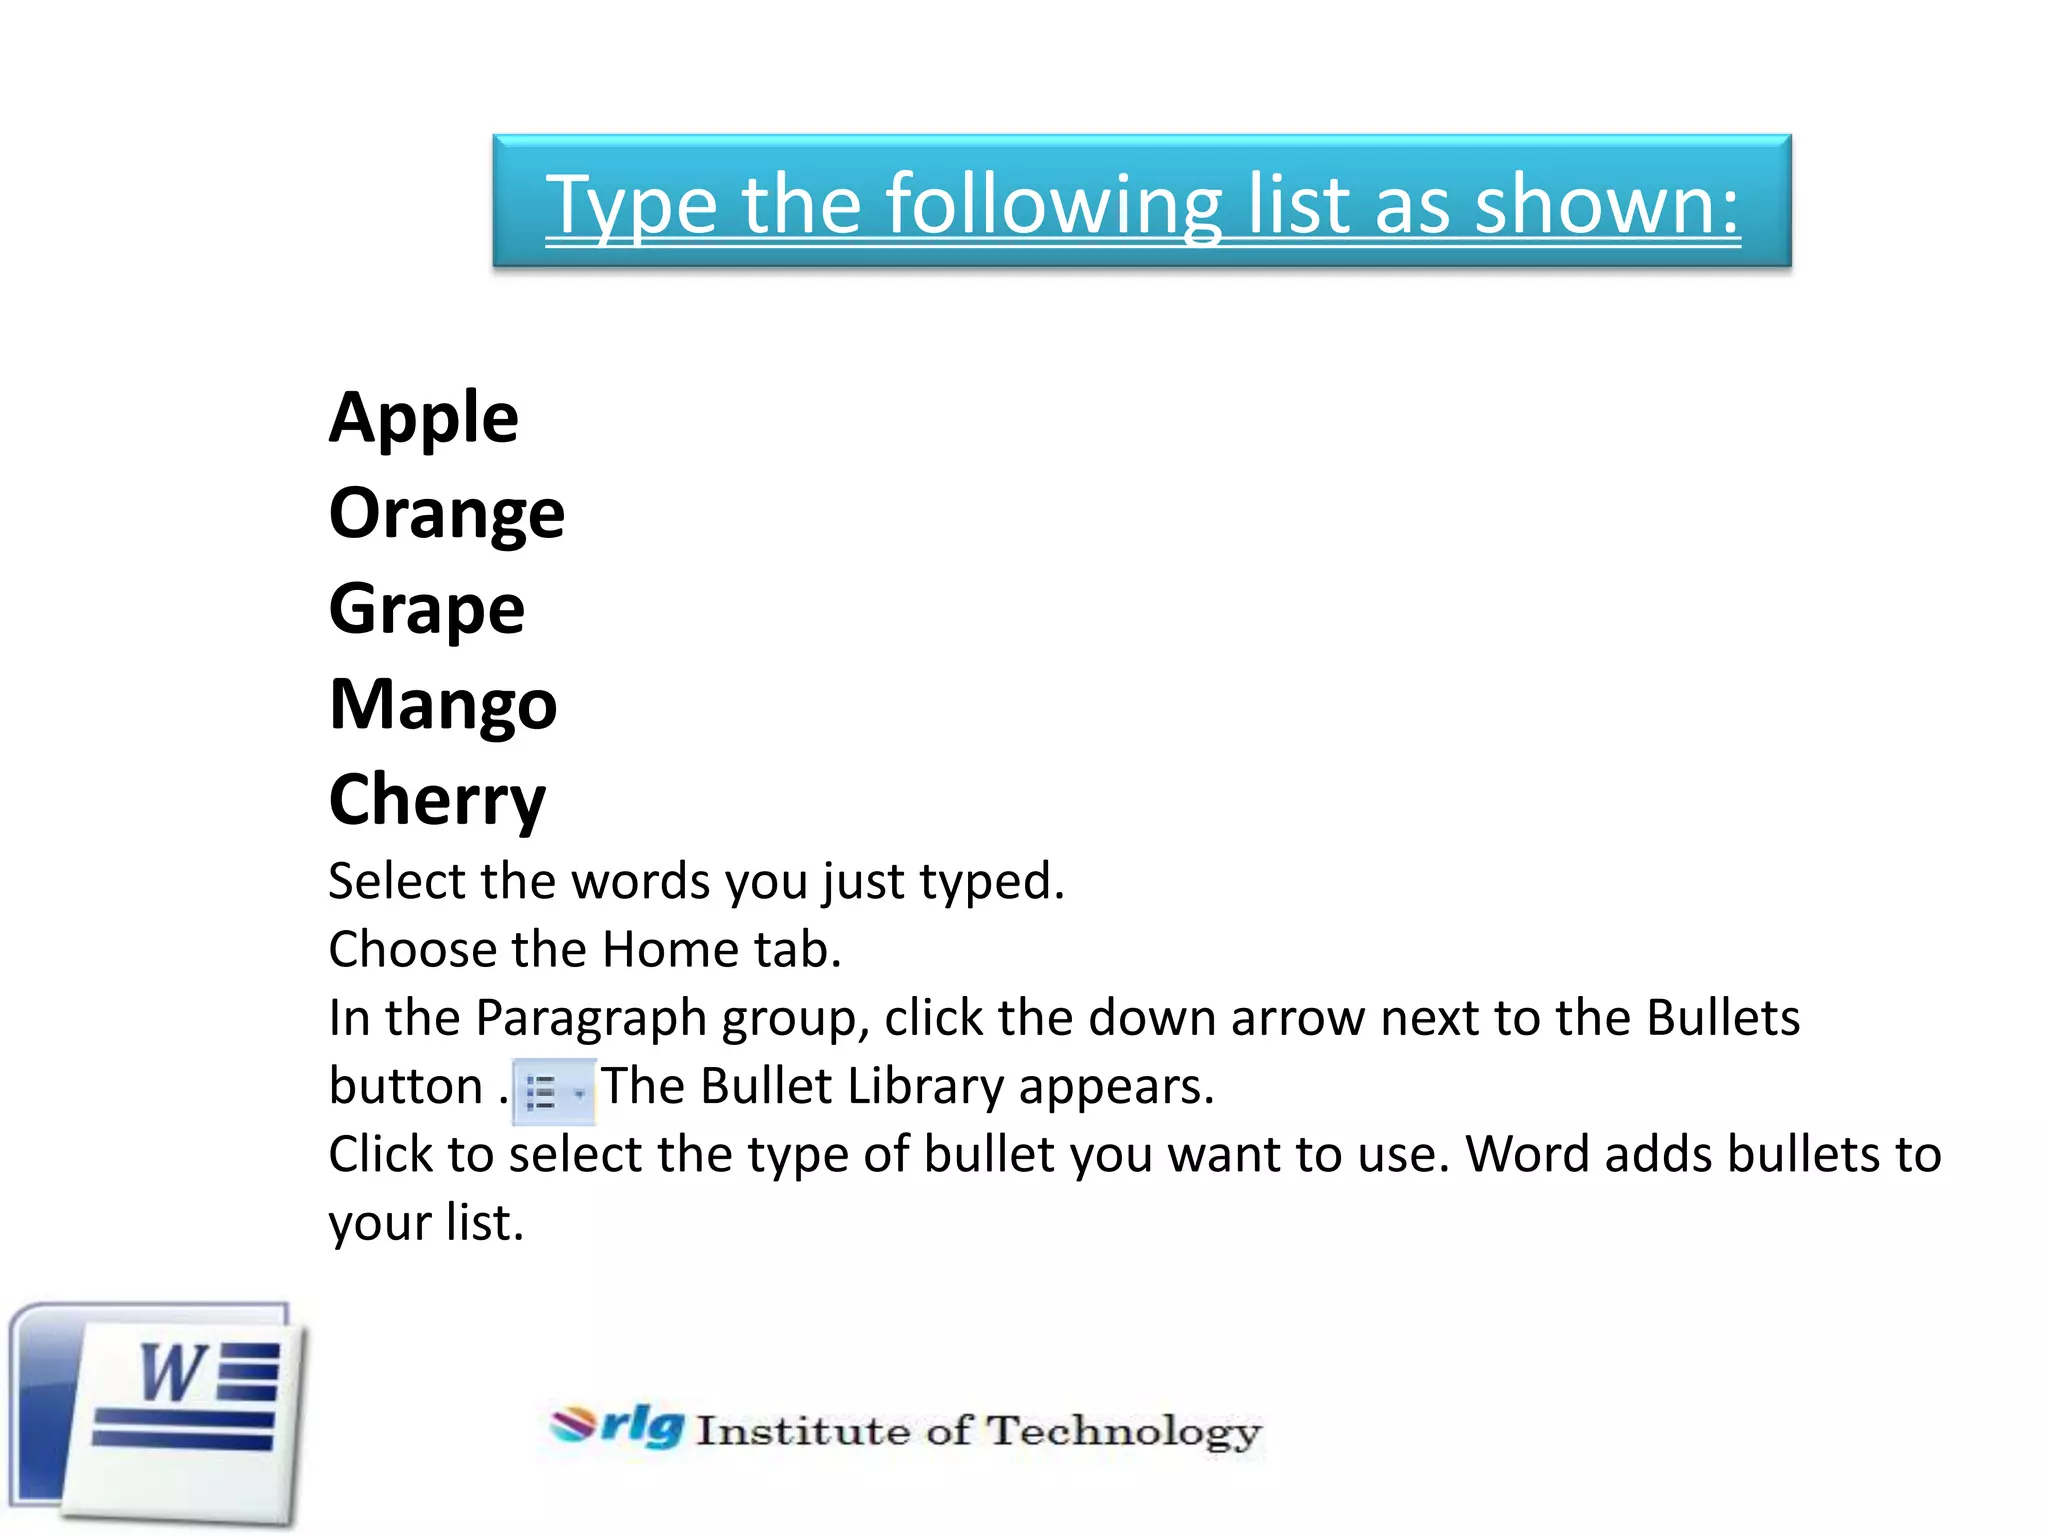
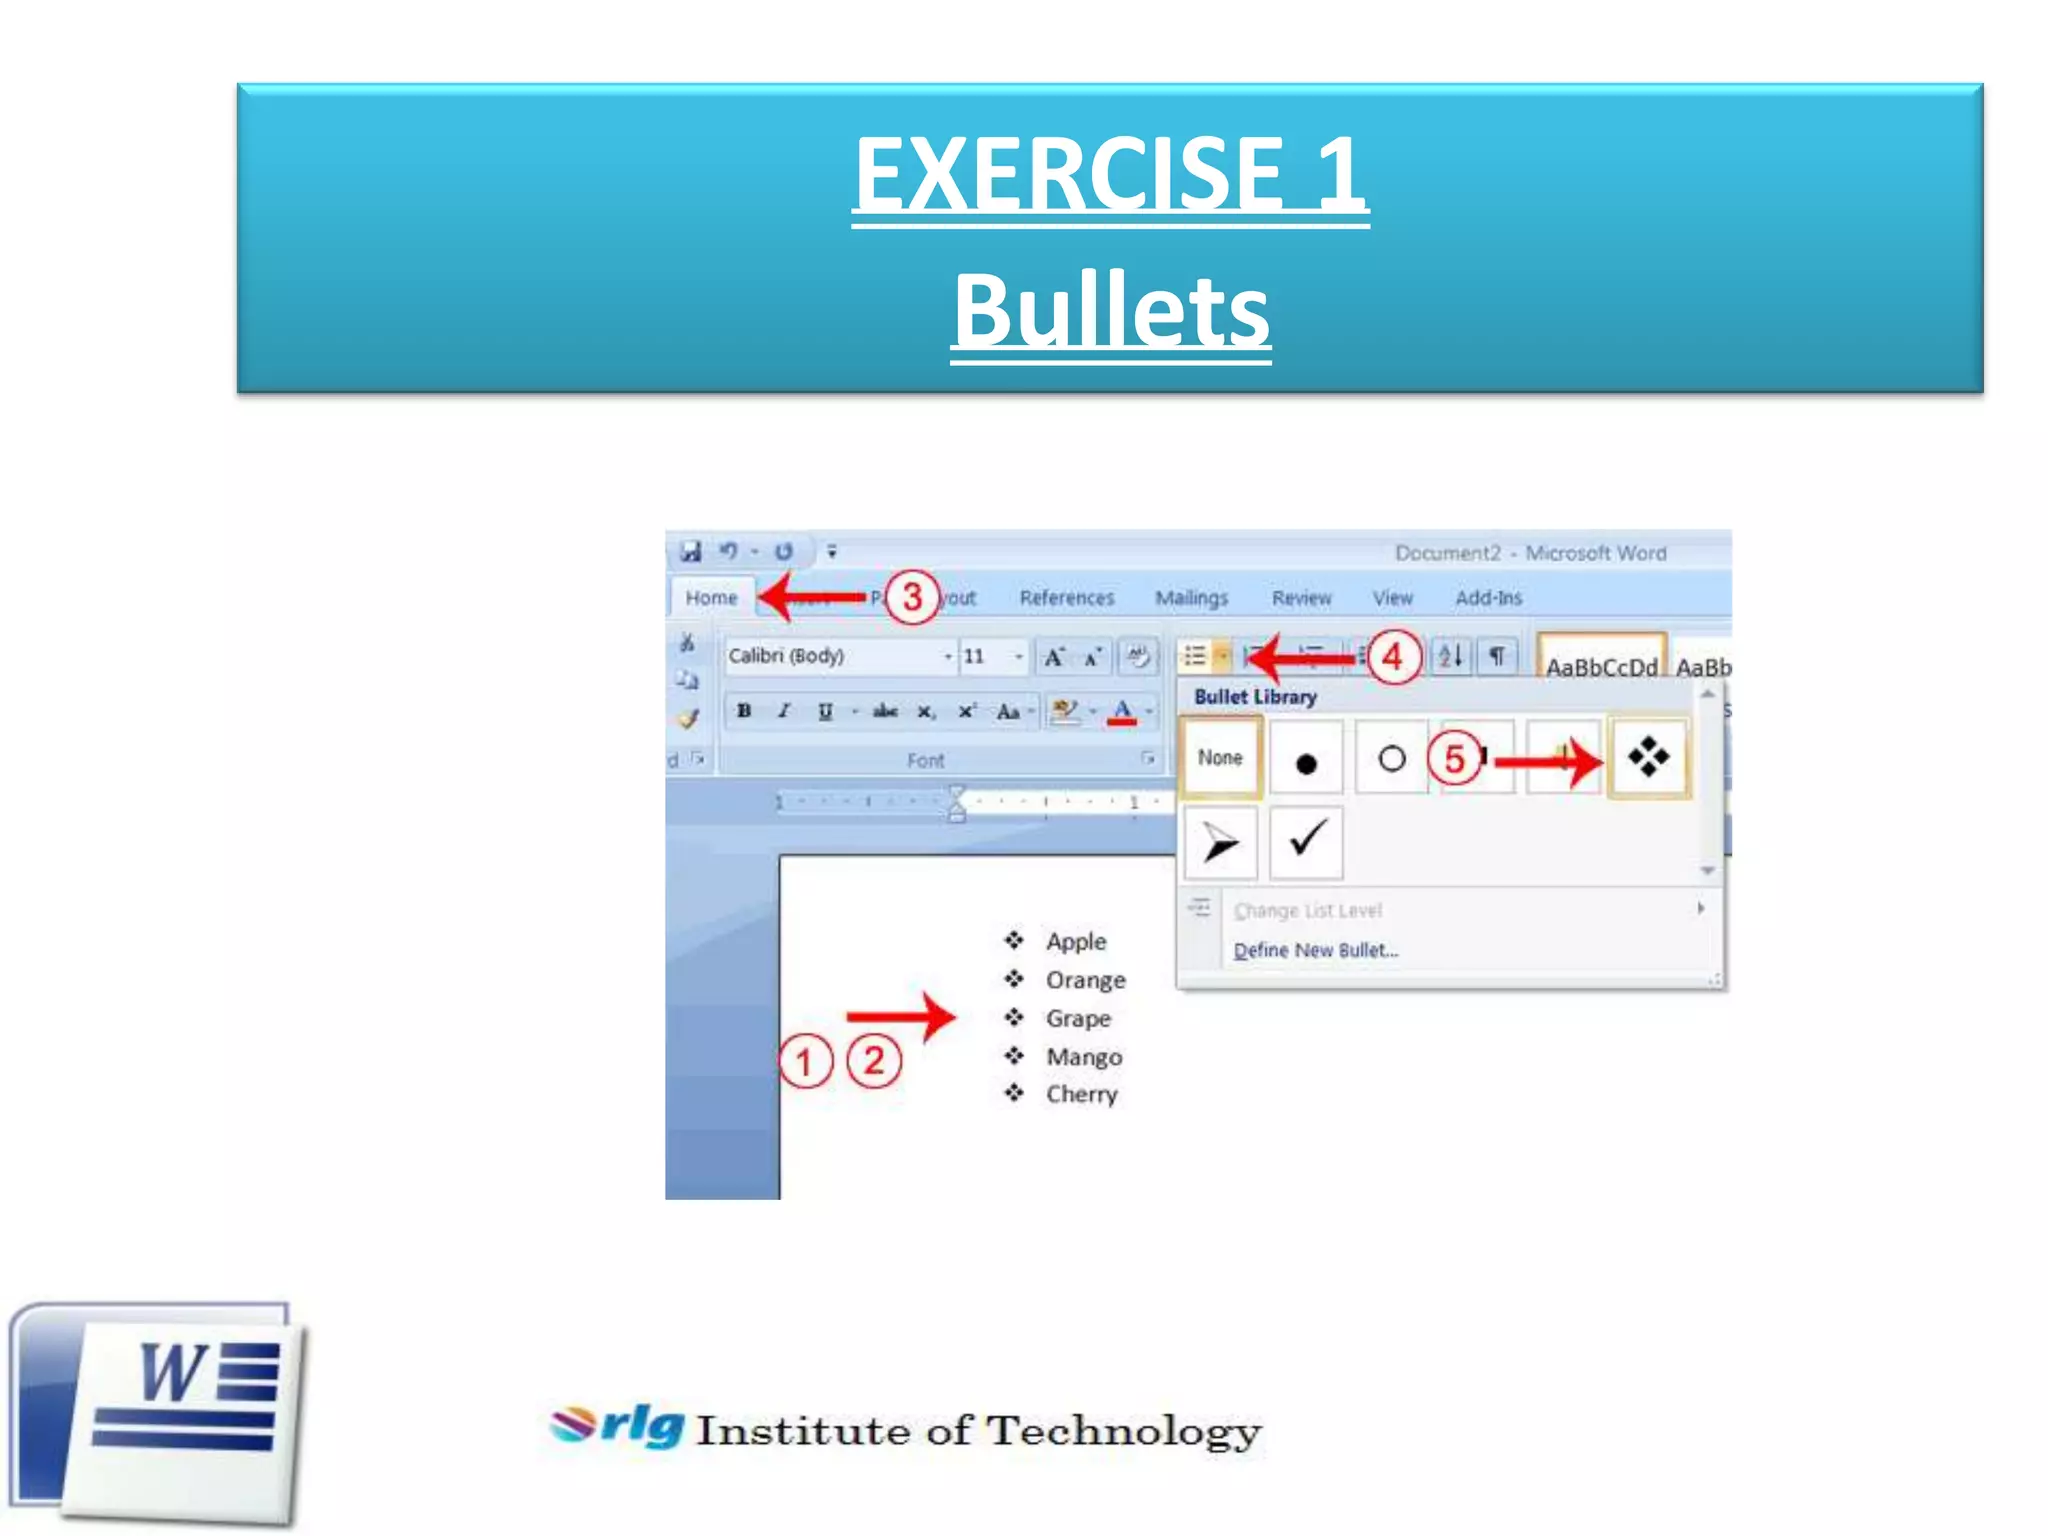
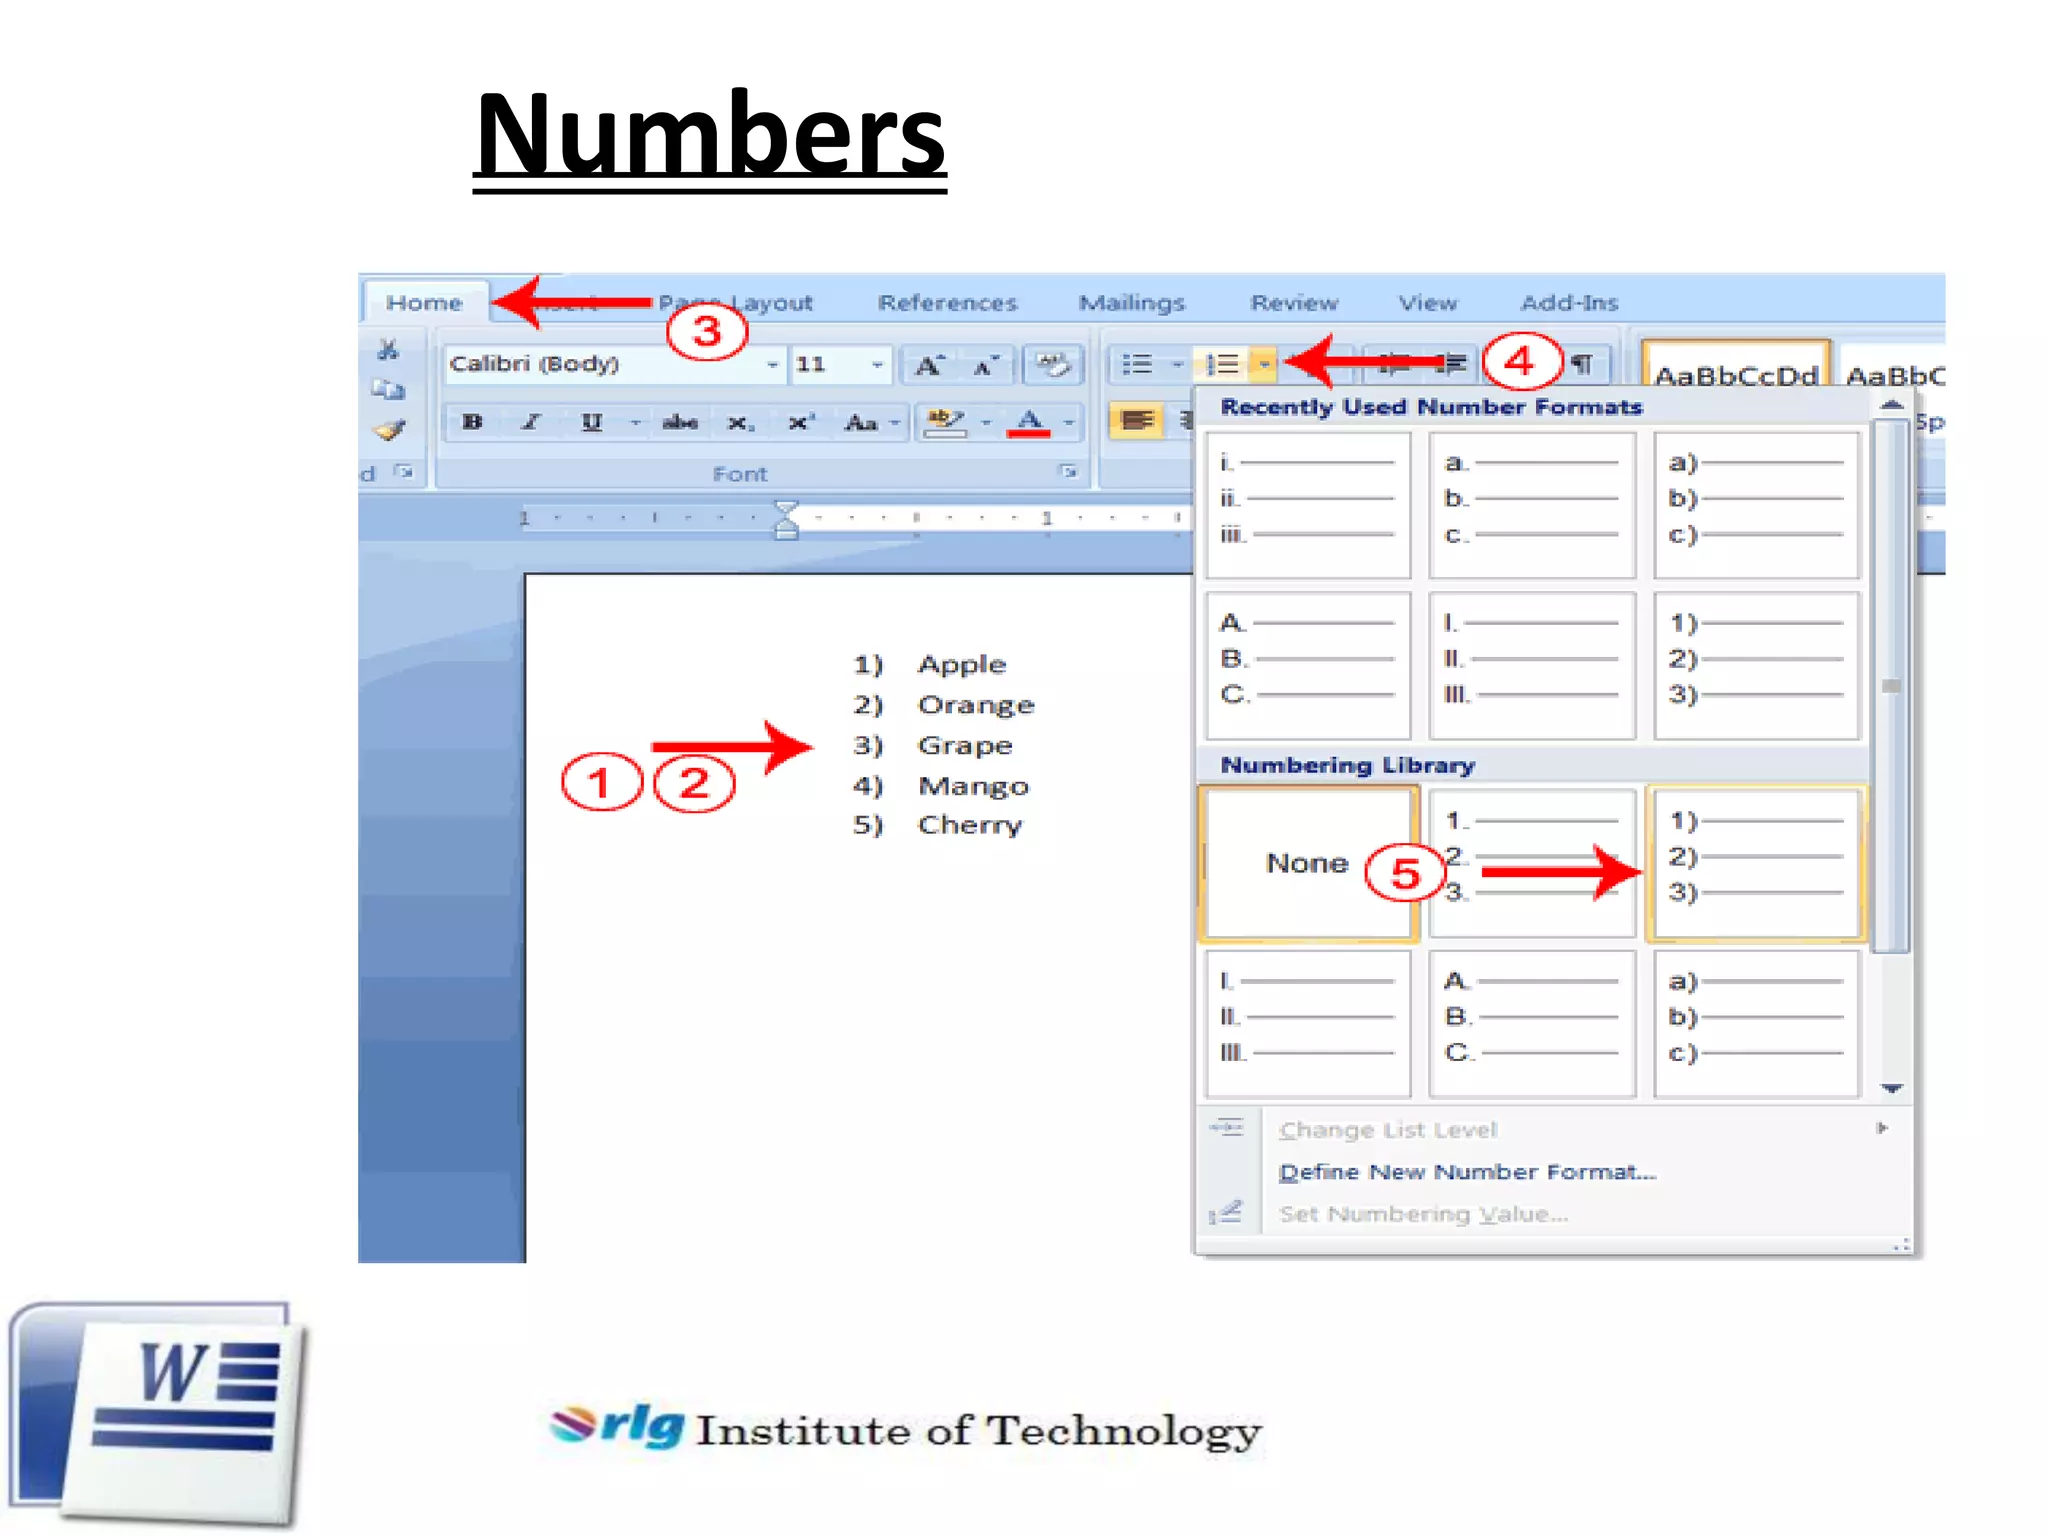
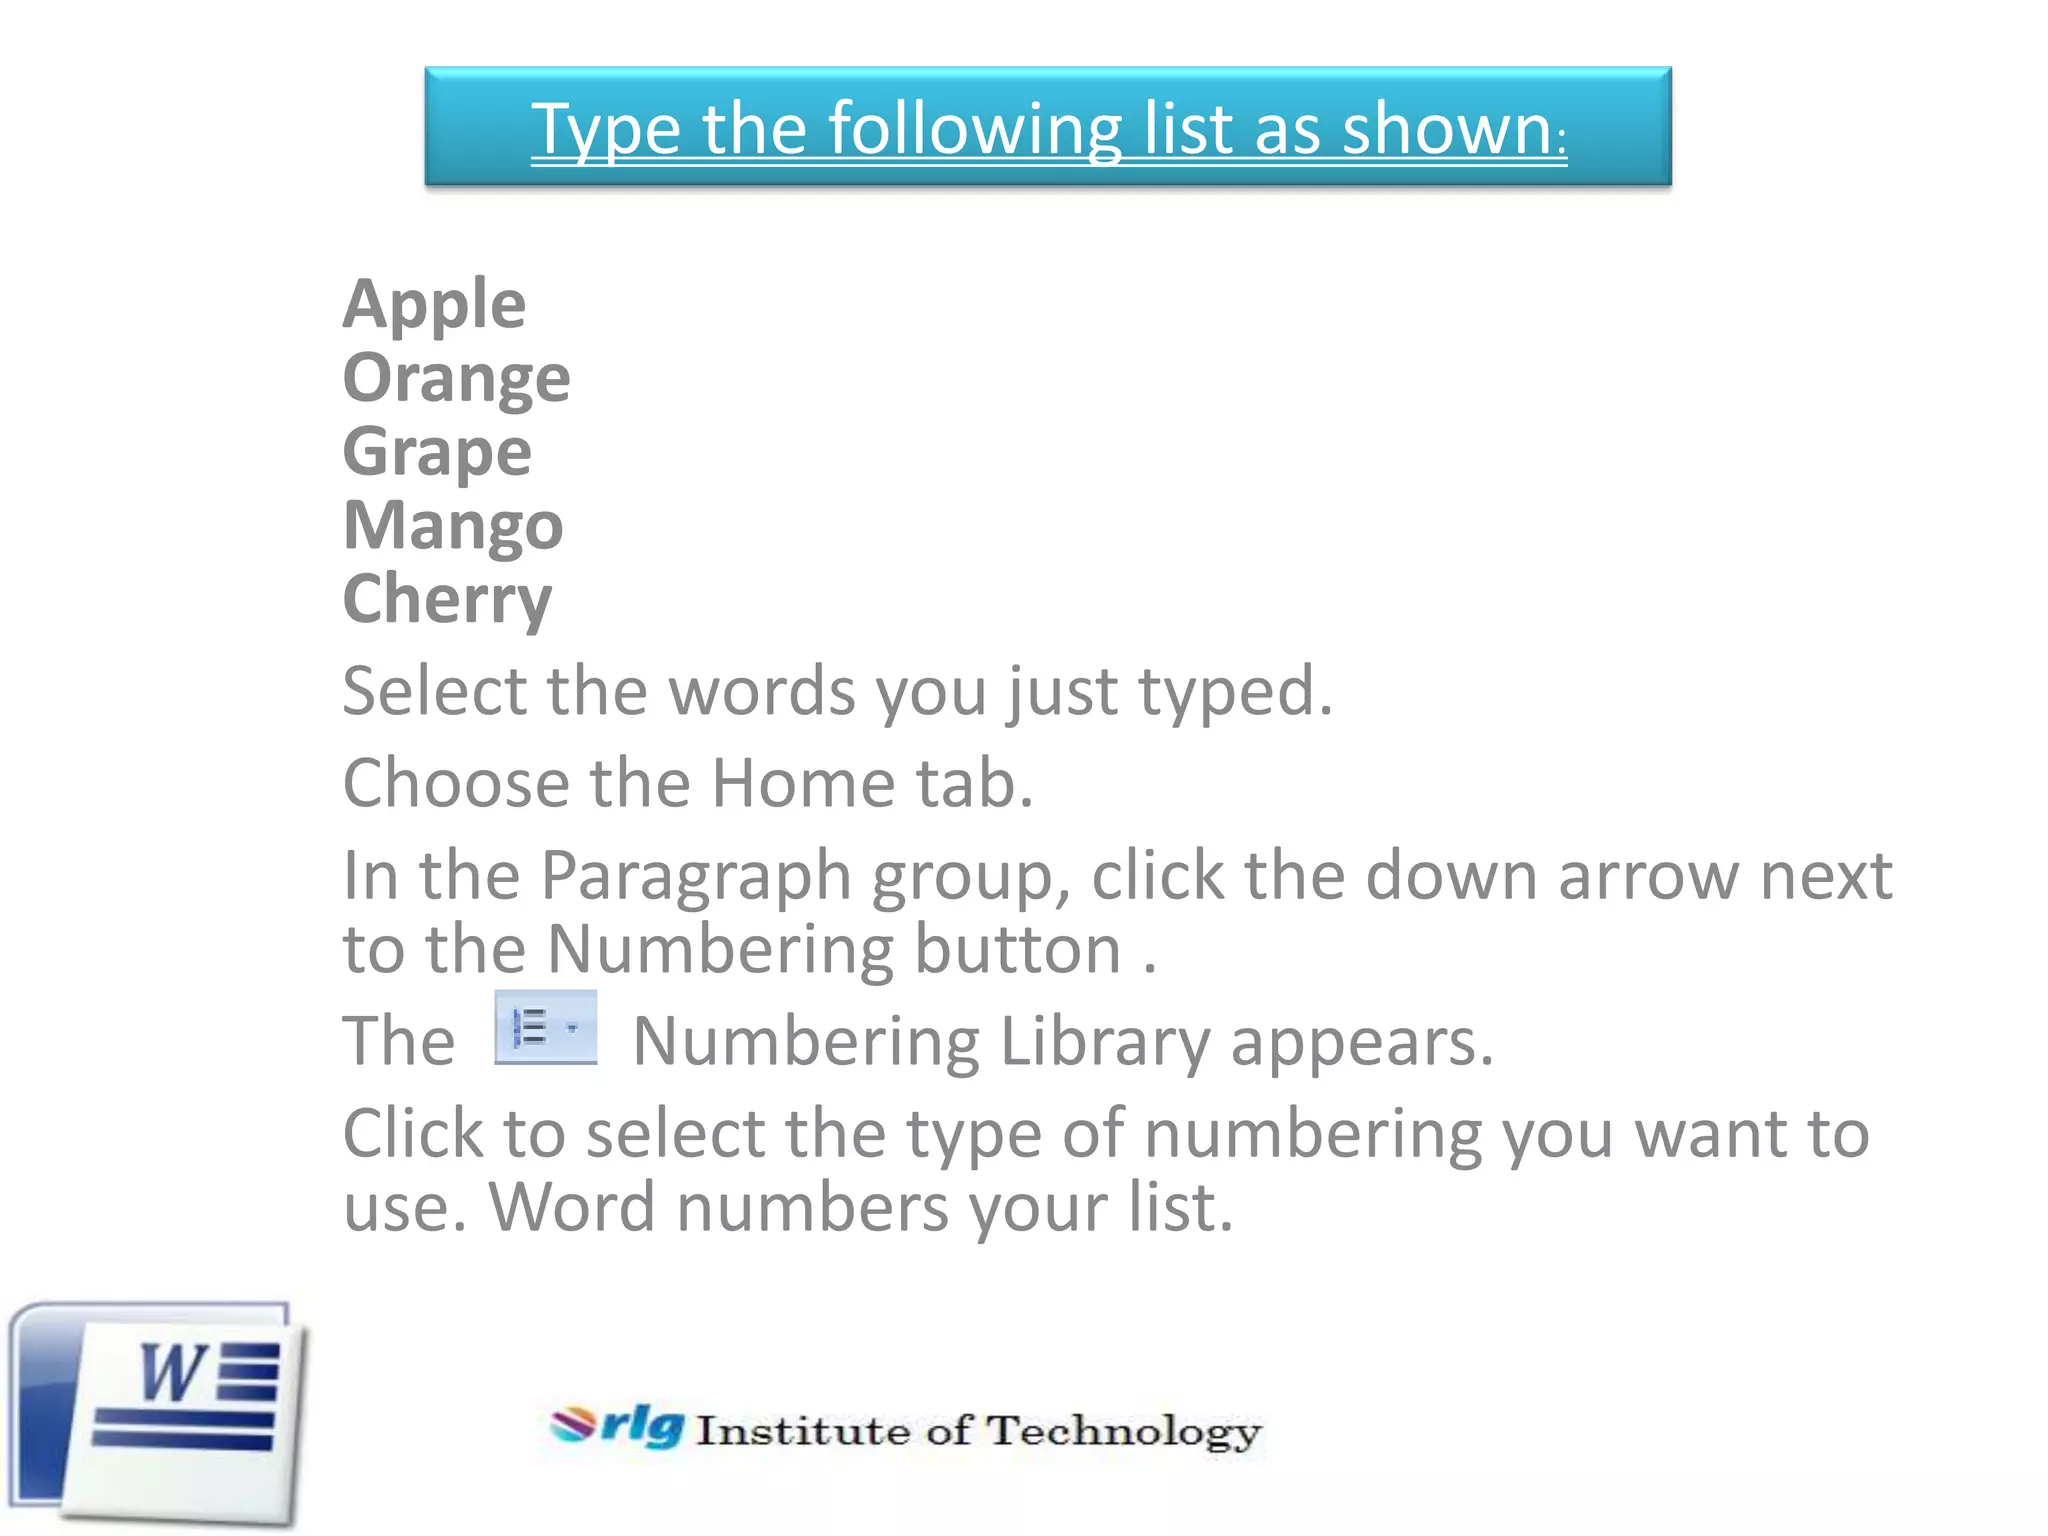
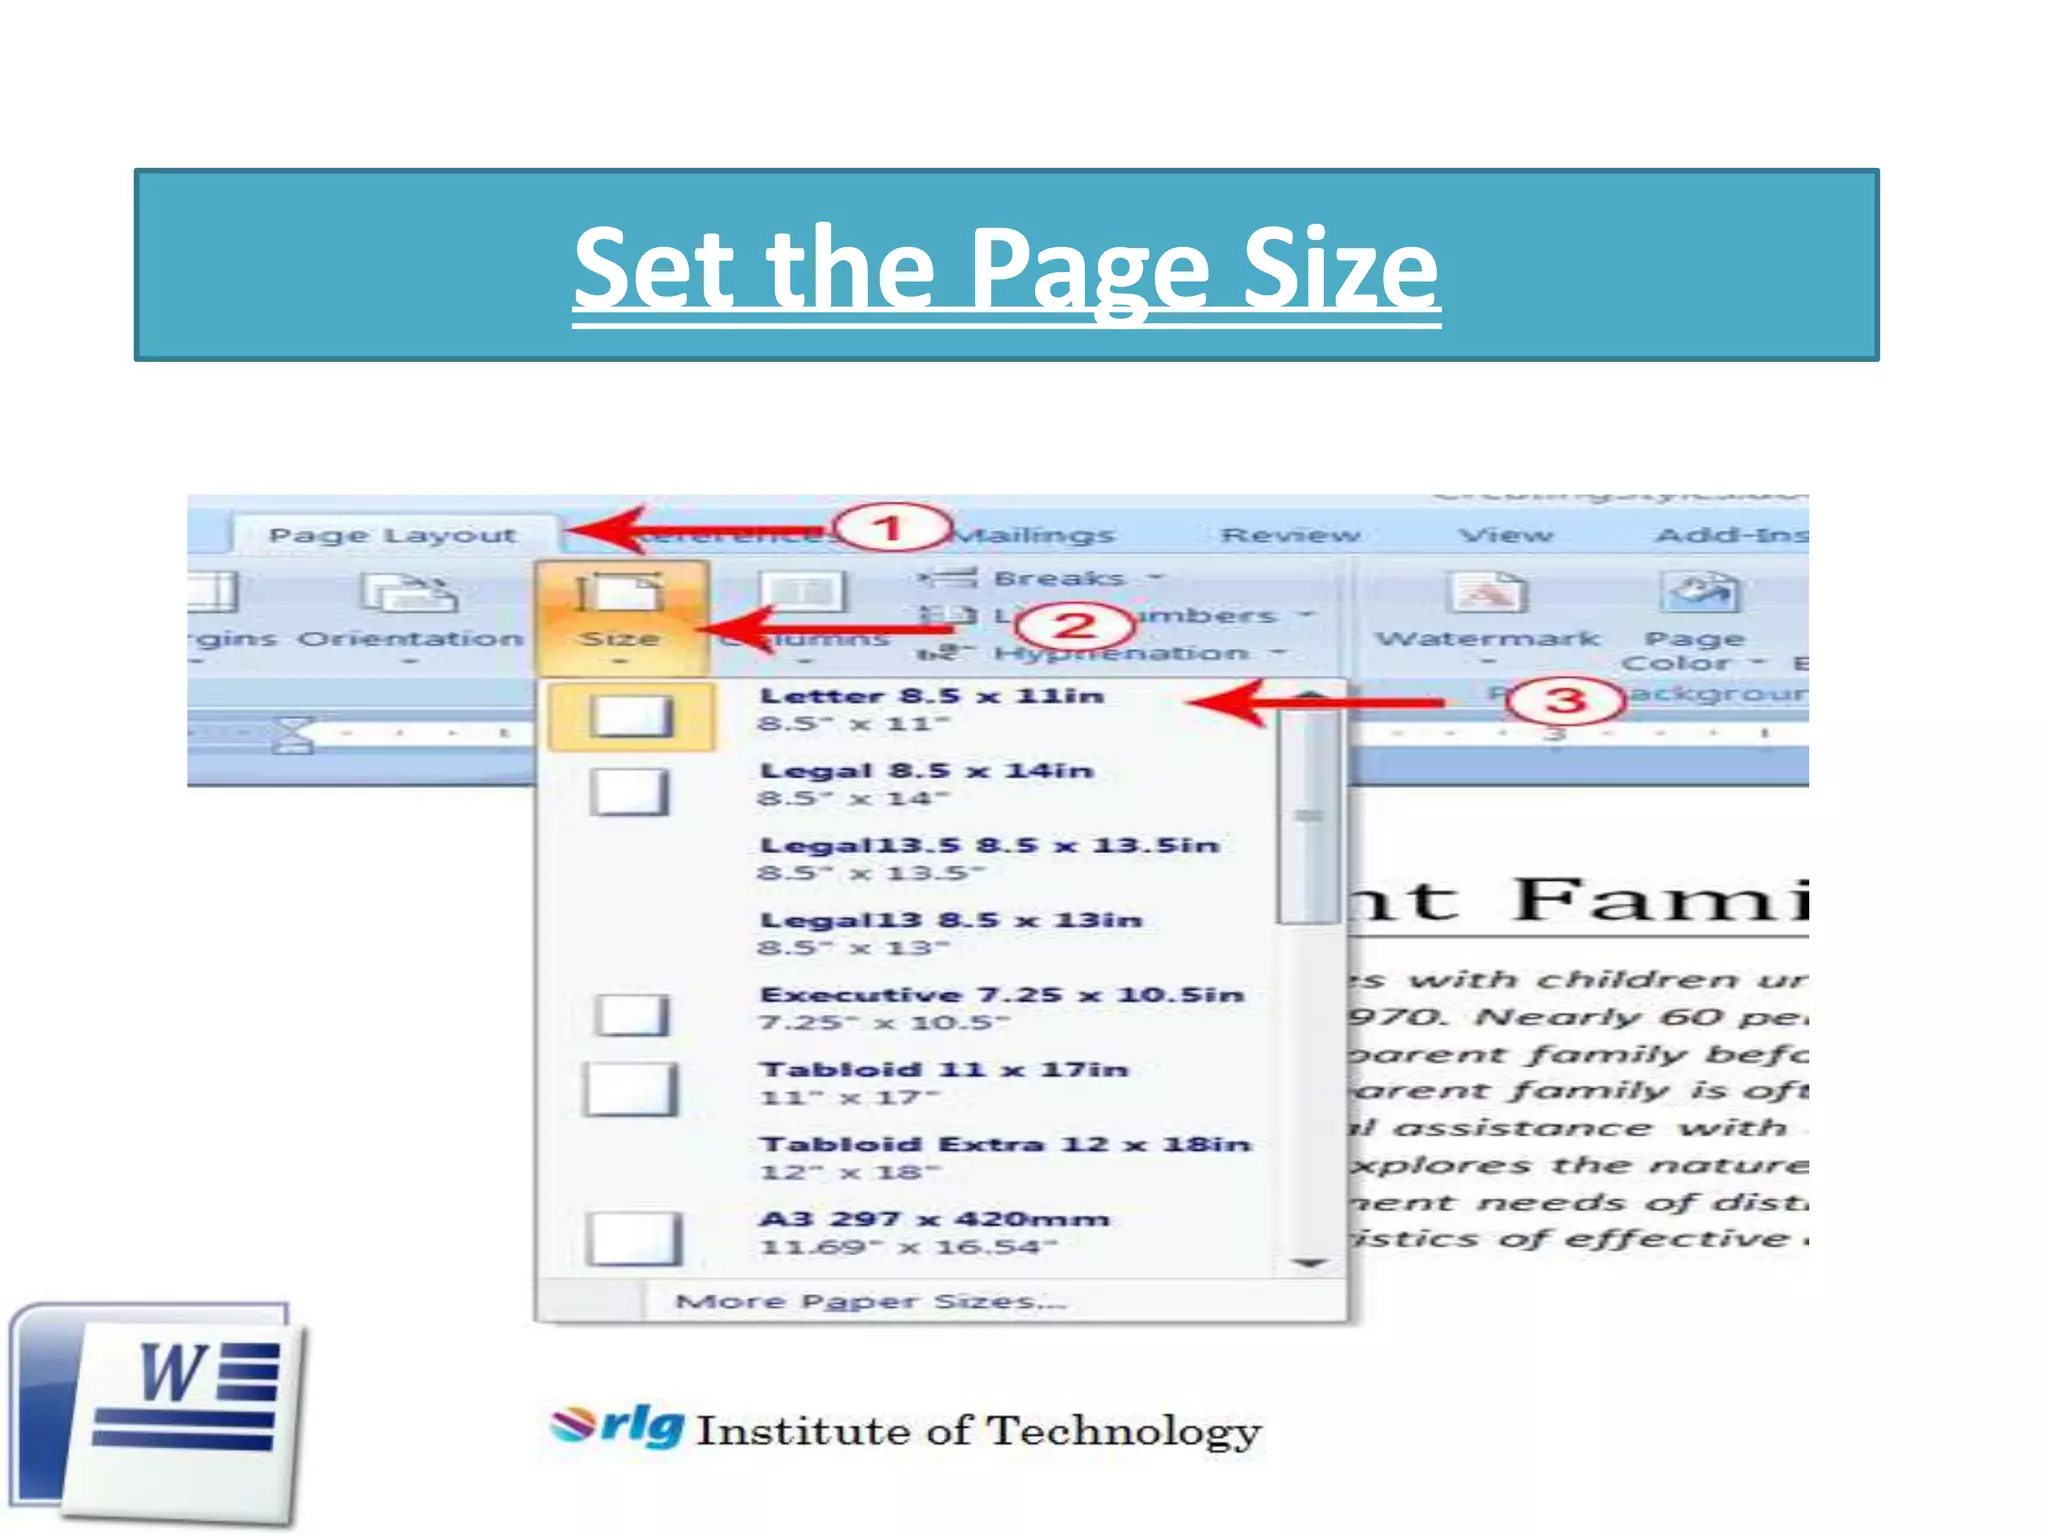
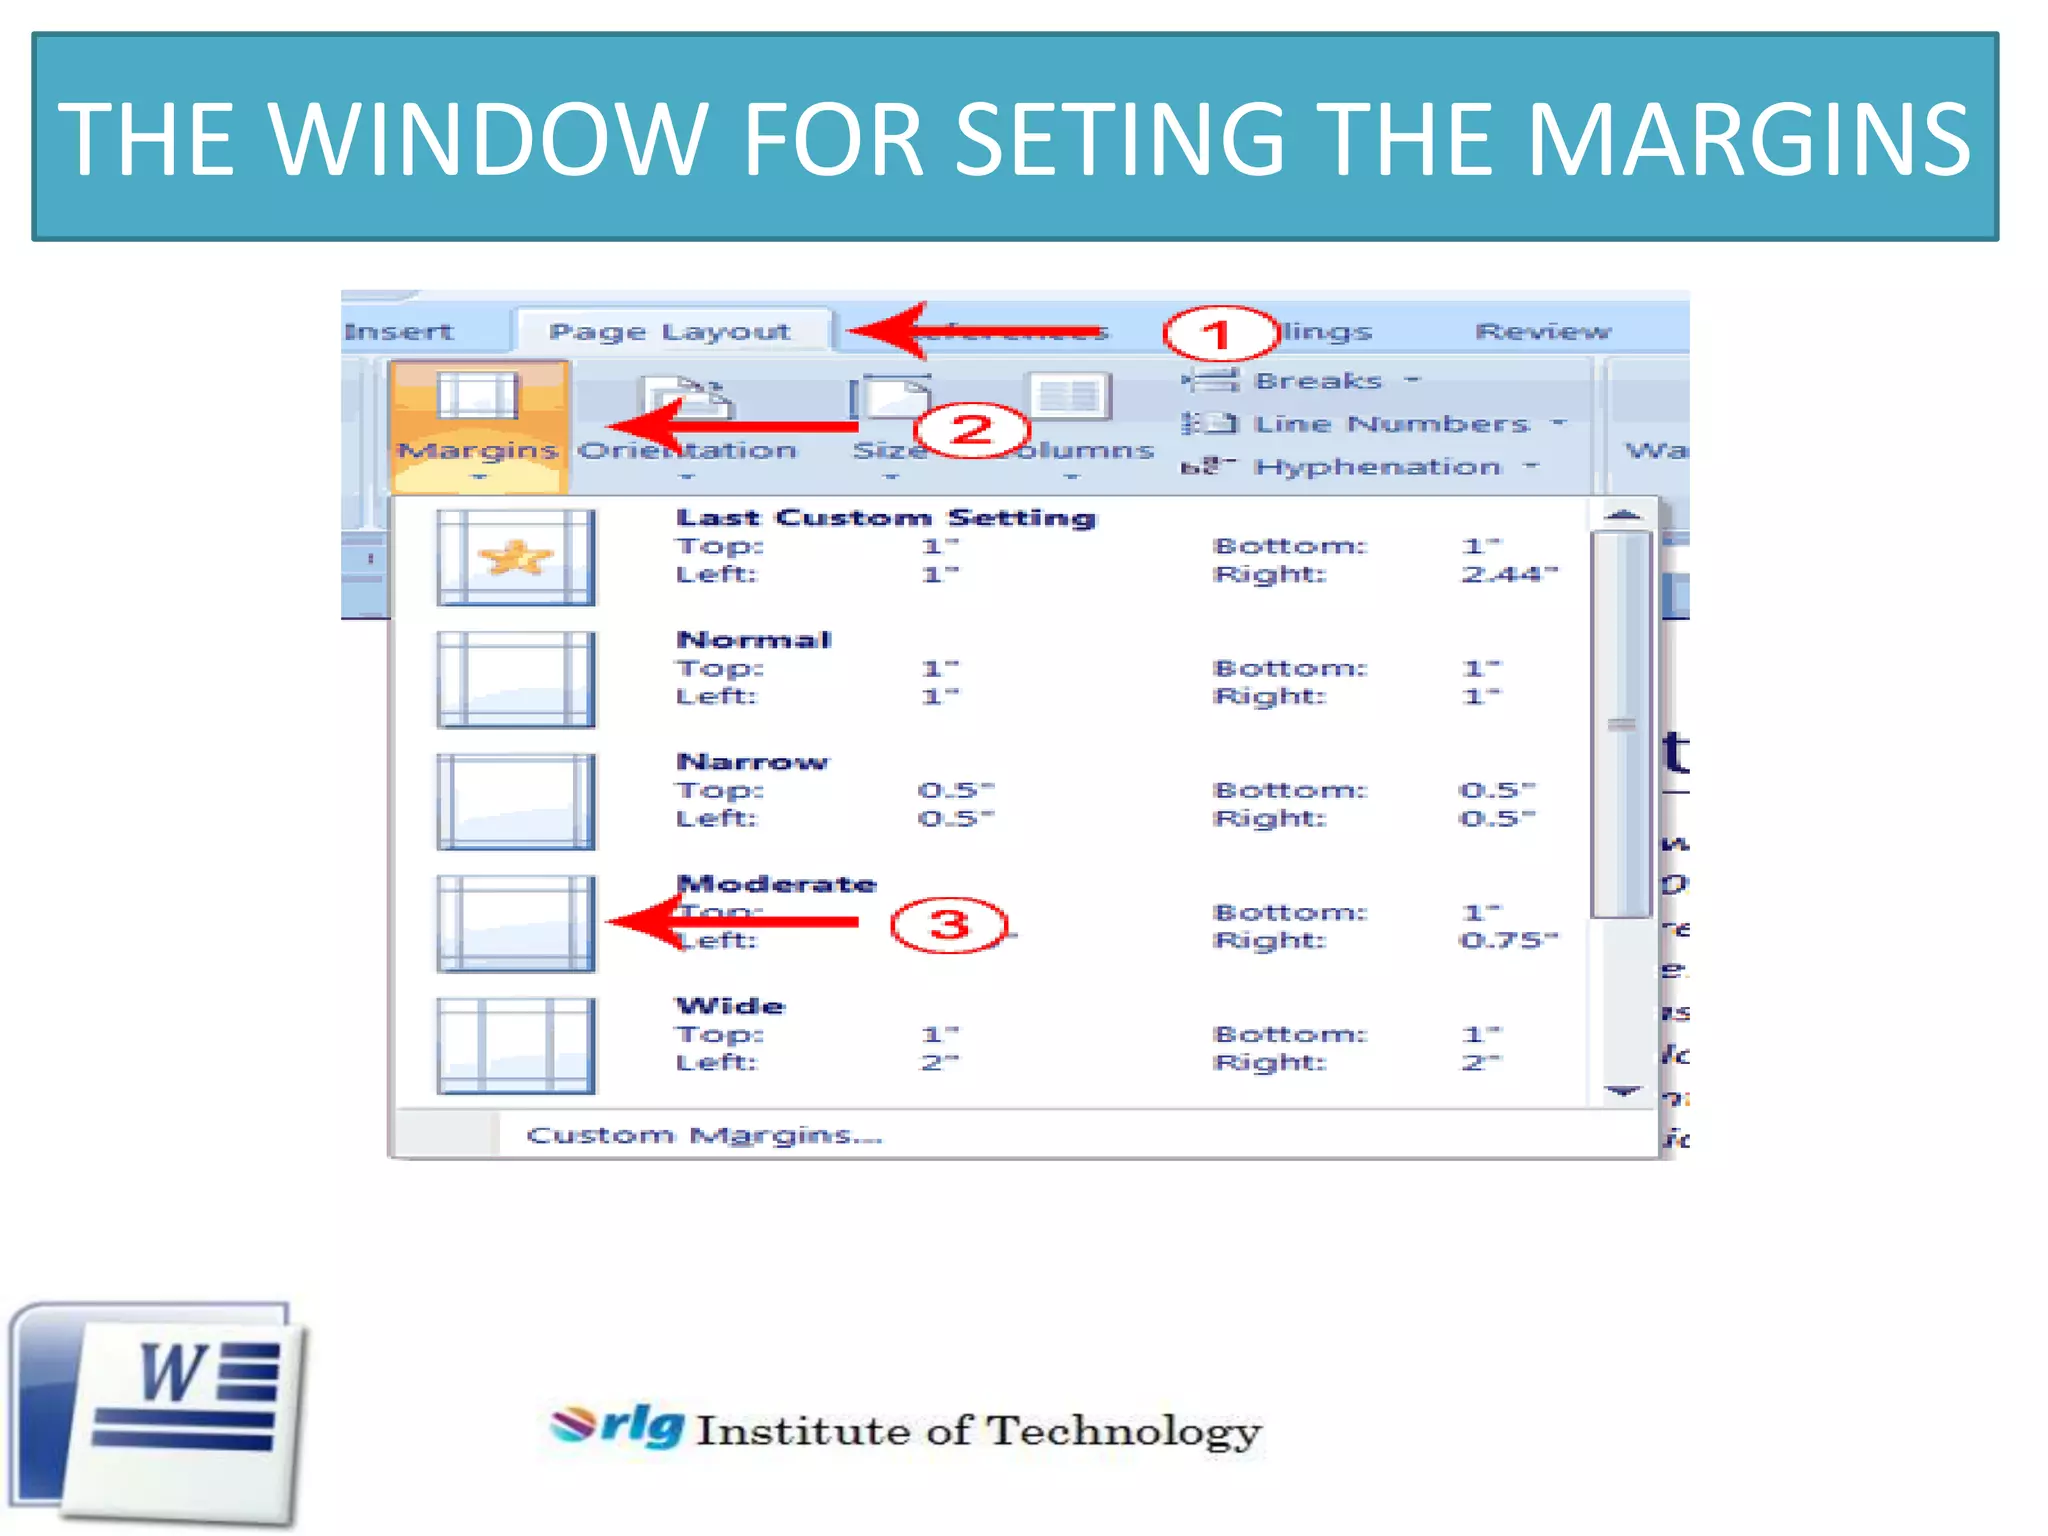
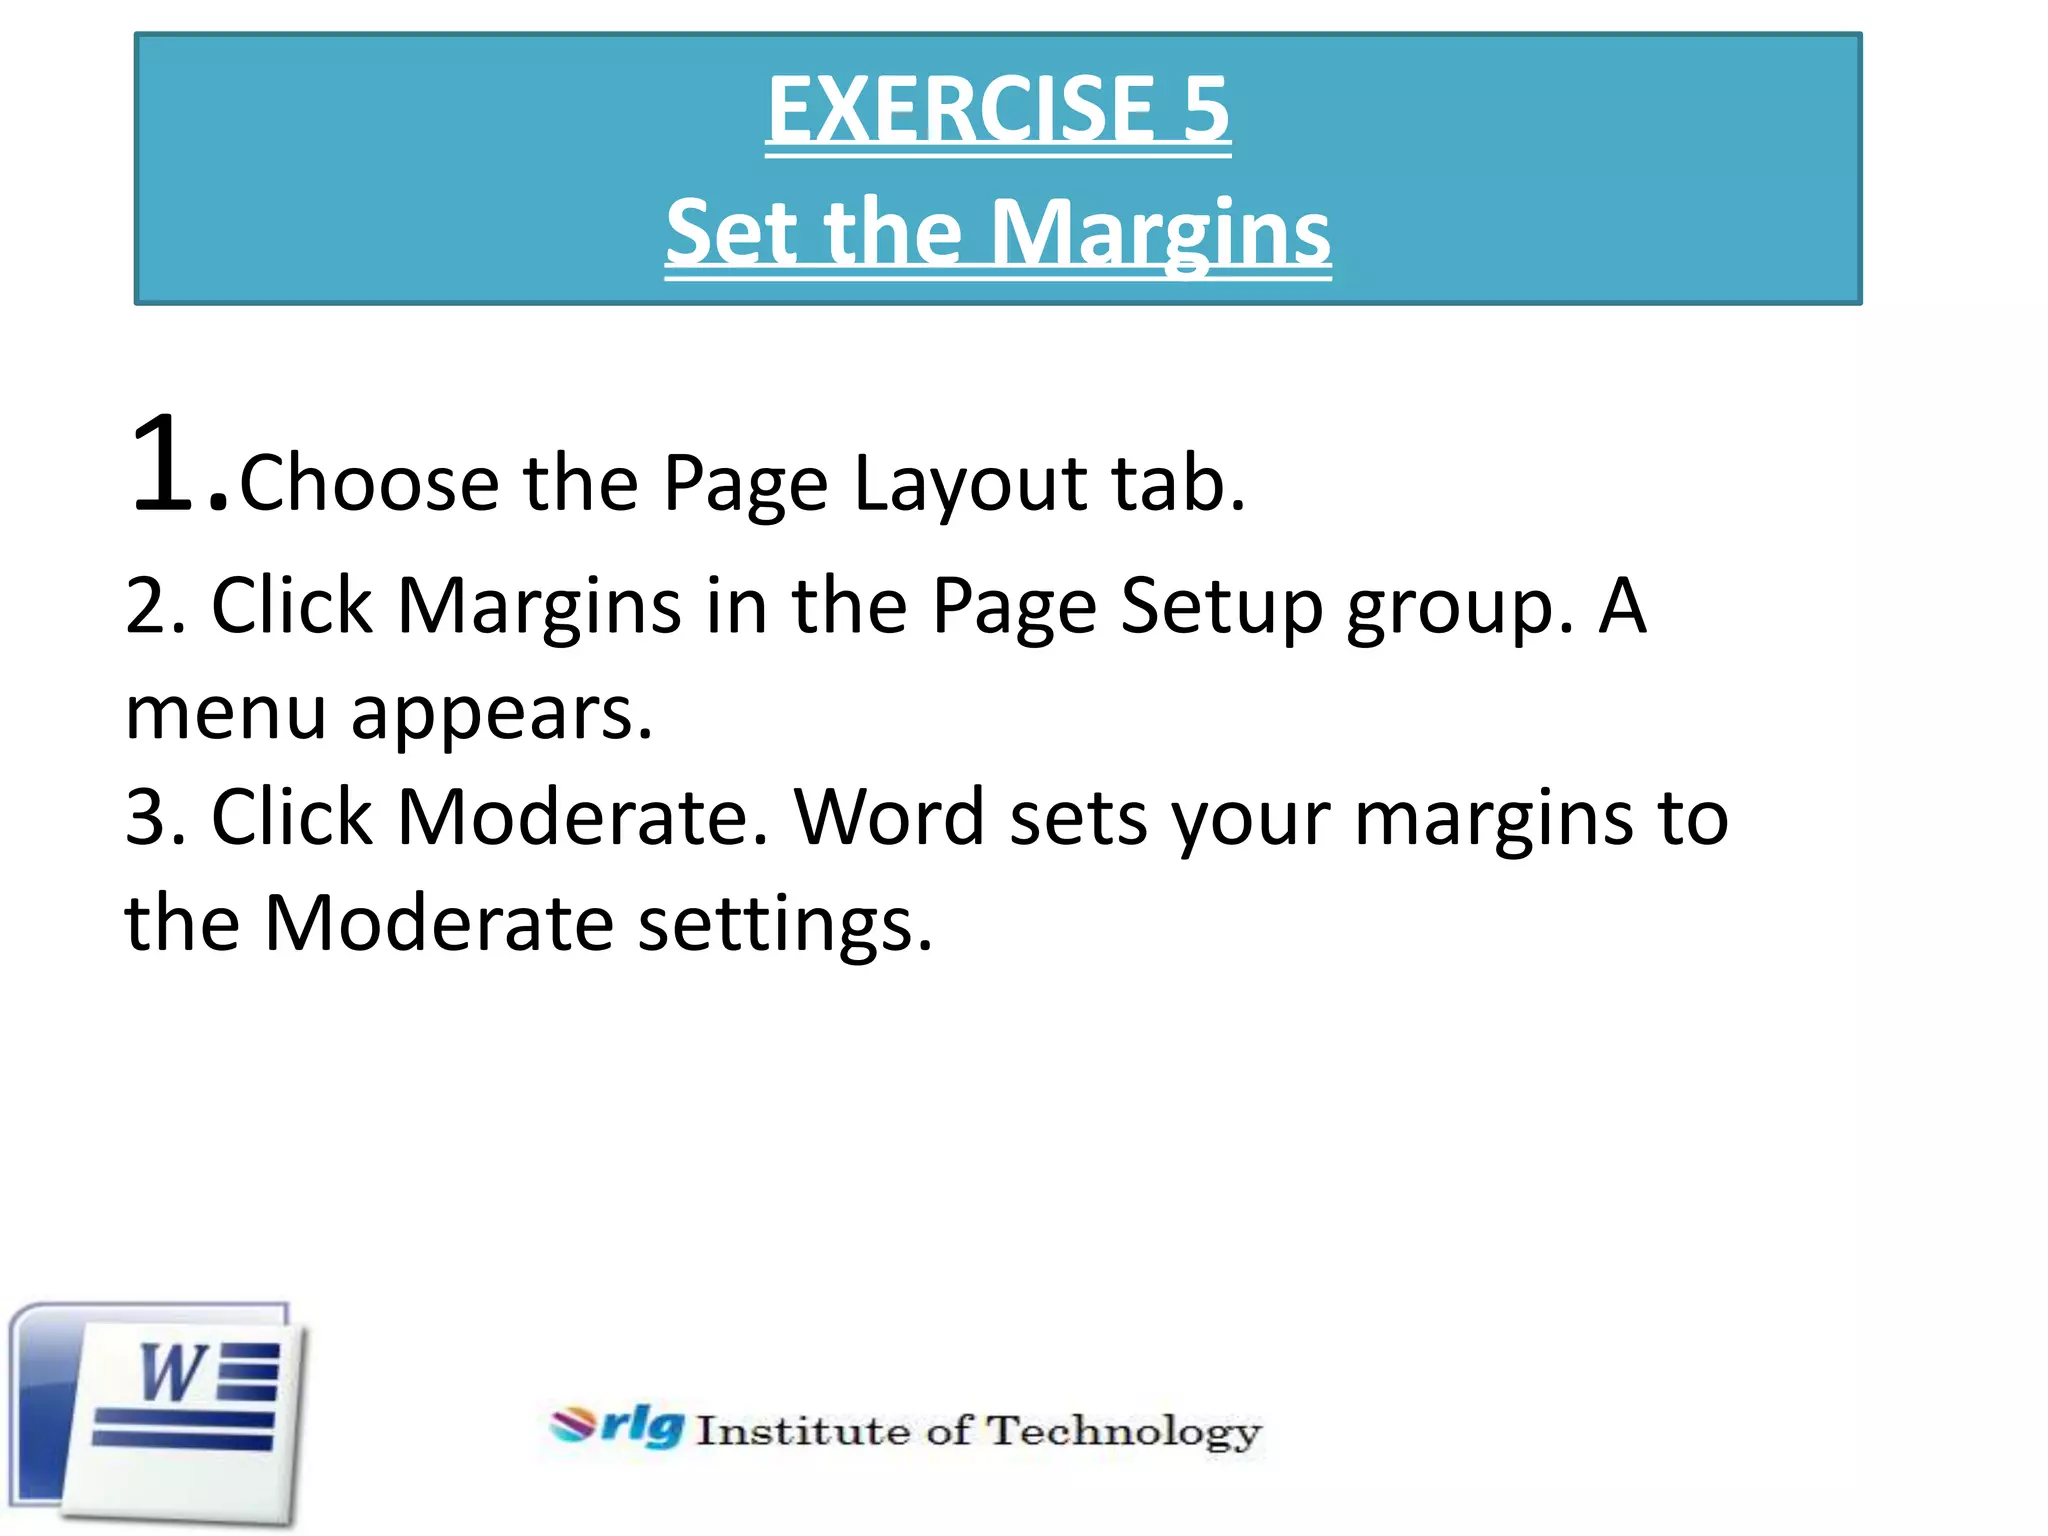
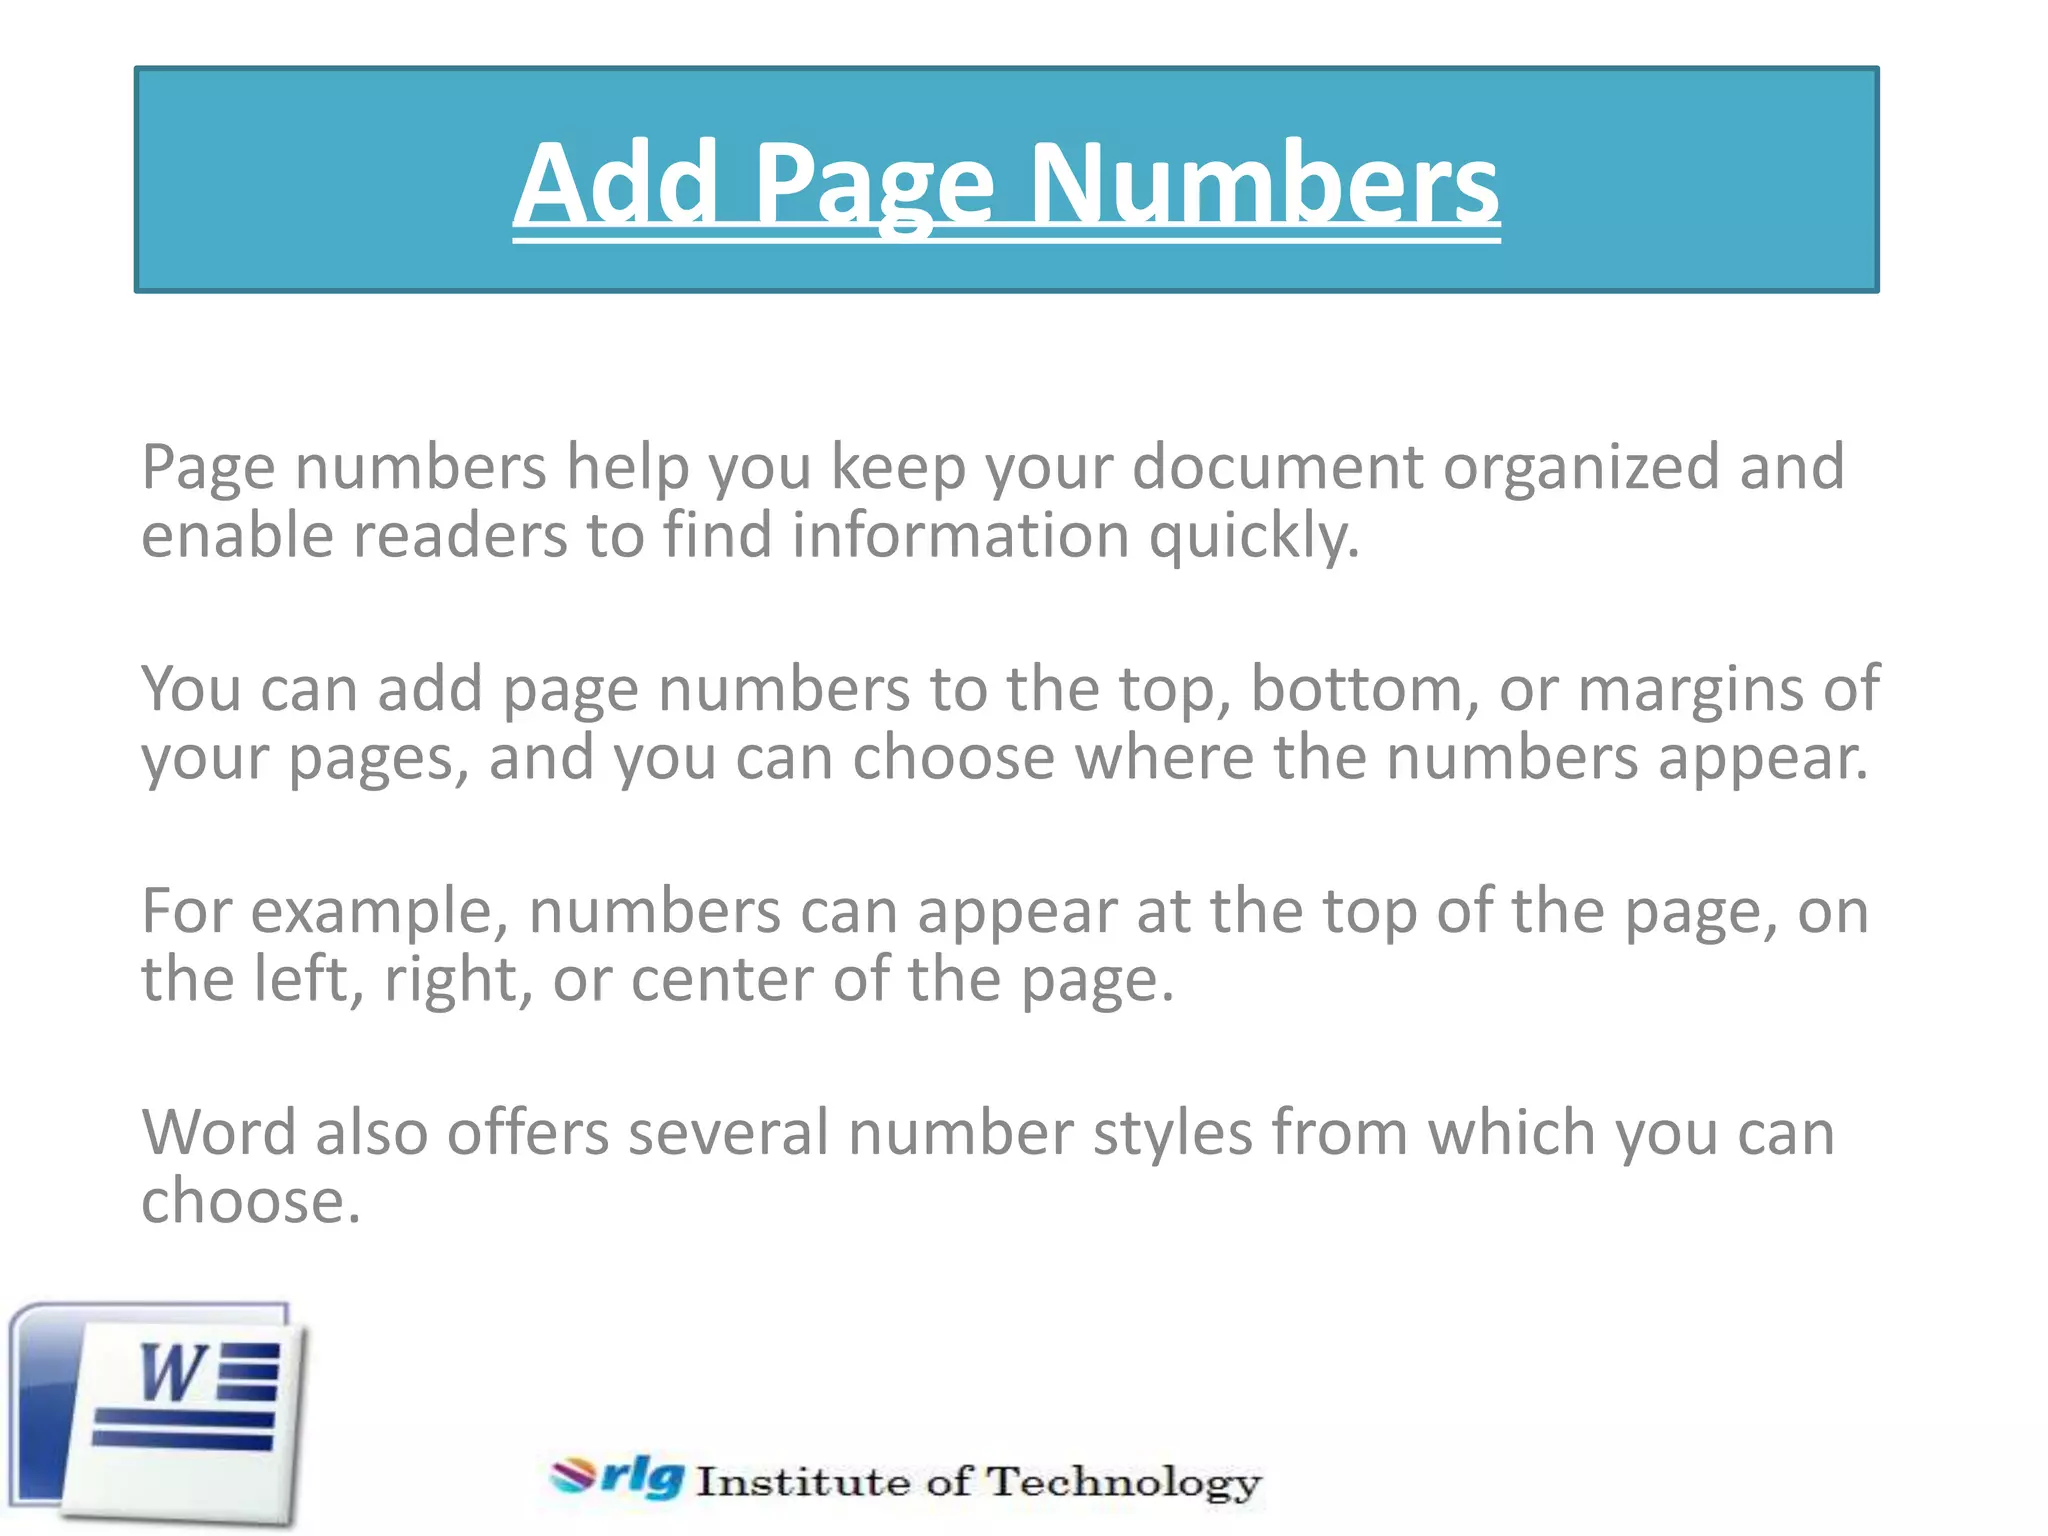
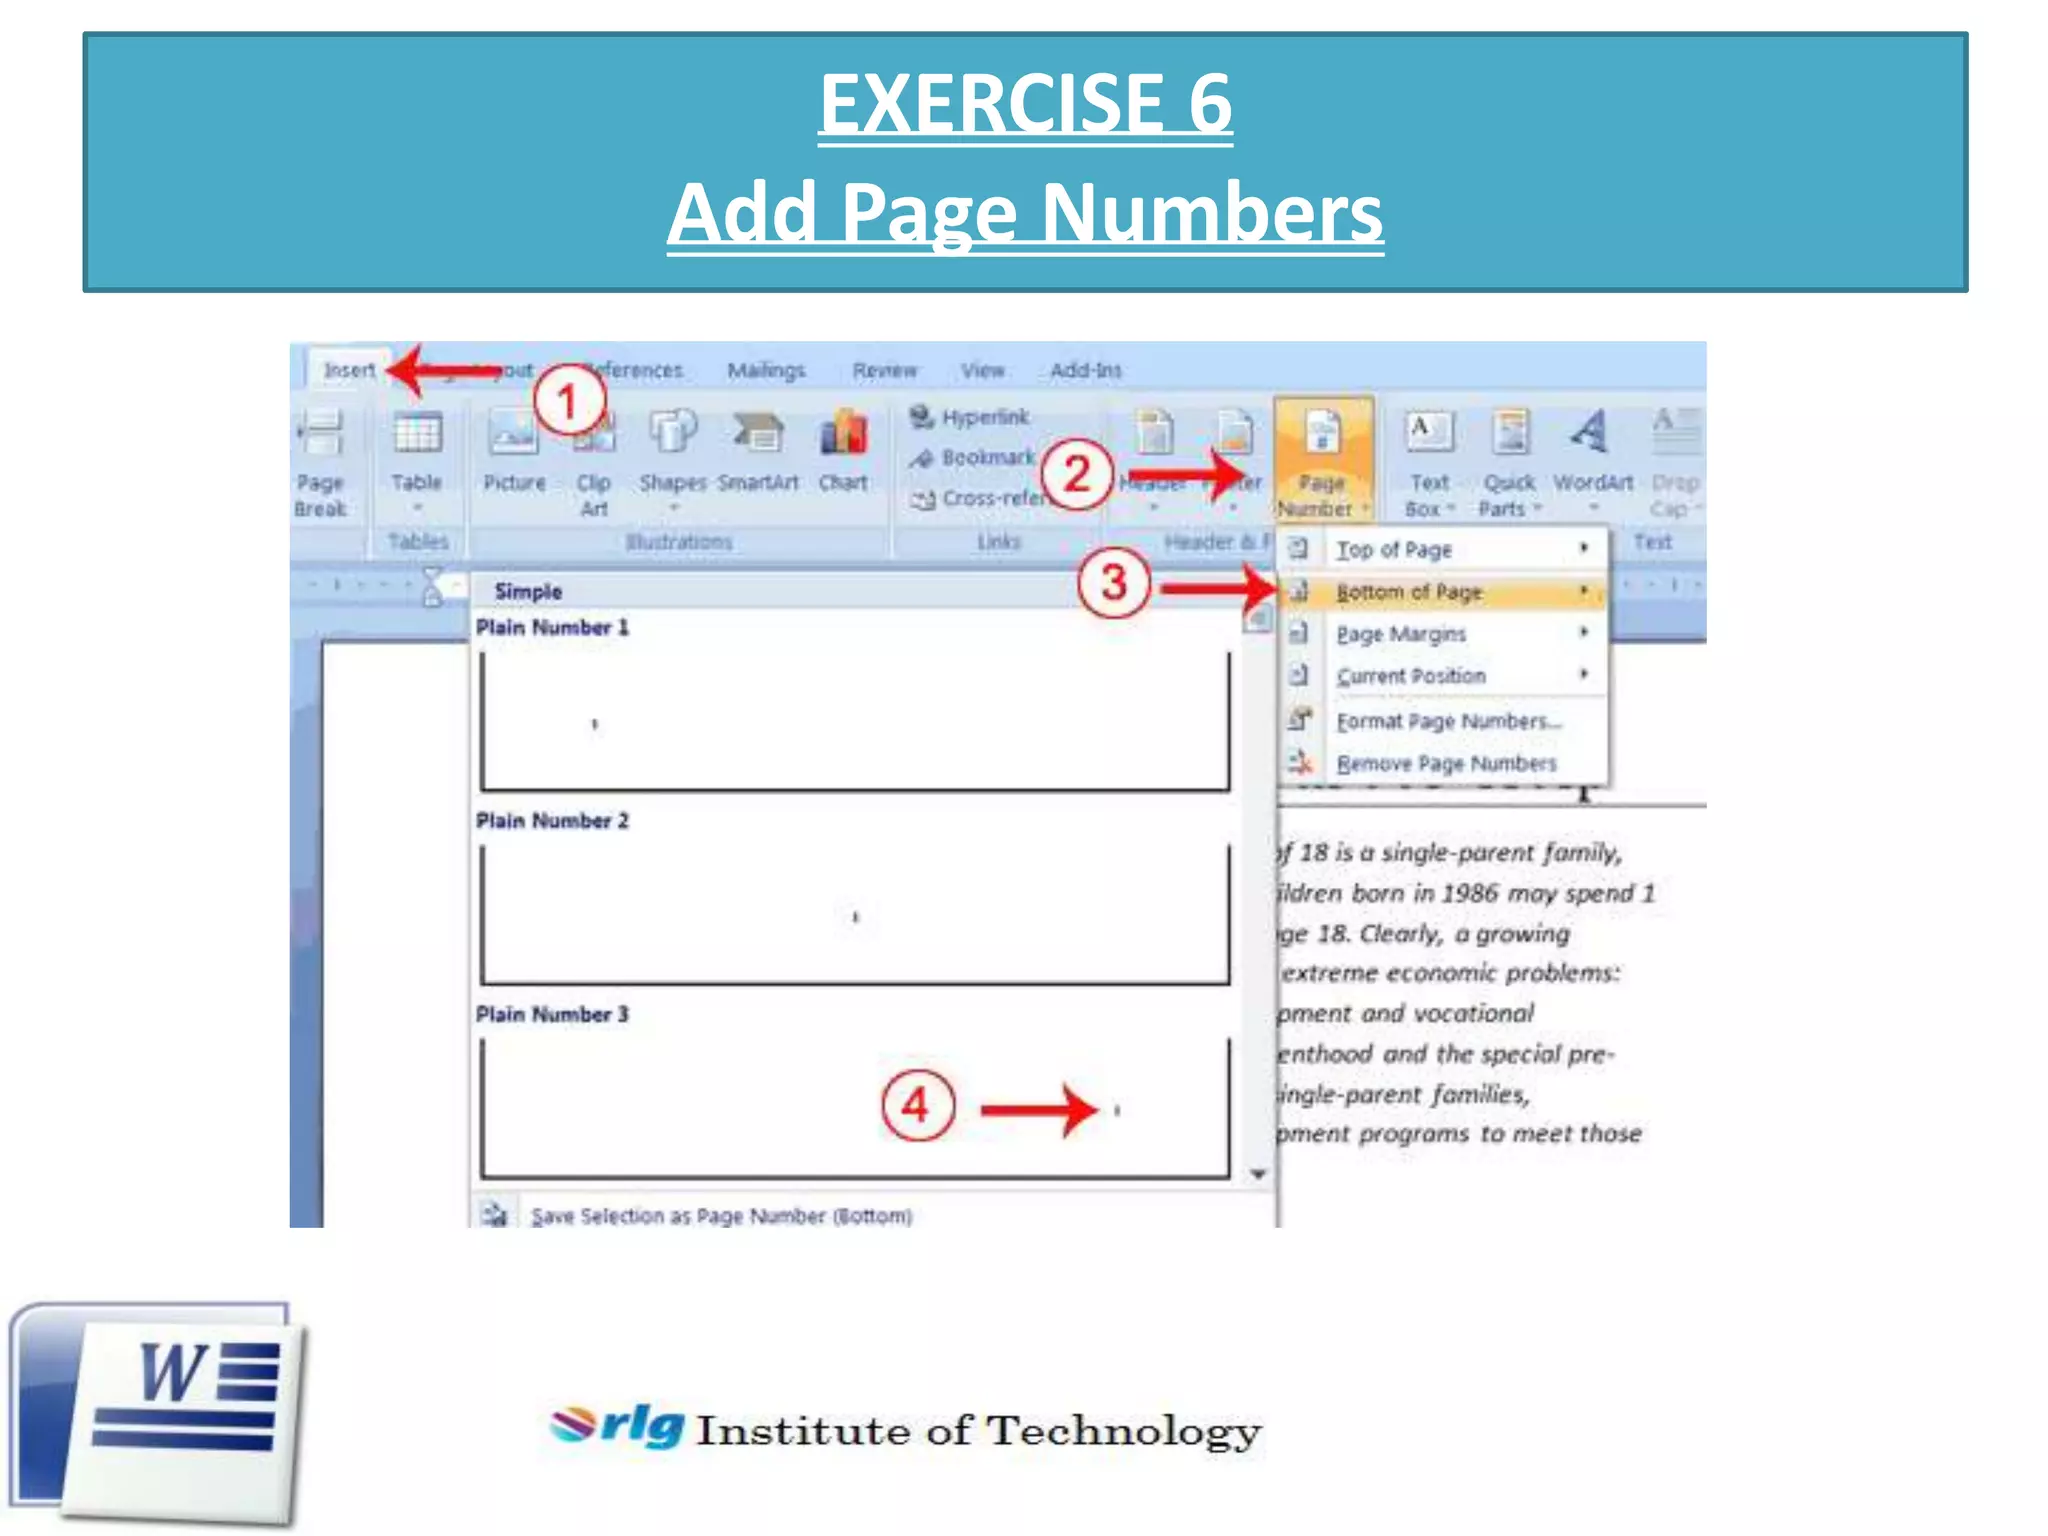


This document provides an introduction and overview of key features in Microsoft Word 2007: 1) It describes how to launch Word and explains the main components of the Word window, including the title bar, ribbon, ruler, text area, and scroll bars. 2) It discusses how to perform common formatting tasks like adding bullets and numbers to lists, bolding and italicizing text, and using the undo and redo buttons. 3) It covers how to change page settings such as orientation, size, and margins. It also explains how to add page numbers in different locations. 4) The document provides instructions for inserting page breaks and changing the document view to print layout. It concludes by mentioning how to preview


![Coded Agents – with UiPath SDK + LangGraph [Virtual Hands-on Workshop]](https://cdn.slidesharecdn.com/ss_thumbnails/codedagentsdeck-251215155422-5497c599-thumbnail.jpg?width=640&height=640&fit=bounds)


