Downloaded 894 times

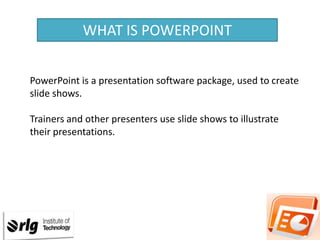


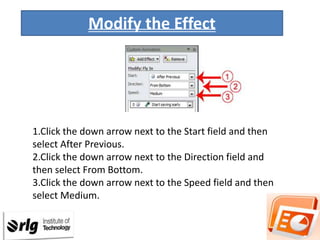
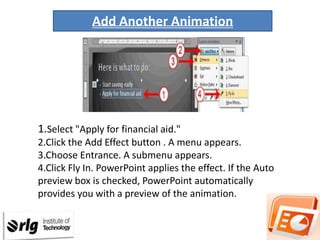
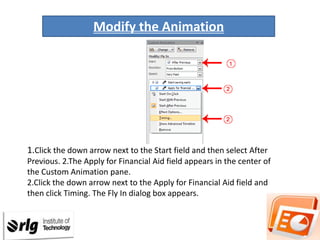


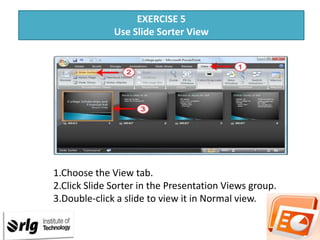


PowerPoint is presentation software used to create slide shows. It has several views including Normal view which displays slides, outlines, and notes. The Ribbon contains tabs for commands. Animations control how objects move on slides, while transitions control movement between slides. Users can add, modify, and preview animations using the Custom Animation pane to control effects, timing, and properties.