Downloaded 428 times
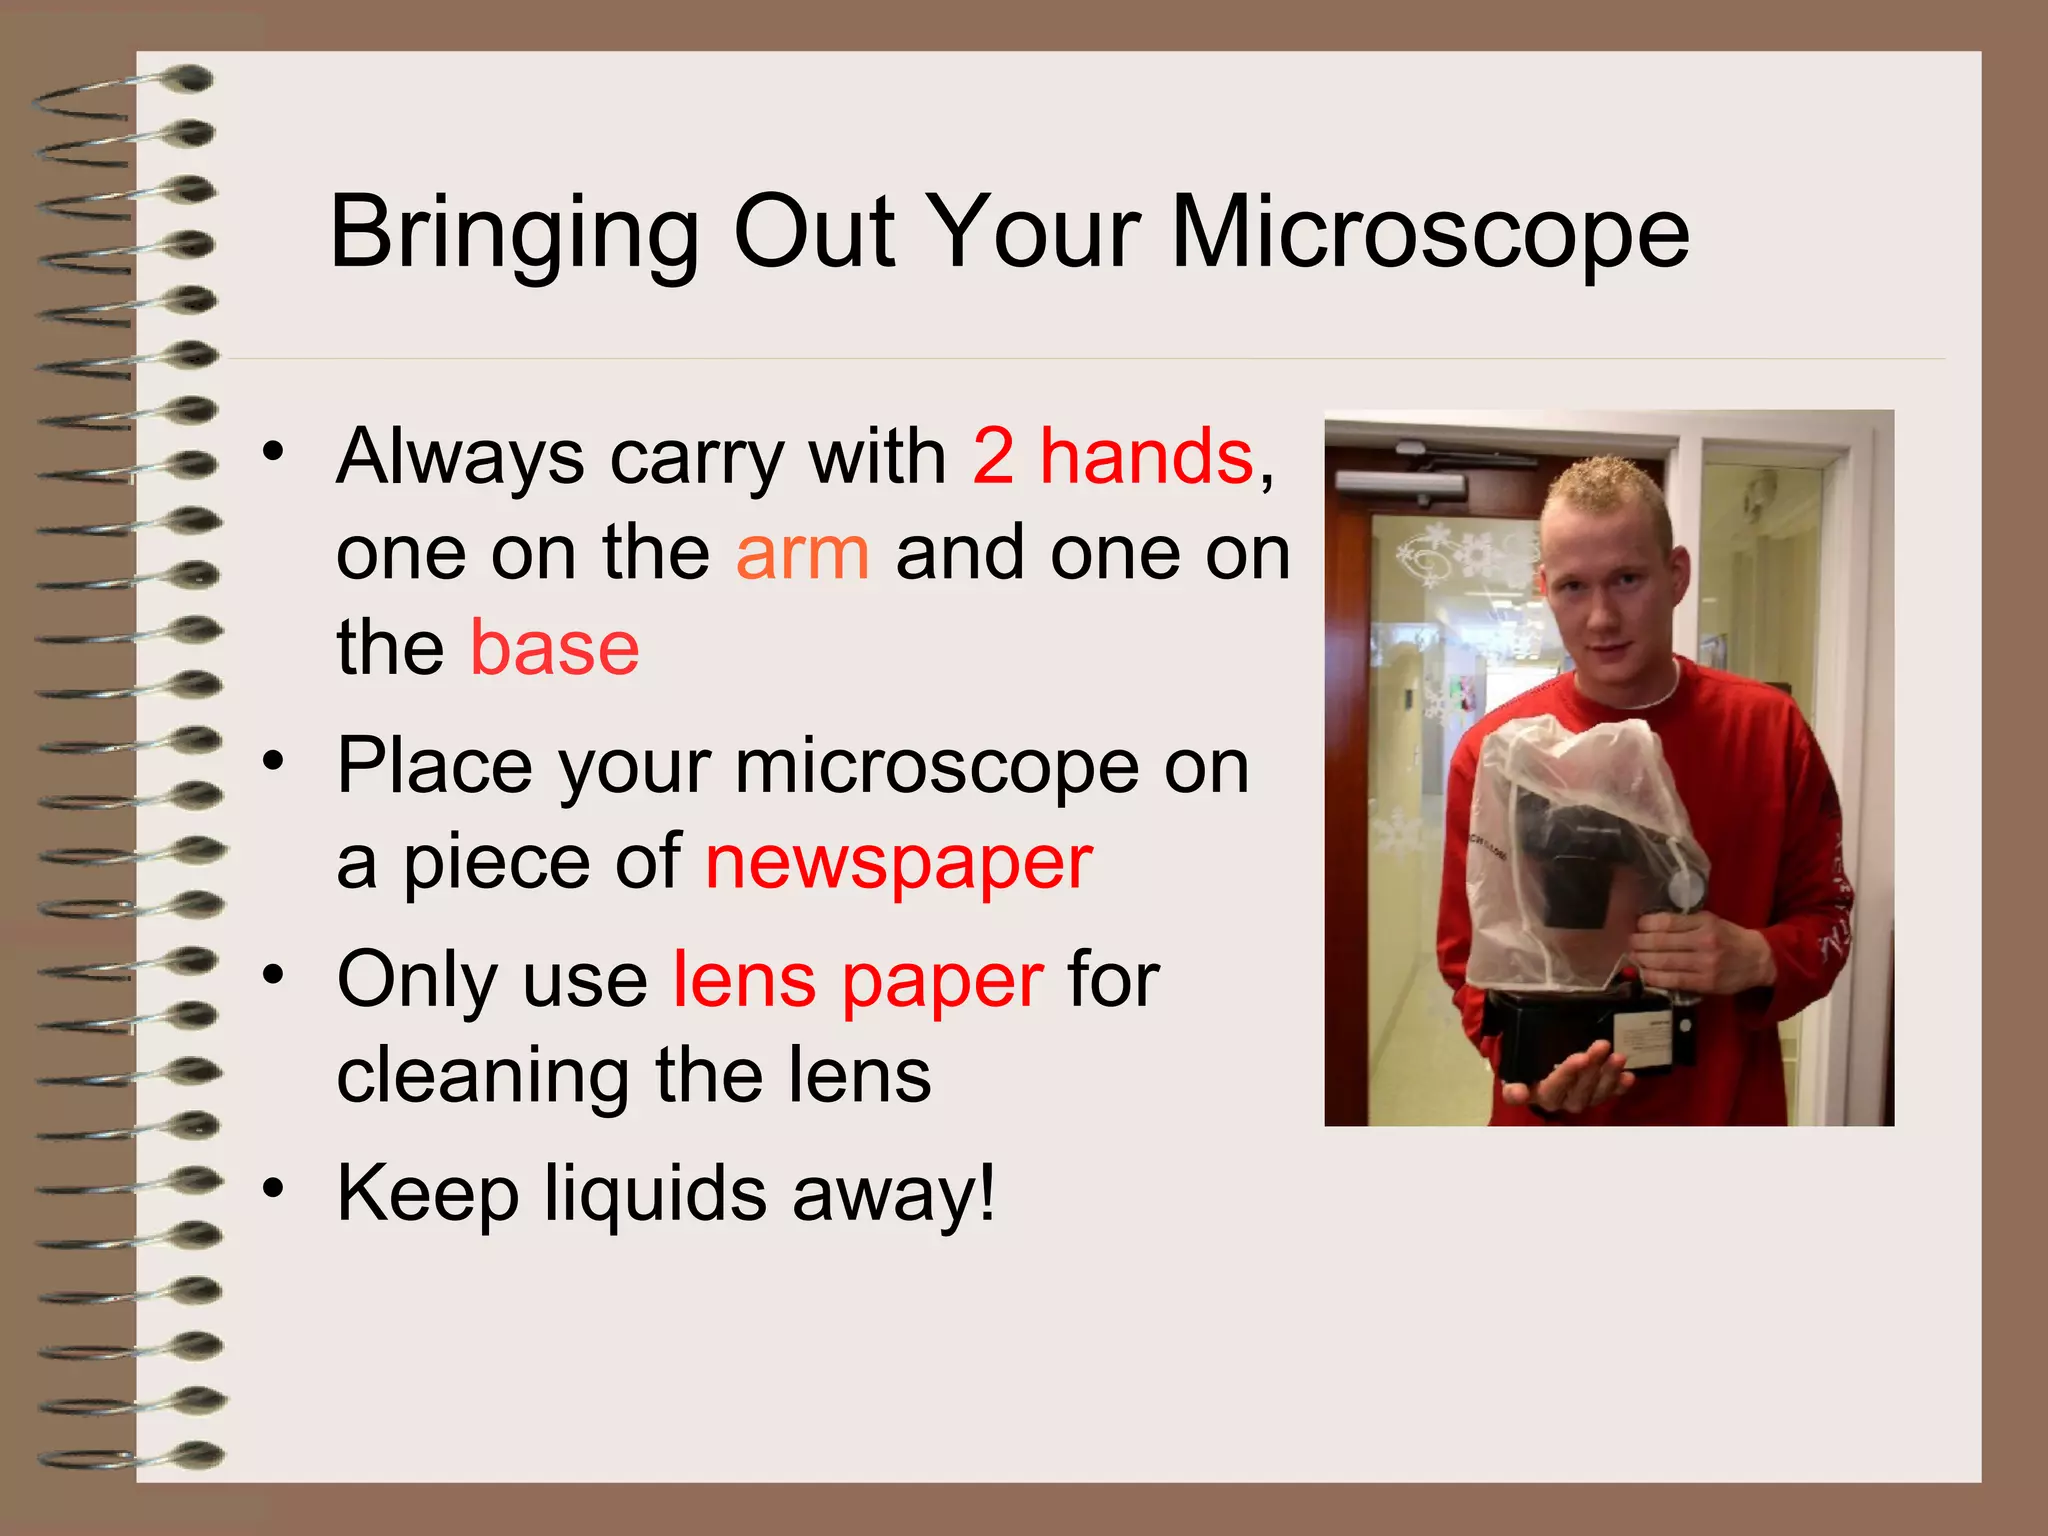
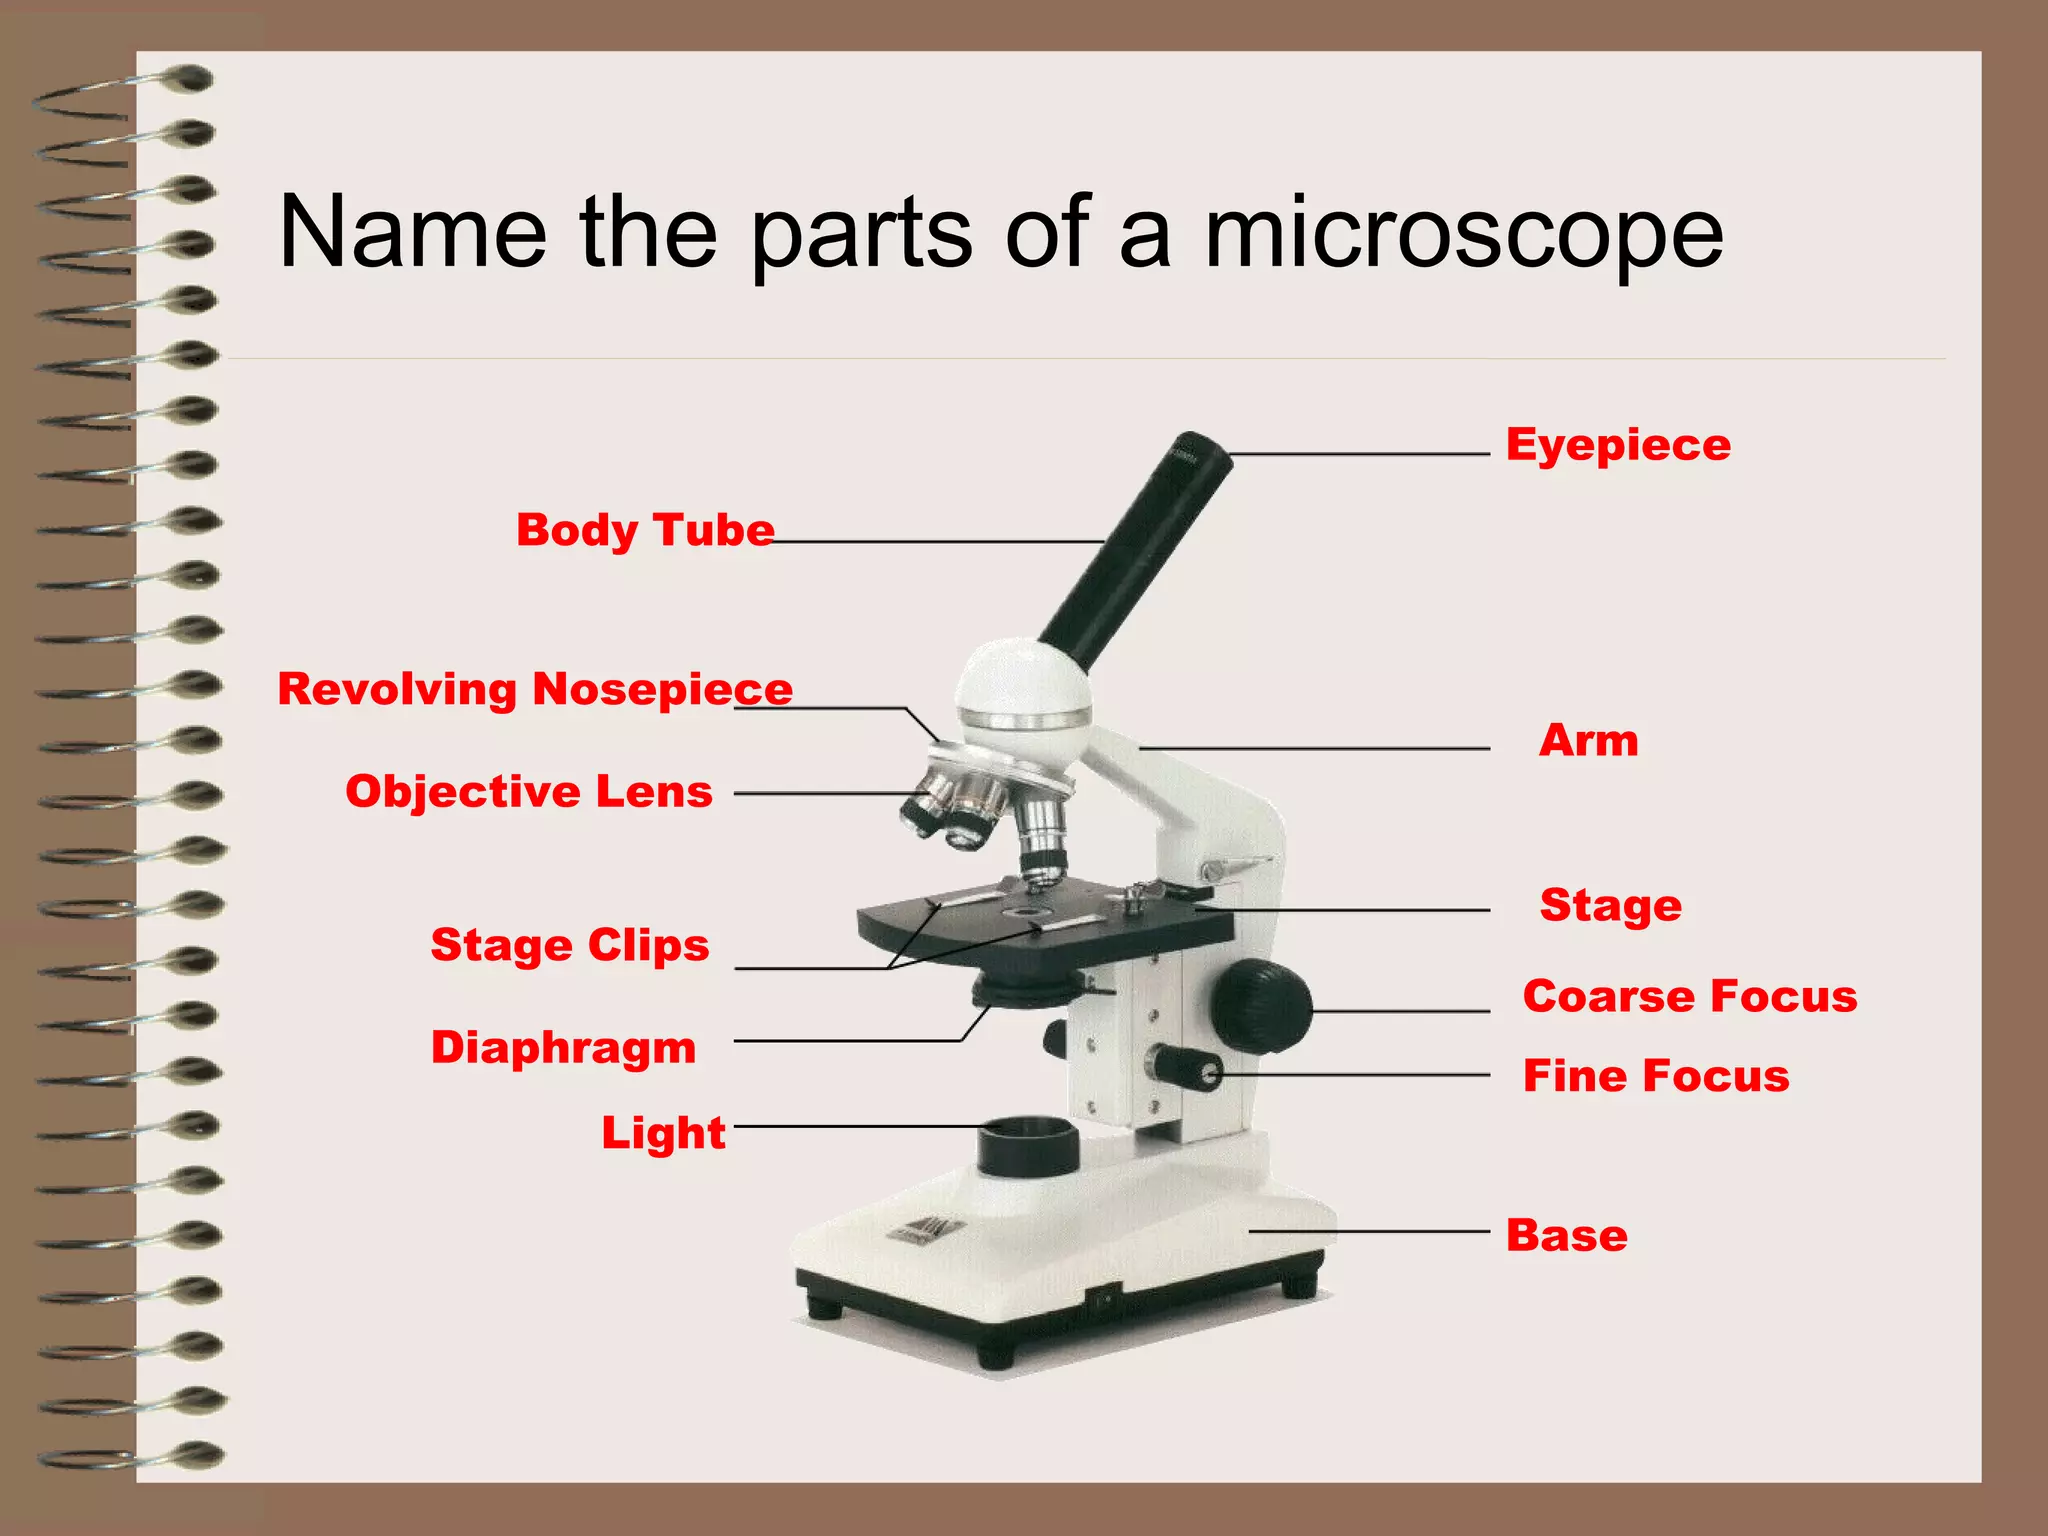


The document provides instructions for using a microscope. It begins by naming the main parts of a microscope, including the eyepiece, body tube, revolving nosepiece, arm, objective lens, stage, stage clips, coarse focus, diaphragm, fine focus, and light. It then gives directions for safely bringing out, setting up, focusing, increasing magnification on, and putting away a microscope. The instructions explain how to place slides, adjust the objective lens, use coarse and fine focusing, and find specimens.