Downloaded 338 times
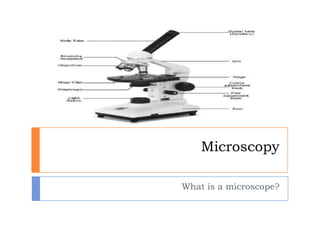


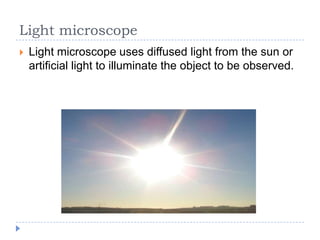


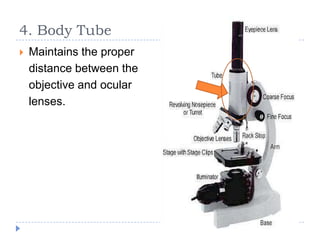
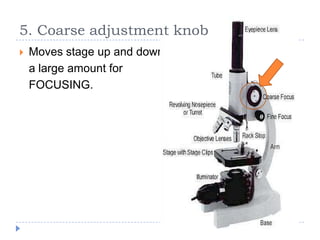


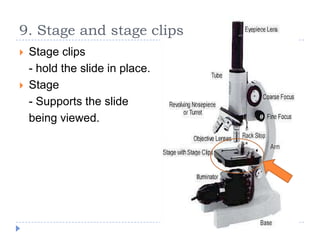


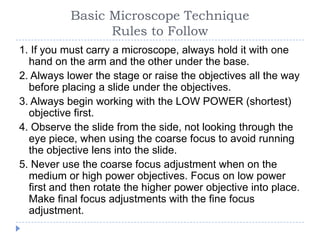


A microscope is a tool that magnifies tiny objects and living organisms so they can be seen more clearly. It has magnifying power that makes things look bigger and resolving power that allows it to distinguish small gaps. A light microscope uses light to illuminate the object being observed. The main parts of a microscope include the arm, base, eyepiece, body tube, coarse and fine adjustment knobs, light source, diaphragm, stage and clips, objective lenses, revolving nosepiece, and inclination joint. When using a microscope, one should always start with the low power objective, use the coarse focus carefully, and never use it at higher magnifications.