This document provides information on various advanced airway management techniques including orotracheal intubation, nasogastric tubes, suctioning, and use of alternative airways like Combitubes. It describes how to perform each technique, important anatomy, sizes of equipment to use, potential complications, and considerations for intubating infants and children due to anatomical and physiological differences from adults.
Introduction to advanced airway management techniques, including core concepts for nasogastric tubes and orotracheal intubation.
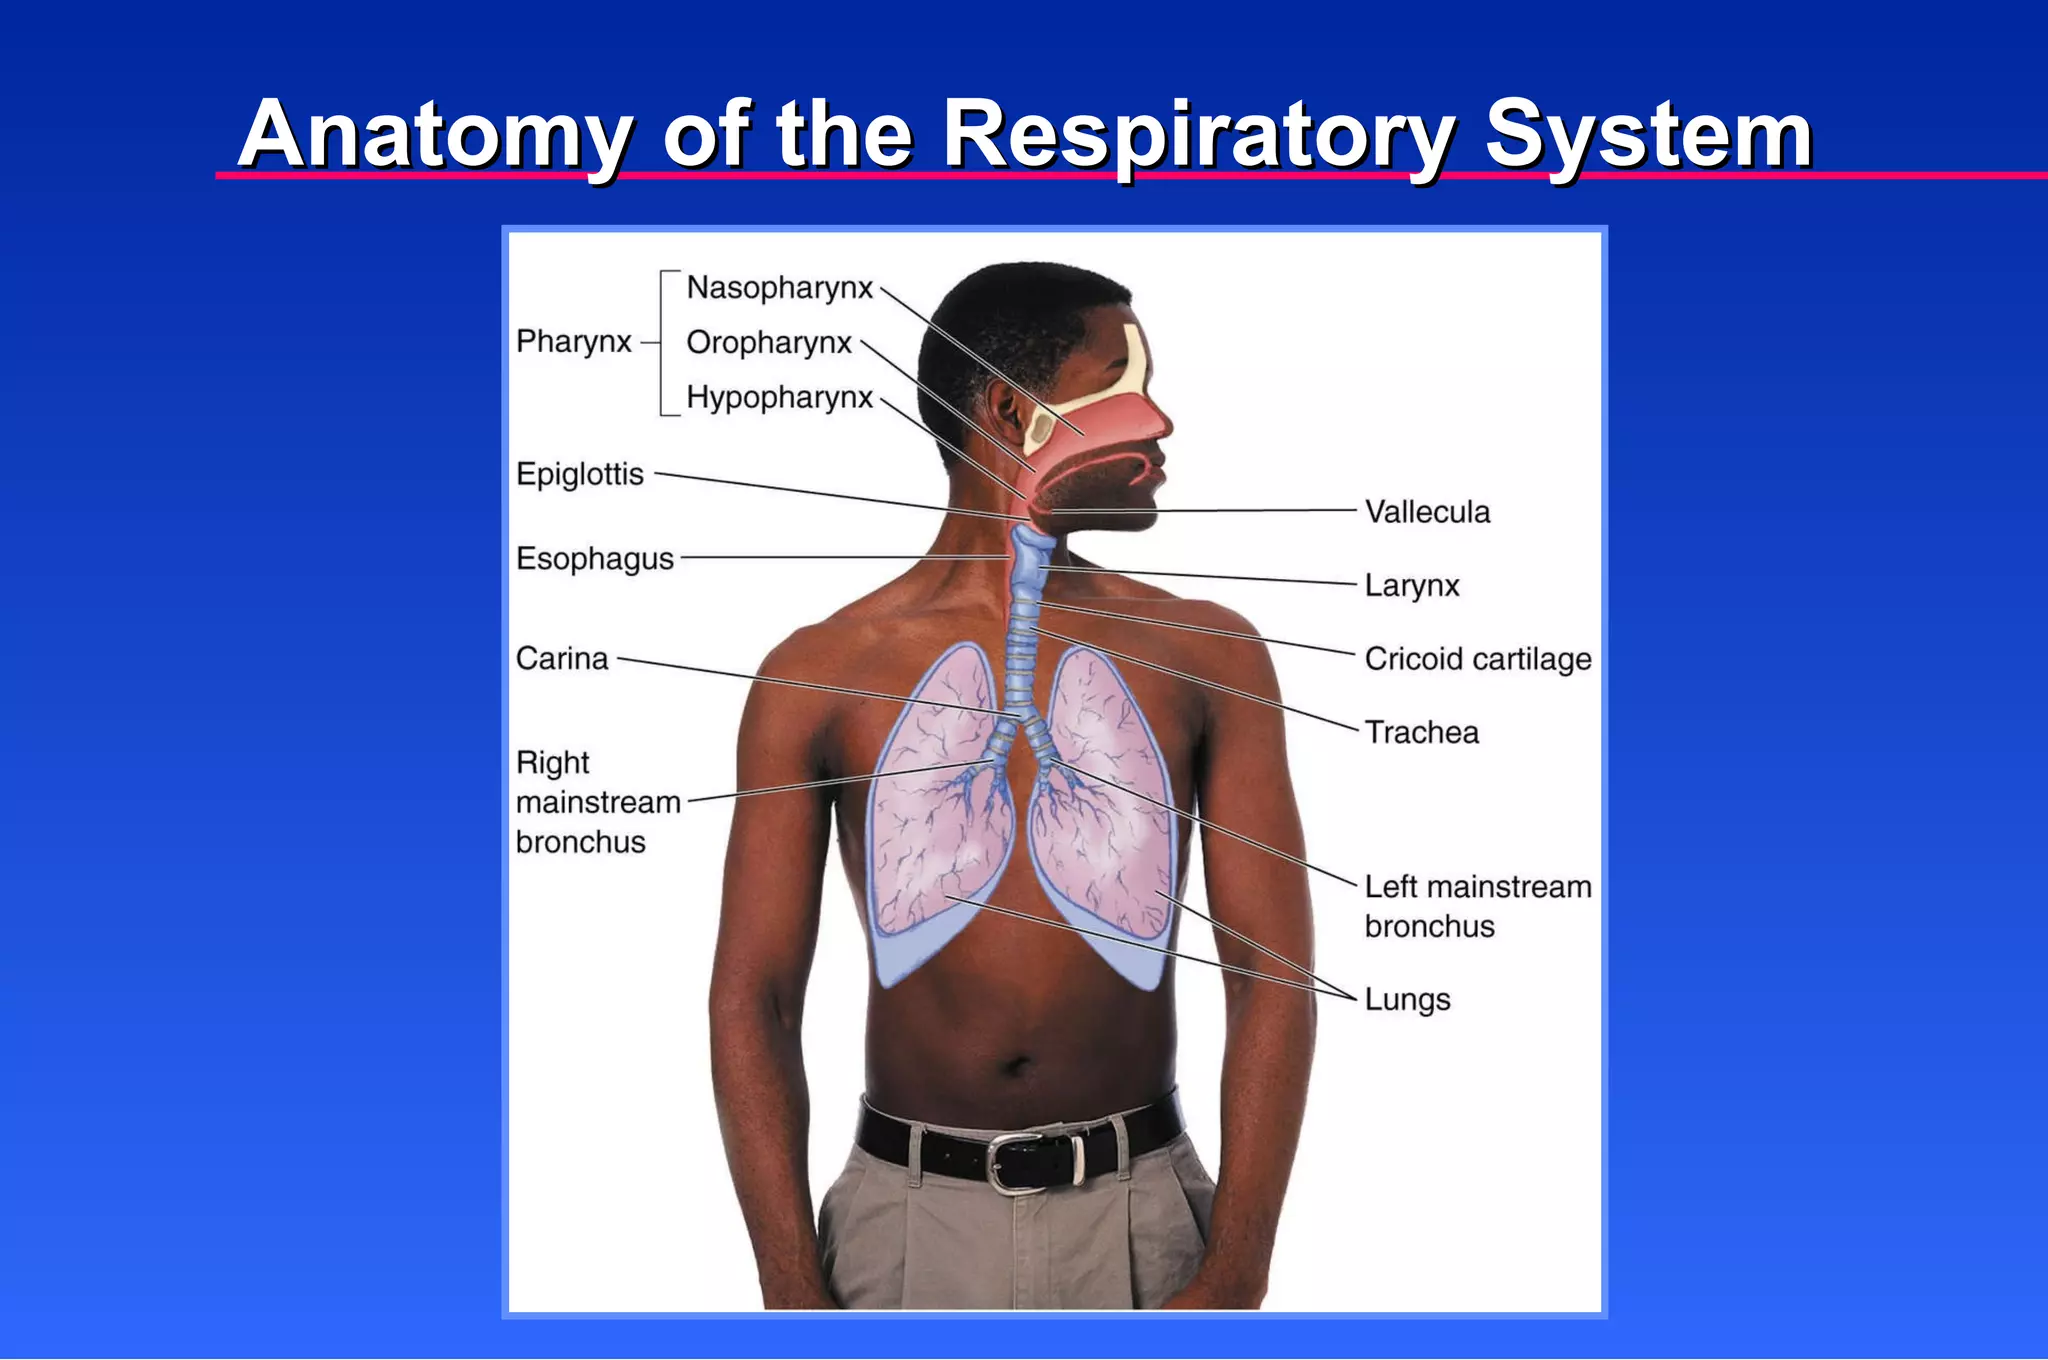
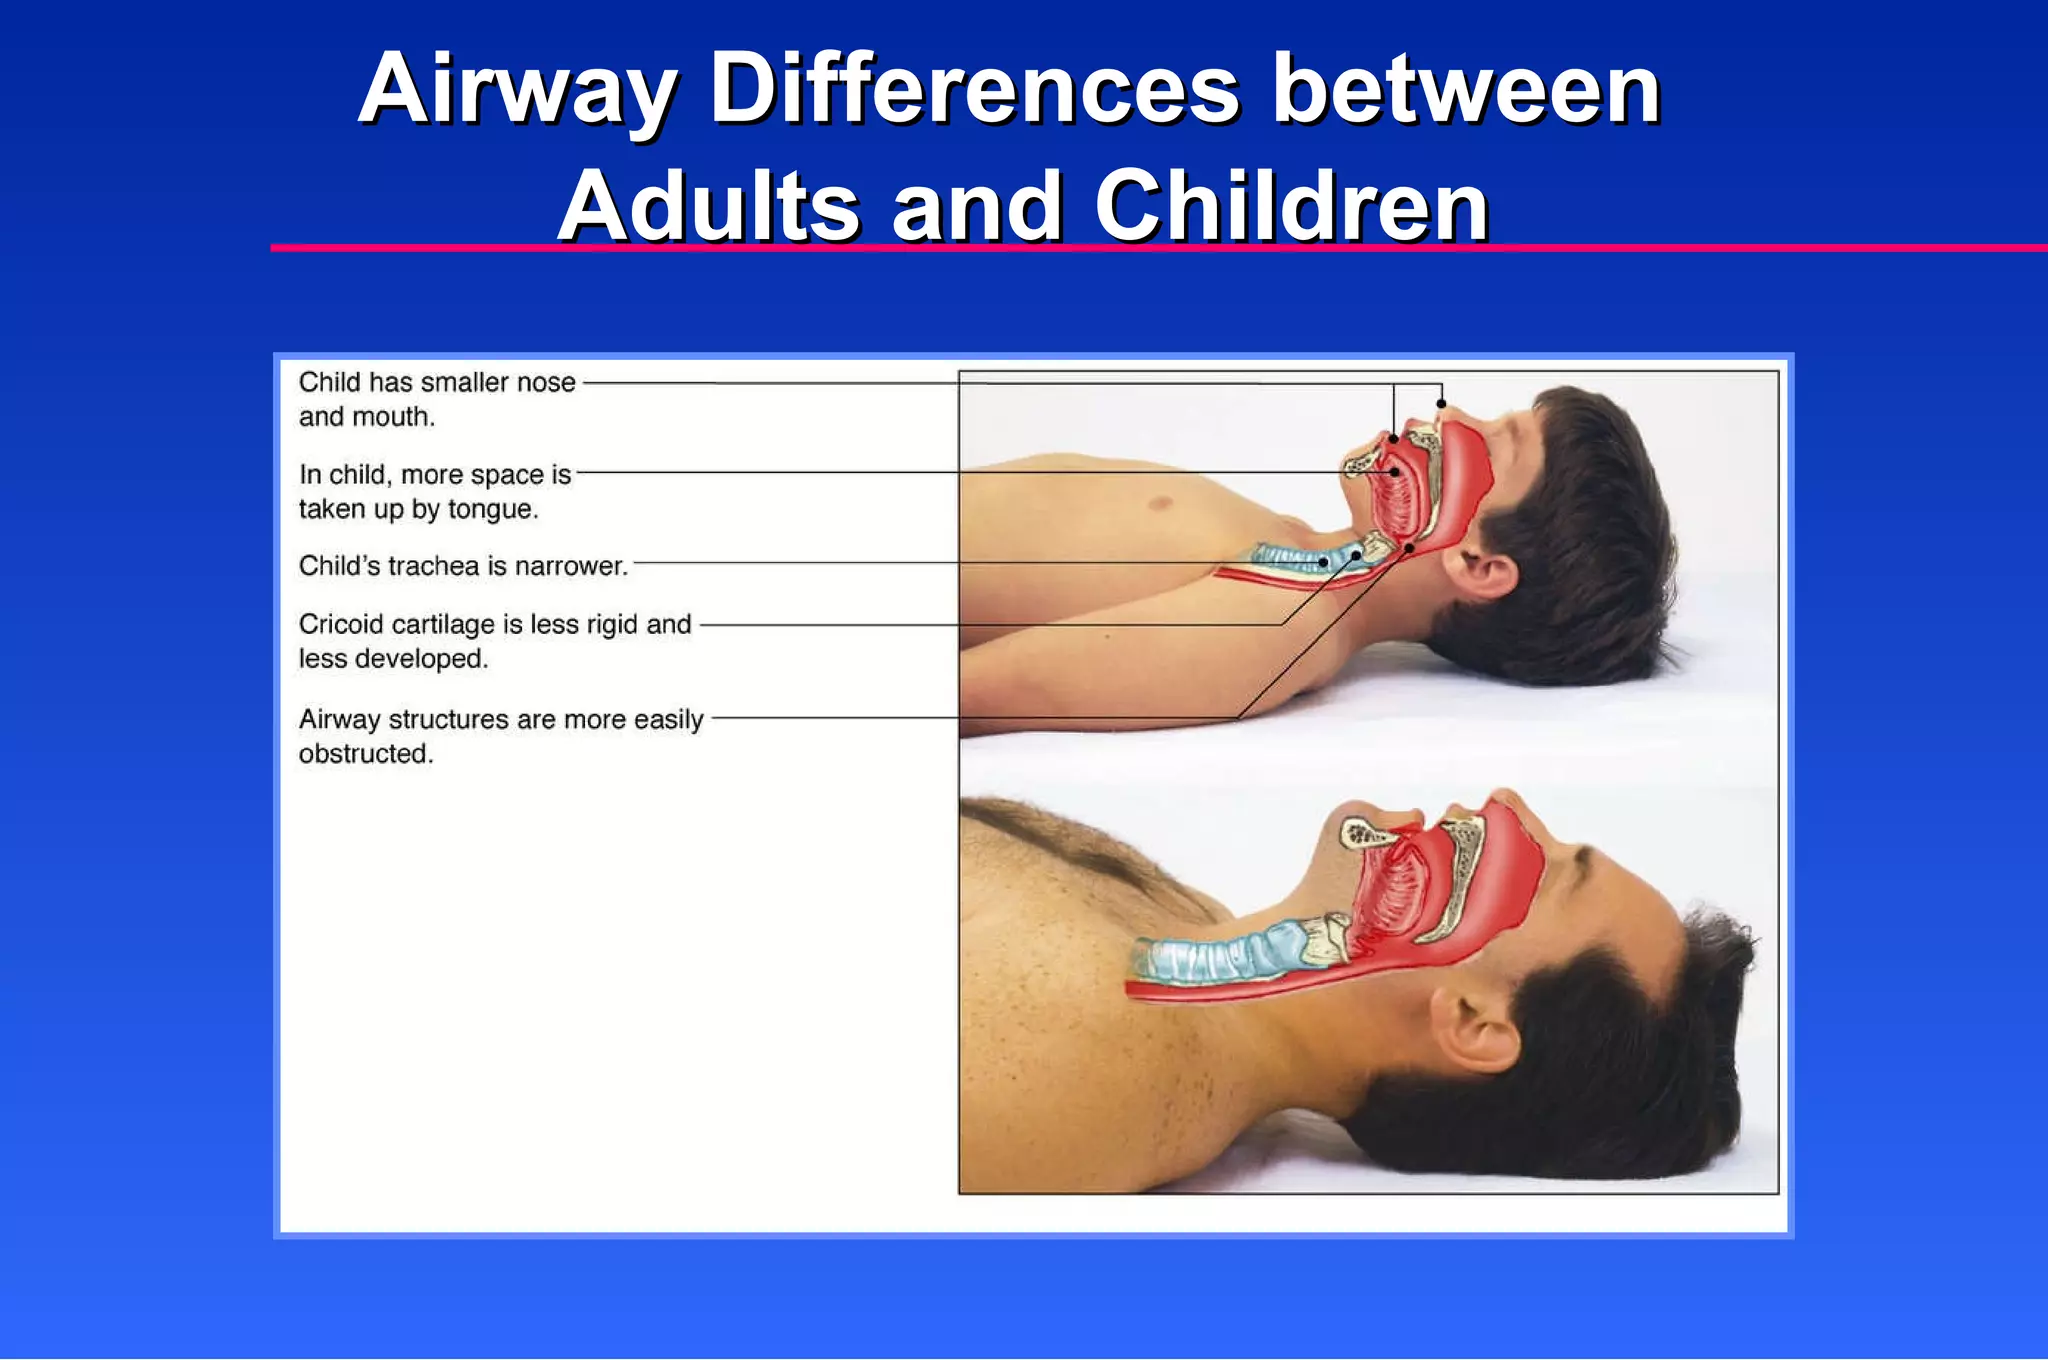
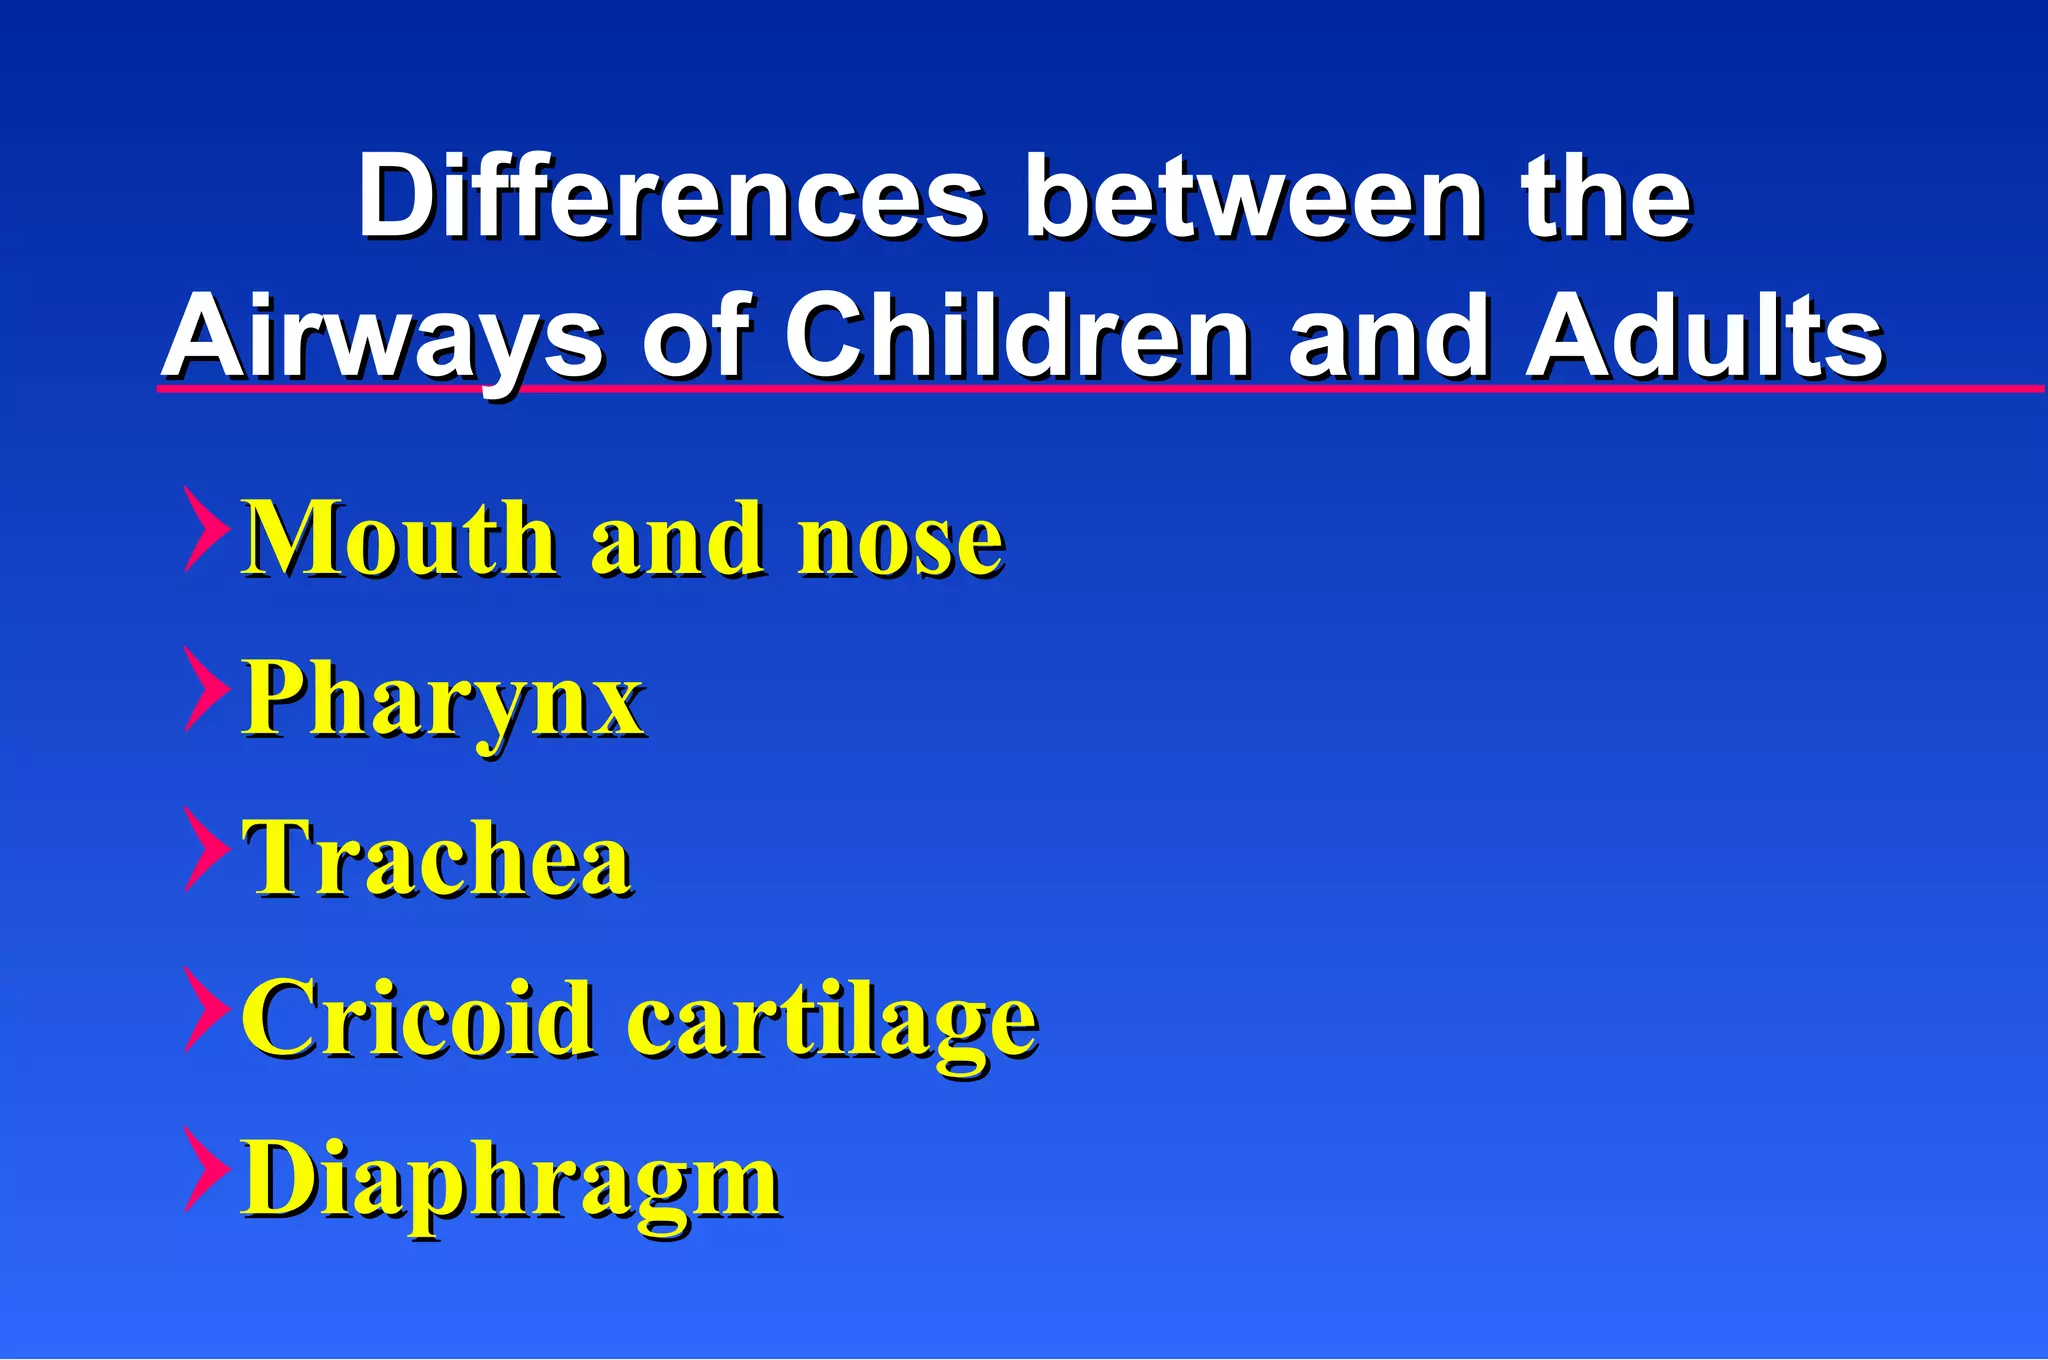
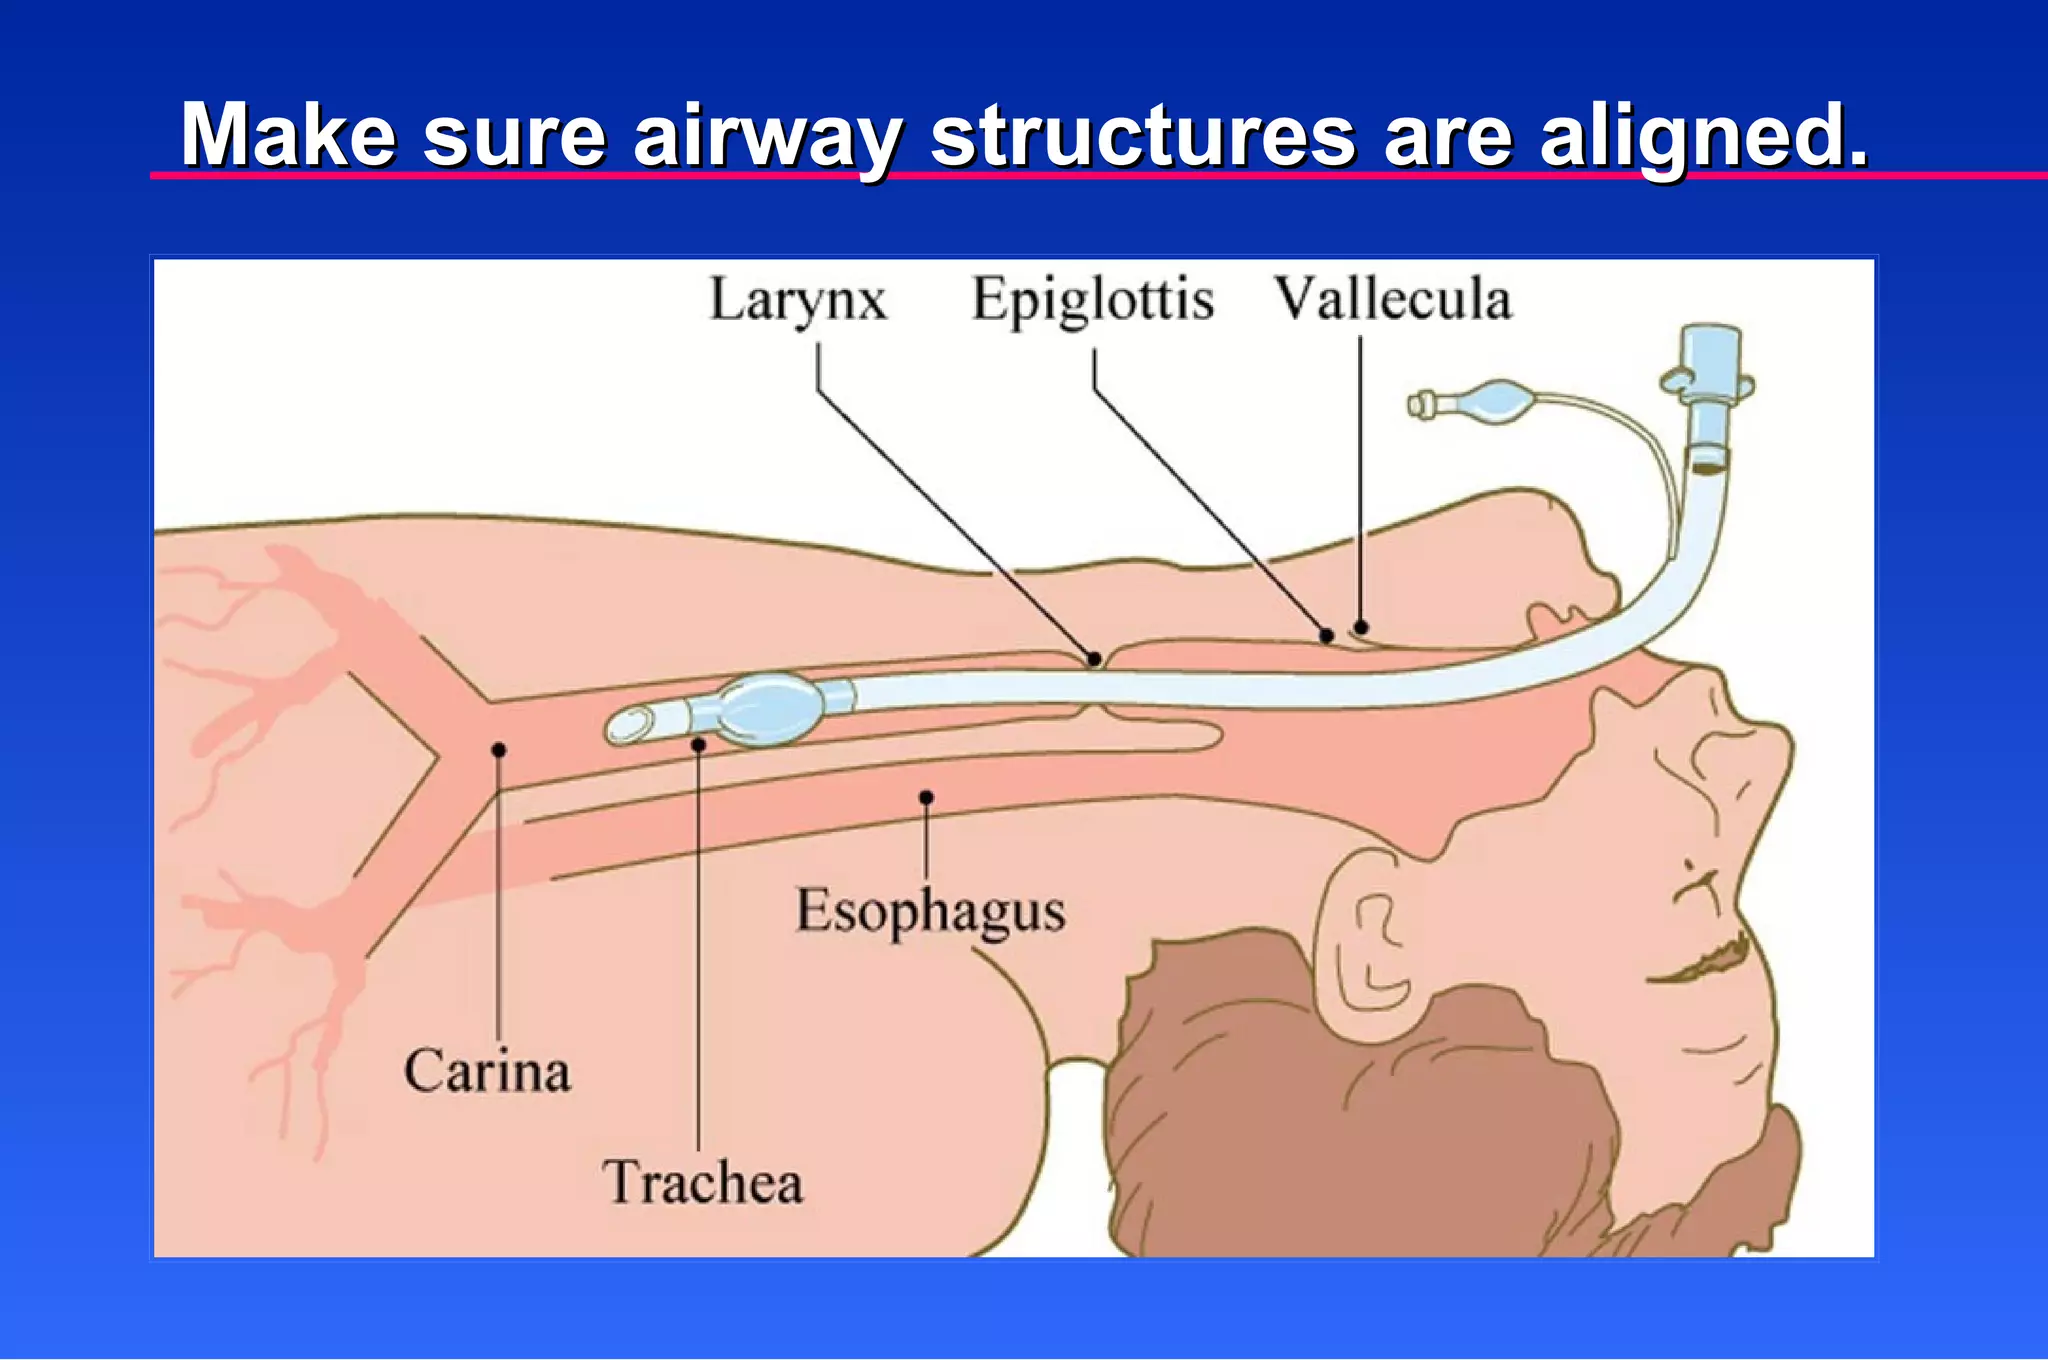
Detailed anatomy of the respiratory system, highlighting differences between adult and child airways.
Purpose, complications, and methods involved in orotracheal intubation, including Sellick’s maneuver.
Special considerations for intubating infants and children, including anatomical differences.
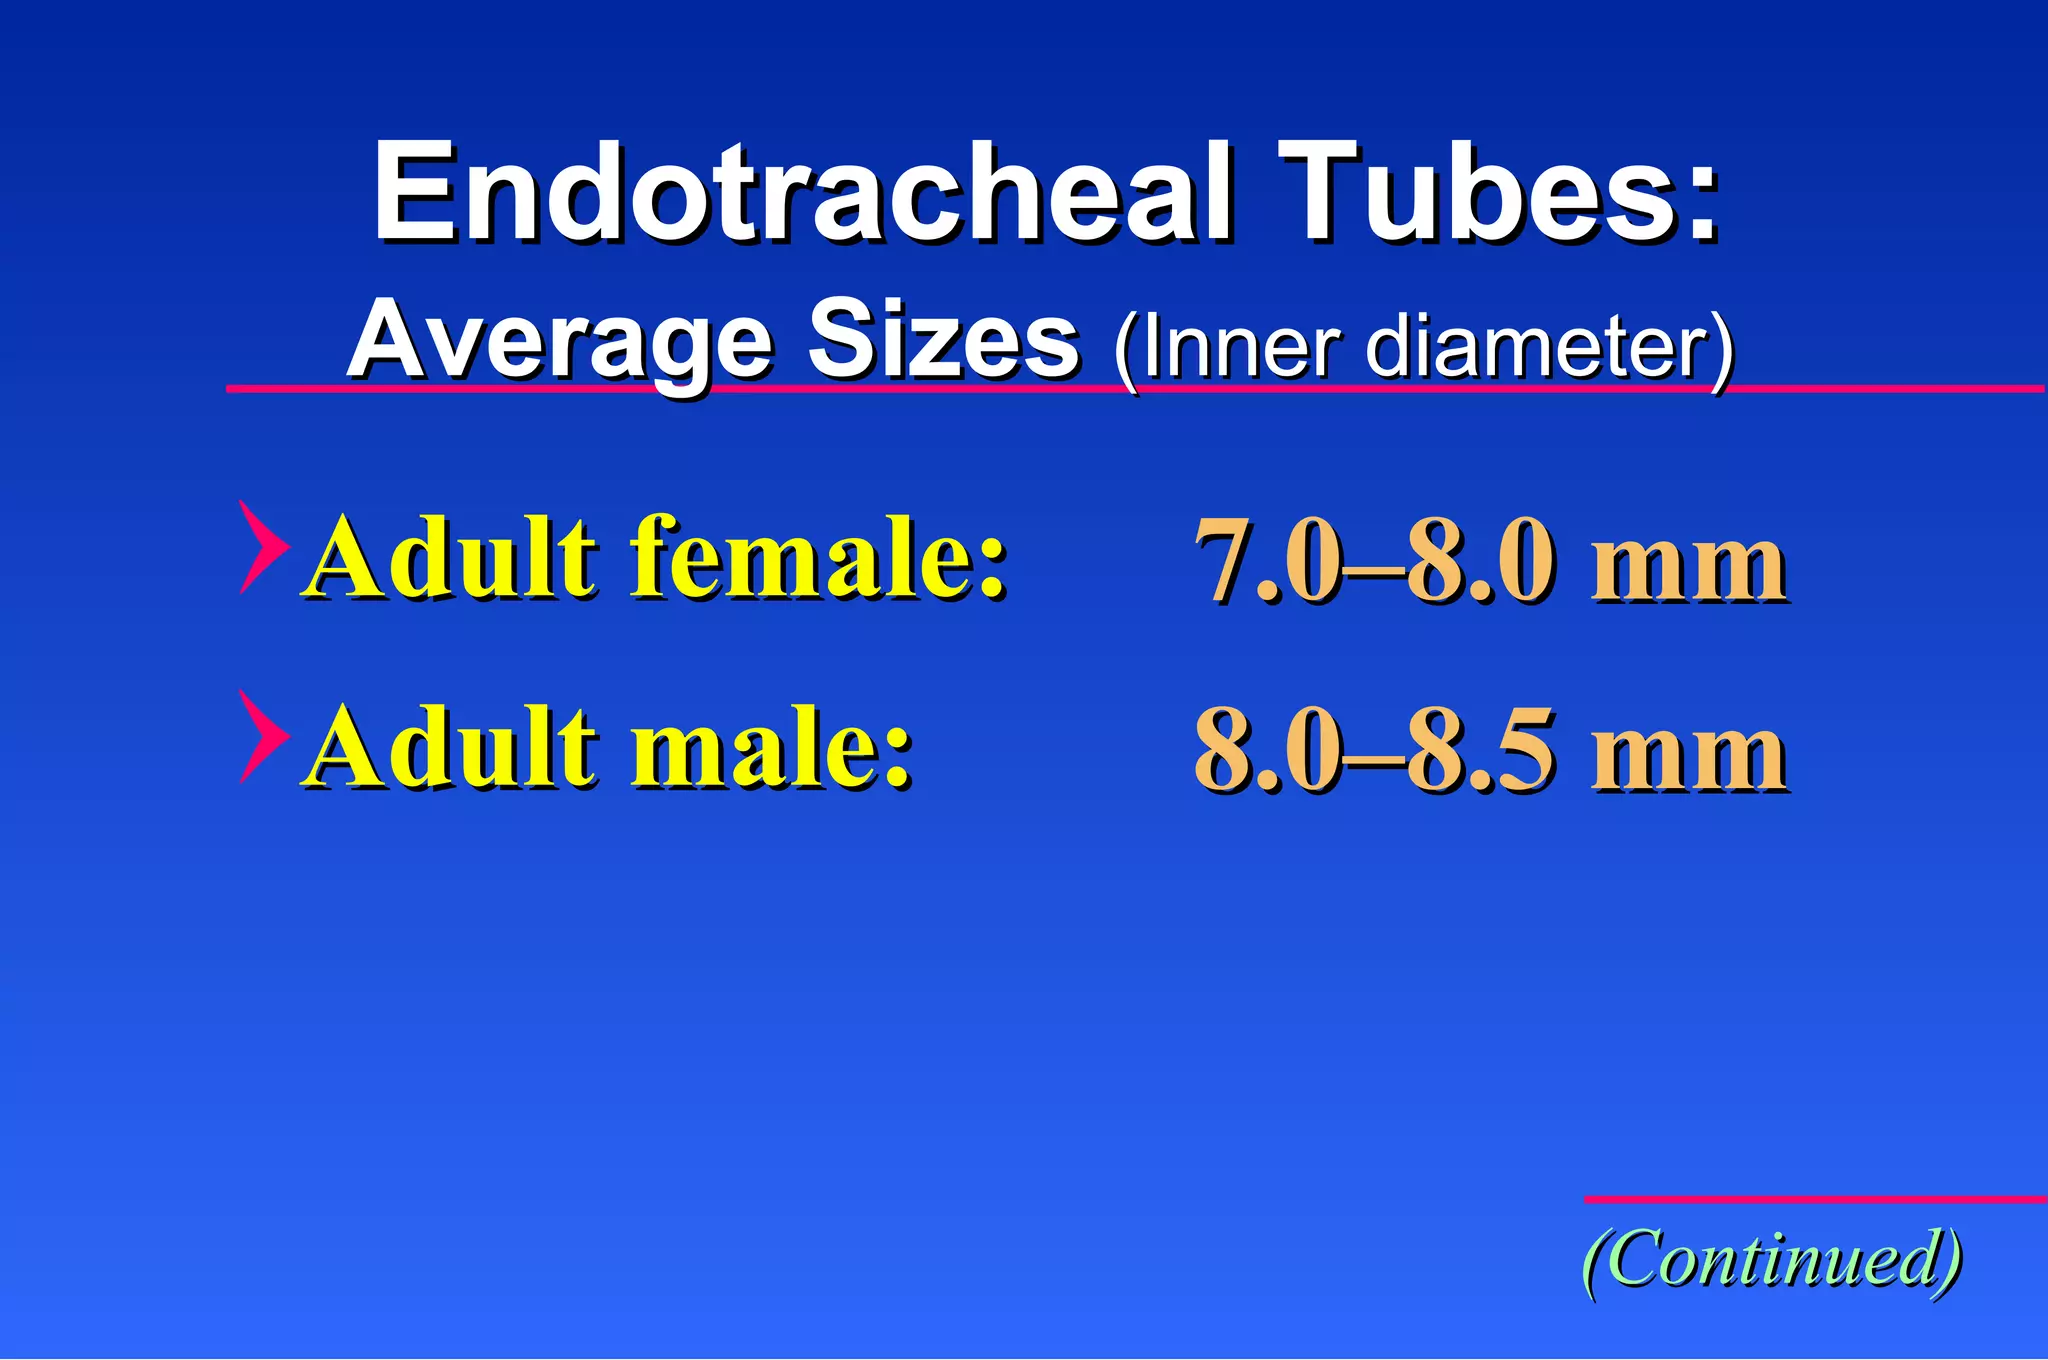
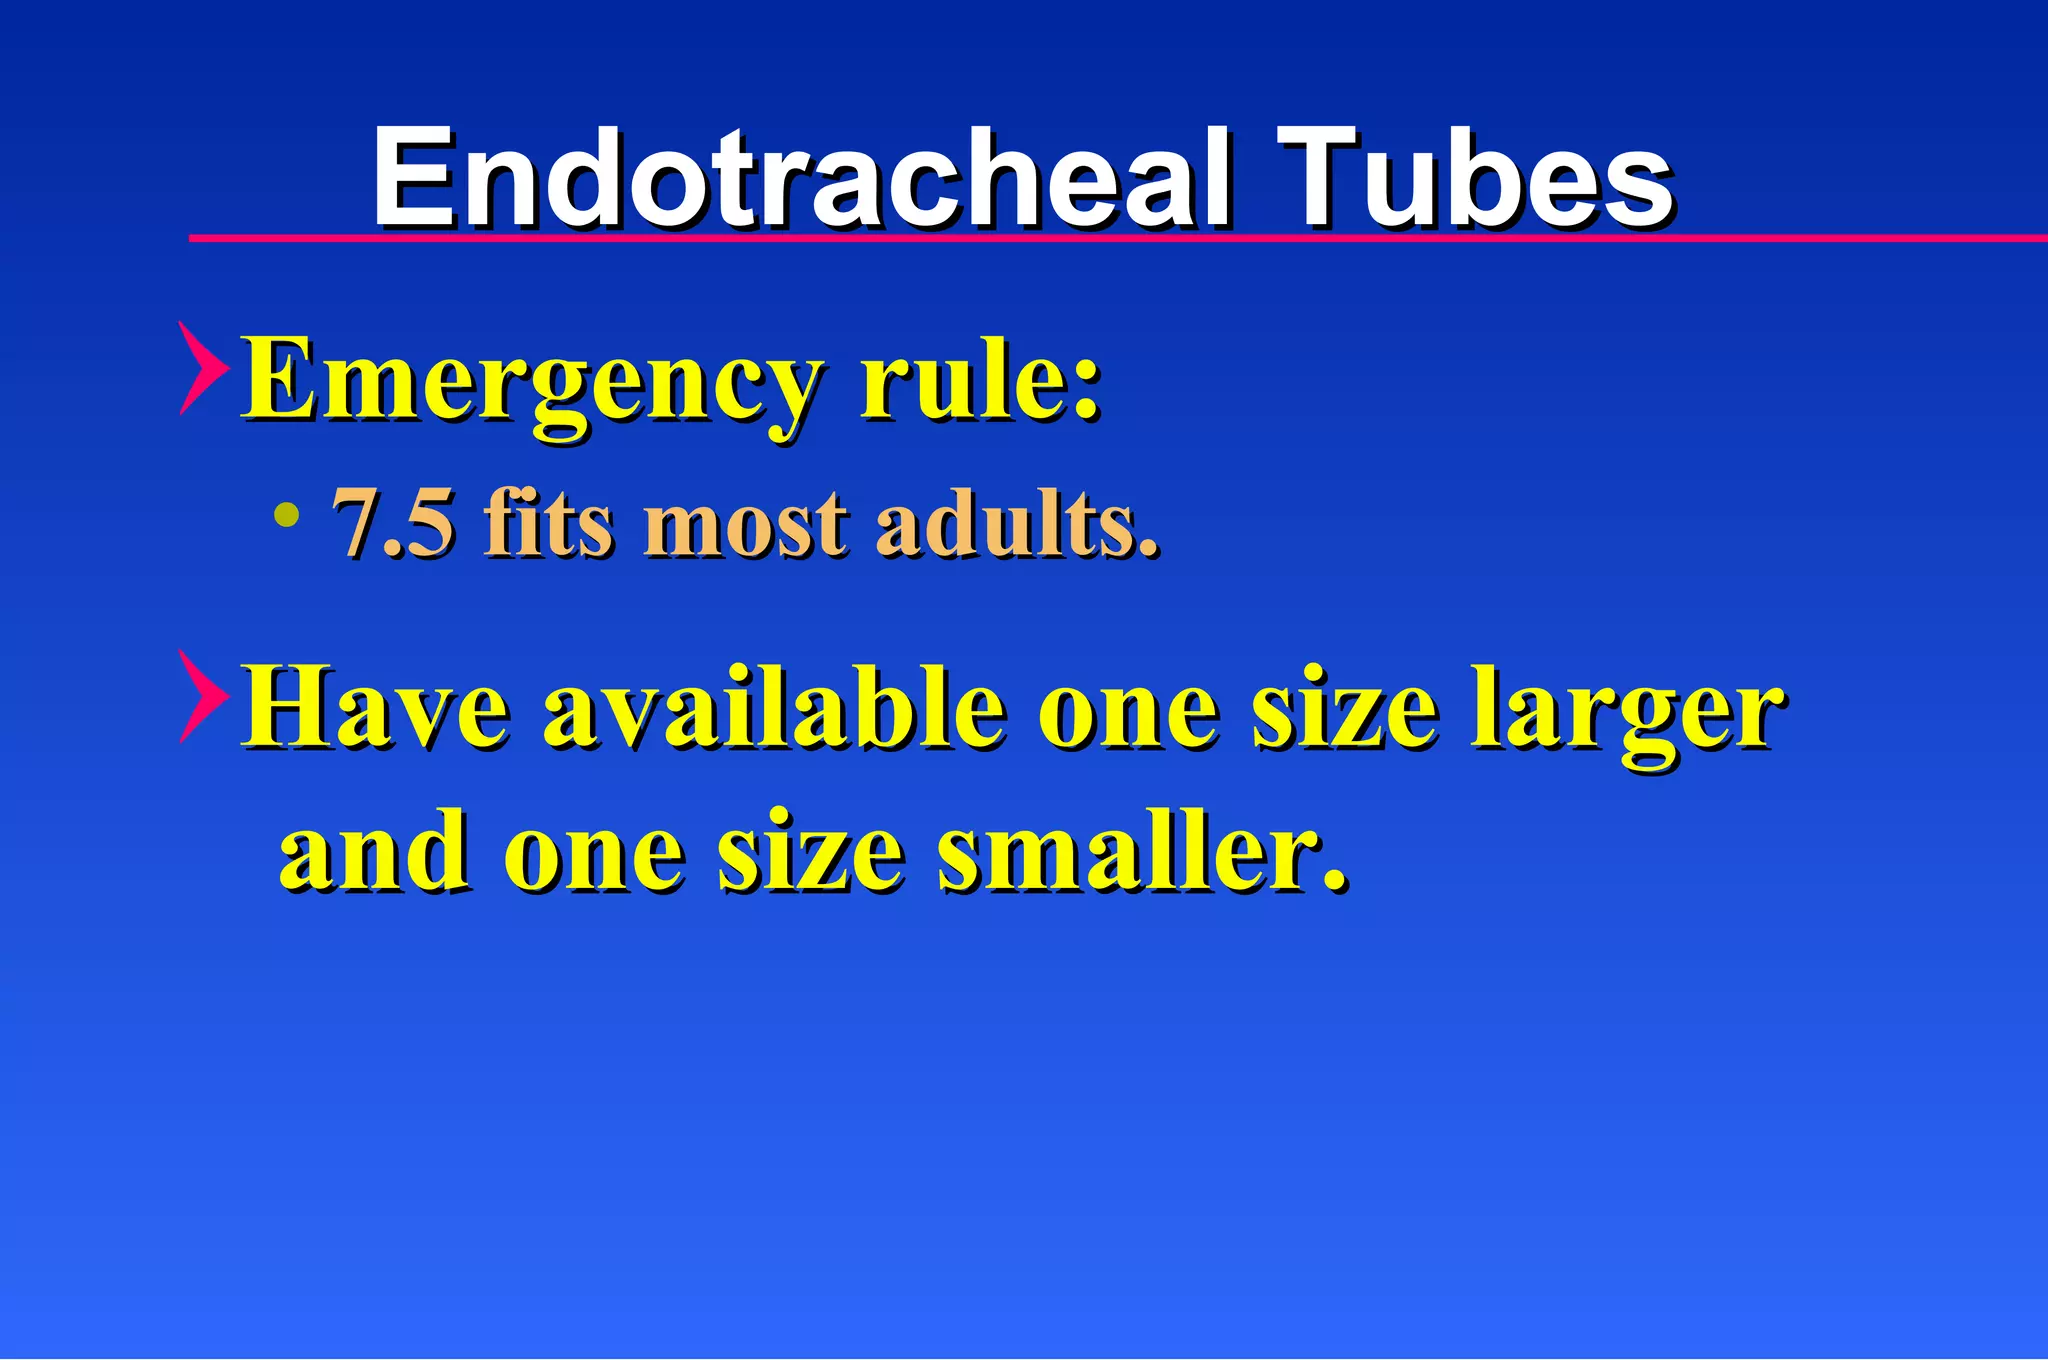
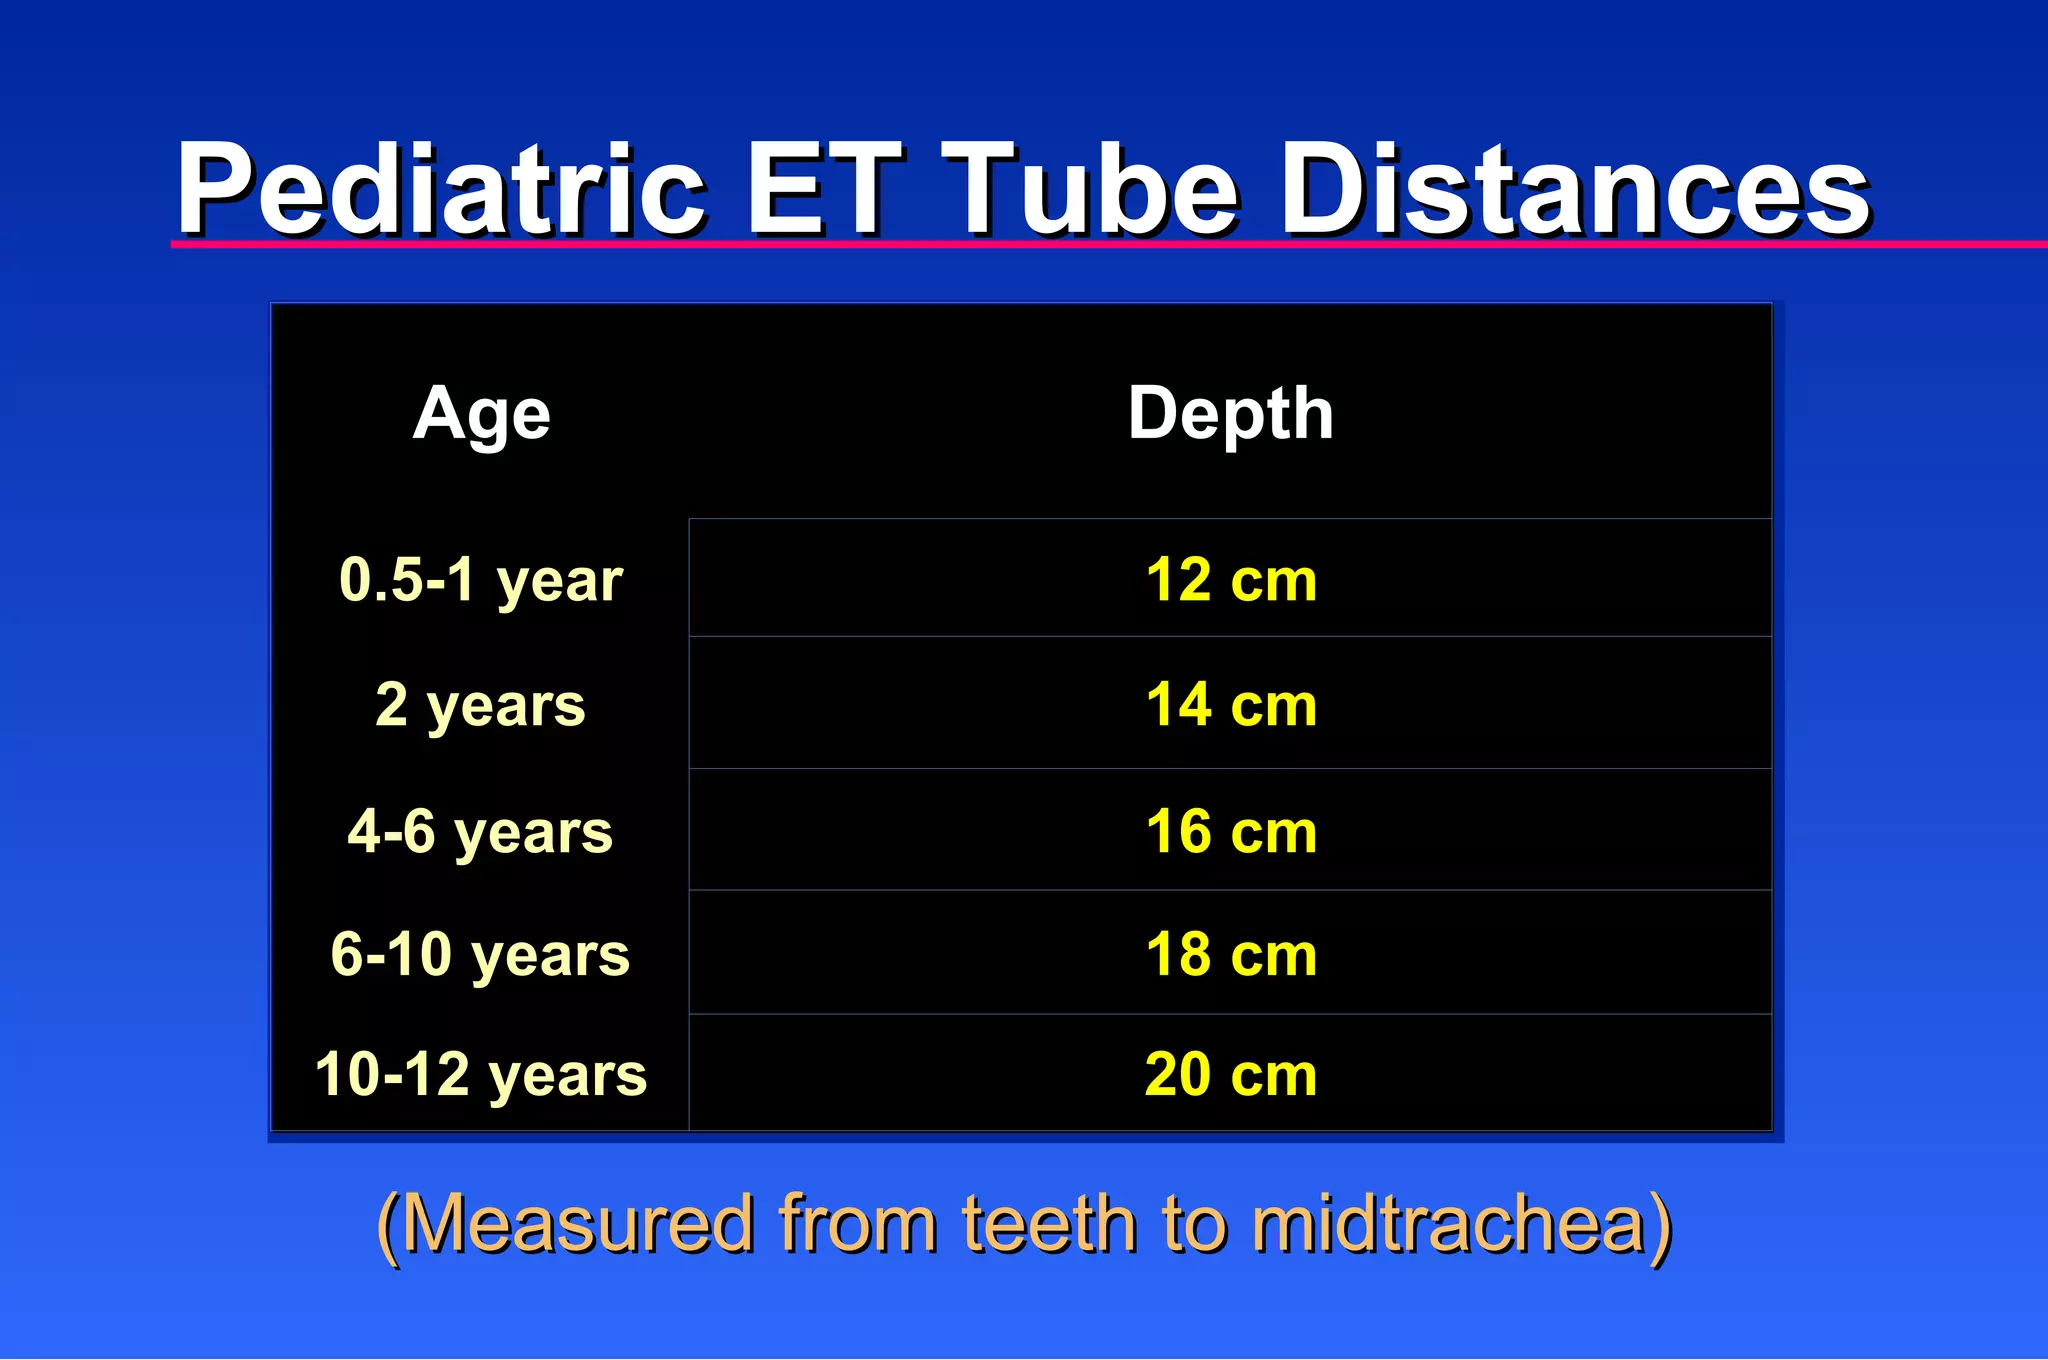
Guidelines for selecting the appropriate size for endotracheal tubes based on age and anatomy.
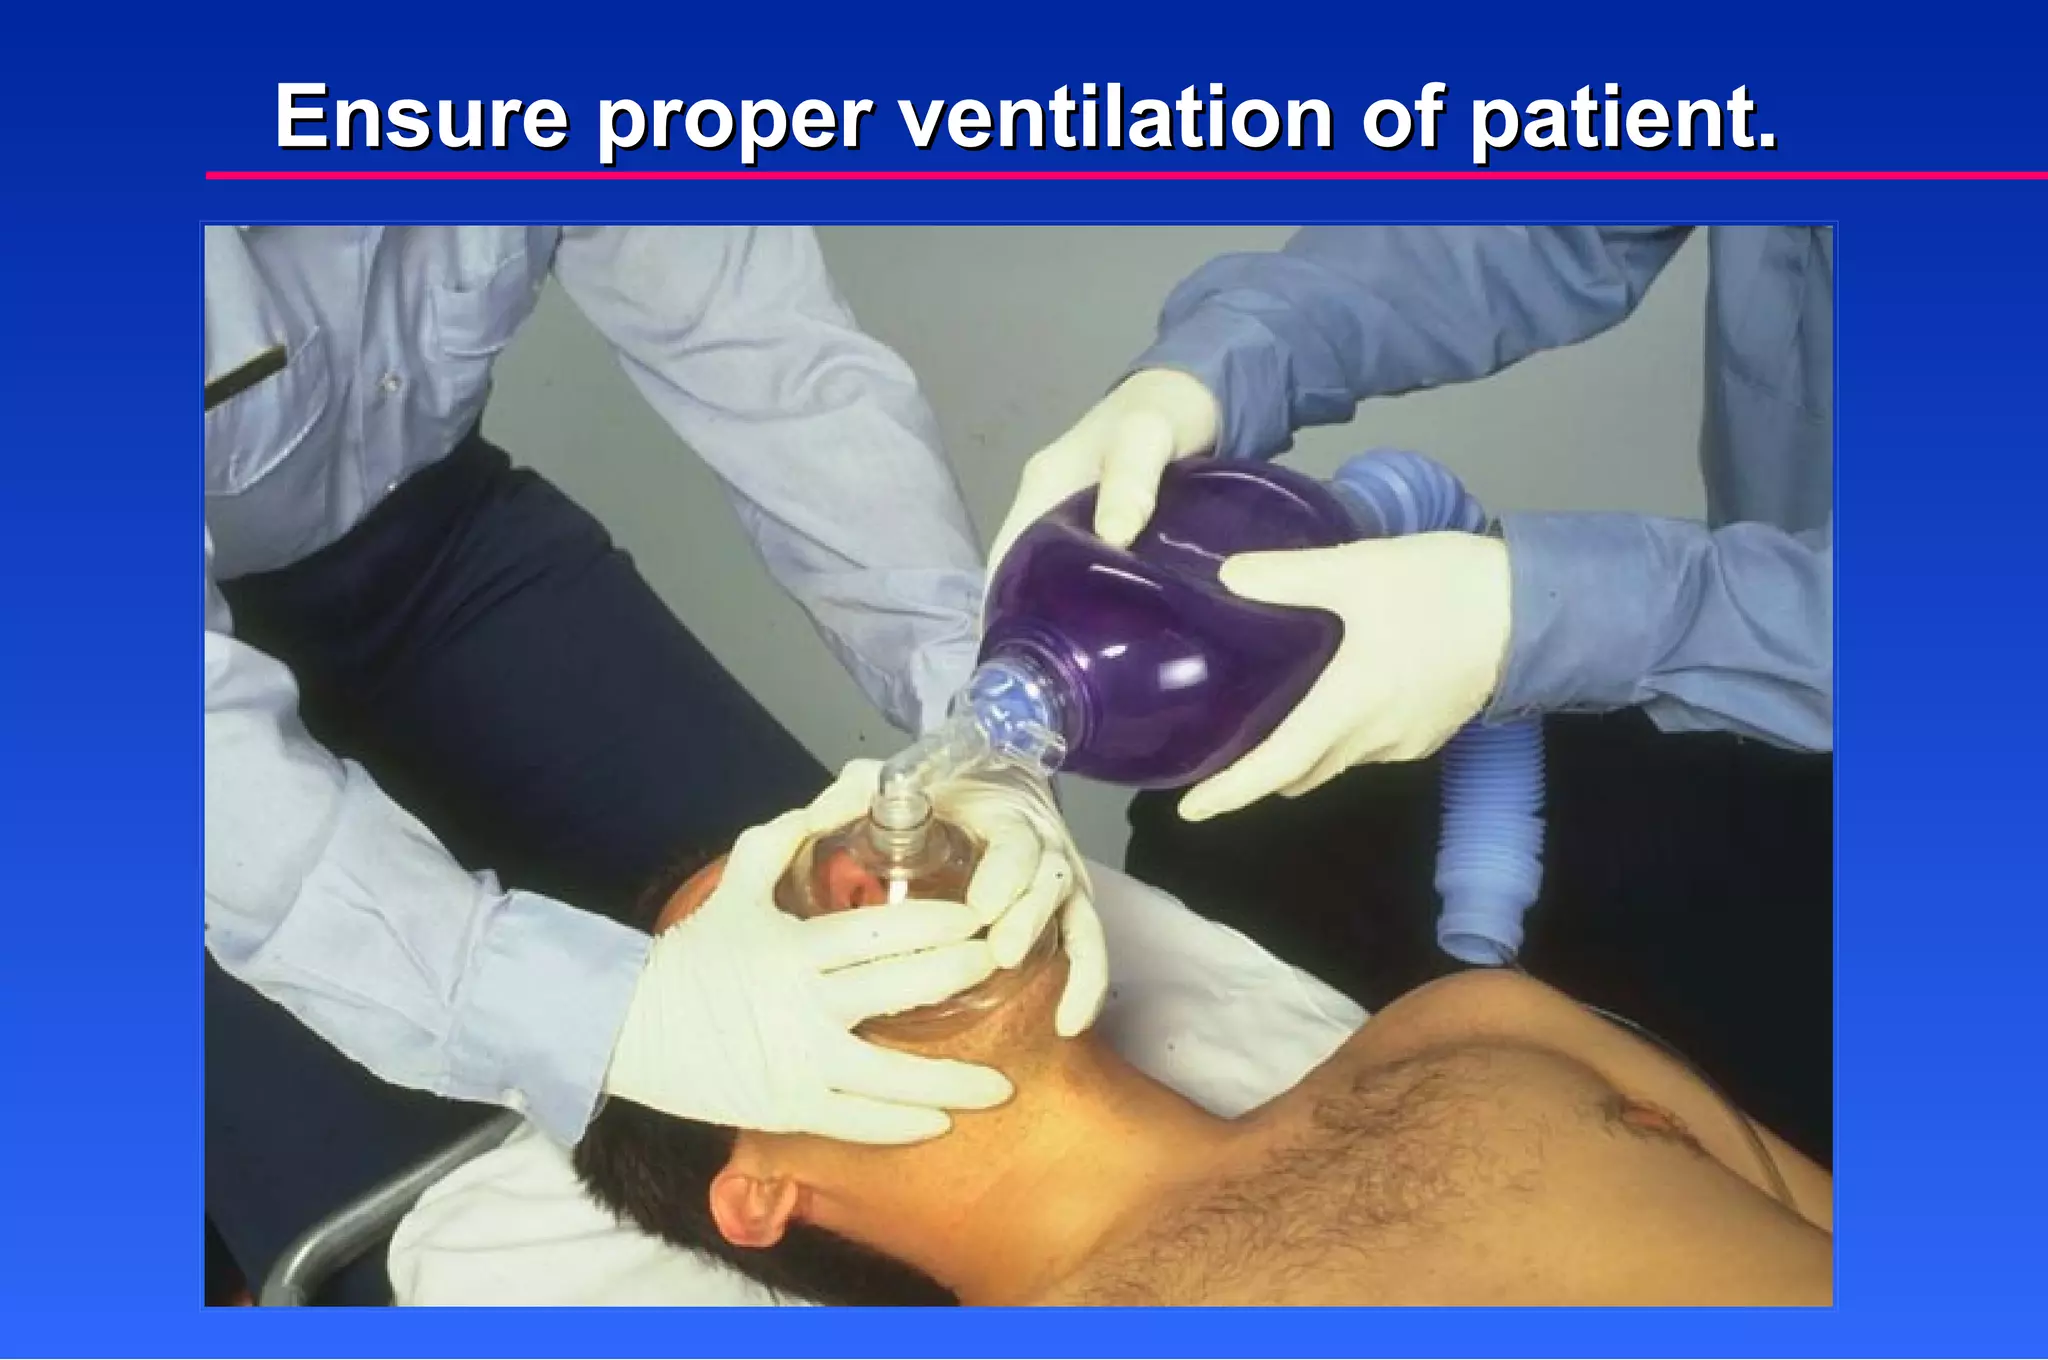
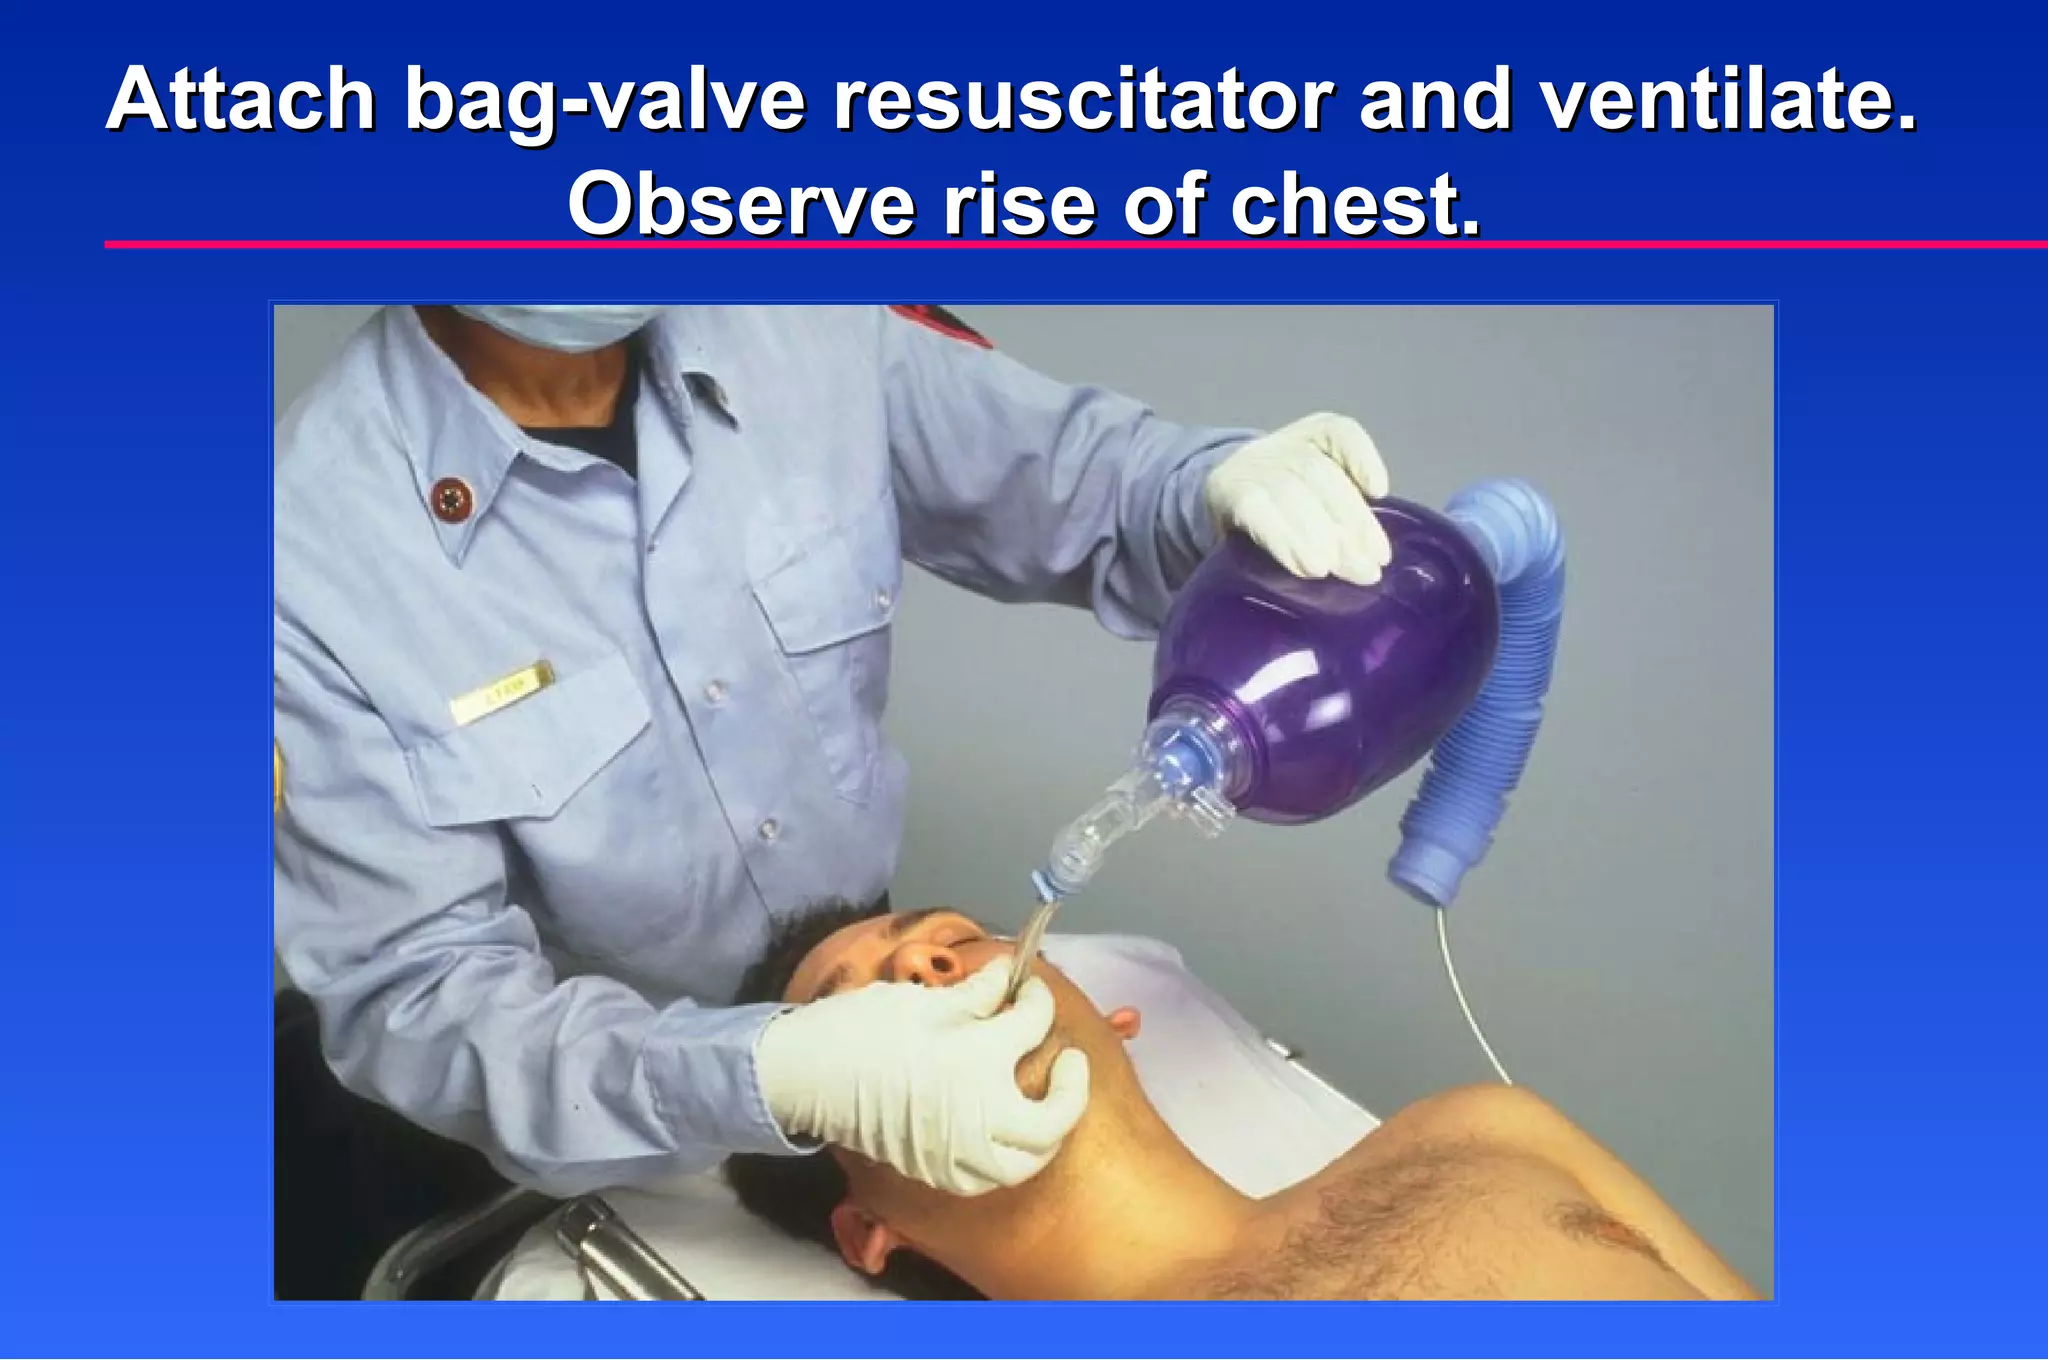
Best practices for ventilating patients during intubation, including monitoring and securing the airway.
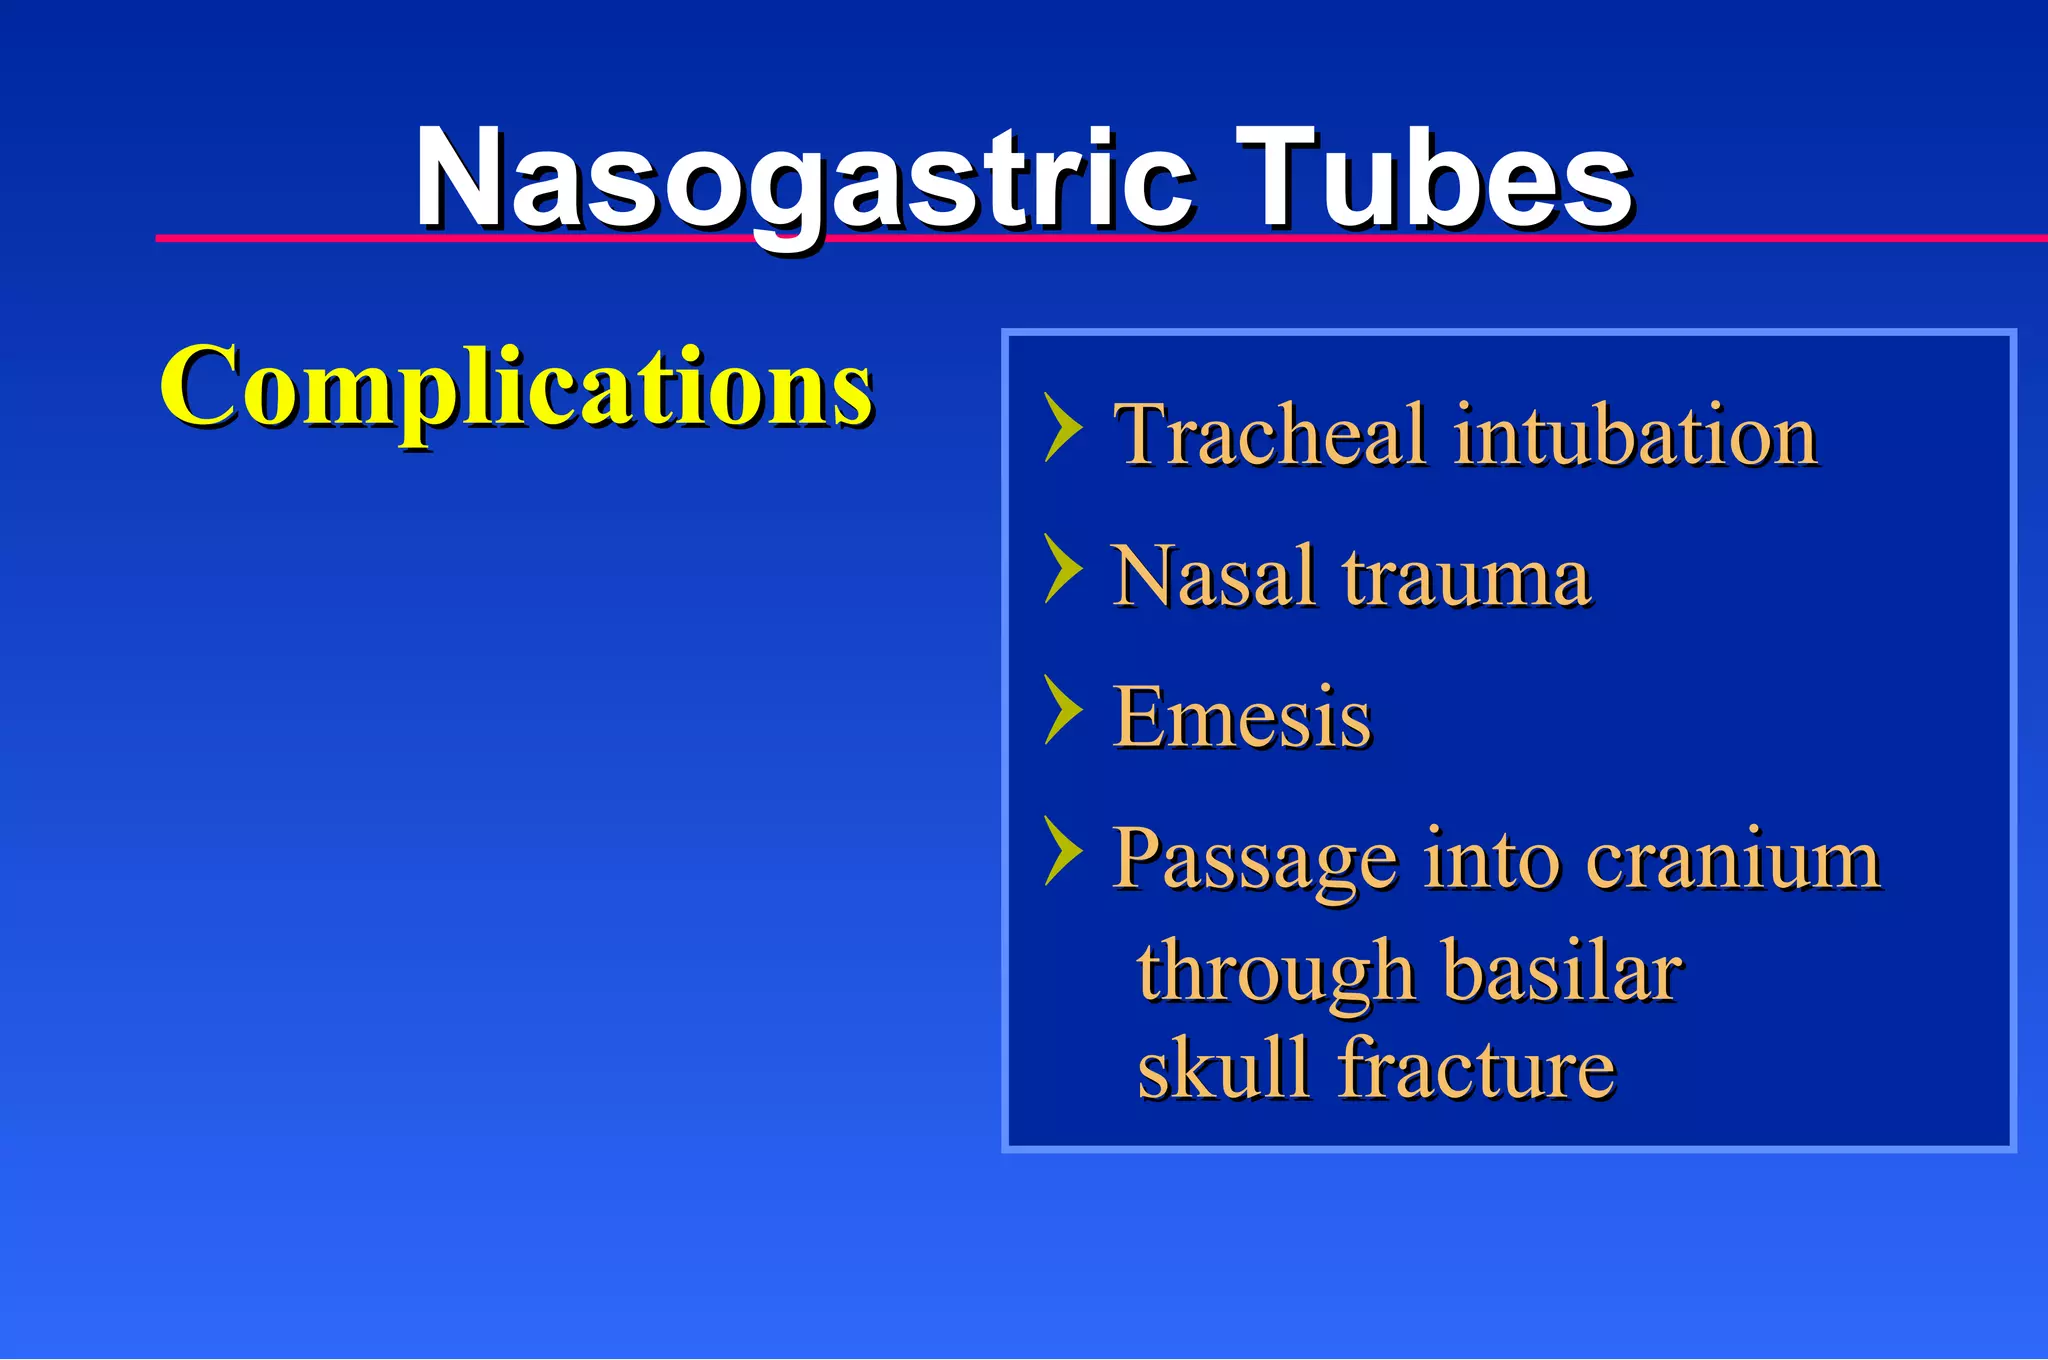
Pediatric intubation complications and indications for nasogastric tubes.
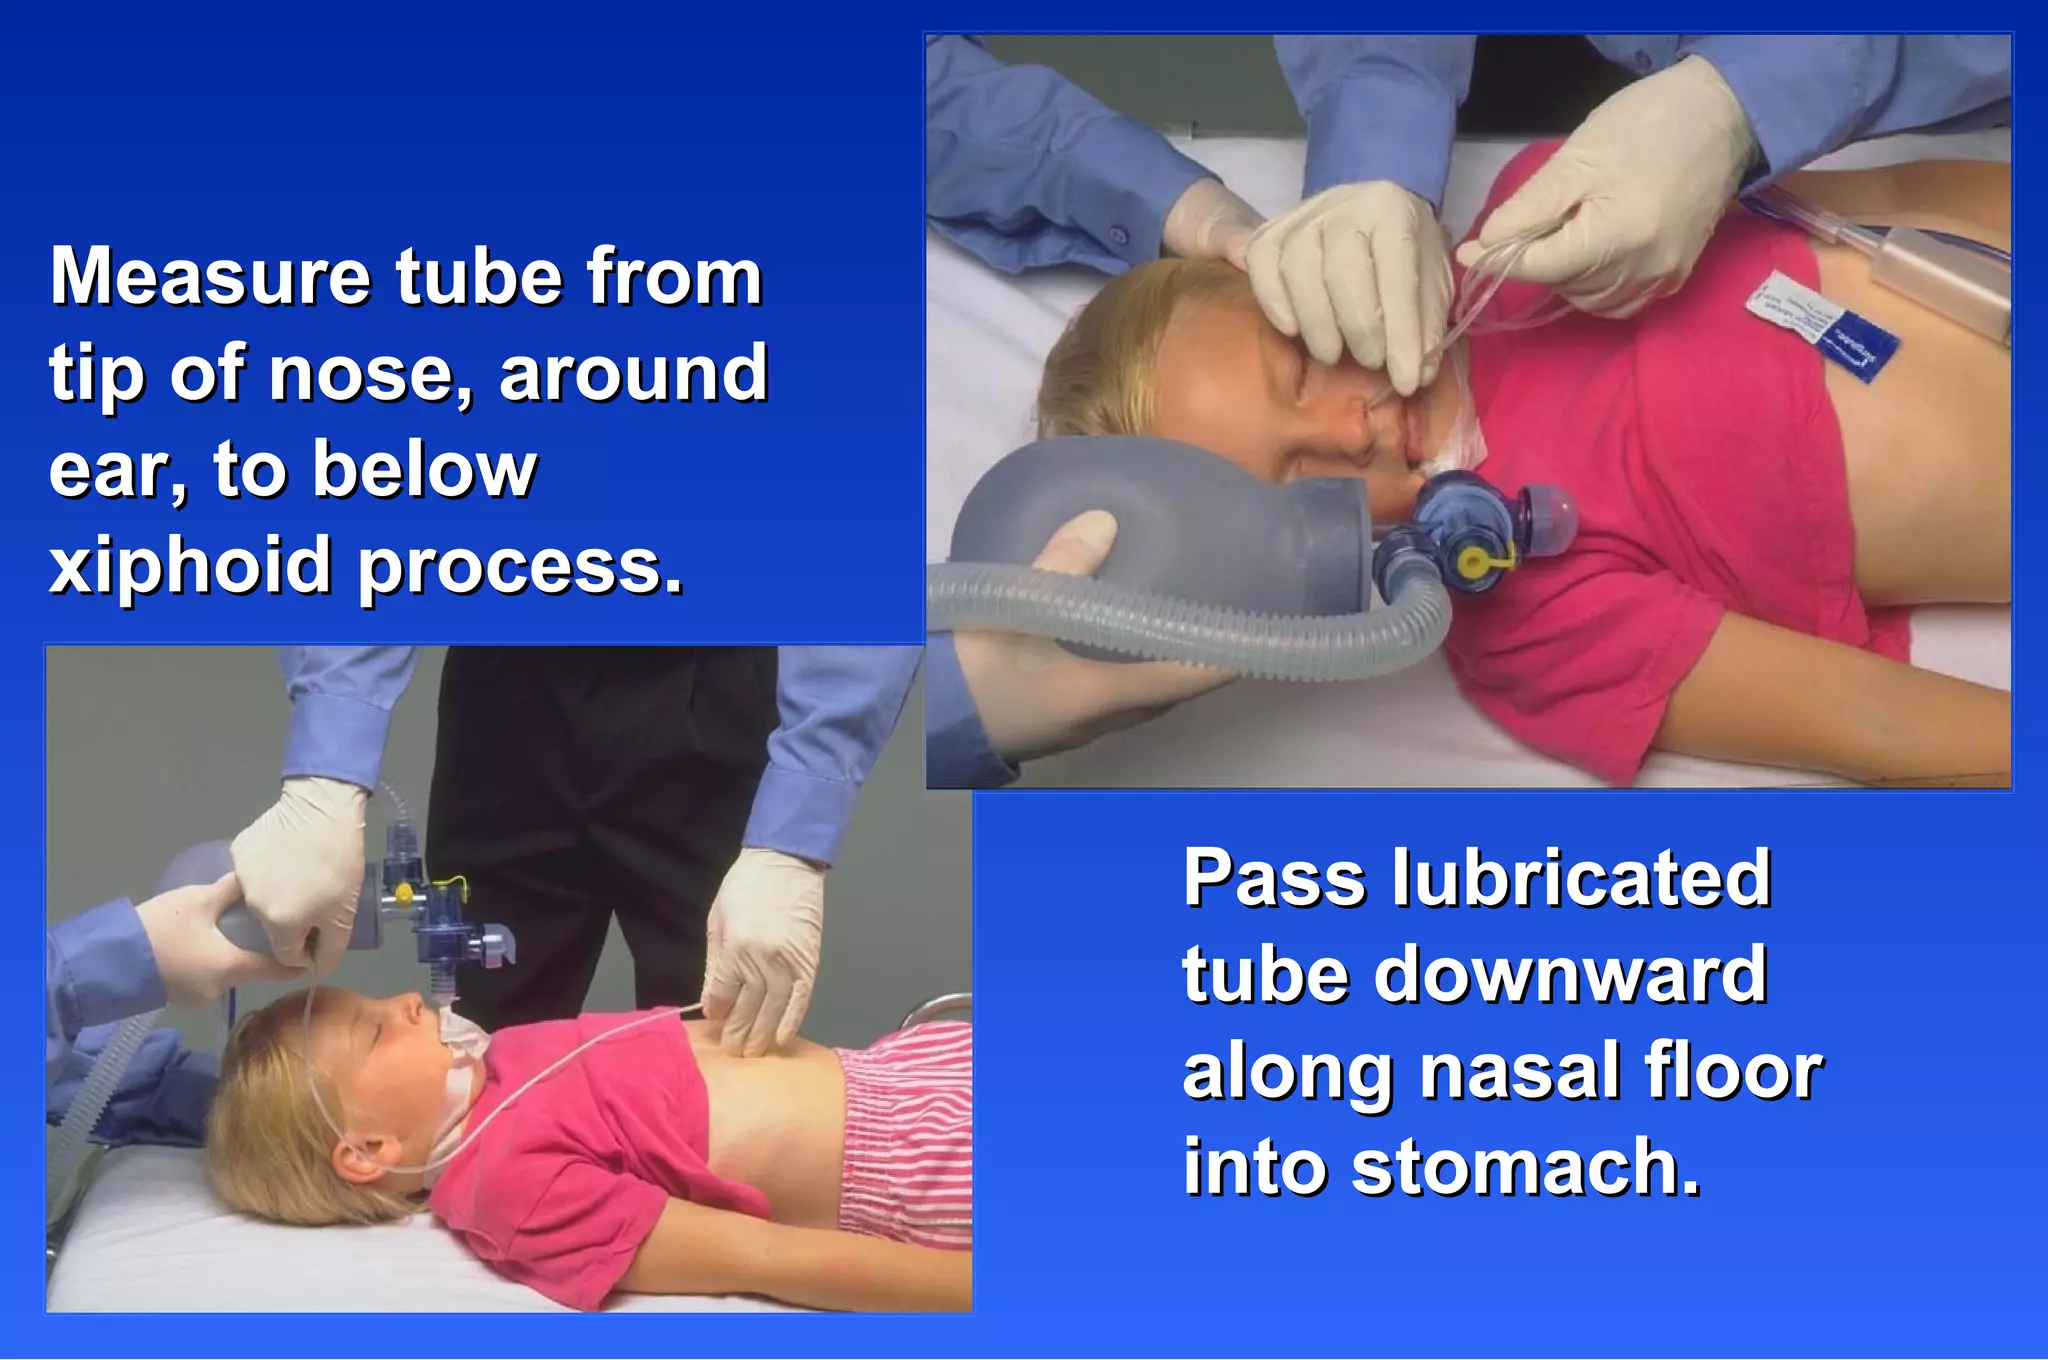
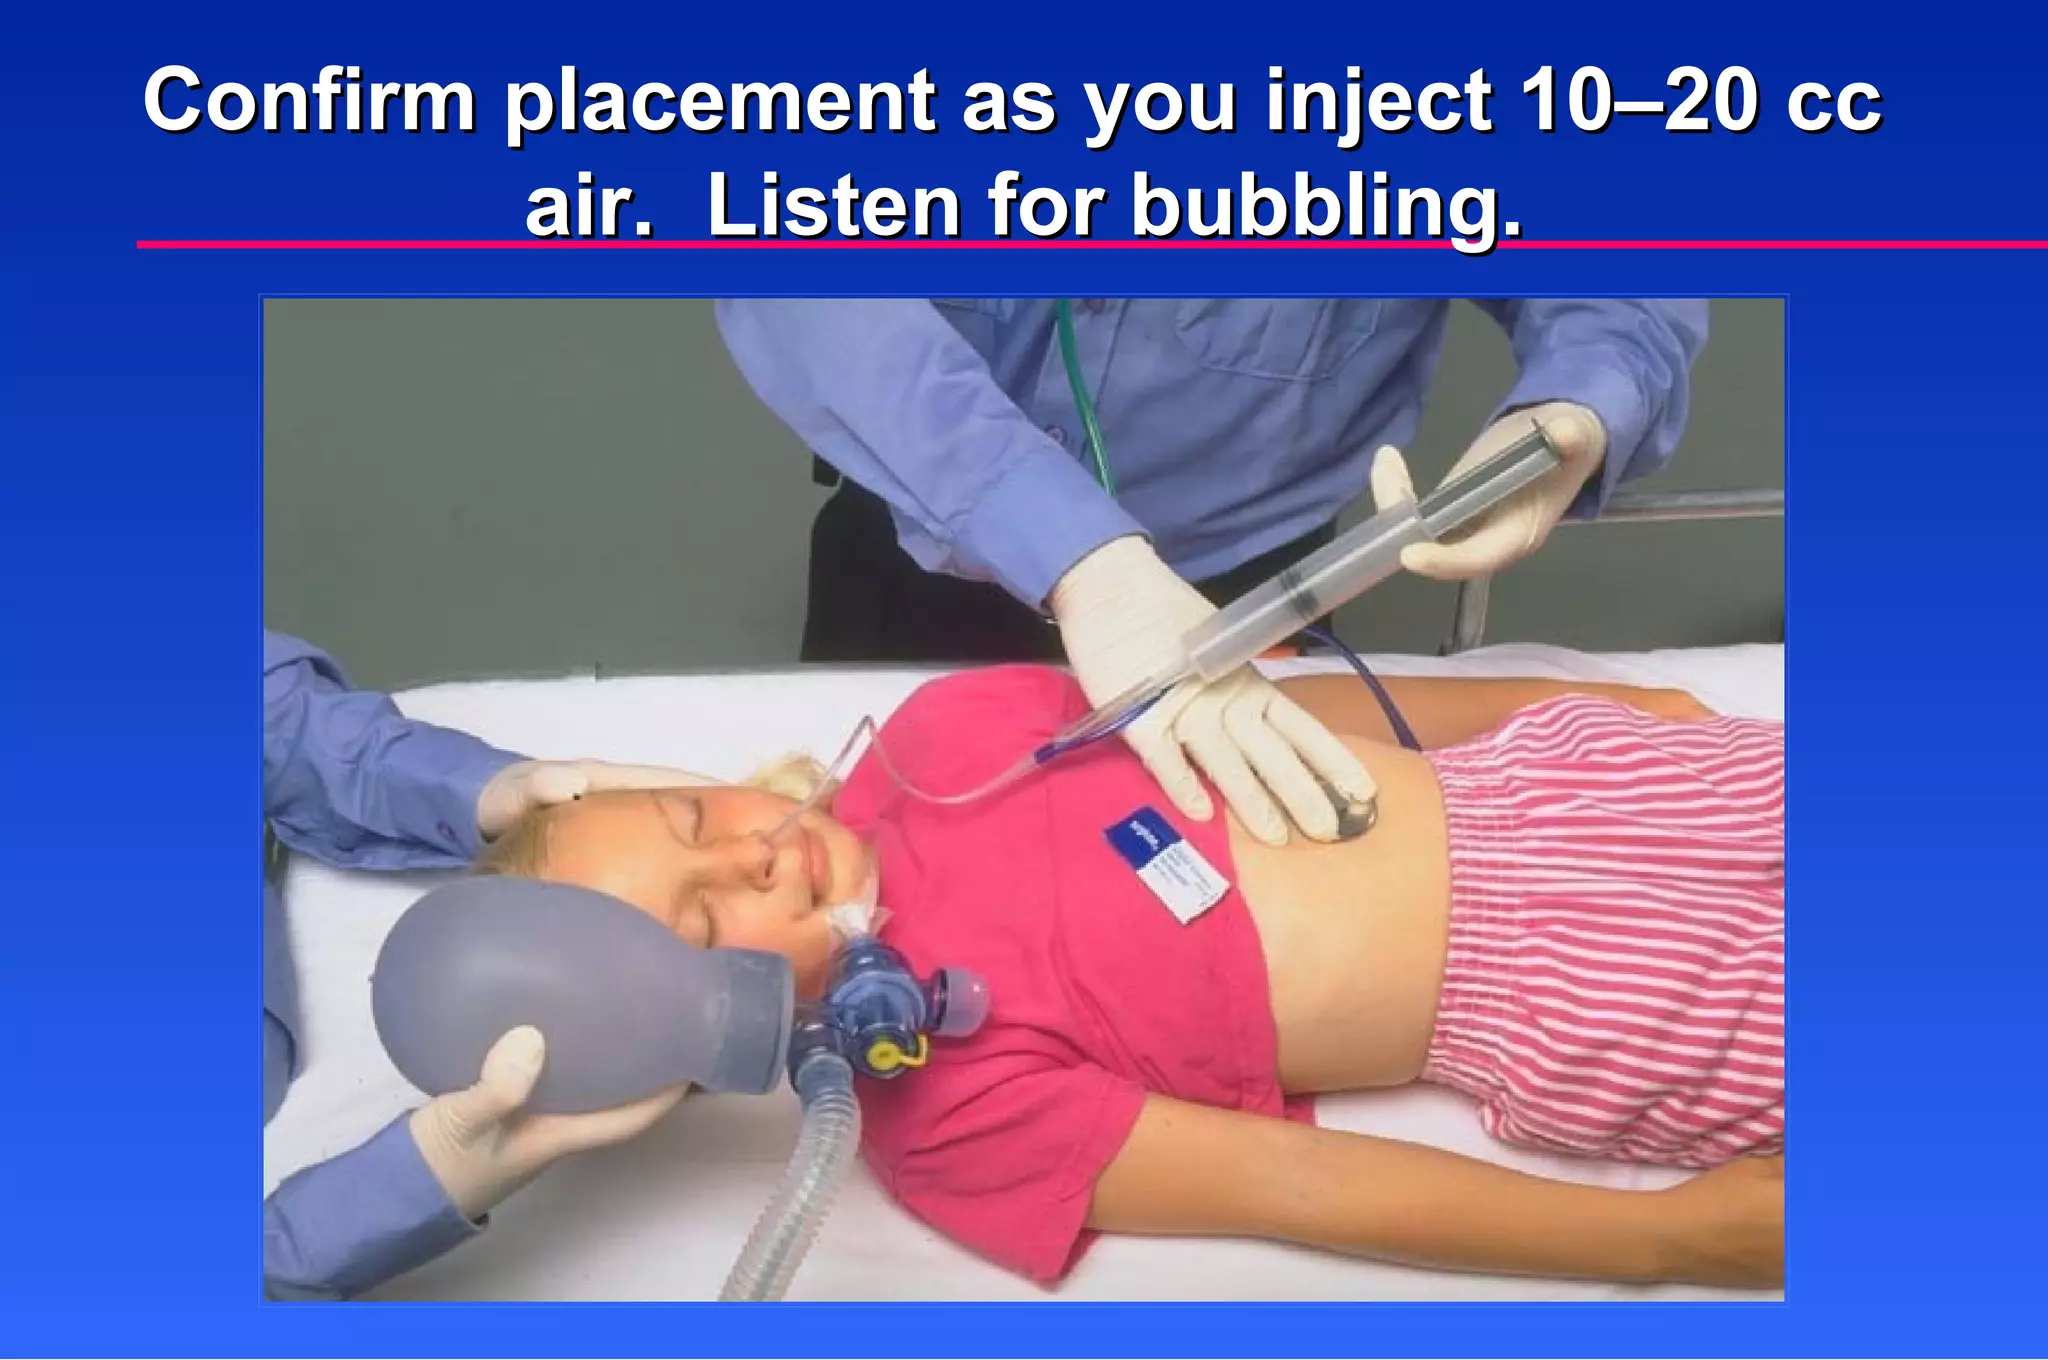
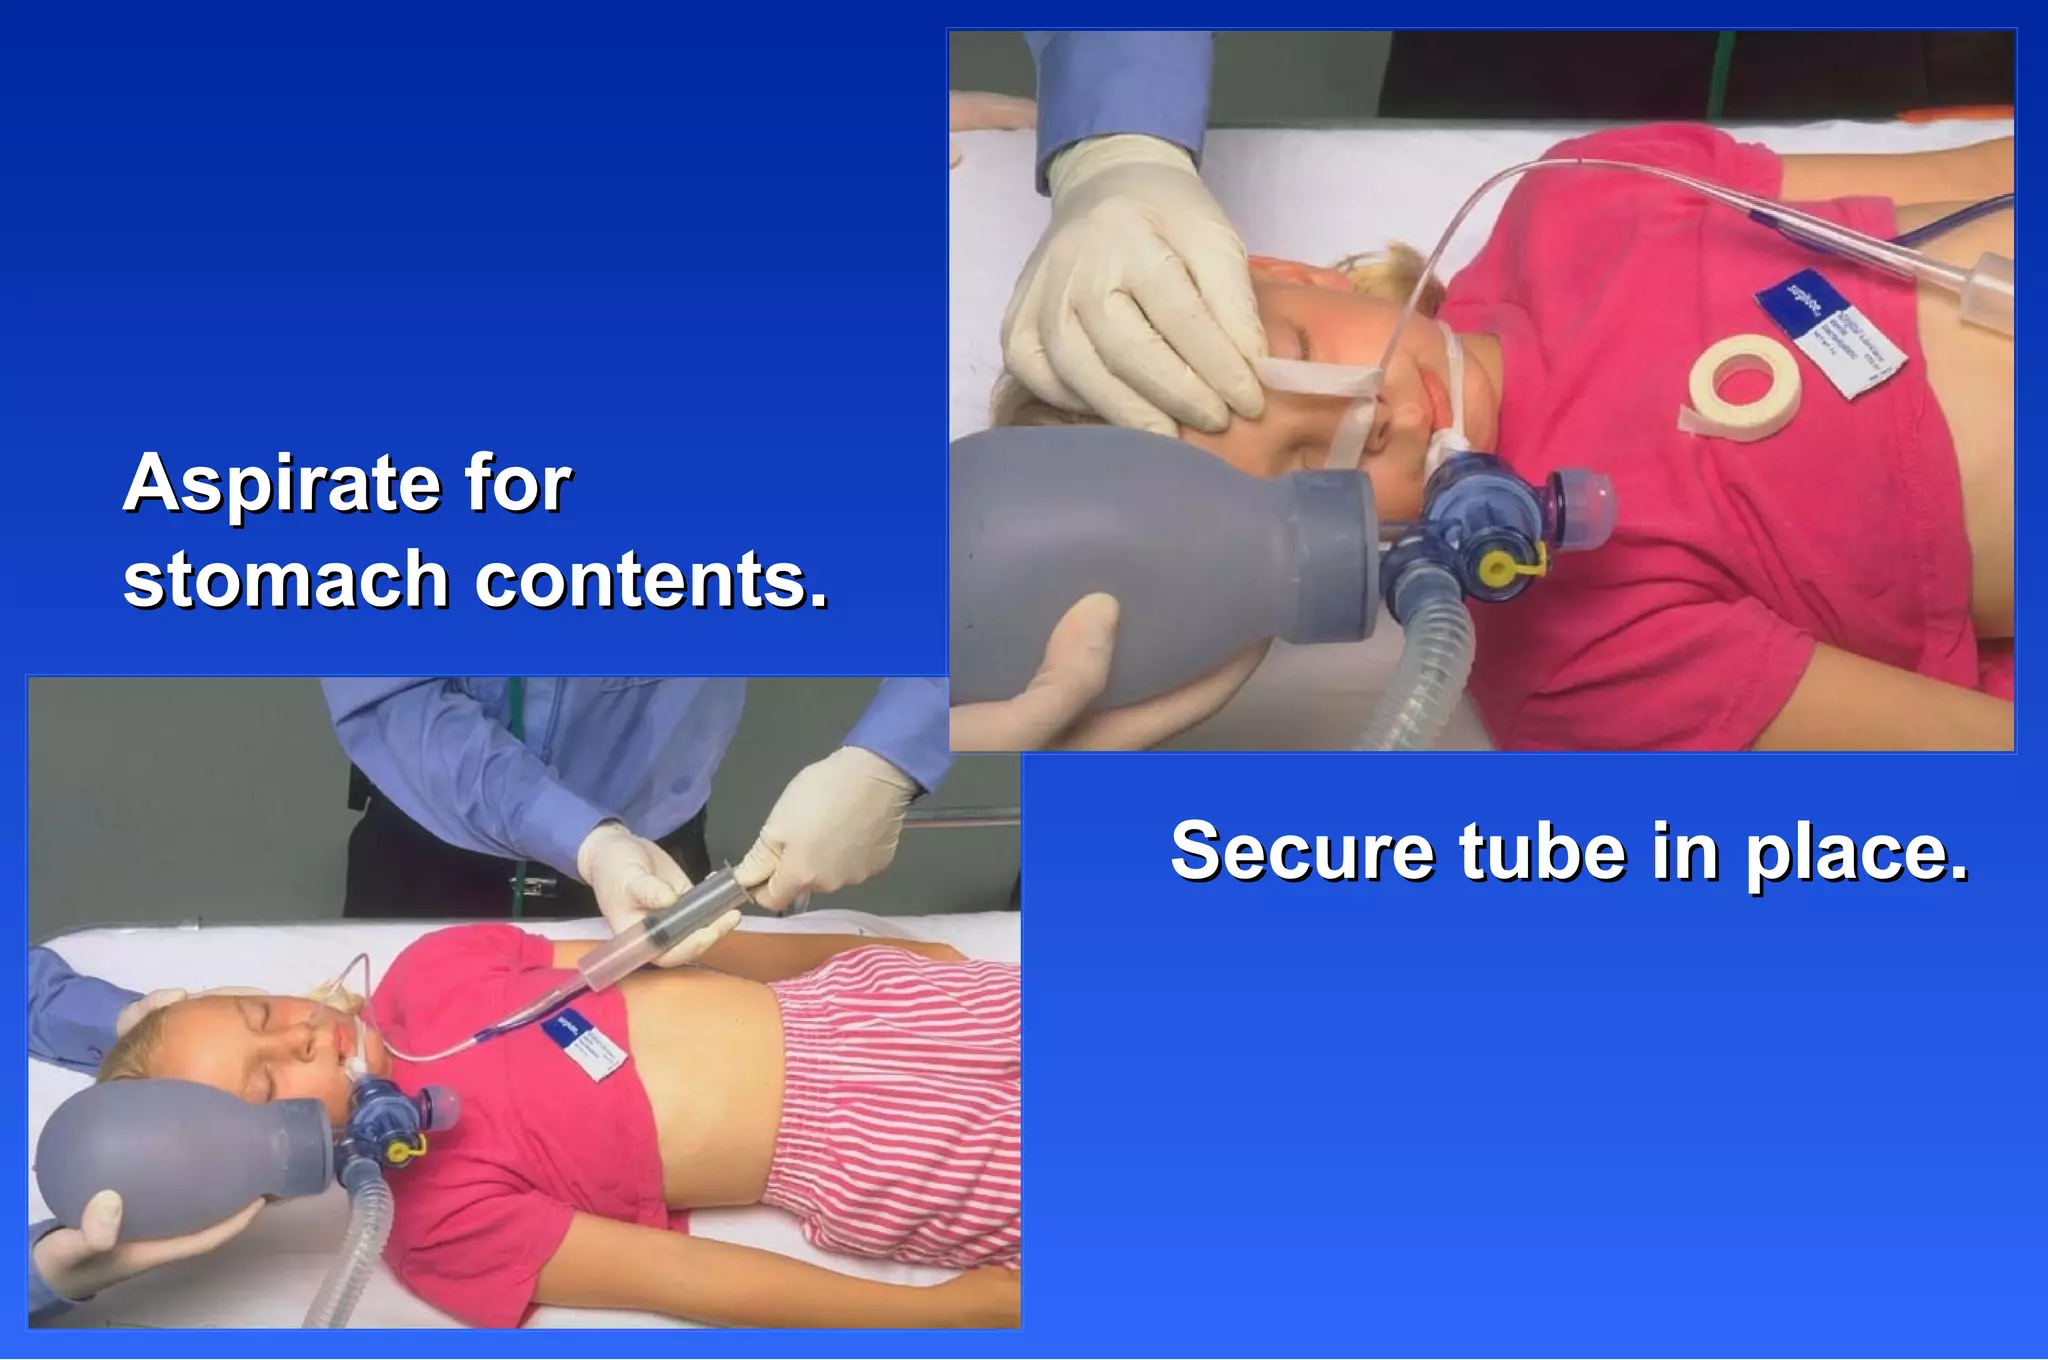
Step-by-step procedure for nasogastric tube insertion and confirmation of placement.Essential techniques and precautions for orotracheal suctioning to clear the airway.
Indications and contraindications, along with insertion techniques for Combitube®.Techniques for inserting a Laryngeal Mask Airway (LMA) and ensuring effective ventilation.
Questions to review key concepts on nasogastric tube insertion and orotracheal intubation.
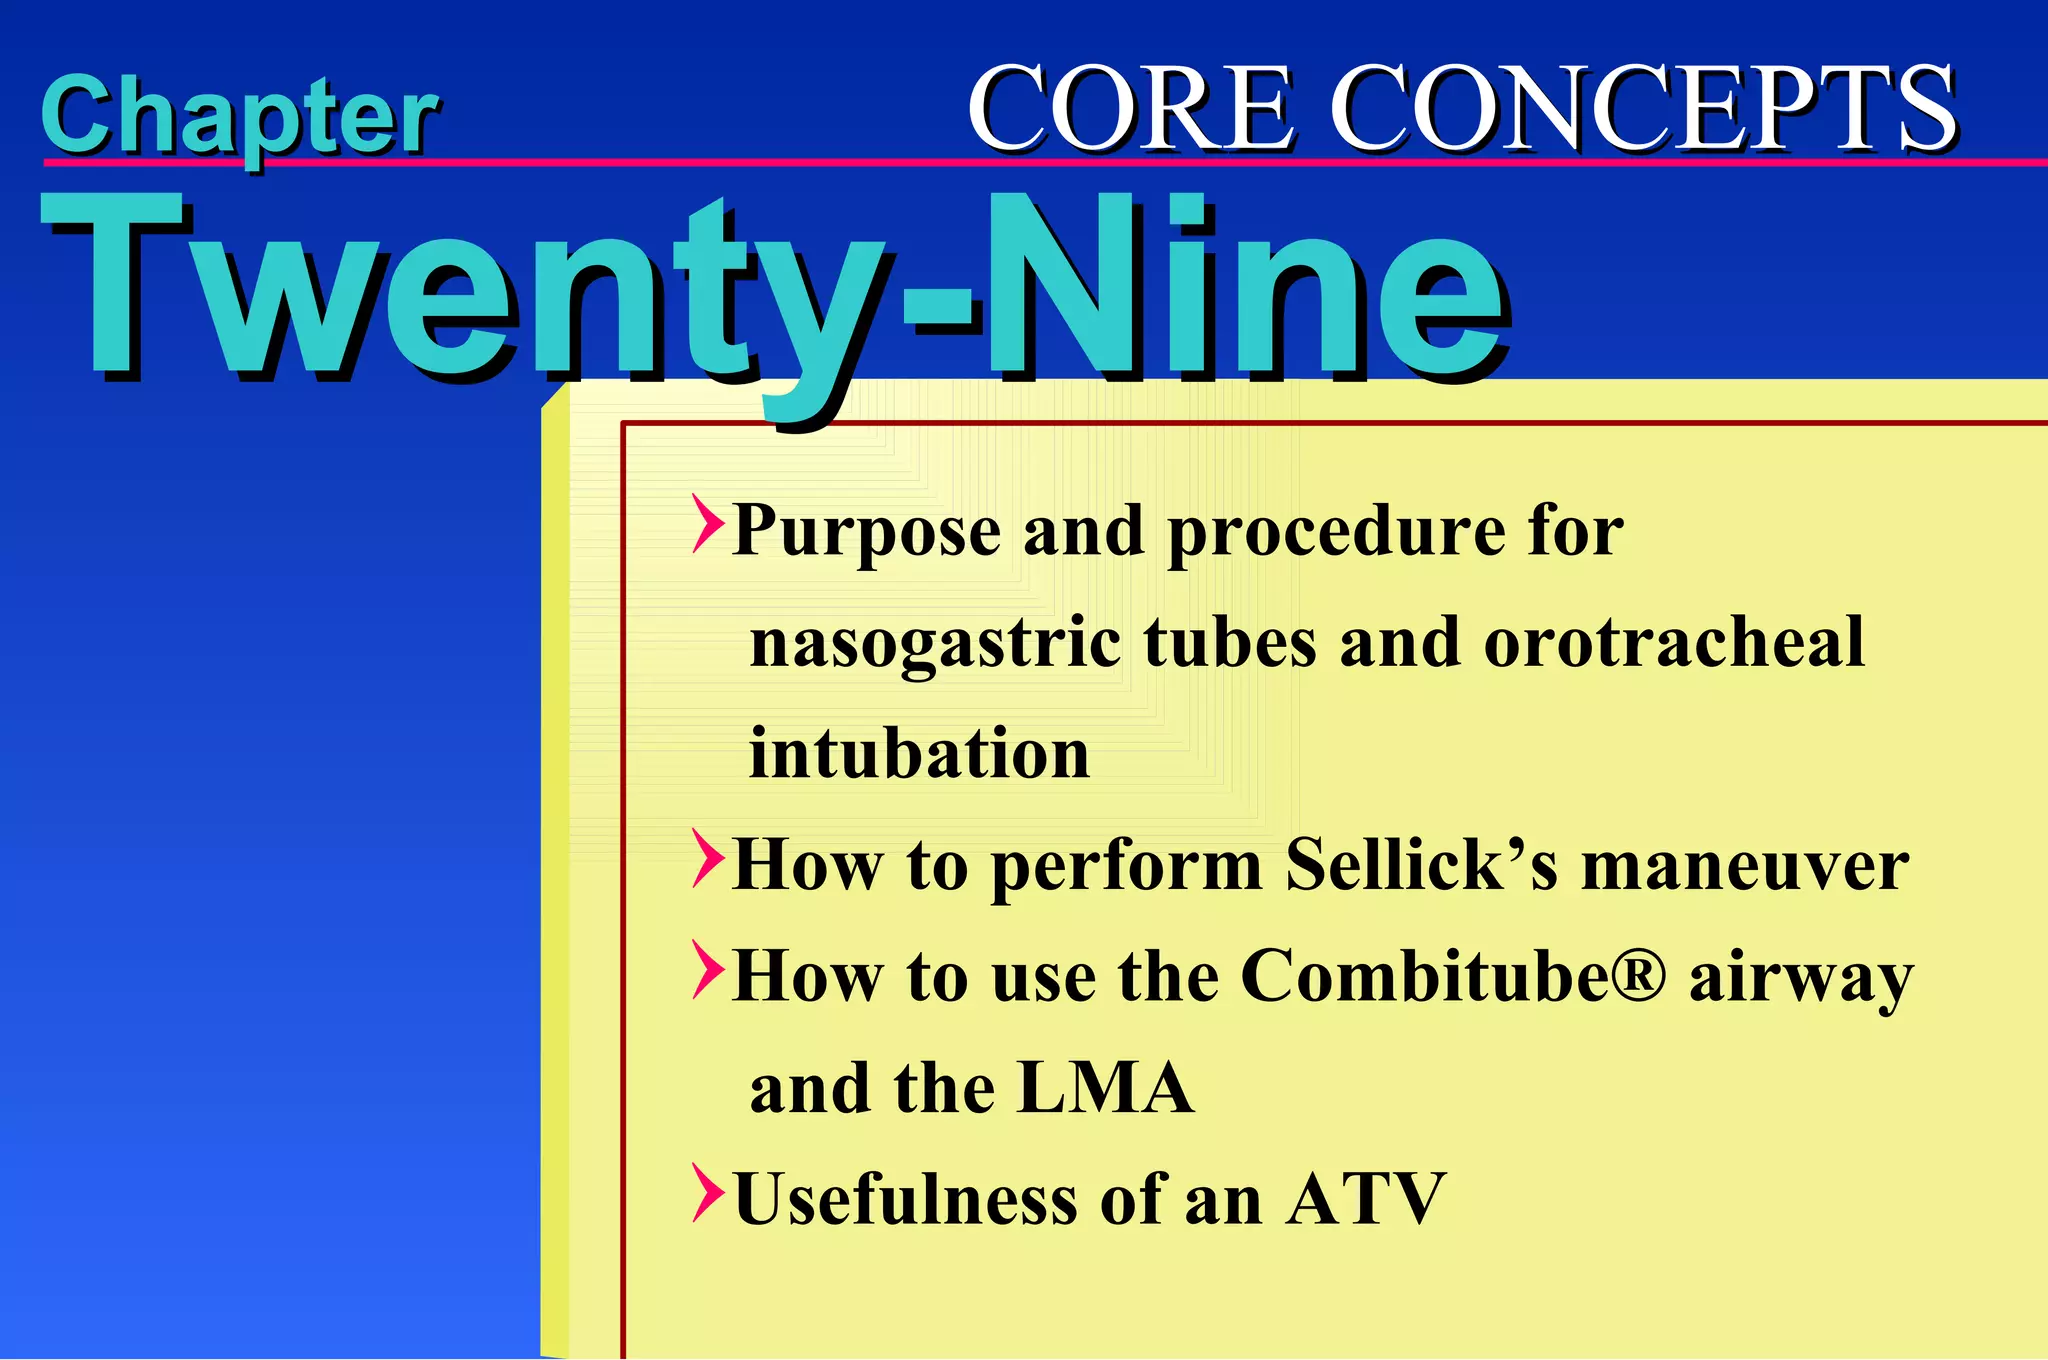
Chapter Purpose andprocedure for nasogastric tubes and orotracheal intubation How to perform Sellick’s maneuver How to use the Combitube® airway and the LMA Usefulness of an ATV Twenty-Nine CORE CONCEPTS
Orotracheal Intubation PurposeMost effective way to control airway. Use in apneic patients: Minimizes risk of aspiration. Allows more oxygen delivery. Allows deeper suctioning.
13.
Complications Stimulation ofairway can cause bradycardia. Trauma can occur to lips, teeth, tongue, gums, airway structures. Orotracheal Intubation (Continued)
14.
Hypoxia may resultfrom prolonged attempts. No oxygen to left lung because tube is in right mainstem bronchus. Complications Orotracheal Intubation (Continued)
15.
Esophageal intubation VomitingSelf-extubation Movement of tube out of trachea when patient moved Complications Orotracheal Intubation
16.
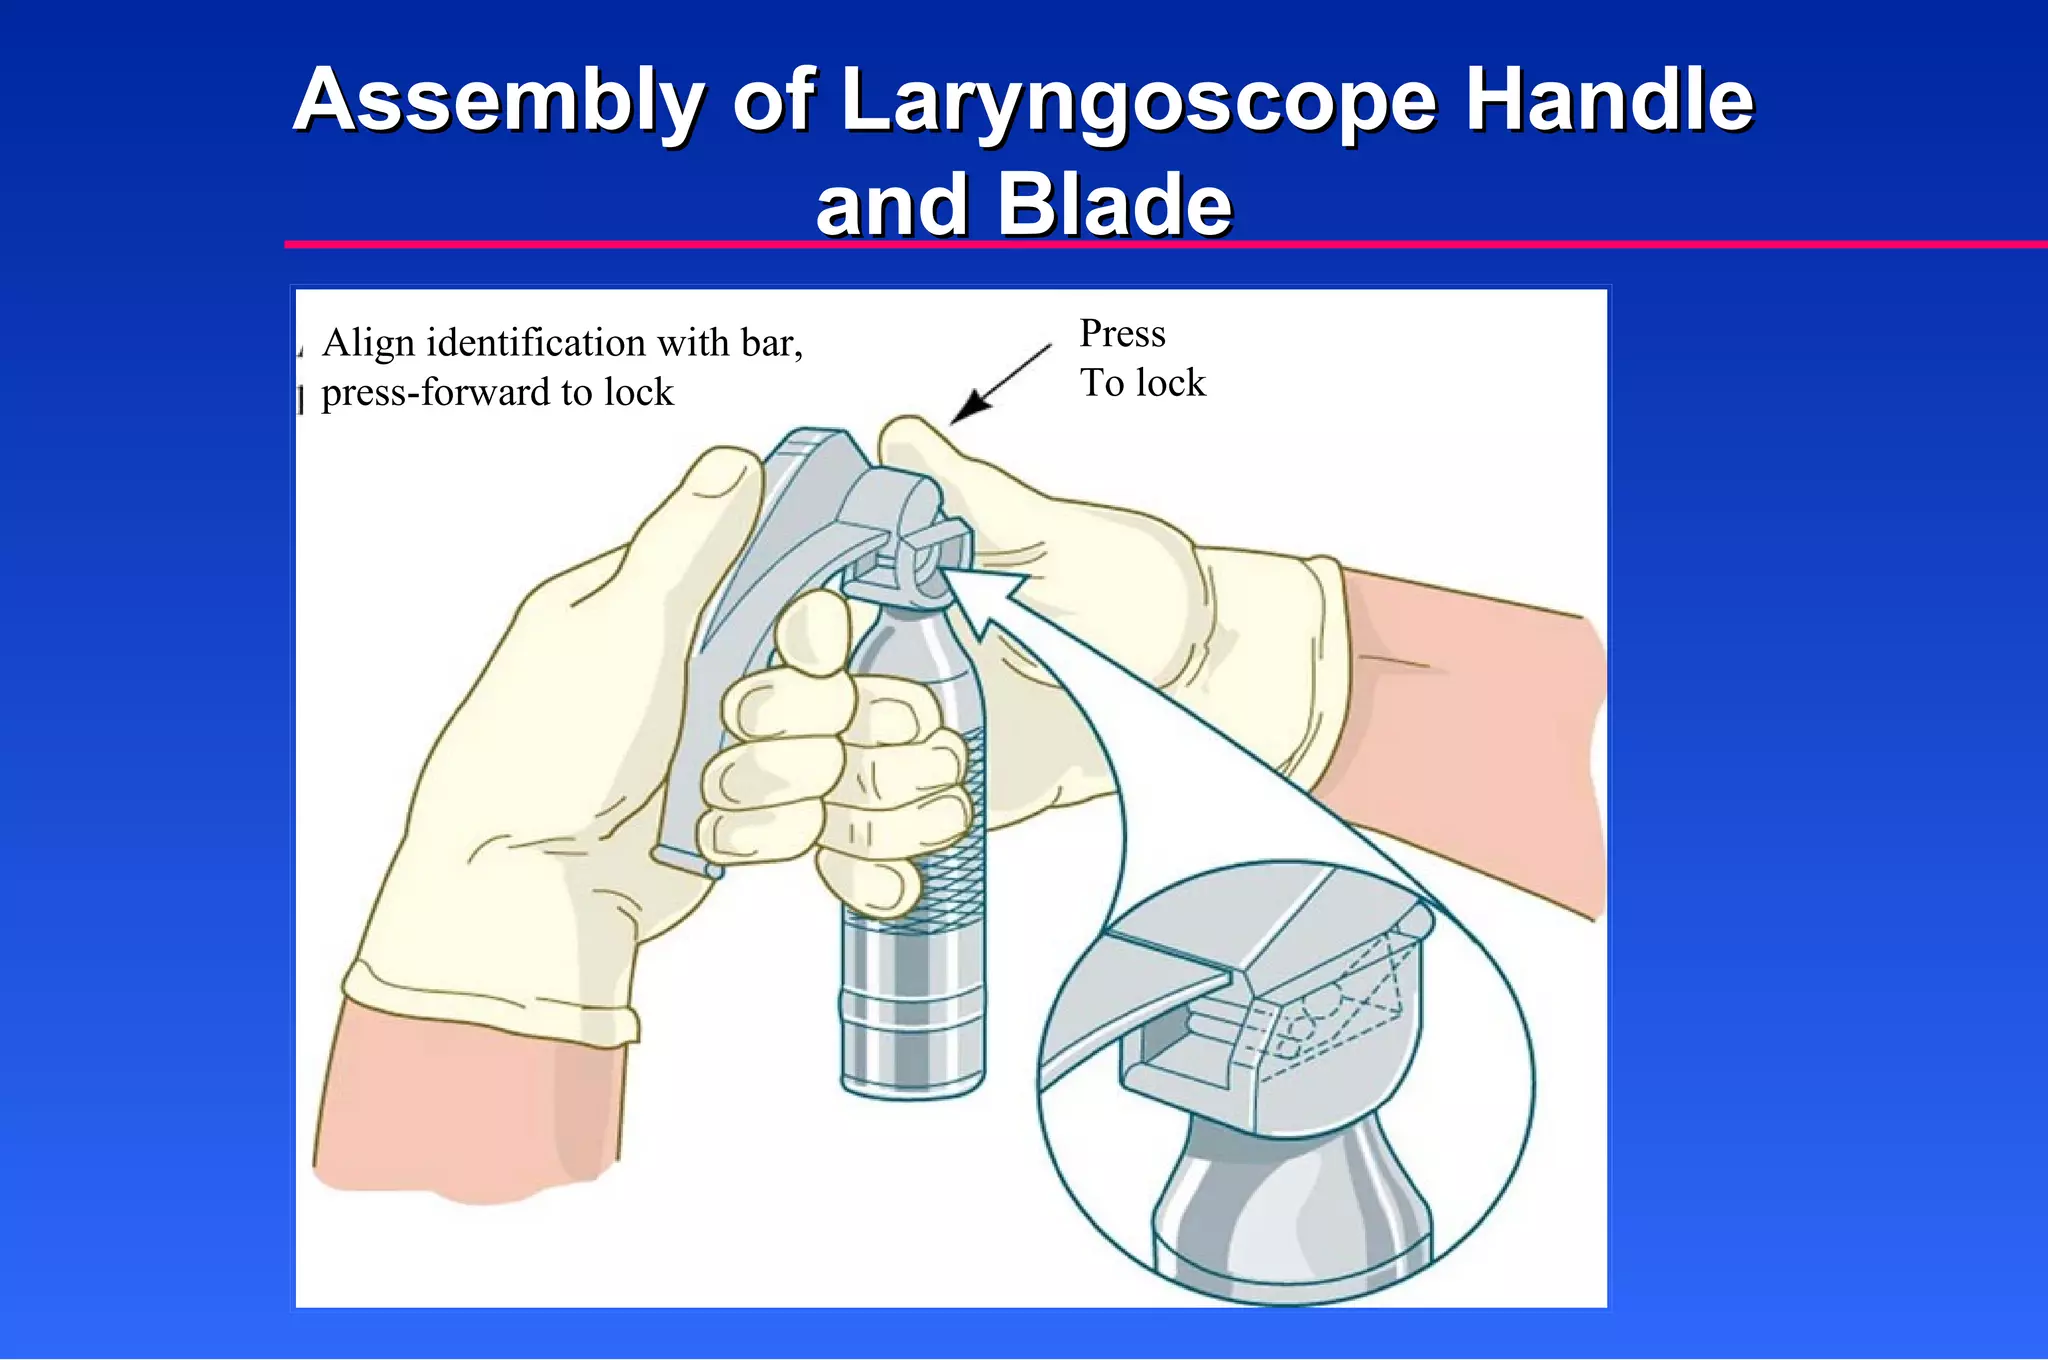
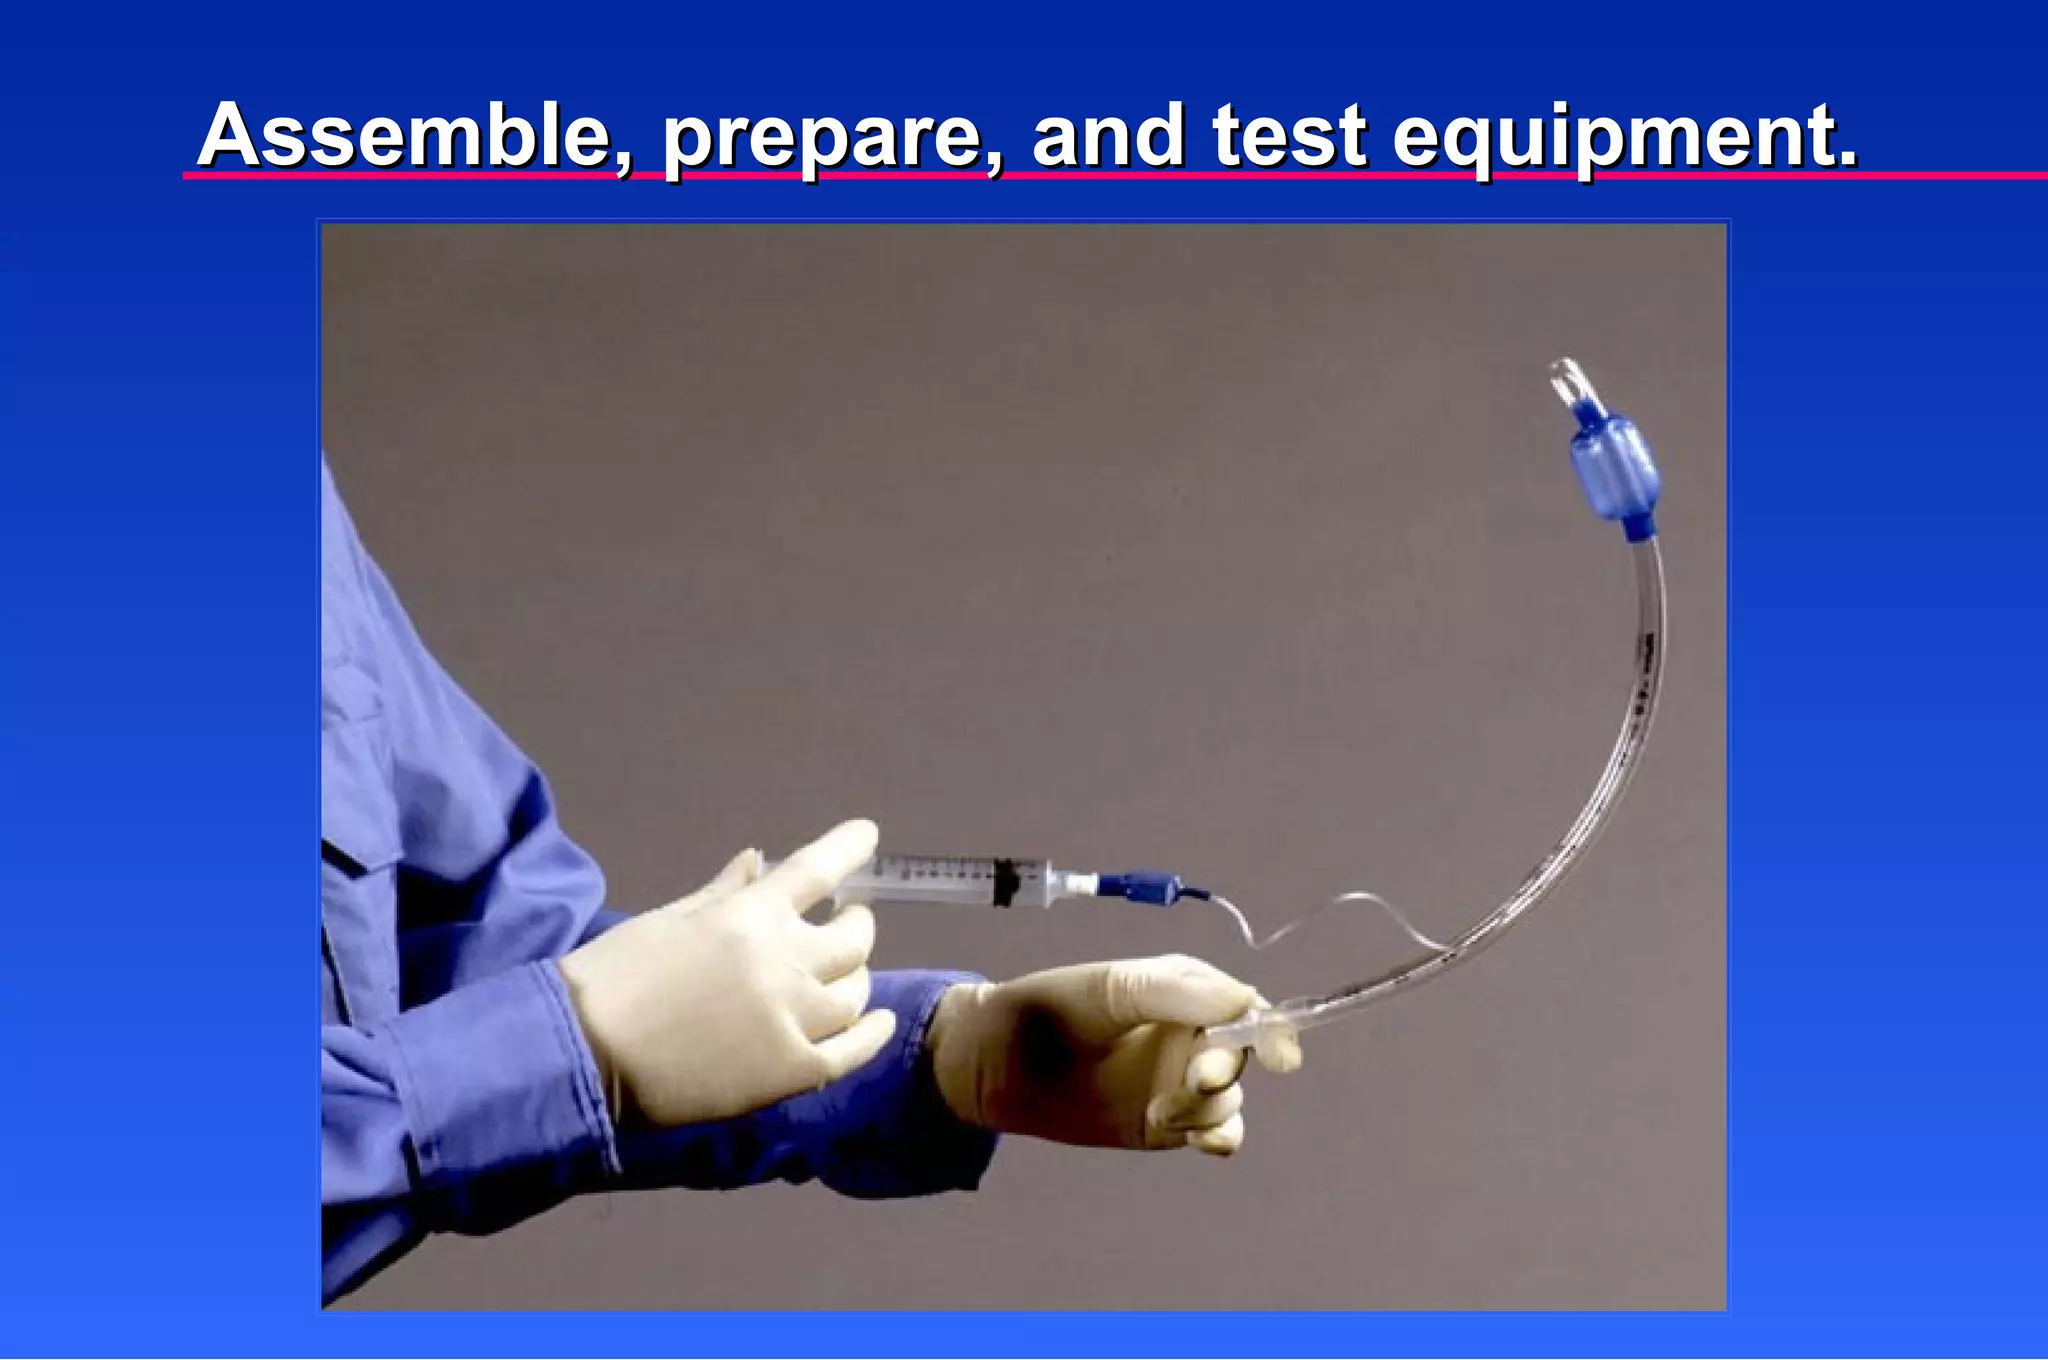
Laryngoscope handle Laryngoscopeblades Equipment Assorted sizes (0–4) Curved or straight (straight preferred for infants/children) Orotracheal Intubation (Continued)
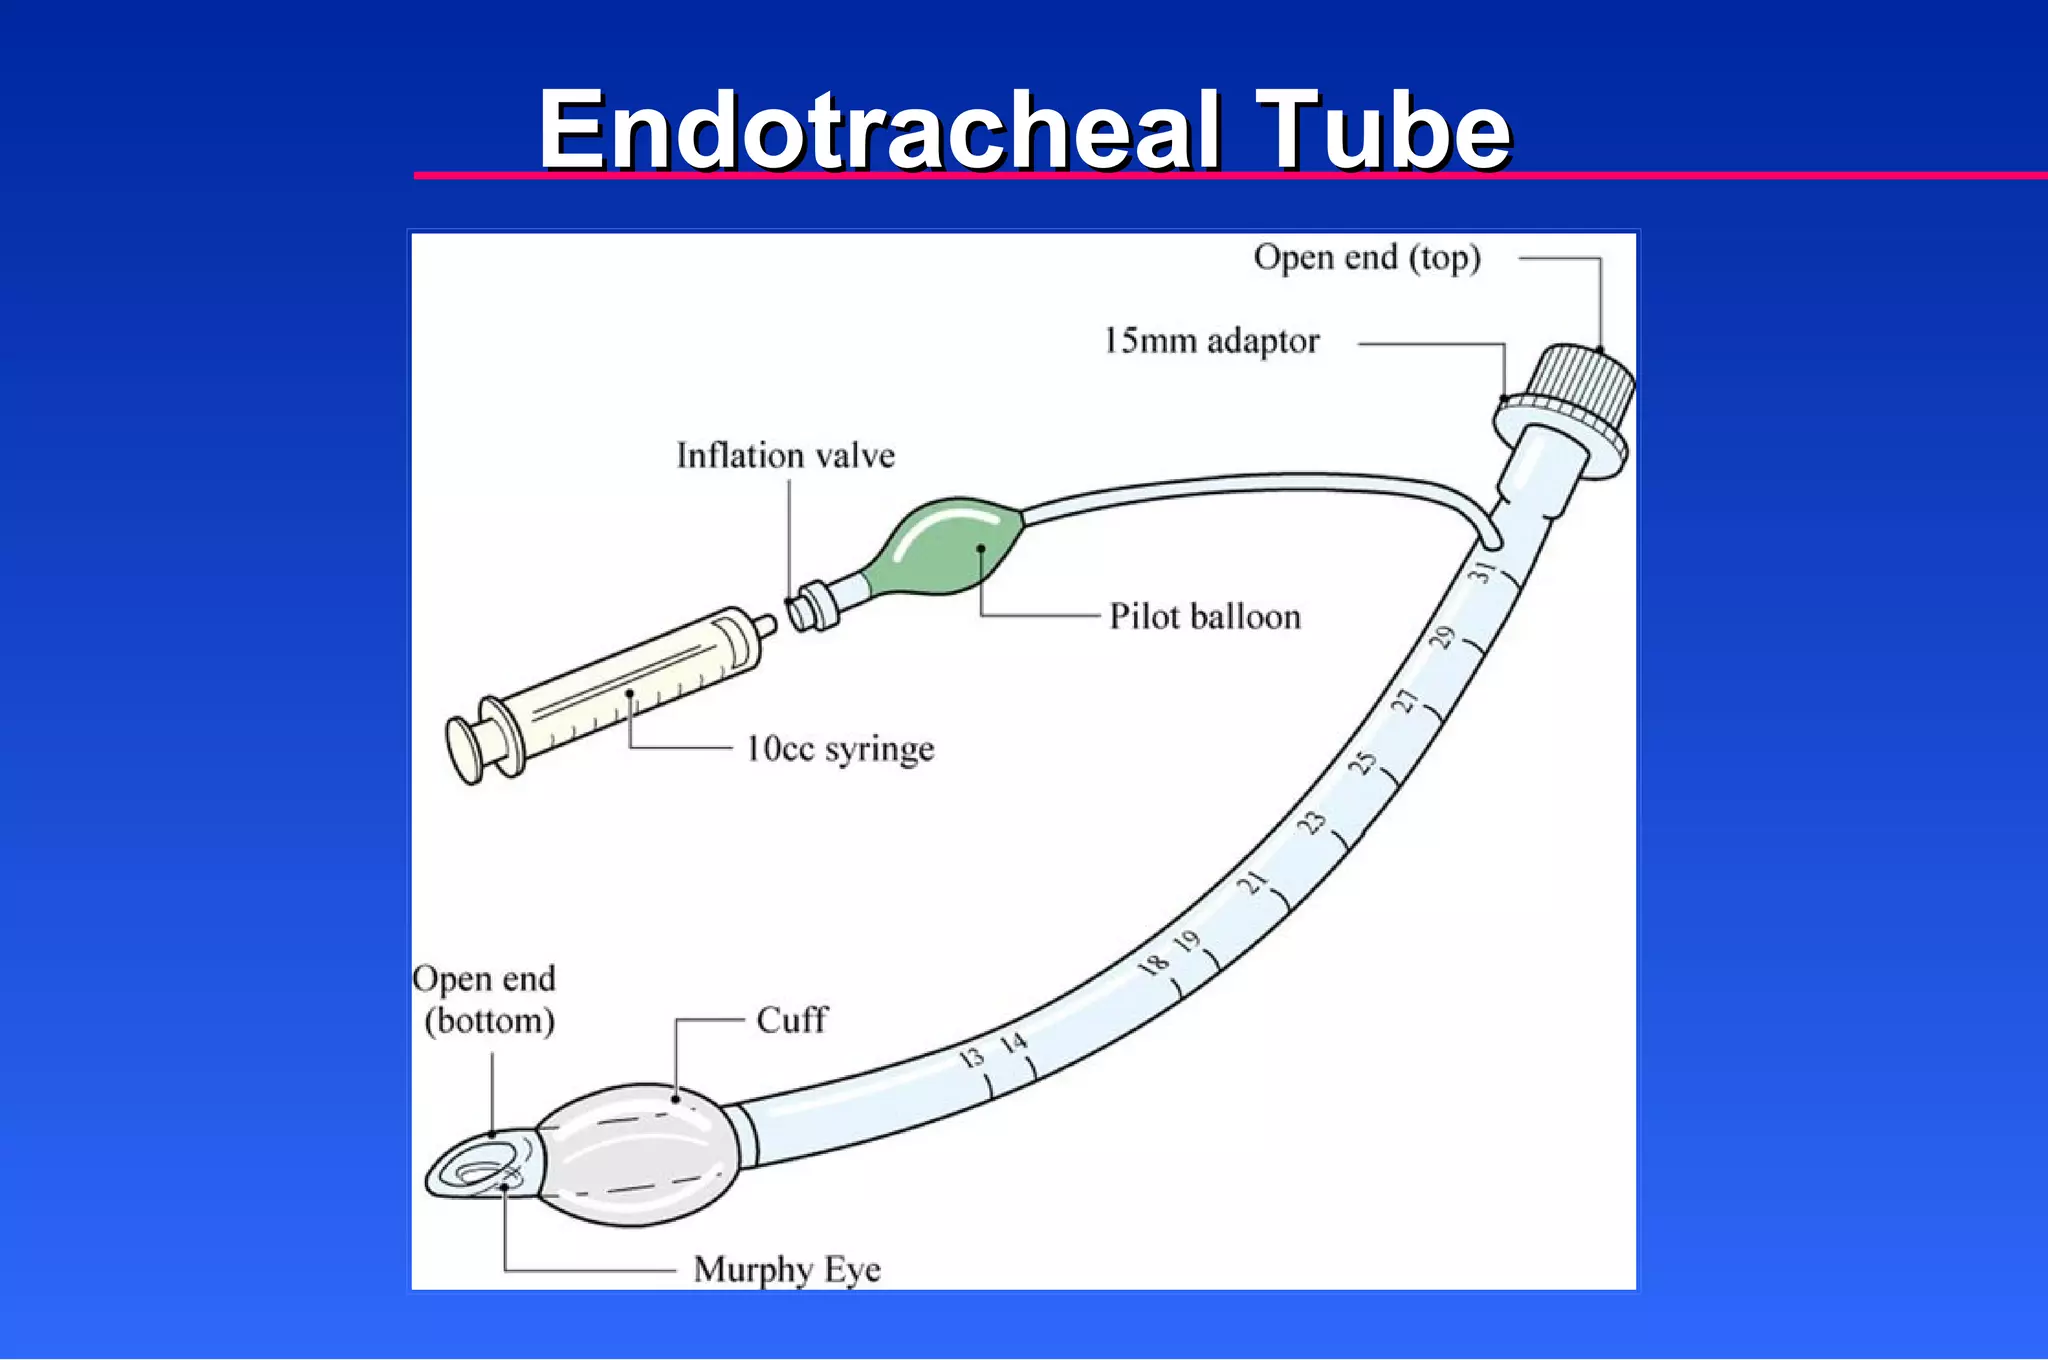
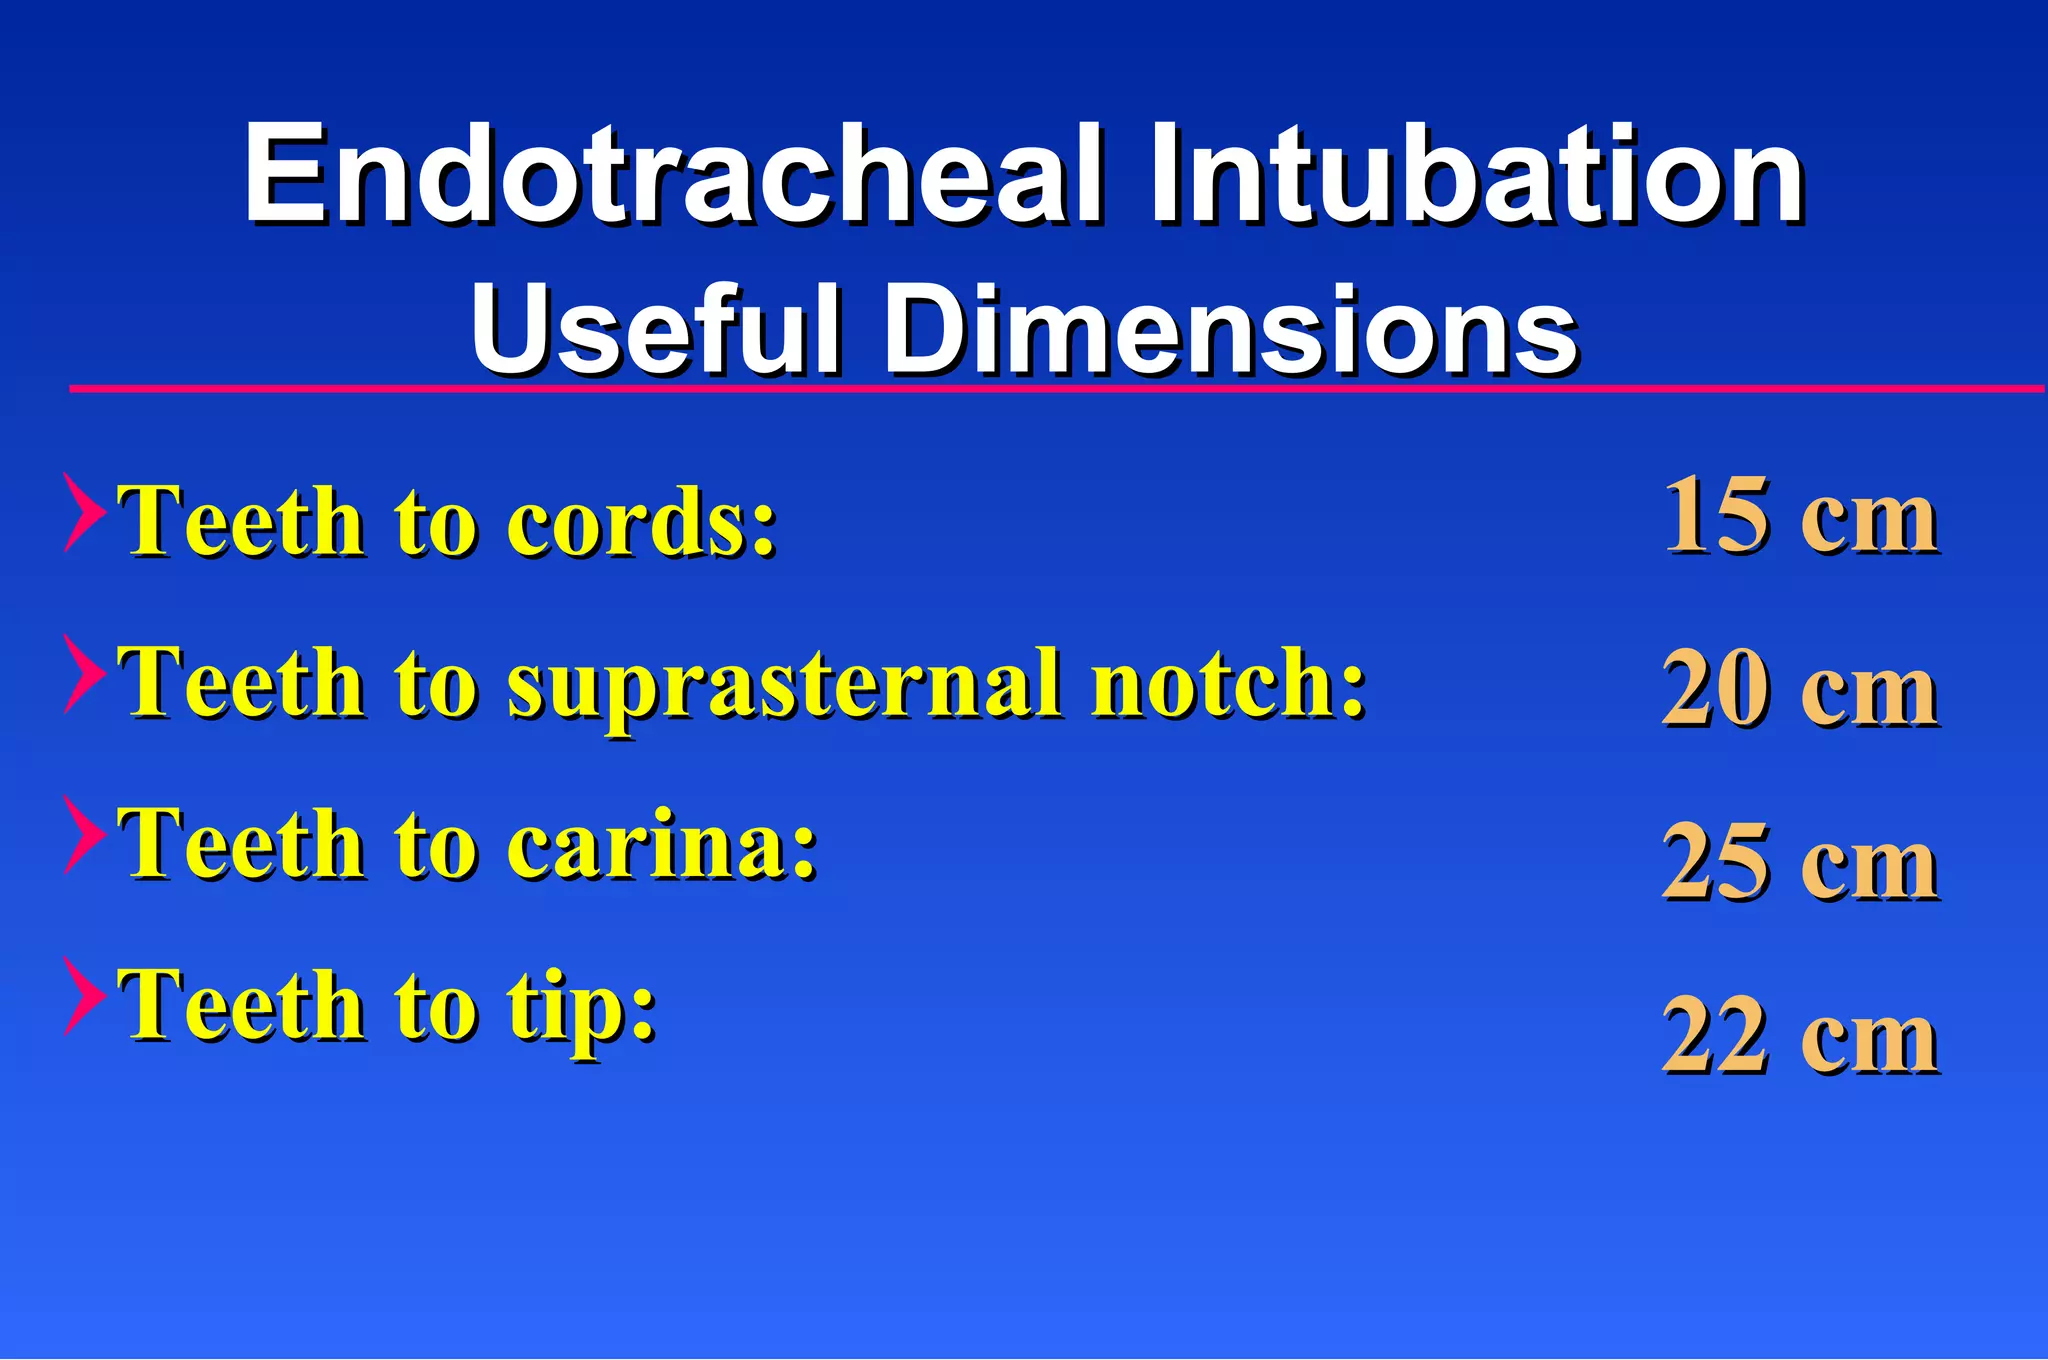
Teeth to cords:Teeth to suprasternal notch: Teeth to carina: Teeth to tip: 15 cm 20 cm 25 cm 22 cm Endotracheal Intubation Useful Dimensions
24.
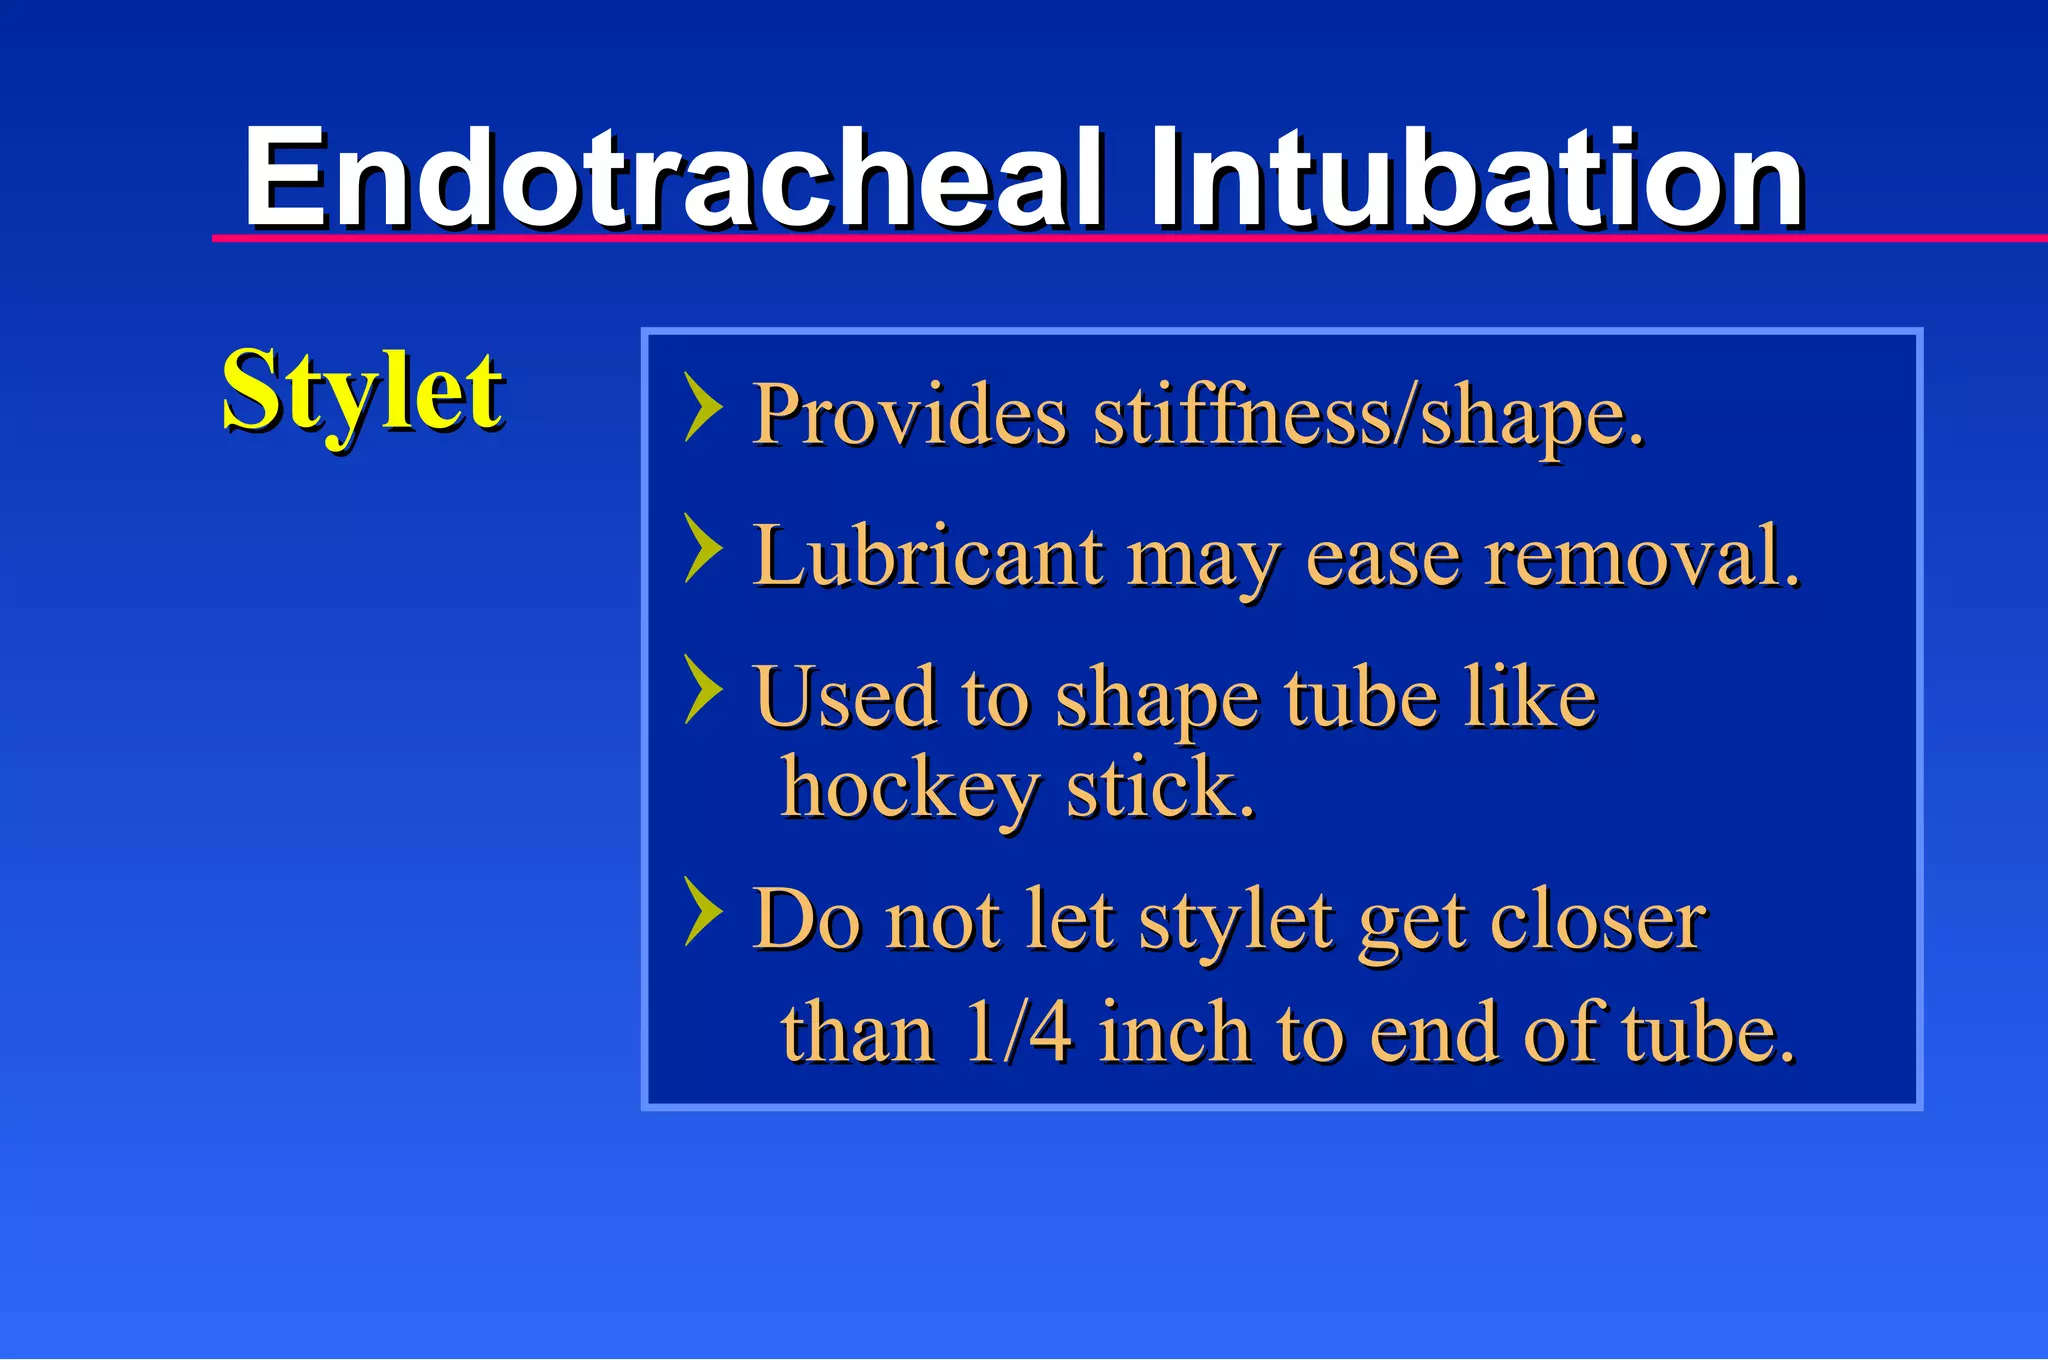
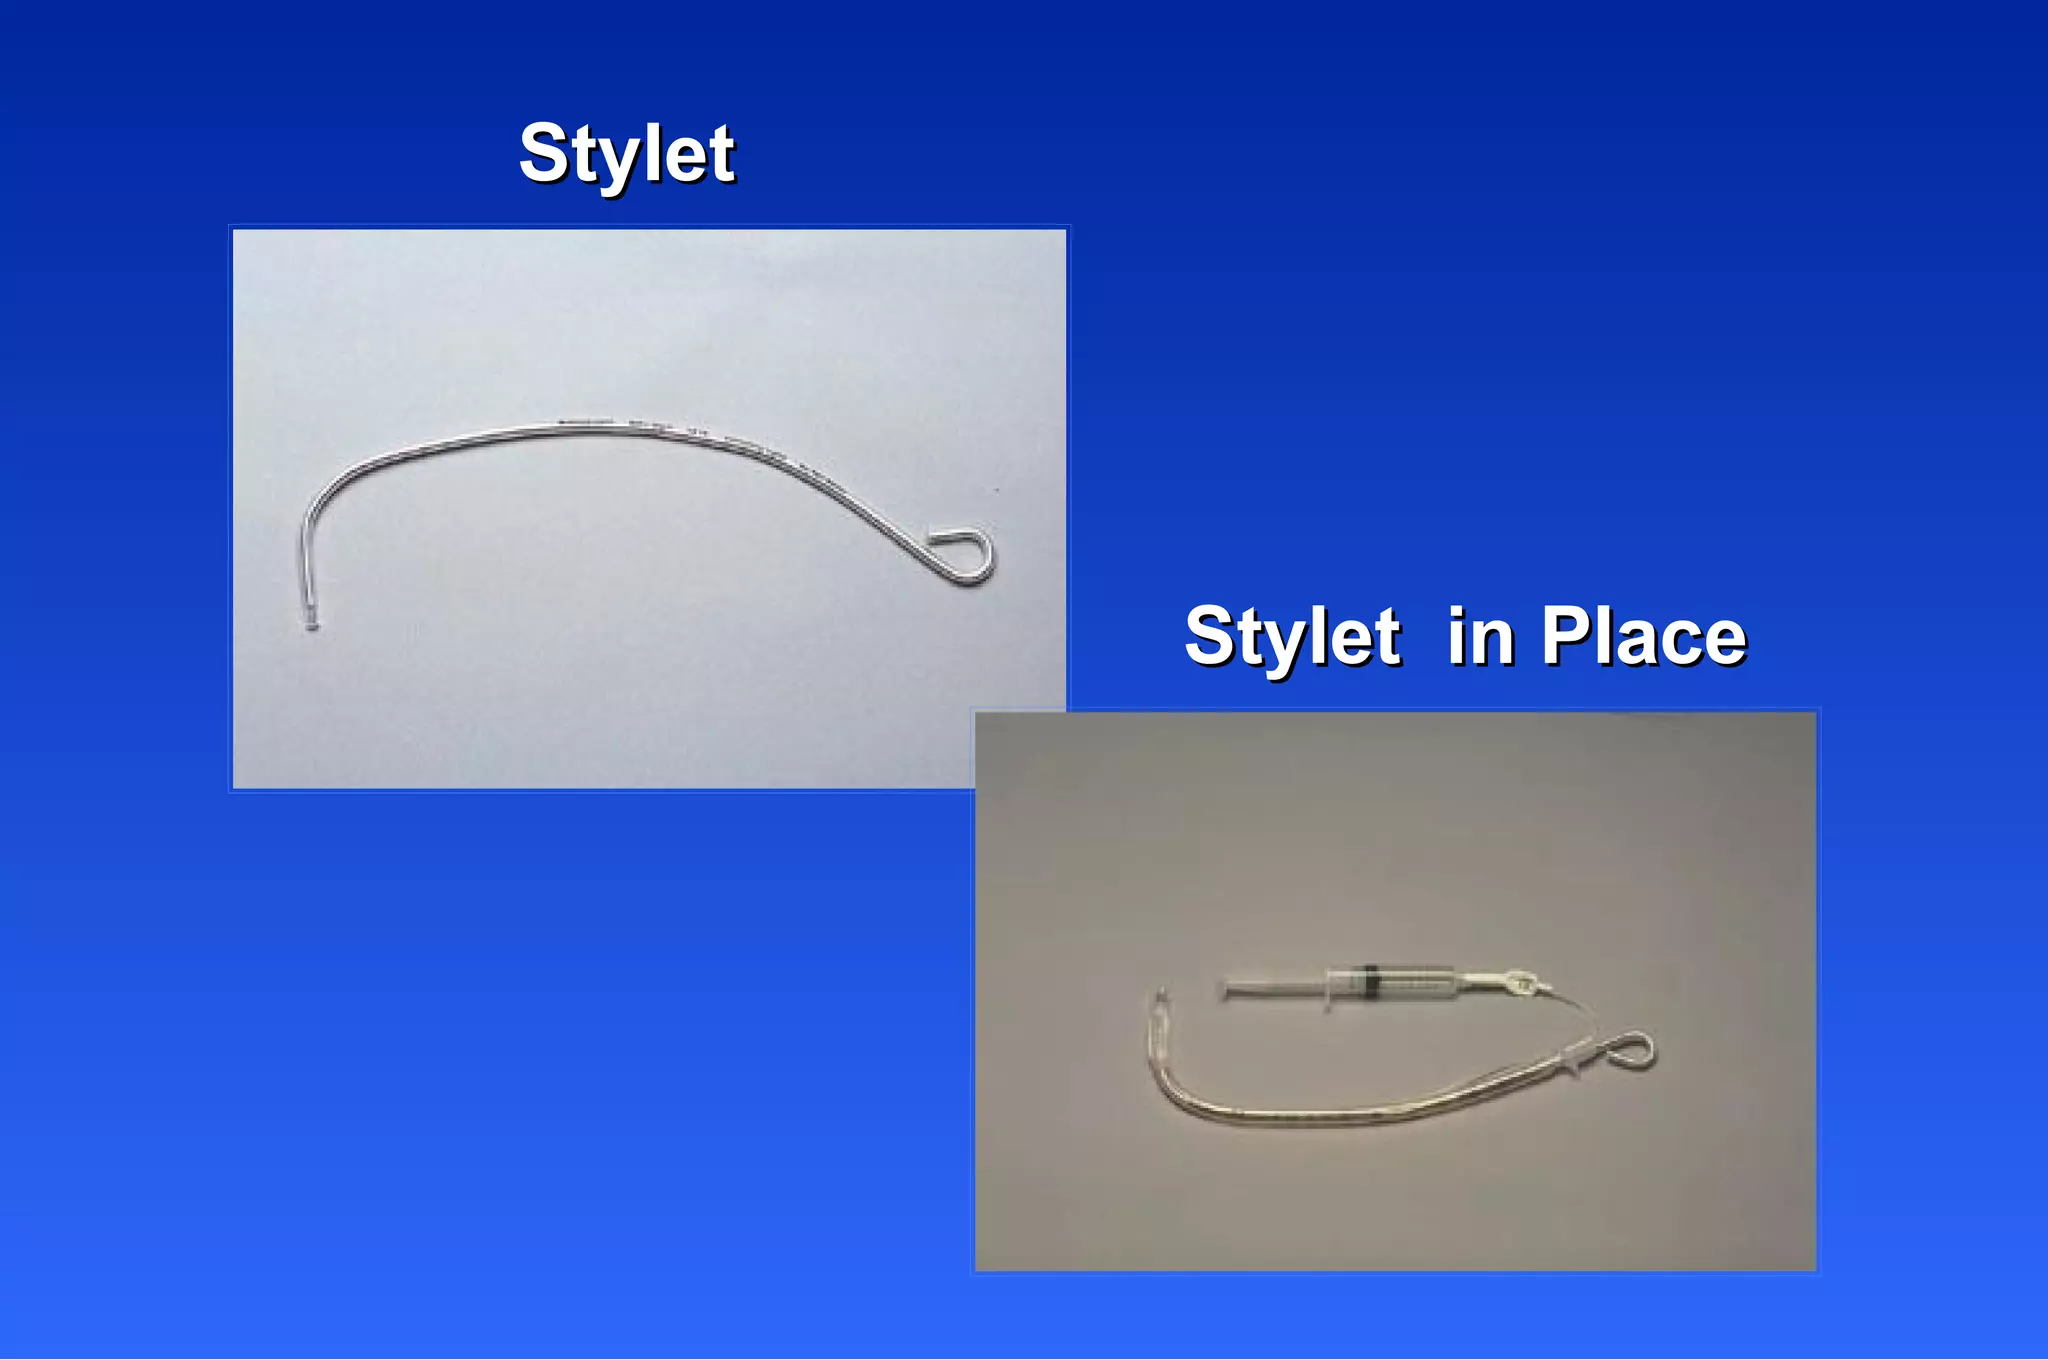
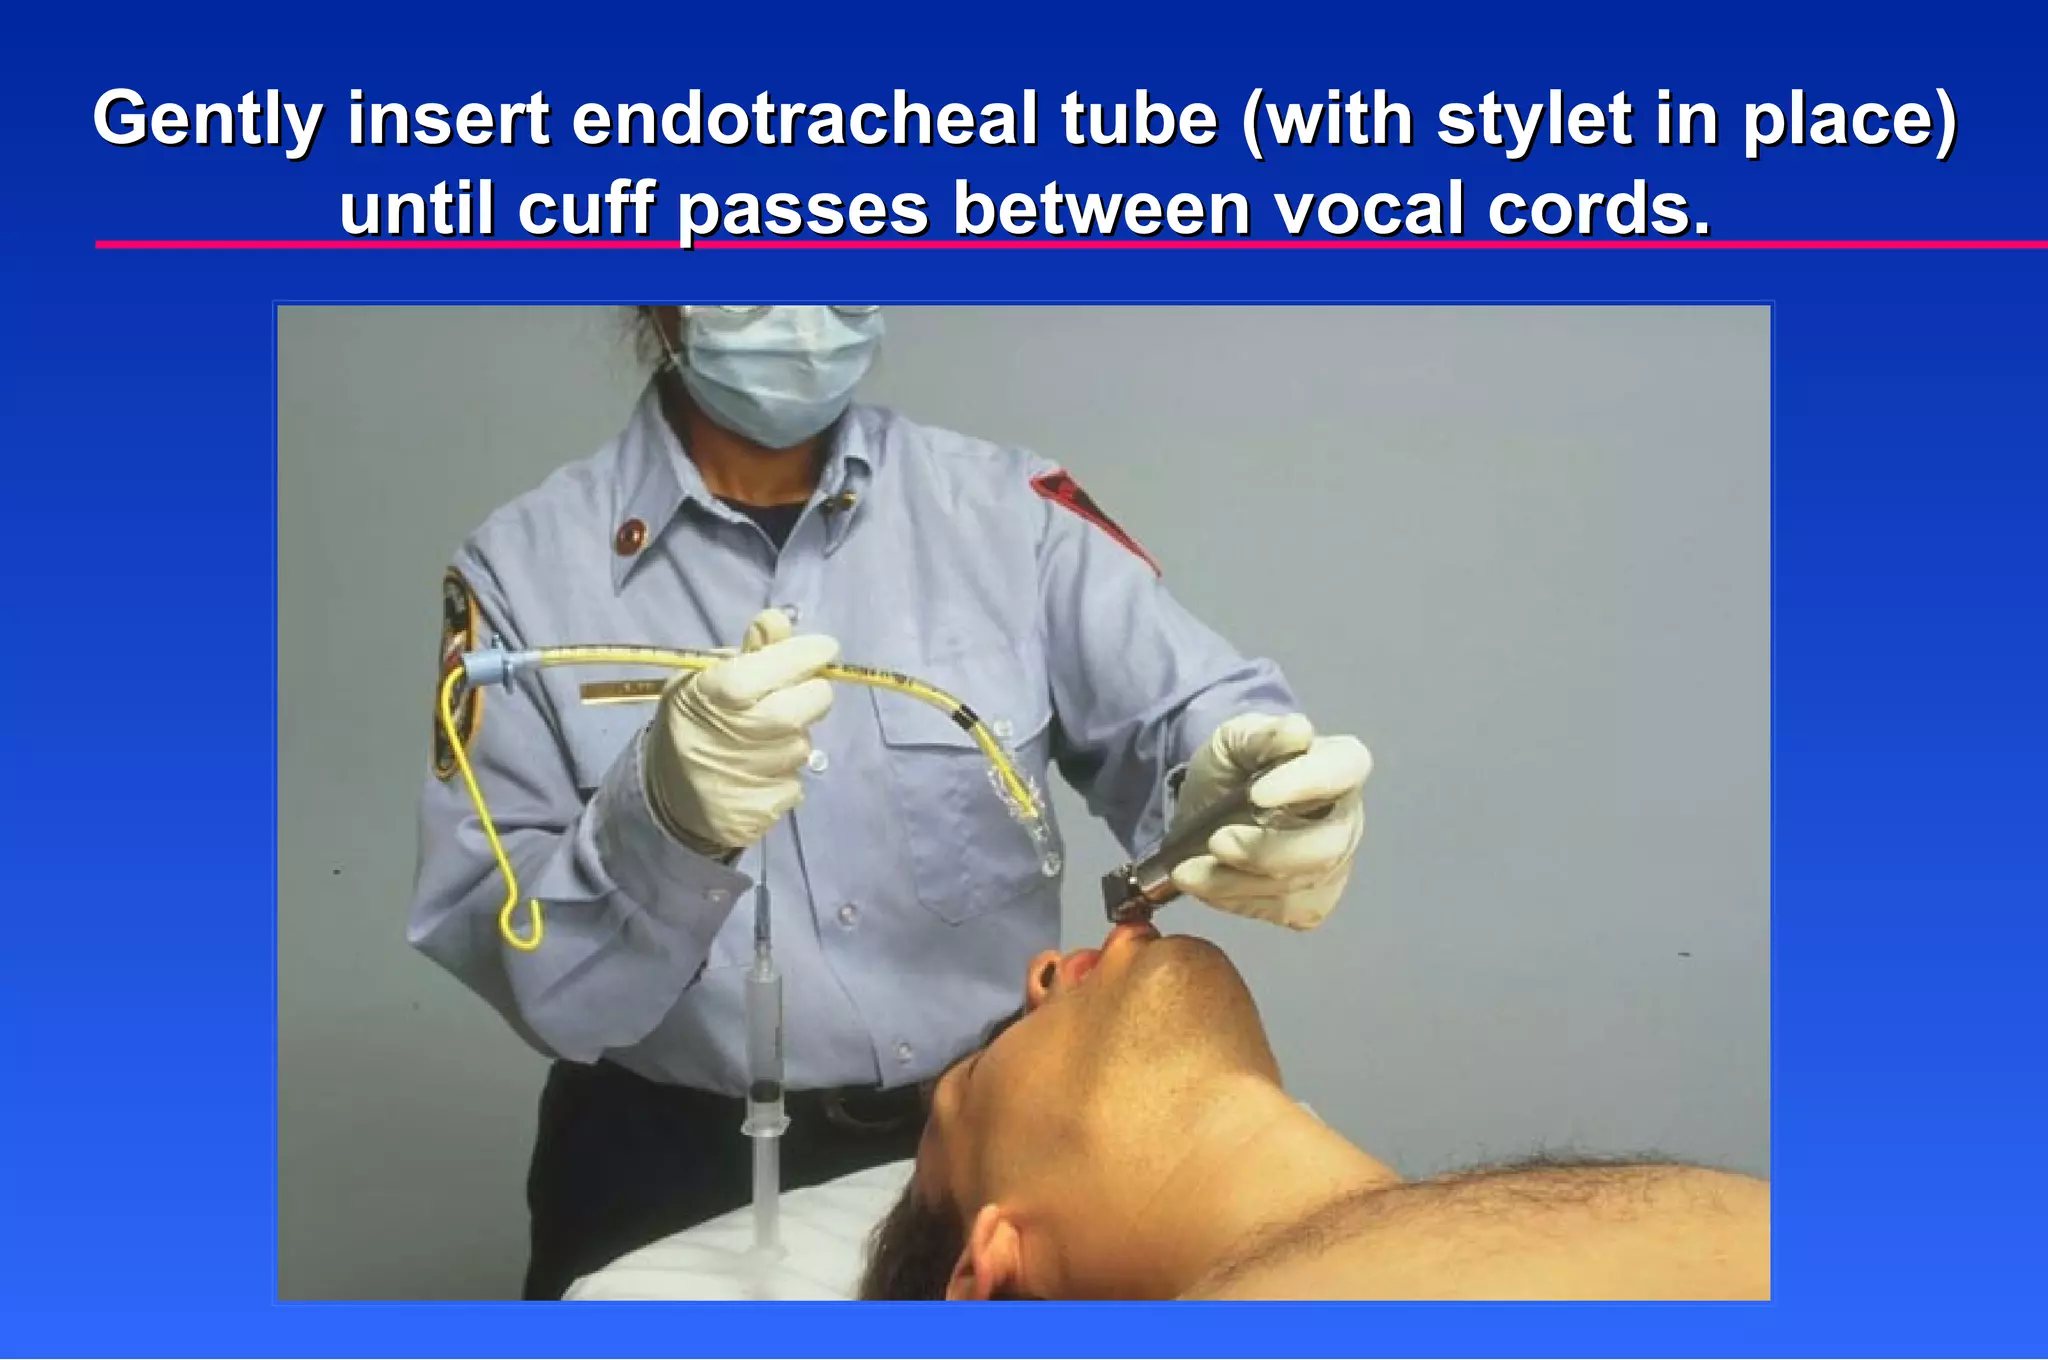
Provides stiffness/shape. Lubricantmay ease removal. Used to shape tube like Stylet hockey stick. Do not let stylet get closer than 1/4 inch to end of tube. Endotracheal Intubation
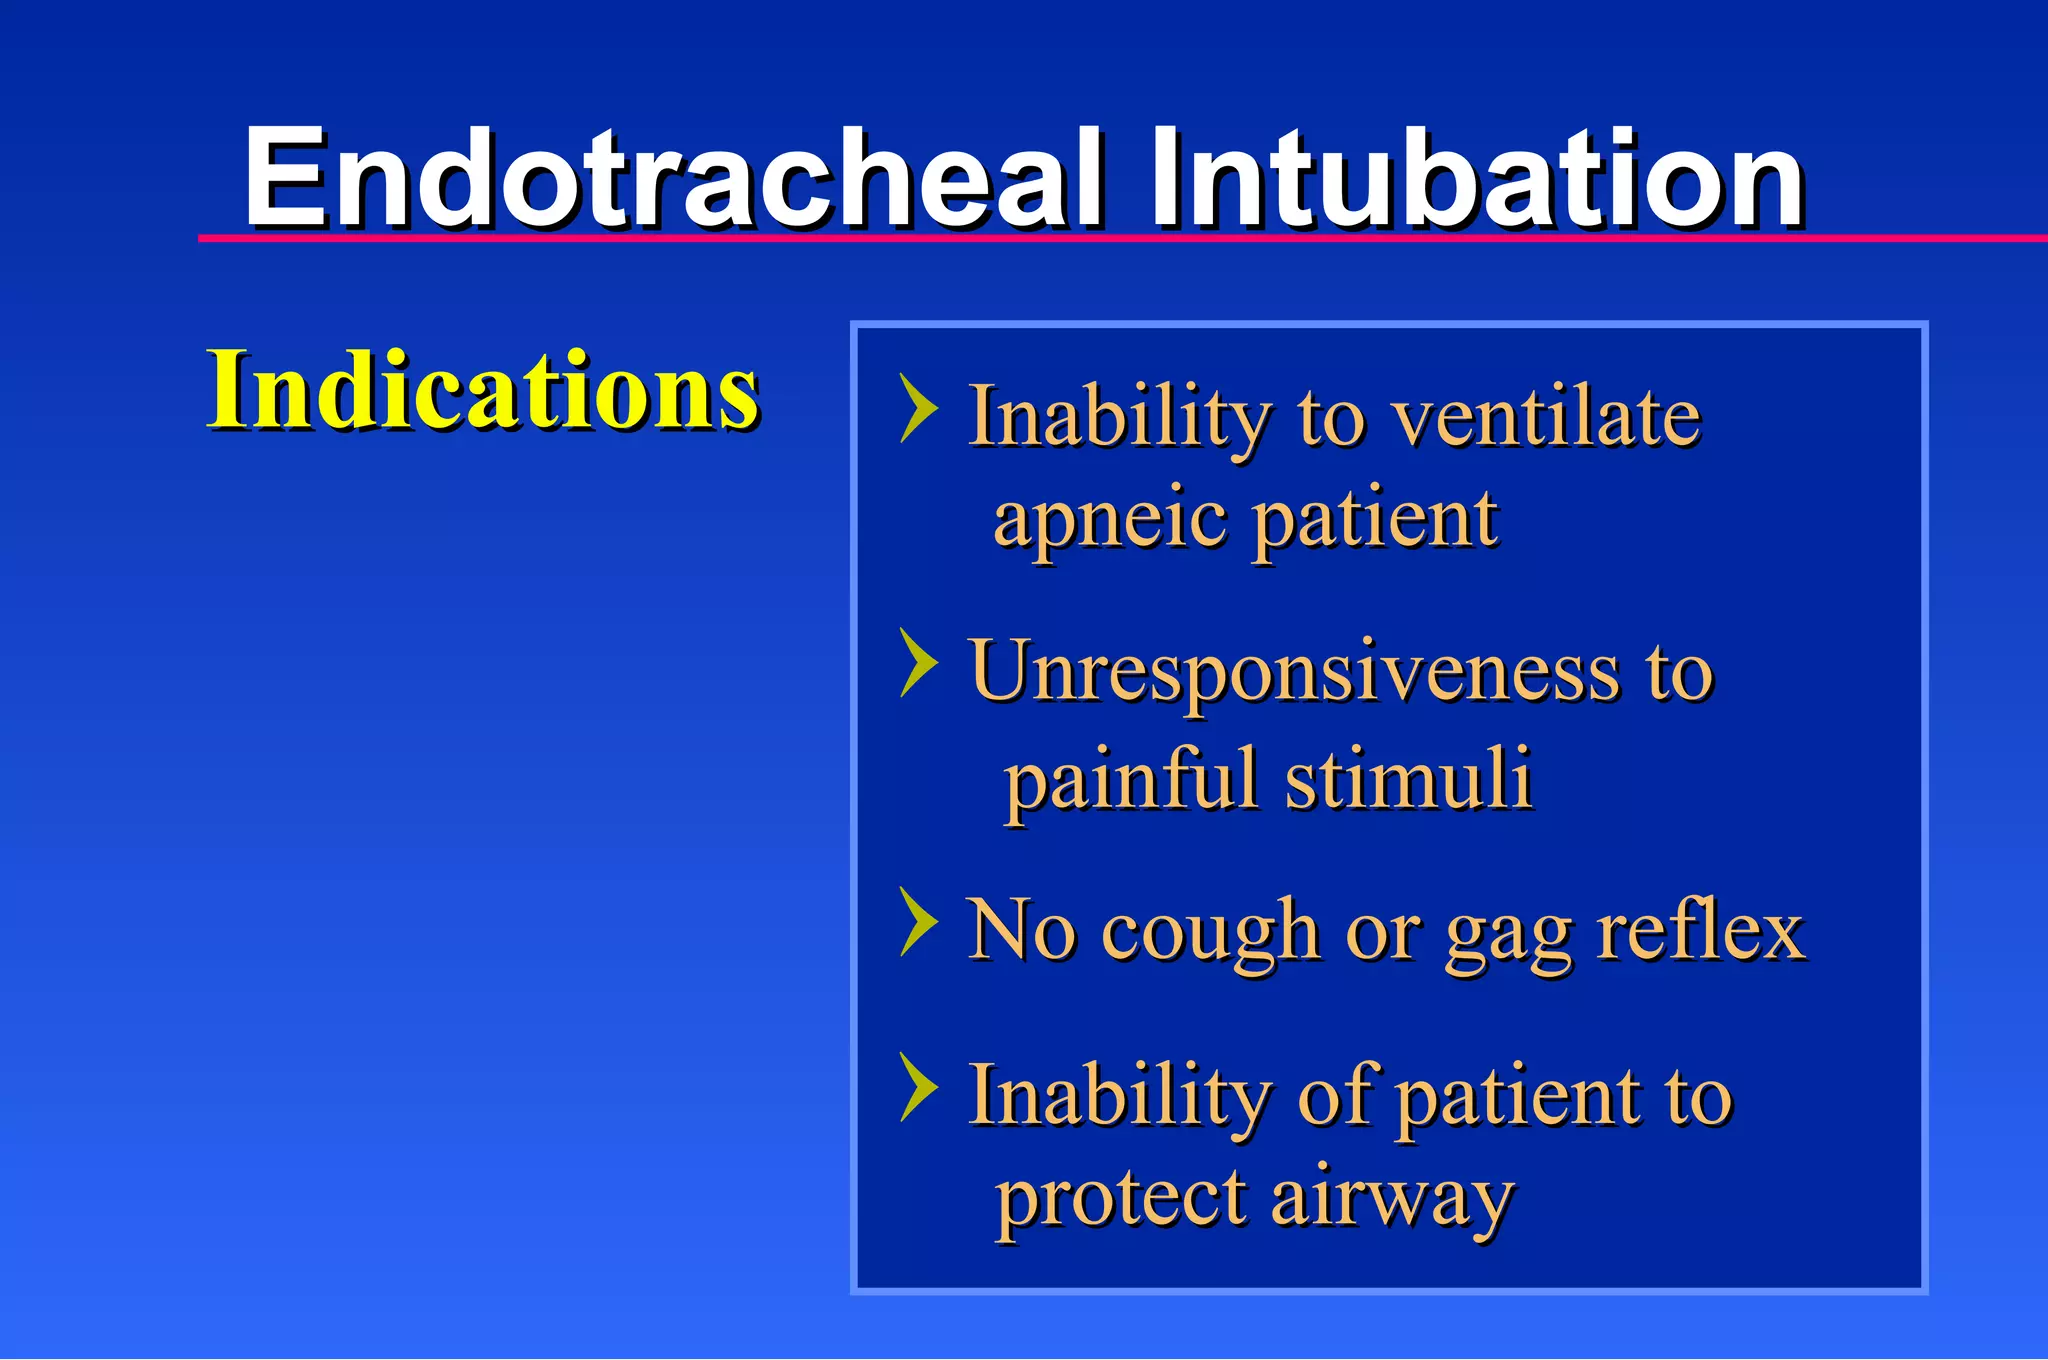
Endotracheal Intubation Inabilityto ventilate Indications apneic patient Unresponsiveness to painful stimuli No cough or gag reflex Inability of patient to protect airway
28.
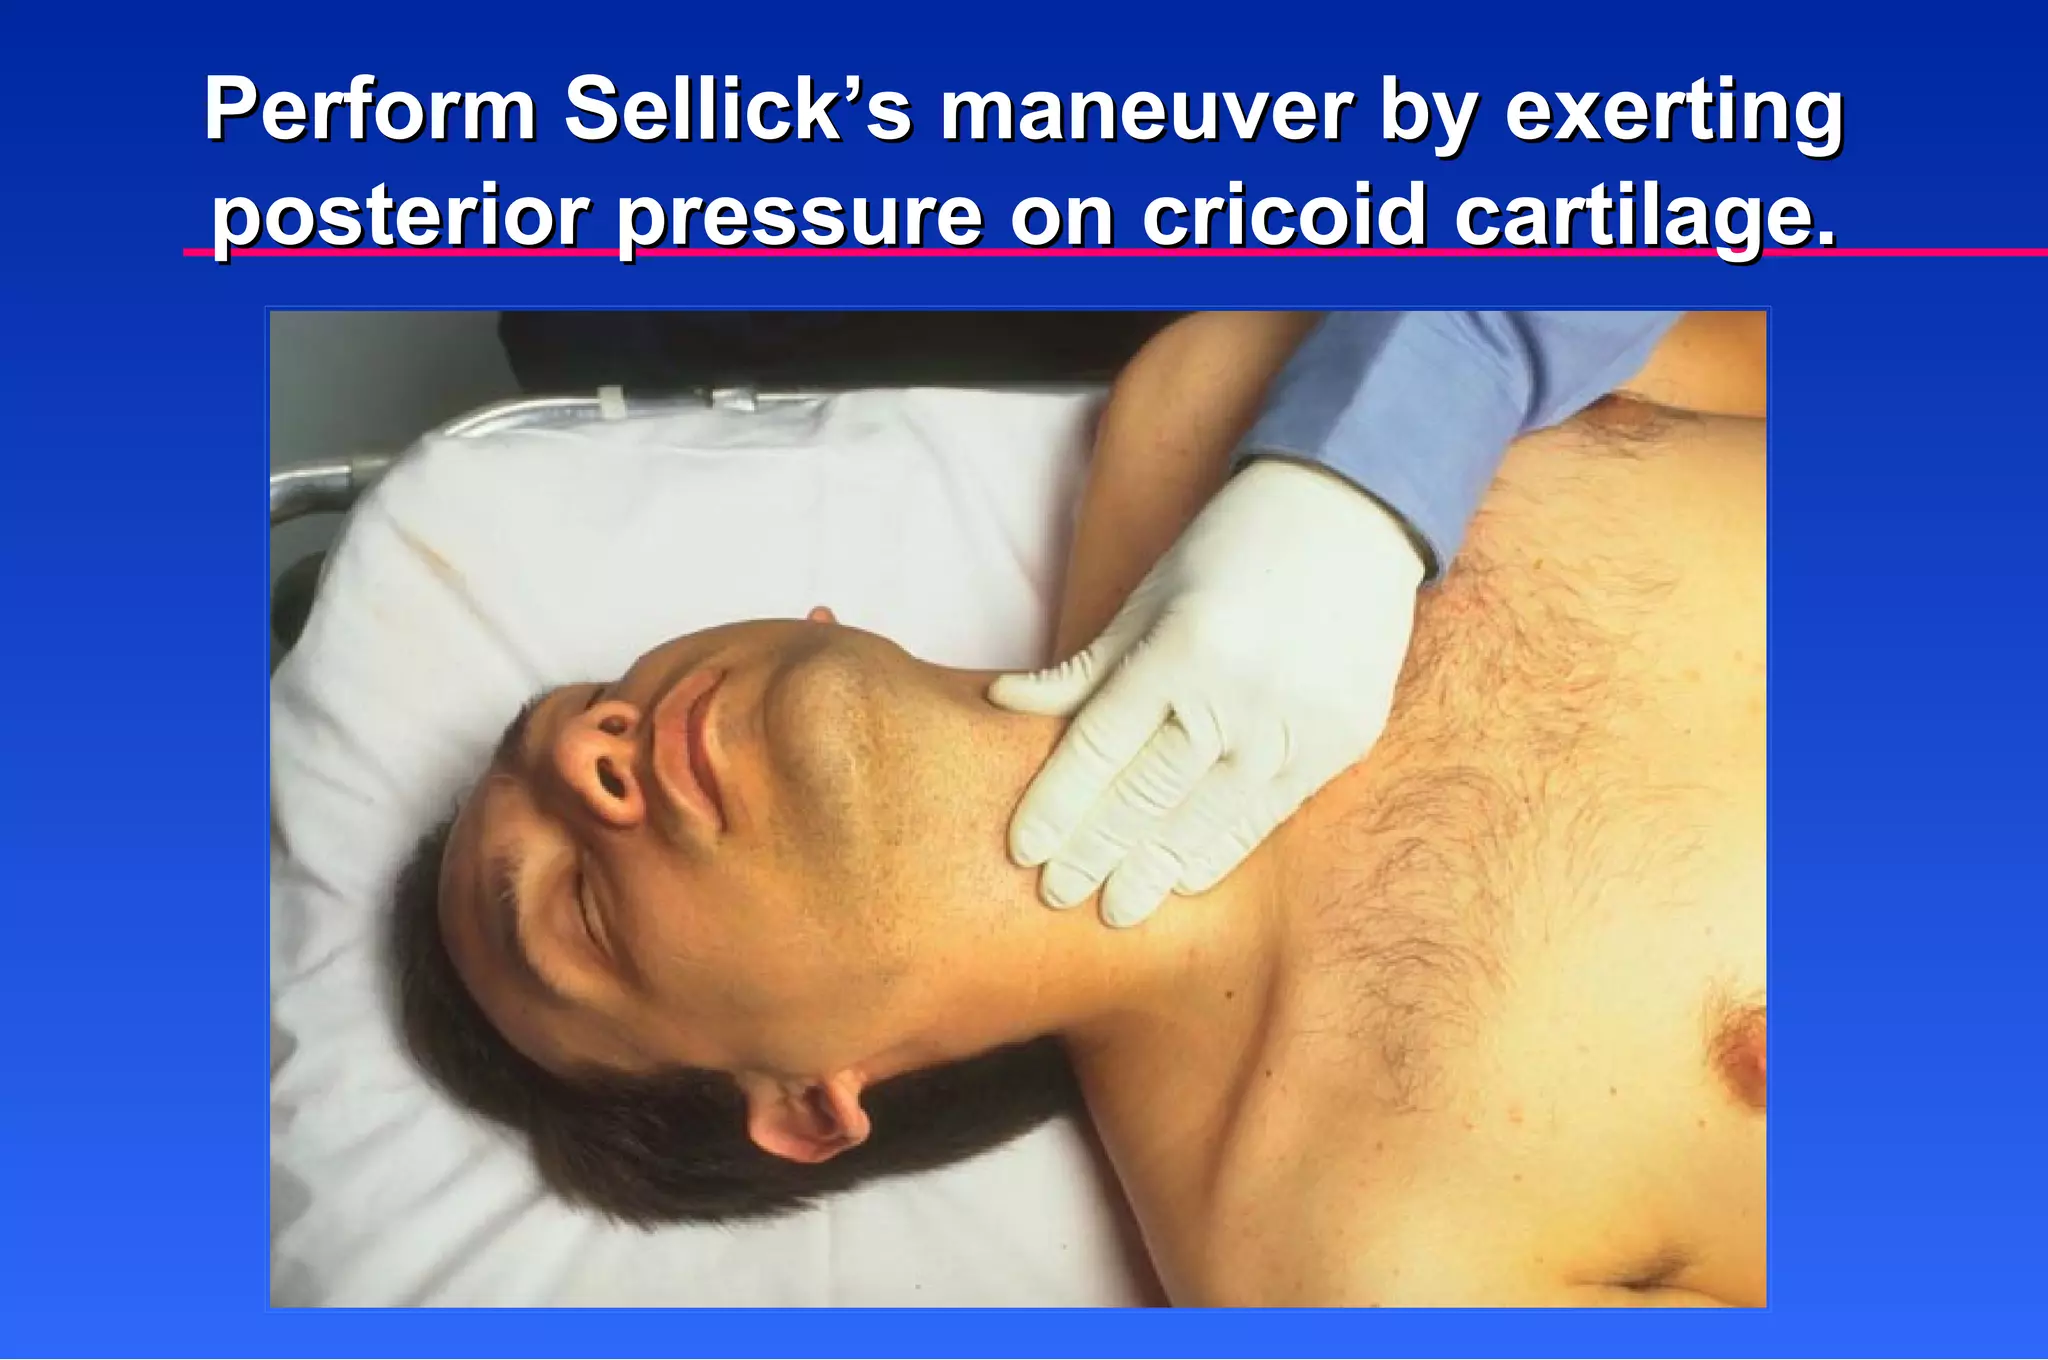
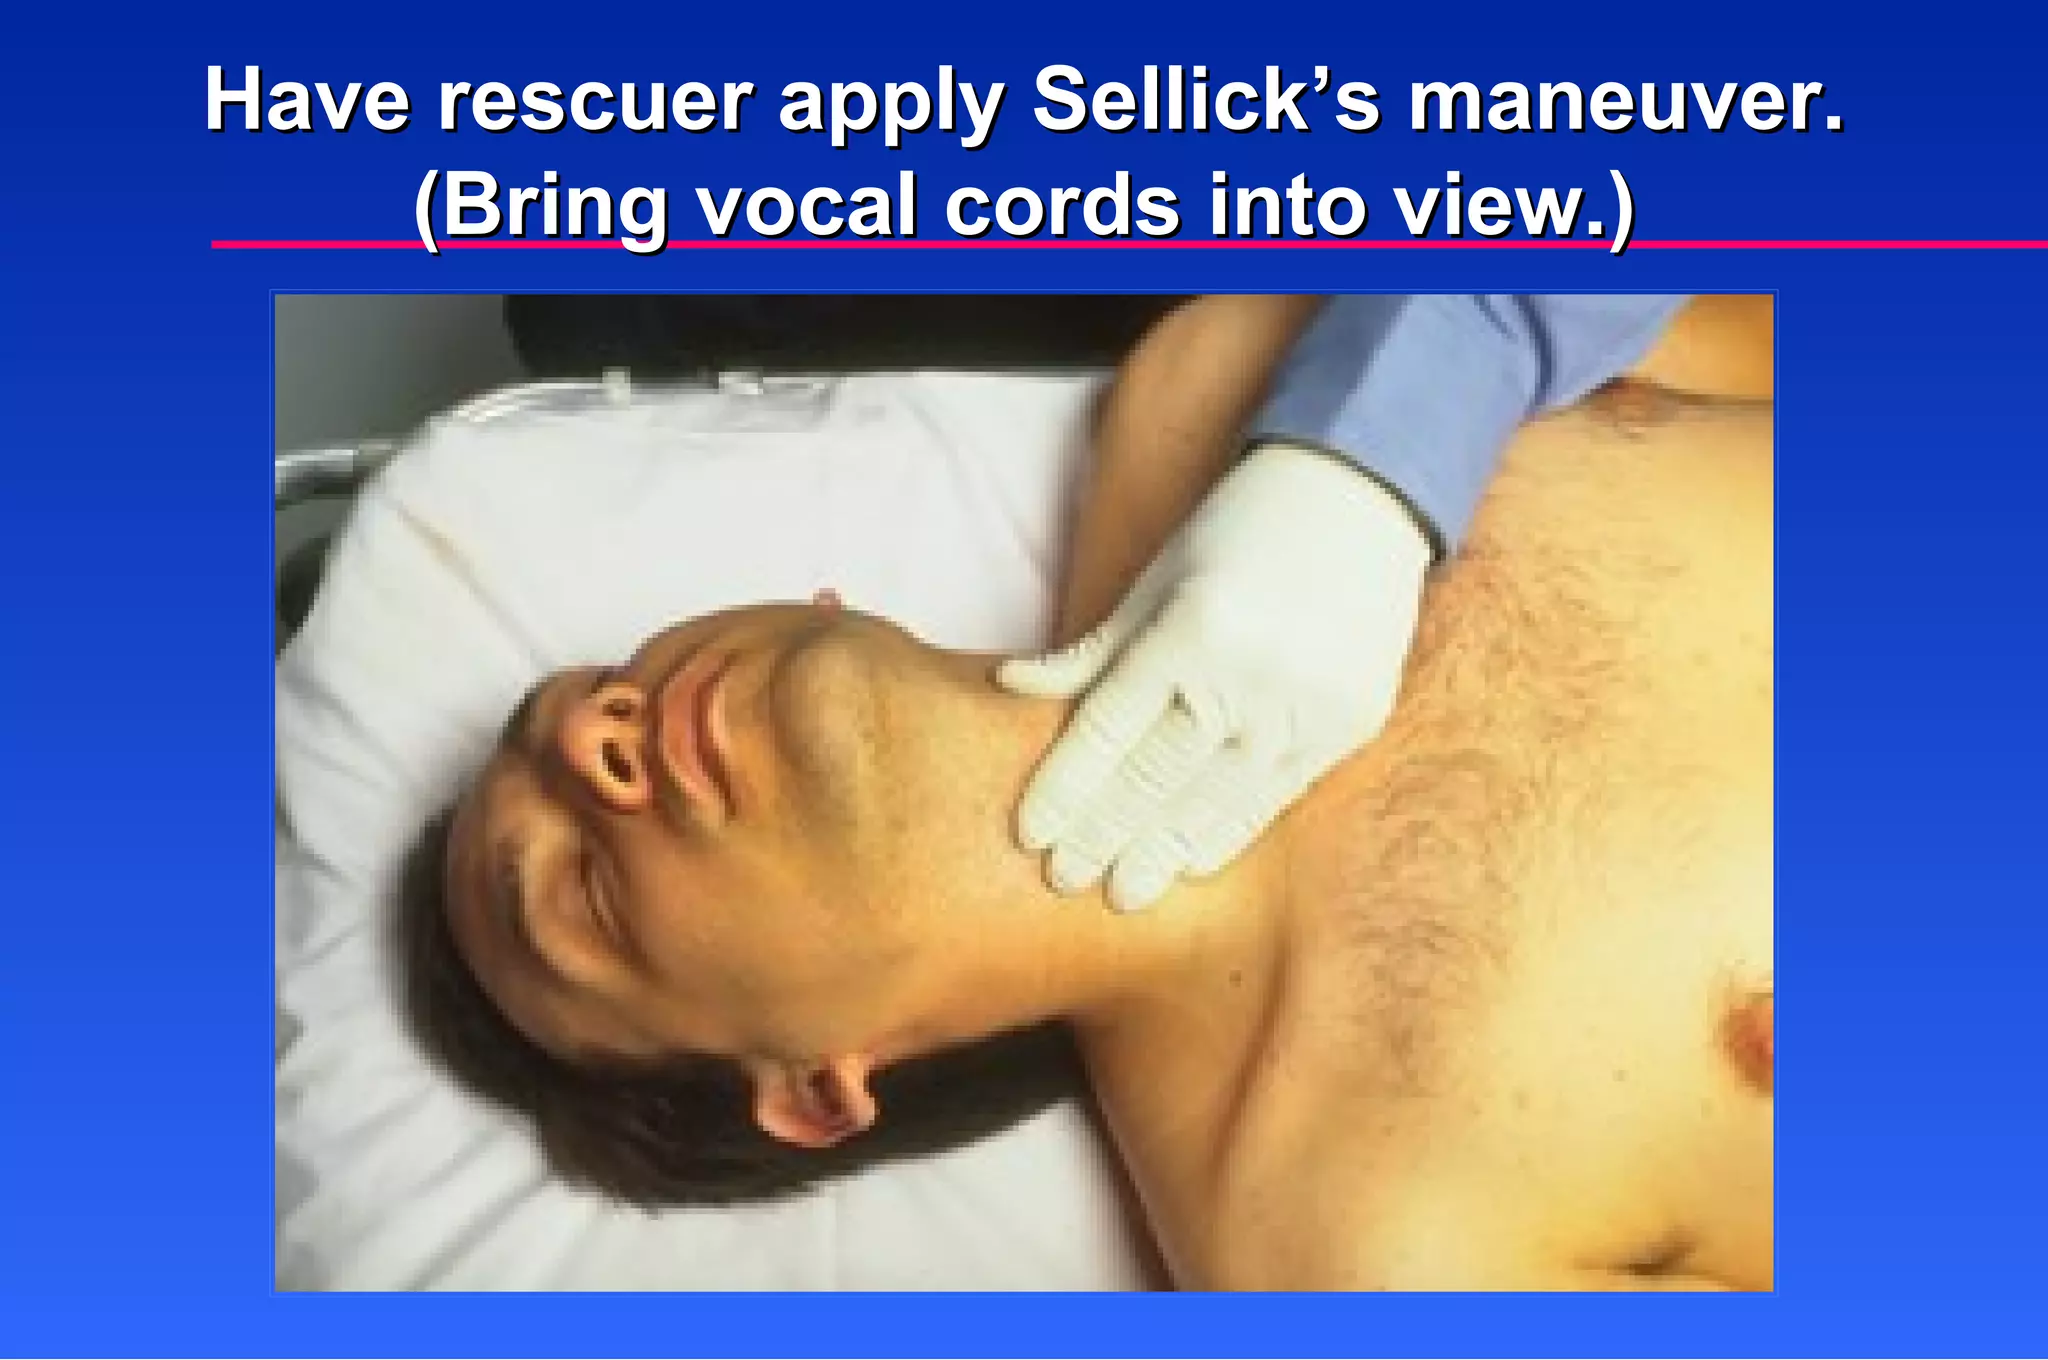
Use in unresponsivepatient who lacks a cough or gag reflex to help prevent regurgitation and aspiration during endotracheal intubation. Sellick’s Maneuver
29.
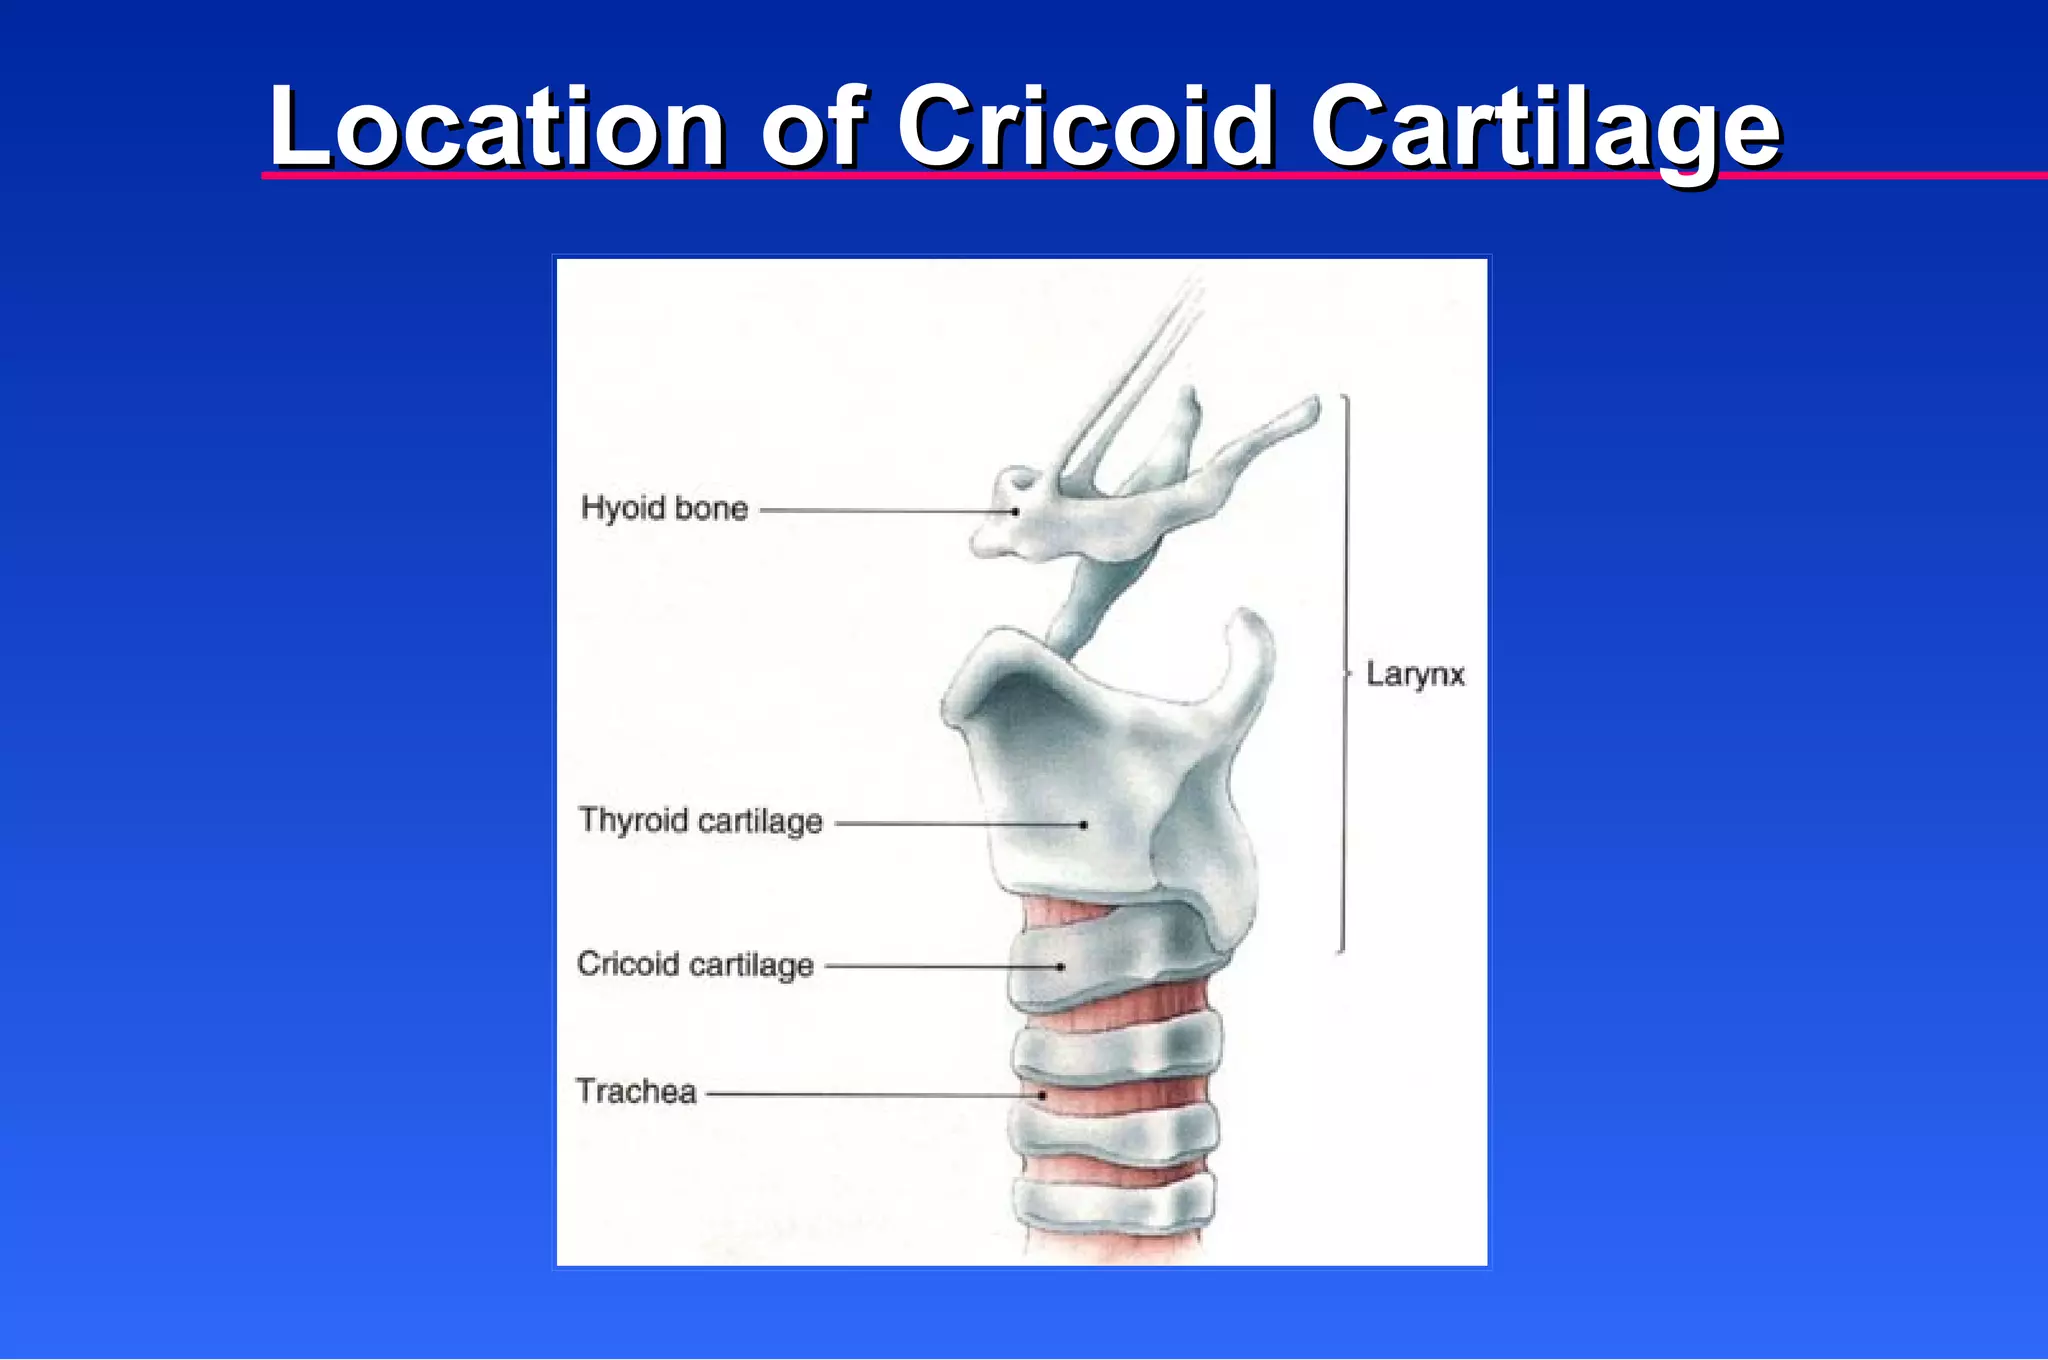
Cricoid Cartilage Surroundsentire trachea, inferior to cricothyroid membrane (depression below thyroid cartilage or Adam’s apple) K EY TERM
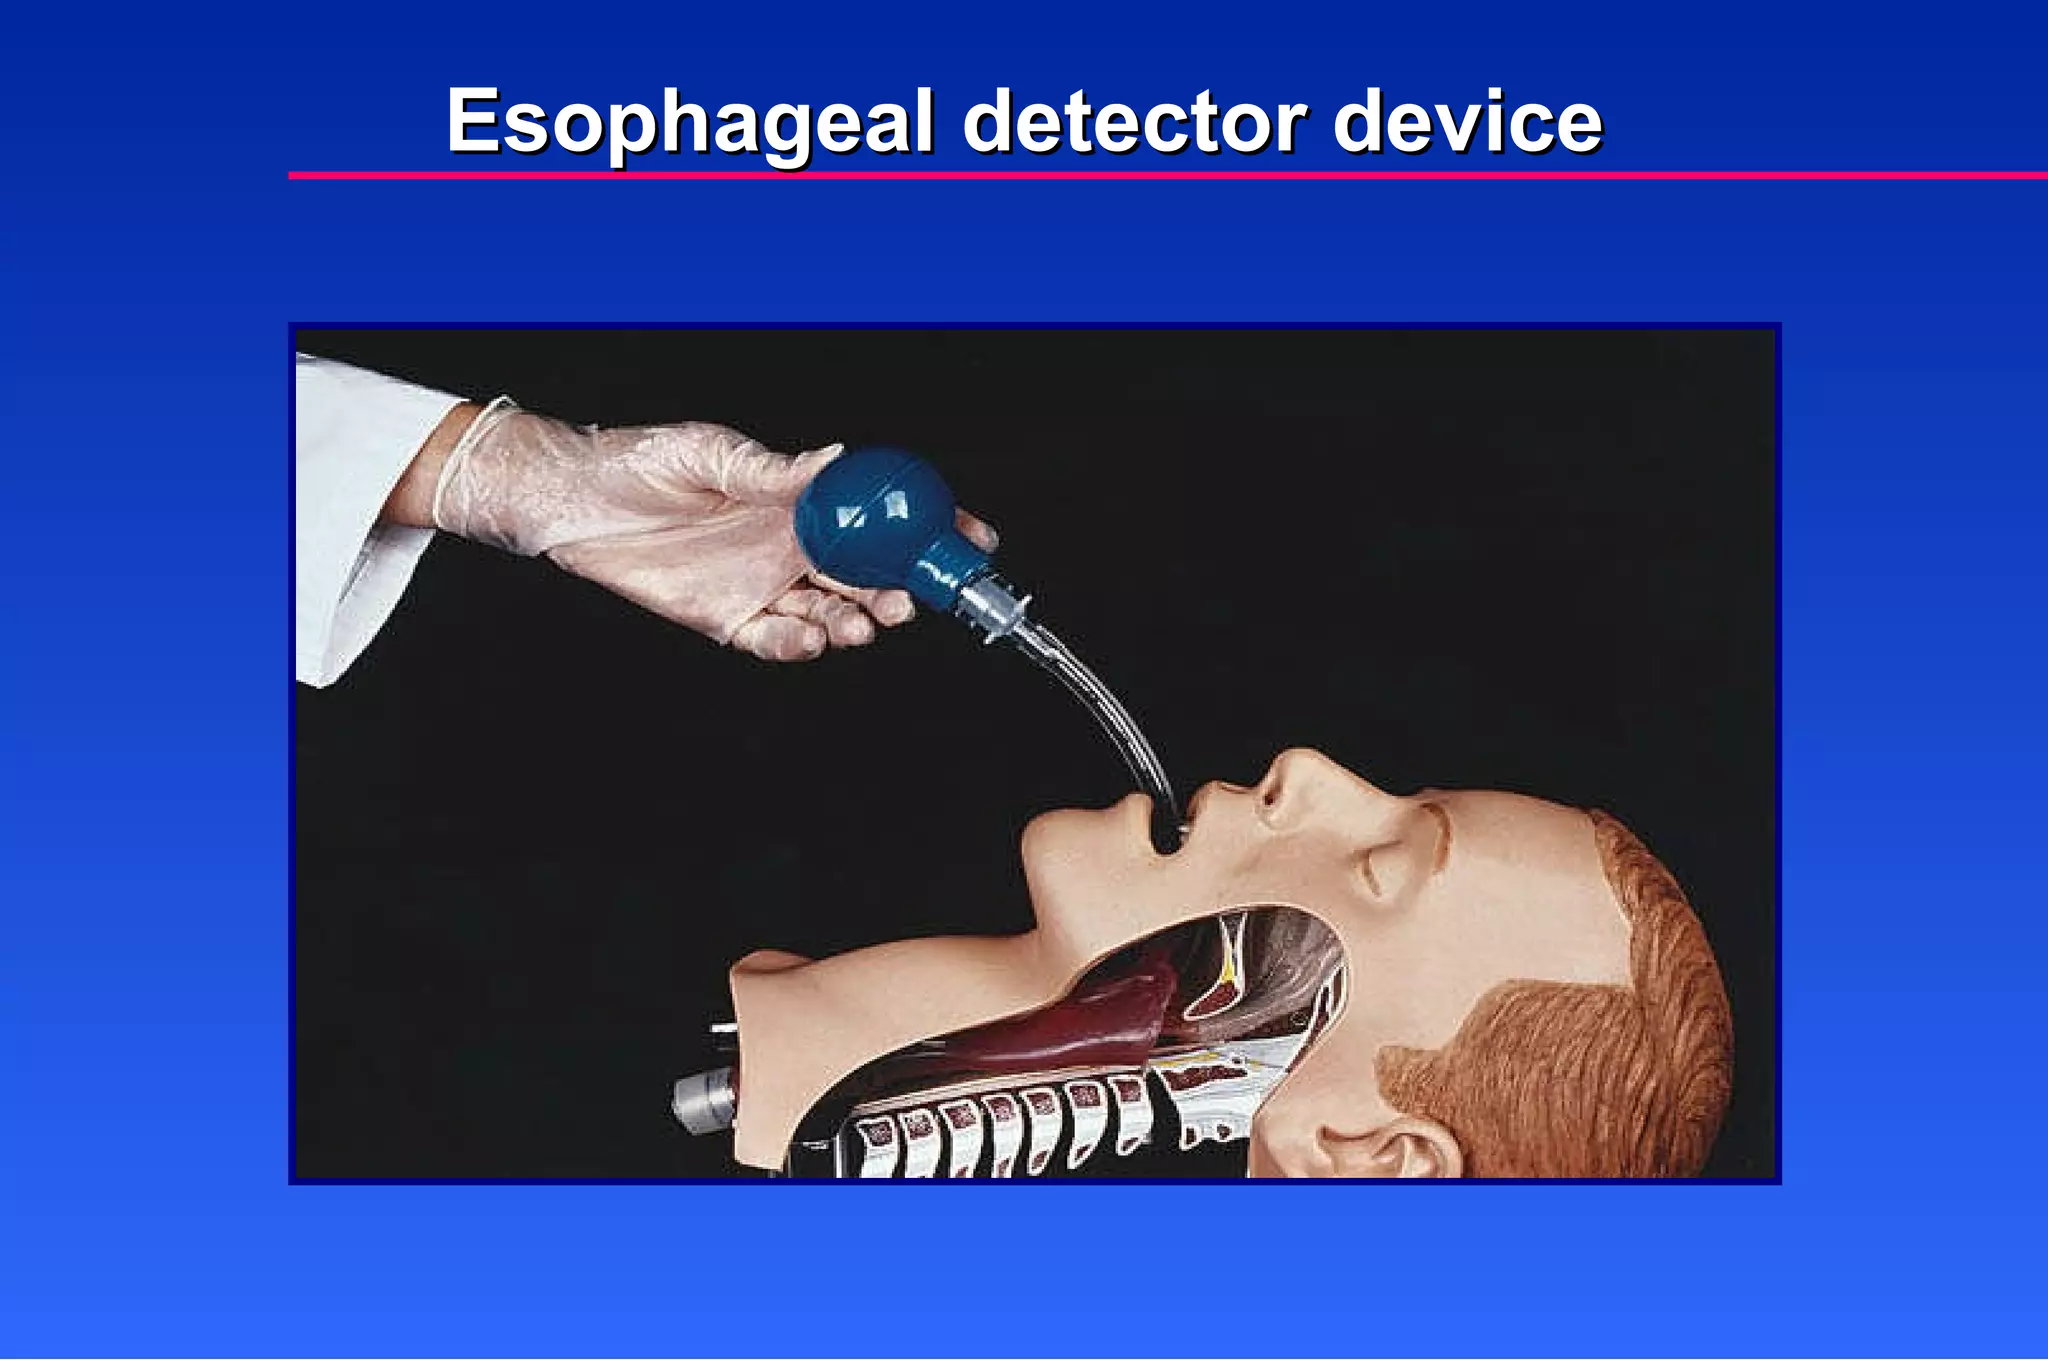
Observe chest riseand fall. Auscultate epigastrium for absence of sounds. Auscultate apex and base of each lung. Confirm Correct Tube Placement (Continued)
48.
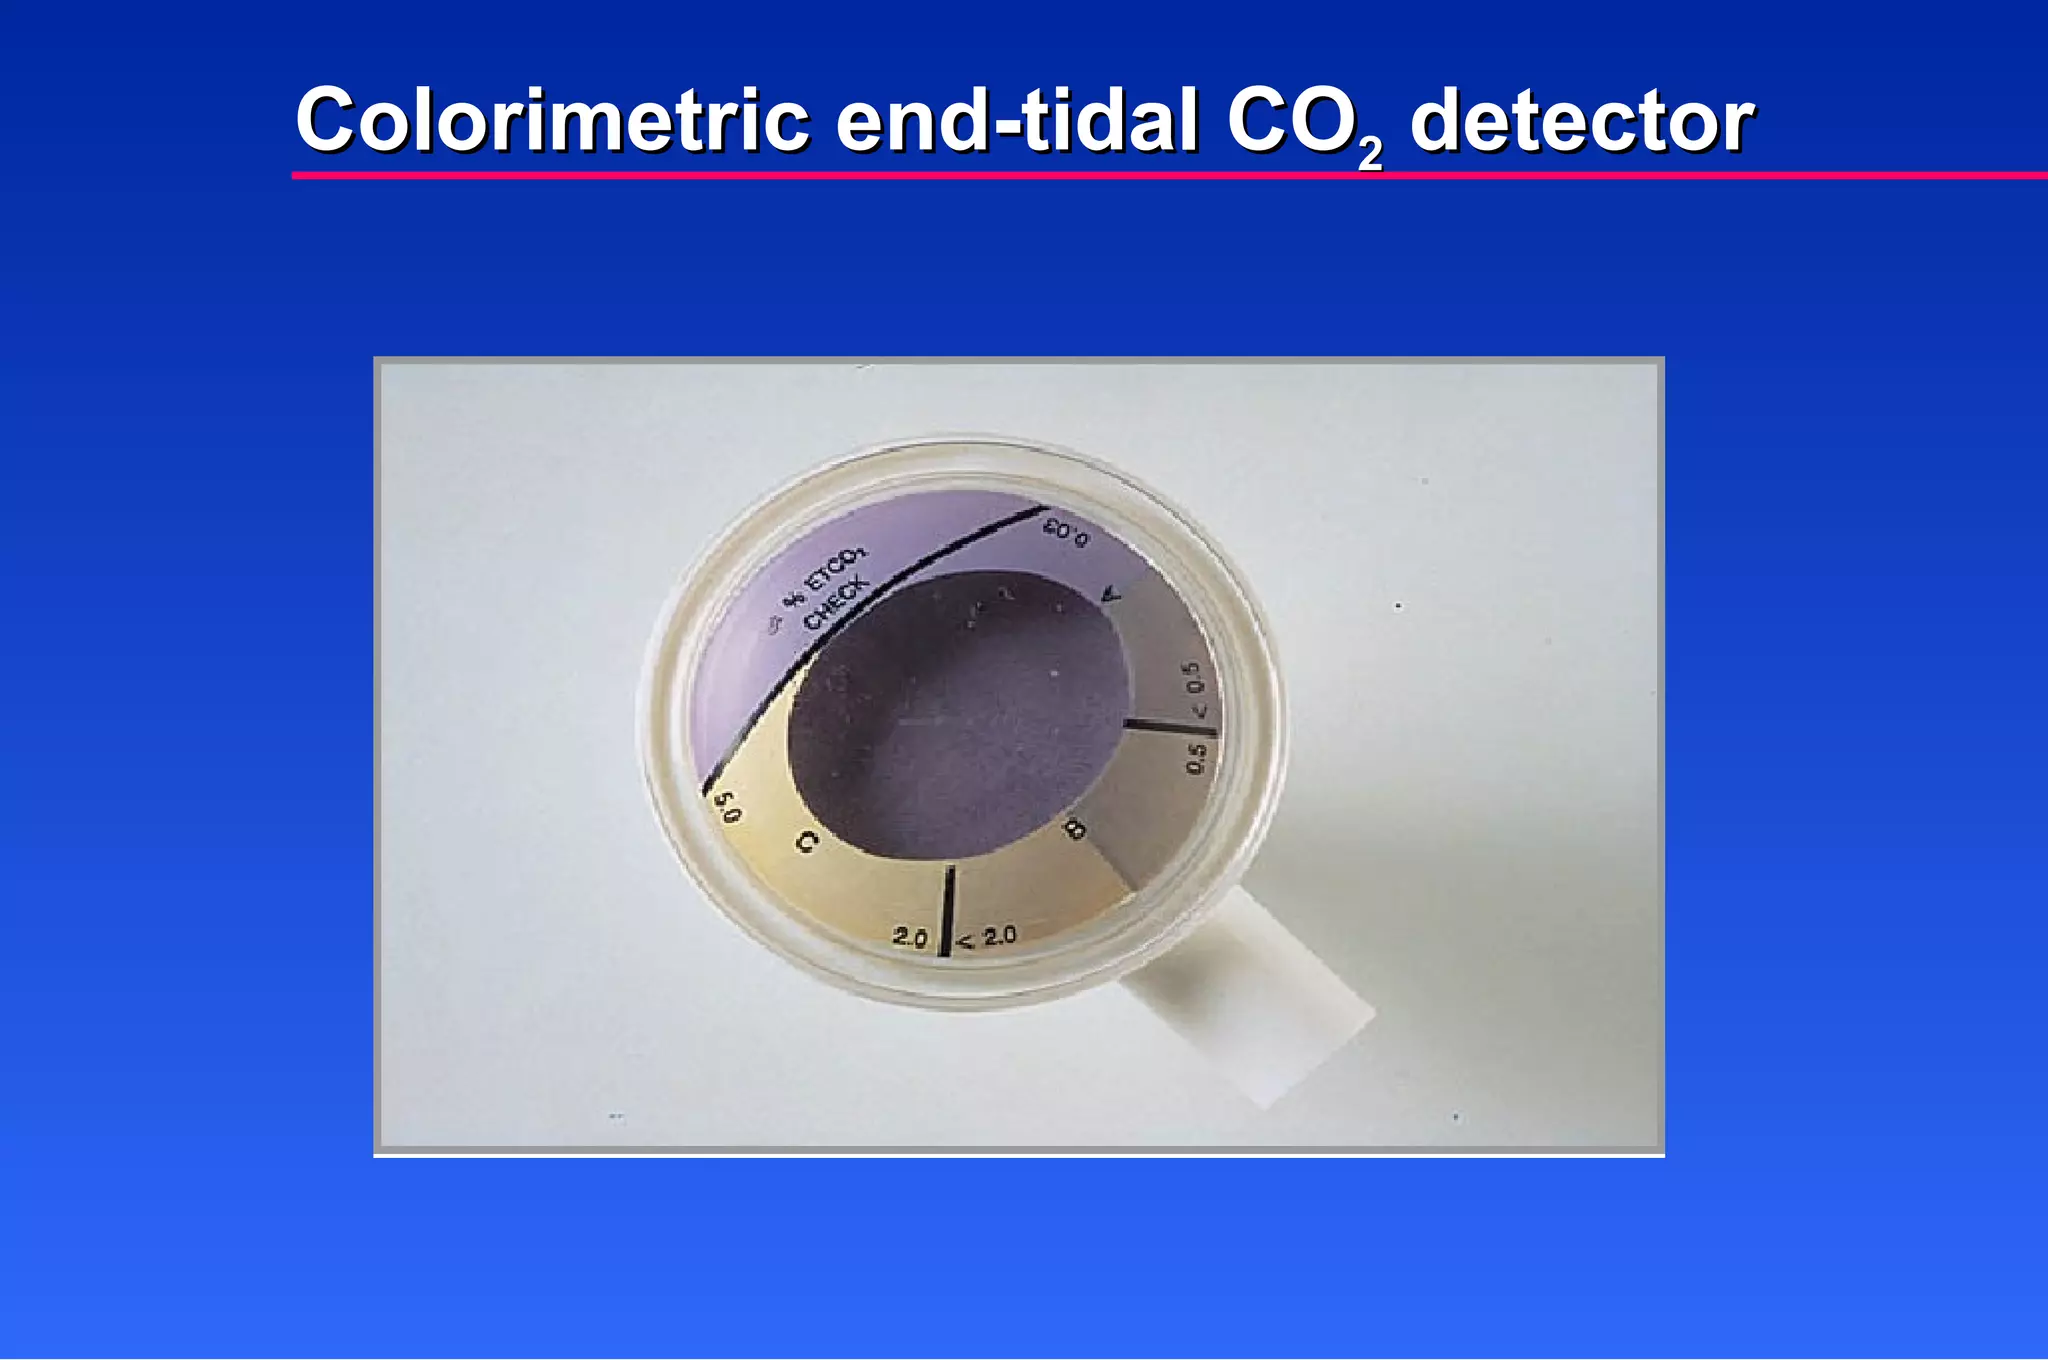
Observe for signssuch as cyanosis. As protocols direct, use end-tidal CO 2 detector and “tube-check.” (Continued) Confirm Correct Tube Placement
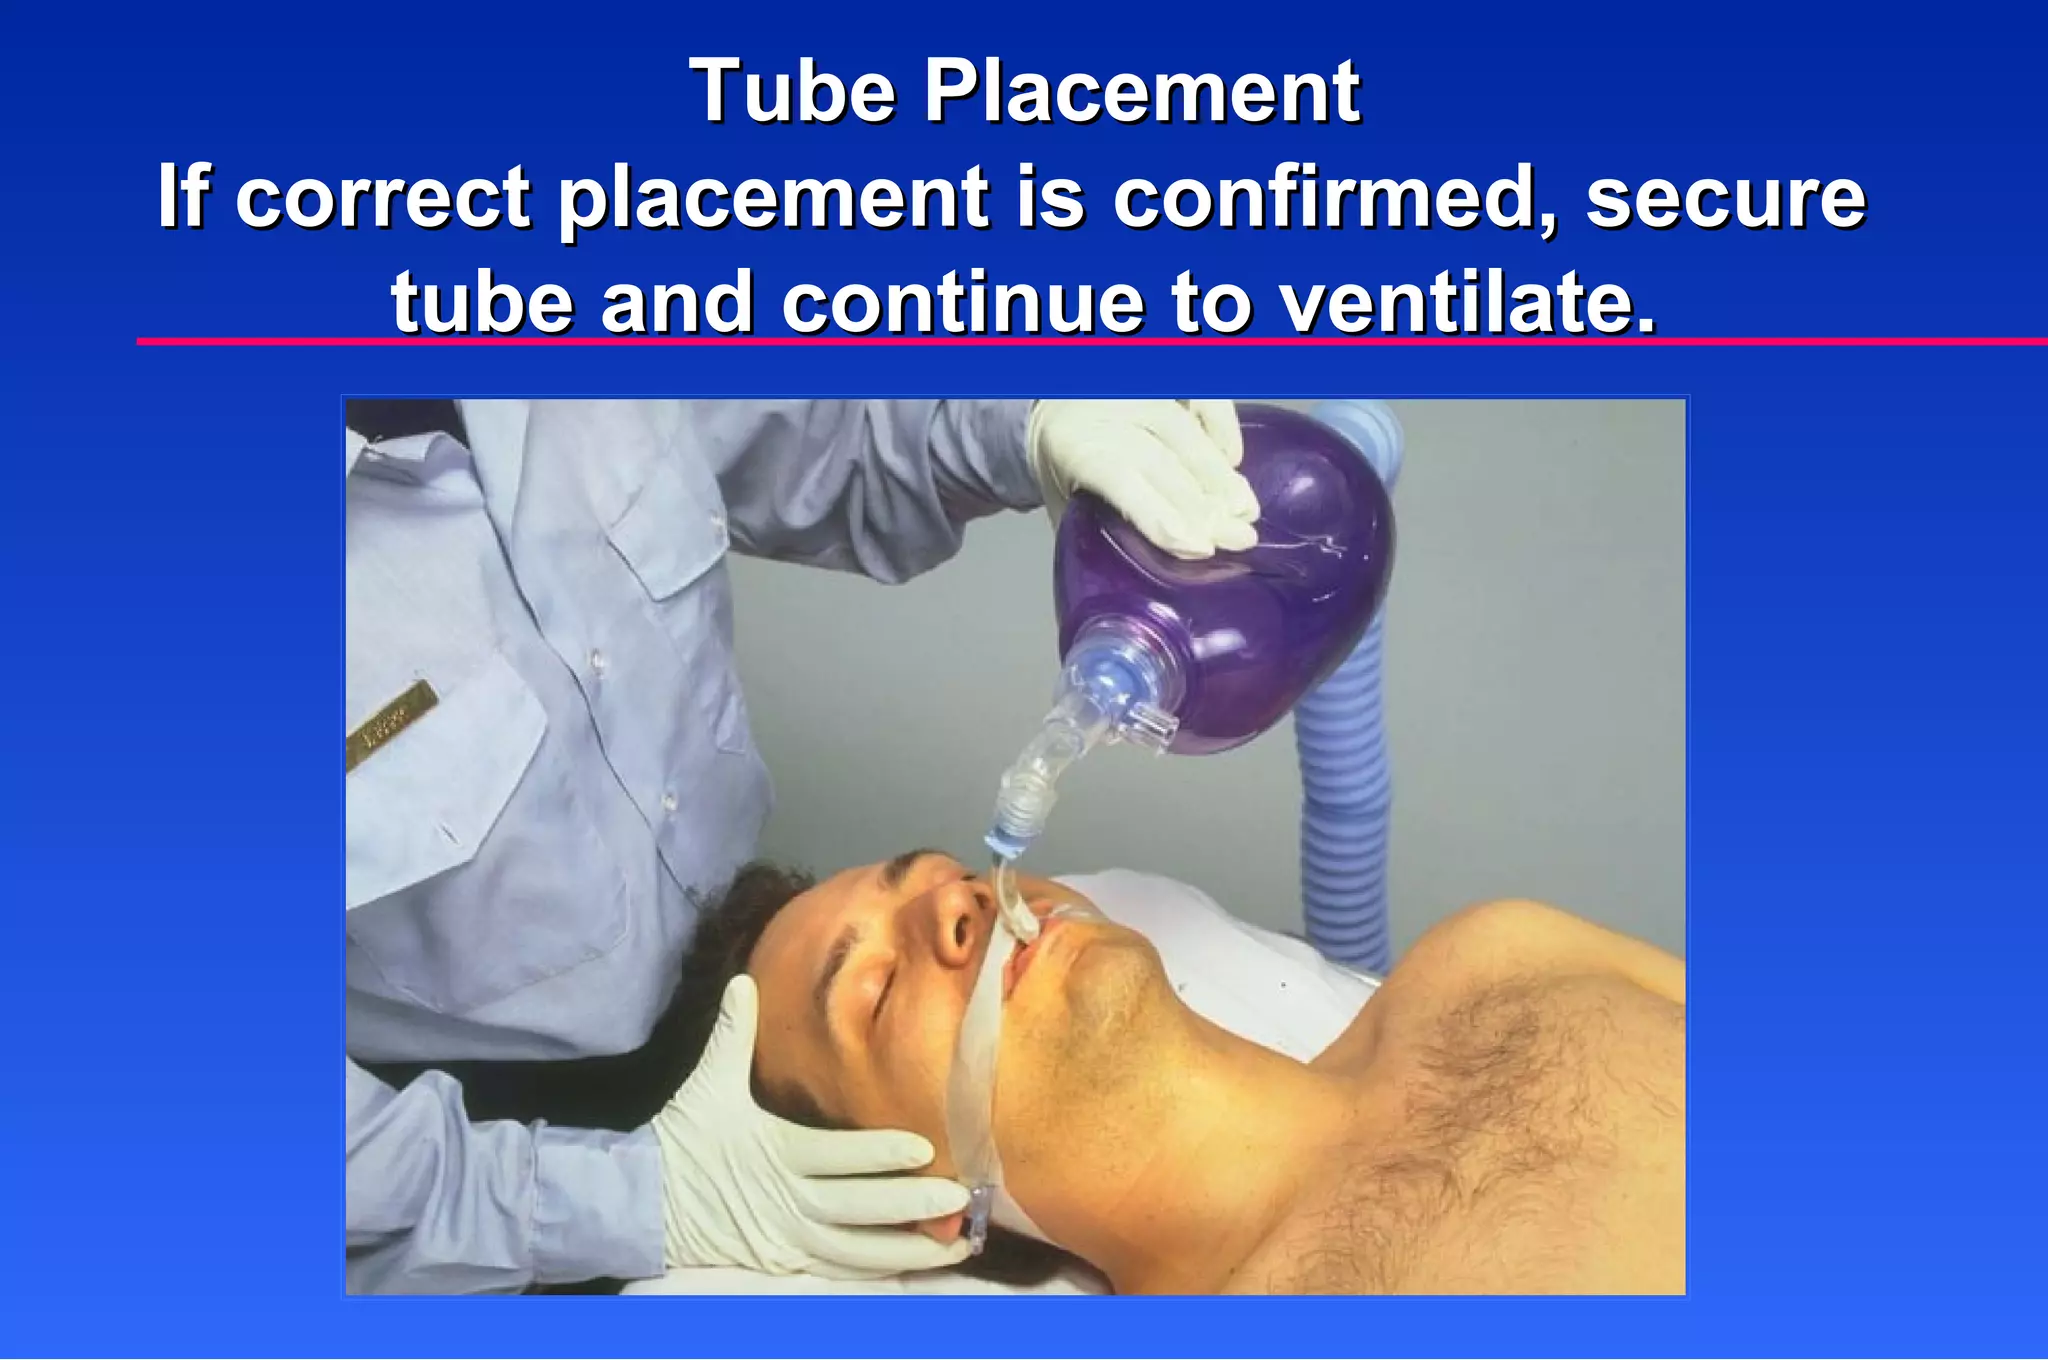
Tube Placement Ifcorrect placement is confirmed, secure tube and continue to ventilate.
53.
Tube Placement Ifbreath sounds are present only on right, deflate cuff and withdraw tube slightly until breath sounds are equal. Secure tube with a commercial device and ventilate. (Continued)
54.
If sounds arepresent only in epigastrium, deflate cuff, remove tube, and hyperventilate for at least 2 minutes before reattempting intubation. Tube Placement (Continued)
55.
Tube Placement Reassessbreath sounds after every major move: From scene to ambulance From ambulance to hospital
56.
It cannot beoveremphasized that inadvertent esophageal intubation will likely result in death. Because of the magnitude of this complication, tell new EMT-Bs that if at any time, despite the best efforts to properly assess tube placement, they are in doubt of proper tube placement, they should immediately withdraw the tube and manage the airway with basic airway adjuncts. P RECEPTOR P EARL
Mouth and nose (smaller) Pharynx (tongue proportionally larger) Epiglottis (floppier) Glottic opening (smaller) Anatomic and Physiologic Considerations (Continued)
59.
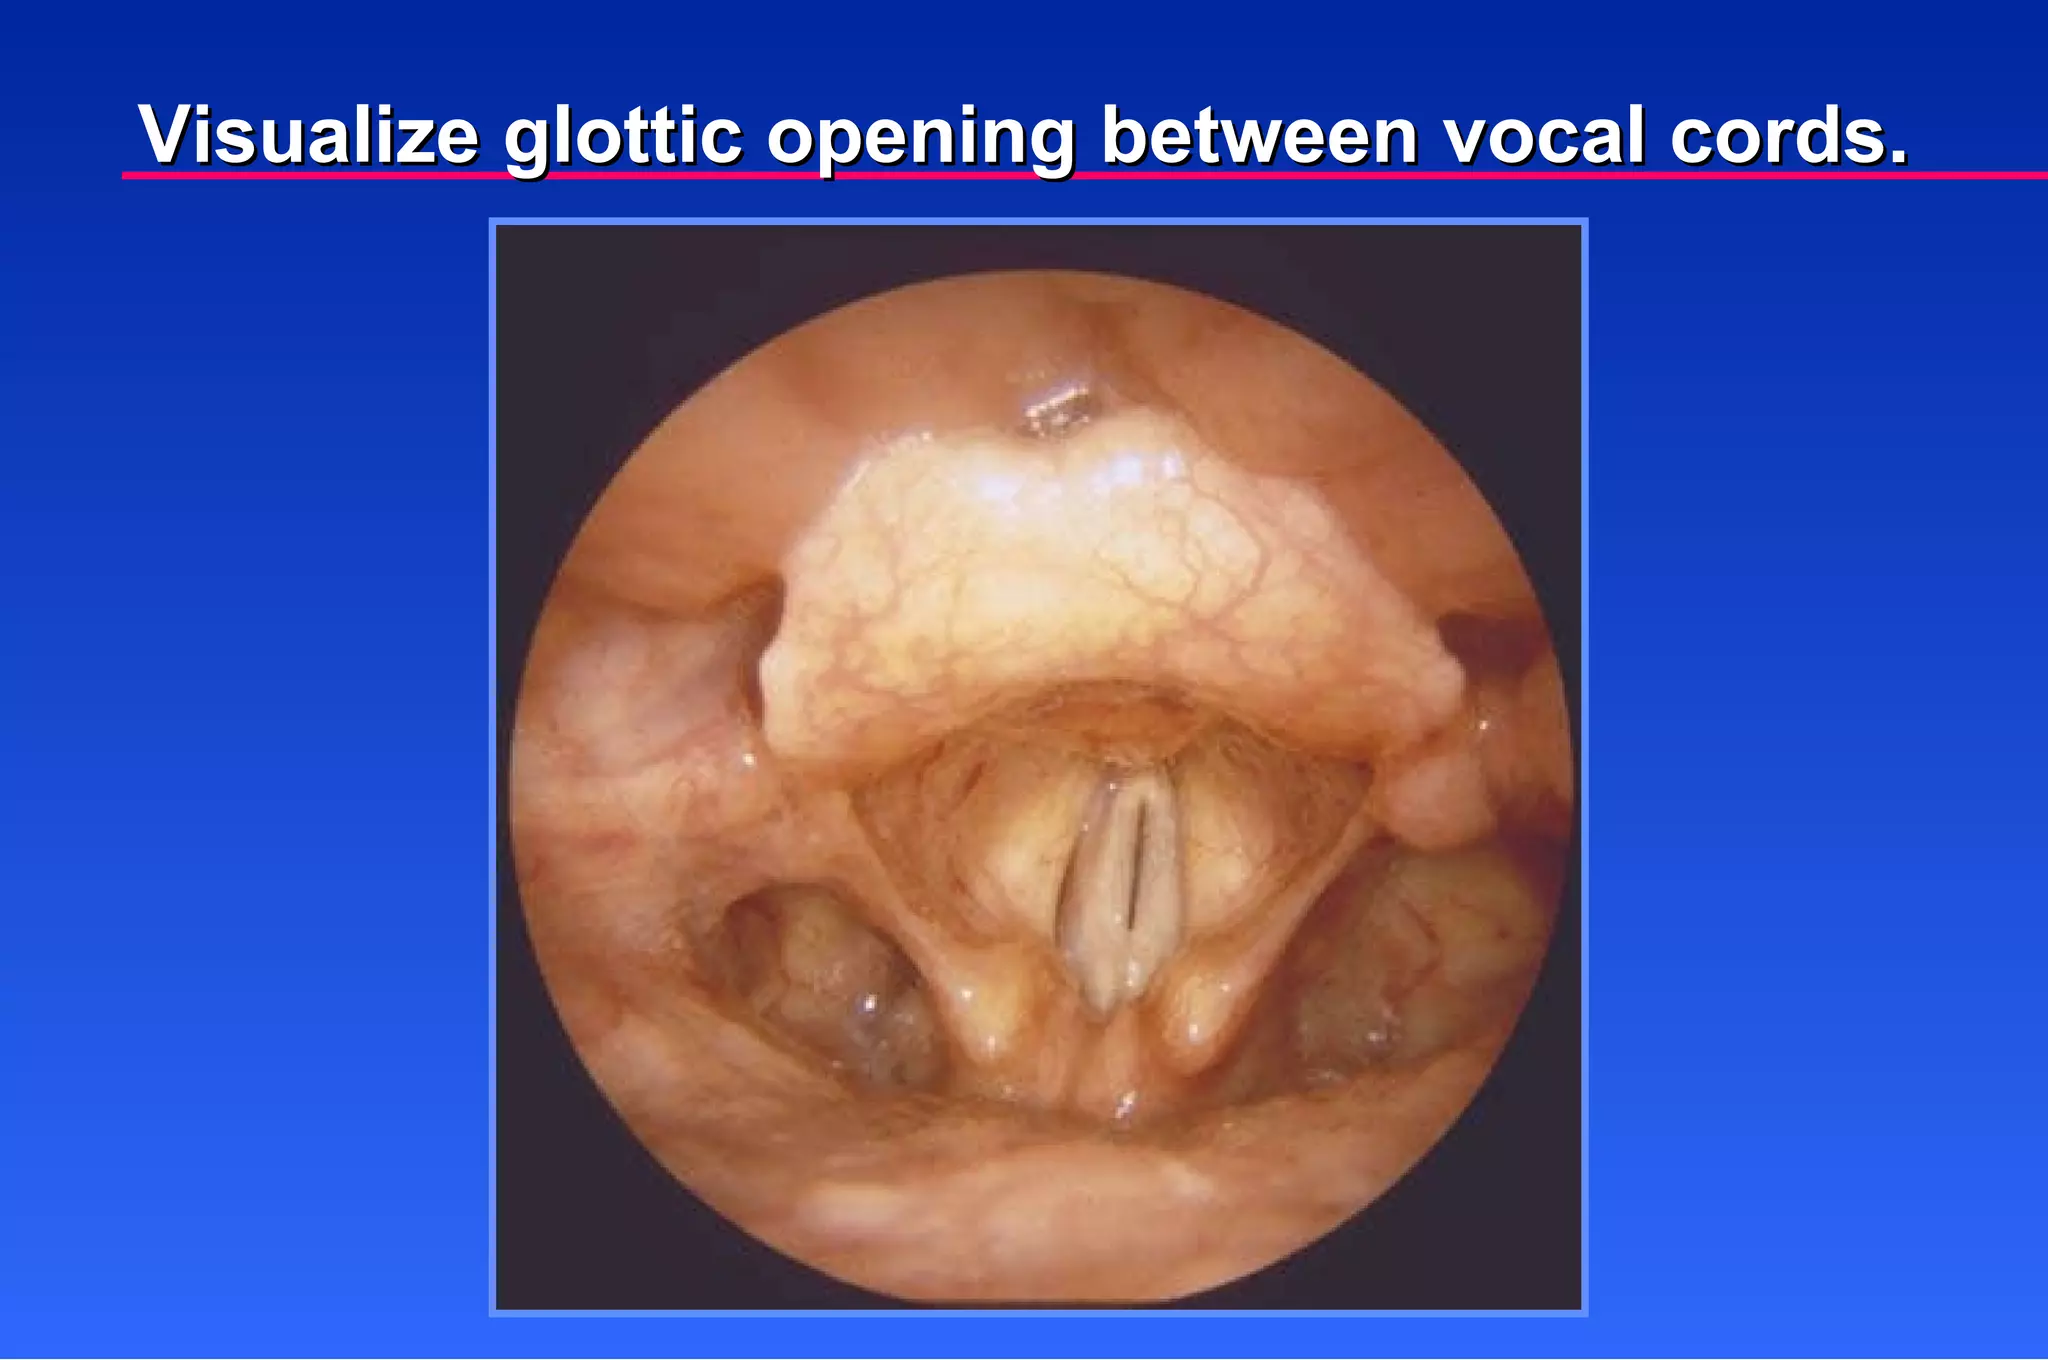
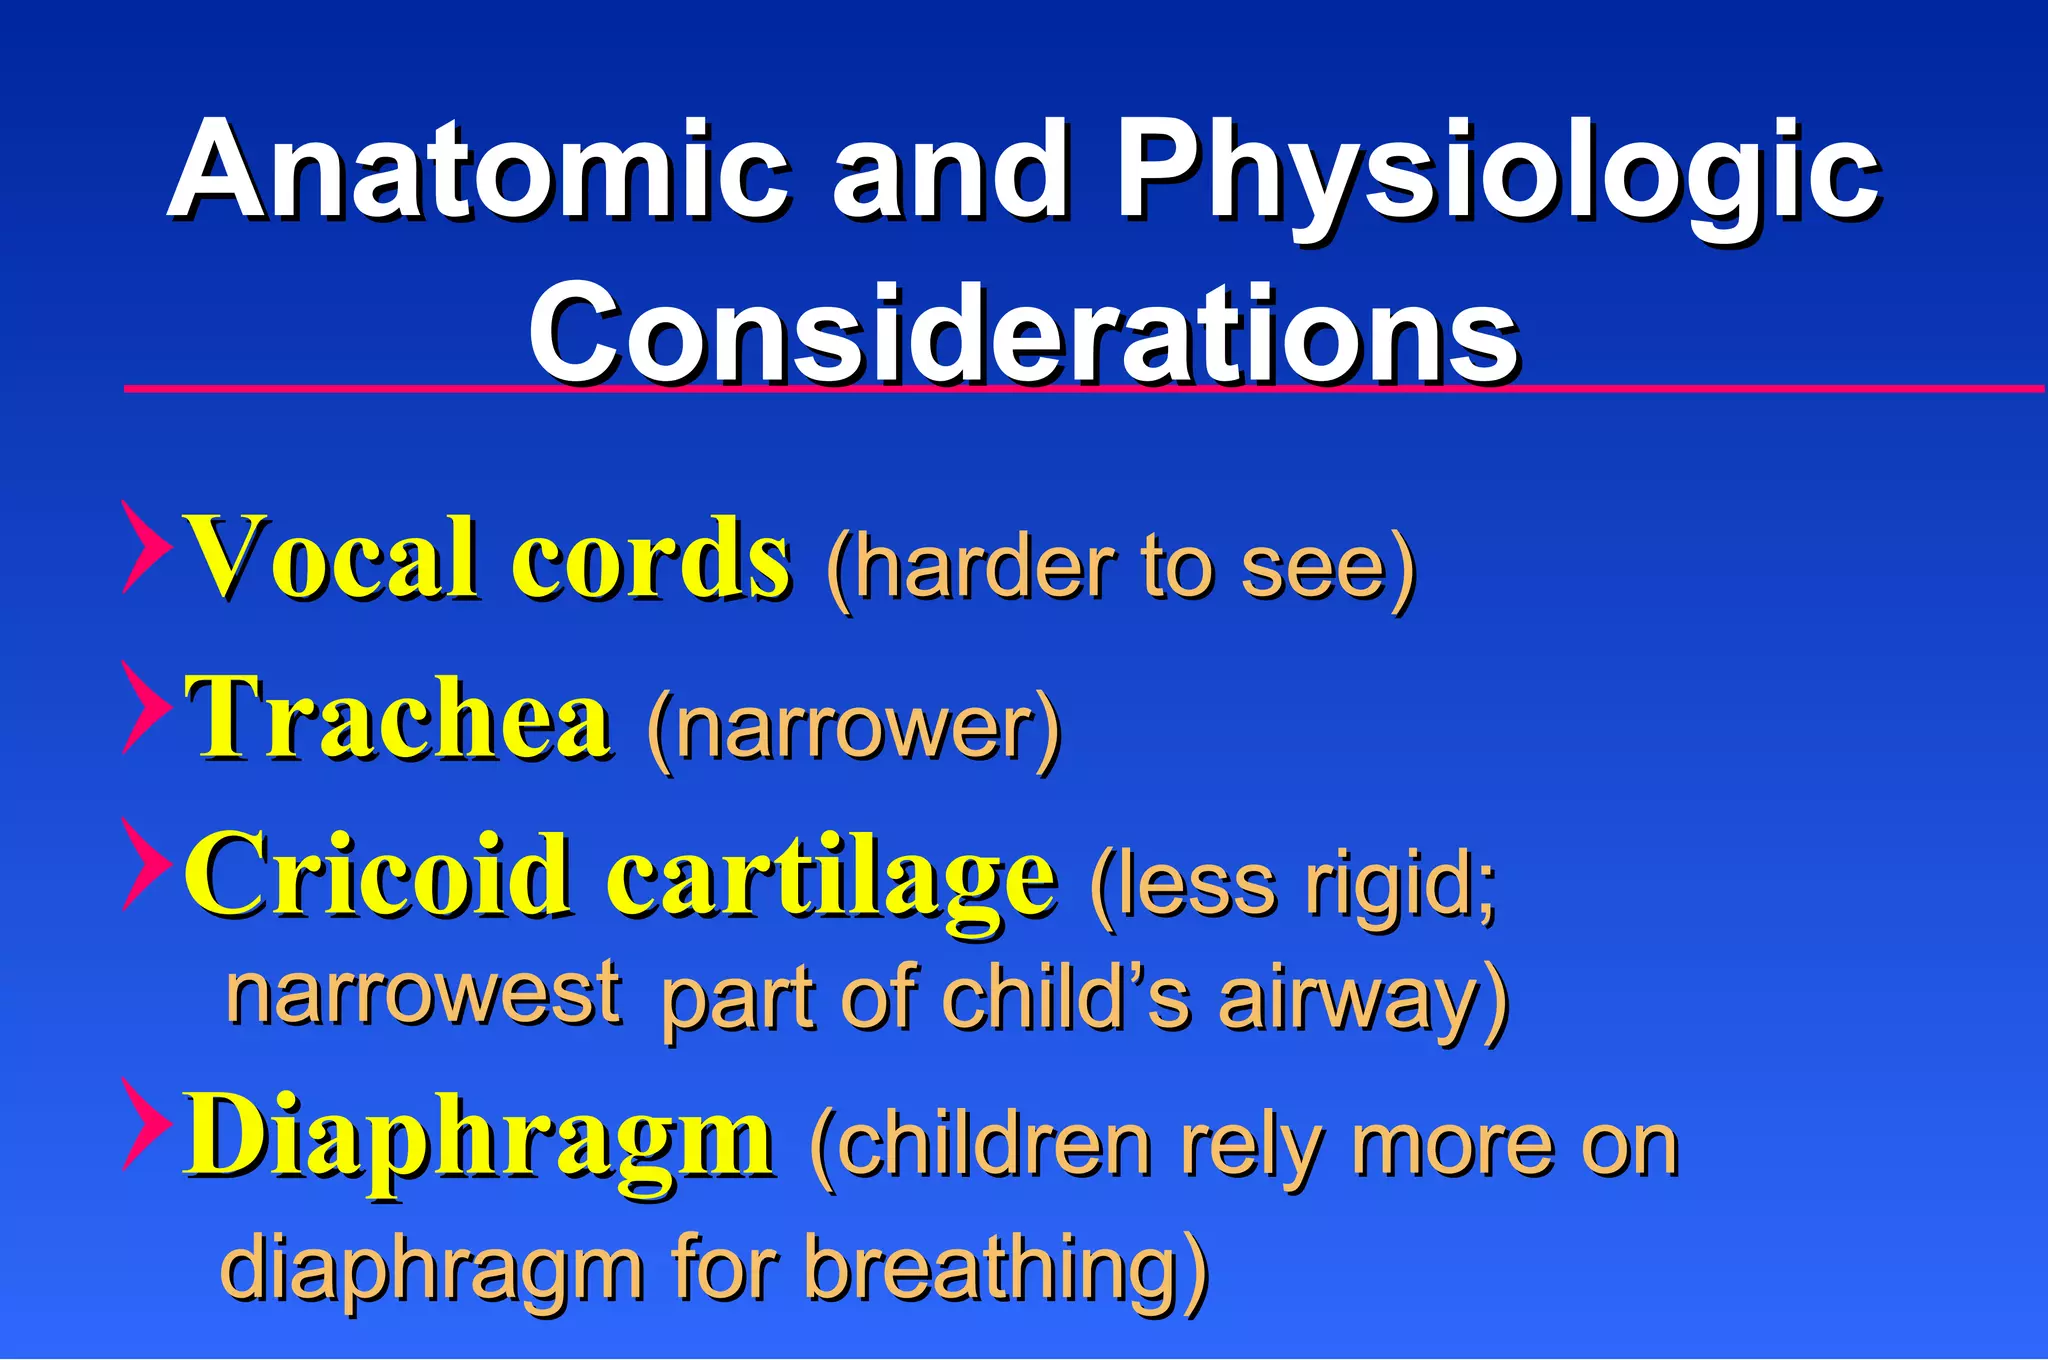
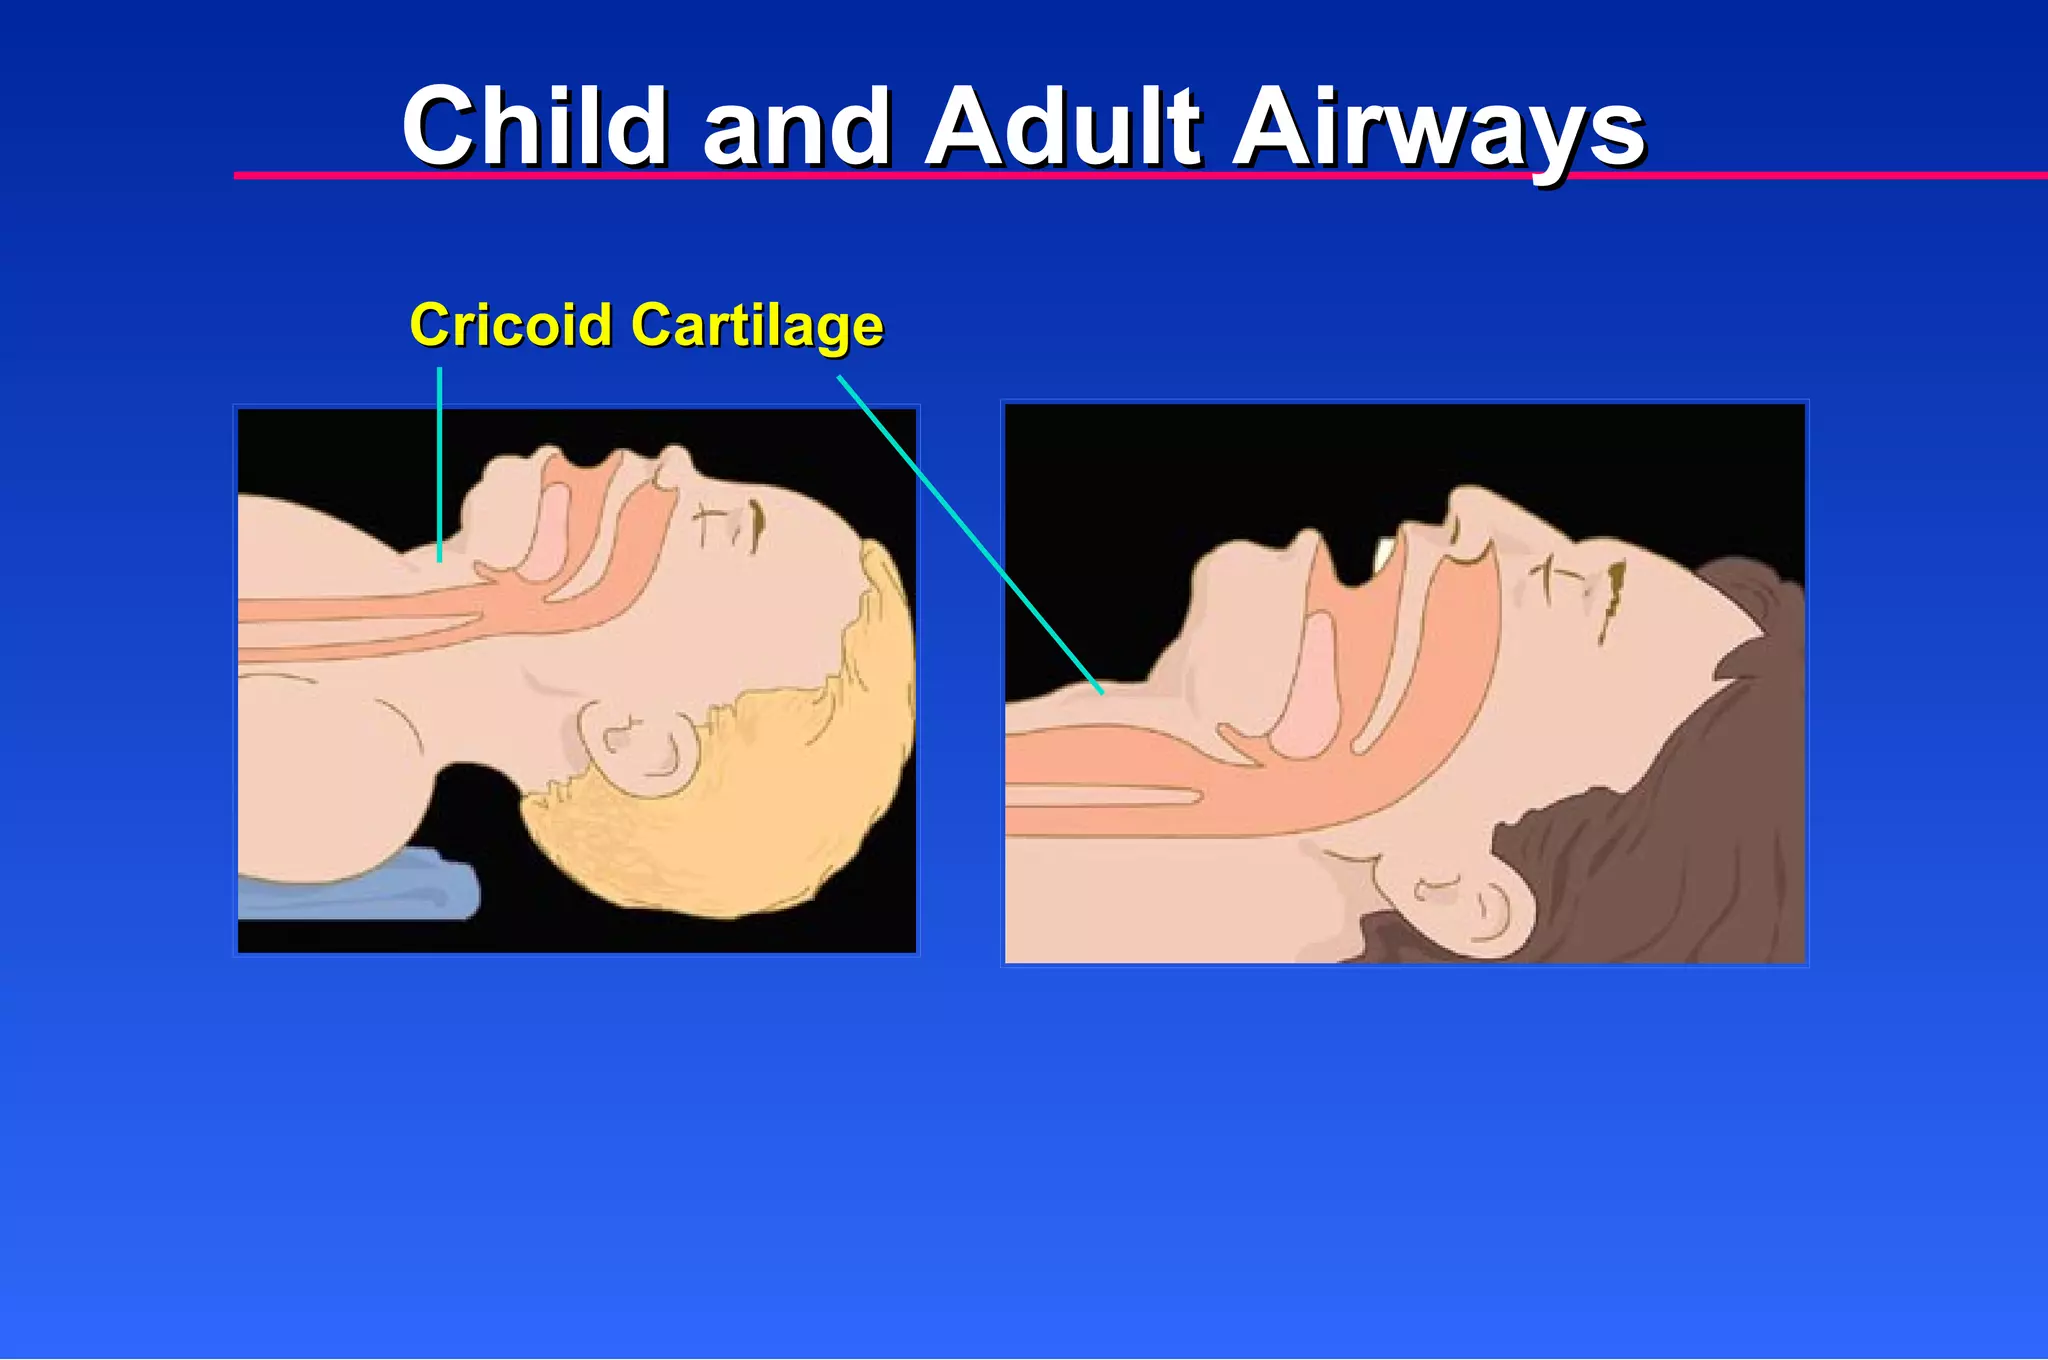
Vocal cords (harder to see) Trachea (narrower) Cricoid cartilage (less rigid; part of child’s airway) Diaphragm (children rely more on diaphragm for breathing) narrowest Anatomic and Physiologic Considerations
Since cricoid ringis narrowest part of child’s airway, Pediatric tube has no cuff. Tube size depends on size of cricoid ring. Infant and Child Intubation Special Considerations
62.
Most effective meansof controlling airway. In apneic patients, also allows deeper suctioning. Infant and Child Intubation Purpose
63.
Orotracheal Intubation ComplicationsStimulation of airway can cause bradycardia. Trauma can occur to lips, teeth, tongue, gums, airway structures. (Continued)
64.
Hypoxia can resultfrom prolonged attempts. No oxygen to left lung because tube is in right mainstem bronchus. Complications Orotracheal Intubation (Continued)
65.
Esophageal intubation VomitingSelf-extubation Movement of tube out of trachea when patient moved Complications Orotracheal Intubation
66.
Prolonged artificial IndicationsInfant and Child Intubation ventilation required Inability to ventilate by other means (Continued)
Bag-valve mask withmask of correct size Equipment Laryngoscope handle Infant and Child Intubation
71.
Straight blade allows:Greater displacement of tongue Better visualization of glottis (preferred in infants) (Continued) Infant and Child Intubation Laryngoscope Blades
72.
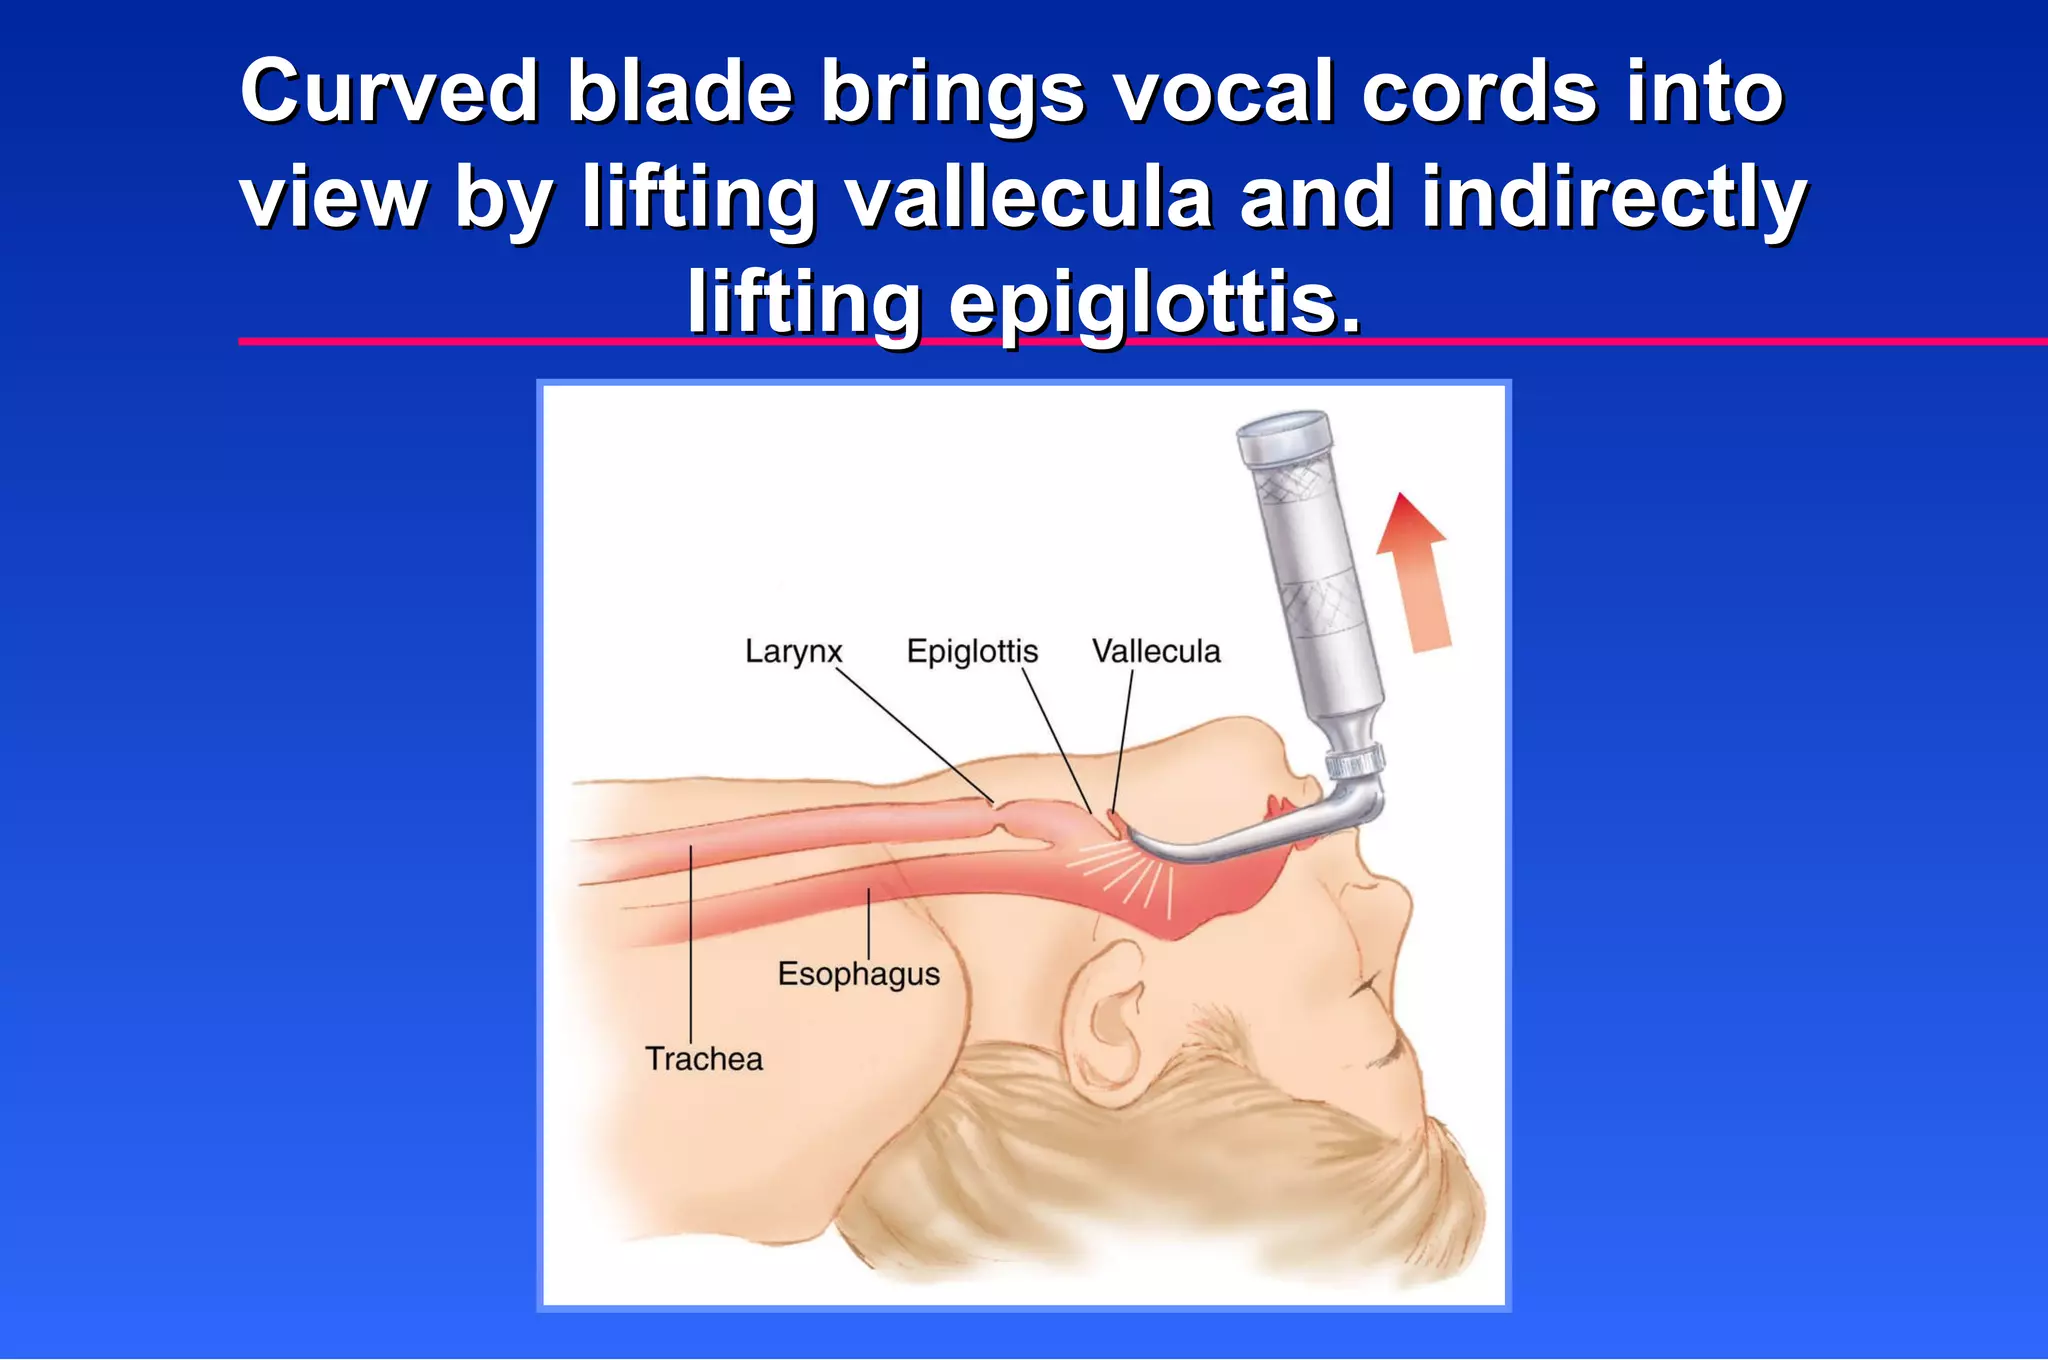
Curved blade insertedinto vallecula allows: Visualization of glottis, cords (preferred in older children) Infant and Child Intubation Laryngoscope Blades
73.
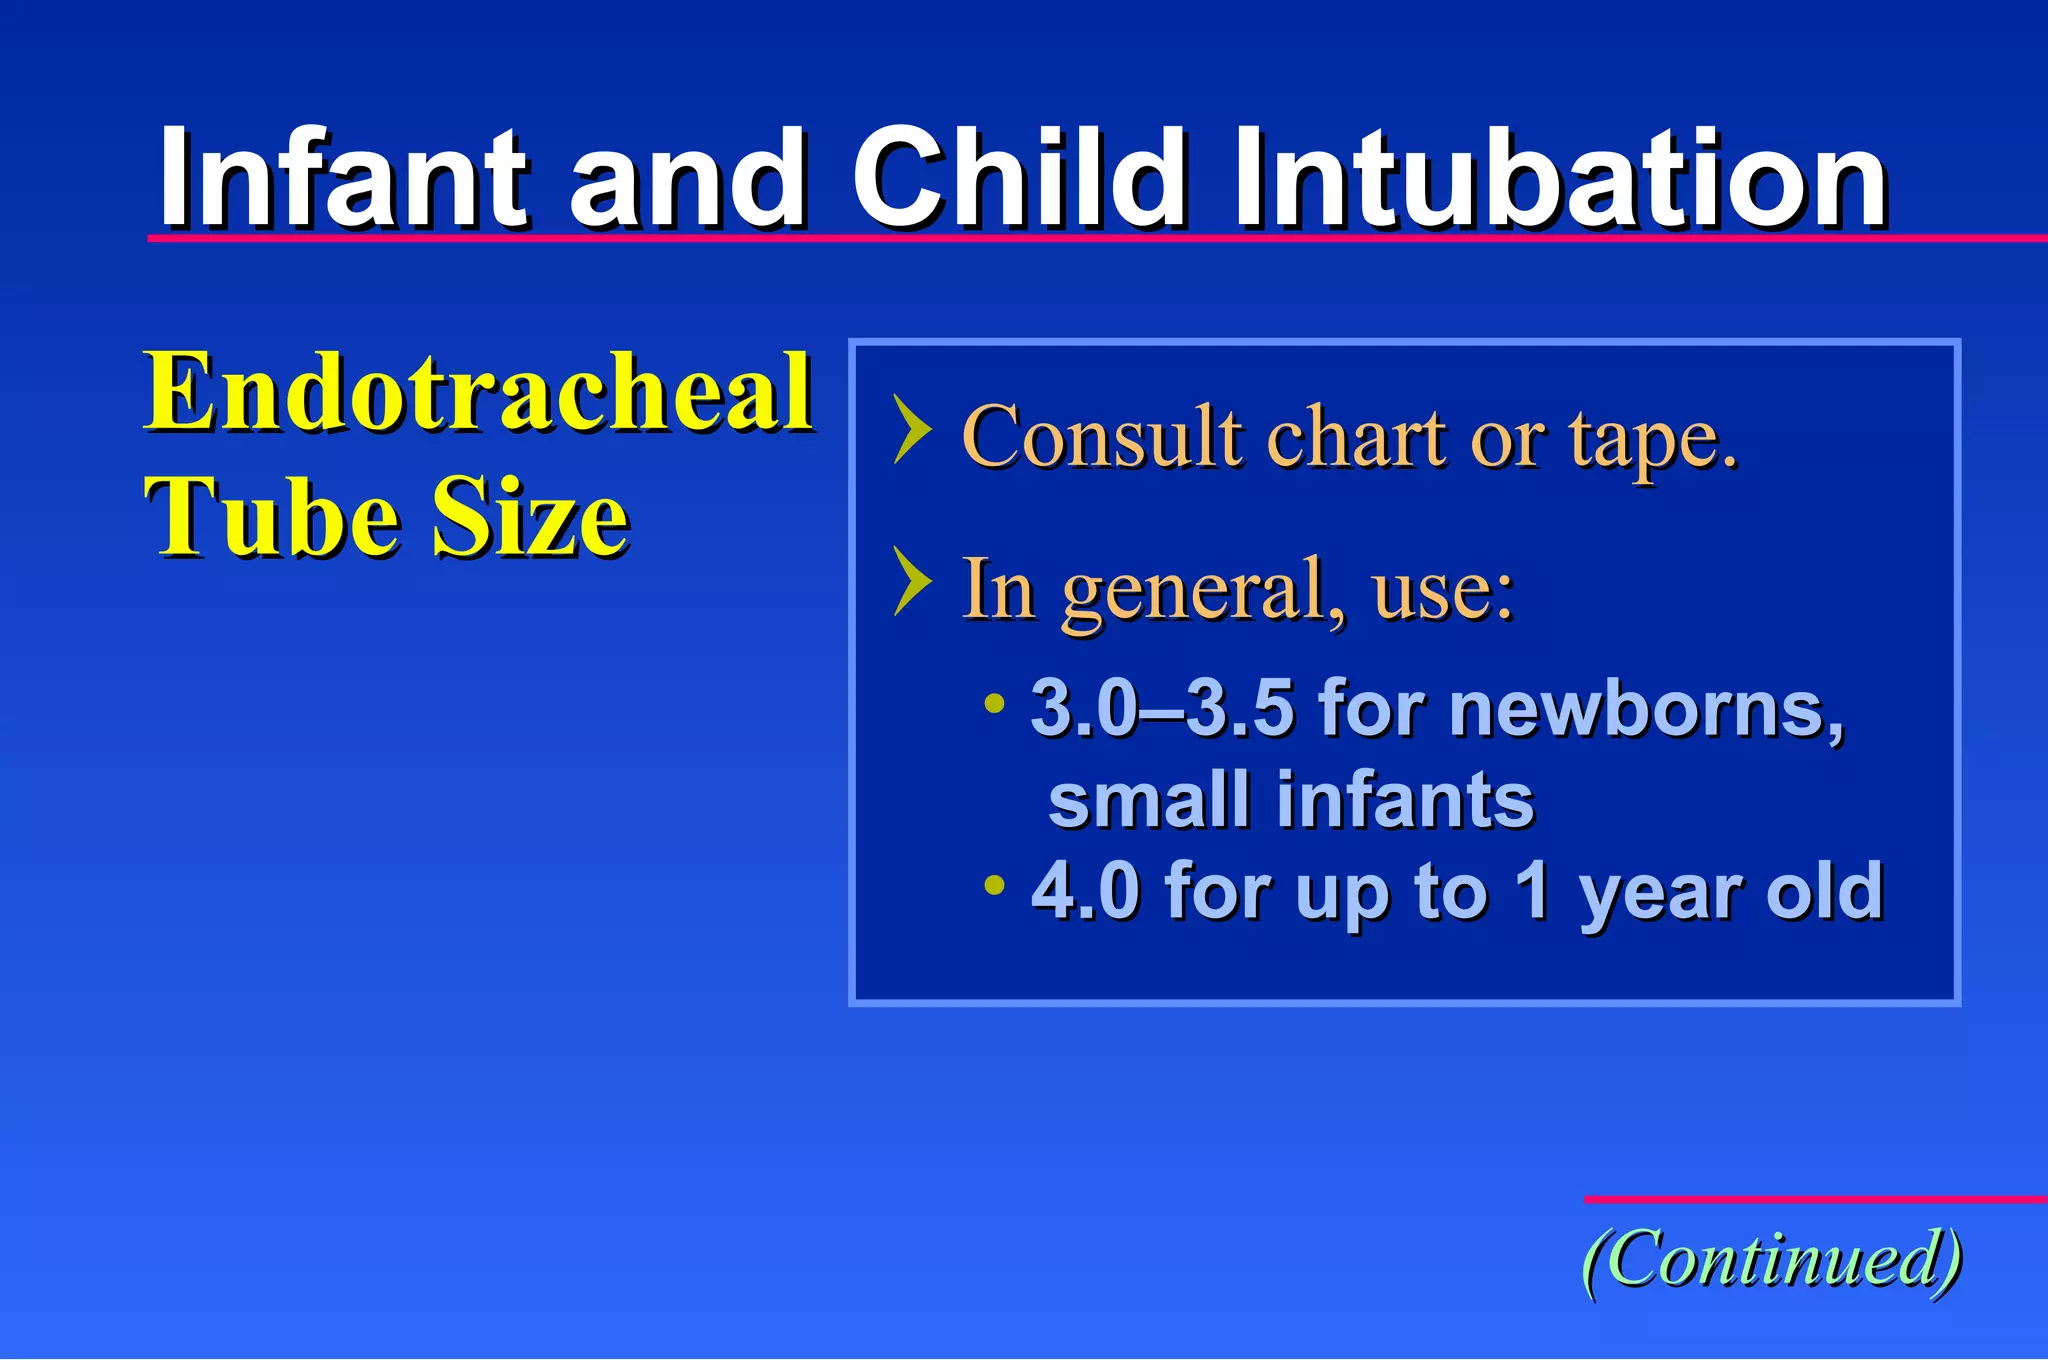
Consult chart ortape. In general, use: Endotracheal Tube Size 3.0–3.5 for newborns, small infants 4.0 for up to 1 year old (Continued) Infant and Child Intubation
74.
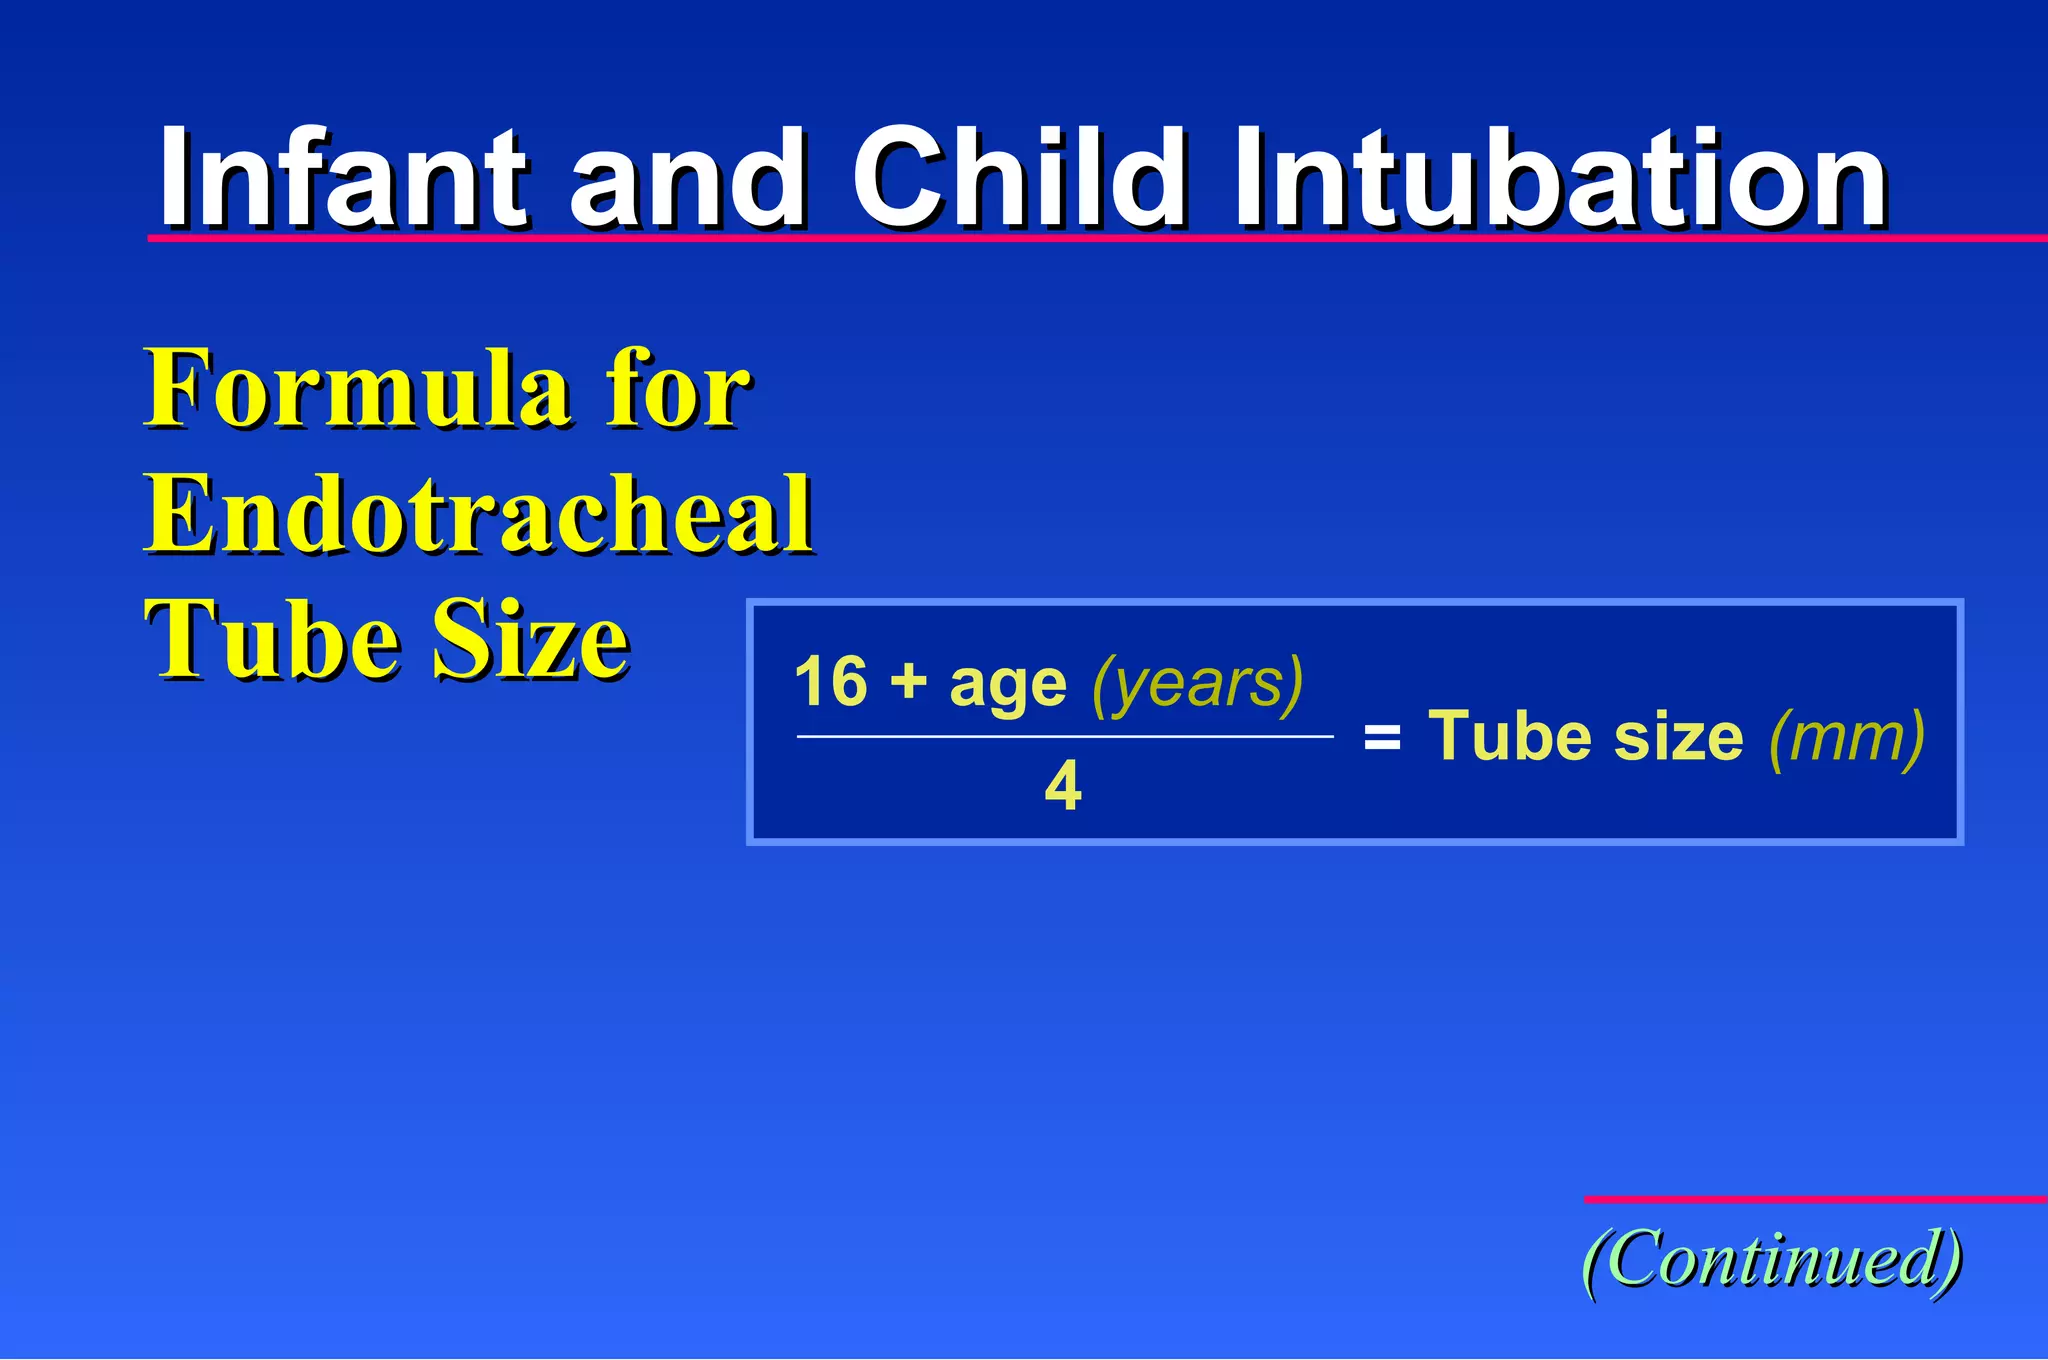
Formula for EndotrachealTube Size 16 + age (years) 4 = Tube size (mm) (Continued) Infant and Child Intubation
75.
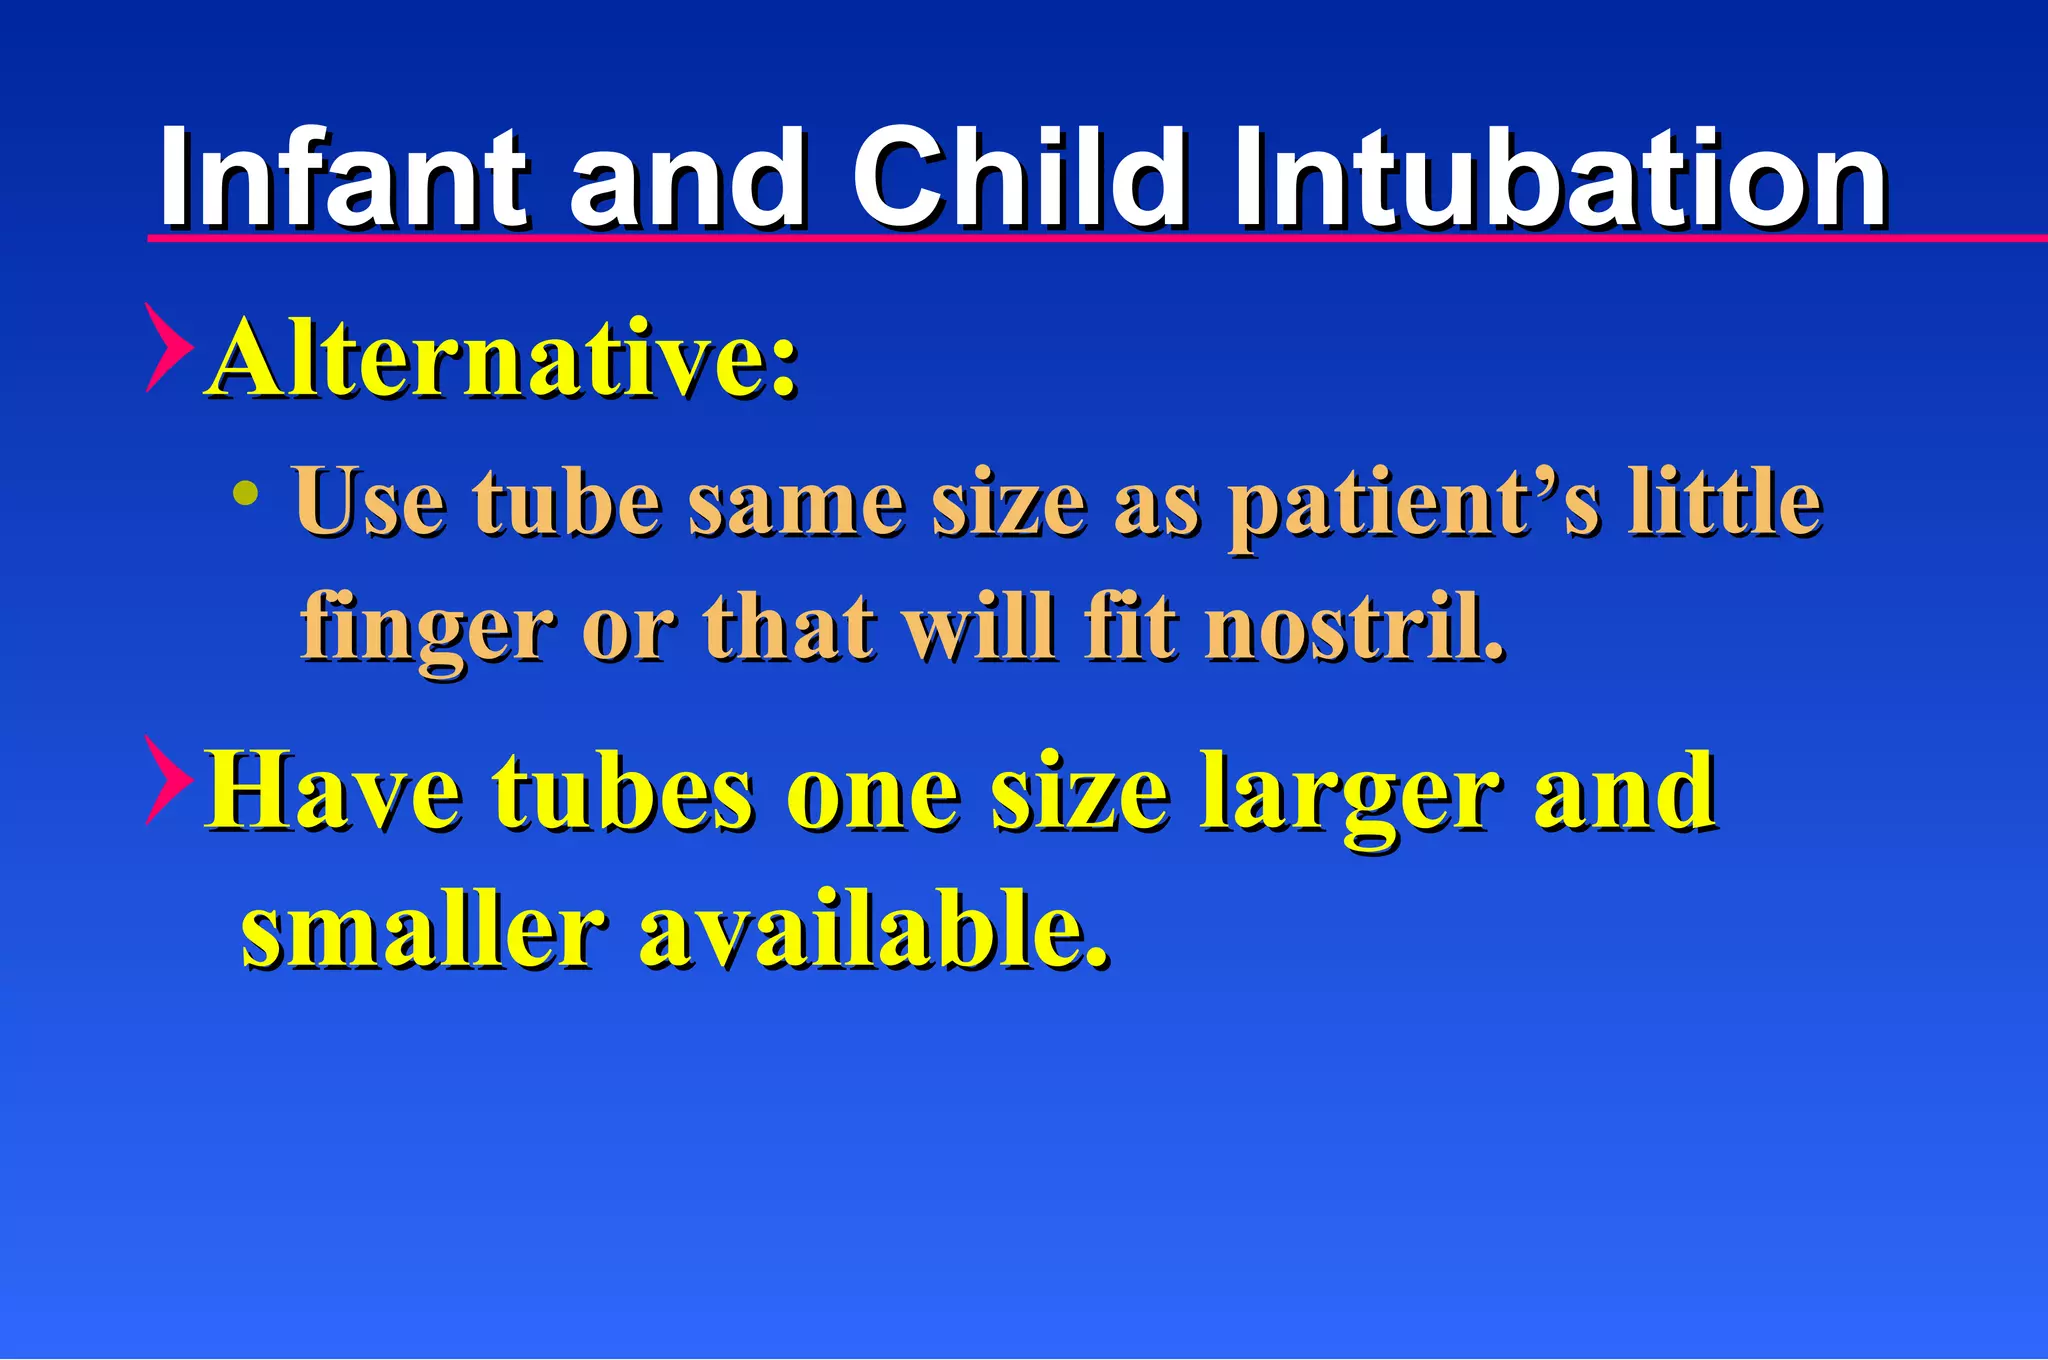
Alternative: Have tubesone size larger and Use tube same size as patient’s little finger or that will fit nostril. smaller available. Infant and Child Intubation
76.
Use UNCUFFED tubesfor children up to 8 years old. ET Tubes (Narrowing of cricoid acts as a cuff.) Infant and Child Intubation (Continued)
77.
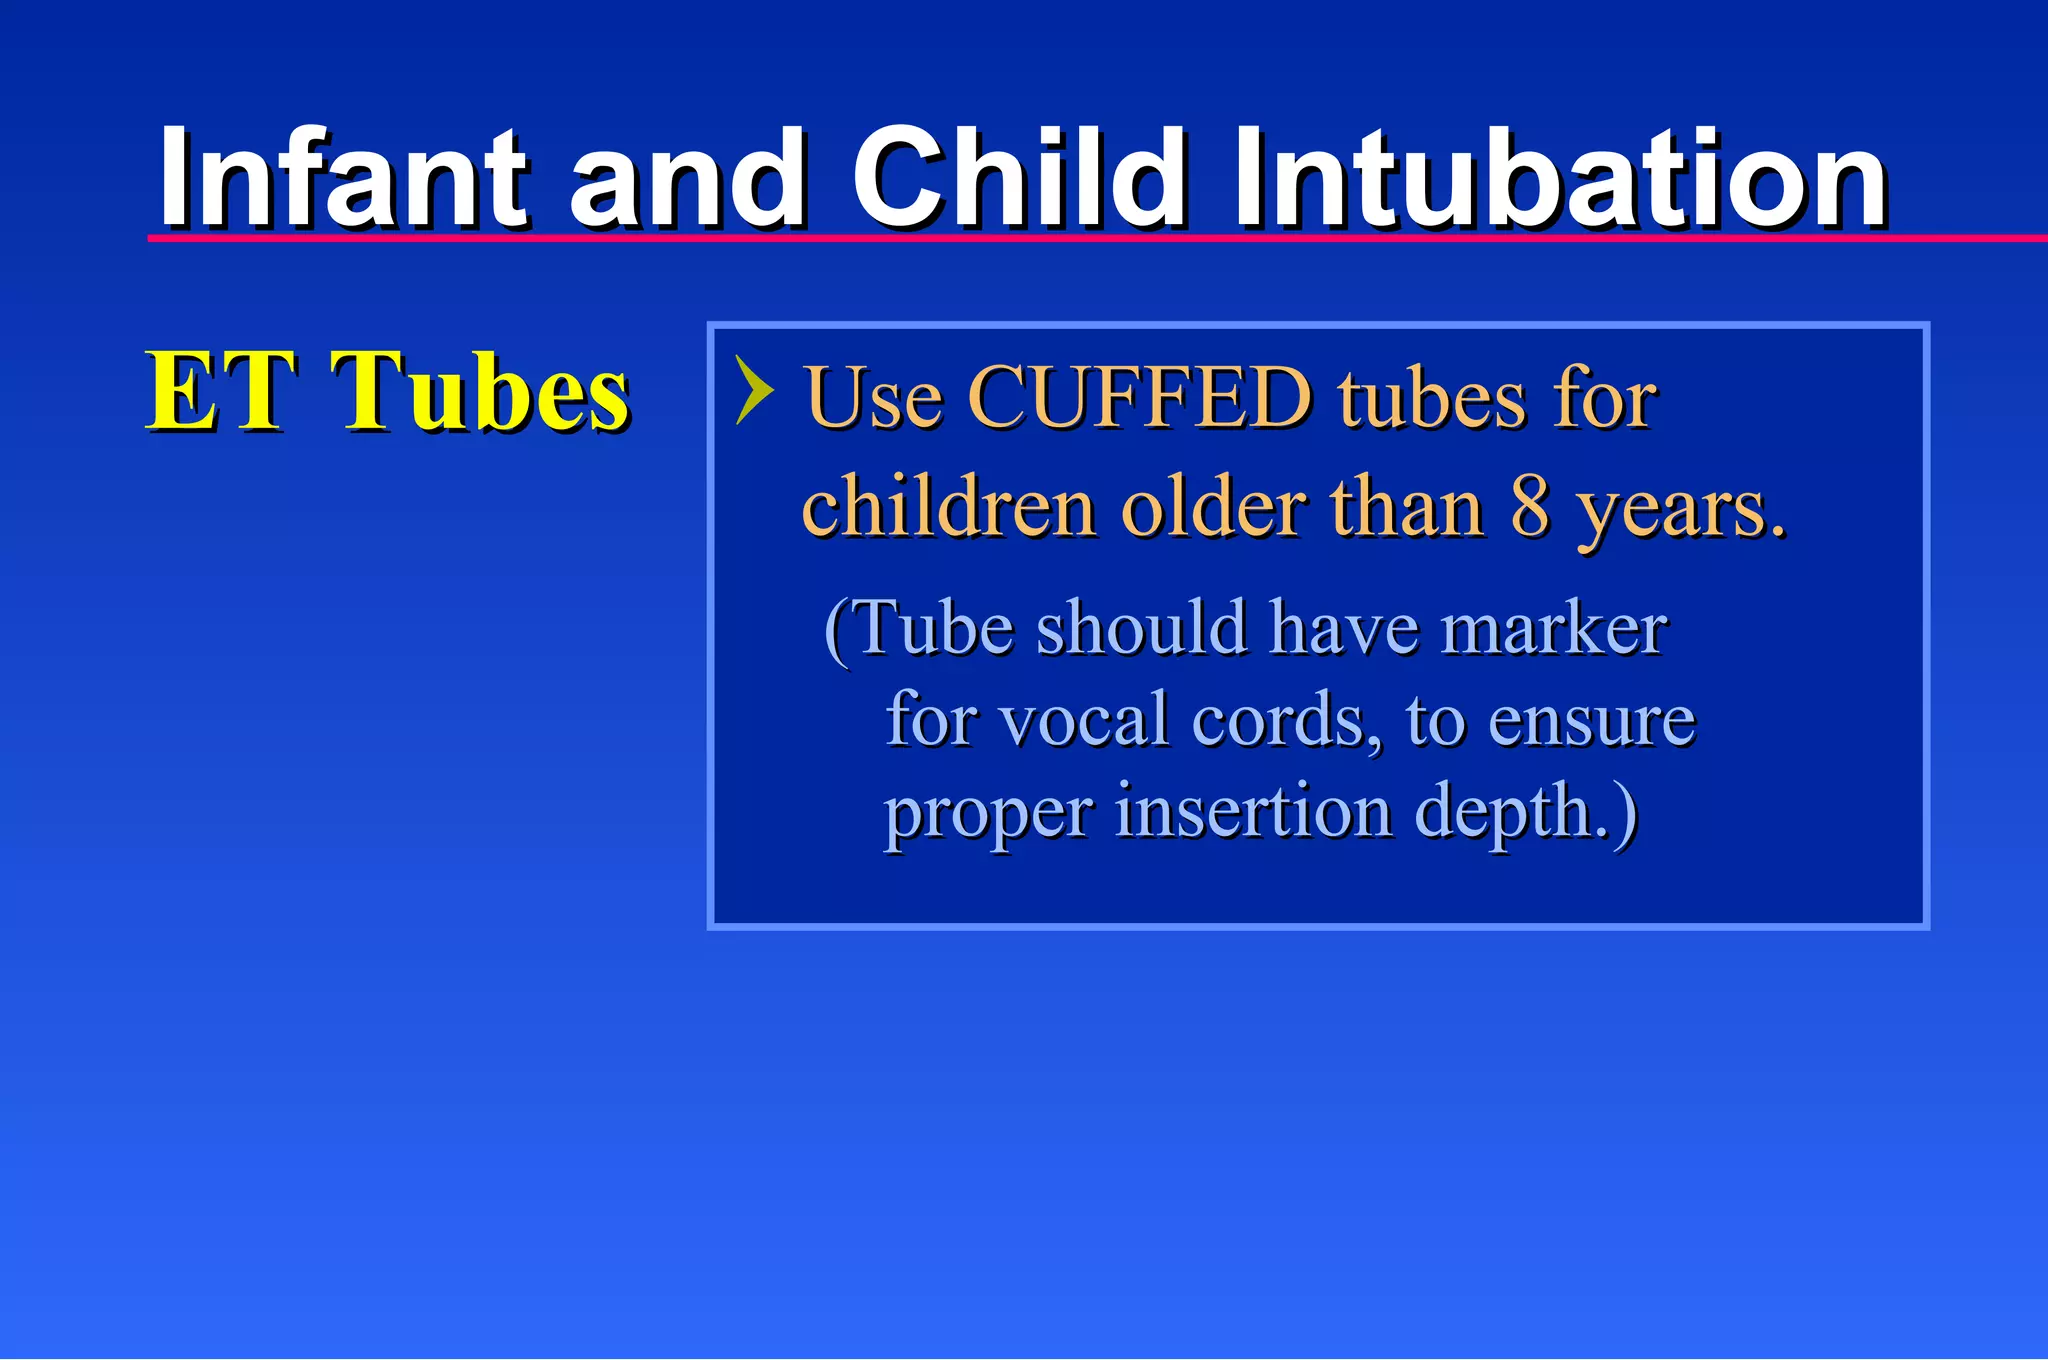
Use CUFFED tubesfor children older than 8 years. ET Tubes (Tube should have marker for vocal cords, to ensure proper insertion depth.) Infant and Child Intubation
Endotracheal Intubation Providesstiffness/shape. Lubricant may ease removal. Used to shape tube like Stylet hockey stick. Do not let stylet get closer than 1/4 inch to end of tube.
Tell new EMT-Bsthat ideally a chart should be placed in the airway kit to help them determine what size tube is generally used for a certain age patient. As an alternative, there are commercially available measuring tapes that estimate tube size based on the length of the patient. P RECEPTOR P EARL
Monitor heart ratethroughout. (Mechanically stimulating airway may slow heart rate. If this happens, stop and ventilate.) Infant and Child Intubation Techniques
84.
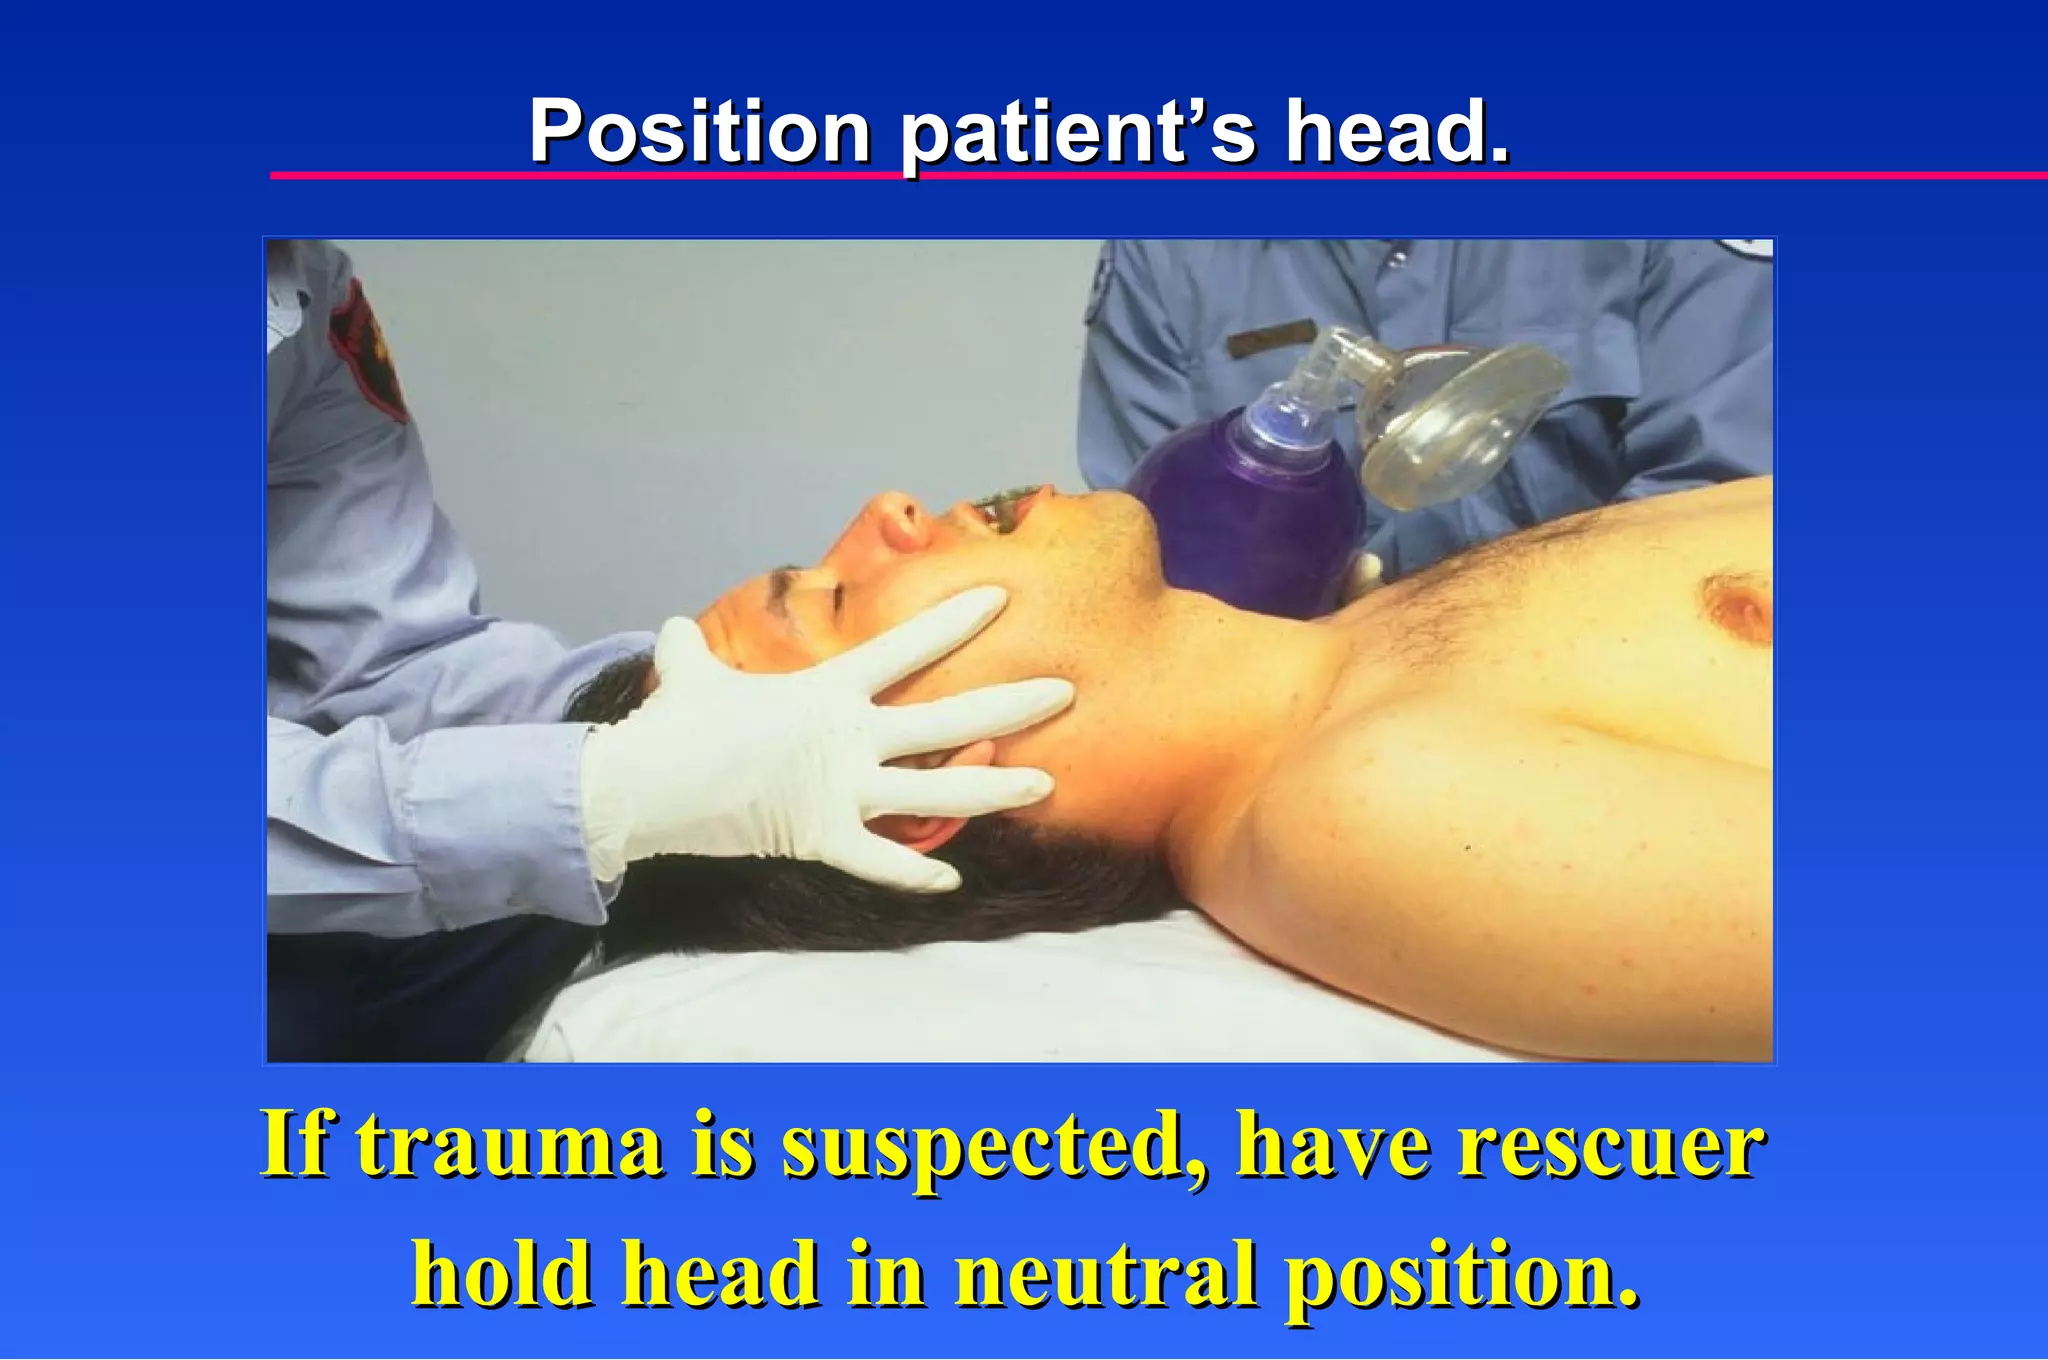
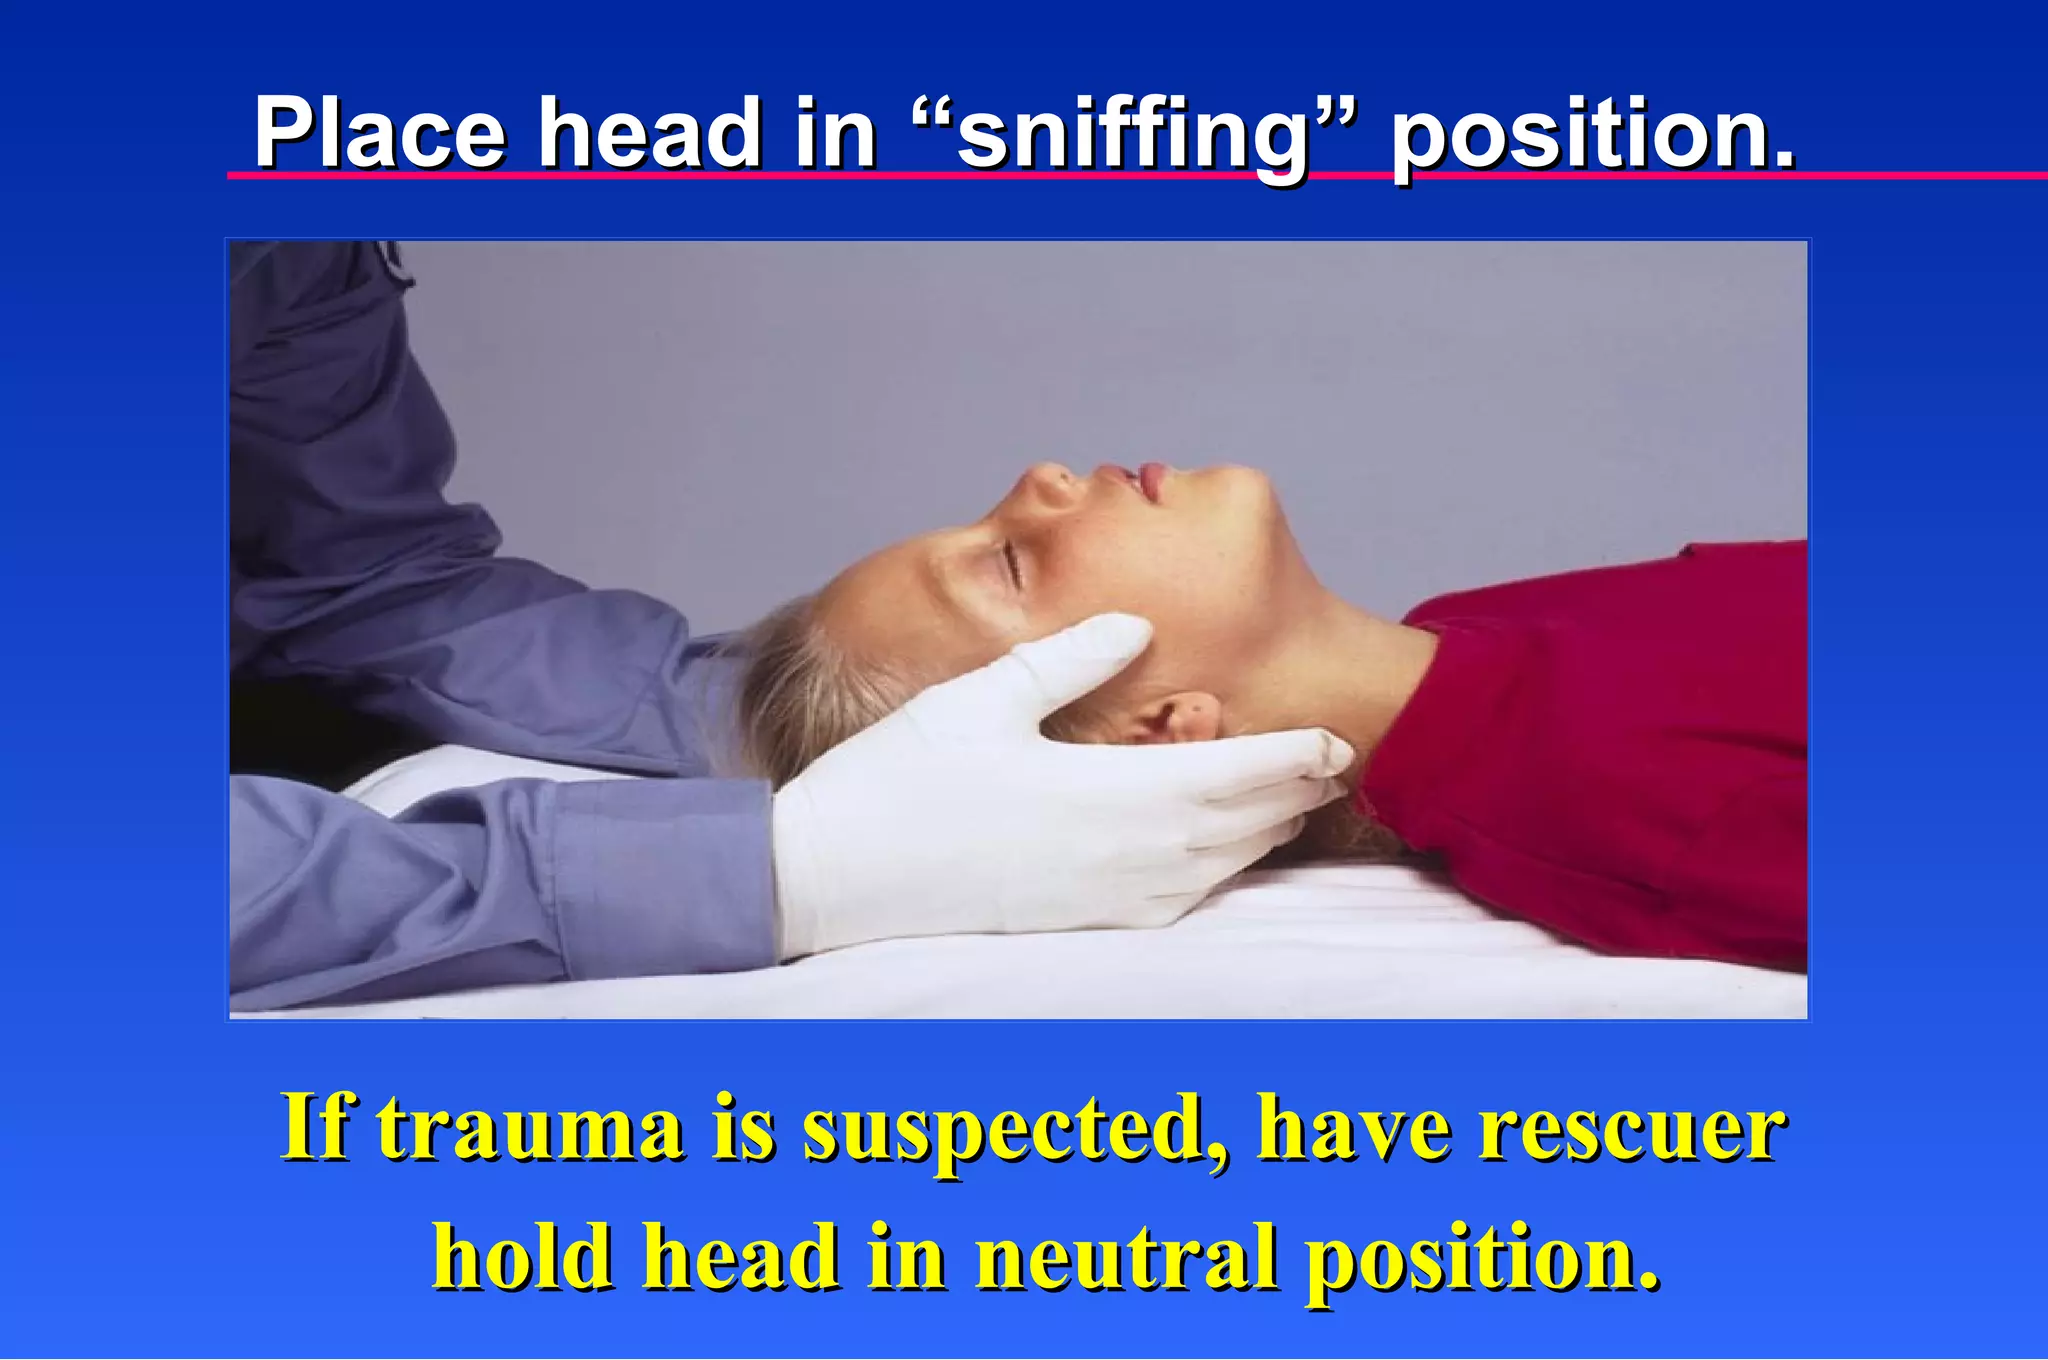
If trauma issuspected, have rescuer hold head in neutral position. Place head in “sniffing” position.
85.
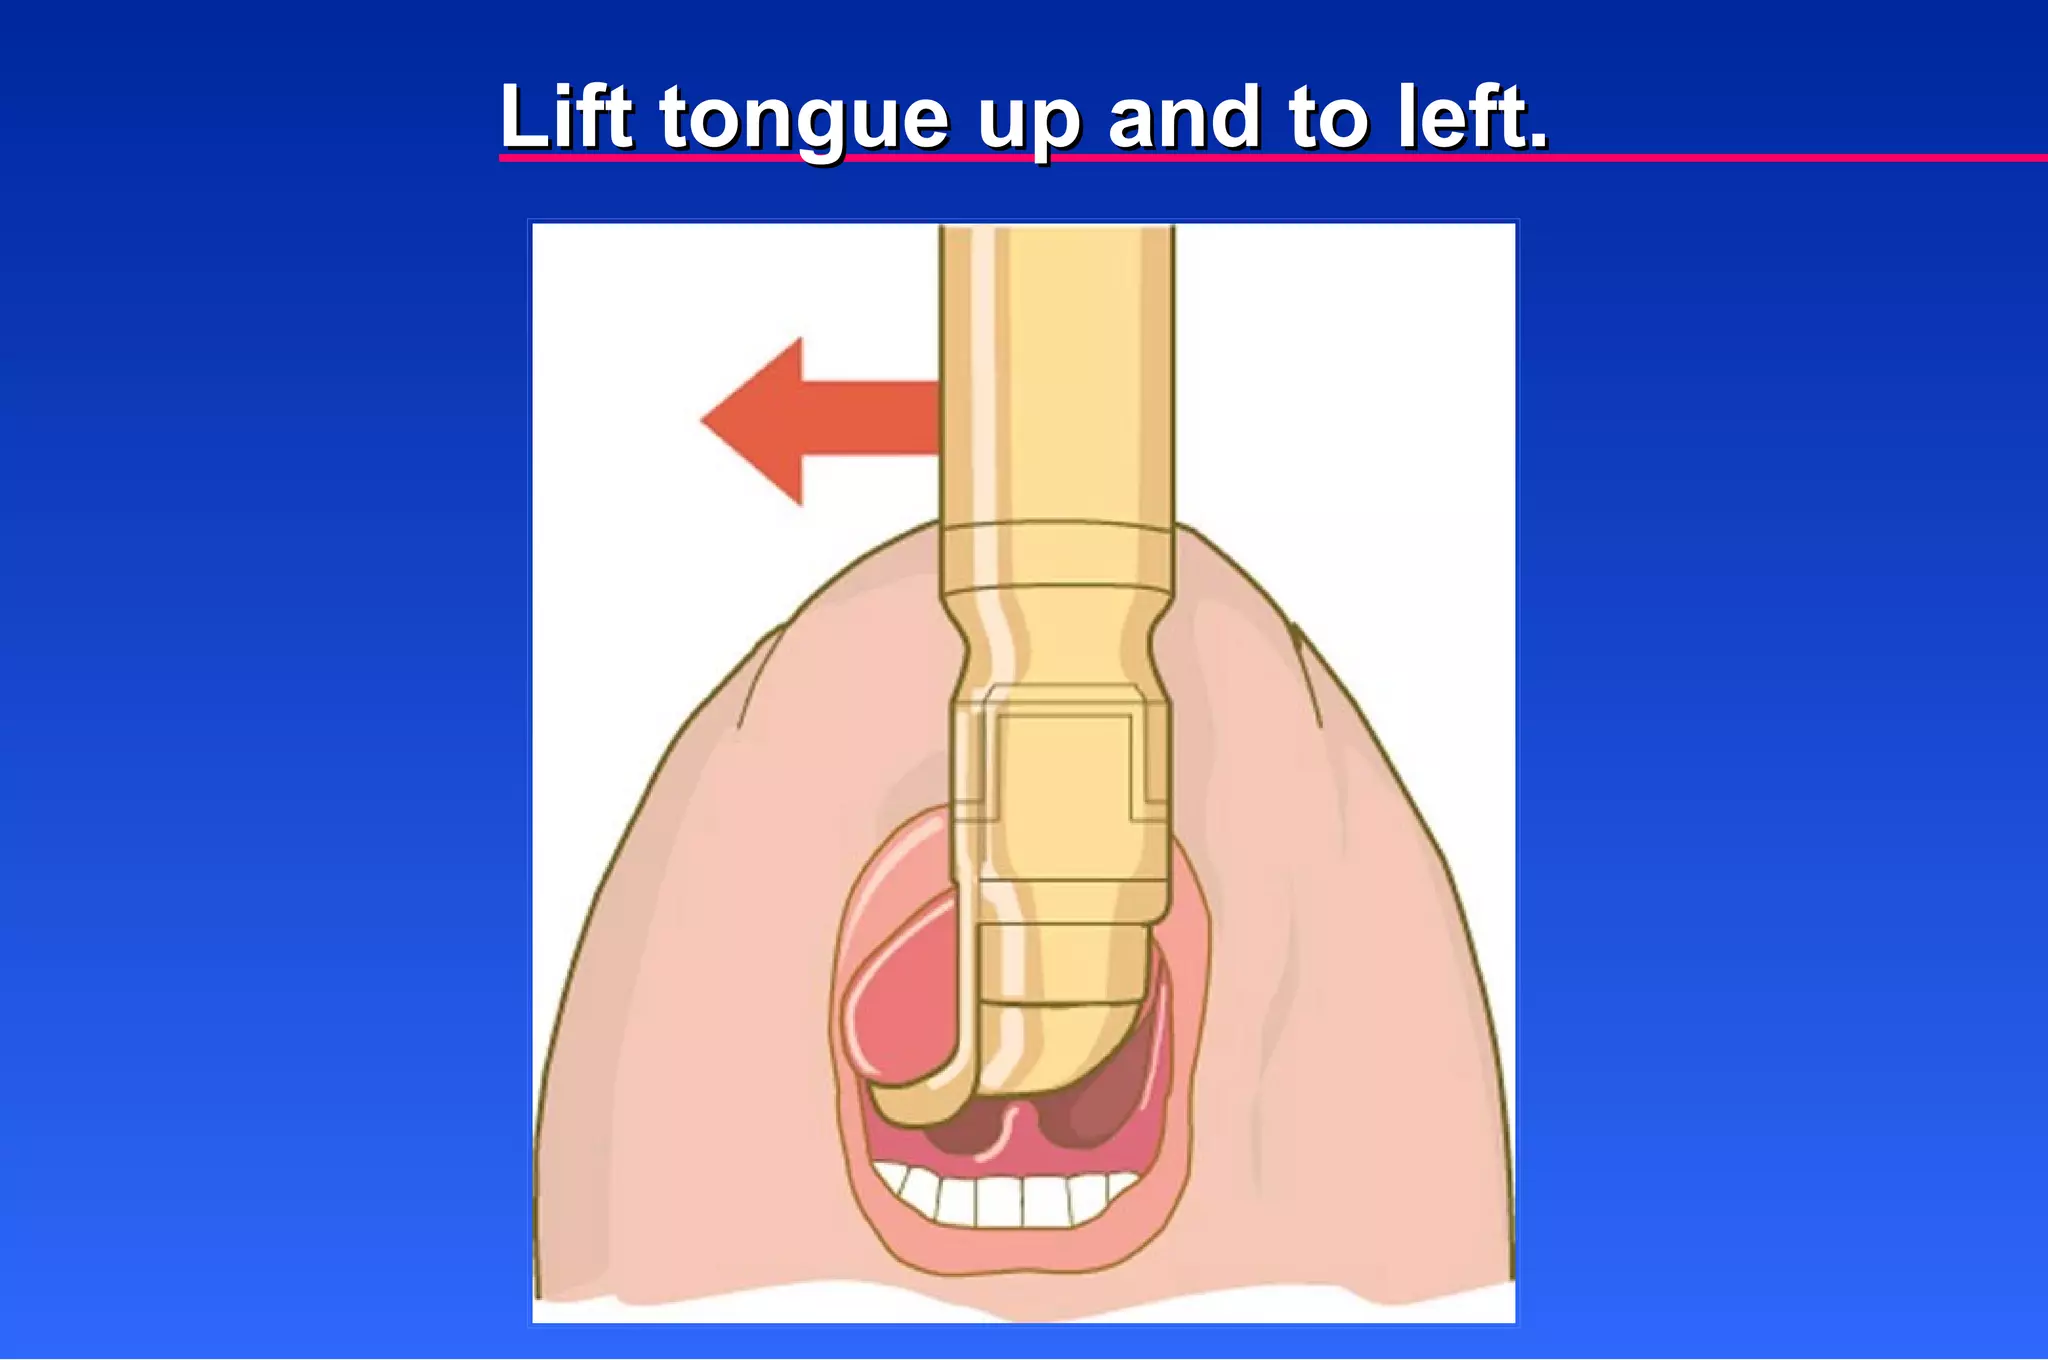
Using little force,insert laryngoscope blade into right corner of mouth. Sweep tongue out of way. Infant and Child Intubation Techniques (Continued)
86.
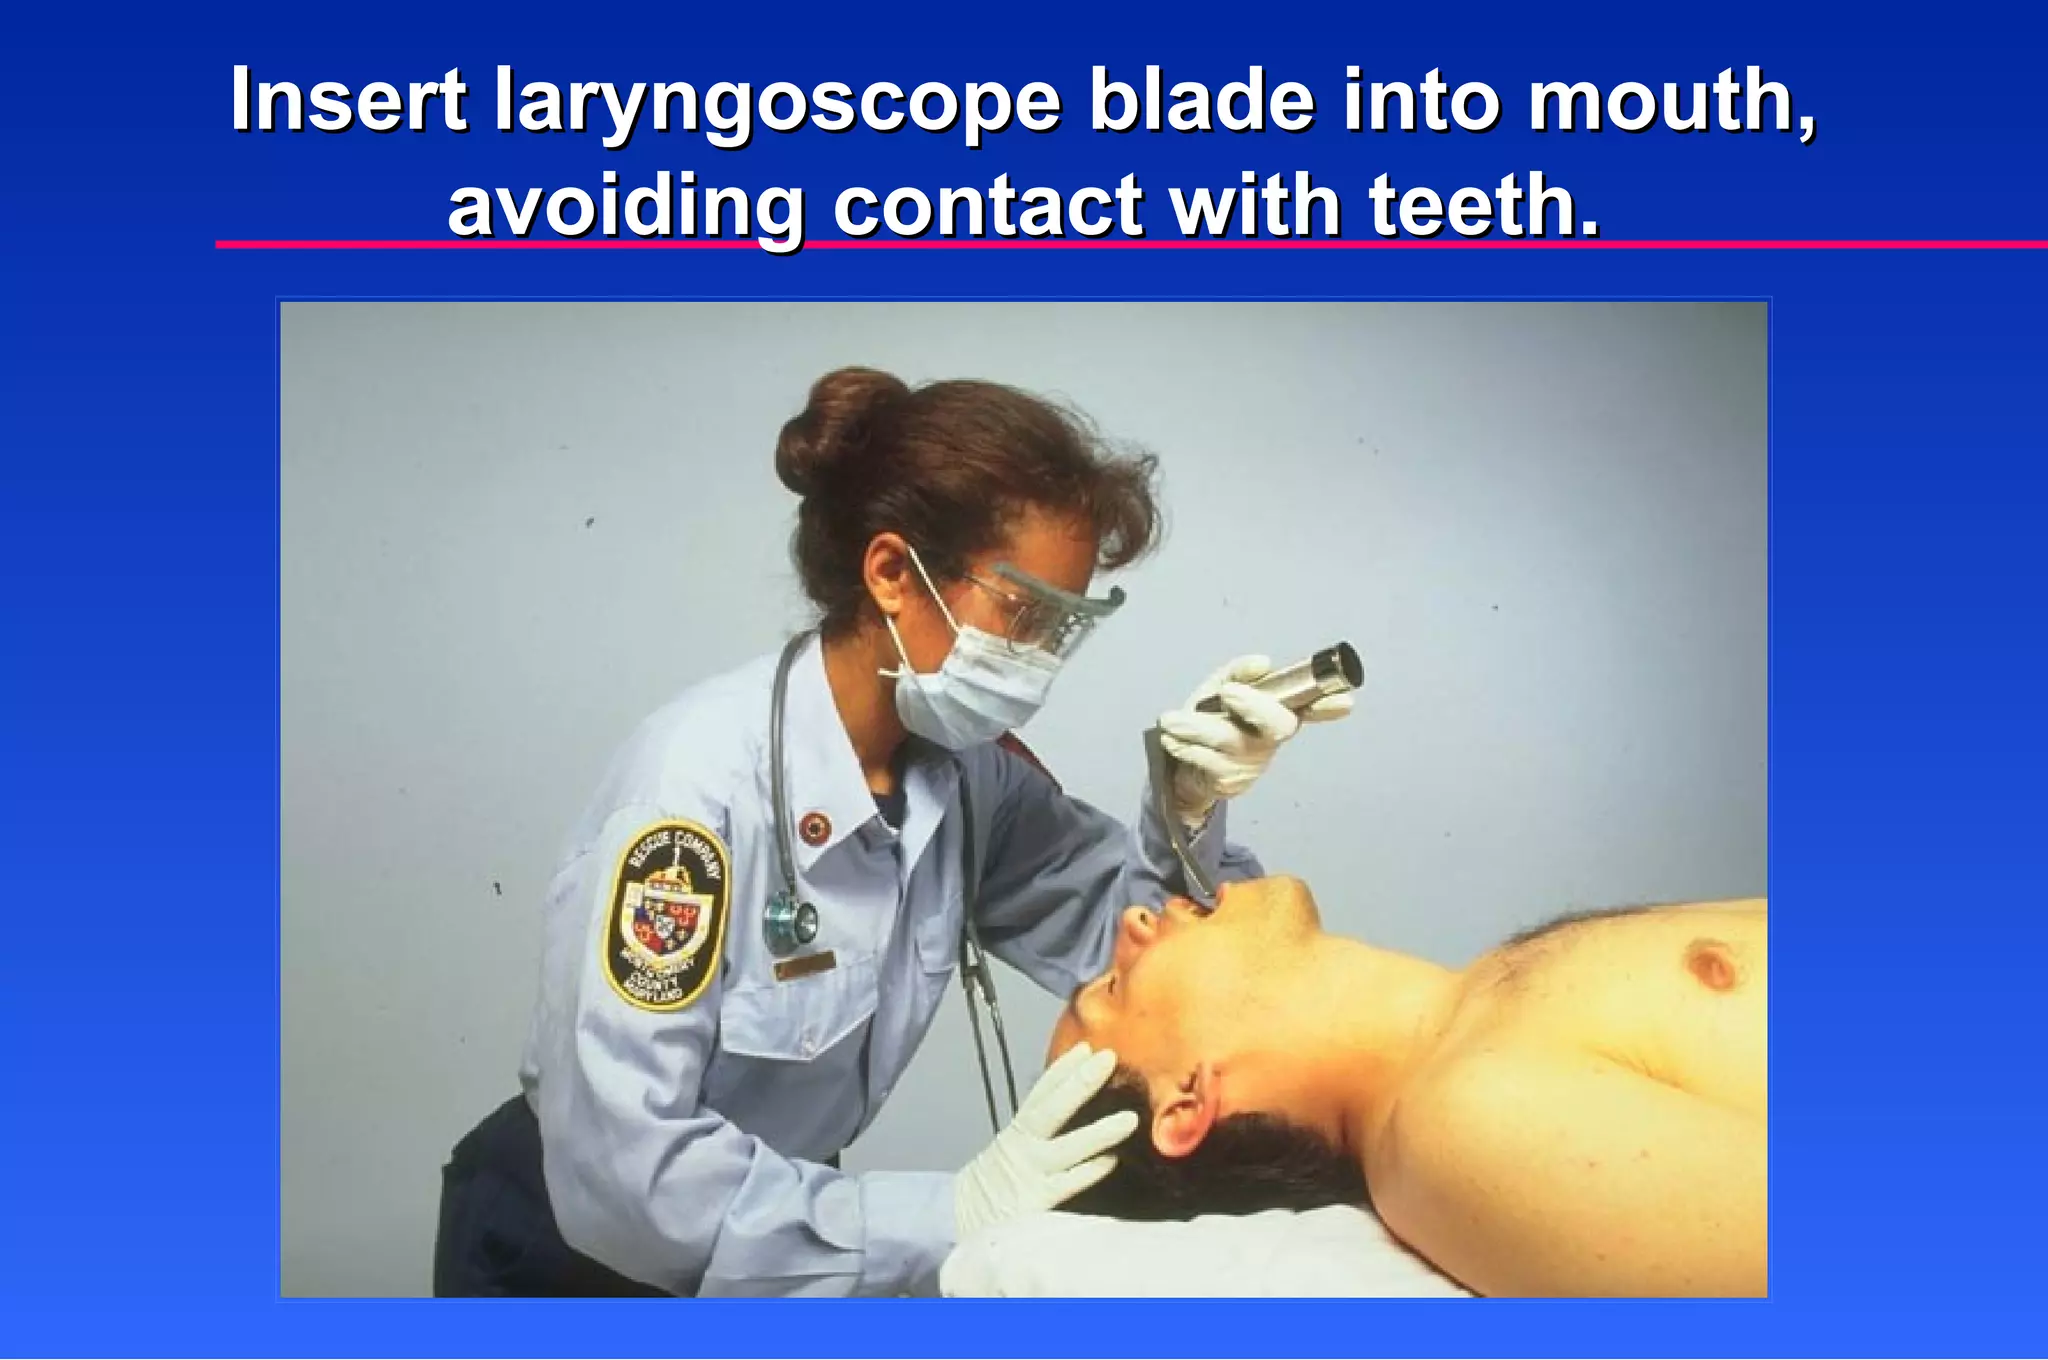
Insert end ofblade into position: Lift mandible: Straight lift–epiglottis Curved–vallecula Use care not to contact teeth. Infant and Child Intubation Techniques (Continued)
87.
Have rescuer apply Sellick’s maneuver. Visualize glottic opening and vocal cords. Infant and Child Intubation Techniques (Continued)
88.
Gently insert tubeuntil glottic marker (if present) is at level of vocal cords. If using cuffed tube, insert cuff beyond vocal cords. Infant and Child Intubation Techniques (Continued)
89.
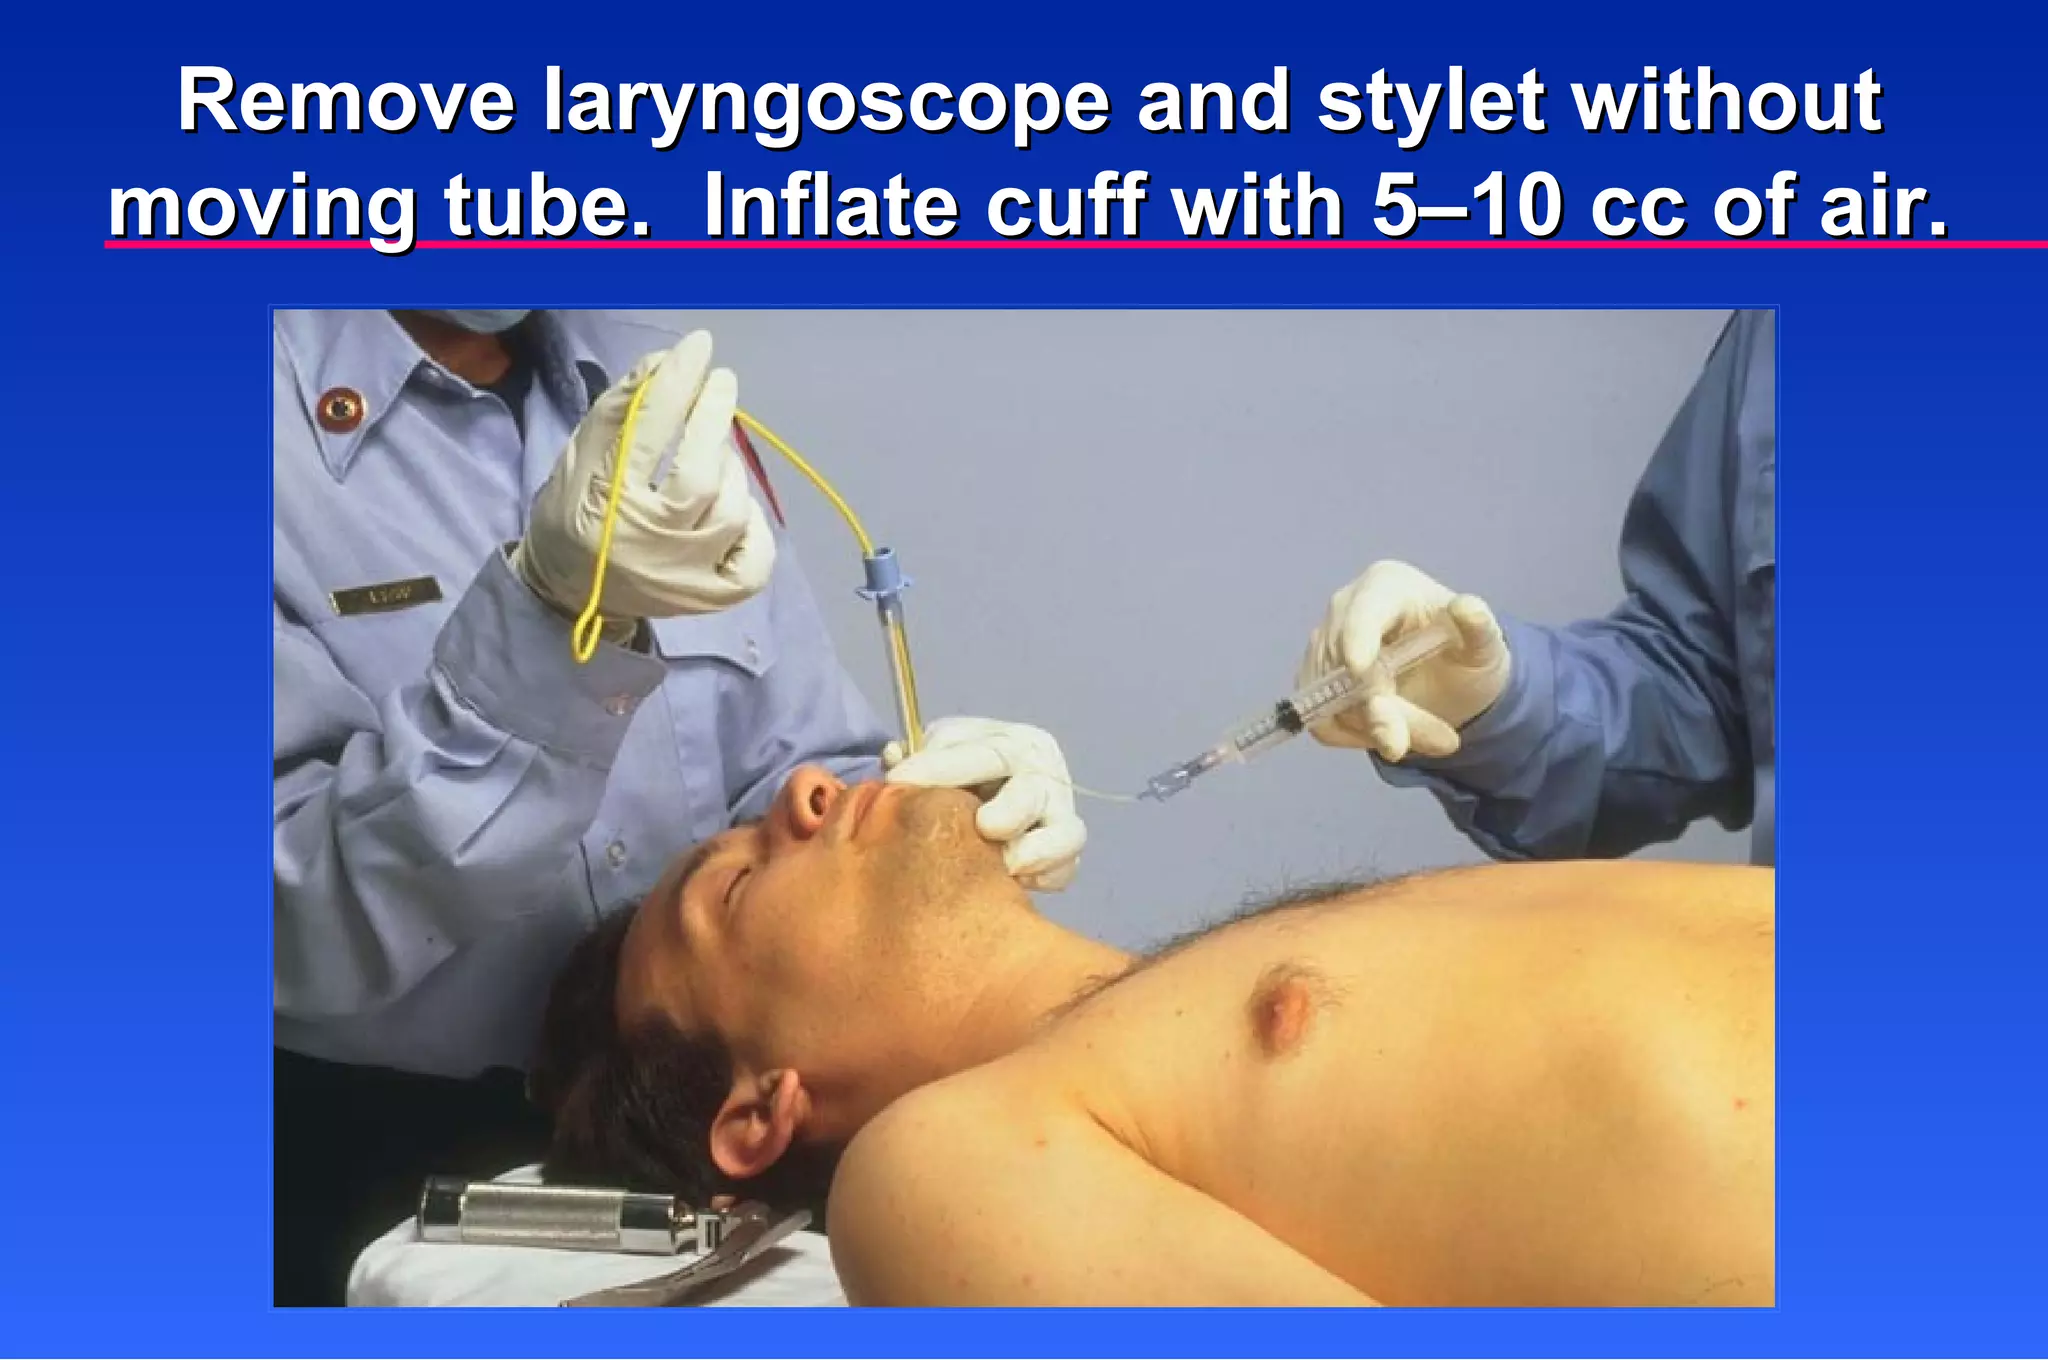
Holding tube, remove laryngoscope blade and stylet. Have partner attach bag-valve and ventilate. Confirm correct placement. Infant and Child Intubation Techniques (Continued)
90.
Observe chest riseand fall. Auscultate epigastrium for absence of sounds. Infant and Child Intubation Techniques (Continued)
91.
Auscultate apex andbase of each lung. Assess for improvement in heart rate and skin color. Infant and Child Intubation Techniques (Continued)
92.
If correct placementis confirmed (no sounds over epigastrium and bilaterally equal breath sounds) , secure tube with commercial device and continue to ventilate. Infant and Child Intubation Techniques (Continued)
93.
Ventilate patient ata rate appropriate for age. Note tube’s depth of insertion. May insert oral airway/bite block. Infant and Child Intubation Techniques (Continued)
94.
If breath soundsare present only on right, withdraw tube slightly until breath sounds are equal. Secure tube and ventilate. Infant and Child Intubation Techniques (Continued)
95.
Infant and ChildIntubation Techniques (Continued) If sounds present only in epigastrium: Remove tube. Ventilate for at least 1 minute. Reattempt intubation.
96.
Once tube issecured, secure head to prevent movement that can dislodge tube. Infant and Child Intubation Techniques (Continued)
97.
Reassess breath soundsafter every major move: Scene to ambulance Ambulance to hospital Infant and Child Intubation Techniques
98.
If tube isin proper place, but lung expansion is inadequate: Tube too small/large air leak. Auscultate neck Replace with larger tube Consider cuffed tube if child > 8 years old Infant and Child Intubation Techniques
99.
Pop-off valve onbag-valve device activated. Leak in bag-valve device. If tube is in proper place, but lung expansion is inadequate: Infant and Child Intubation Complications (Continued)
100.
Inadequate compression ofbag Tube blocked with secretions SUCTION ENDOTRACHEALLY; REPLACE TUBE. If tube is in proper place, but lung expansion is inadequate: Infant and Child Intubation Complications (Continued)
101.
Stimulation of airwaycan cause bradycardia. Trauma can occur to lips, teeth, tongue, gums, airway structures. Infant and Child Intubation Complications (Continued)
102.
Hypoxia may resultfrom prolonged attempts. No oxygen to left lung because tube is in right mainstem. Infant and Child Intubation Complications (Continued)
103.
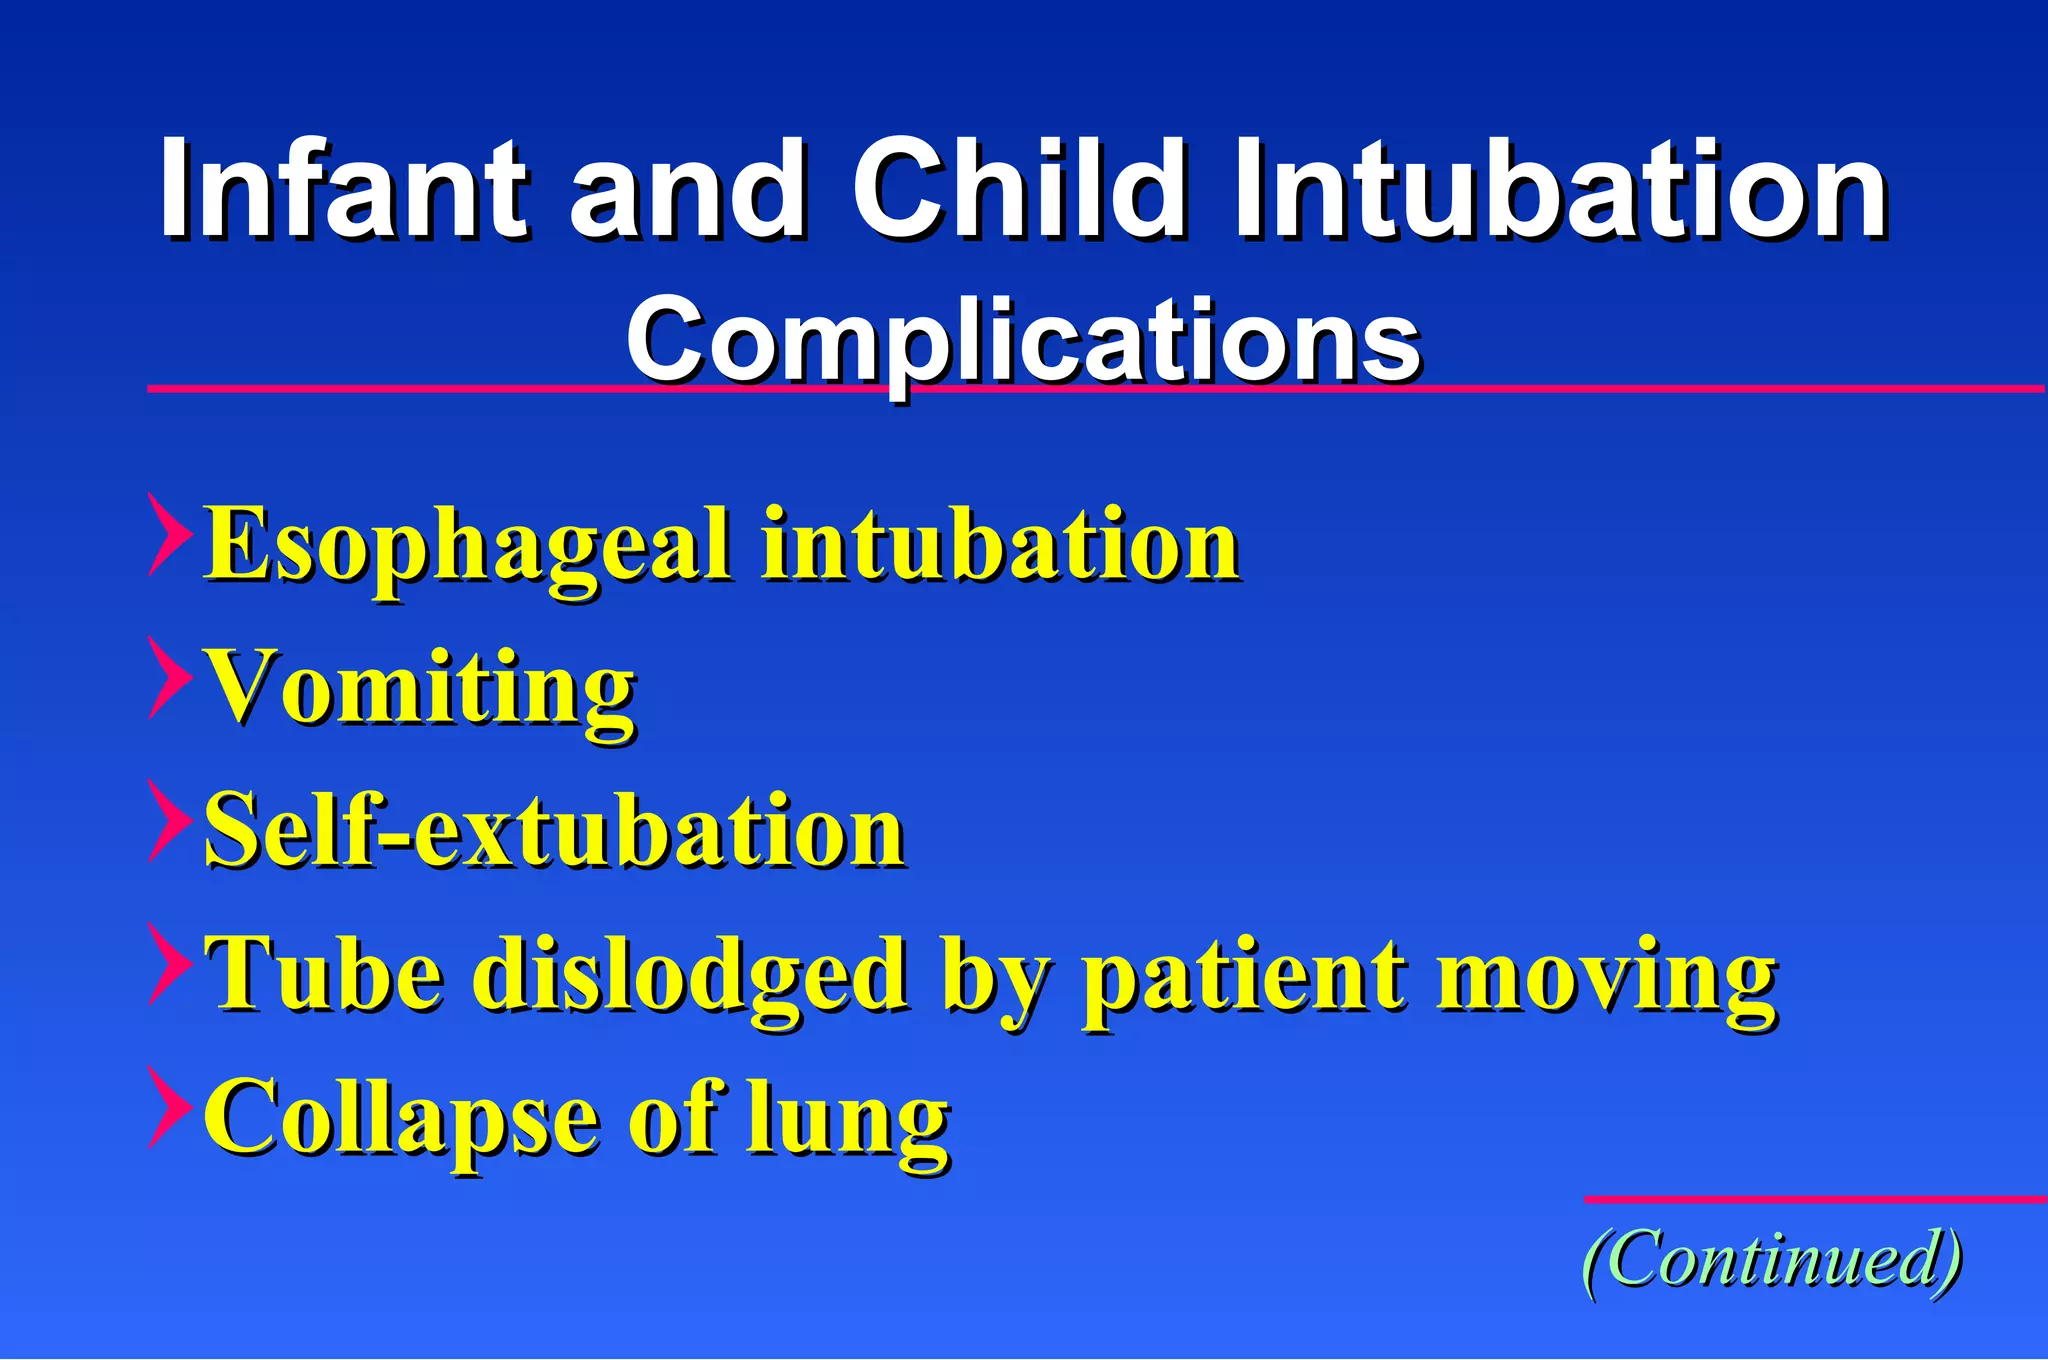
Esophageal intubation VomitingSelf-extubation Tube dislodged by patient moving Collapse of lung Infant and Child Intubation Complications (Continued)
104.
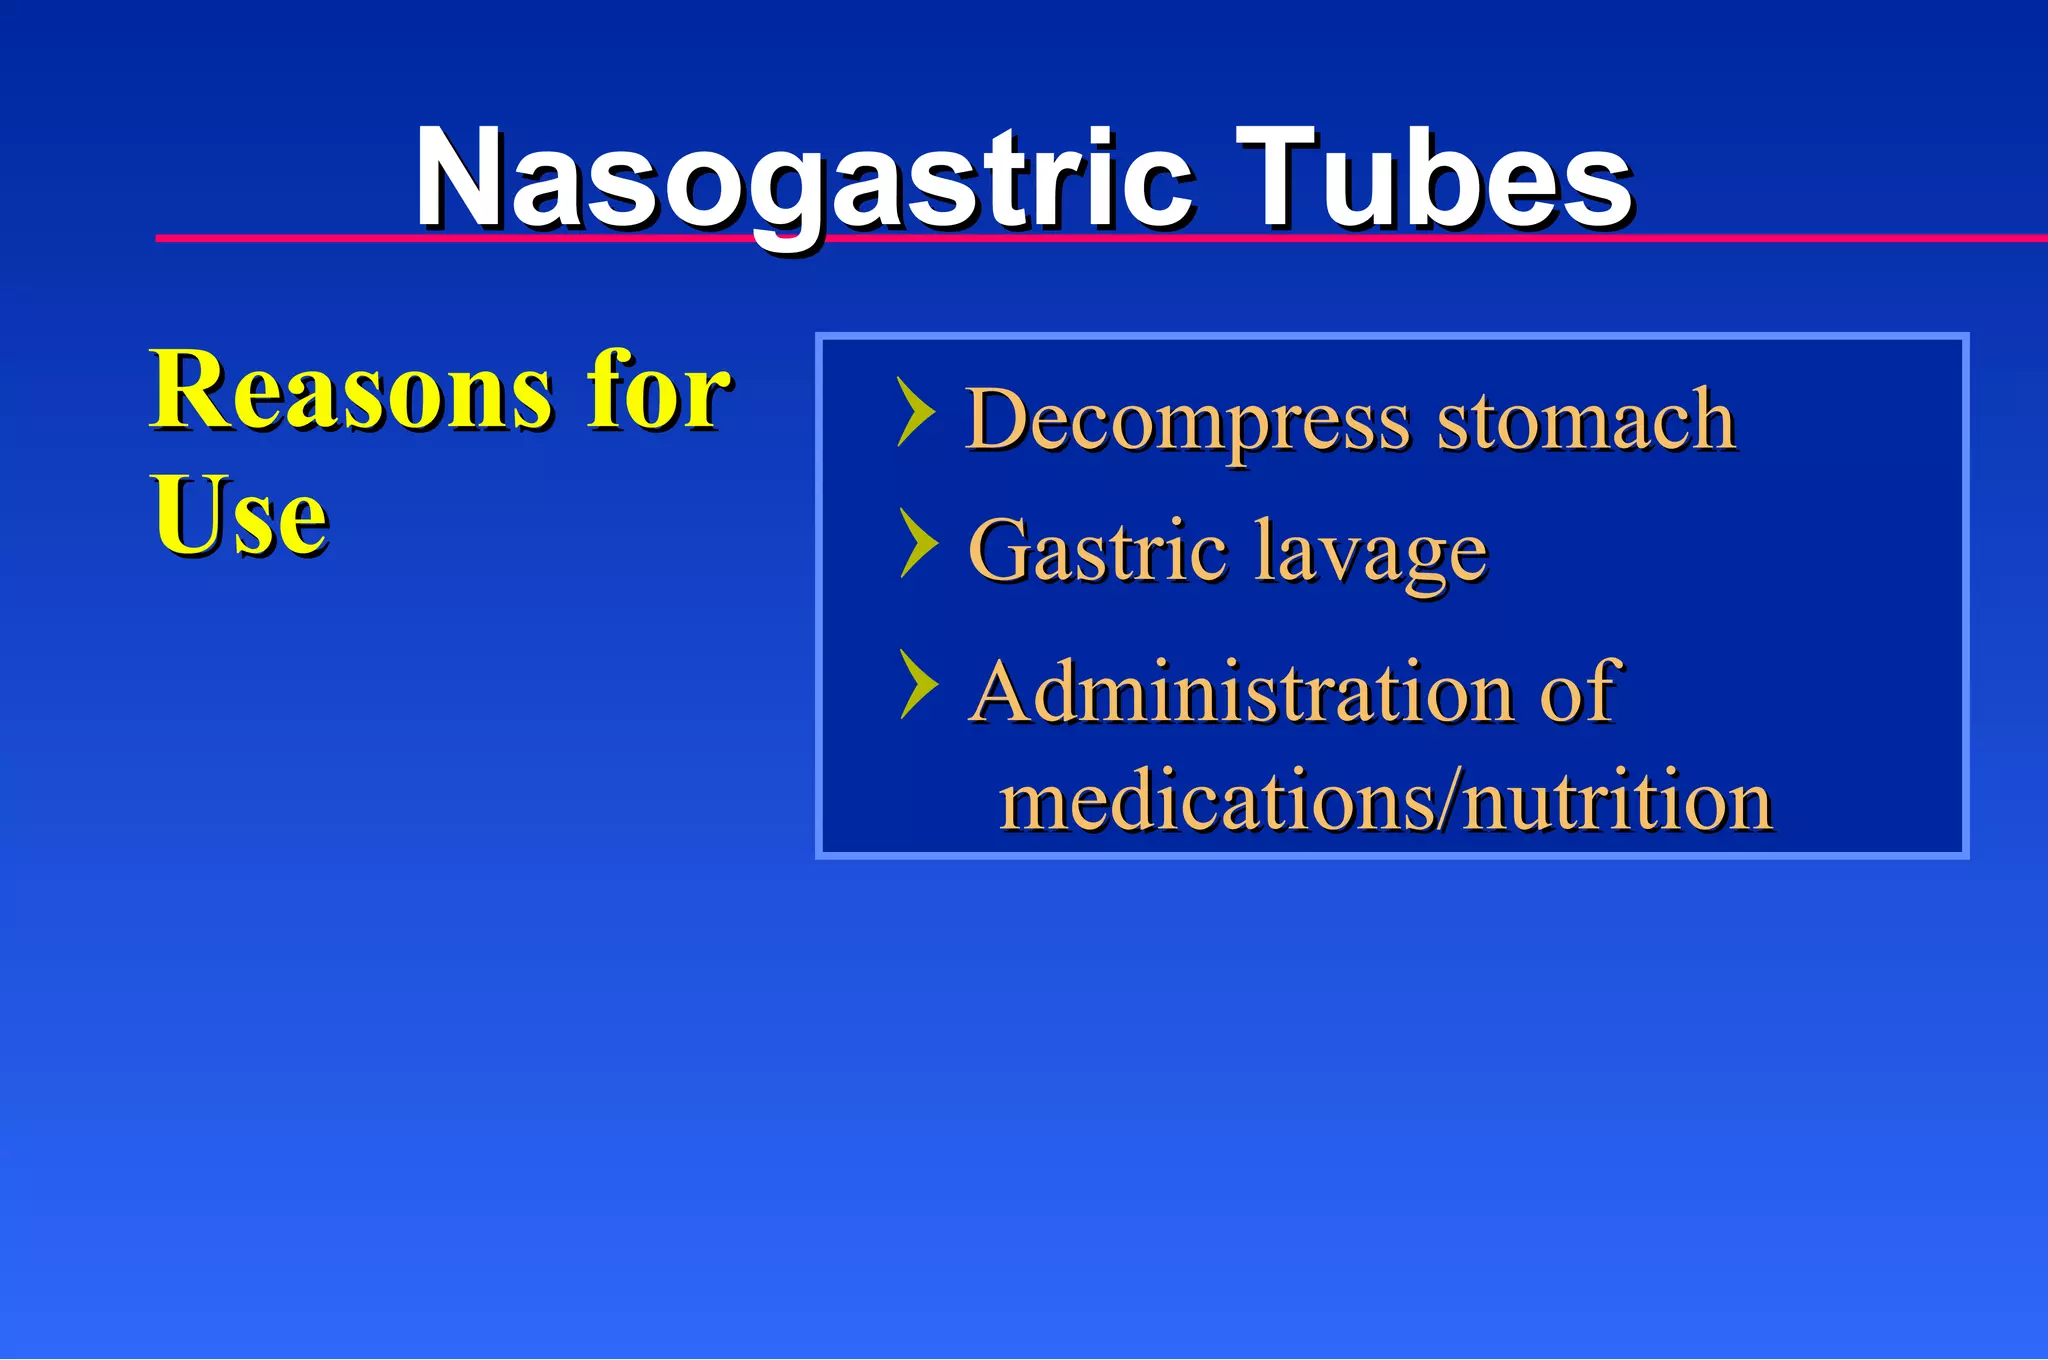
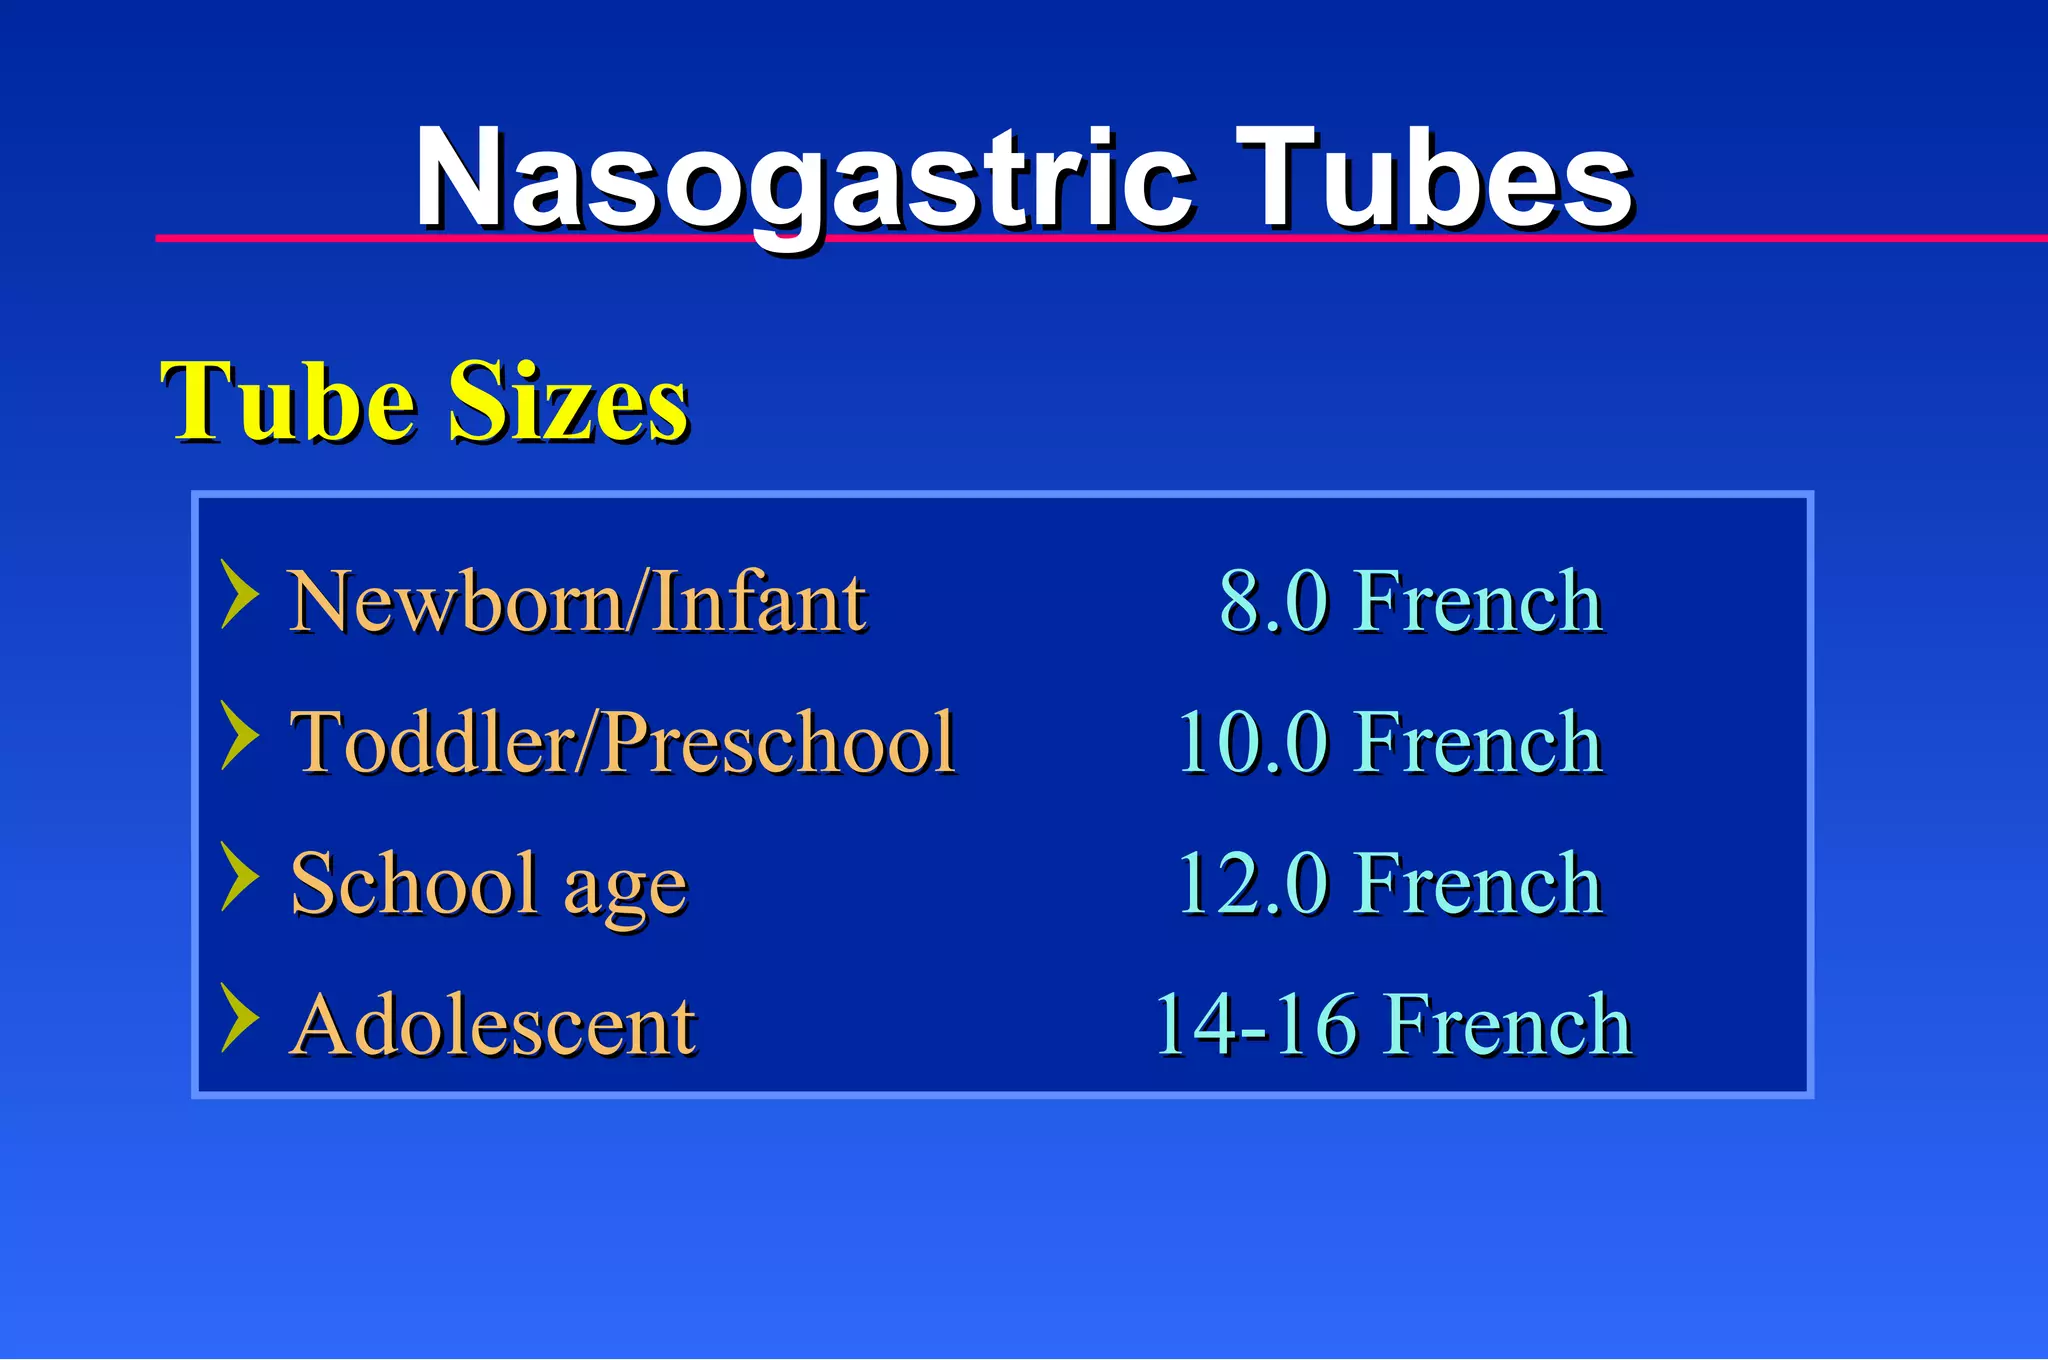
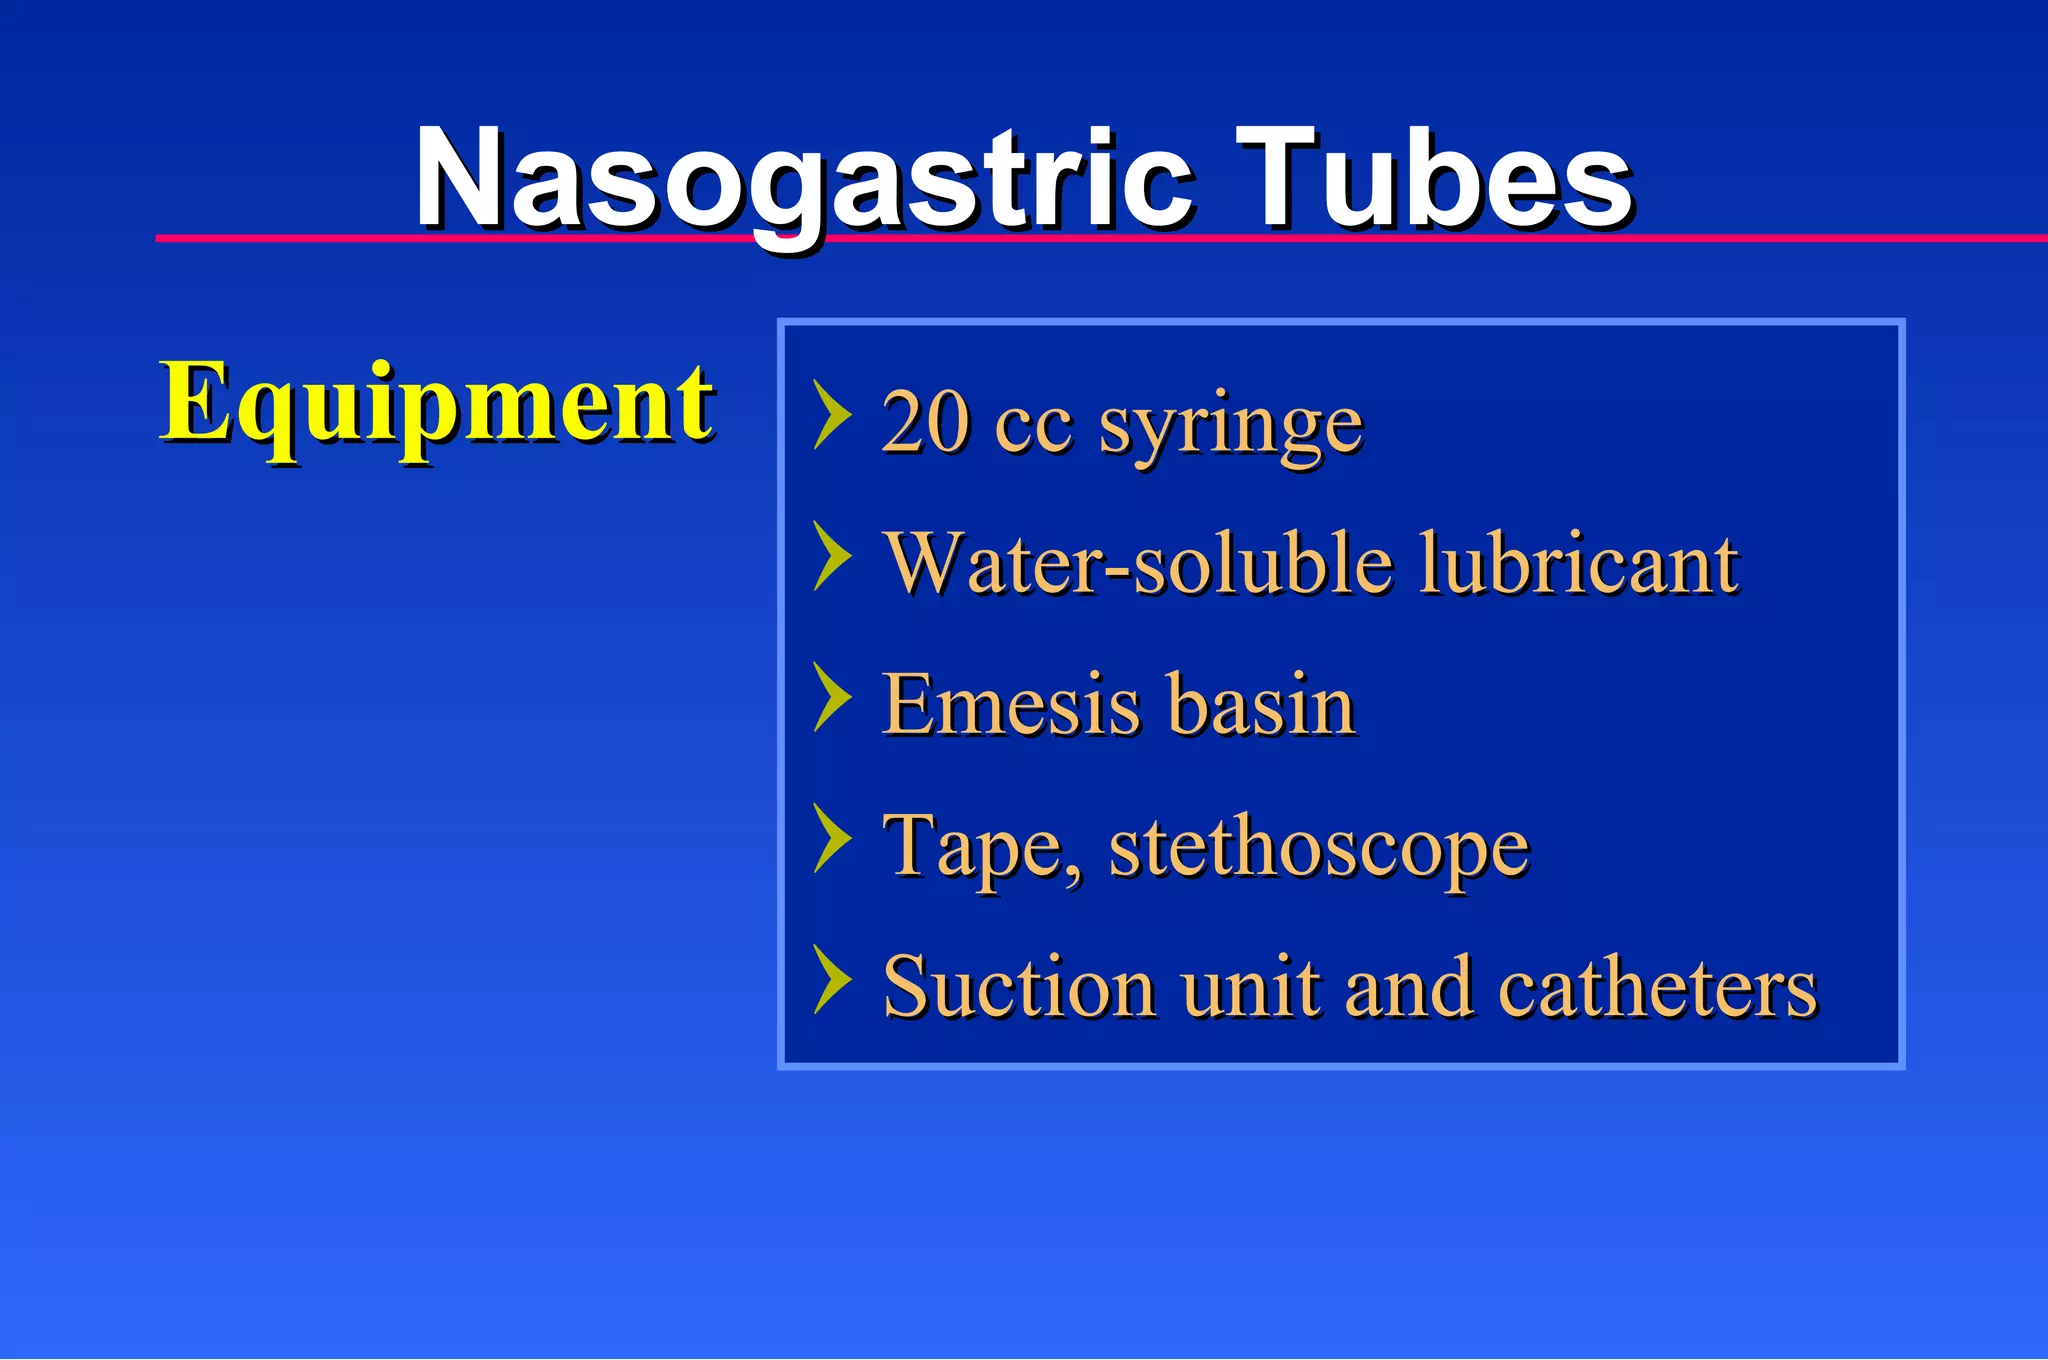
Reasons for UseDecompress stomach Gastric lavage Administration of medications/nutrition Nasogastric Tubes
105.
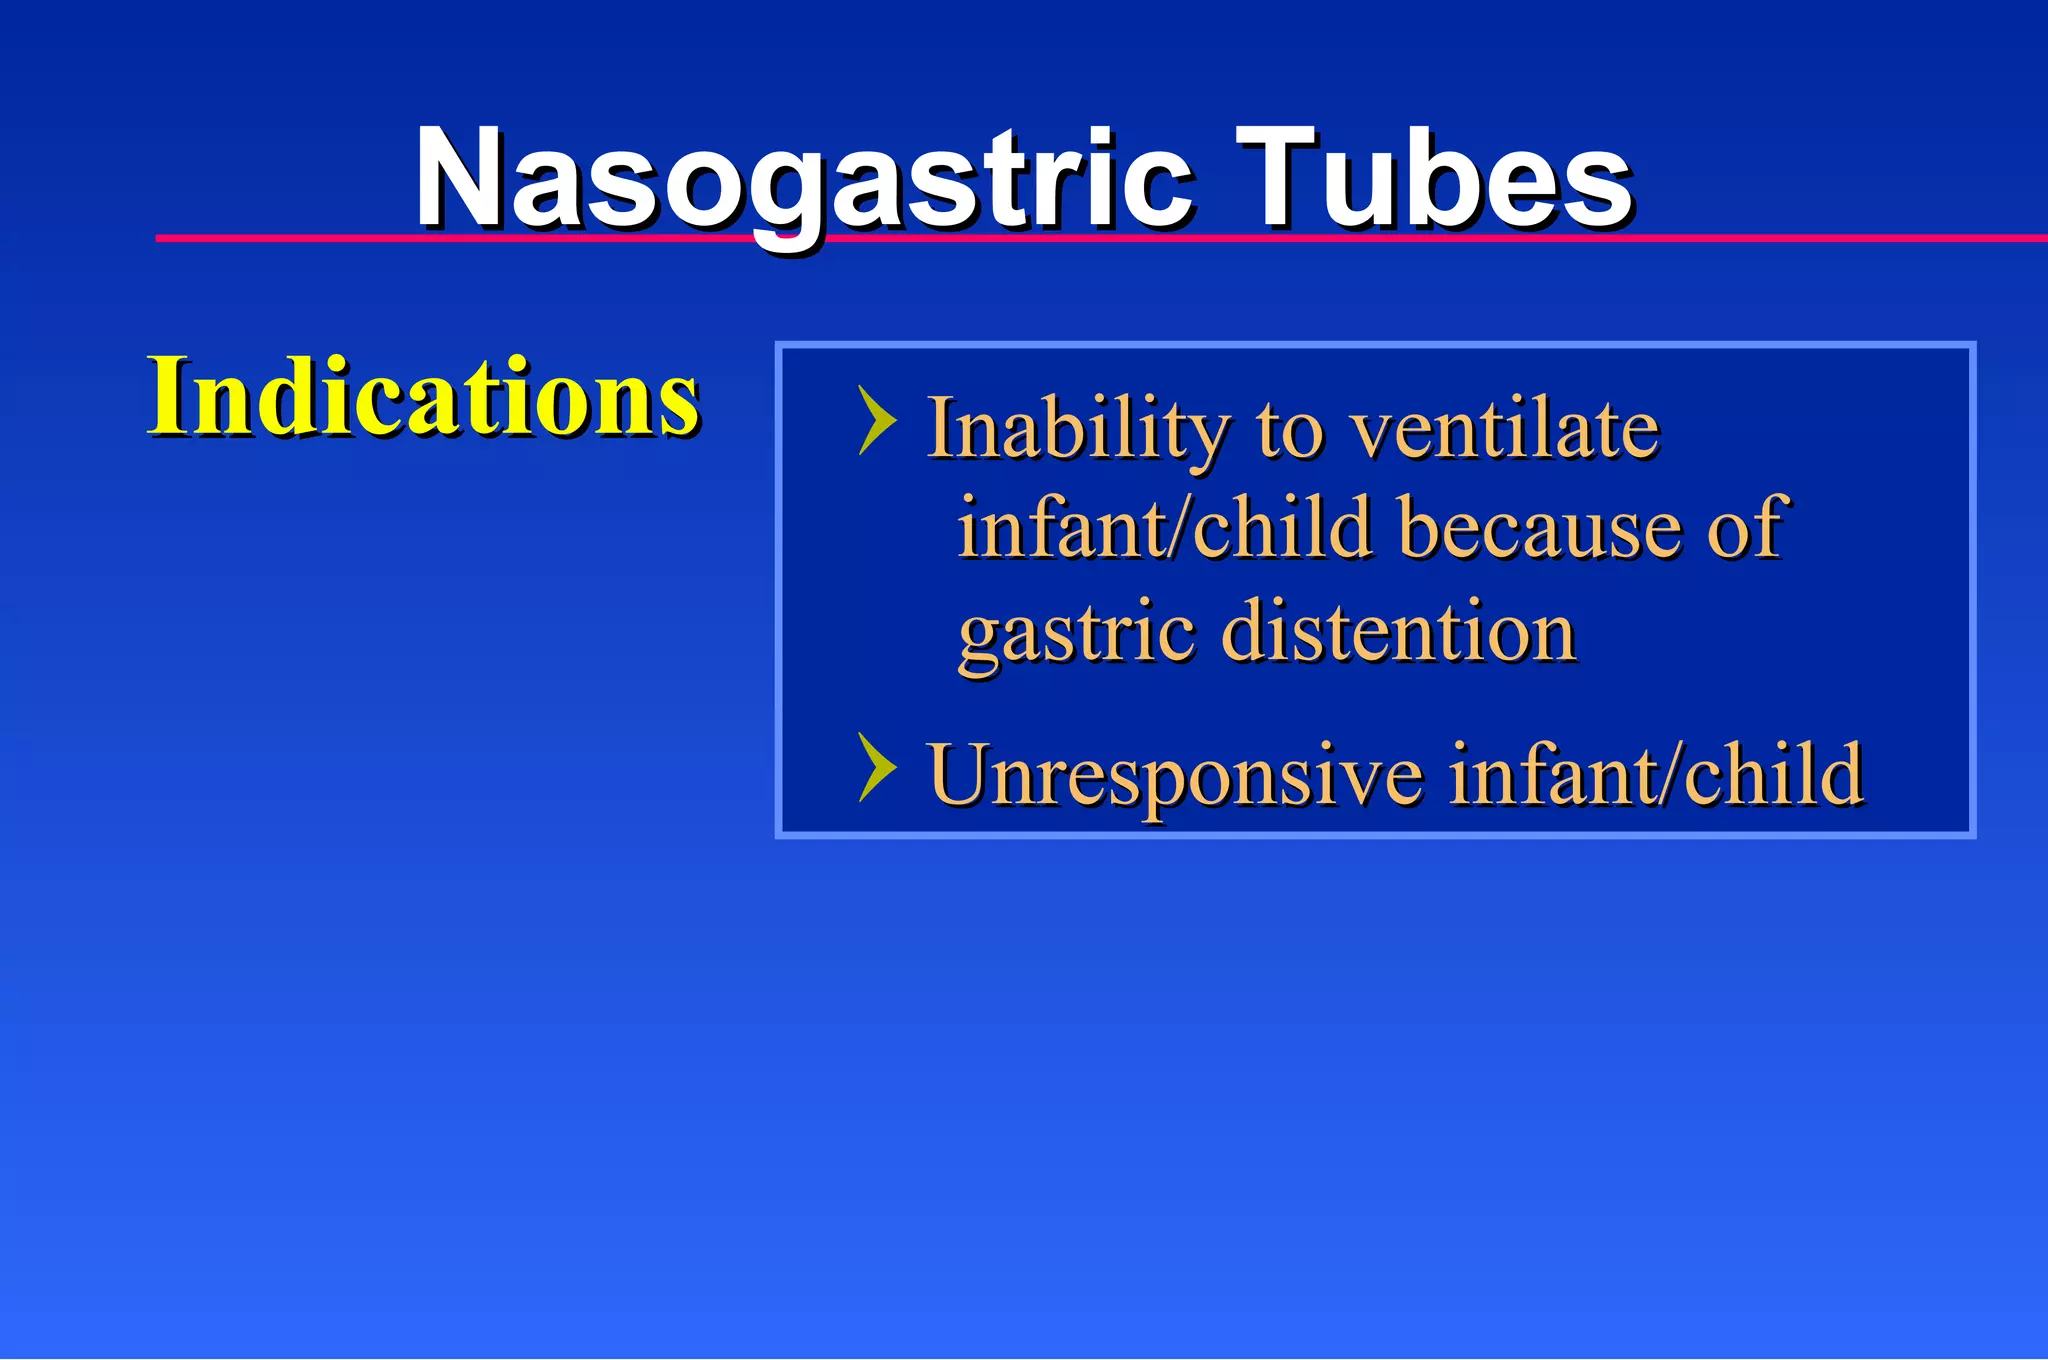
Indications Inability toventilate infant/child because of gastric distention Unresponsive infant/child Nasogastric Tubes
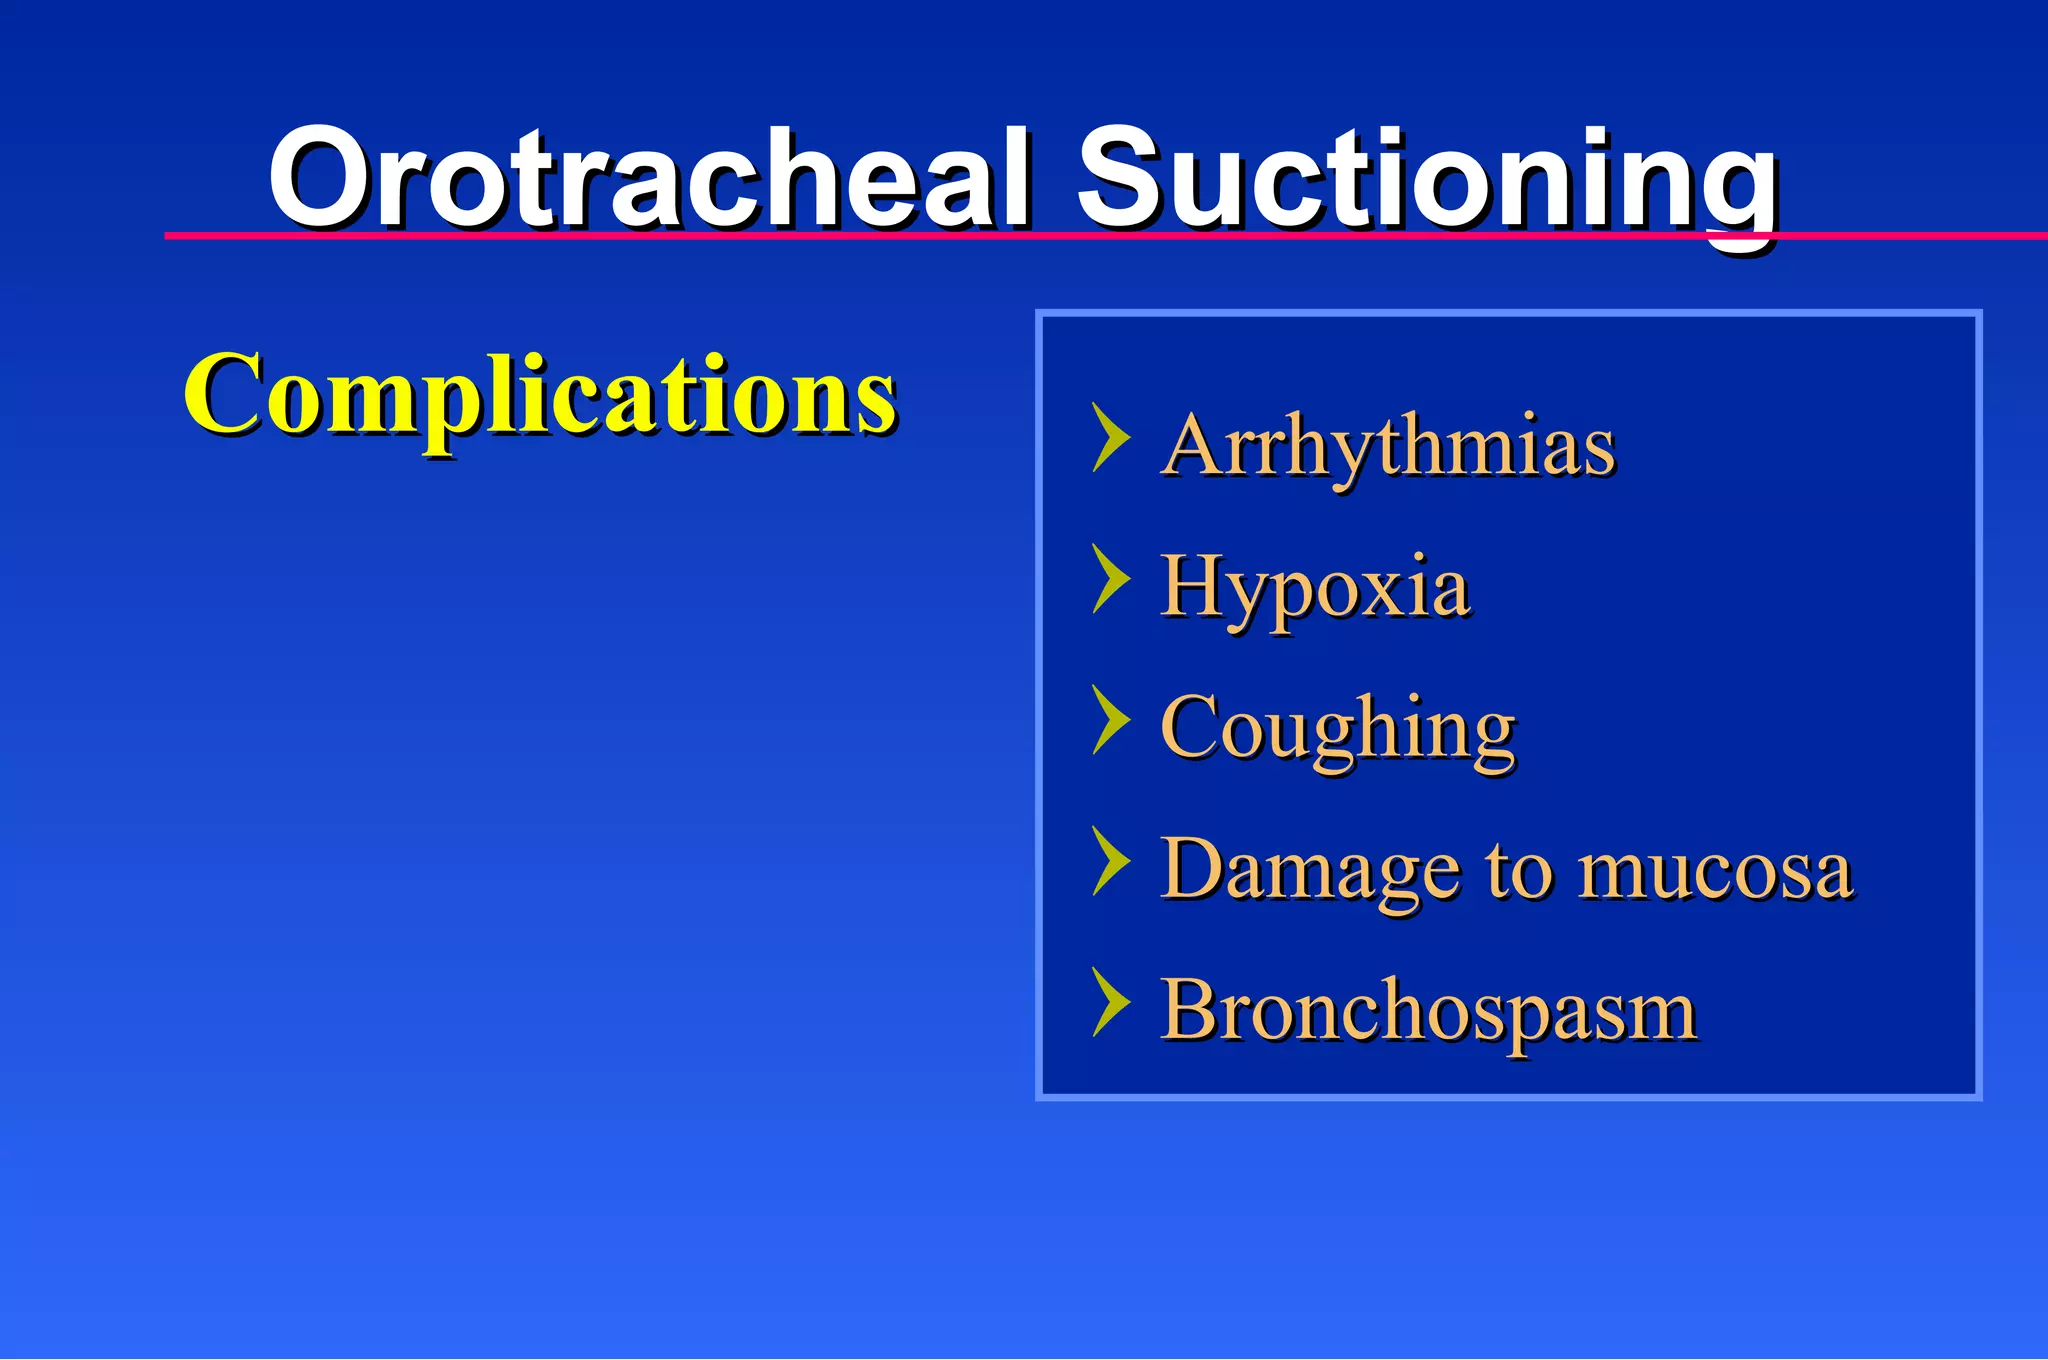
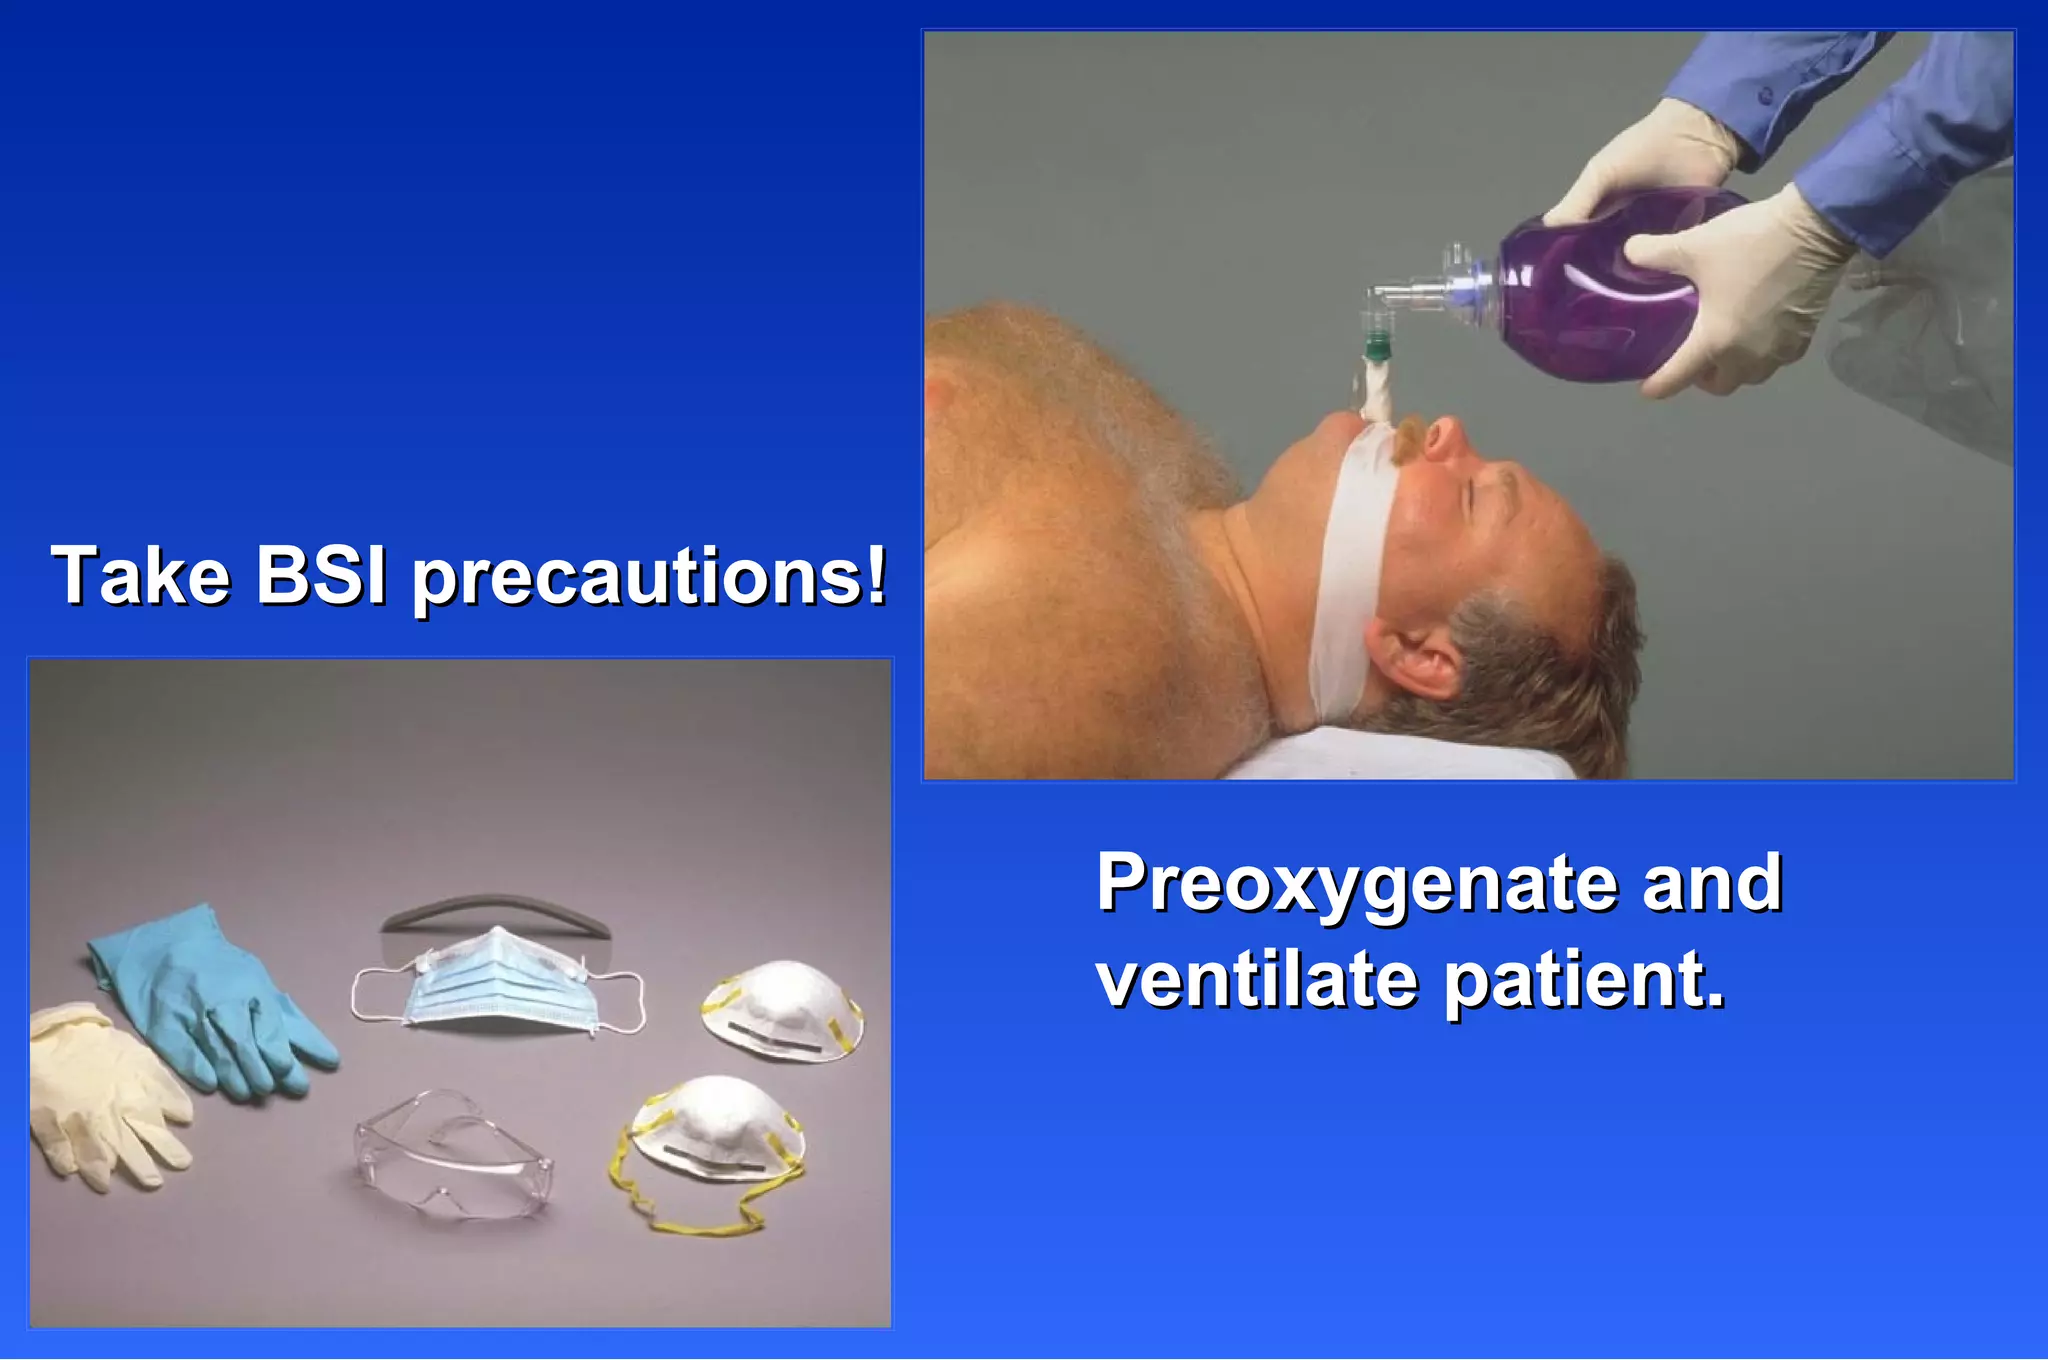
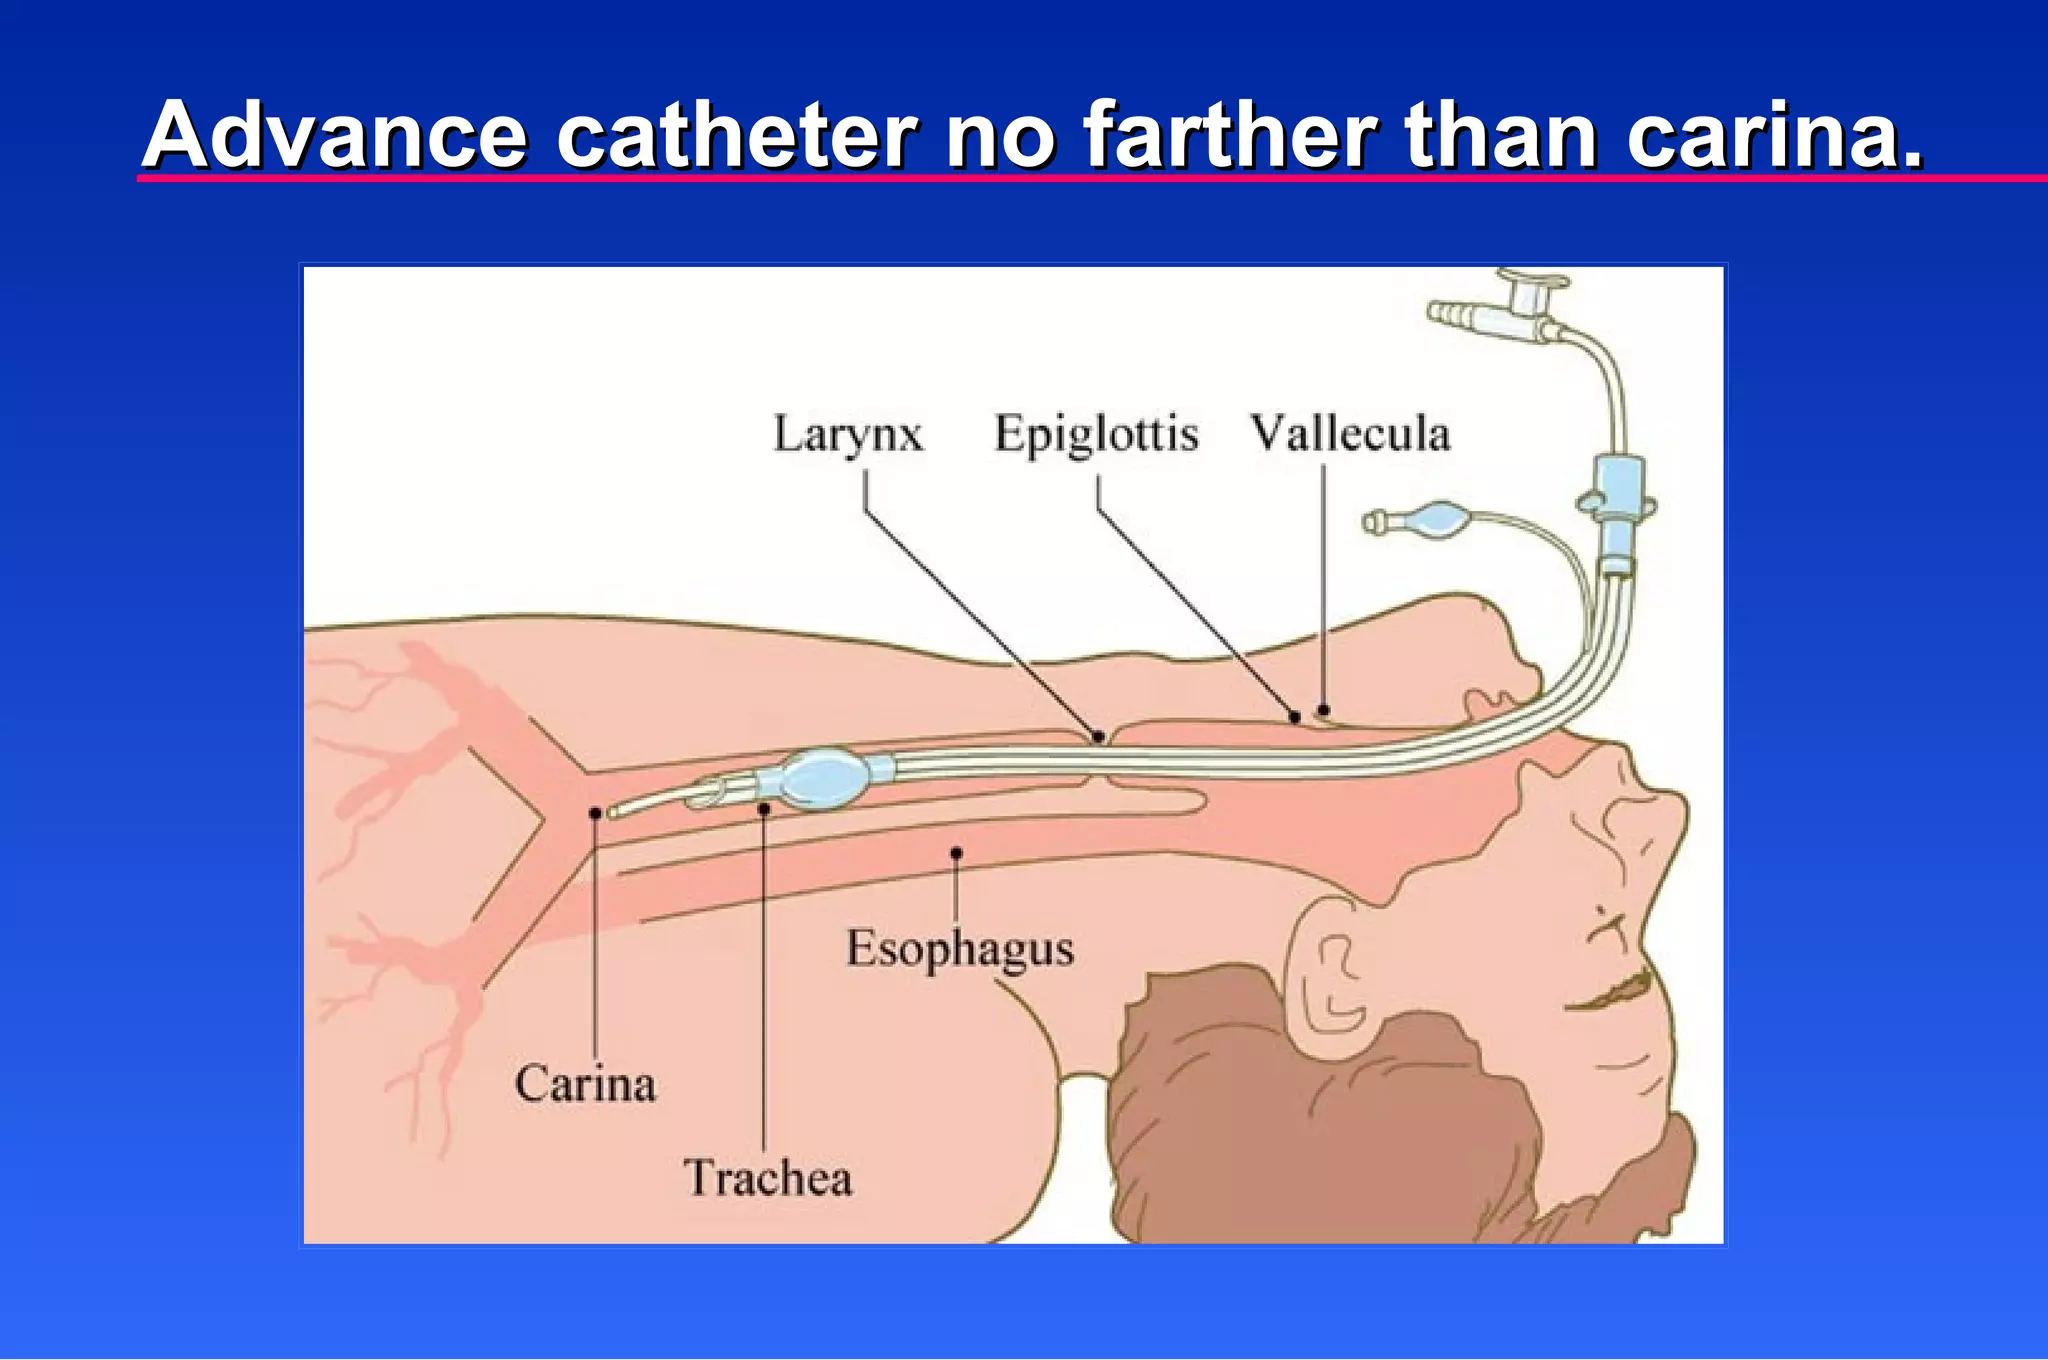
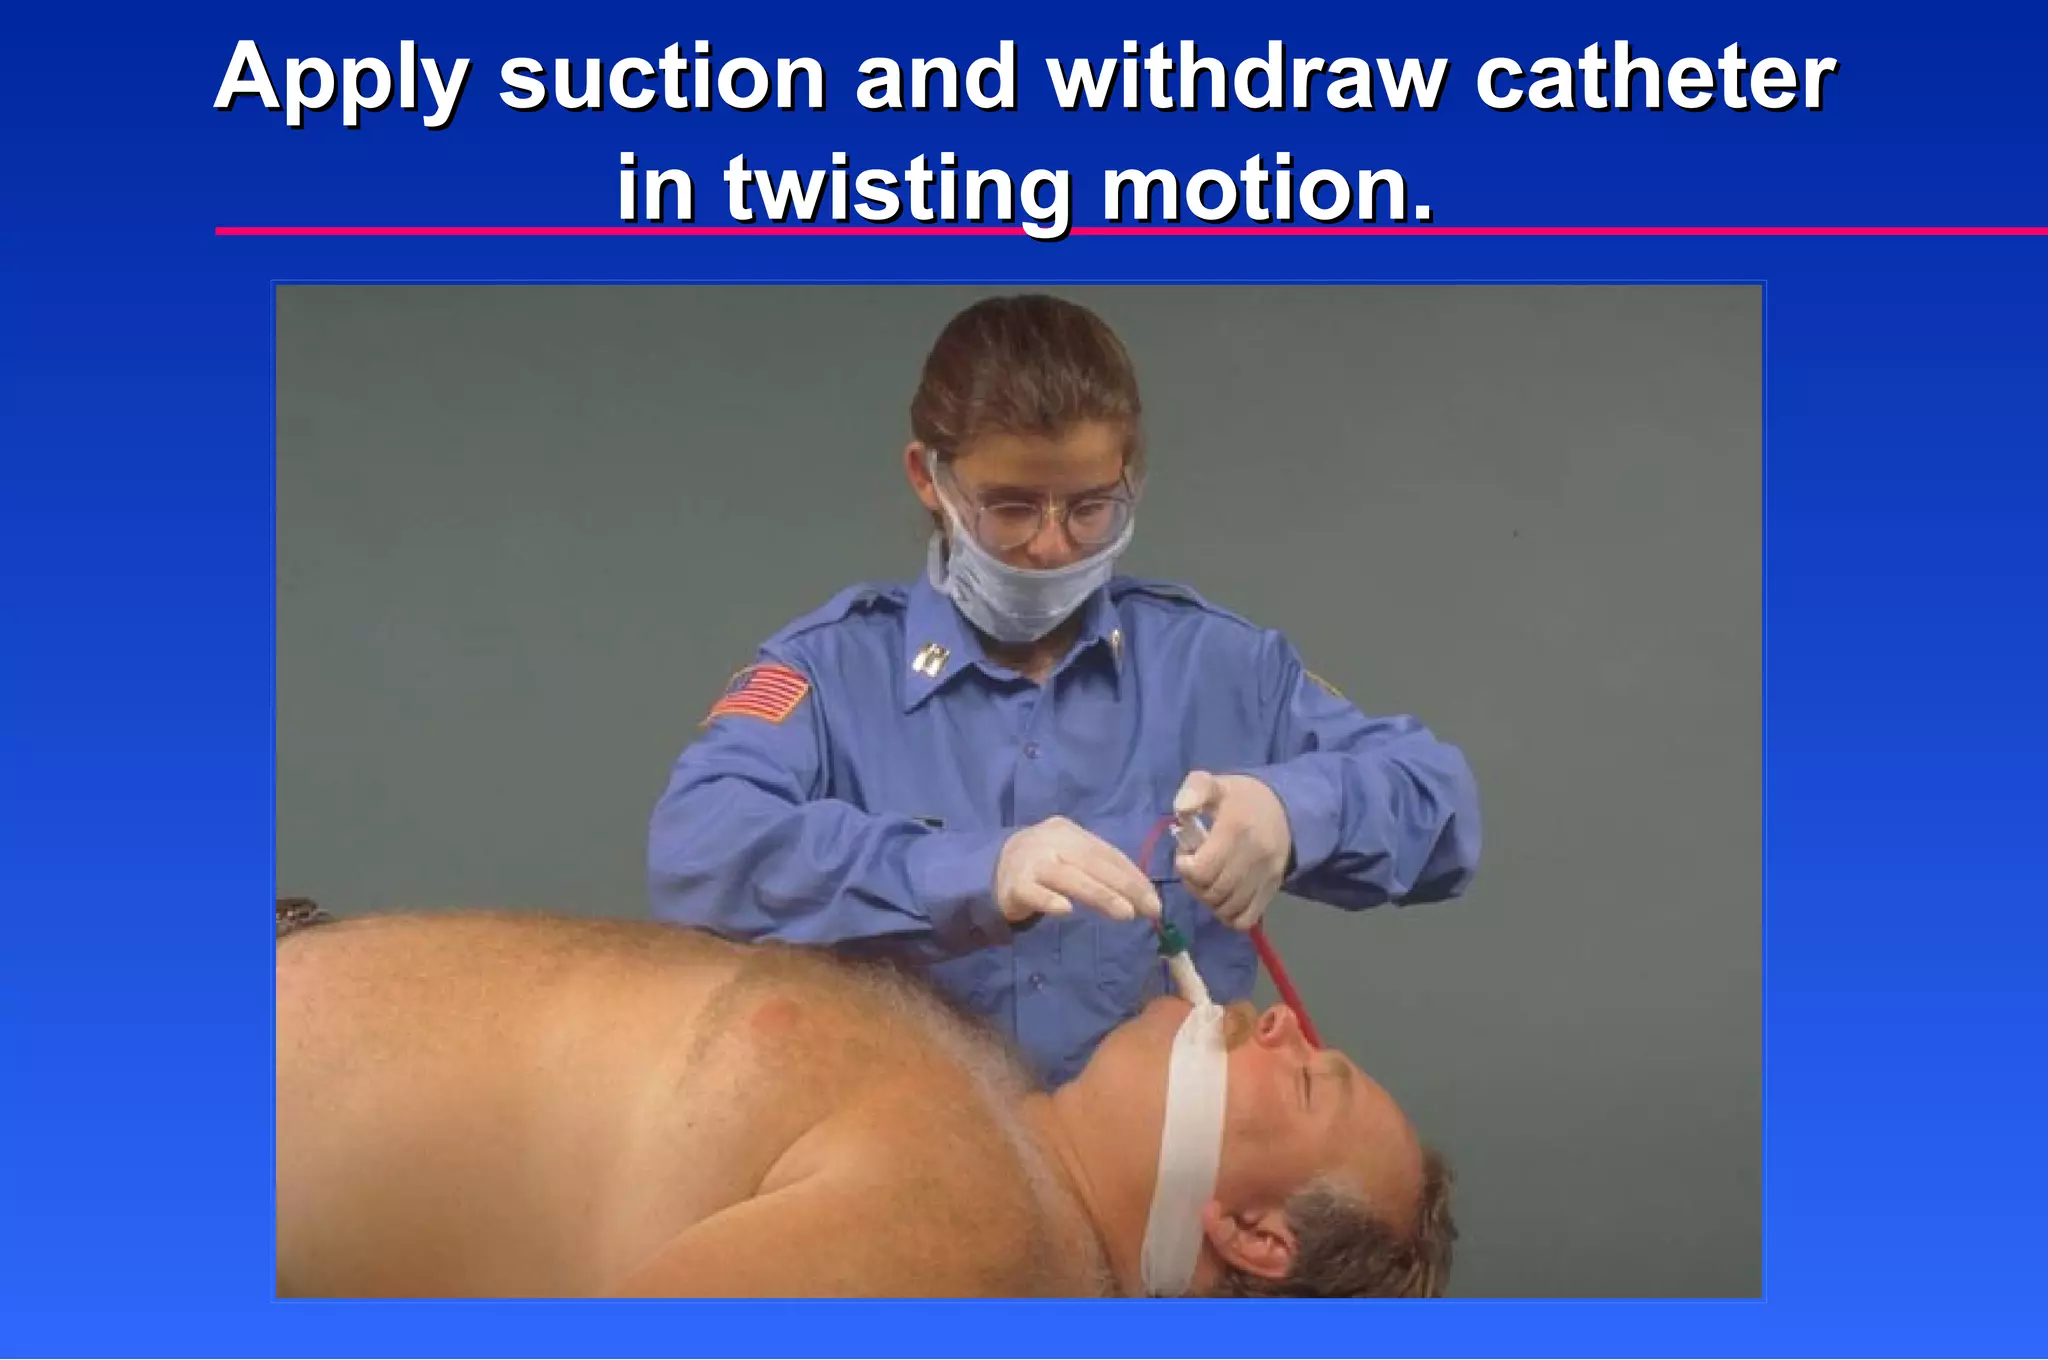
Resume ventilation. (Suctioning should not interrupt ventilation longer than 15 seconds.) Orotracheal Suctioning
121.
Nothing is moreembarrassing for the EMT-B, or harmful for the patient, than fumbling around to get a suction unit working when the airway is filled with vomit or blood. Remind new EMT-Bs that a working rigid-tip suction catheter is an essential piece of equipment for suctioning the mouth and pharynx, which must be done before orotracheal intubation. P RECEPTOR P EARL
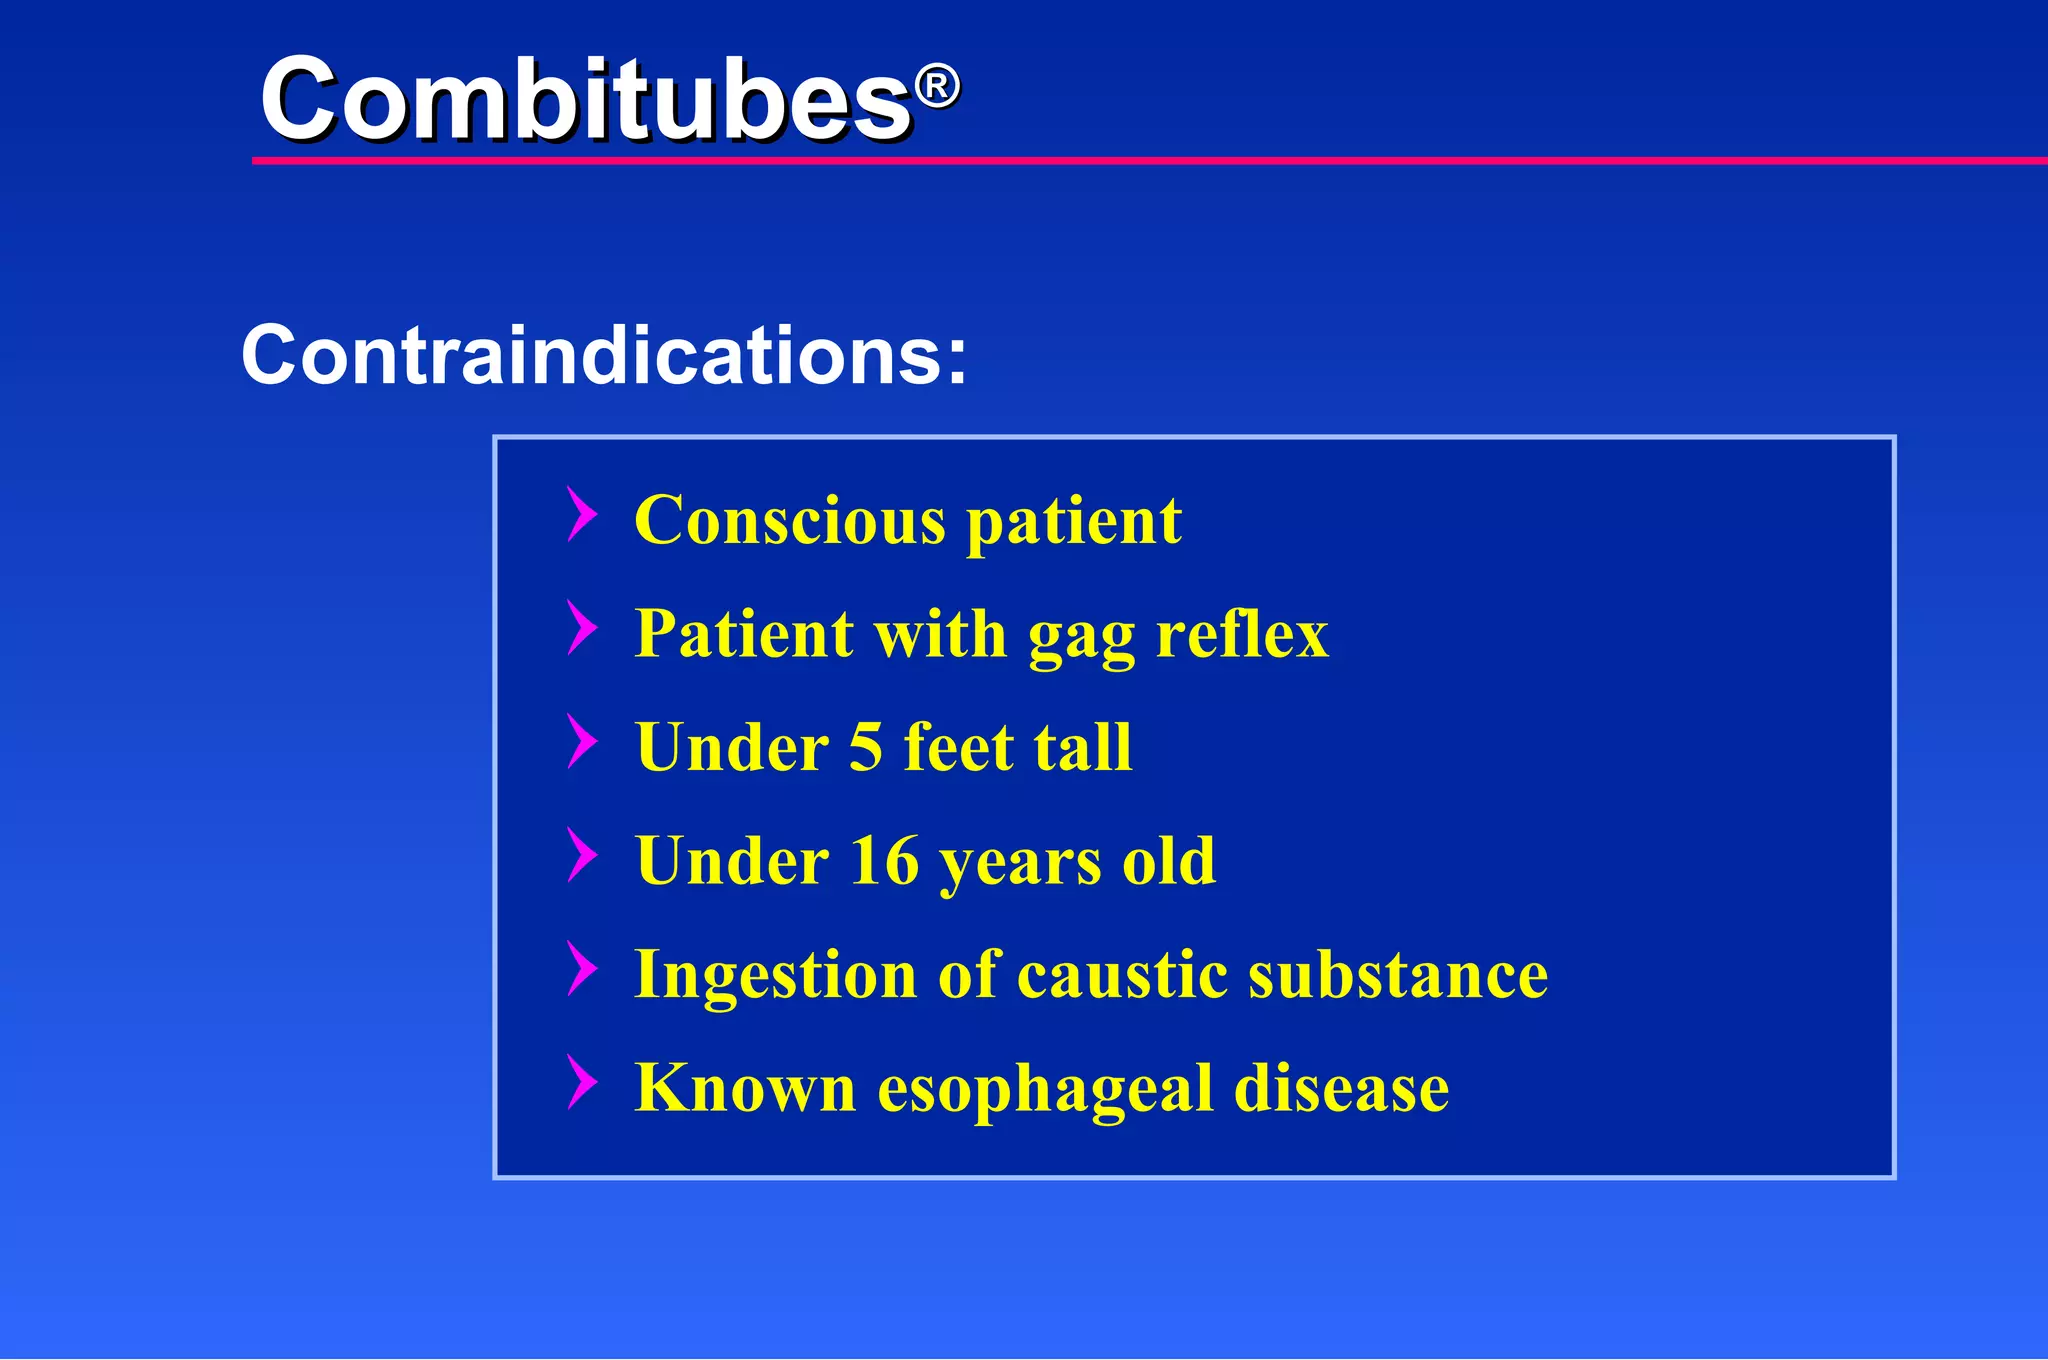
Contraindications: Conscious patientPatient with gag reflex Under 5 feet tall Under 16 years old Ingestion of caustic substance Known esophageal disease Combitubes ®
126.
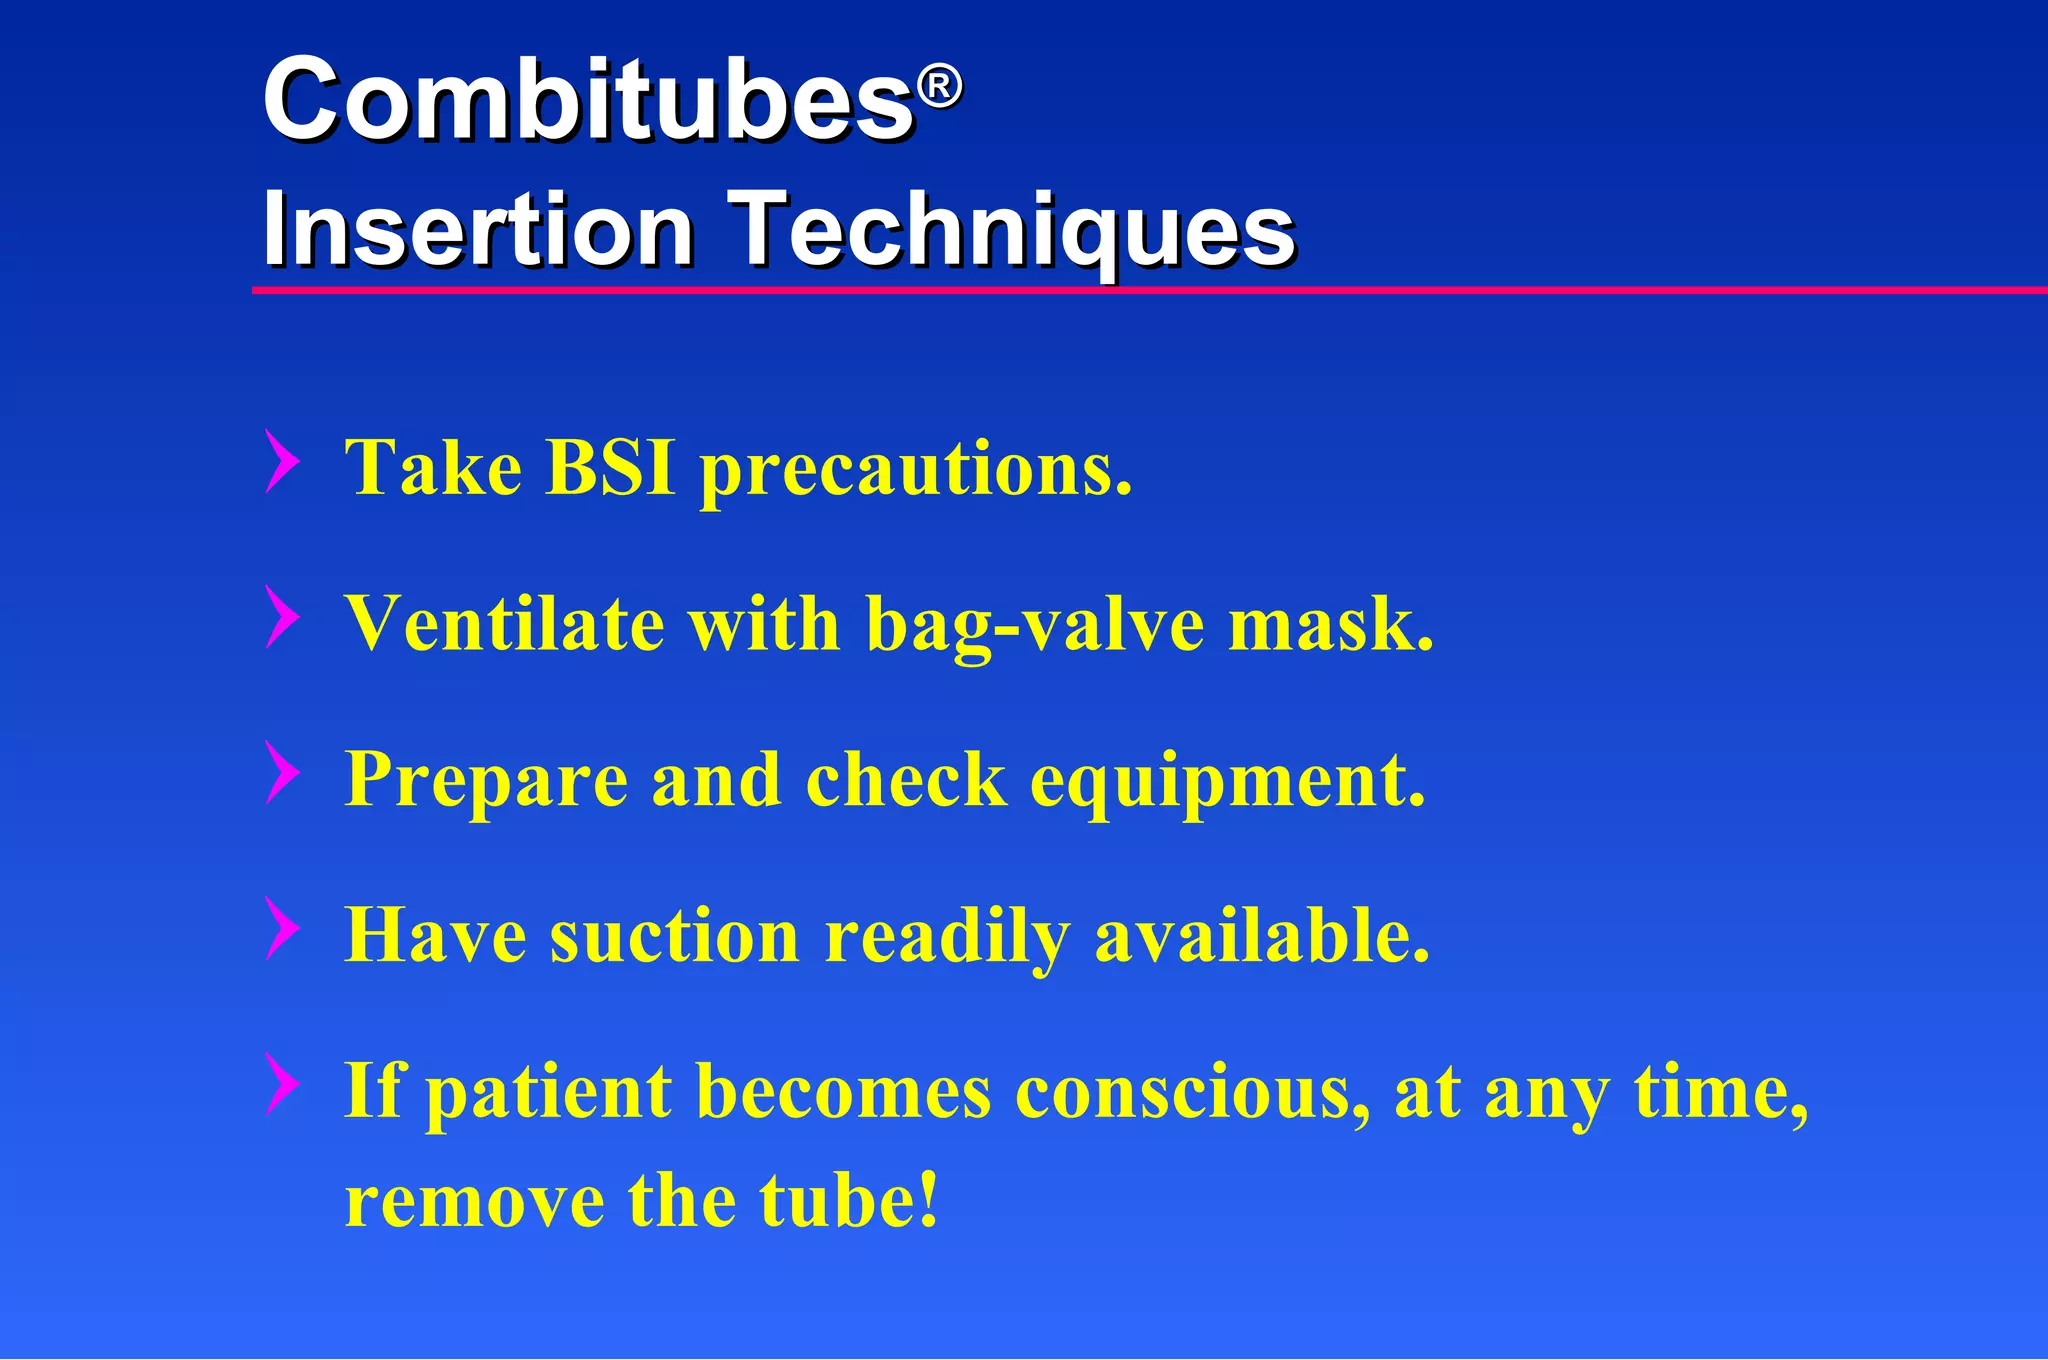
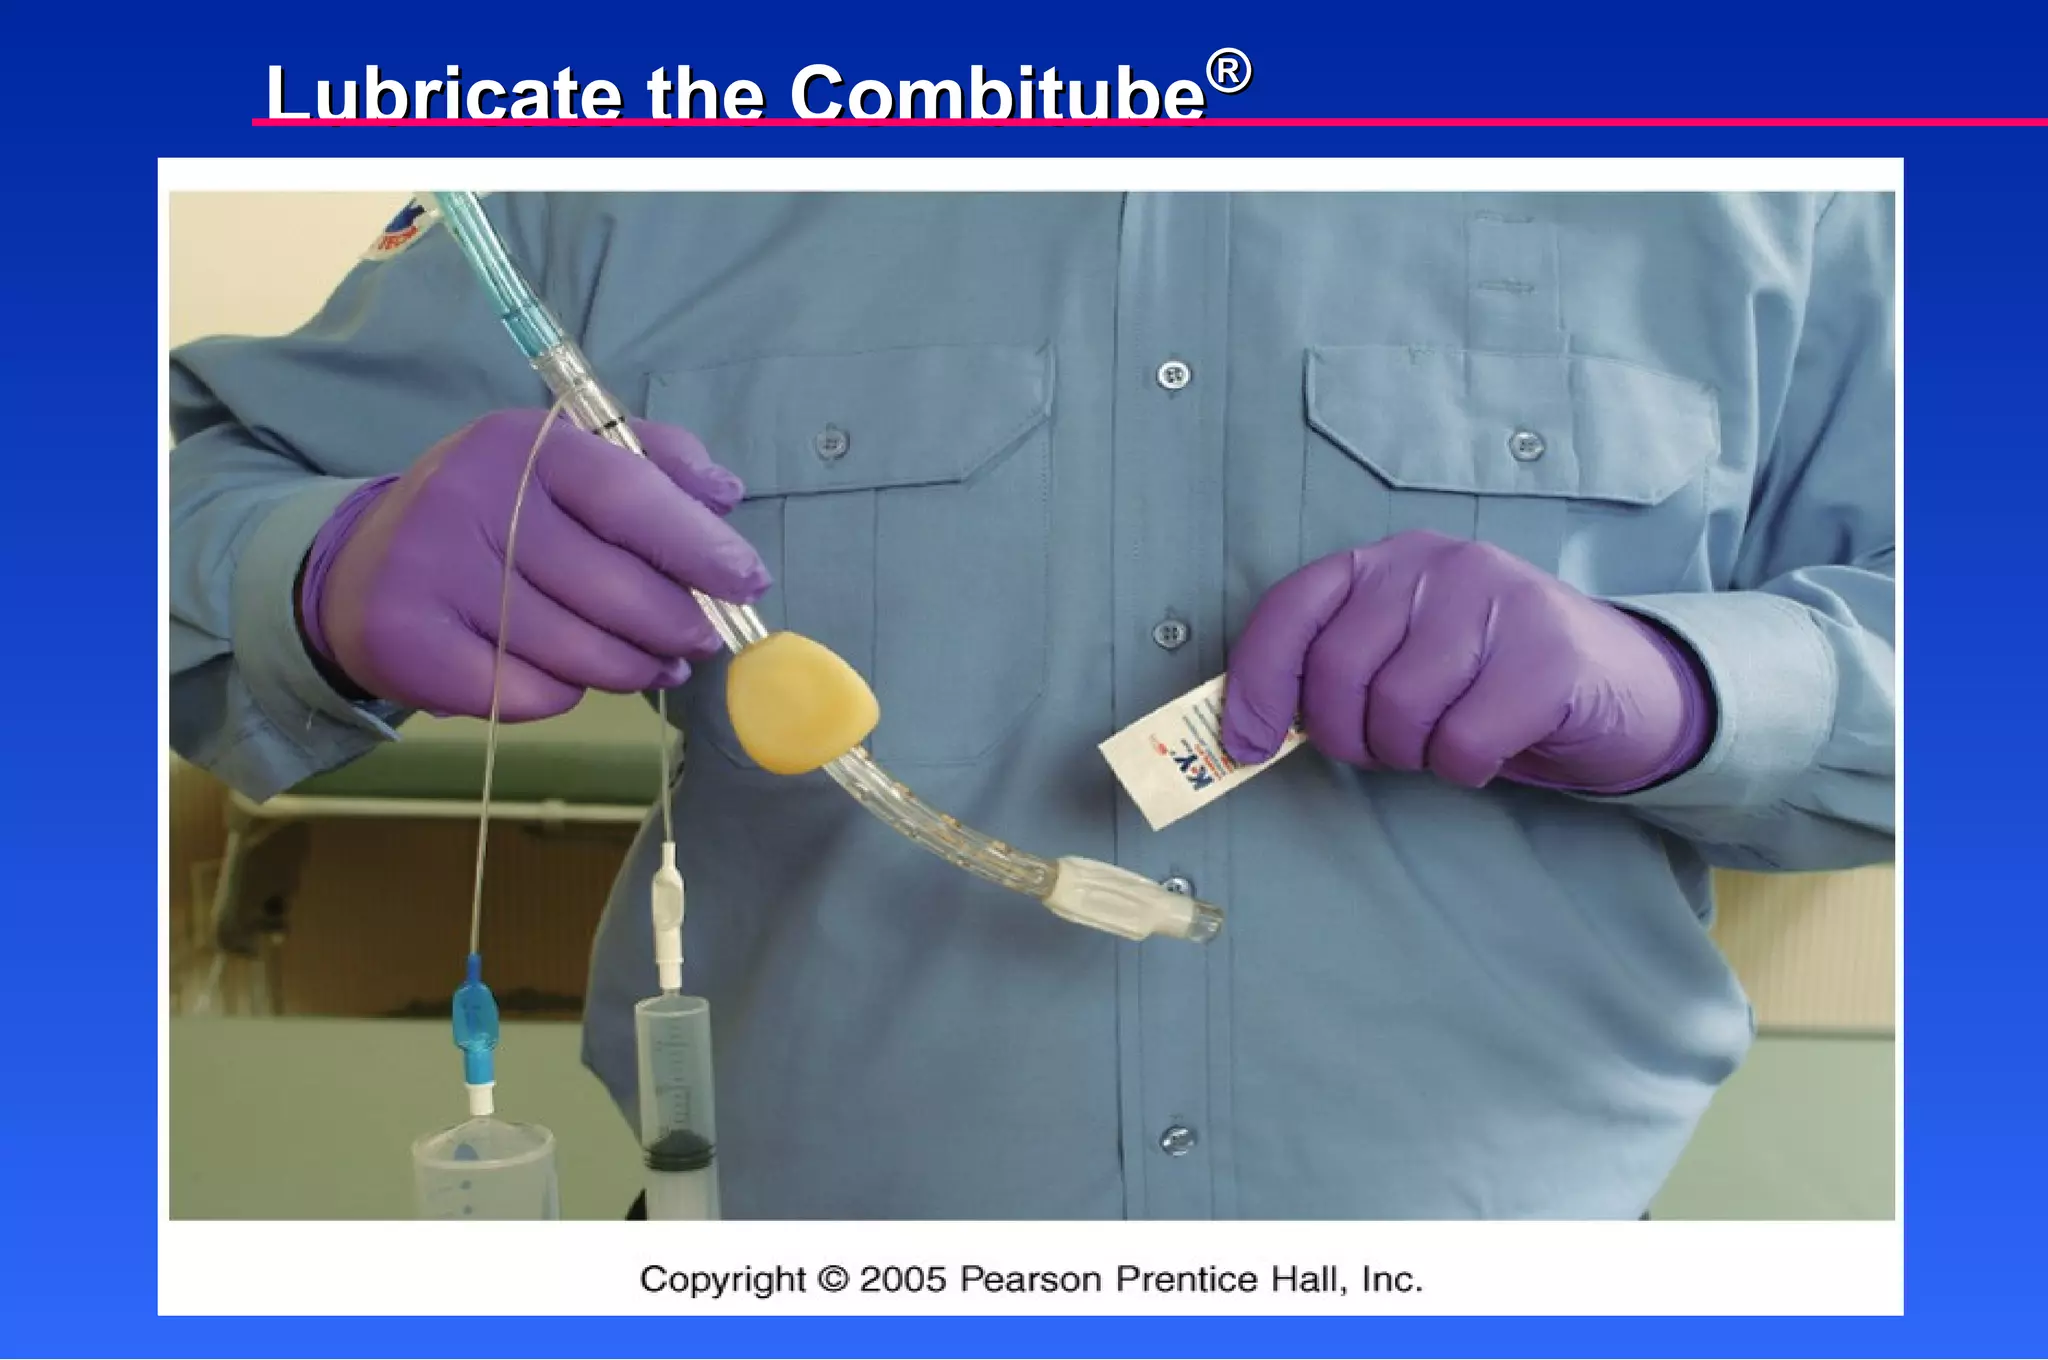
Take BSI precautions.Ventilate with bag-valve mask. Prepare and check equipment. Have suction readily available. If patient becomes conscious, at any time, remove the tube! Combitubes ® Insertion Techniques
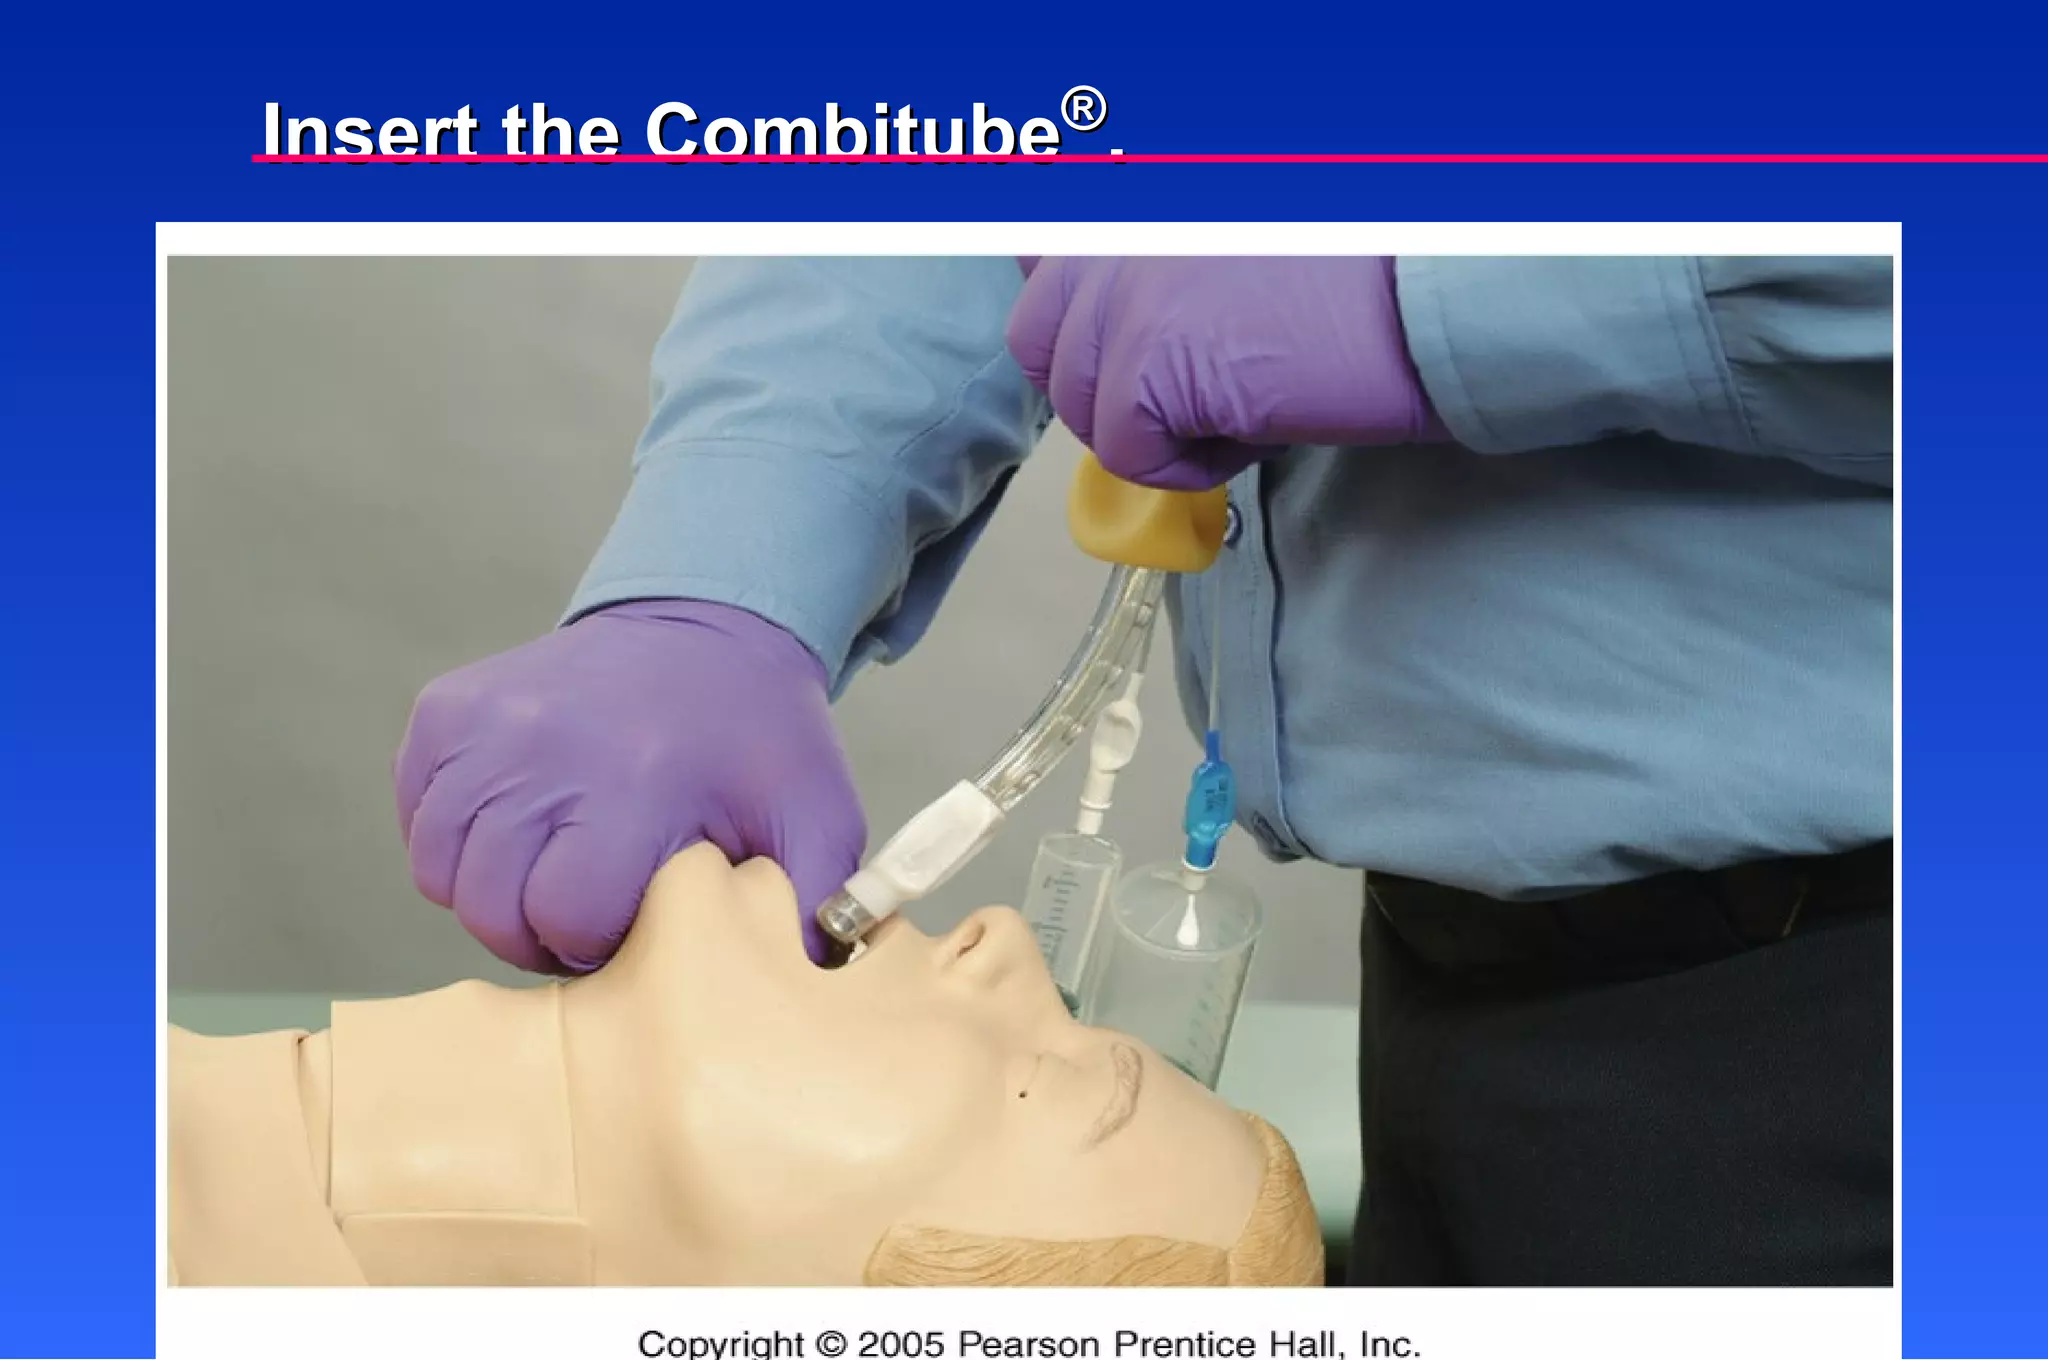
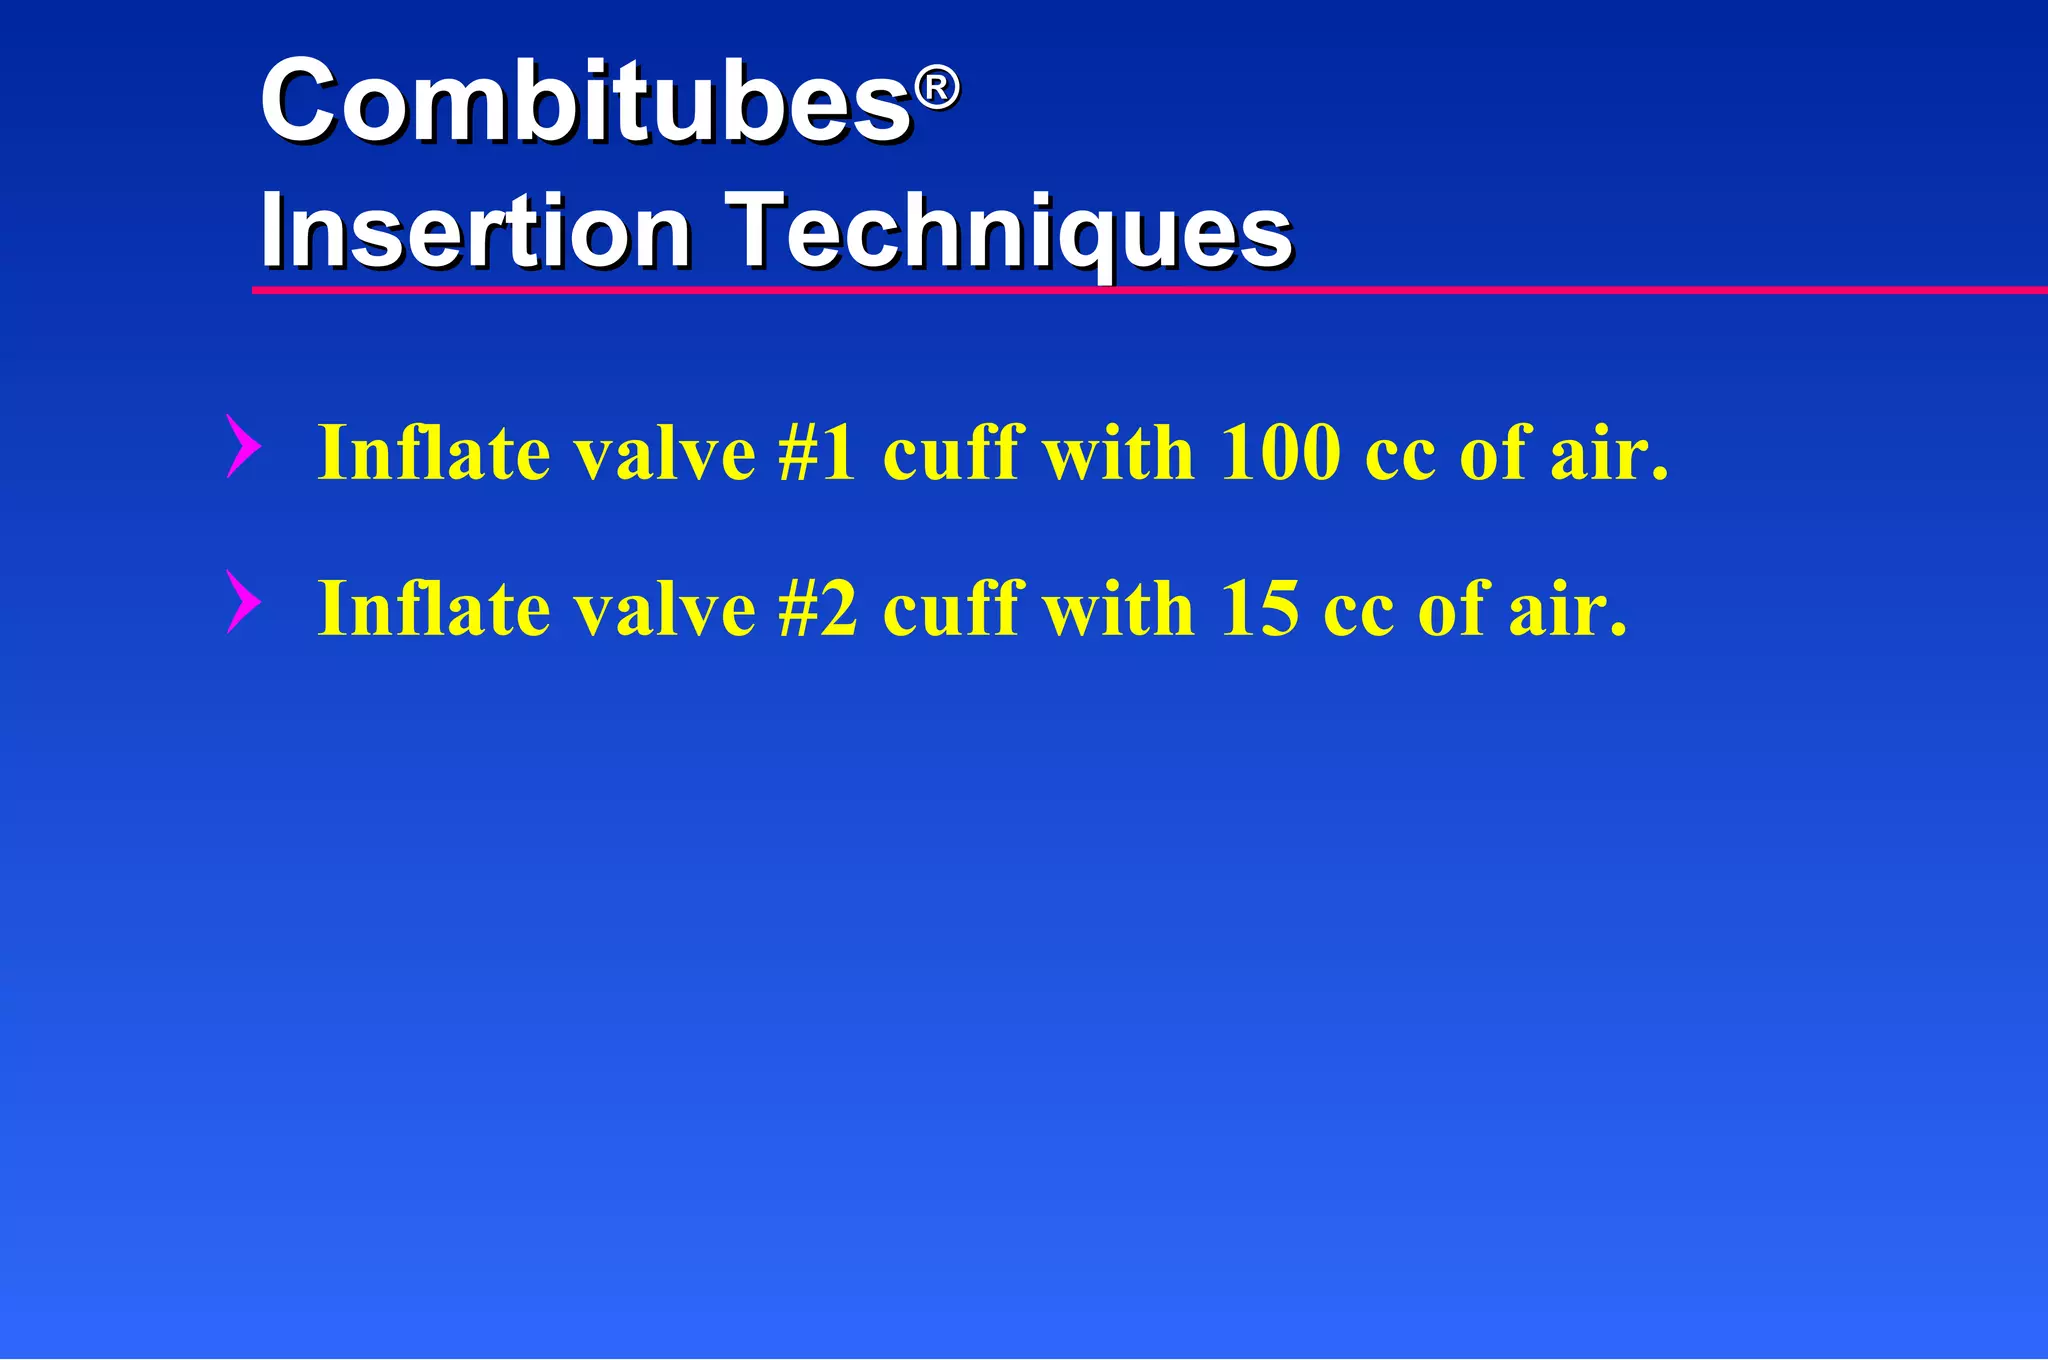
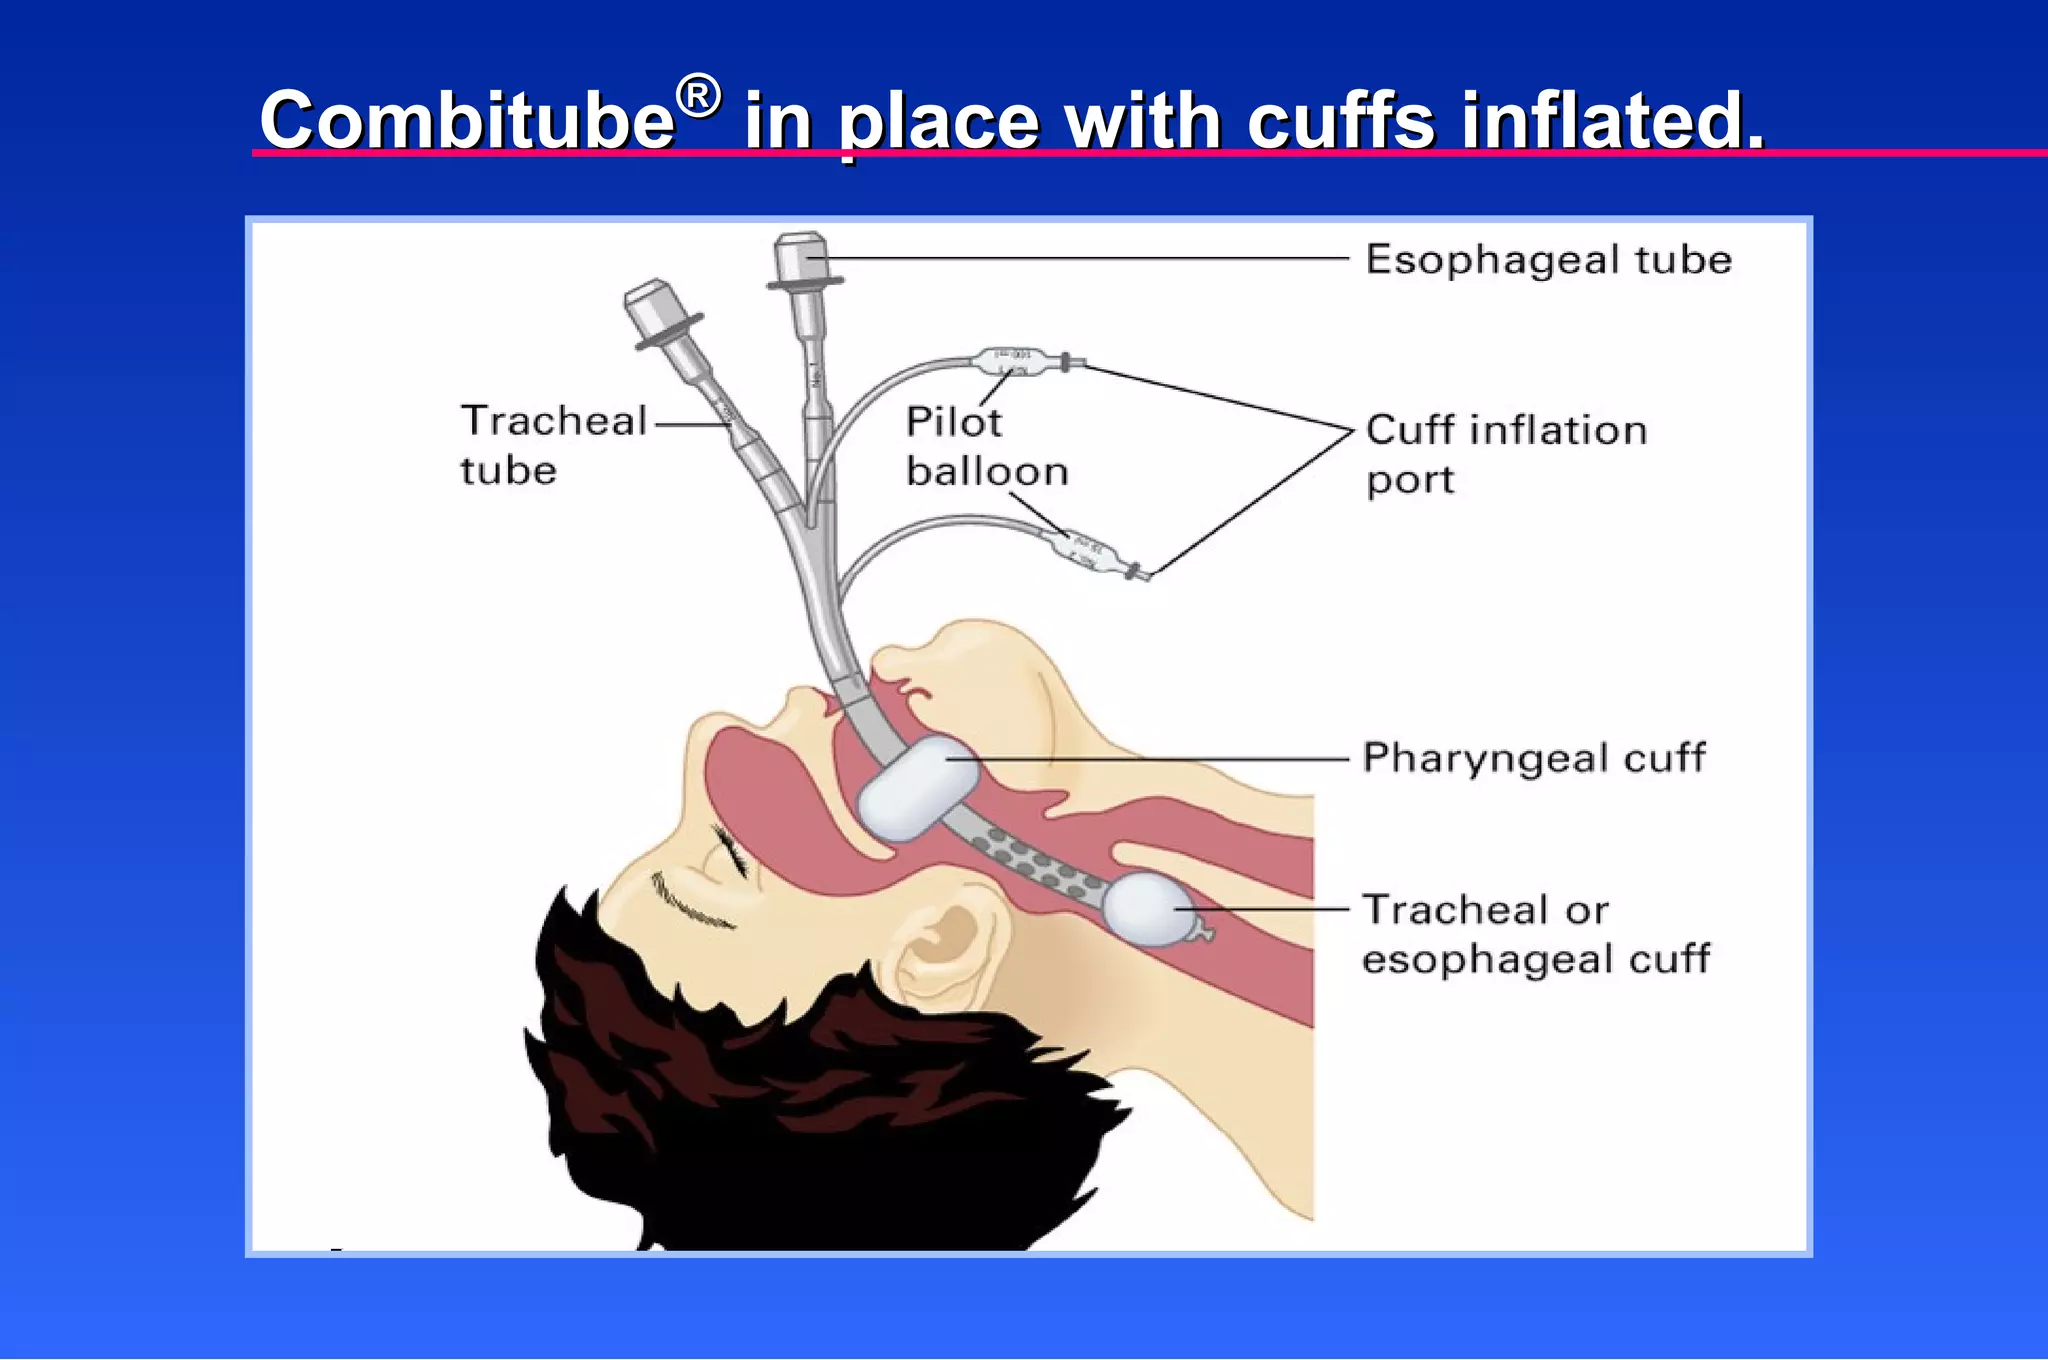
Insert device blindlyalong center of the mouth. Advance device until the teeth are centered between the black rings on the Combitube ® . Combitube ® Insertion Techniques
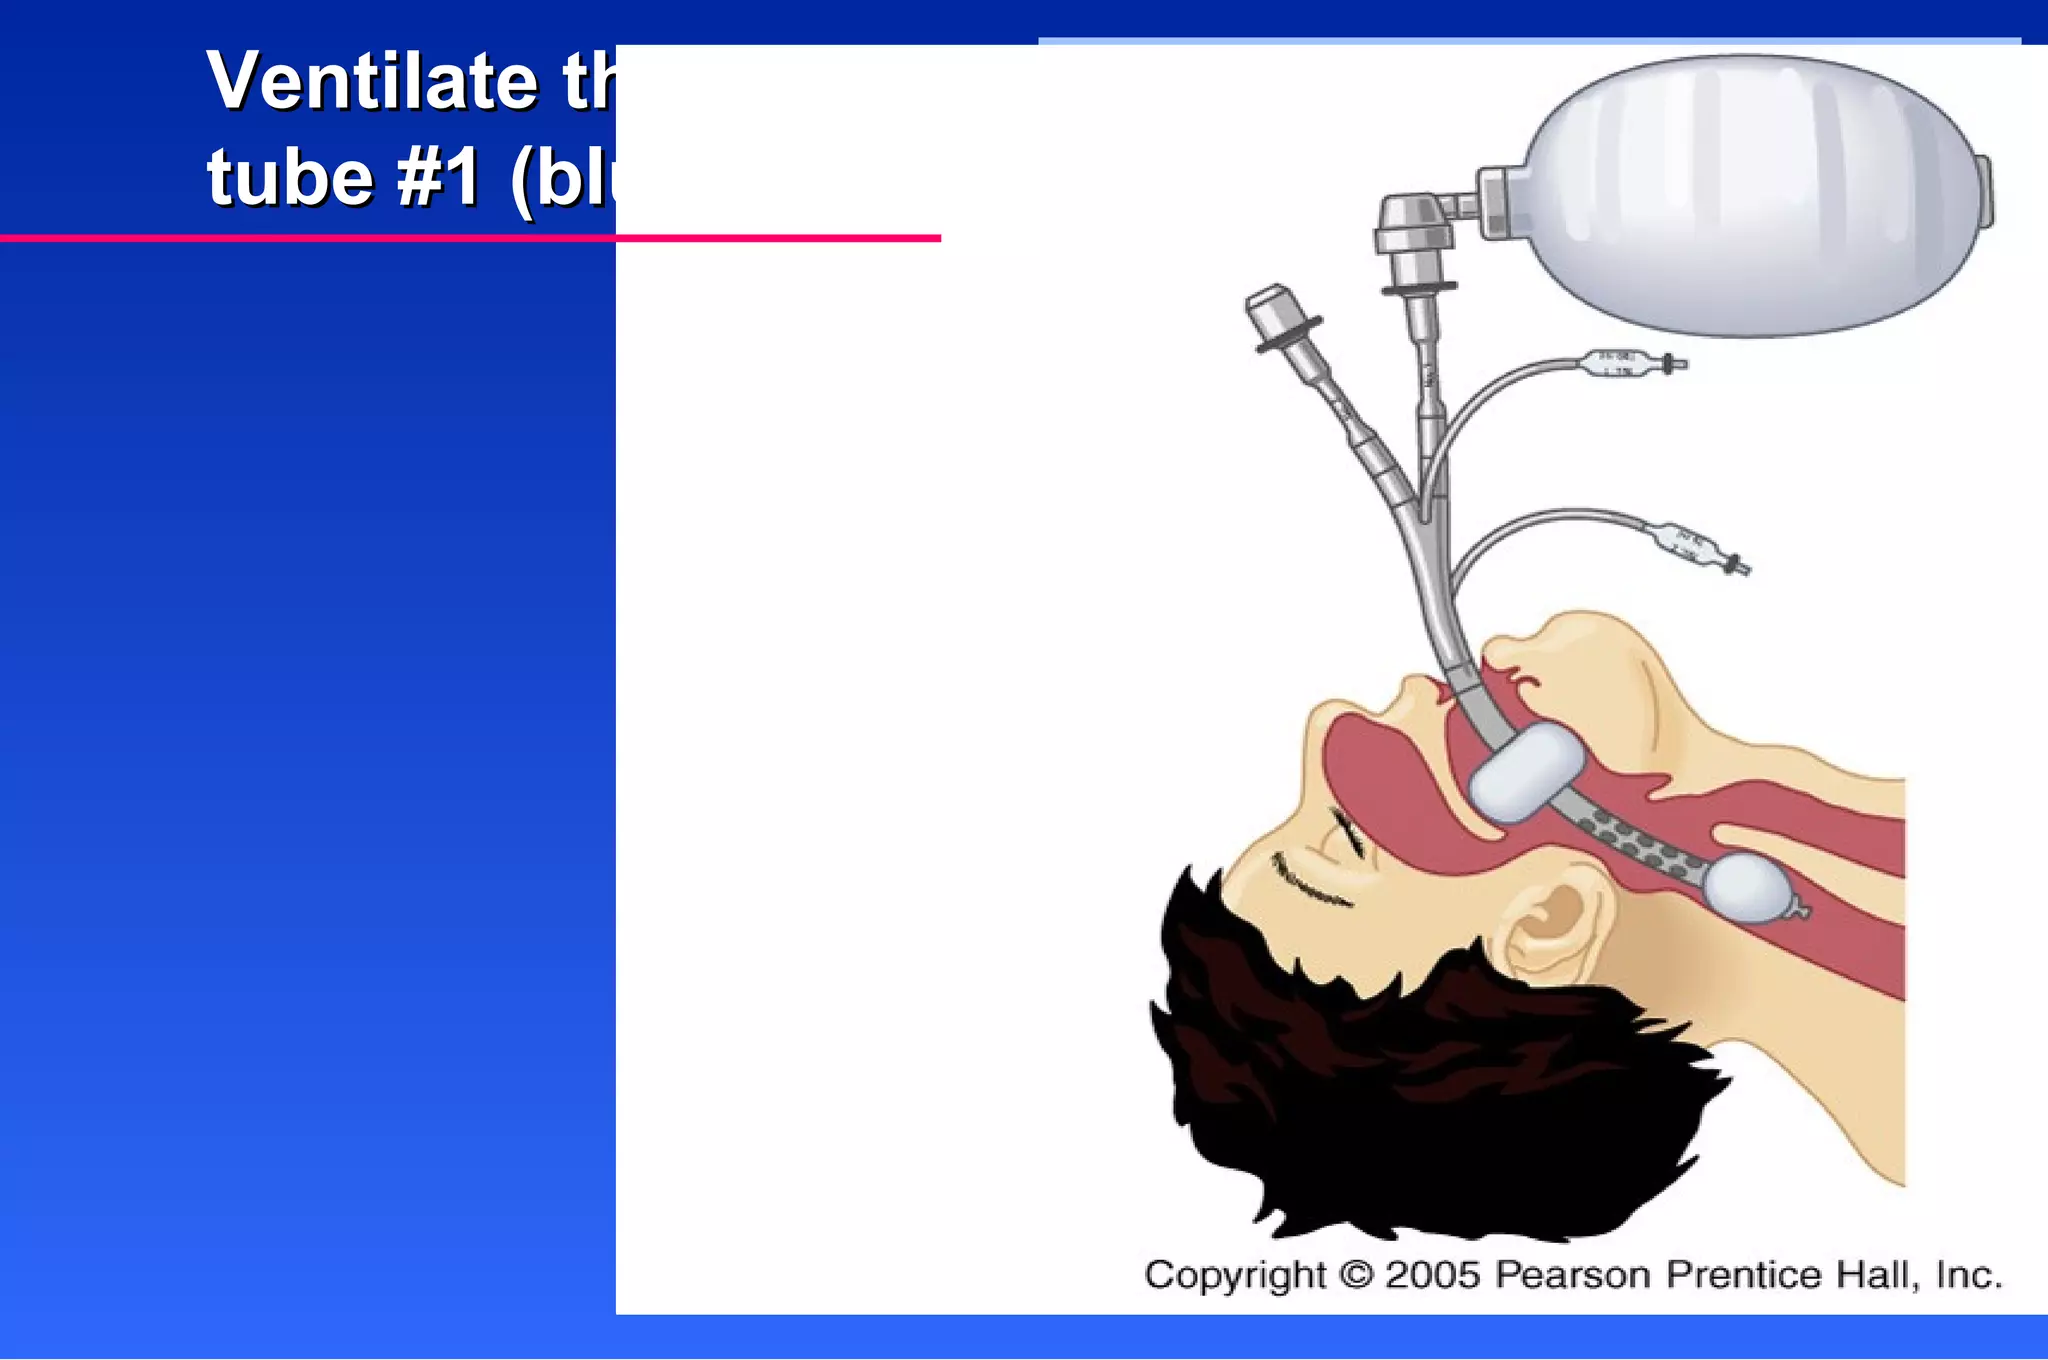
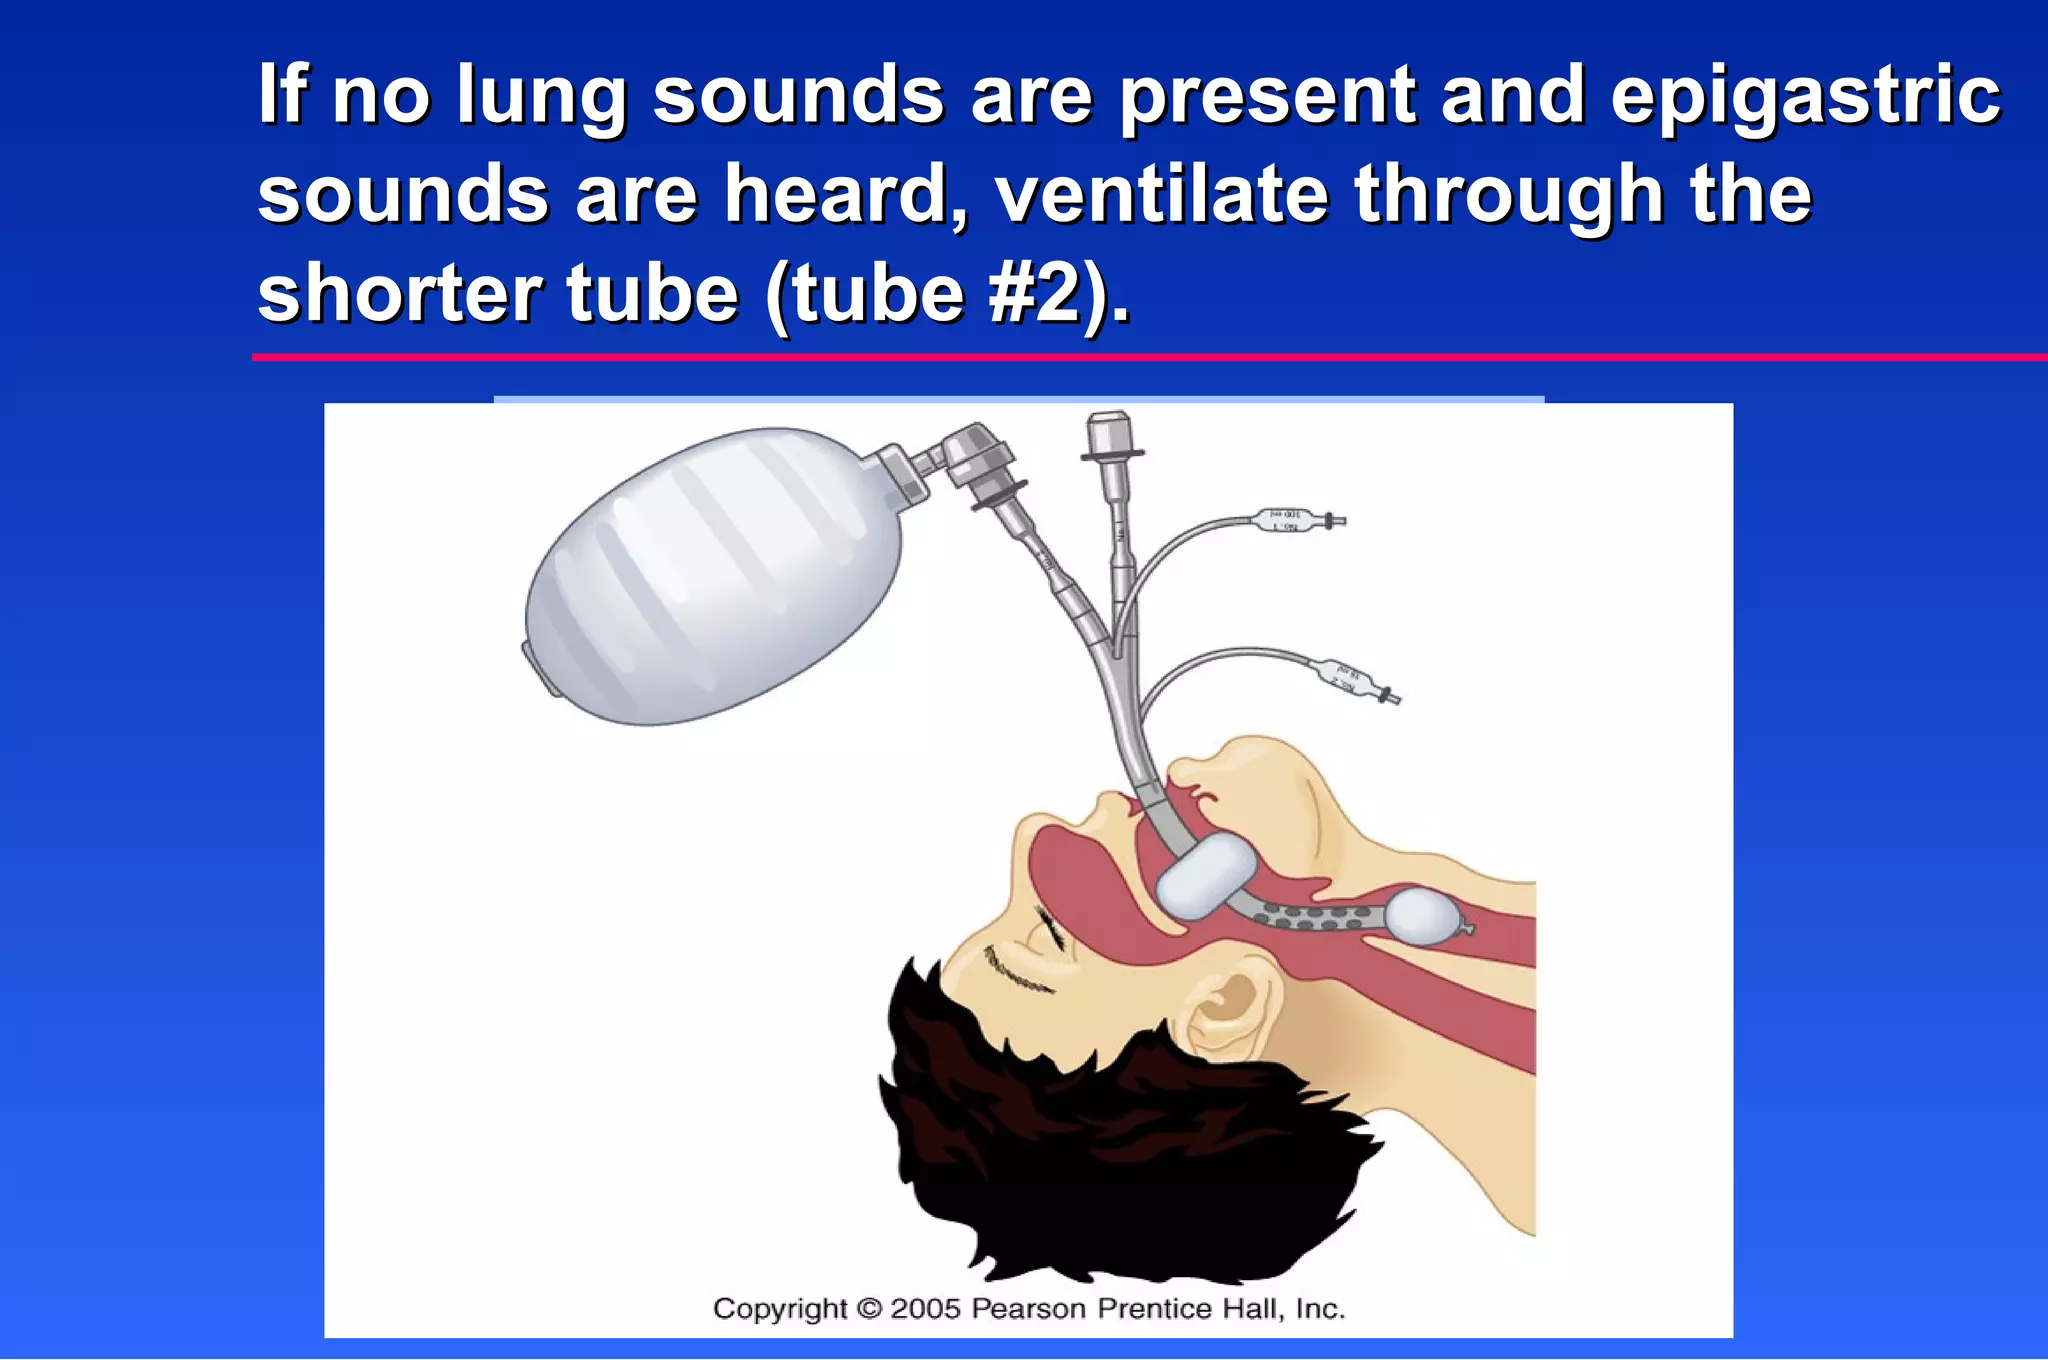
Auscultate for lungsounds and the absence of epigastric sounds. If lung sounds are present and no epigastric sounds are heard, continue ventilating through the blue tube (tube #1). Combitubes ® Insertion Techniques
134.
If no lungsounds are present and epigastric sounds are heard, ventilate through the shorter tube (tube #2).
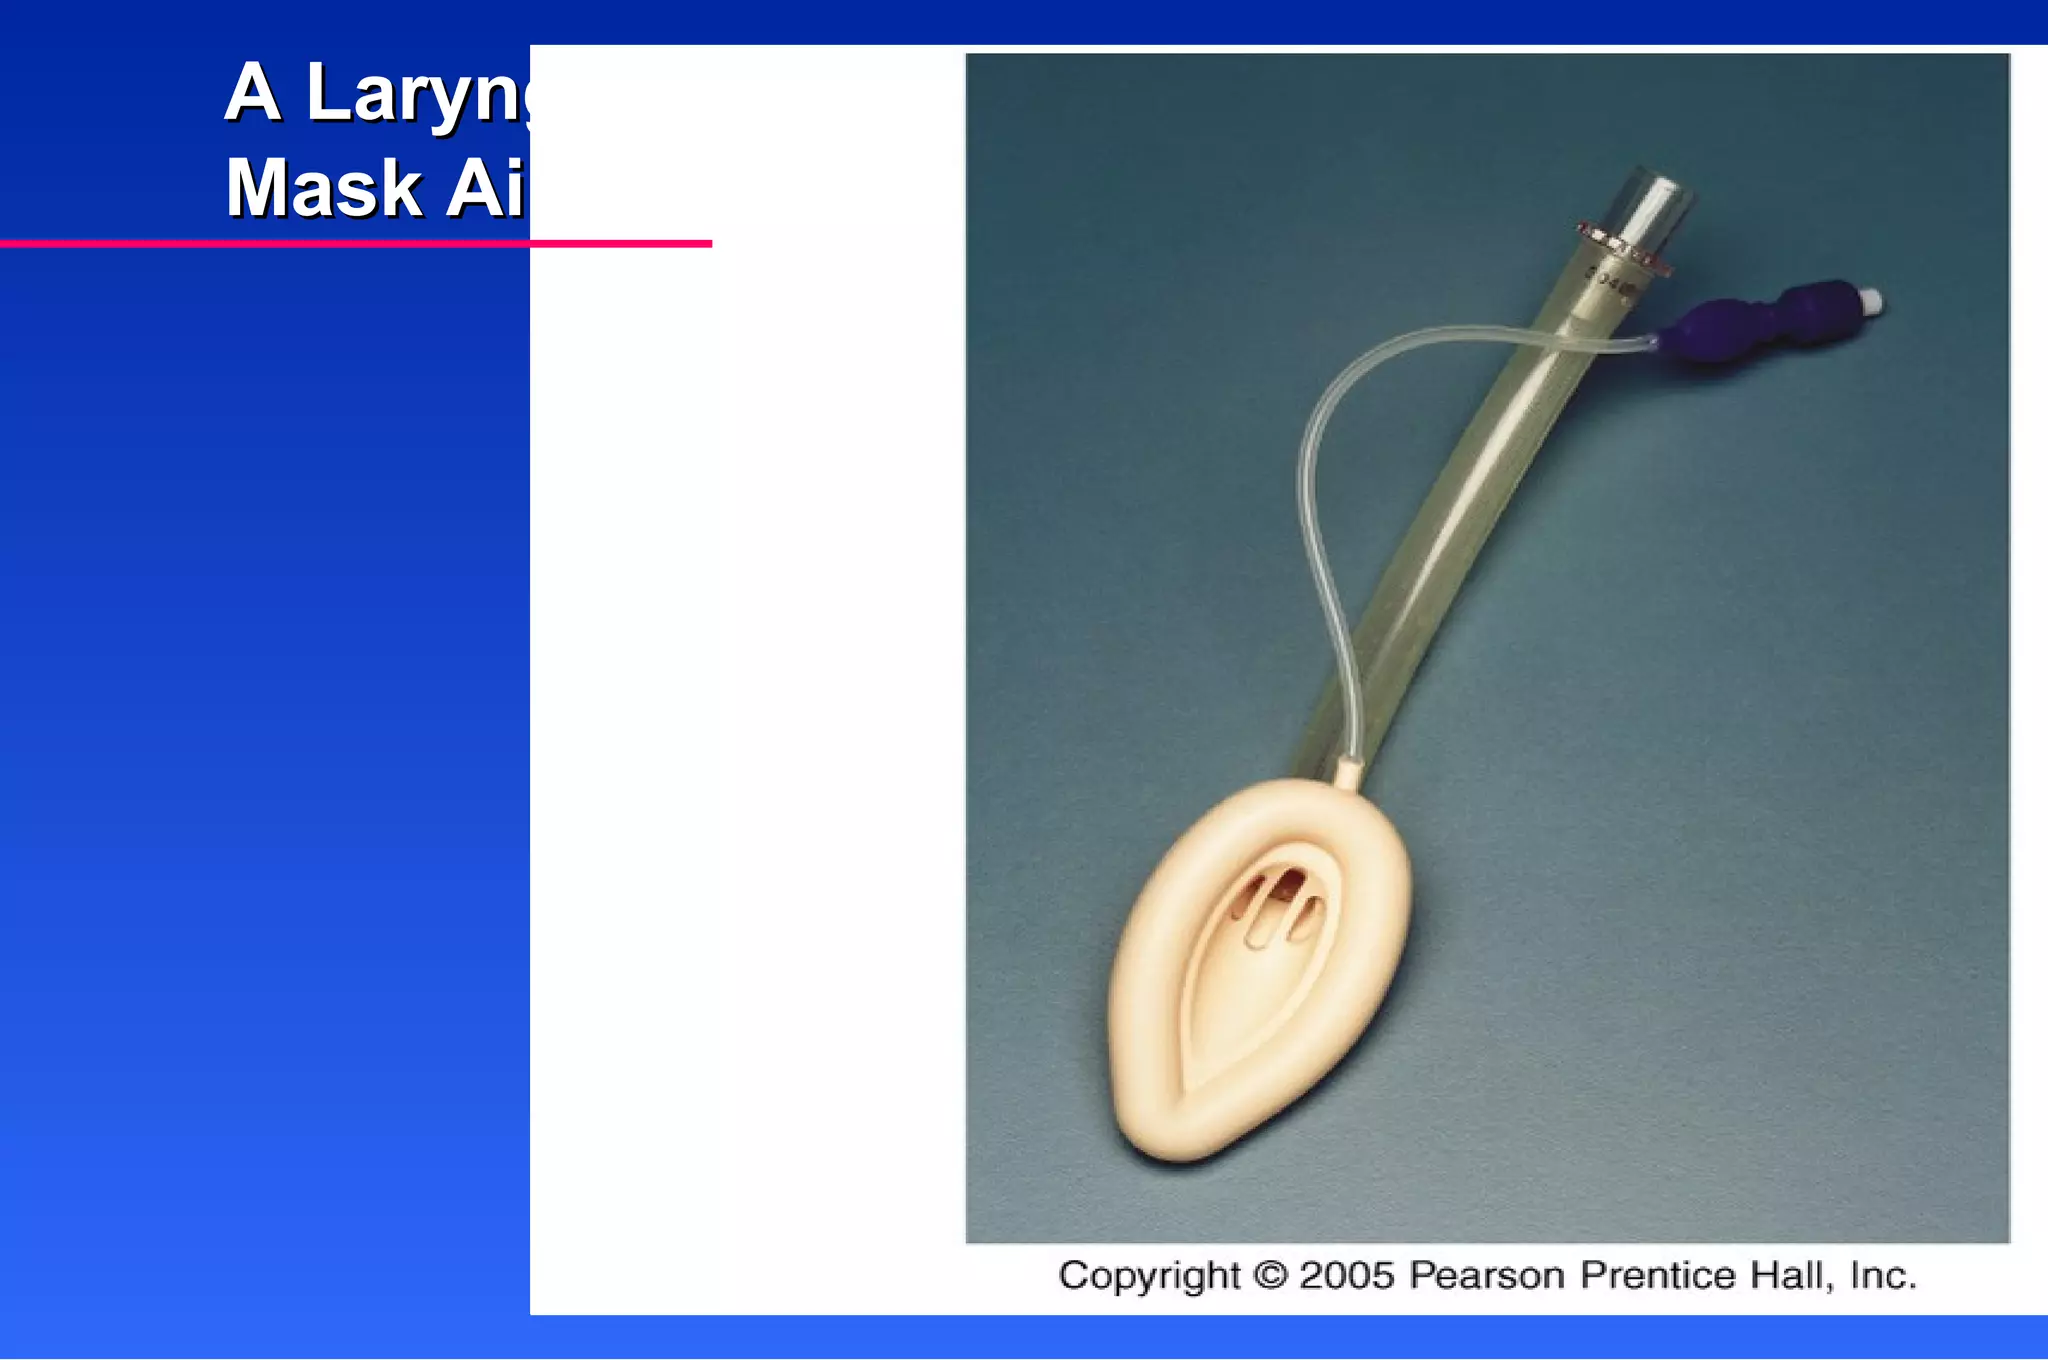
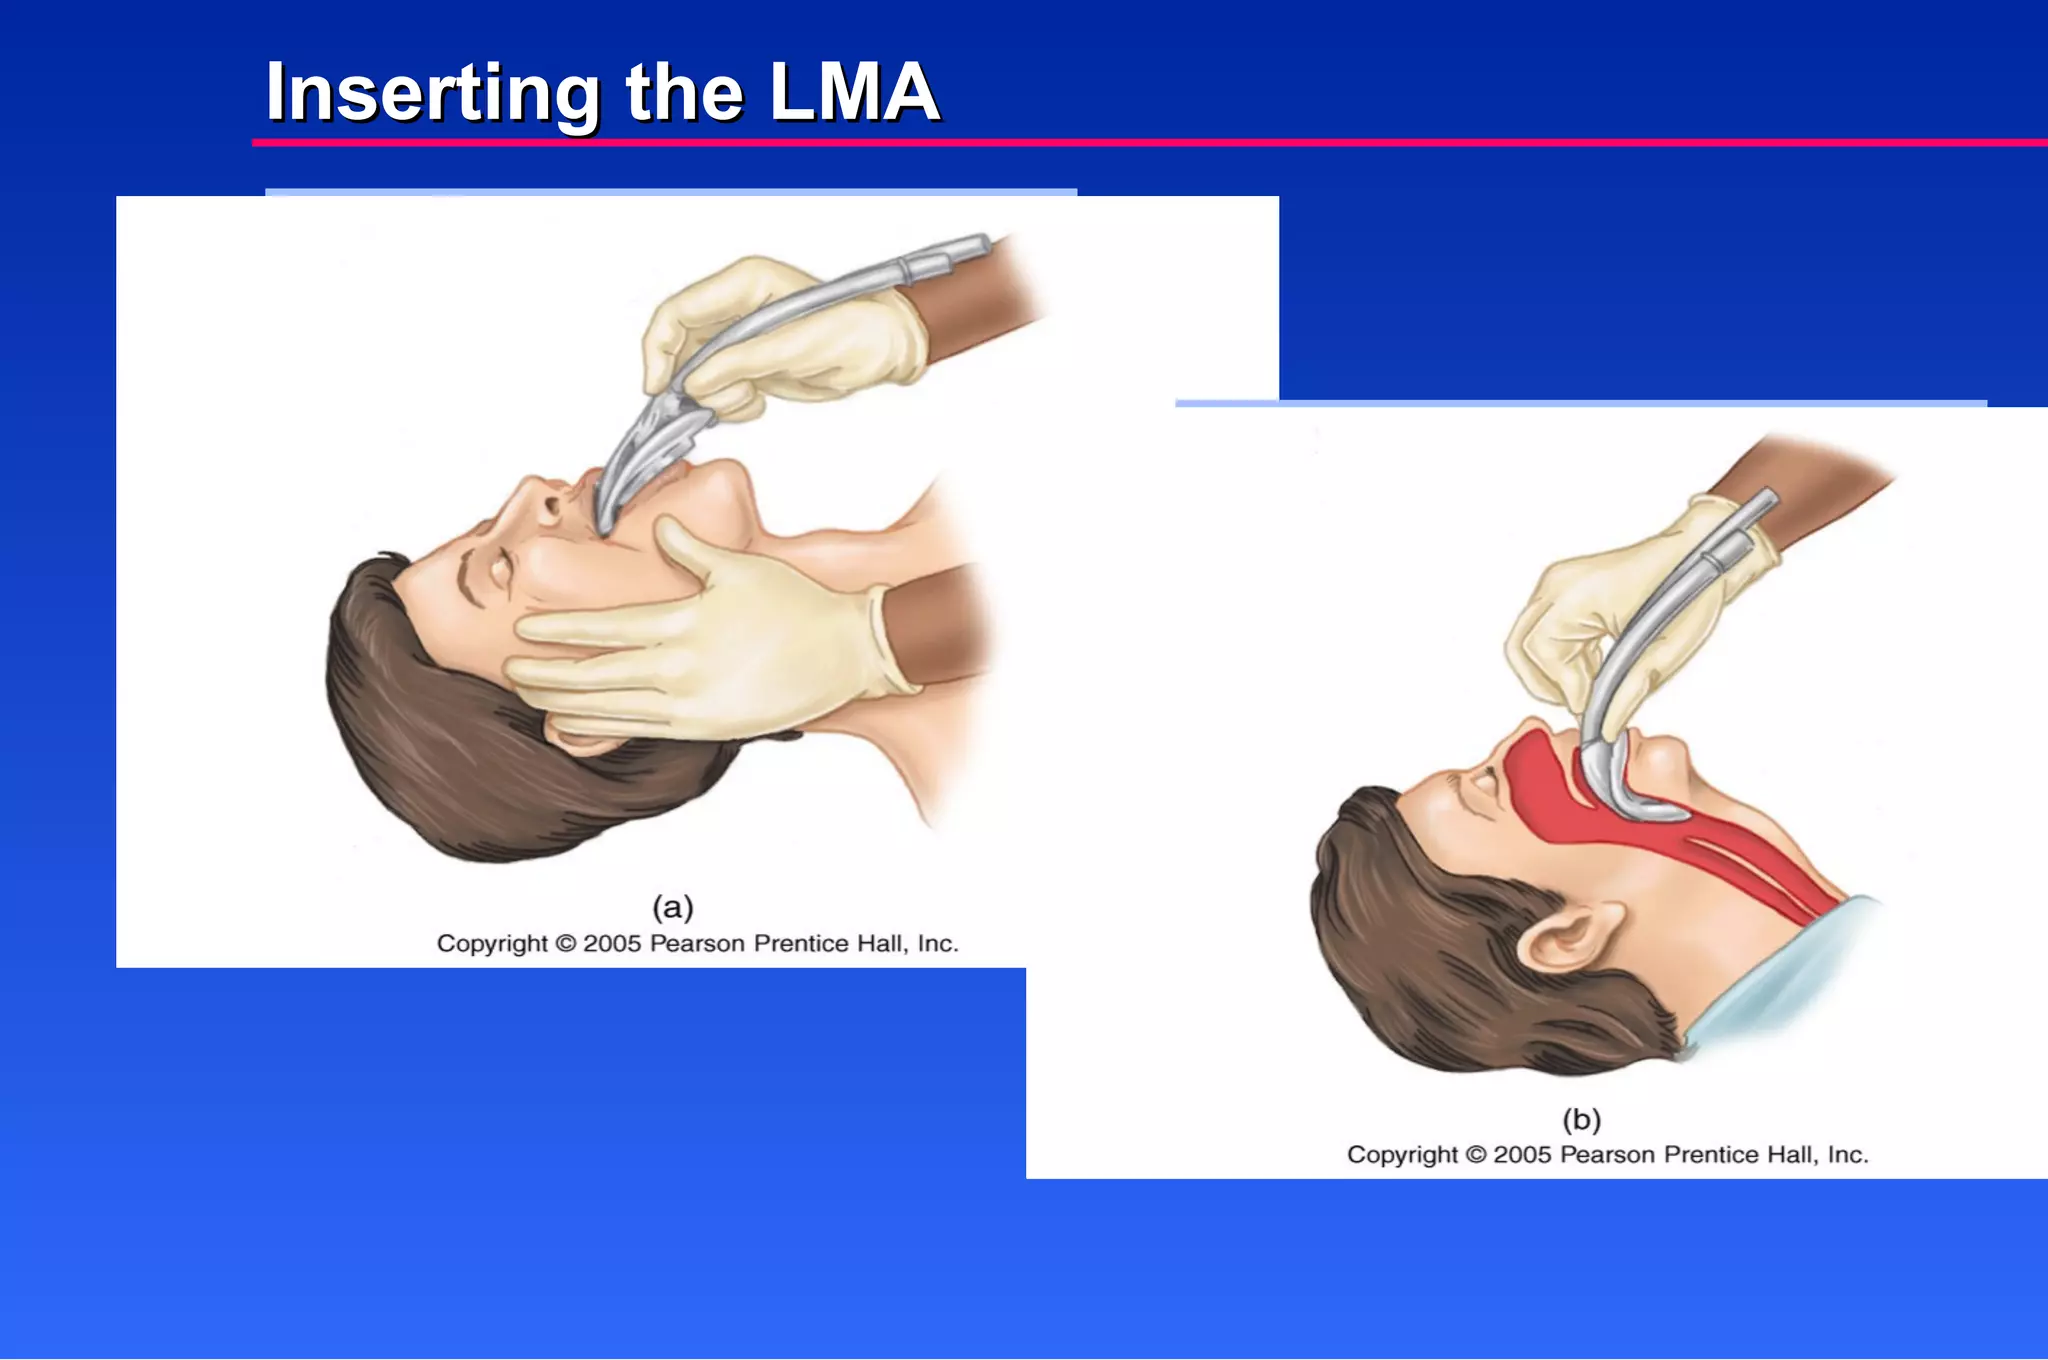
Take BSI precautions.Ventilate with bag-valve mask. Prepare and check equipment. Have suction readily available. Place patient in a sniffing position. Laryngeal Mask Airway Insertion Techniques
138.
Lubricate the posteriorside of cuff. Insert tube with open side facing anteriorly. Stop when resistance is felt. Laryngeal Mask Airway Insertion Techniques
Inflate cuff withair based on size of LMA. Ventilate through the tube. Auscultate for lung sounds and the absence of epigastric sounds. Insert an oral airway as a bite block. Laryngeal Mask Airway Insertion Techniques
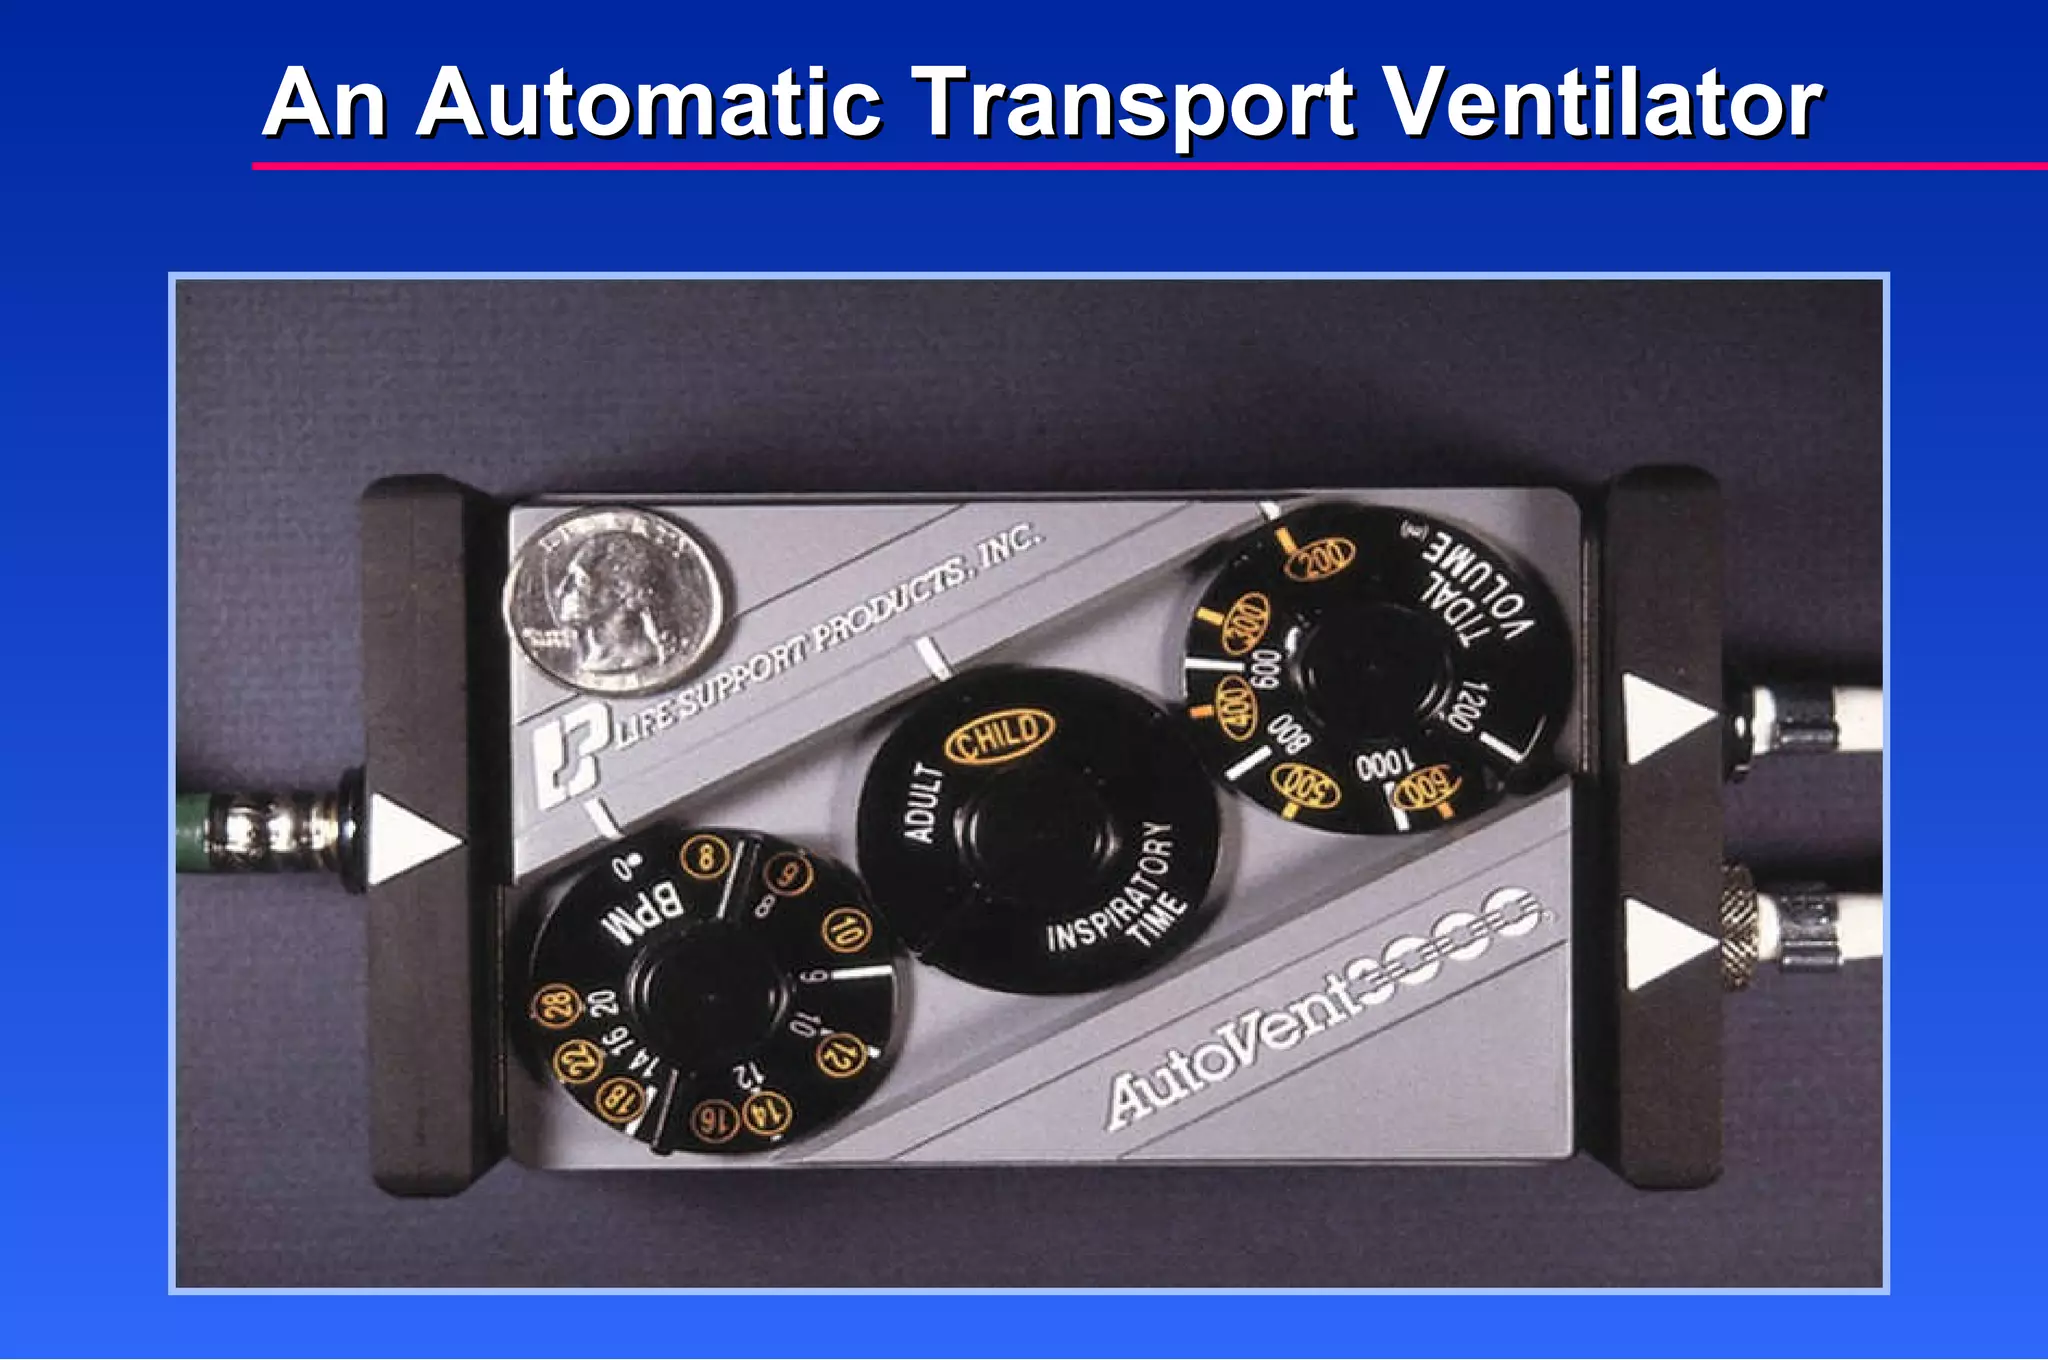
Protocols may allowuse in place of bag-valve mask. Controls set rate of ventilations and weight-based tidal volume. Automatic Transport Ventilators
144.
1. Explain theprocedure of nasogastric tube insertion. 2. Discuss the indications for orotracheal intubation. 3. How and when should the Sellick maneuver be performed? 4. When is an ETC appropriate to use? R EVIEW QUESTIONS


![Obstetric physiology by dr shalini[208736]](https://cdn.slidesharecdn.com/ss_thumbnails/obstetricphysiologybydrshalini208736-170904022323-thumbnail.jpg?width=640&height=640&fit=bounds)


