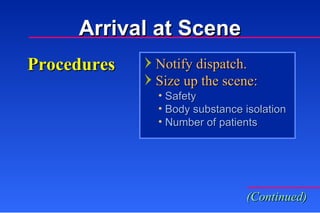
The document discusses various procedures and safety considerations for ambulance operations, including:
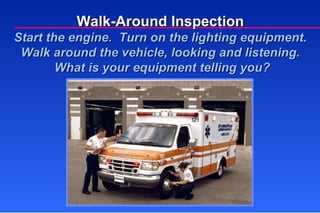
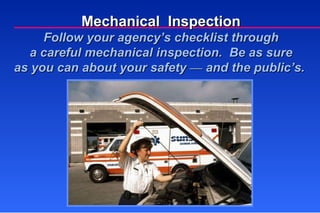
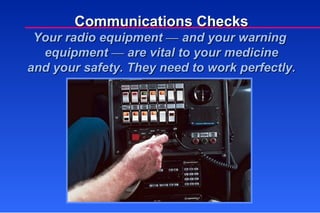
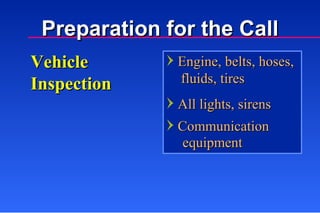
1) Performing regular equipment checks and vehicle inspections before each call to ensure everything is functioning properly.
2) Driving safely and using lights and sirens appropriately when responding to calls.
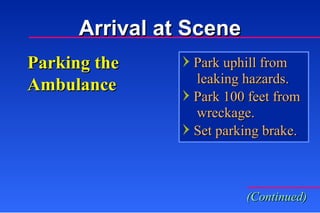
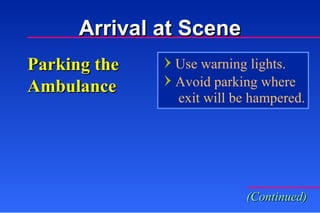
3) Parking in safe locations upon arrival at the scene and receiving facility.