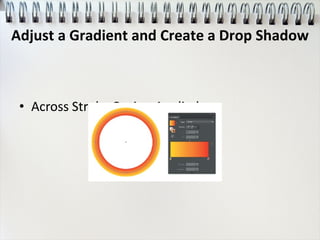
Download as PDF, PPTX

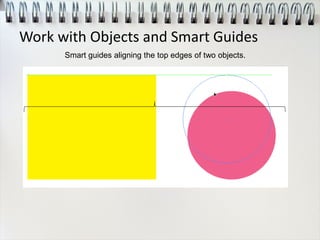
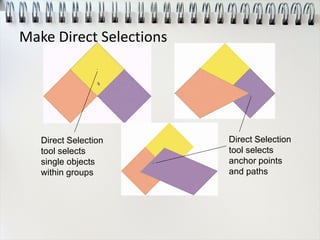
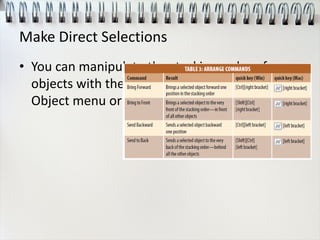
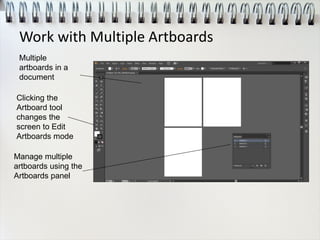
![Make Direct Selections
• Use the Direct Selection tool to select
individual anchor points or single paths of an
object.
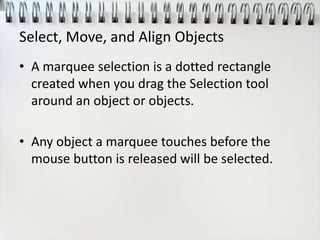
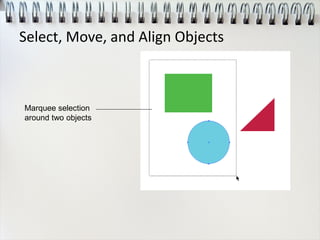
• Drag a marquee or press and hold [Shift] while
using the Direct Selection tool to select
multiple anchor points or multiple paths.](https://image.slidesharecdn.com/adobeillustratorgettingstarted-140630115151-phpapp02/85/Adobe-illustrator-getting-started-27-320.jpg)
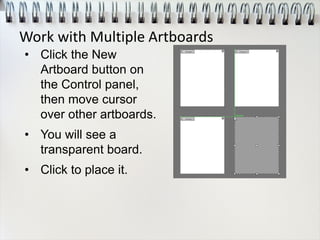
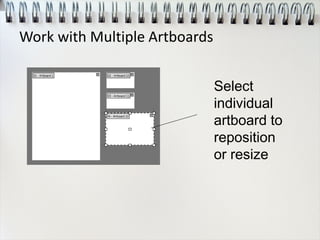
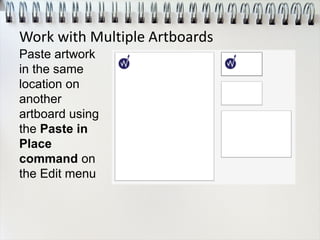


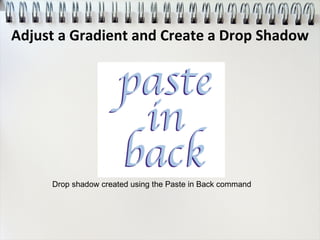

This document provides an overview of the Illustrator workspace and basic tools for working with artboards, objects, text, and gradients in Adobe Illustrator. Key points covered include how to view and modify artboard elements, work with objects and smart guides, create basic shapes, select, move and align objects, transform objects, make direct selections, work with multiple artboards, create and format text, flow text into objects and on paths, create colors and gradients, and apply gradients to text and strokes.