Basics Of Photoshop
Jaibharath Tiragabatti
Rectangular Marquee Tool (M)
Use this tool to make selections on your image, in
a rectangular shape
Move Tool (V)
Use this tool to, well, move things.
Polygon Lasso Tool (L)
Use this to draw selections in whatever shape you
would like
Magic Wand Tool (W)
Use this to select a color range. It will select the
block of color, or transparency, based on
wherever you click.
Crop Tool (C)
The Crop Tool works similarly to the Rectangular
Marquee tool
Slice Tool (K)
This is used mostly for building websites, or
splitting up one image into smaller ones when
saving out.
Healing Brush Tool (J)
You can use this tool to repair scratches and
specs and stuff like that on images.
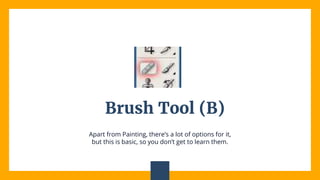
Brush Tool (B)
Apart from Painting, there’s a lot of options for it,
but this is basic, so you don’t get to learn them.
Clone Stamp Tool (S)
You use it the exact same way as healing brush,
except this tool doesn’t blend at the end.
Eraser Tool (E)
This is the anti-Brush tool. It works like an eraser
(duh) and erases whatever information wherever
you click and drag it.
Gradient Tool (G)
You can use this to make a gradiation of colors.
Gradient Tool (G)
You can use this to make a gradiation of colors.
Type Tool (T)
You can use this to make a gradiation of colors.
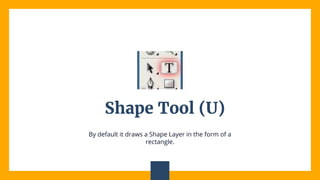
Shape Tool (U)
By default it draws a Shape Layer in the form of a
rectangle.
Shape Tool (U)
By default it draws a Shape Layer in the form of a
rectangle.
Color Palette
These are your color boxes. Foreground (in the
front) and Background (in the back).
Basics of Photoshop Tutorial

Basics of Photoshop Tutorial