Downloaded 237 times


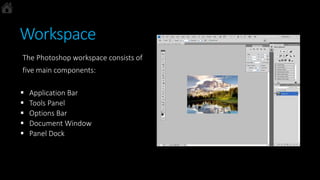
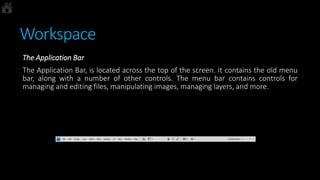
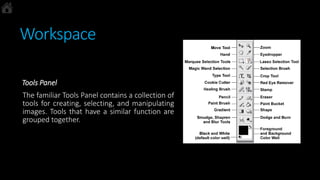
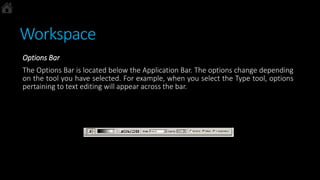
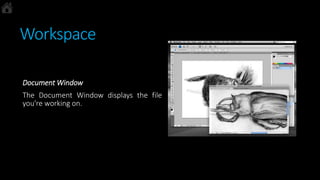
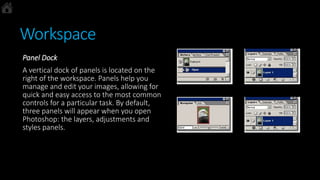


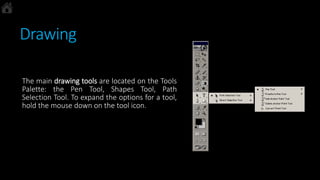
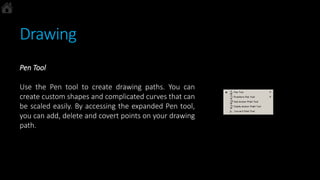
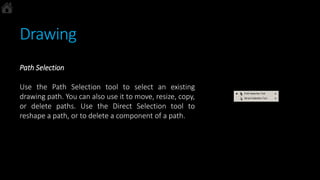
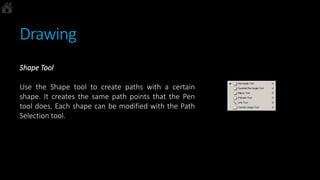


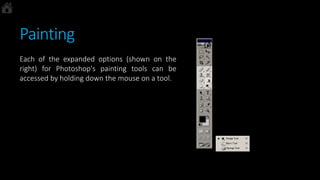

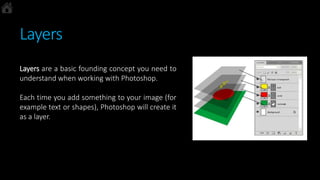
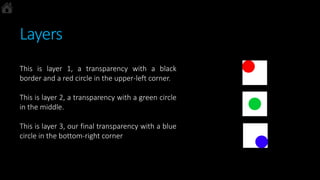
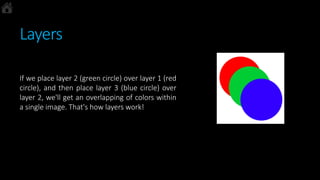
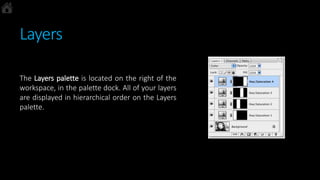
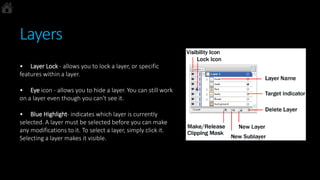
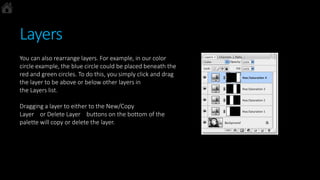


The document provides an overview of the Photoshop workspace and basic tools. It describes the five main components of the Photoshop workspace: the Application Bar, Tools Panel, Options Bar, Document Window, and Panel Dock. It also summarizes key tools like the Type Tool for adding text, the drawing tools for creating shapes and paths, and the various painting tools for editing images. Finally, it outlines the concept of layers, how to view and manipulate layers in the Layers Panel, and how layers allow for building up an image through overlapping elements.


