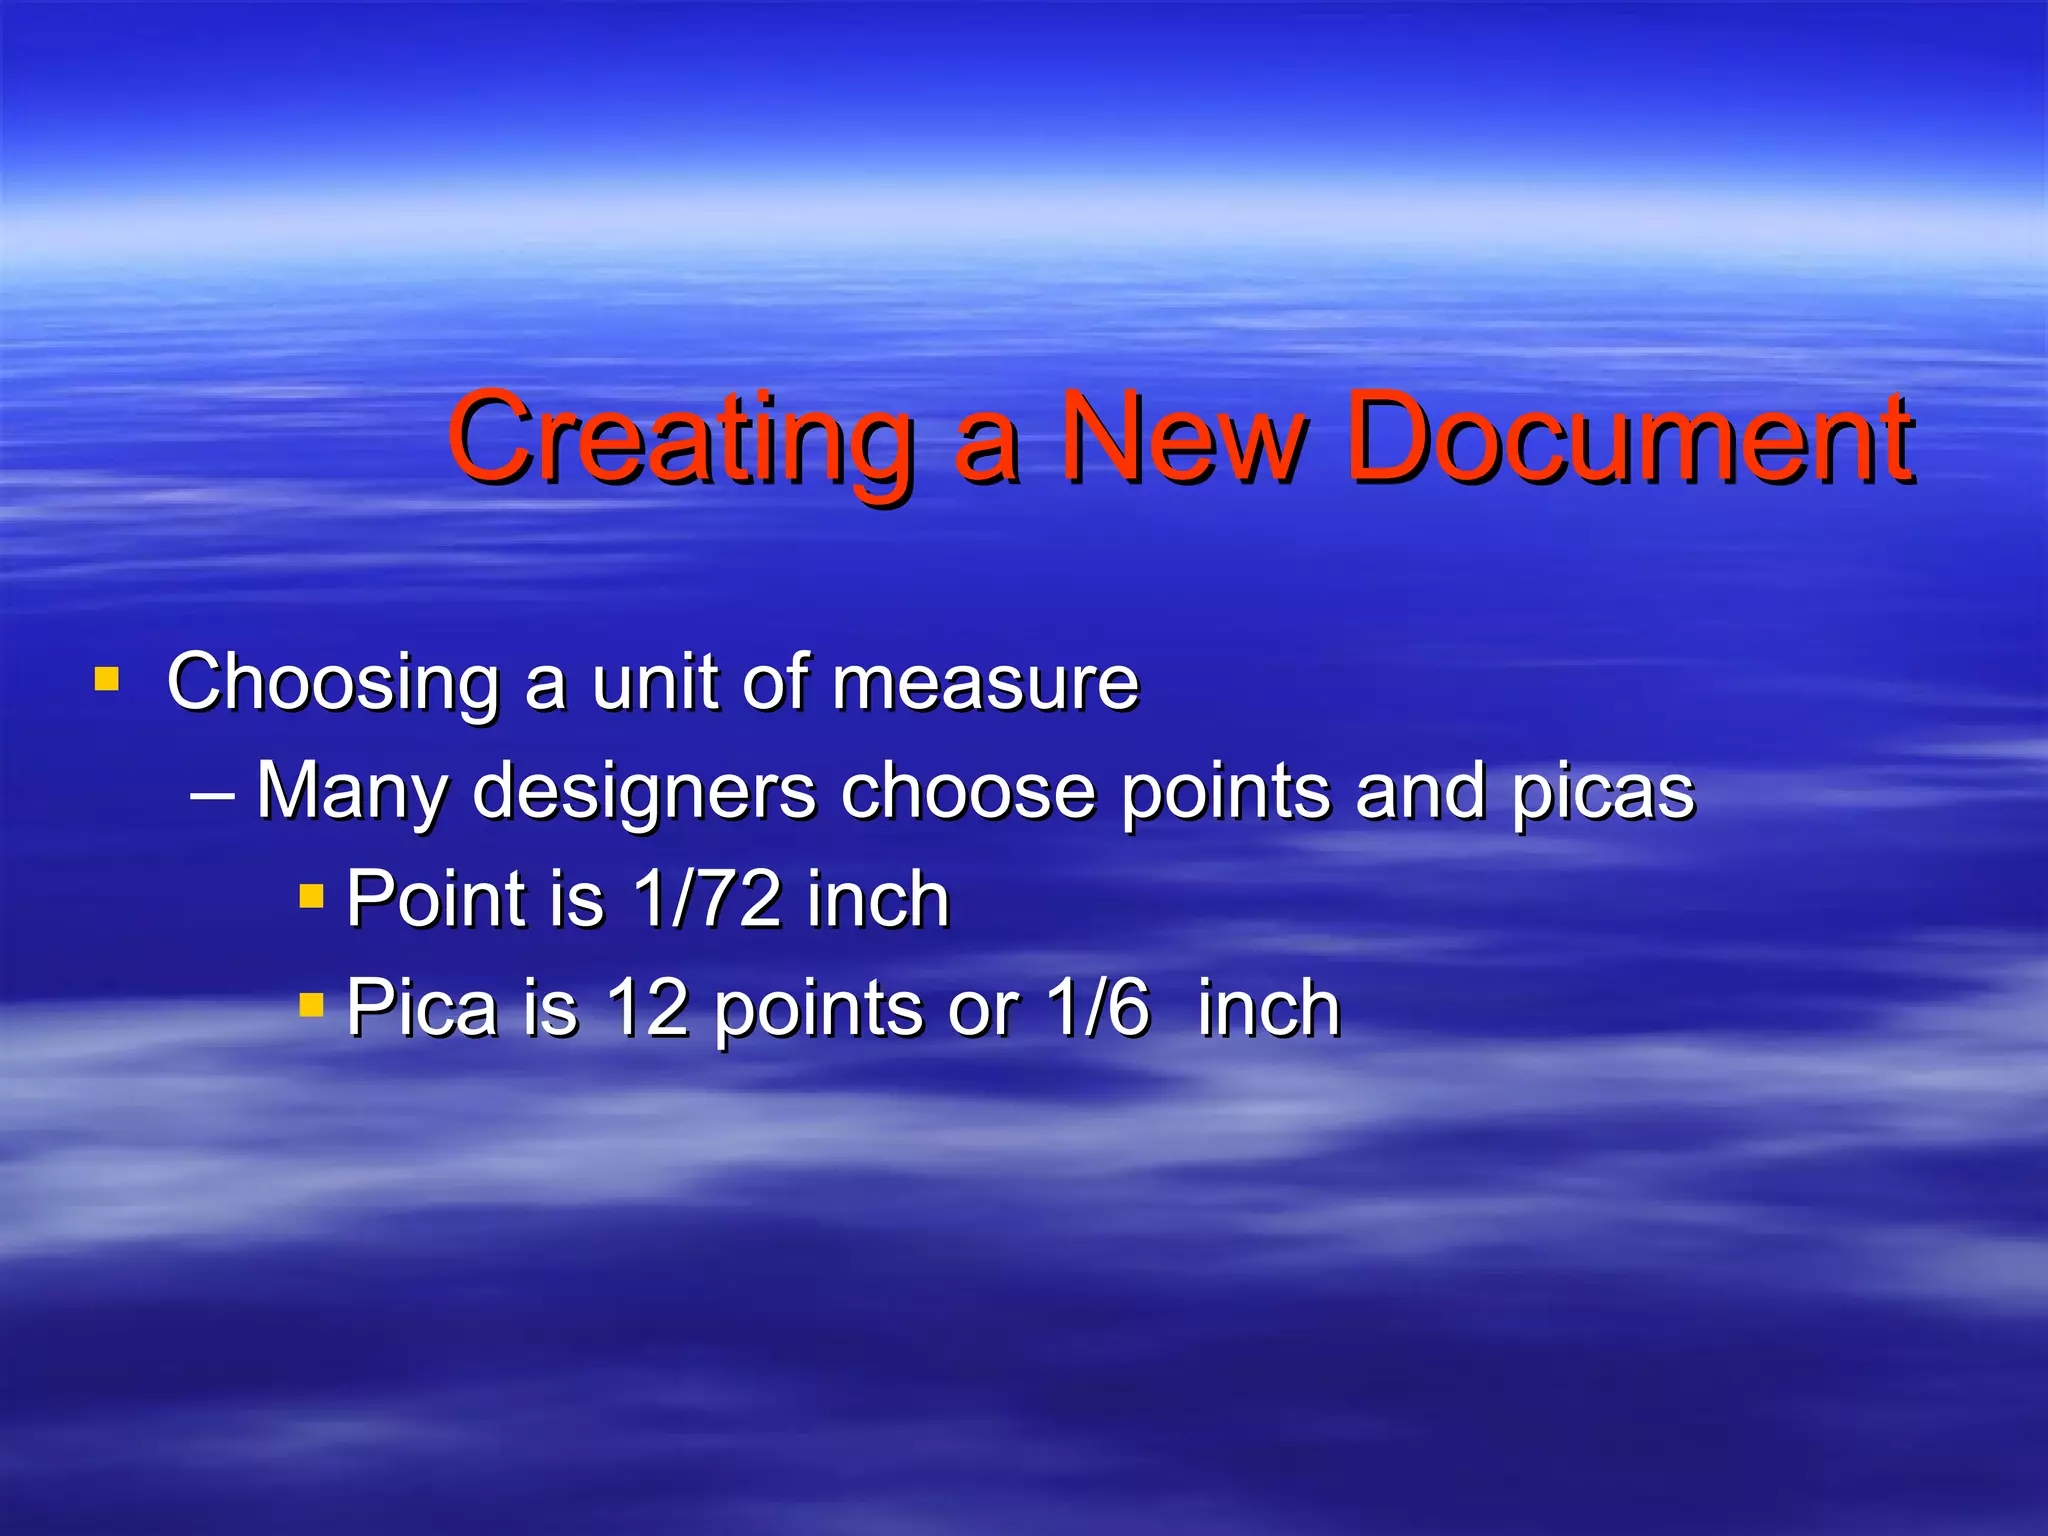
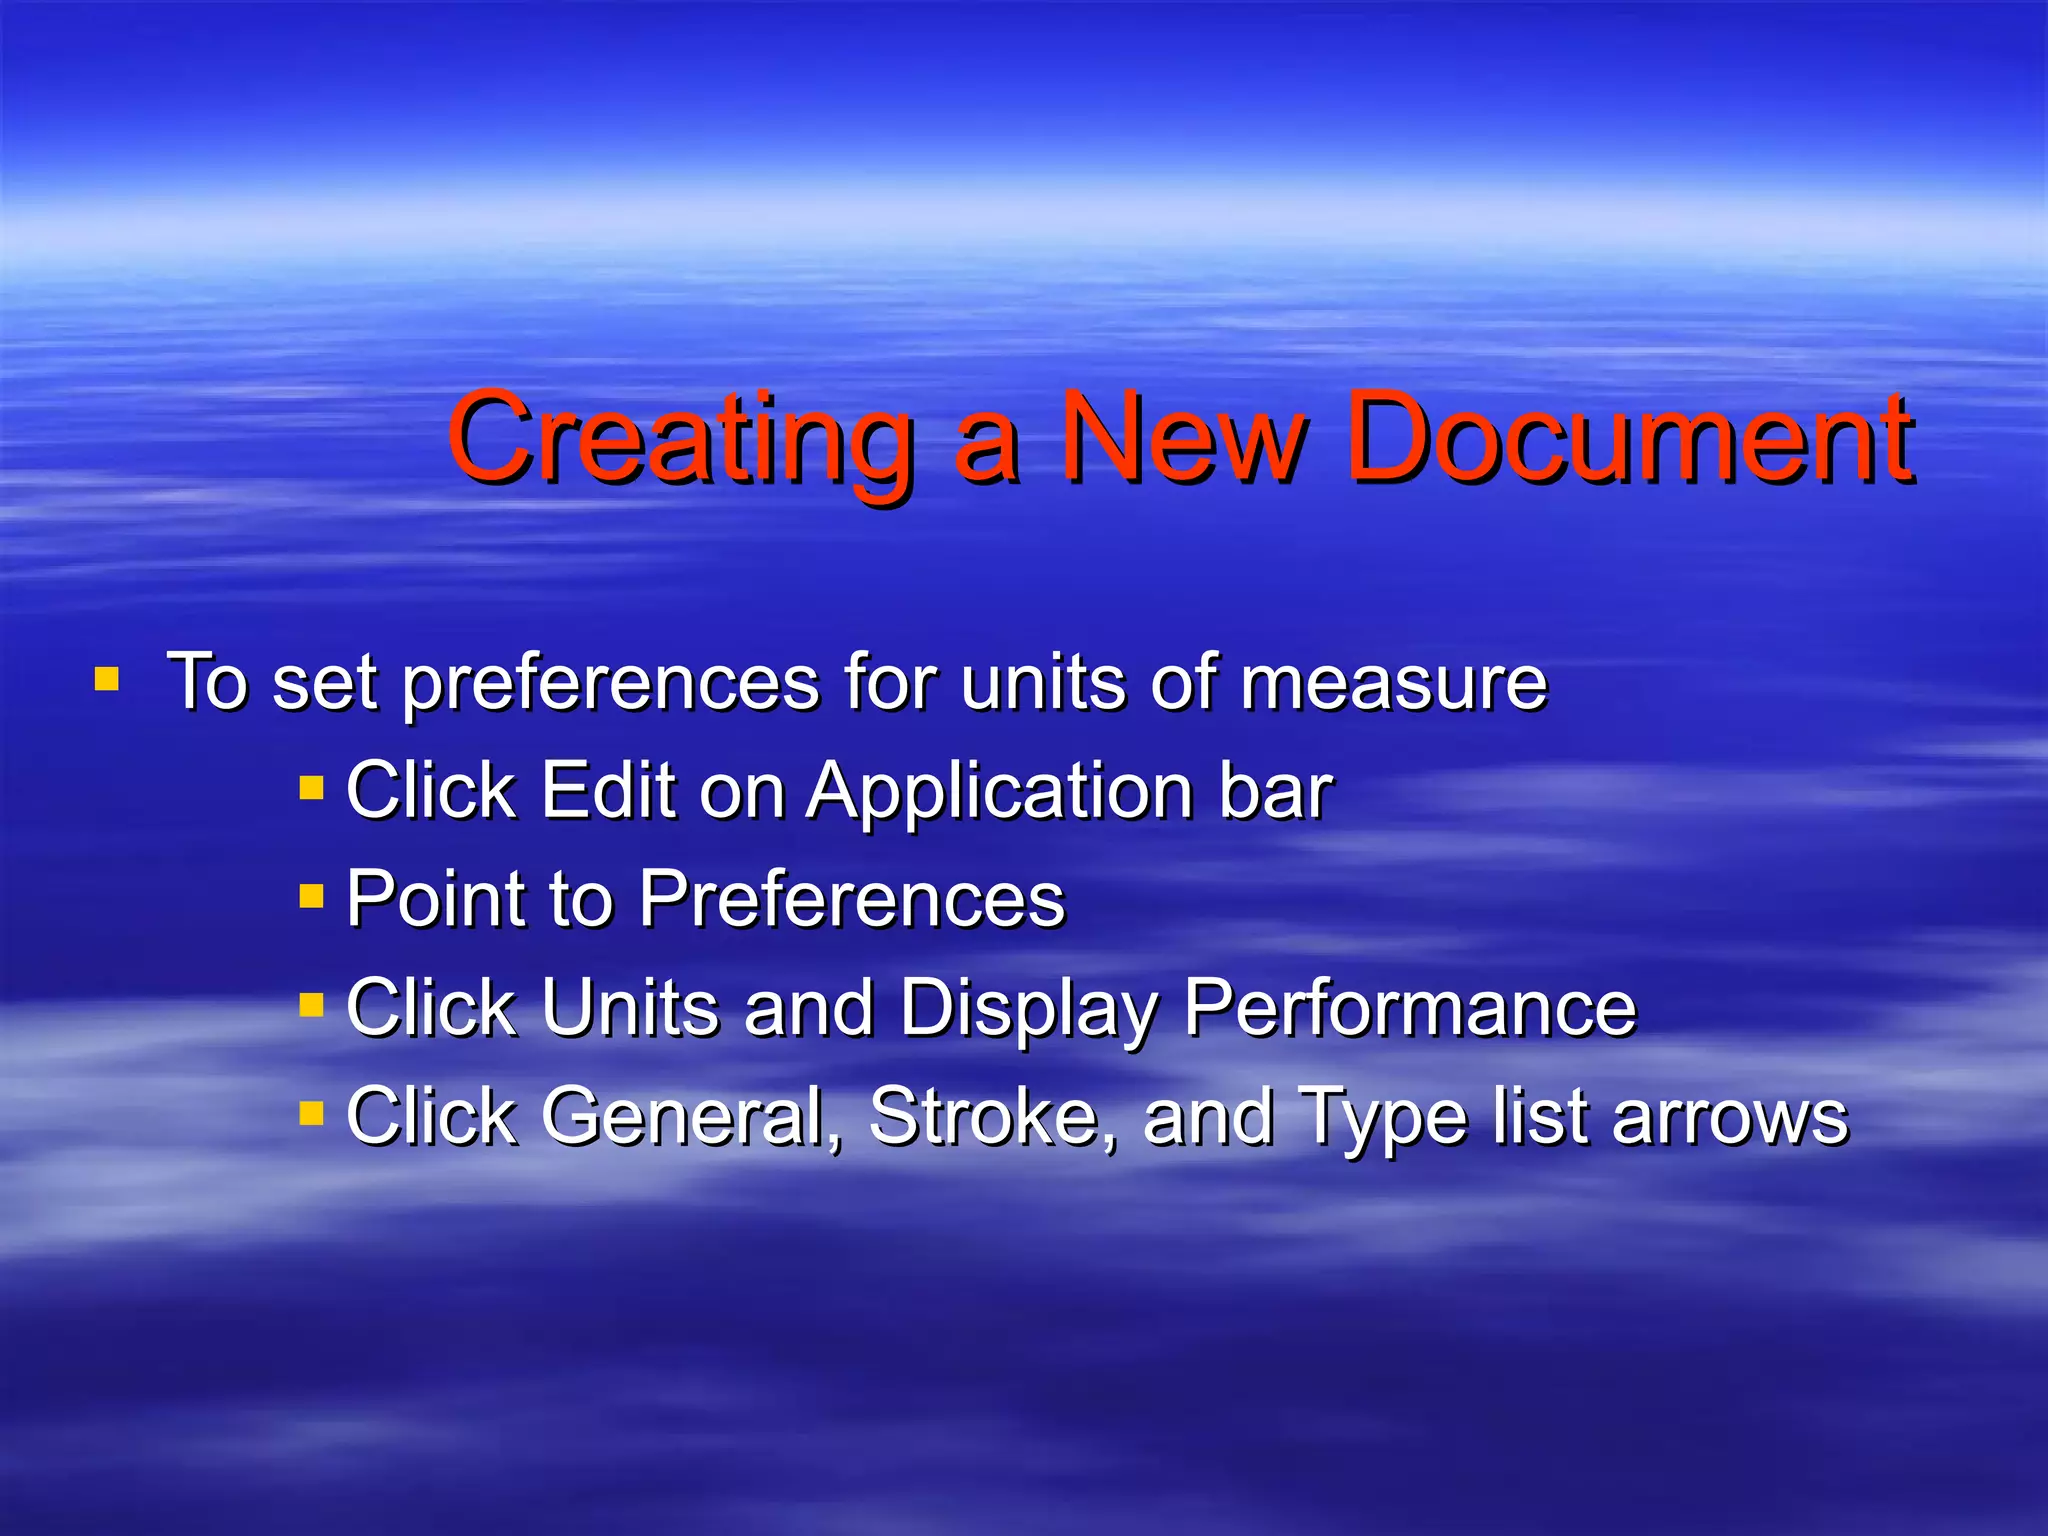
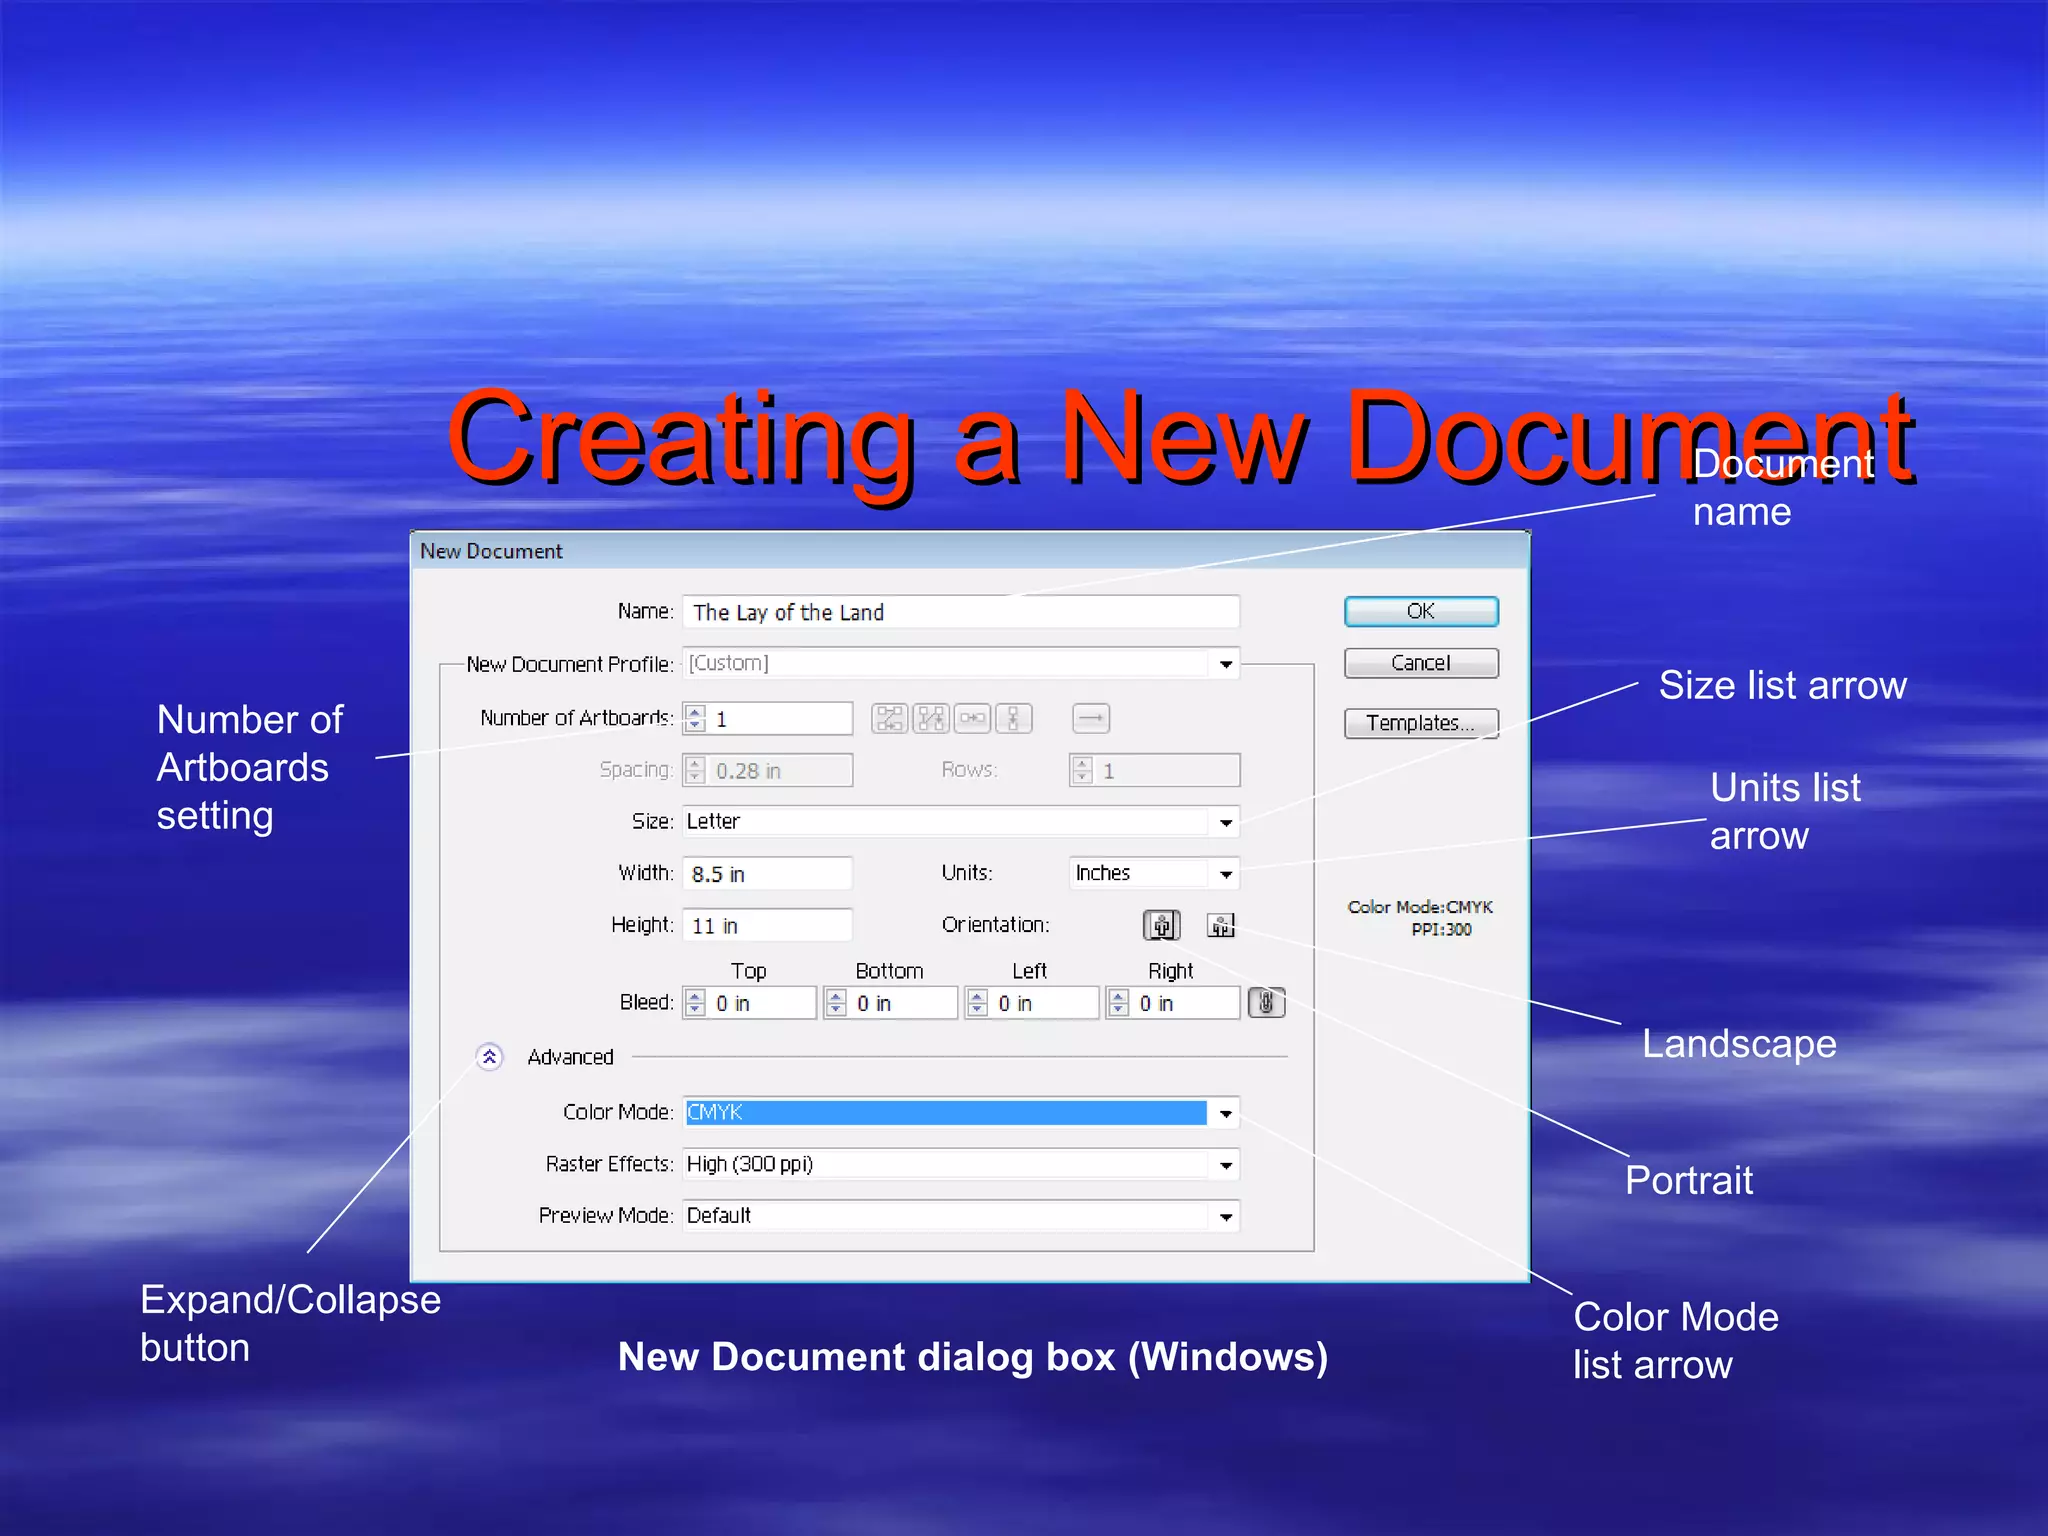
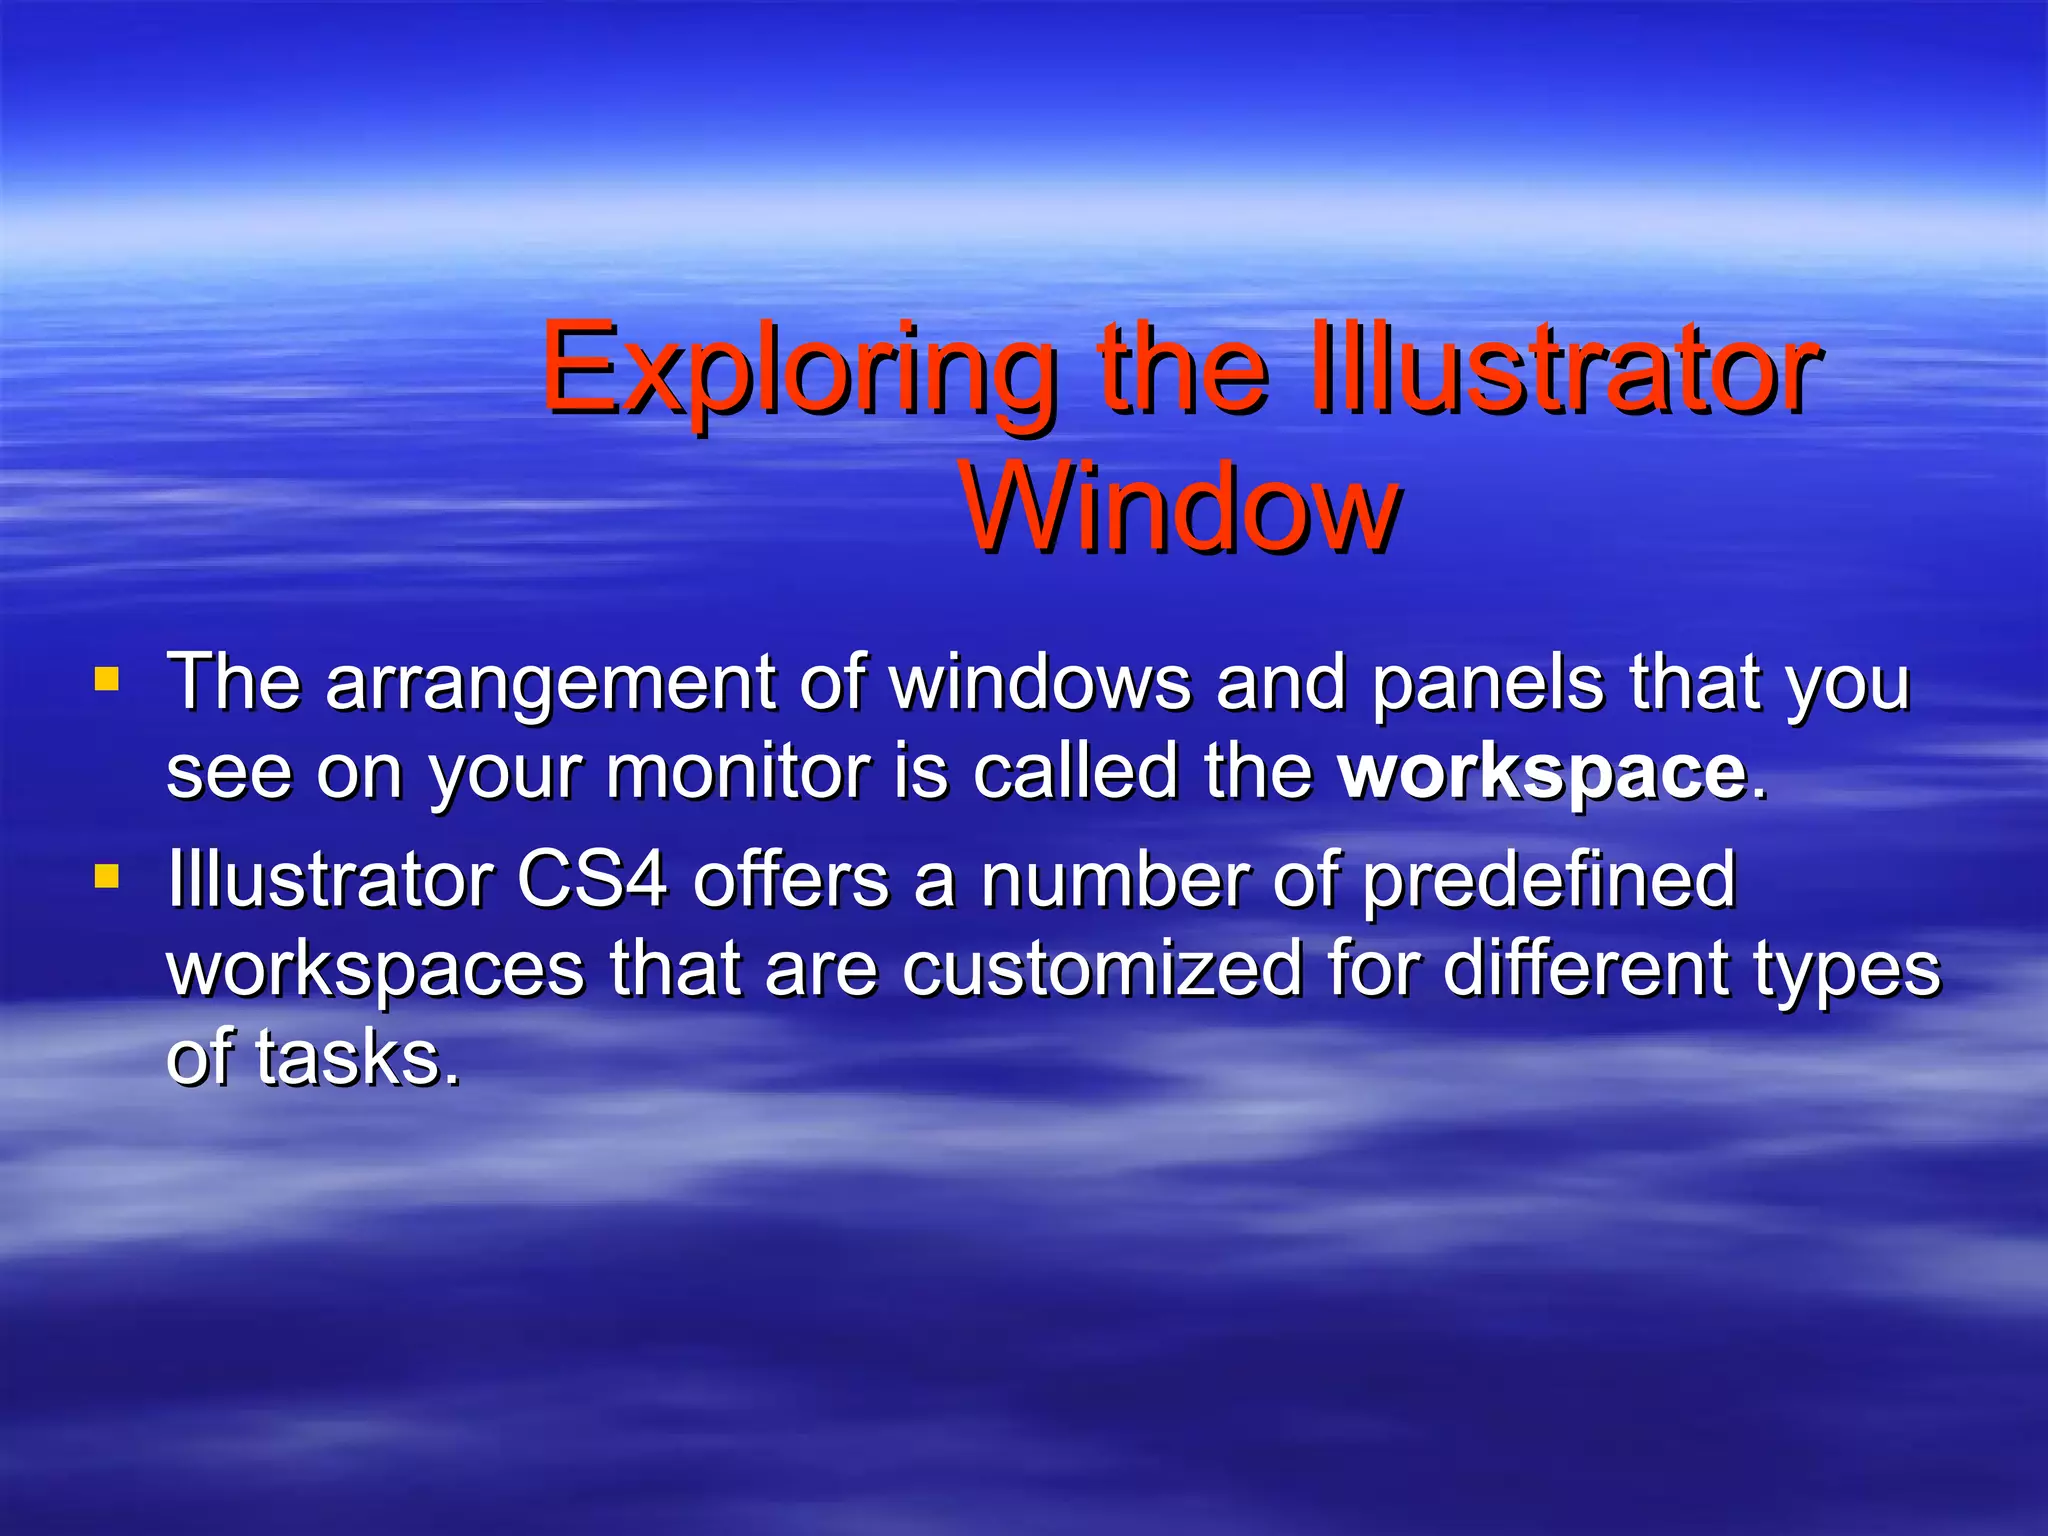
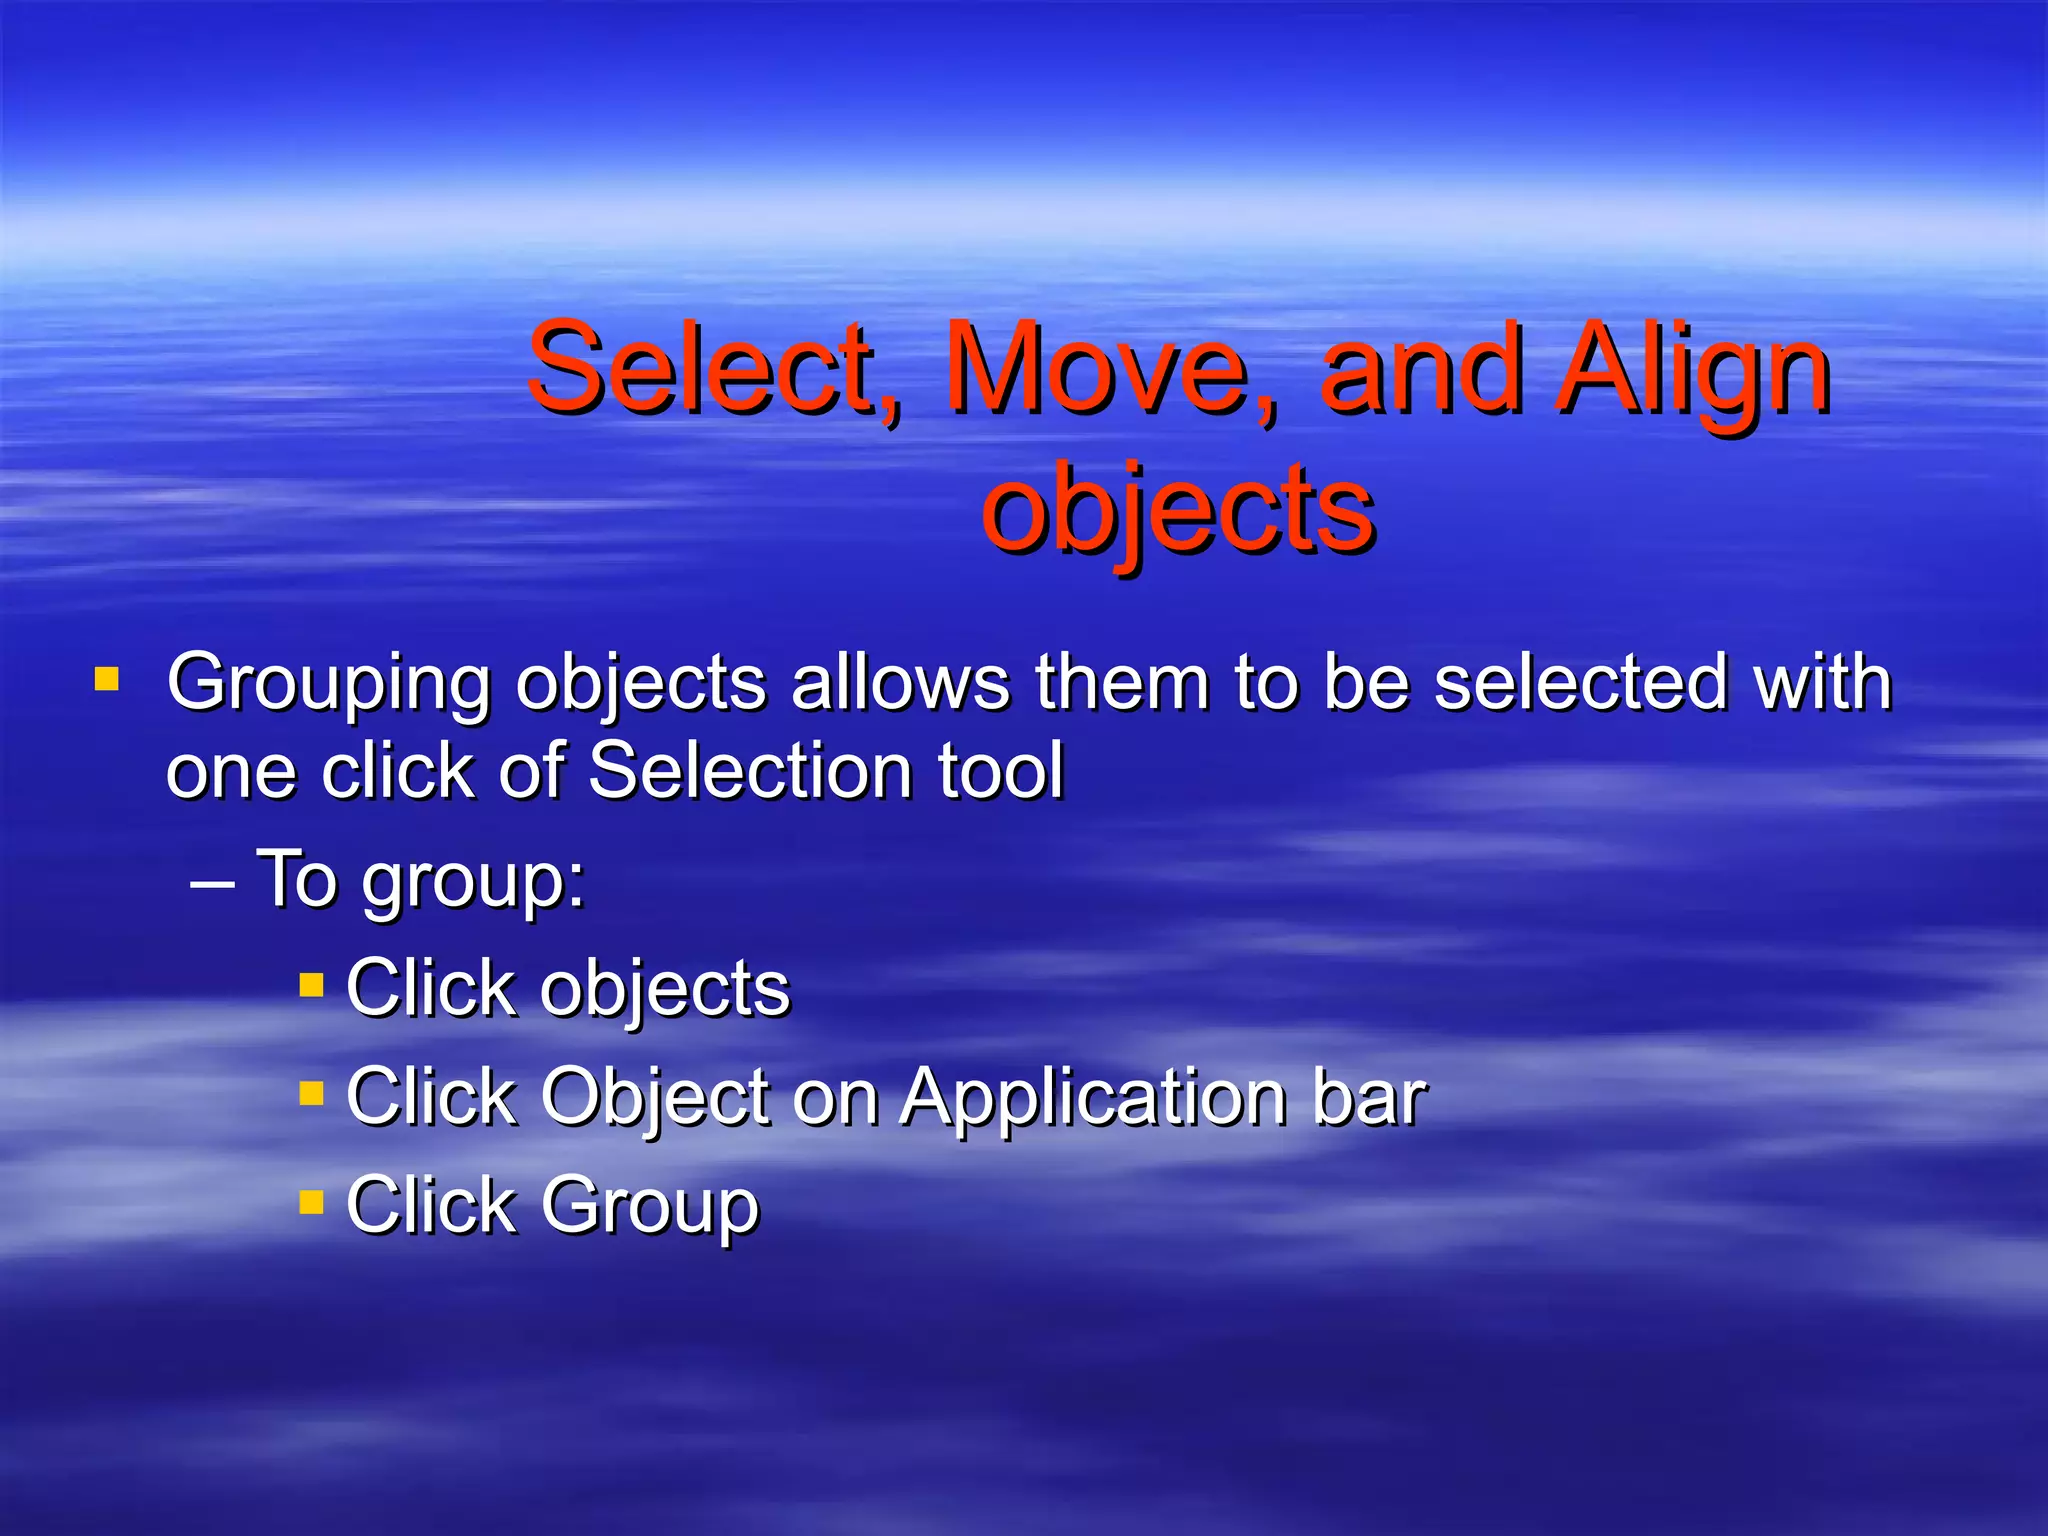
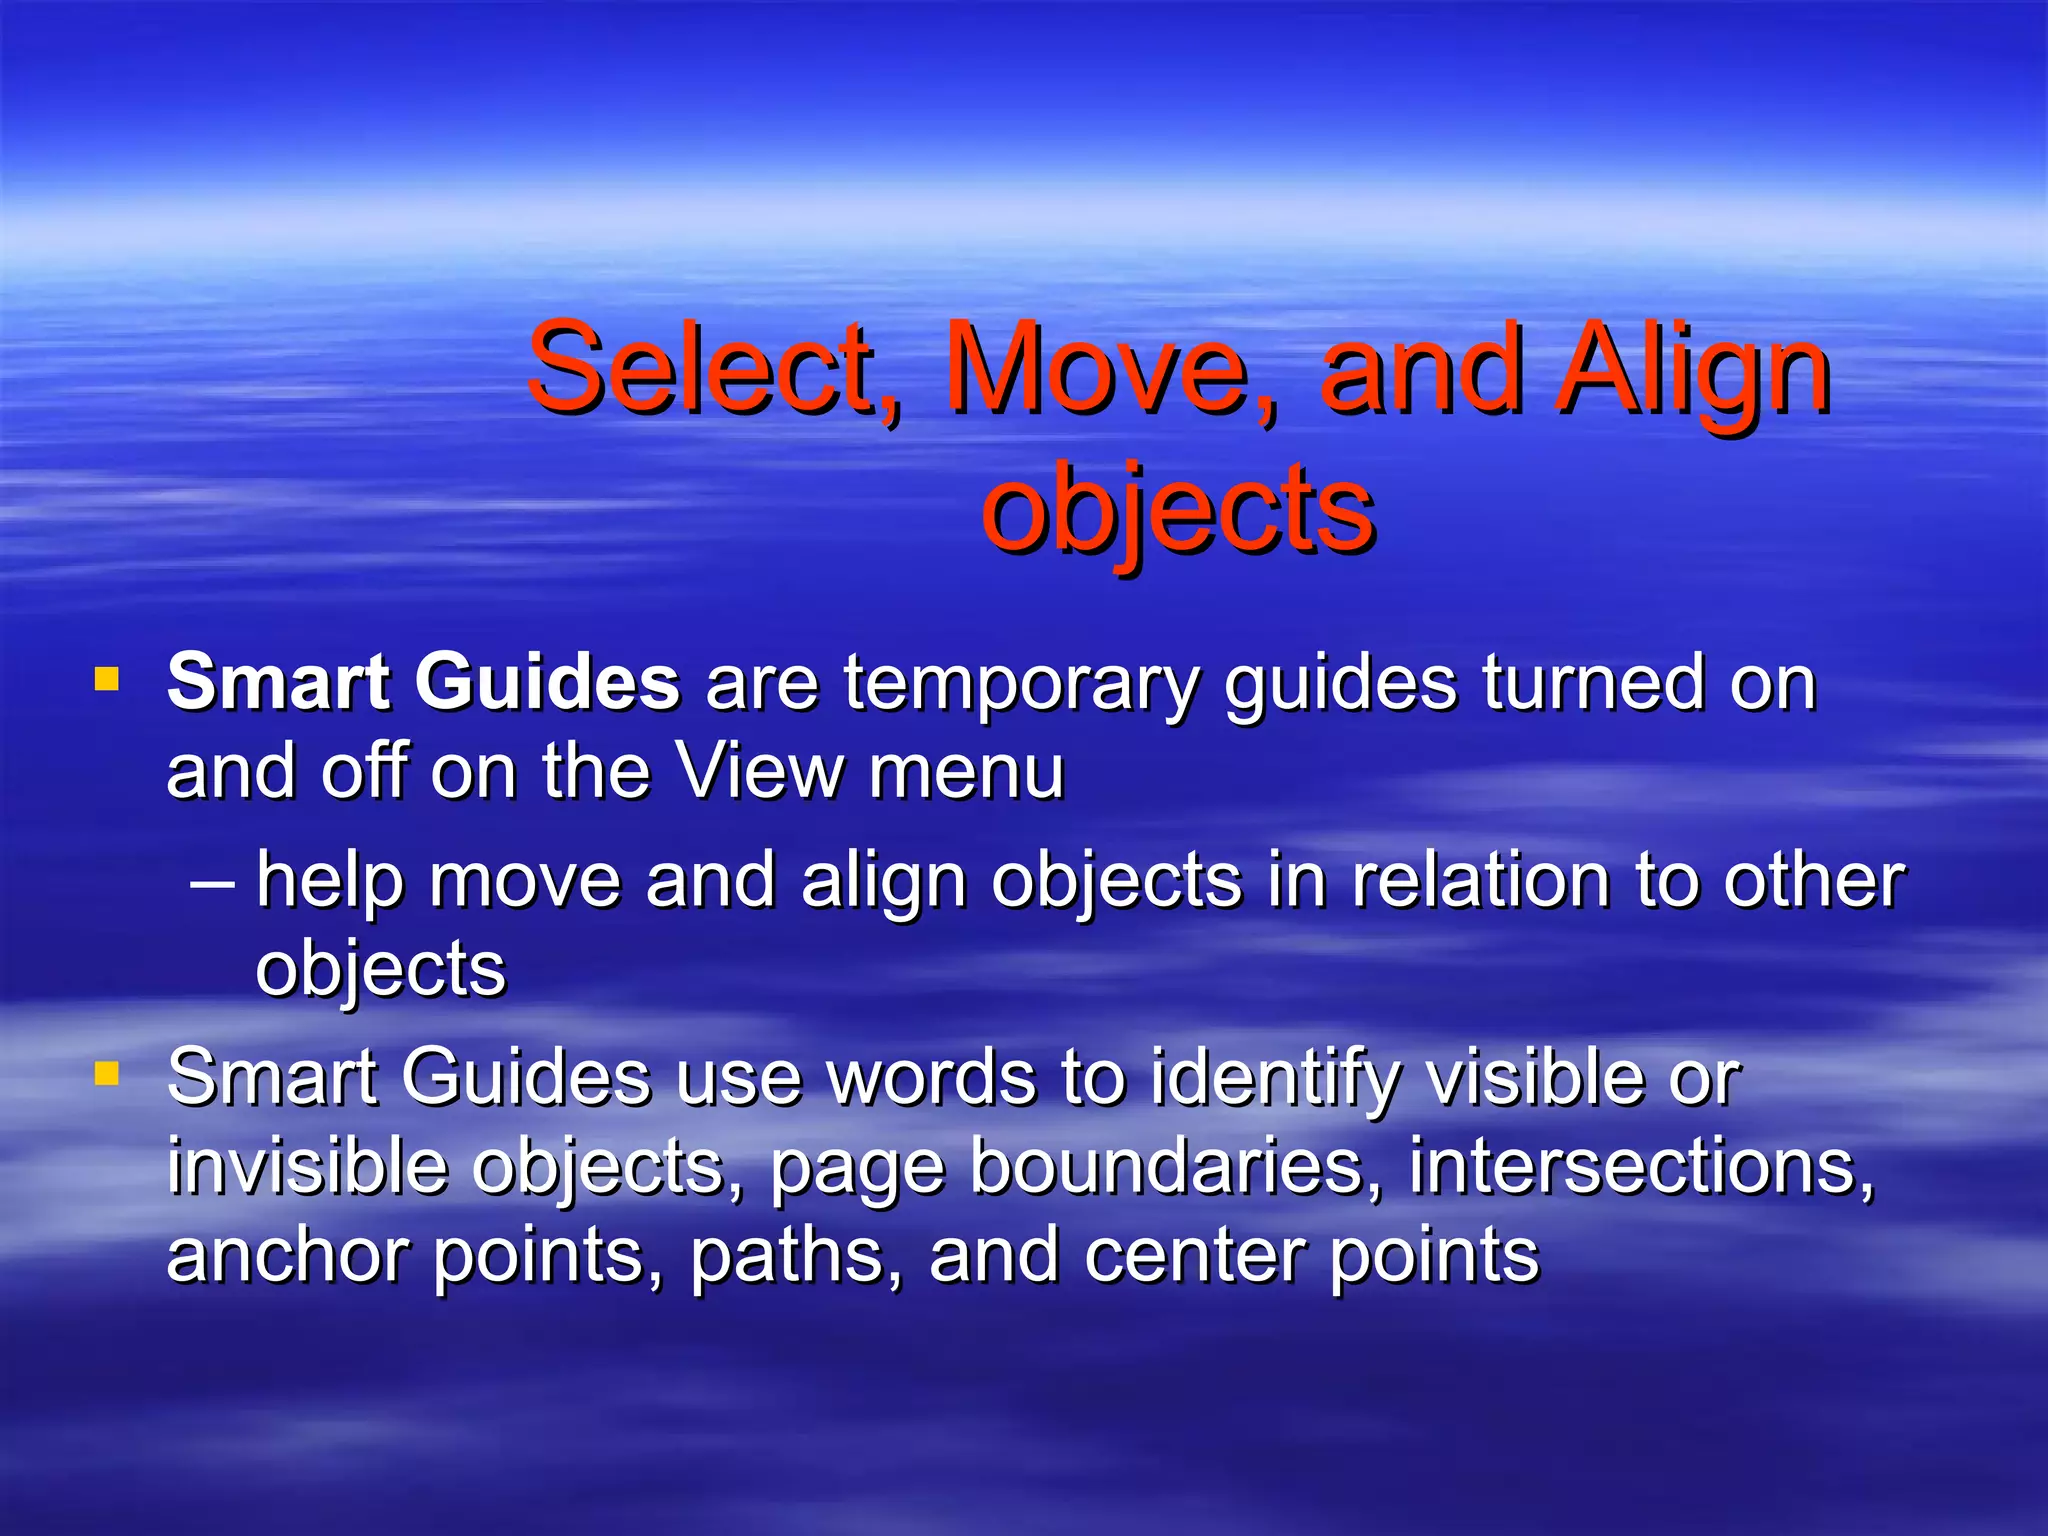
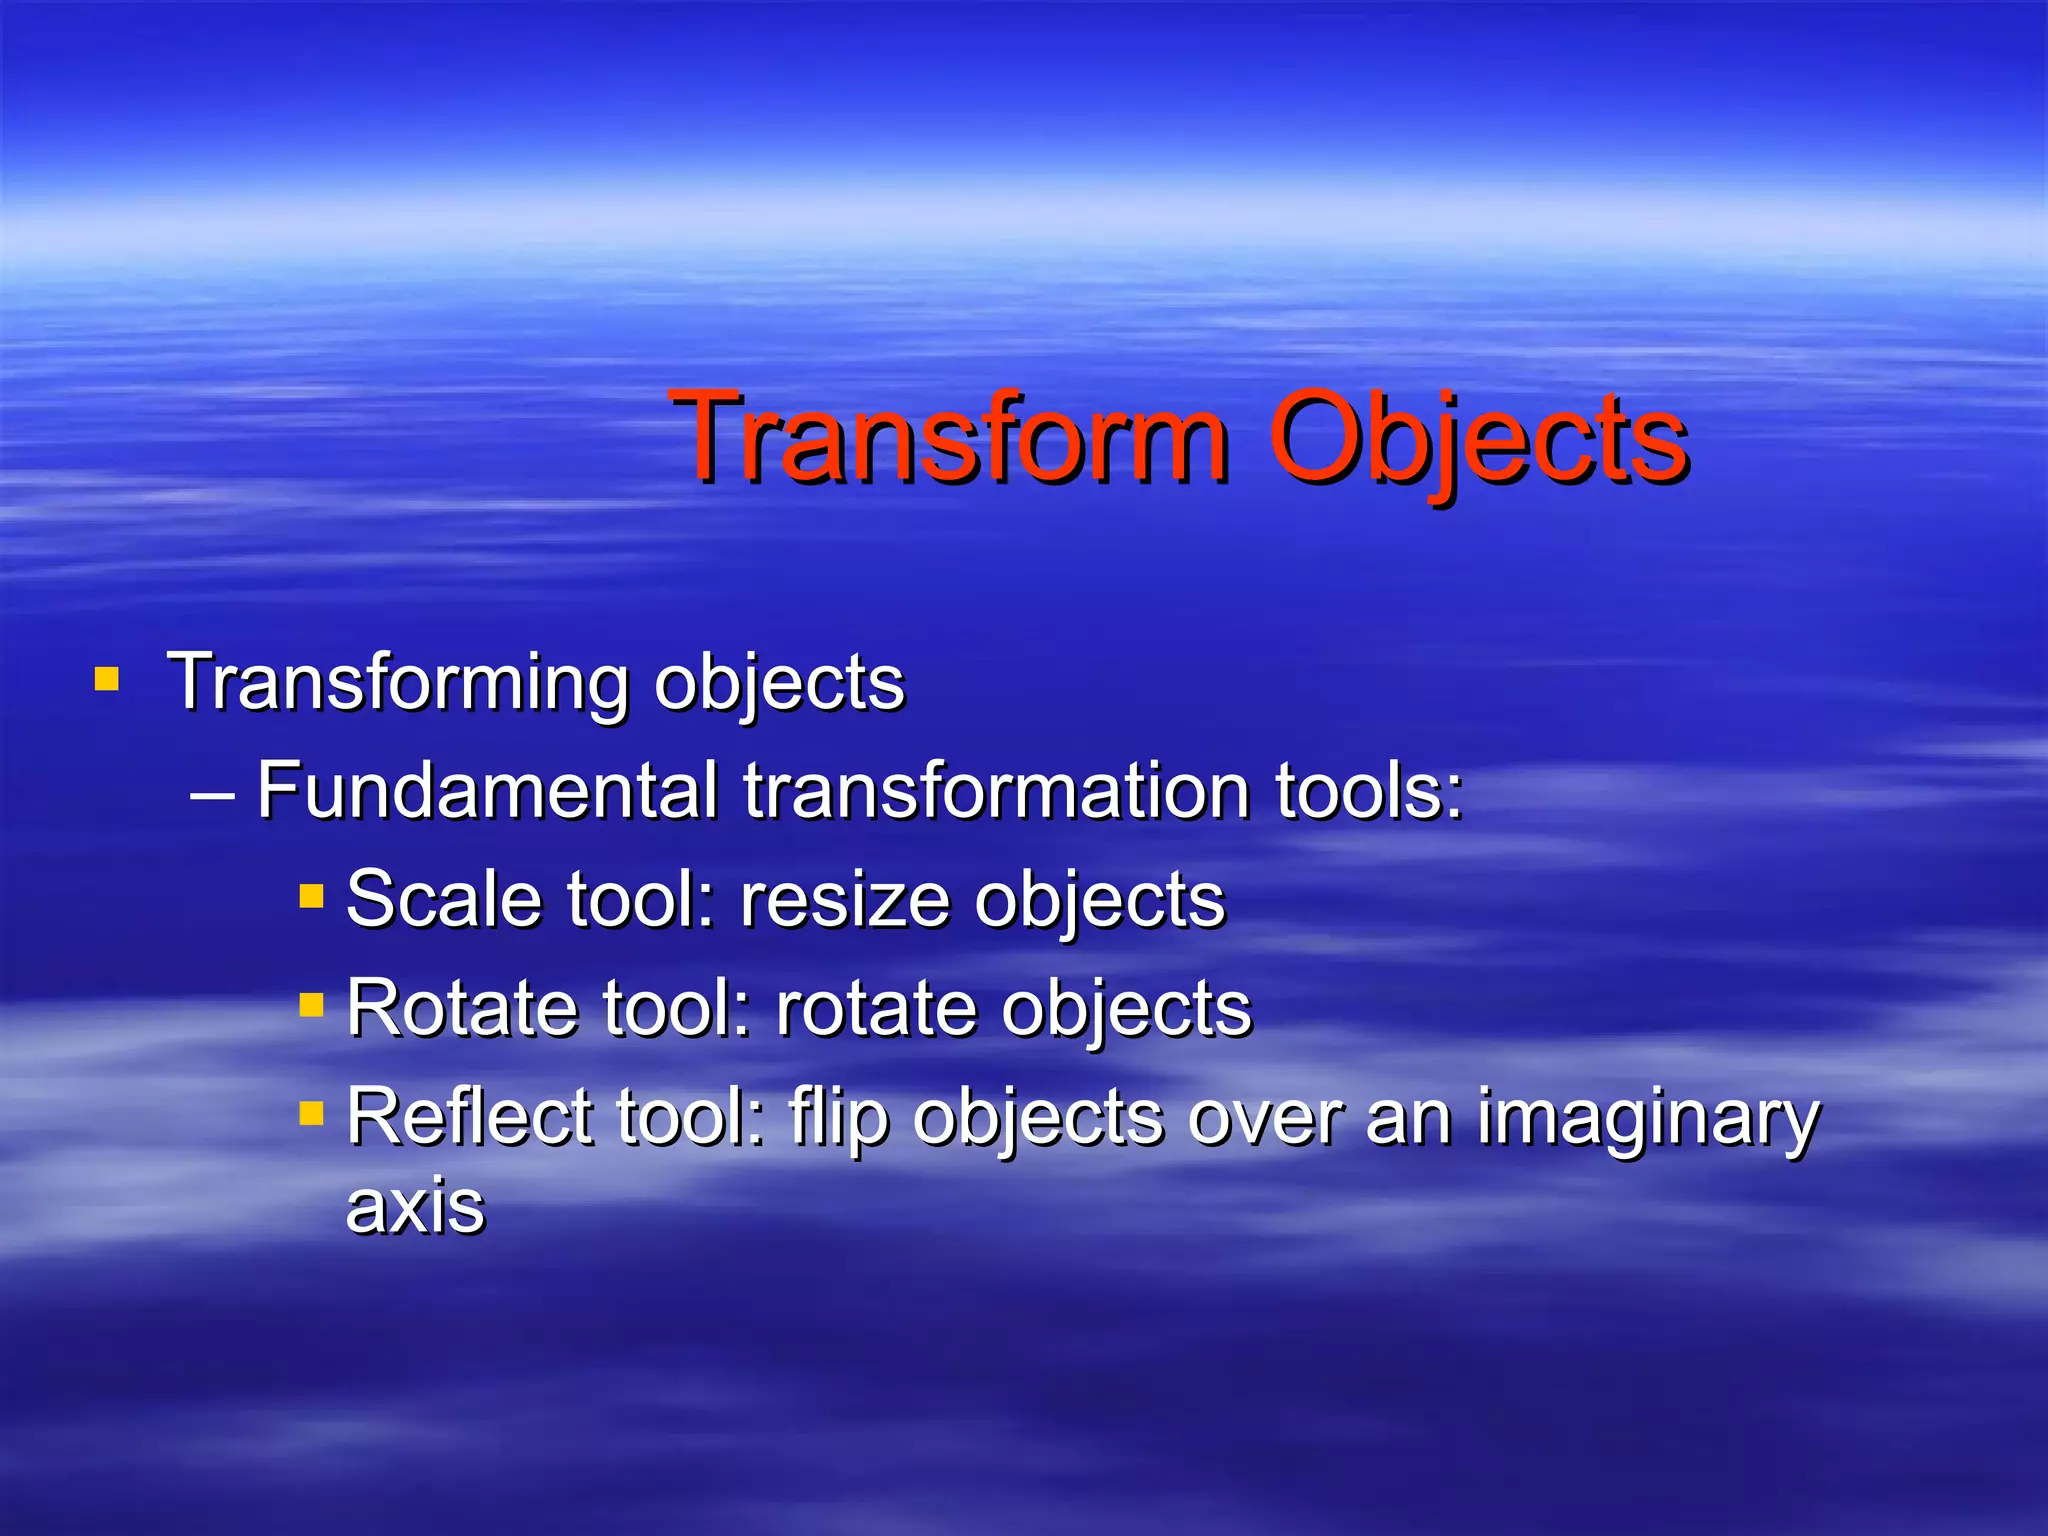
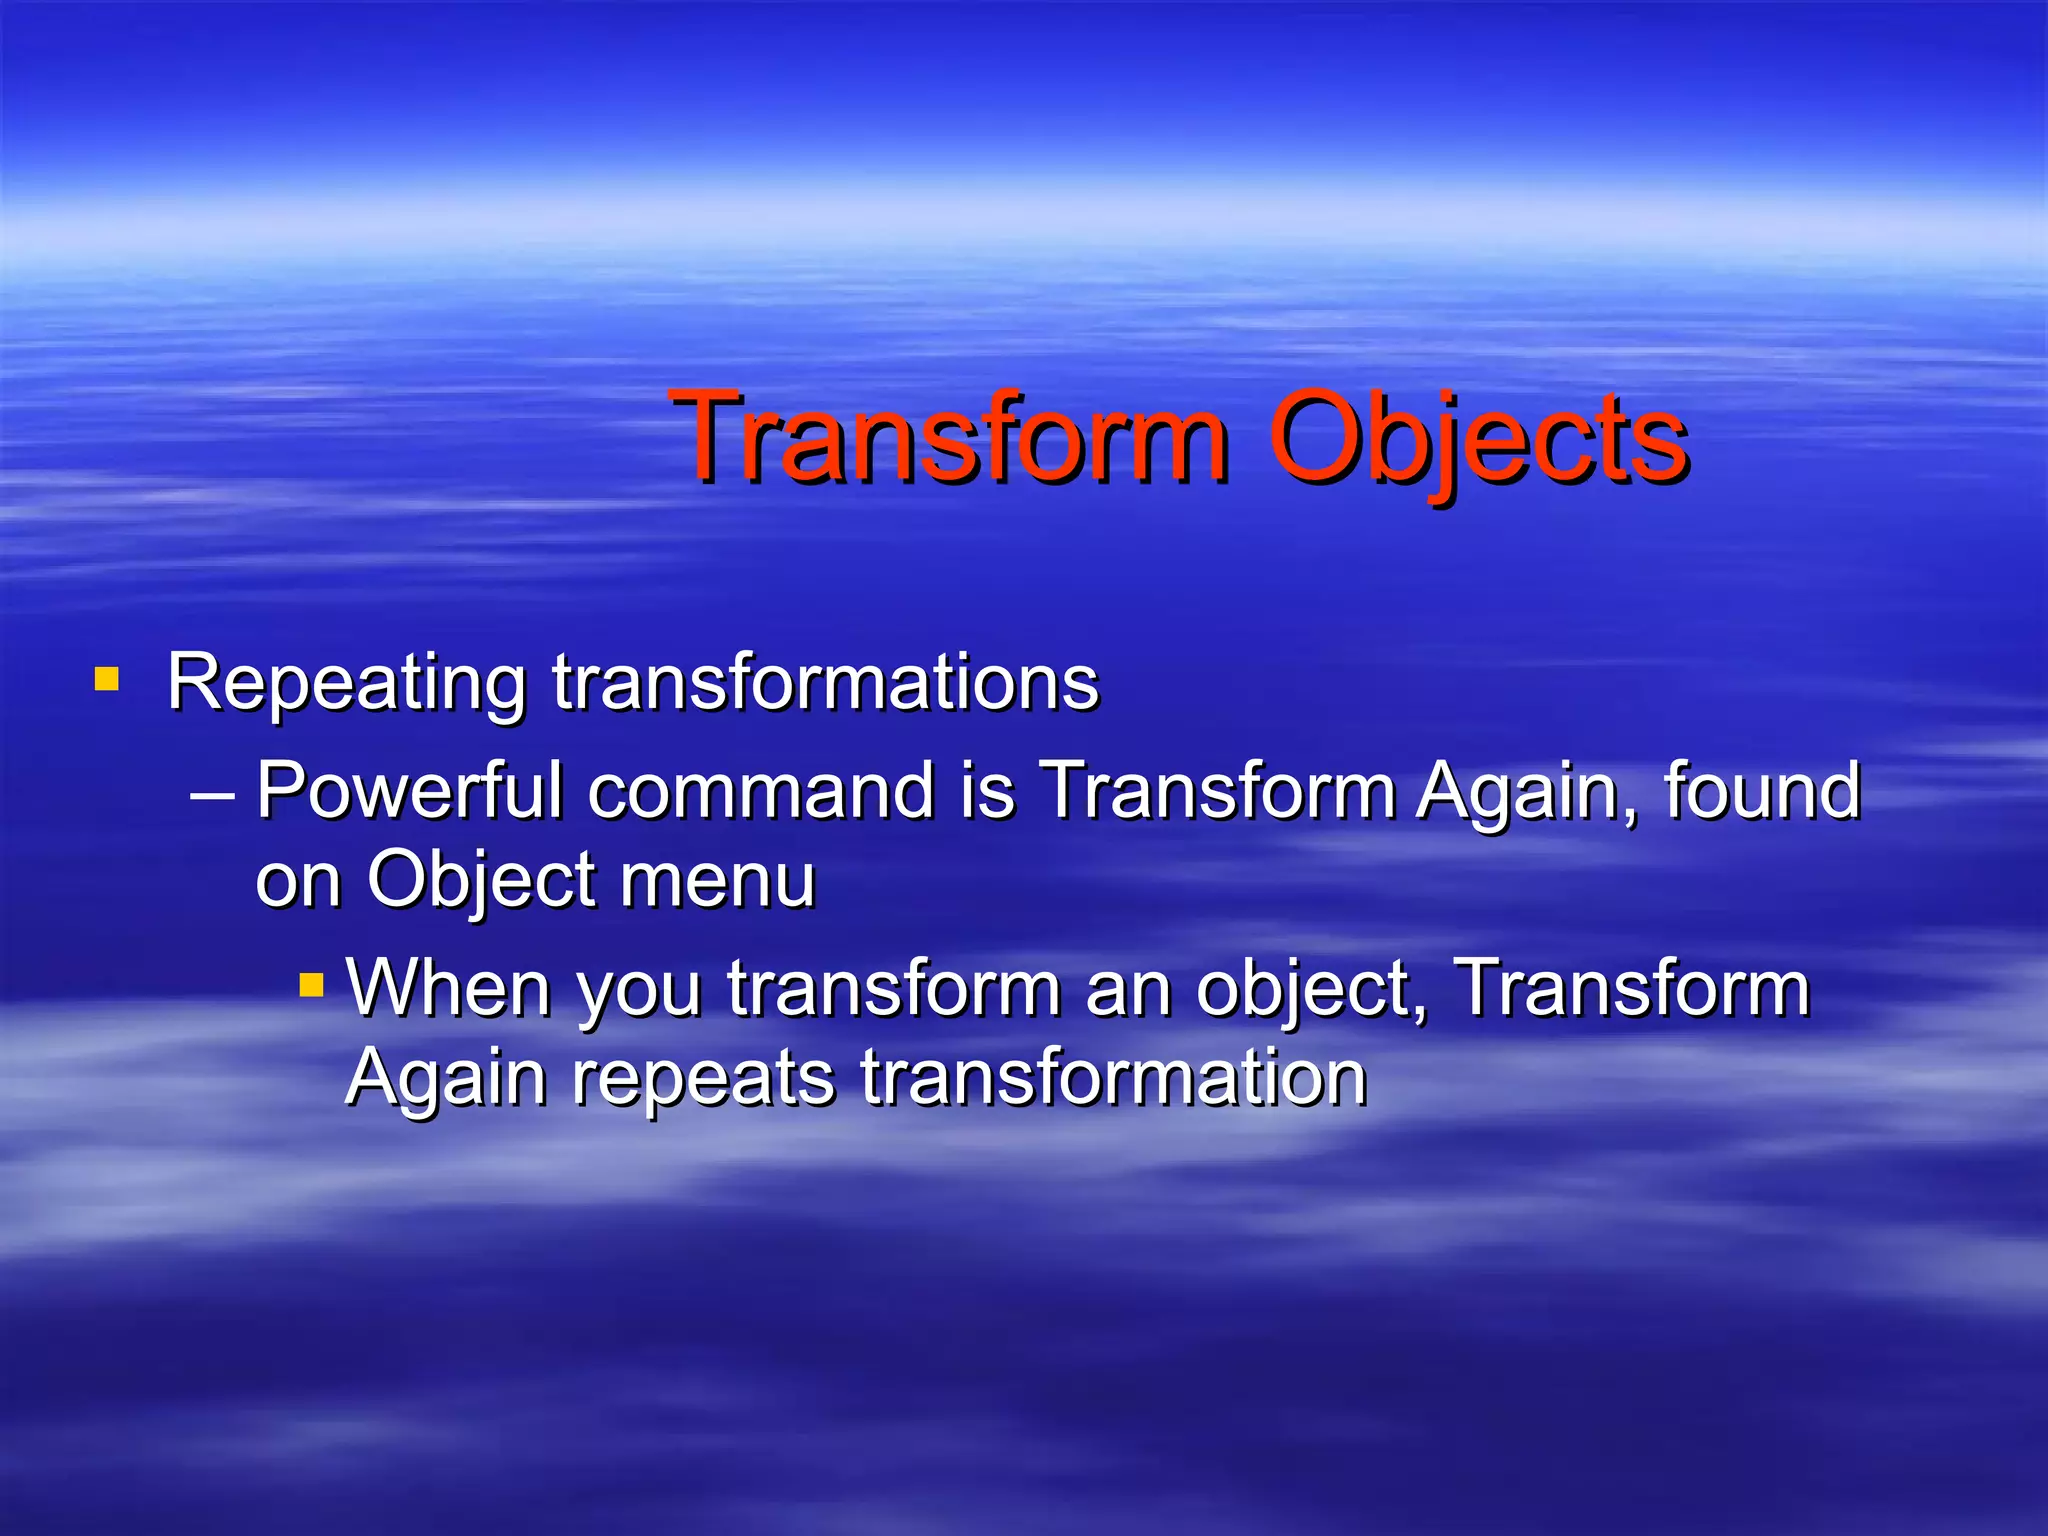
The document provides an overview of getting started with Adobe Illustrator, including how to:
1) Create a new document and choose document settings like size, color mode, and units of measure.
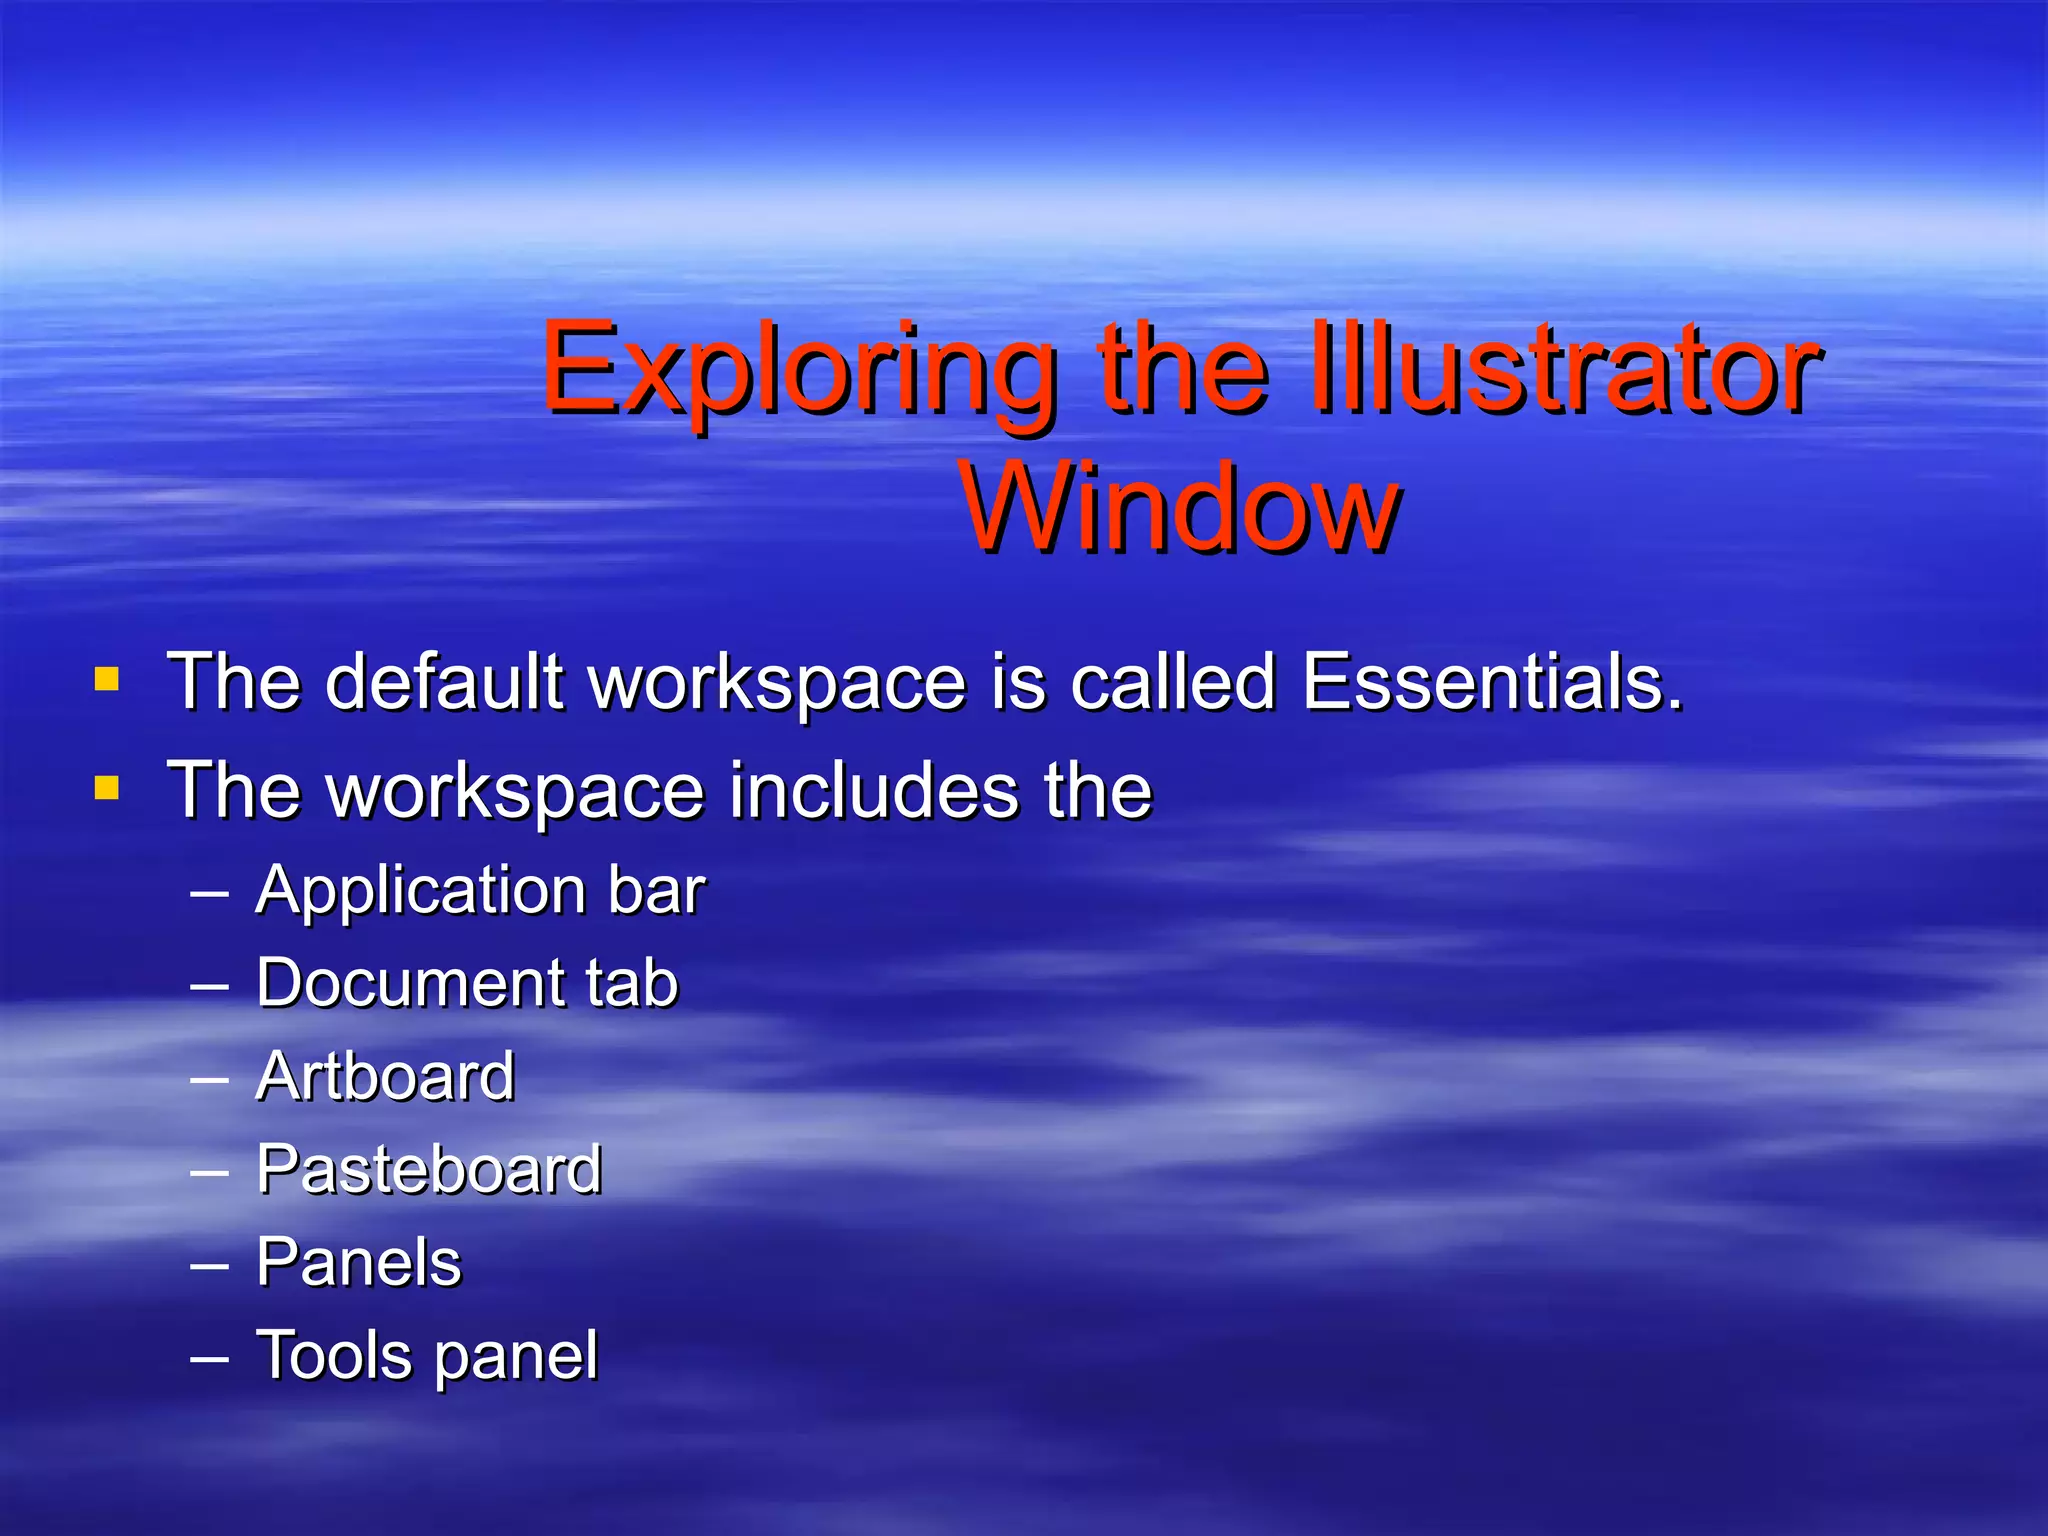
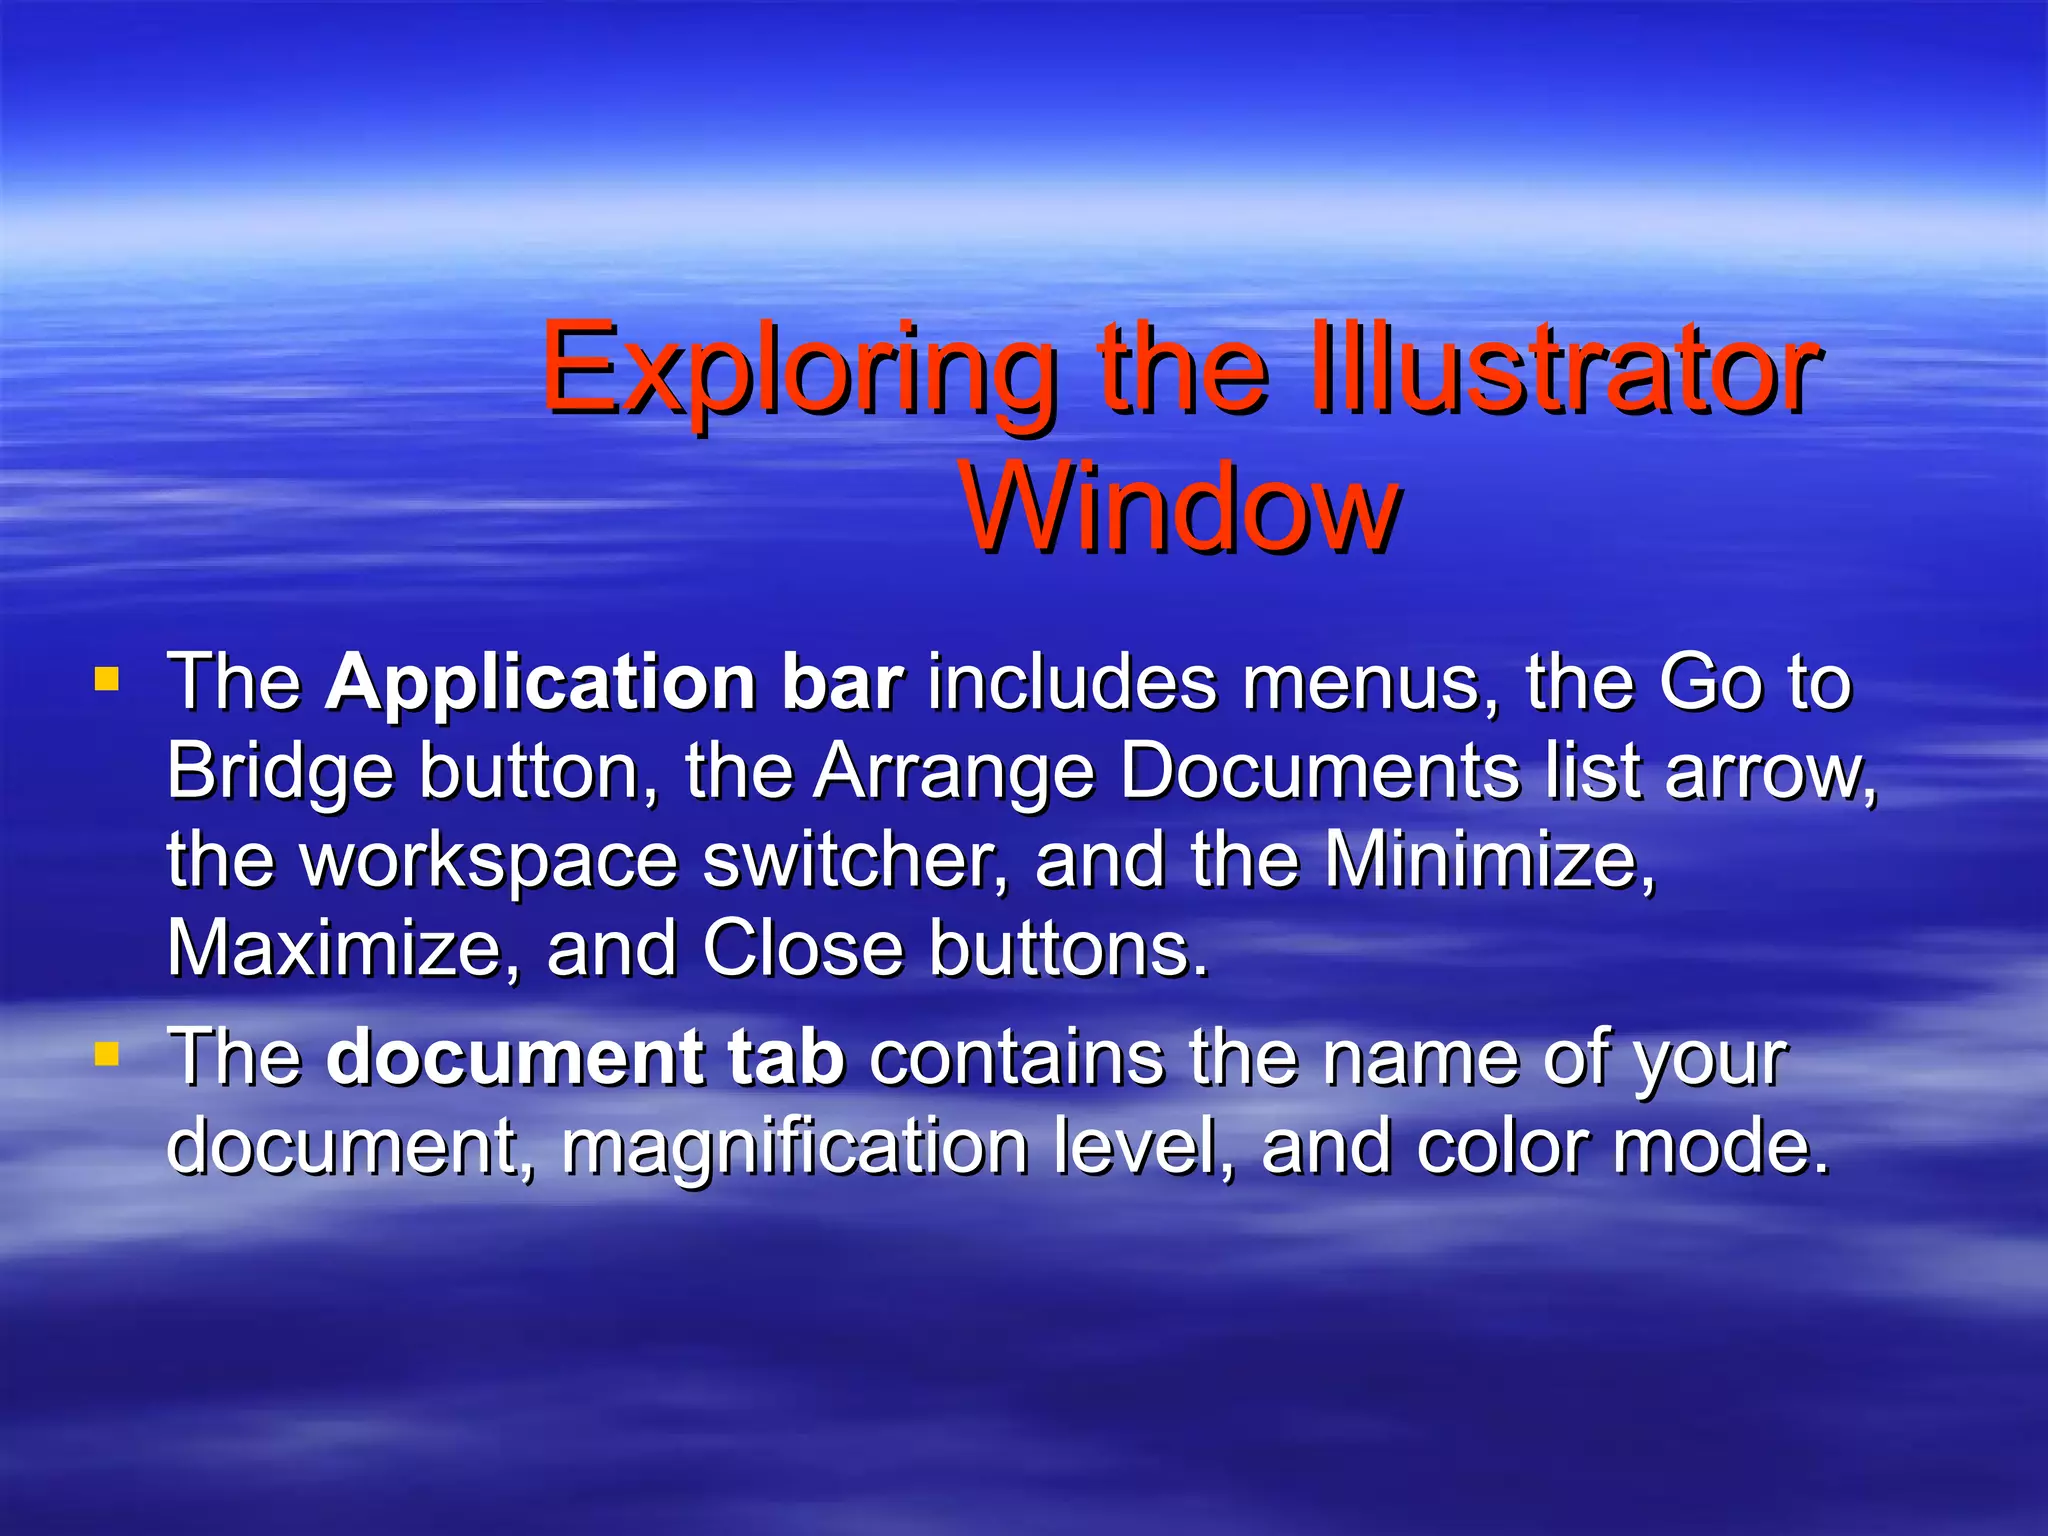
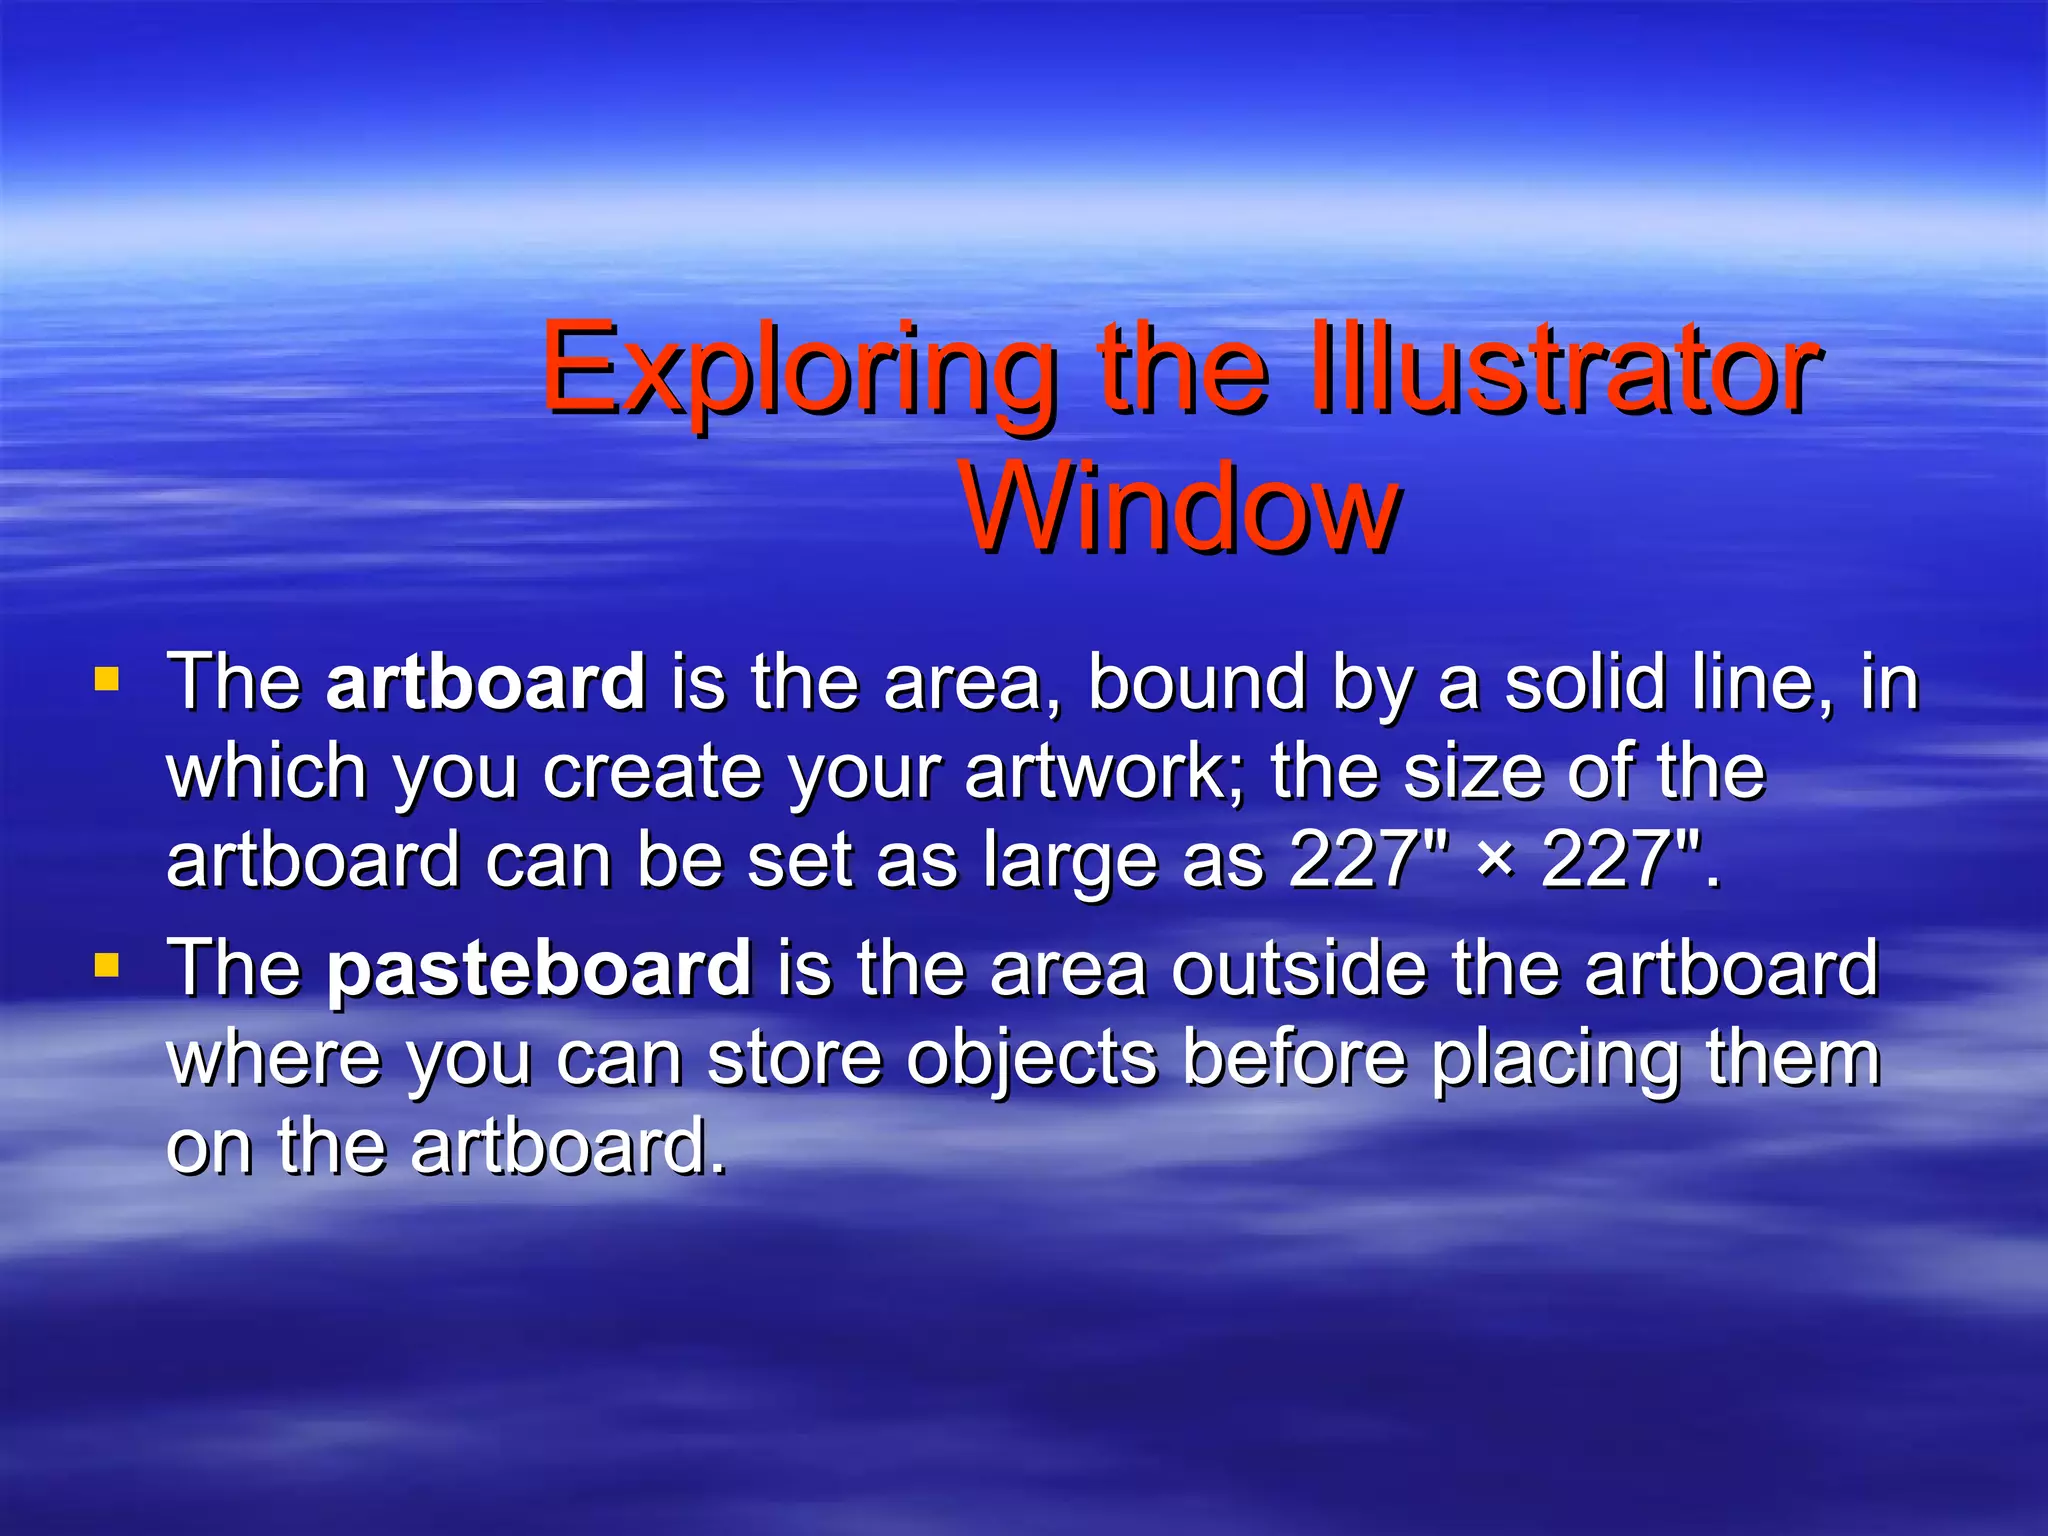
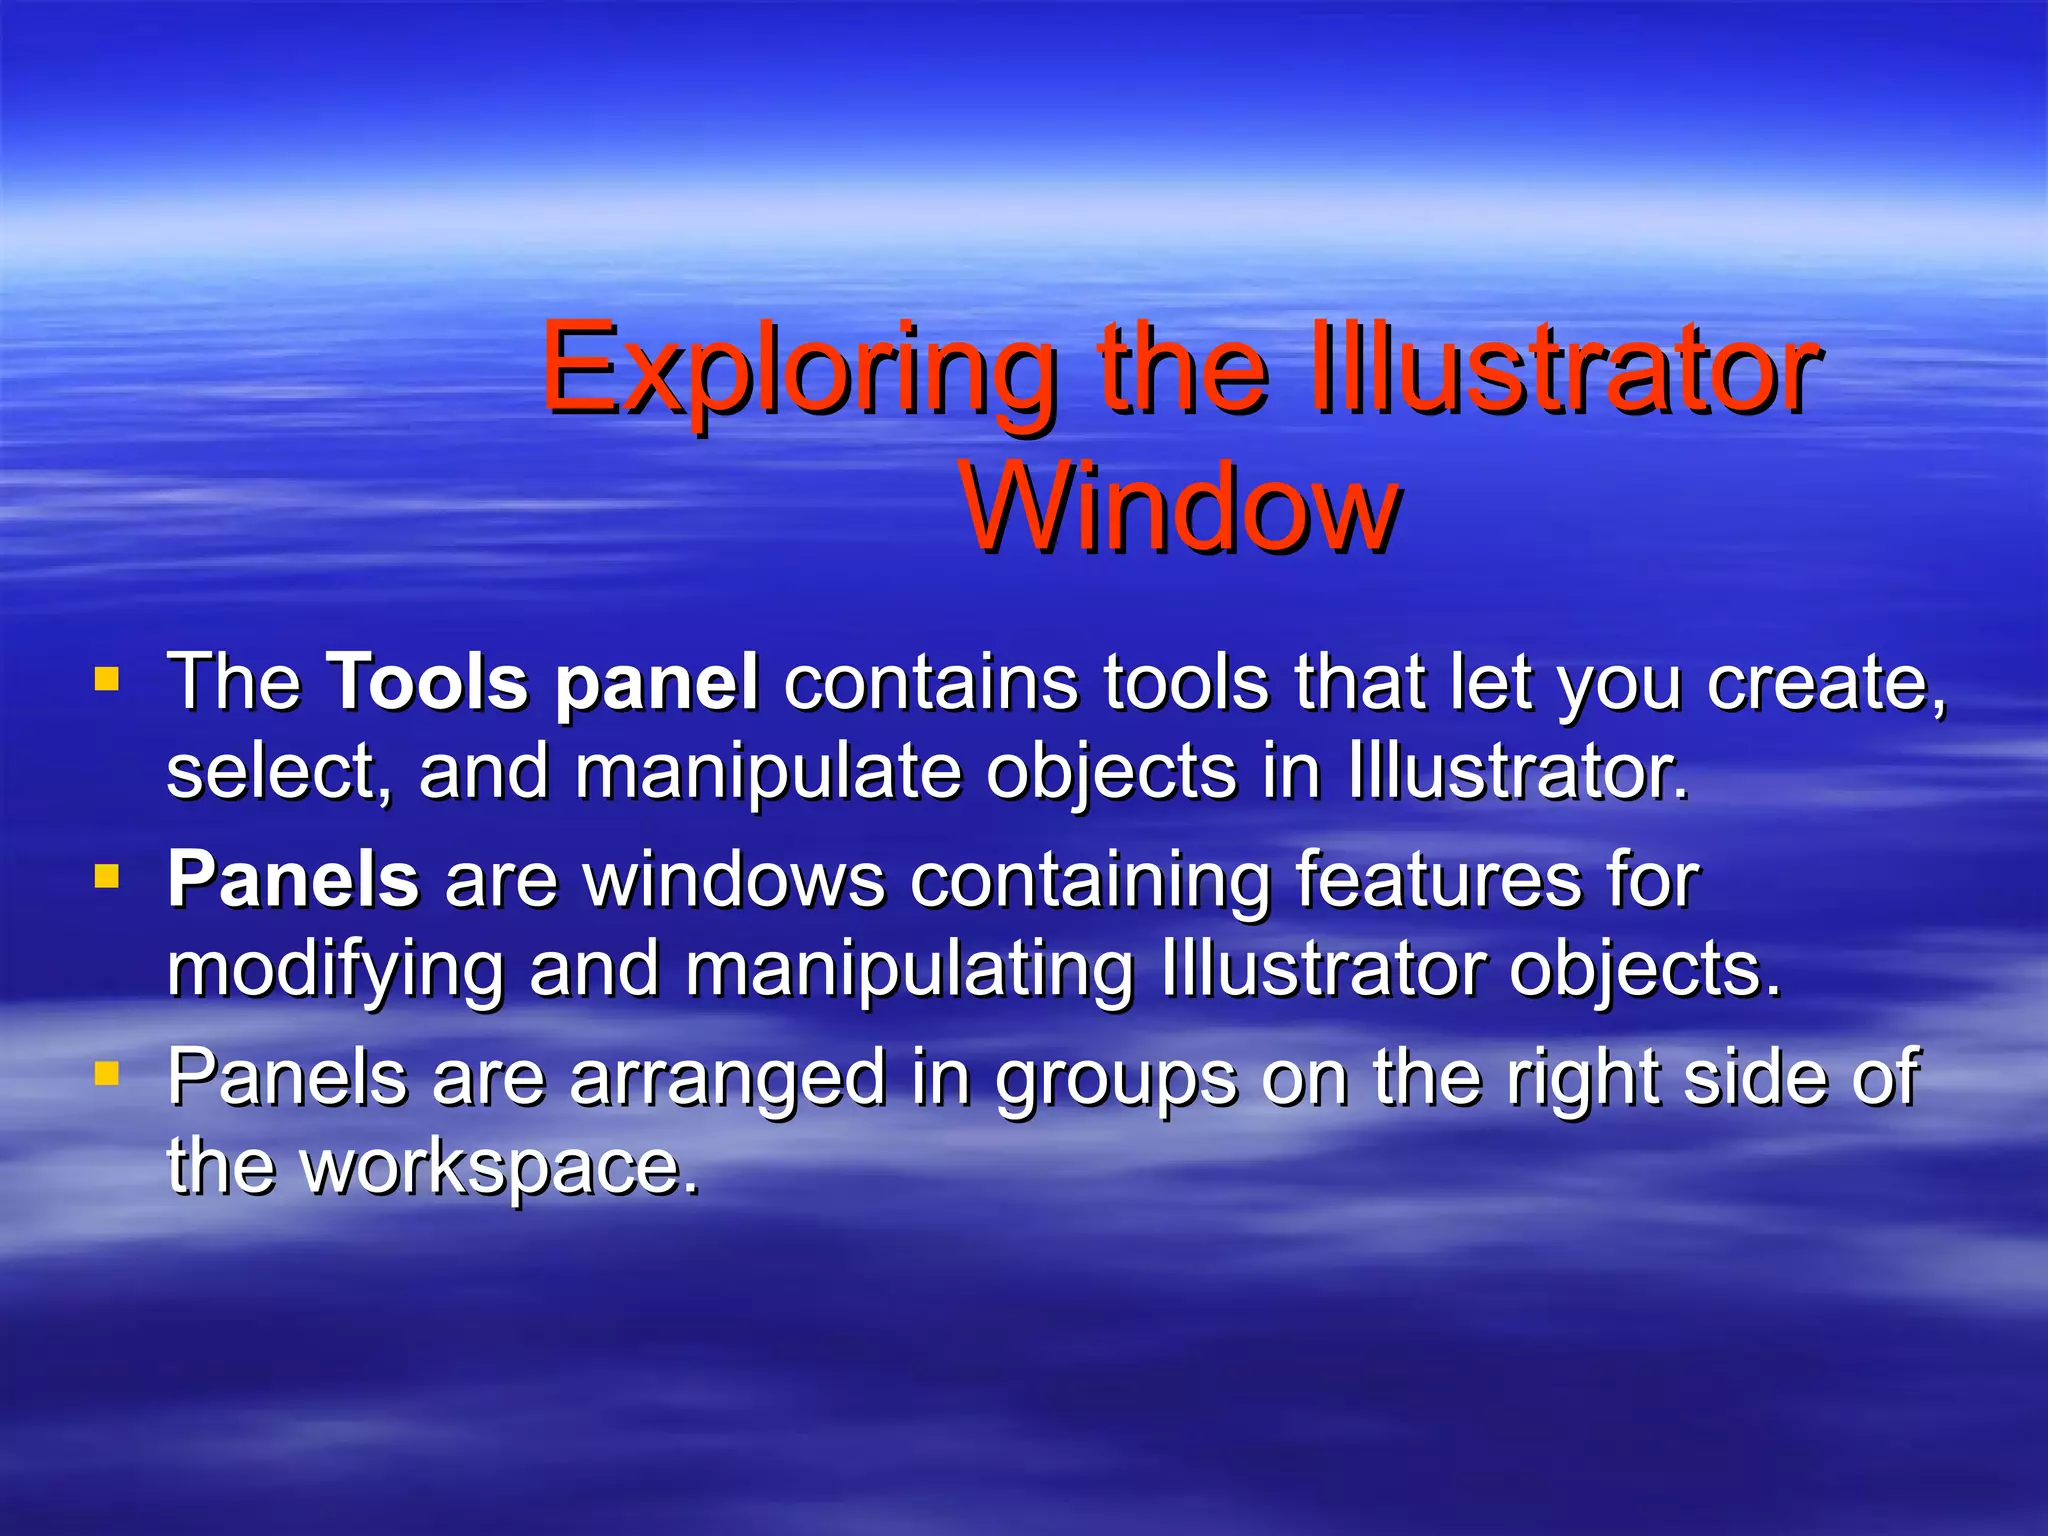
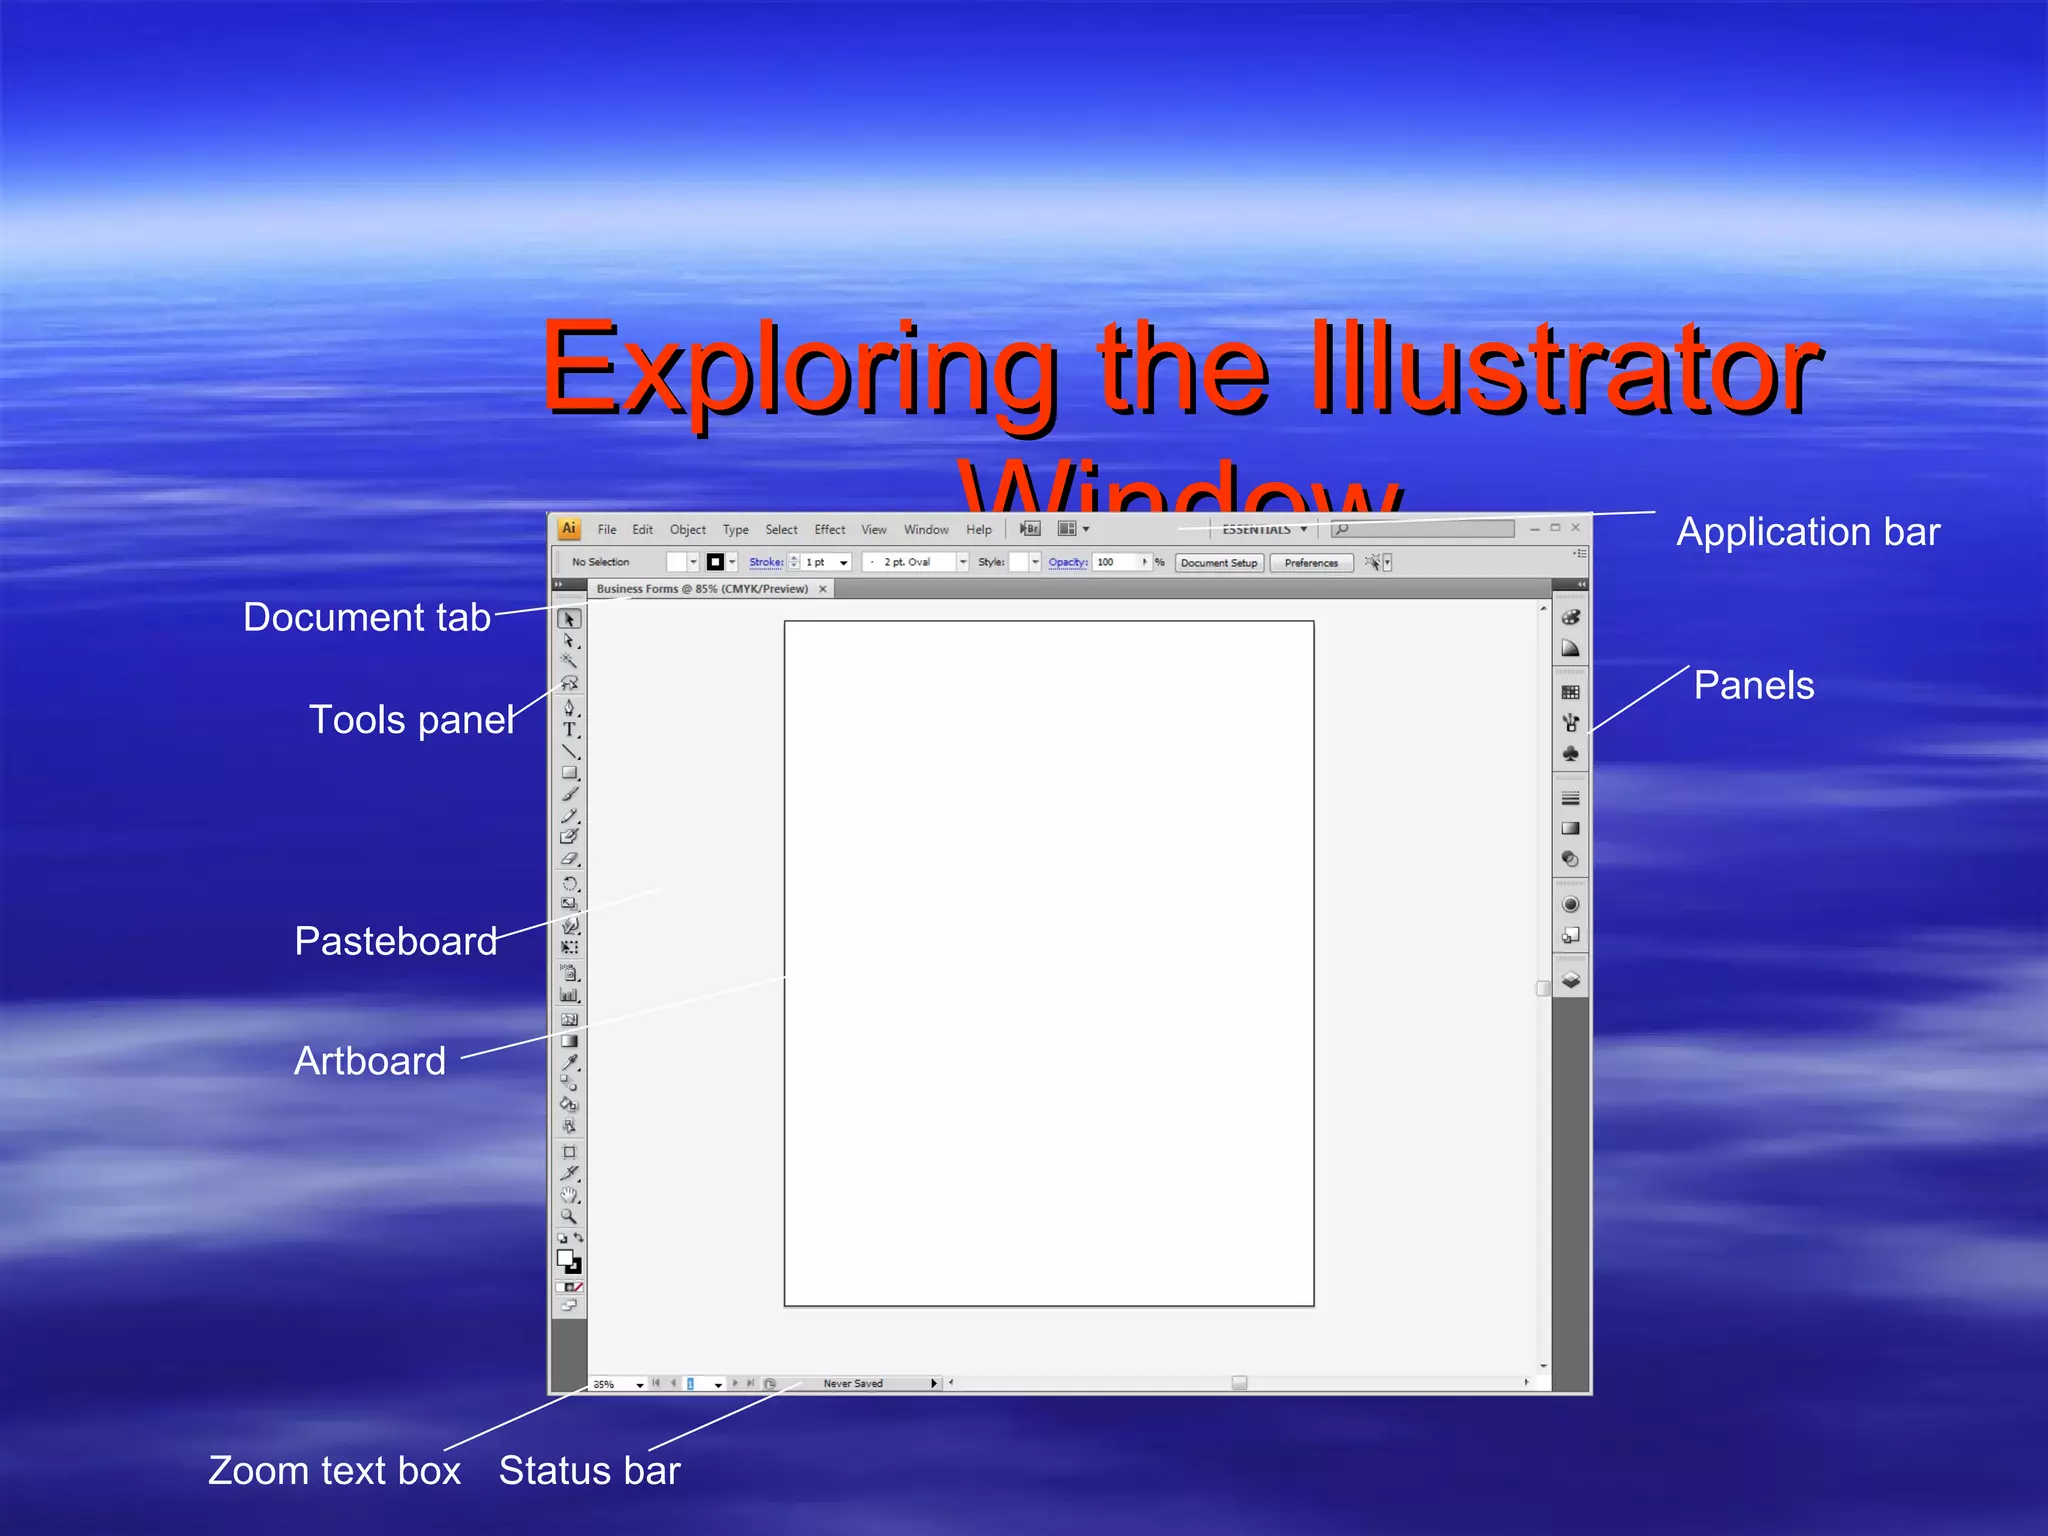
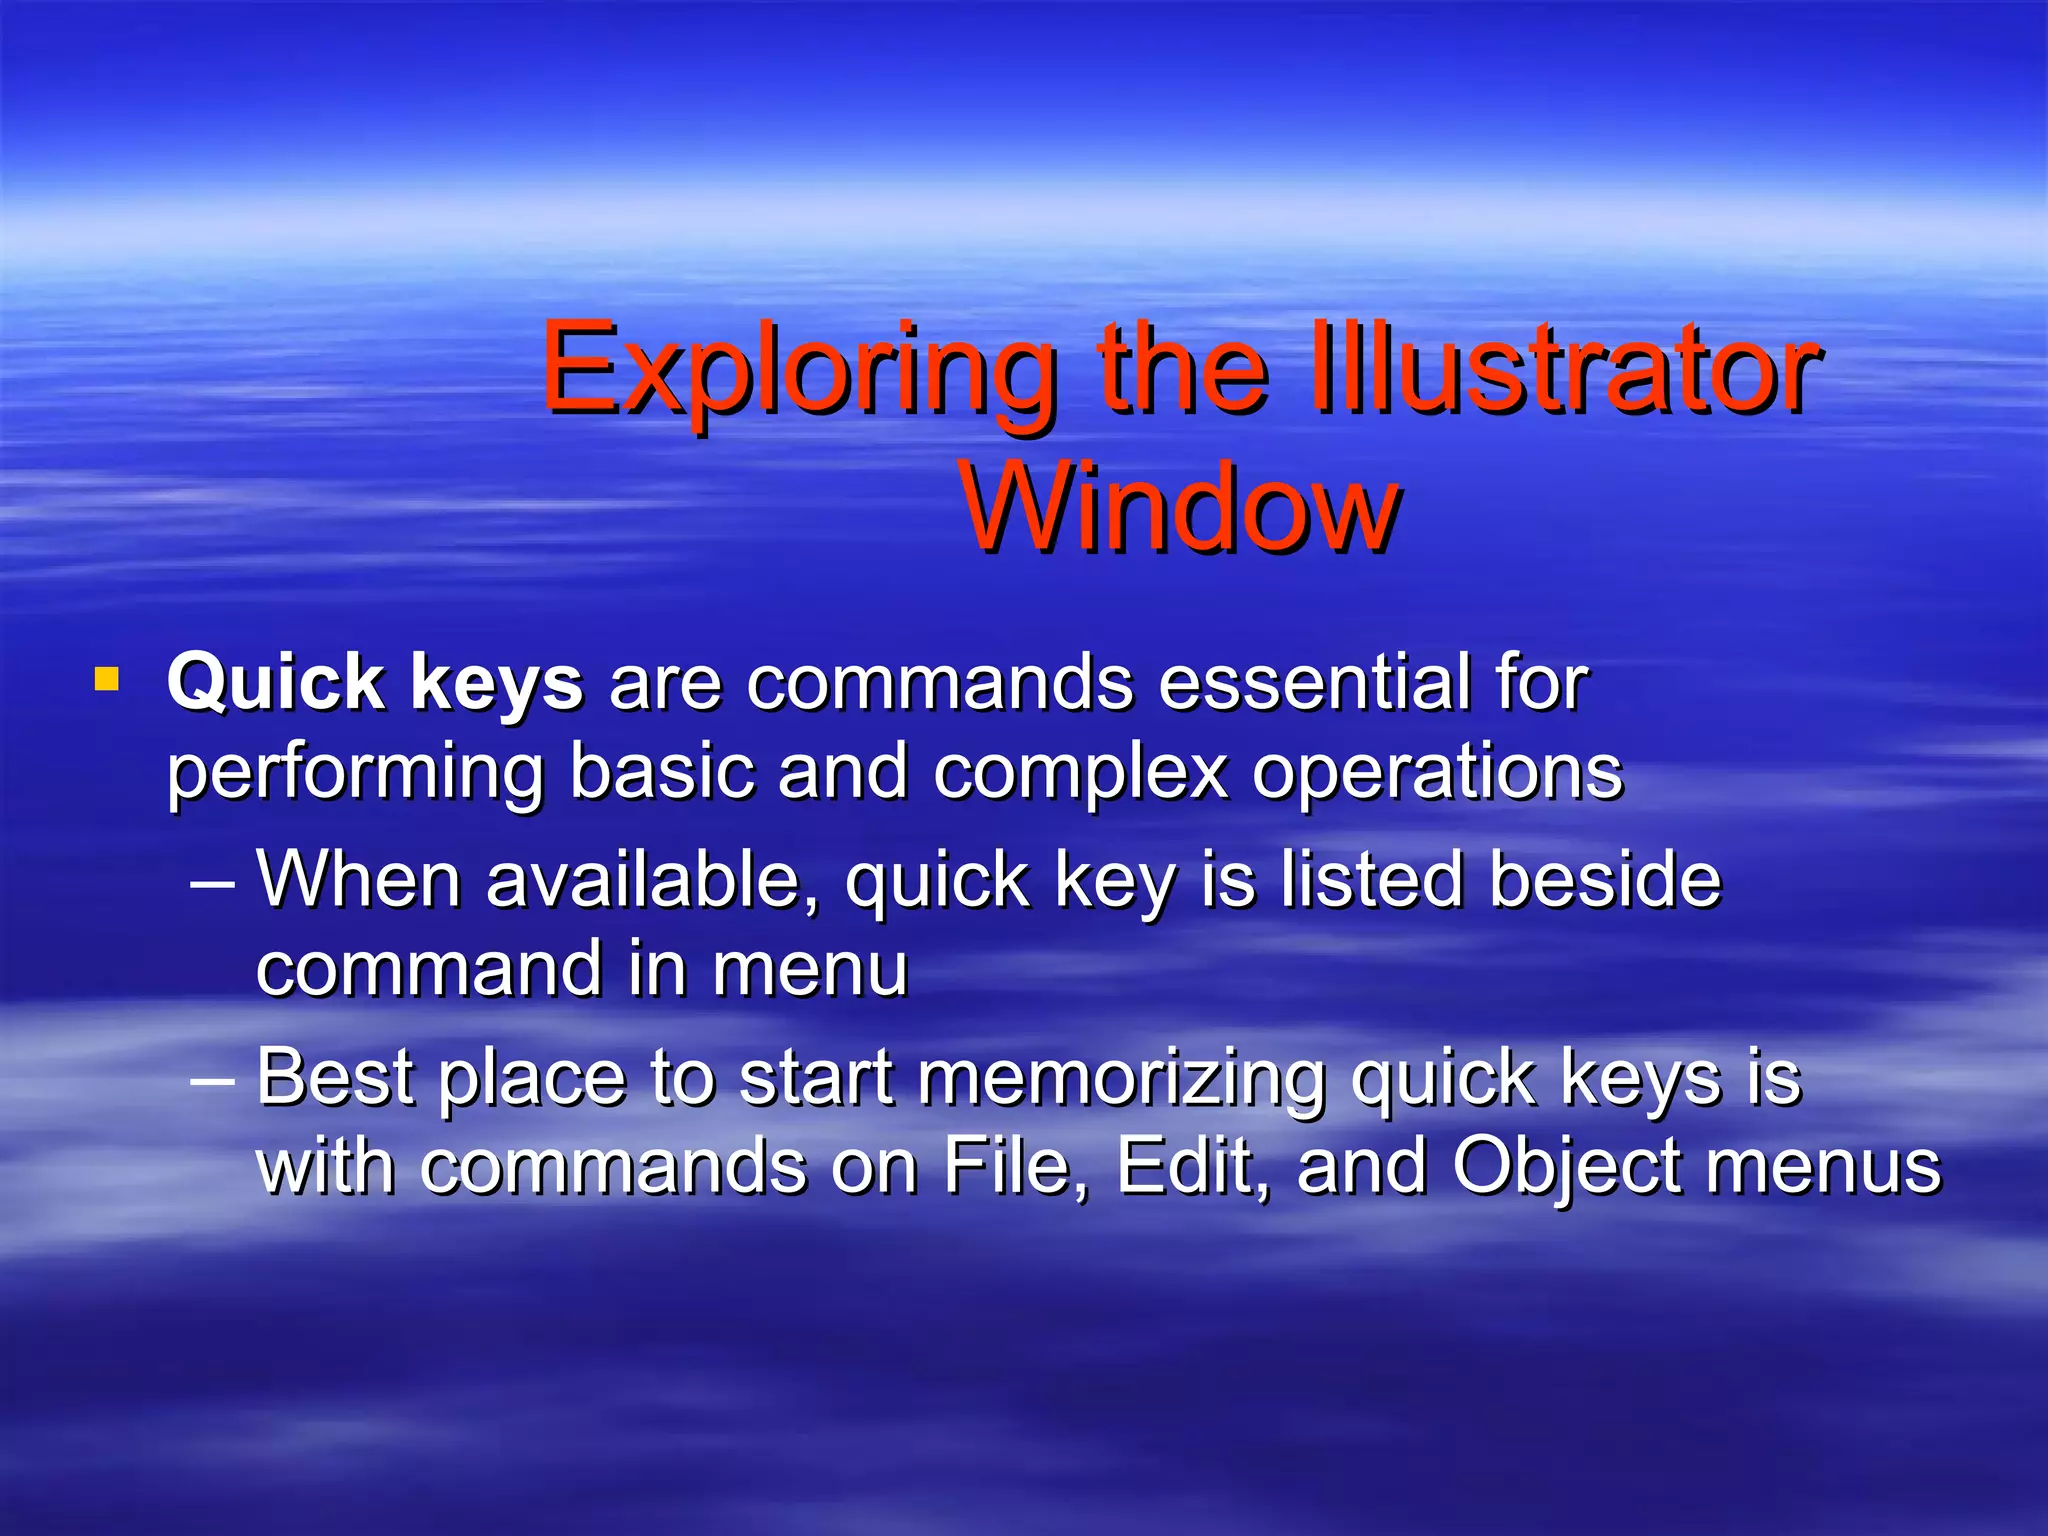
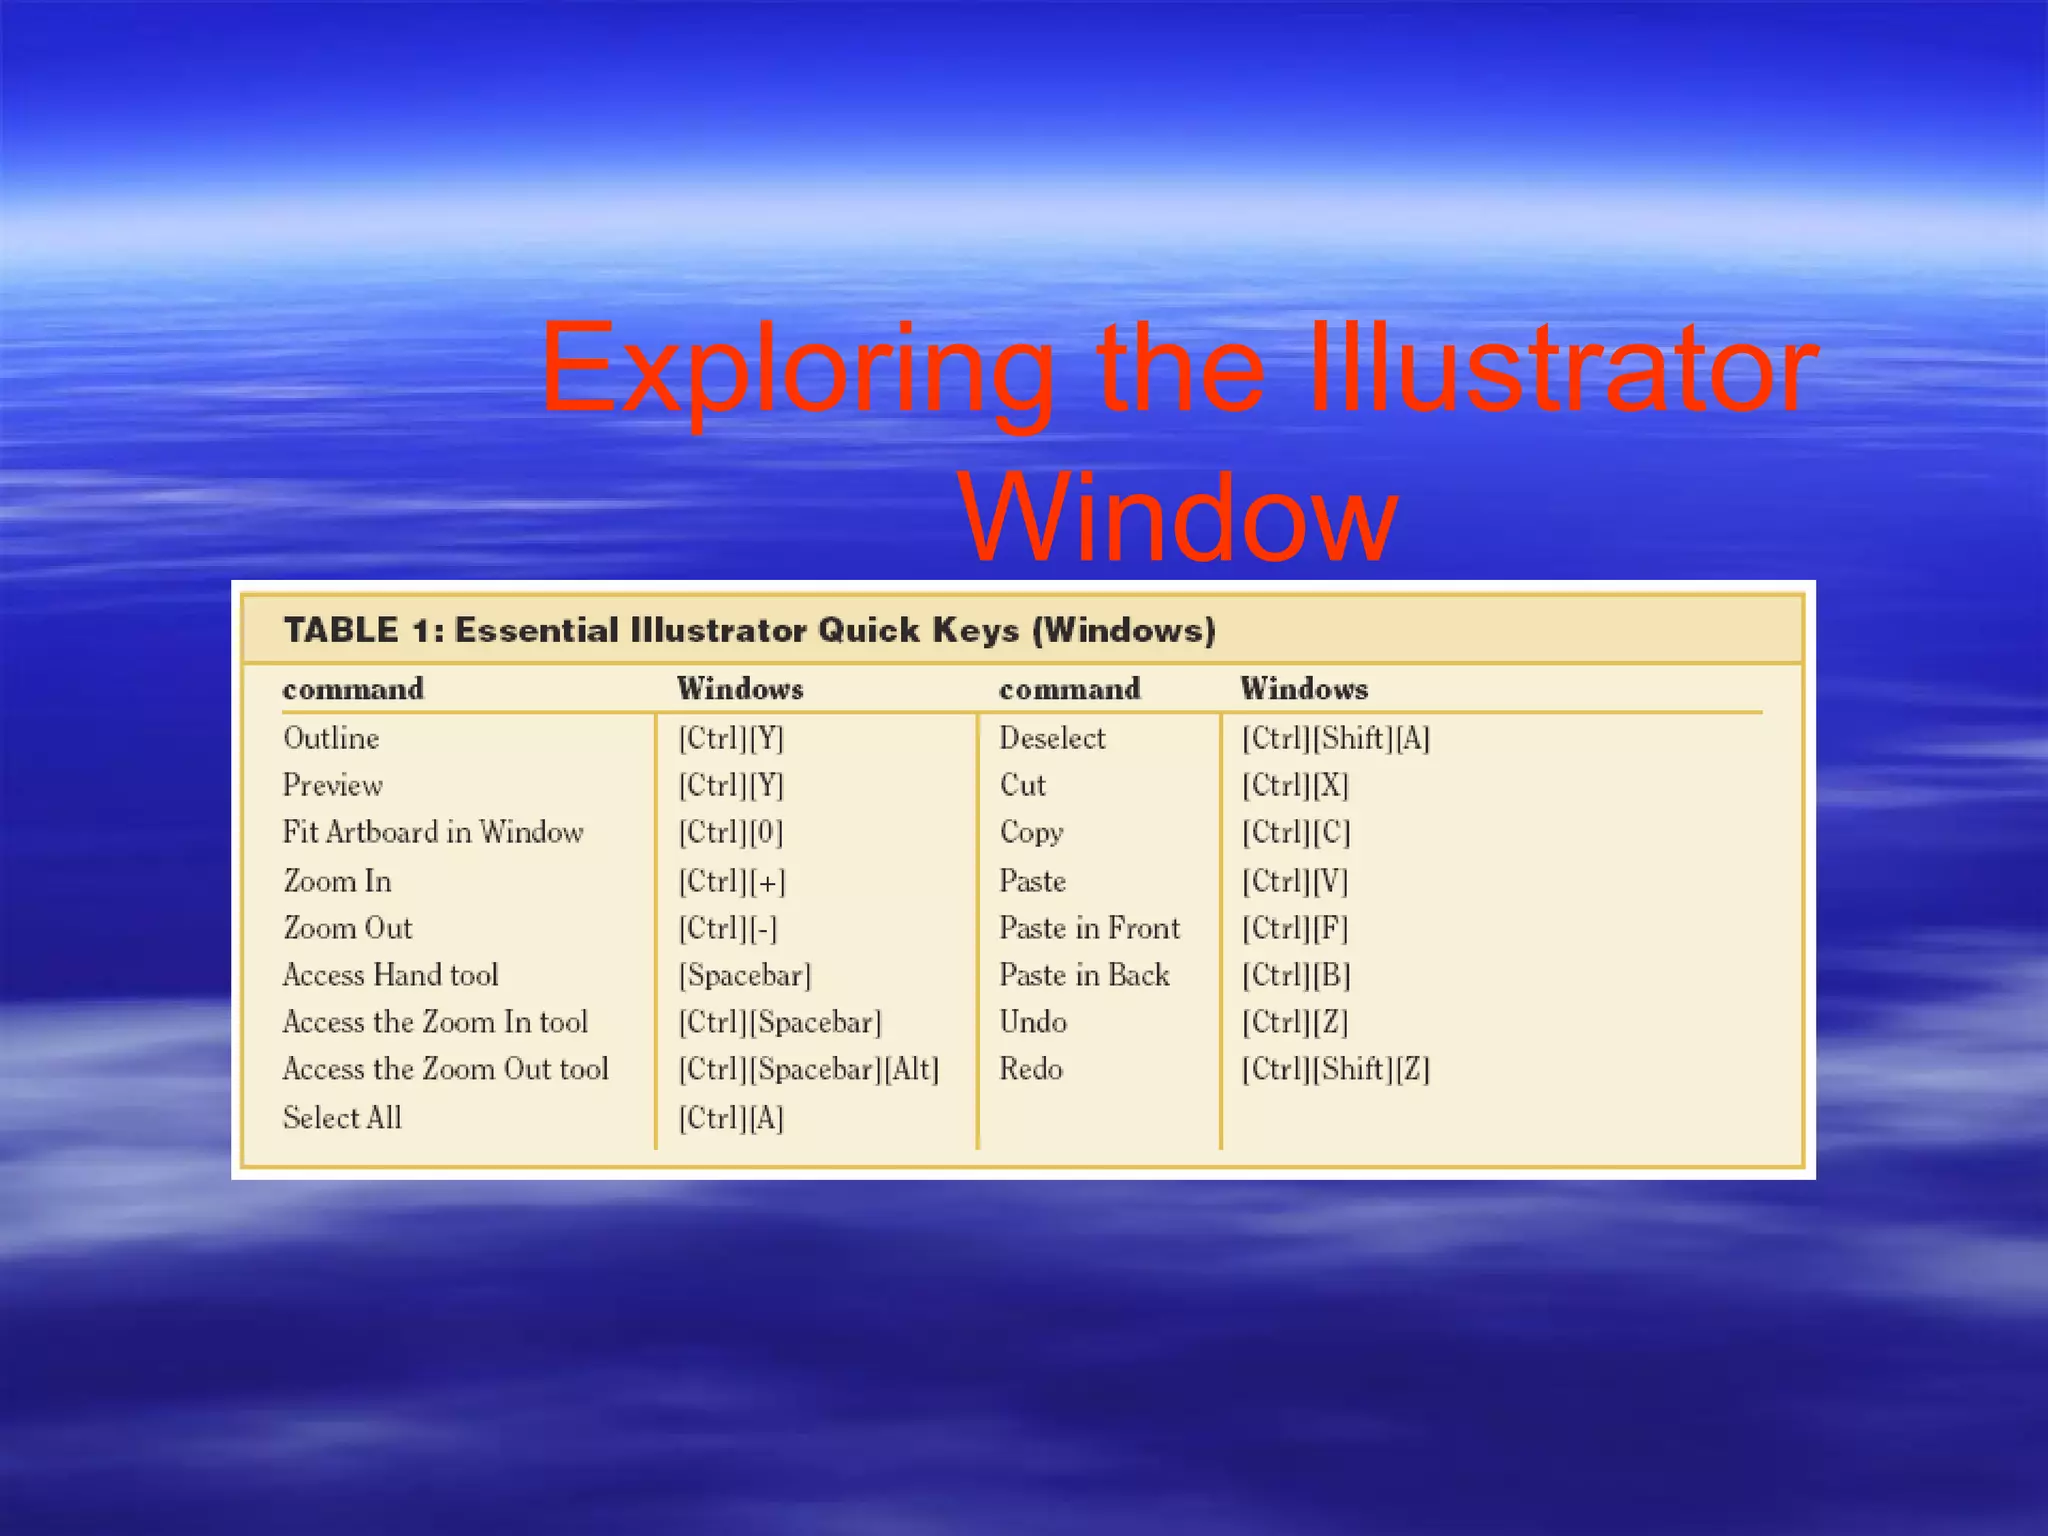
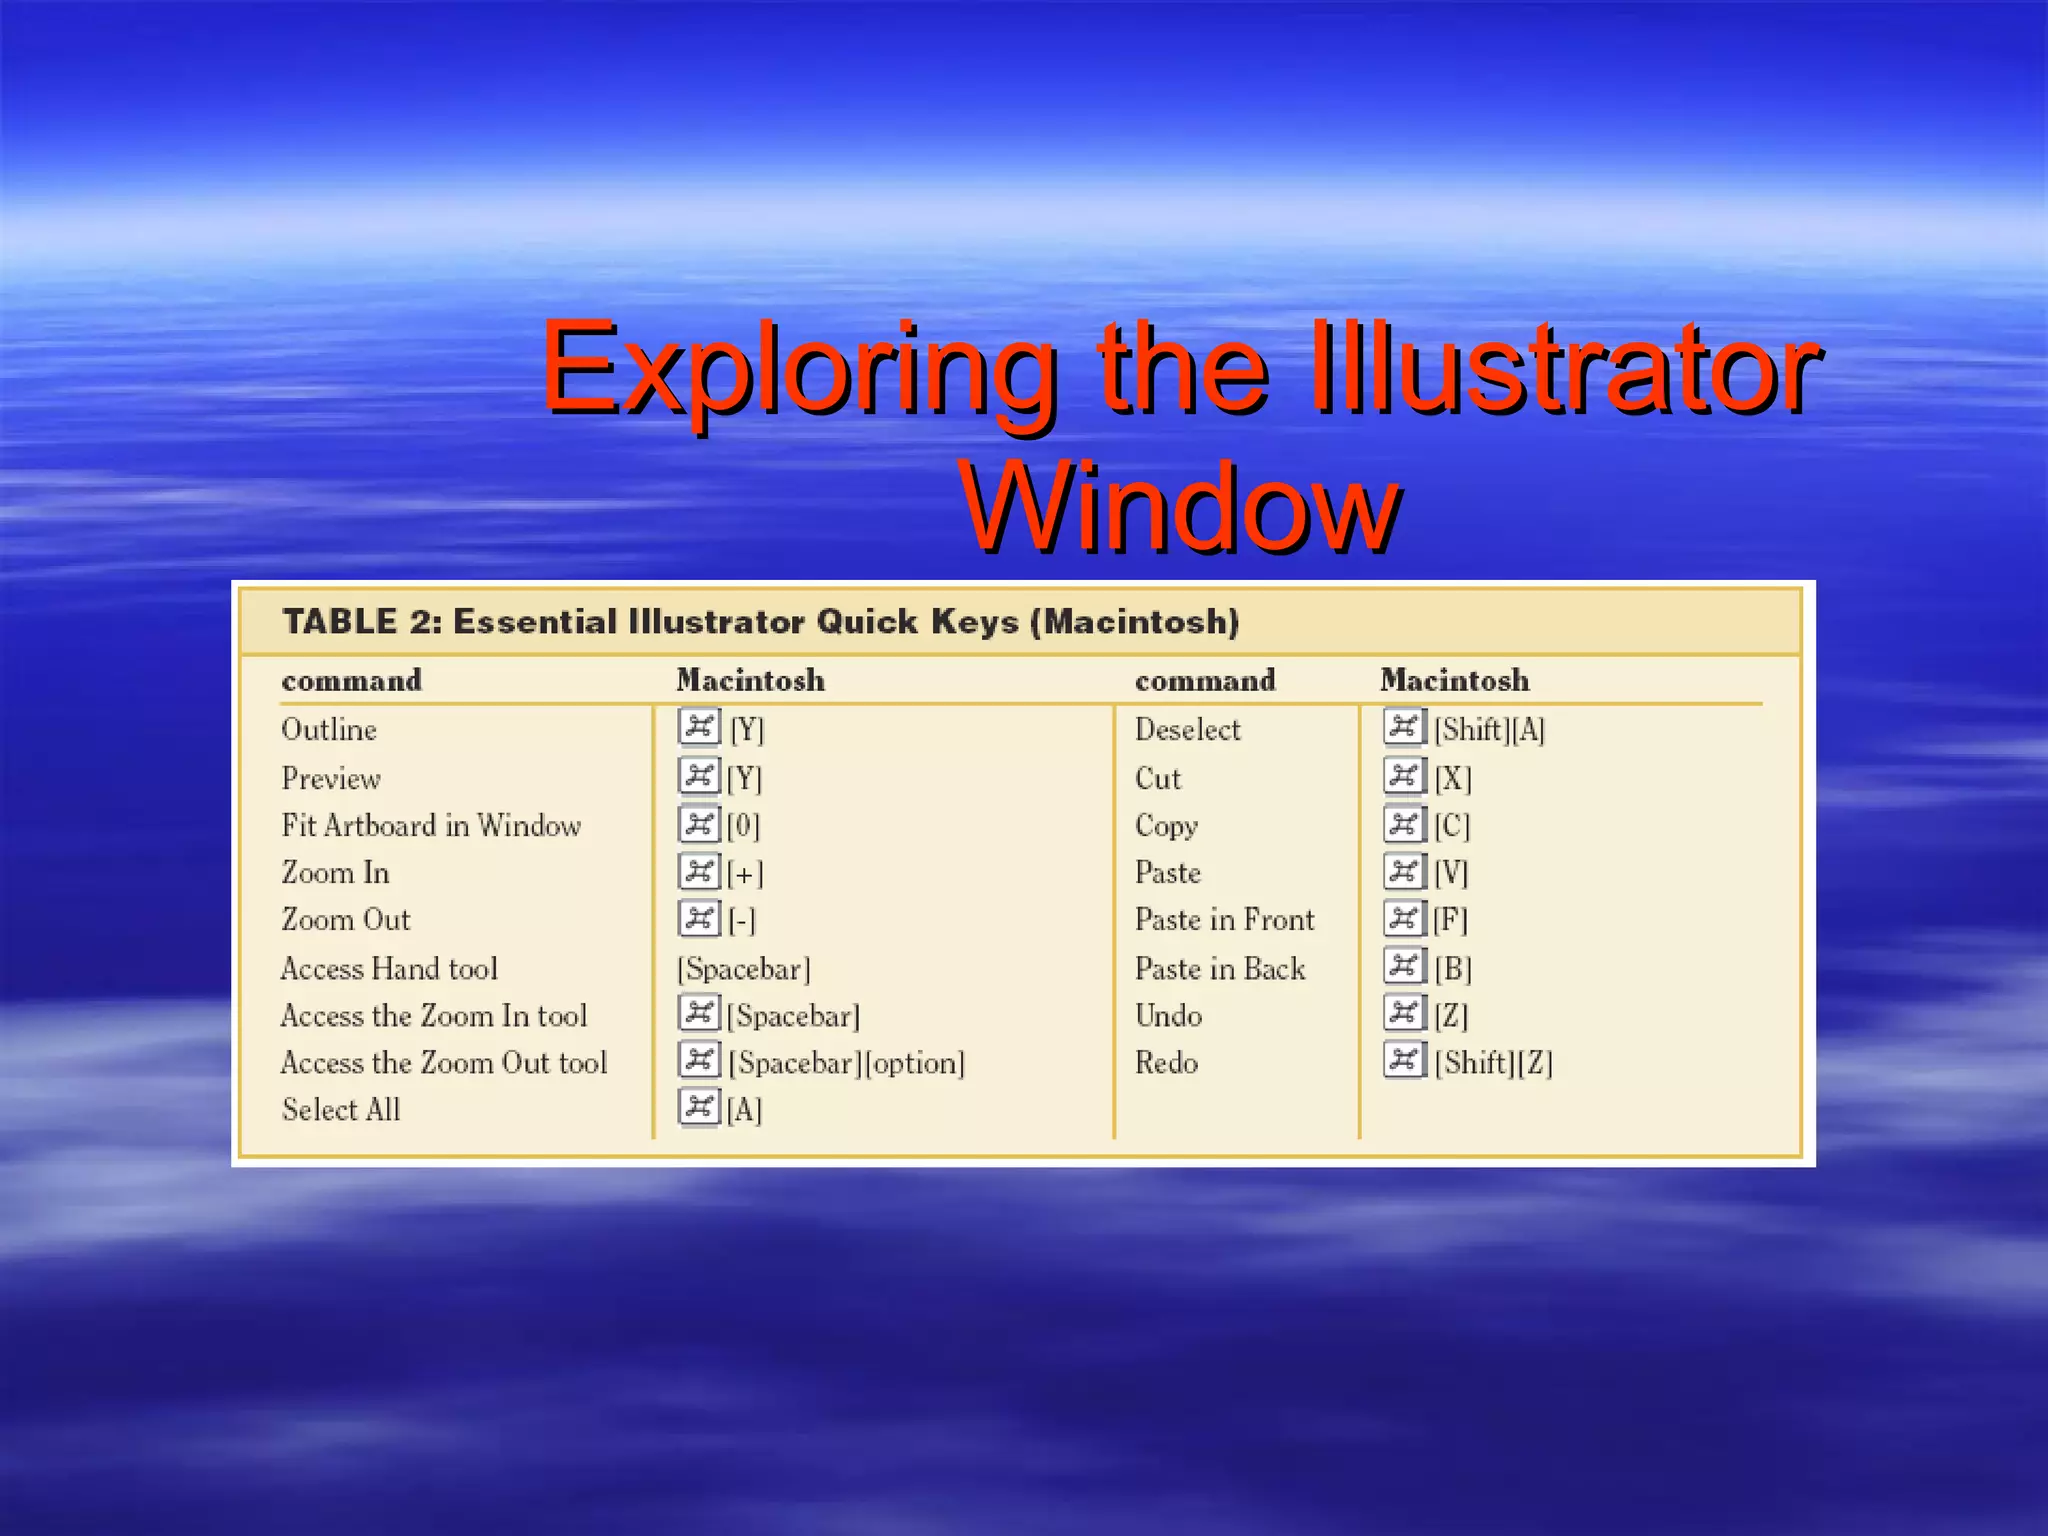
2) Explore the Illustrator workspace and interface elements like panels, tools, and shortcuts.
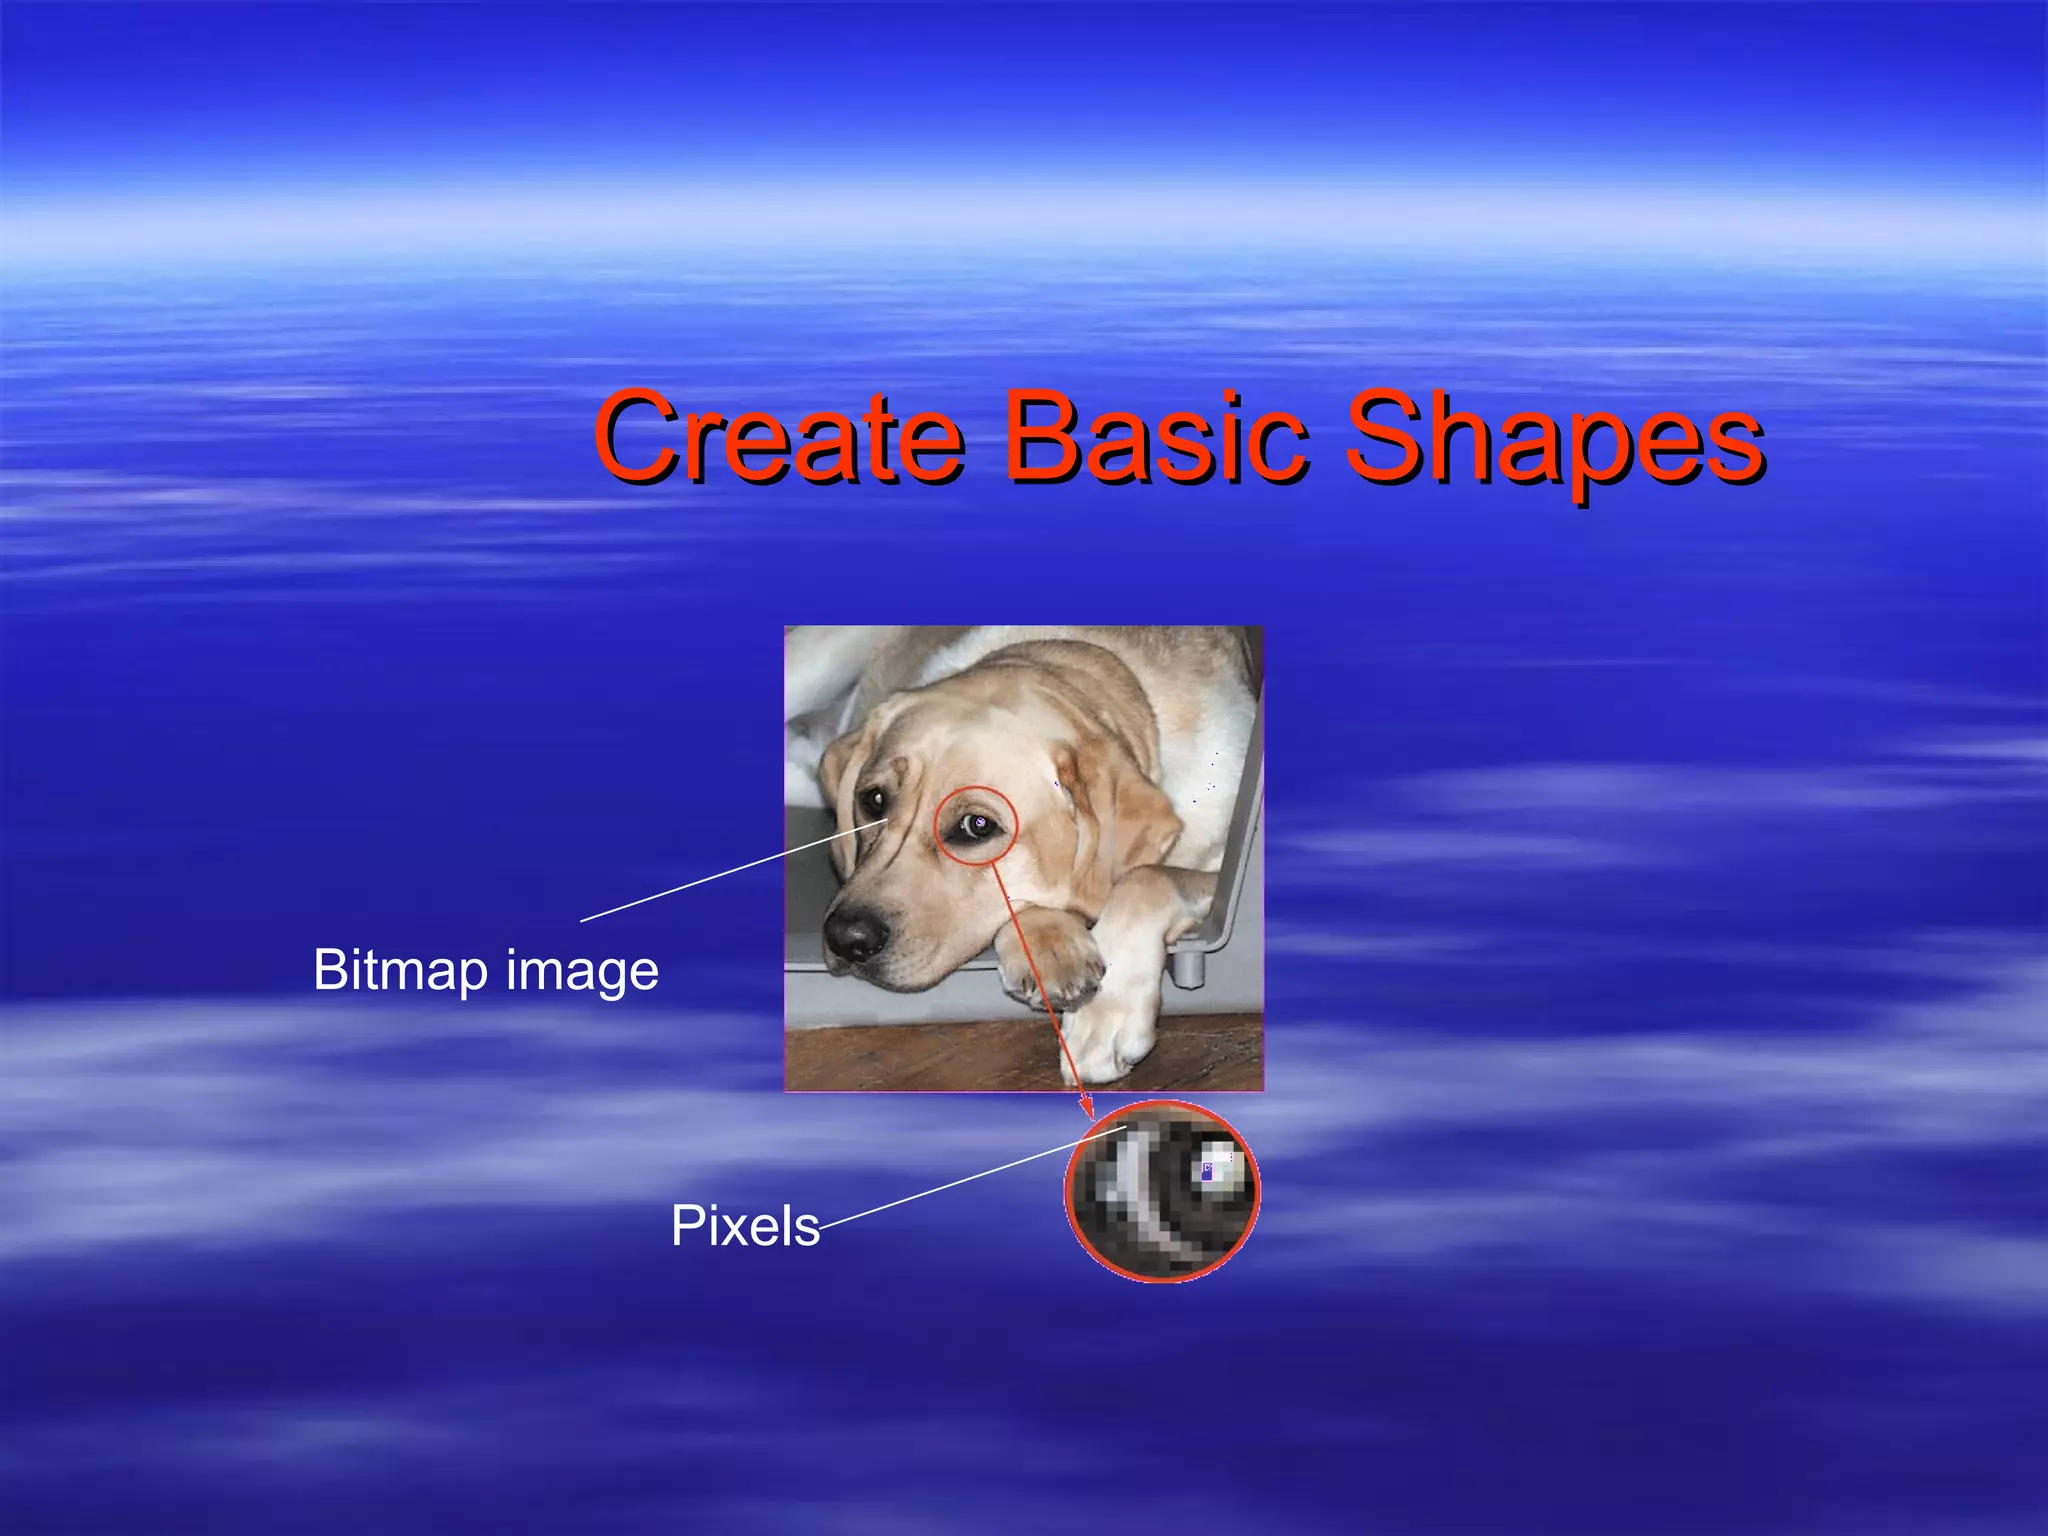
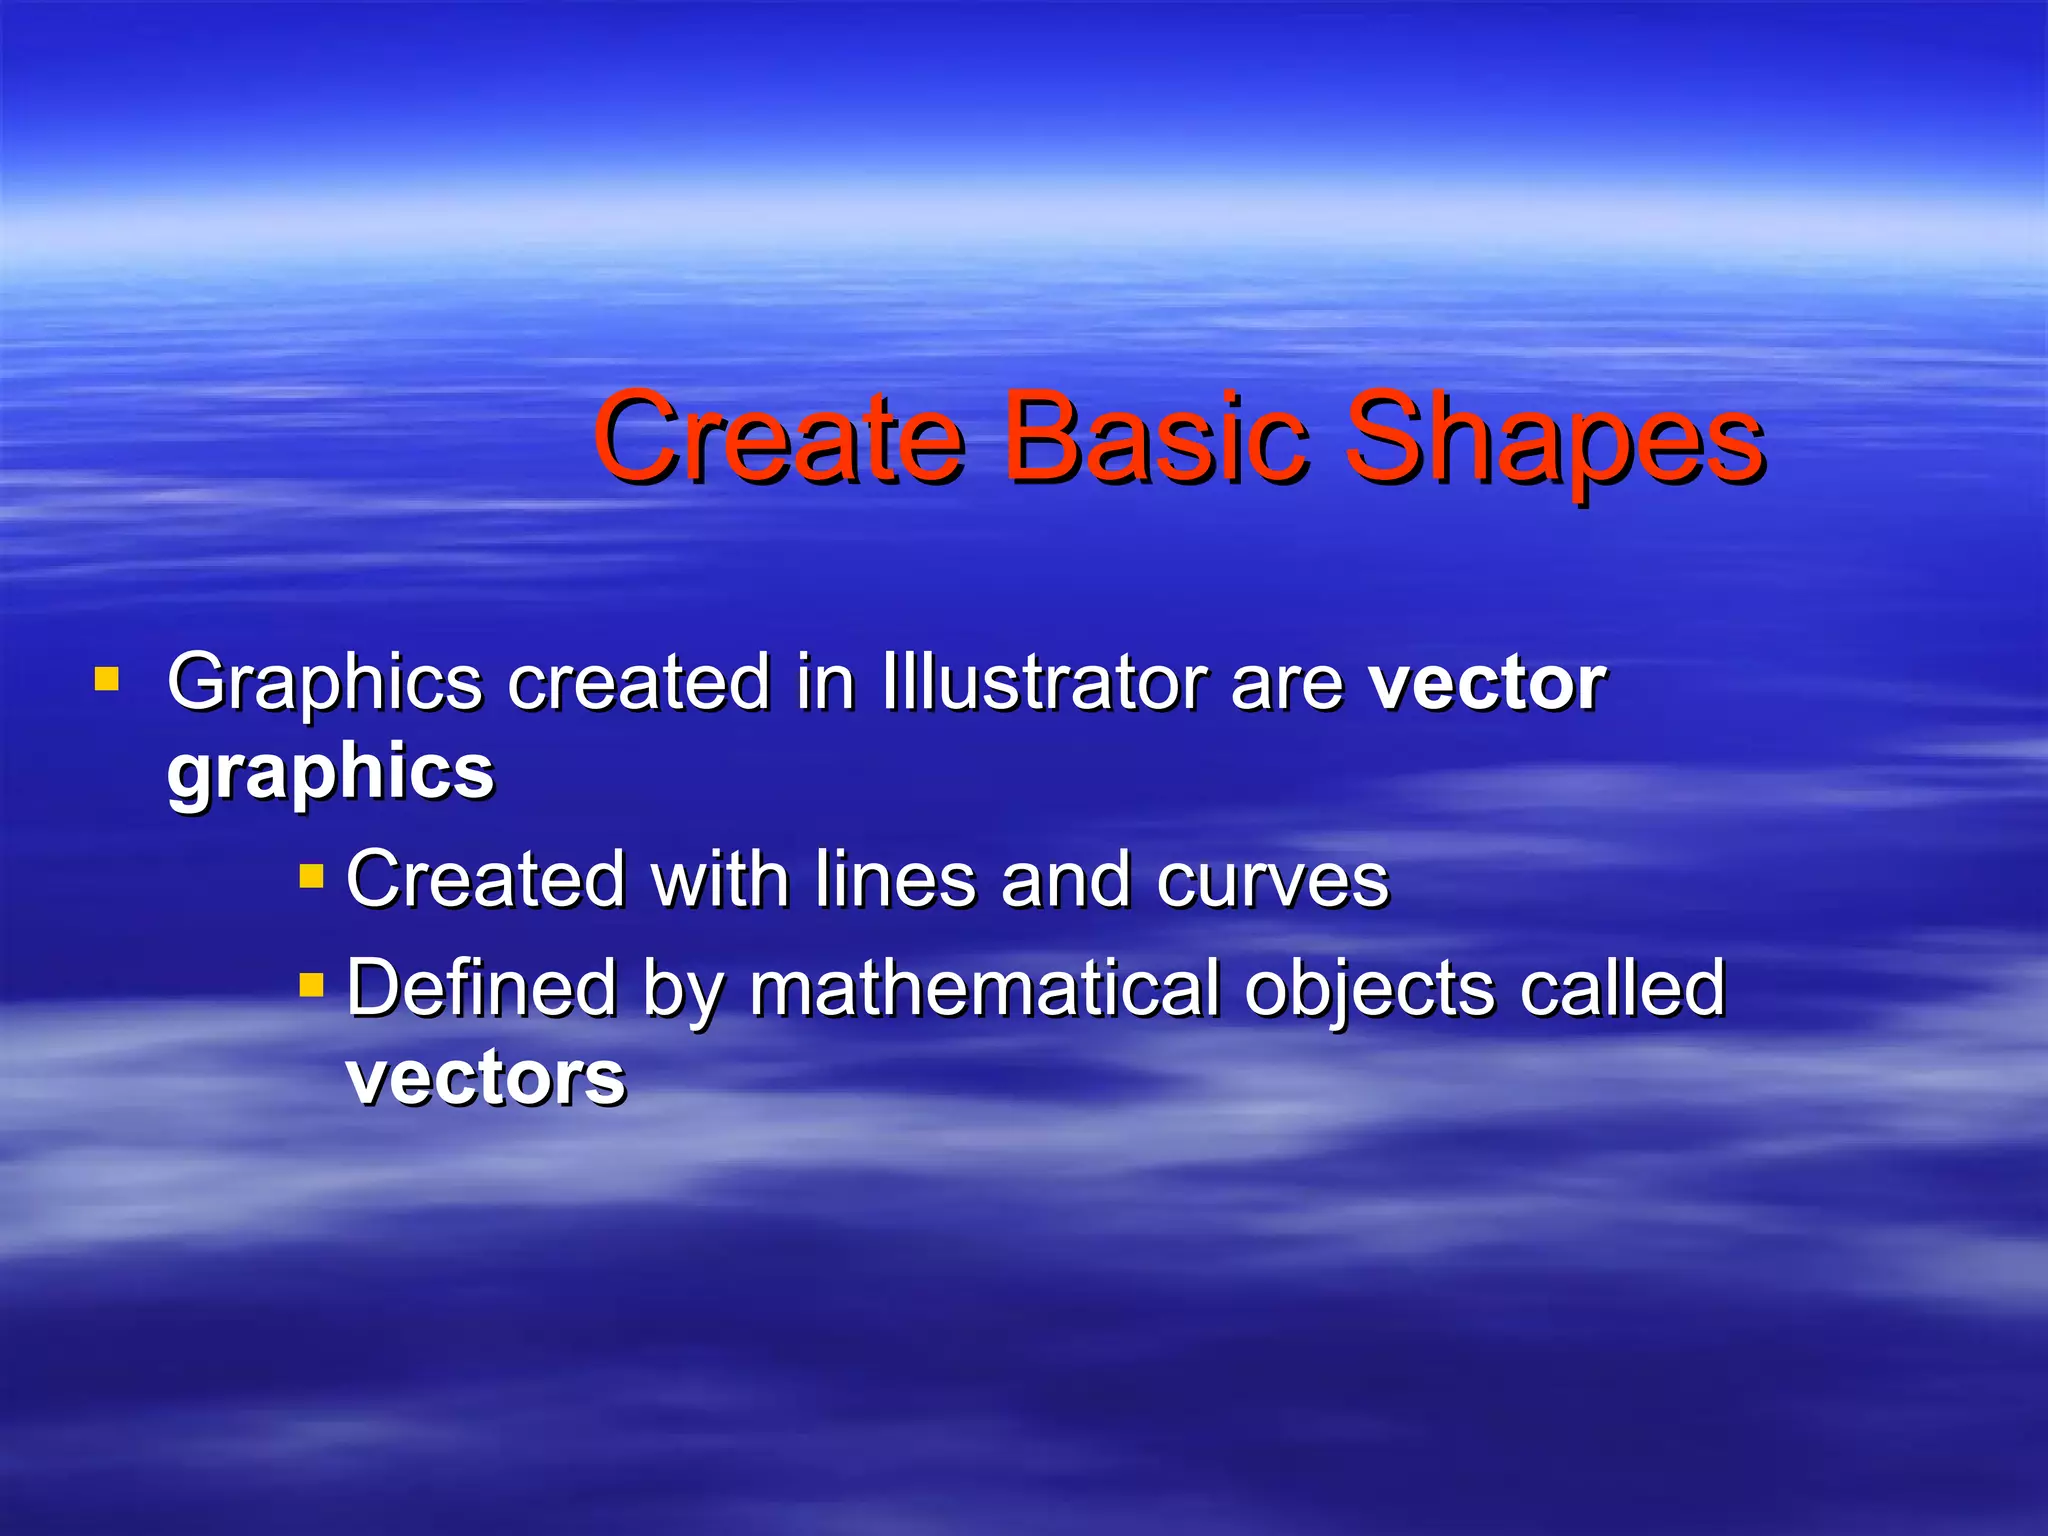
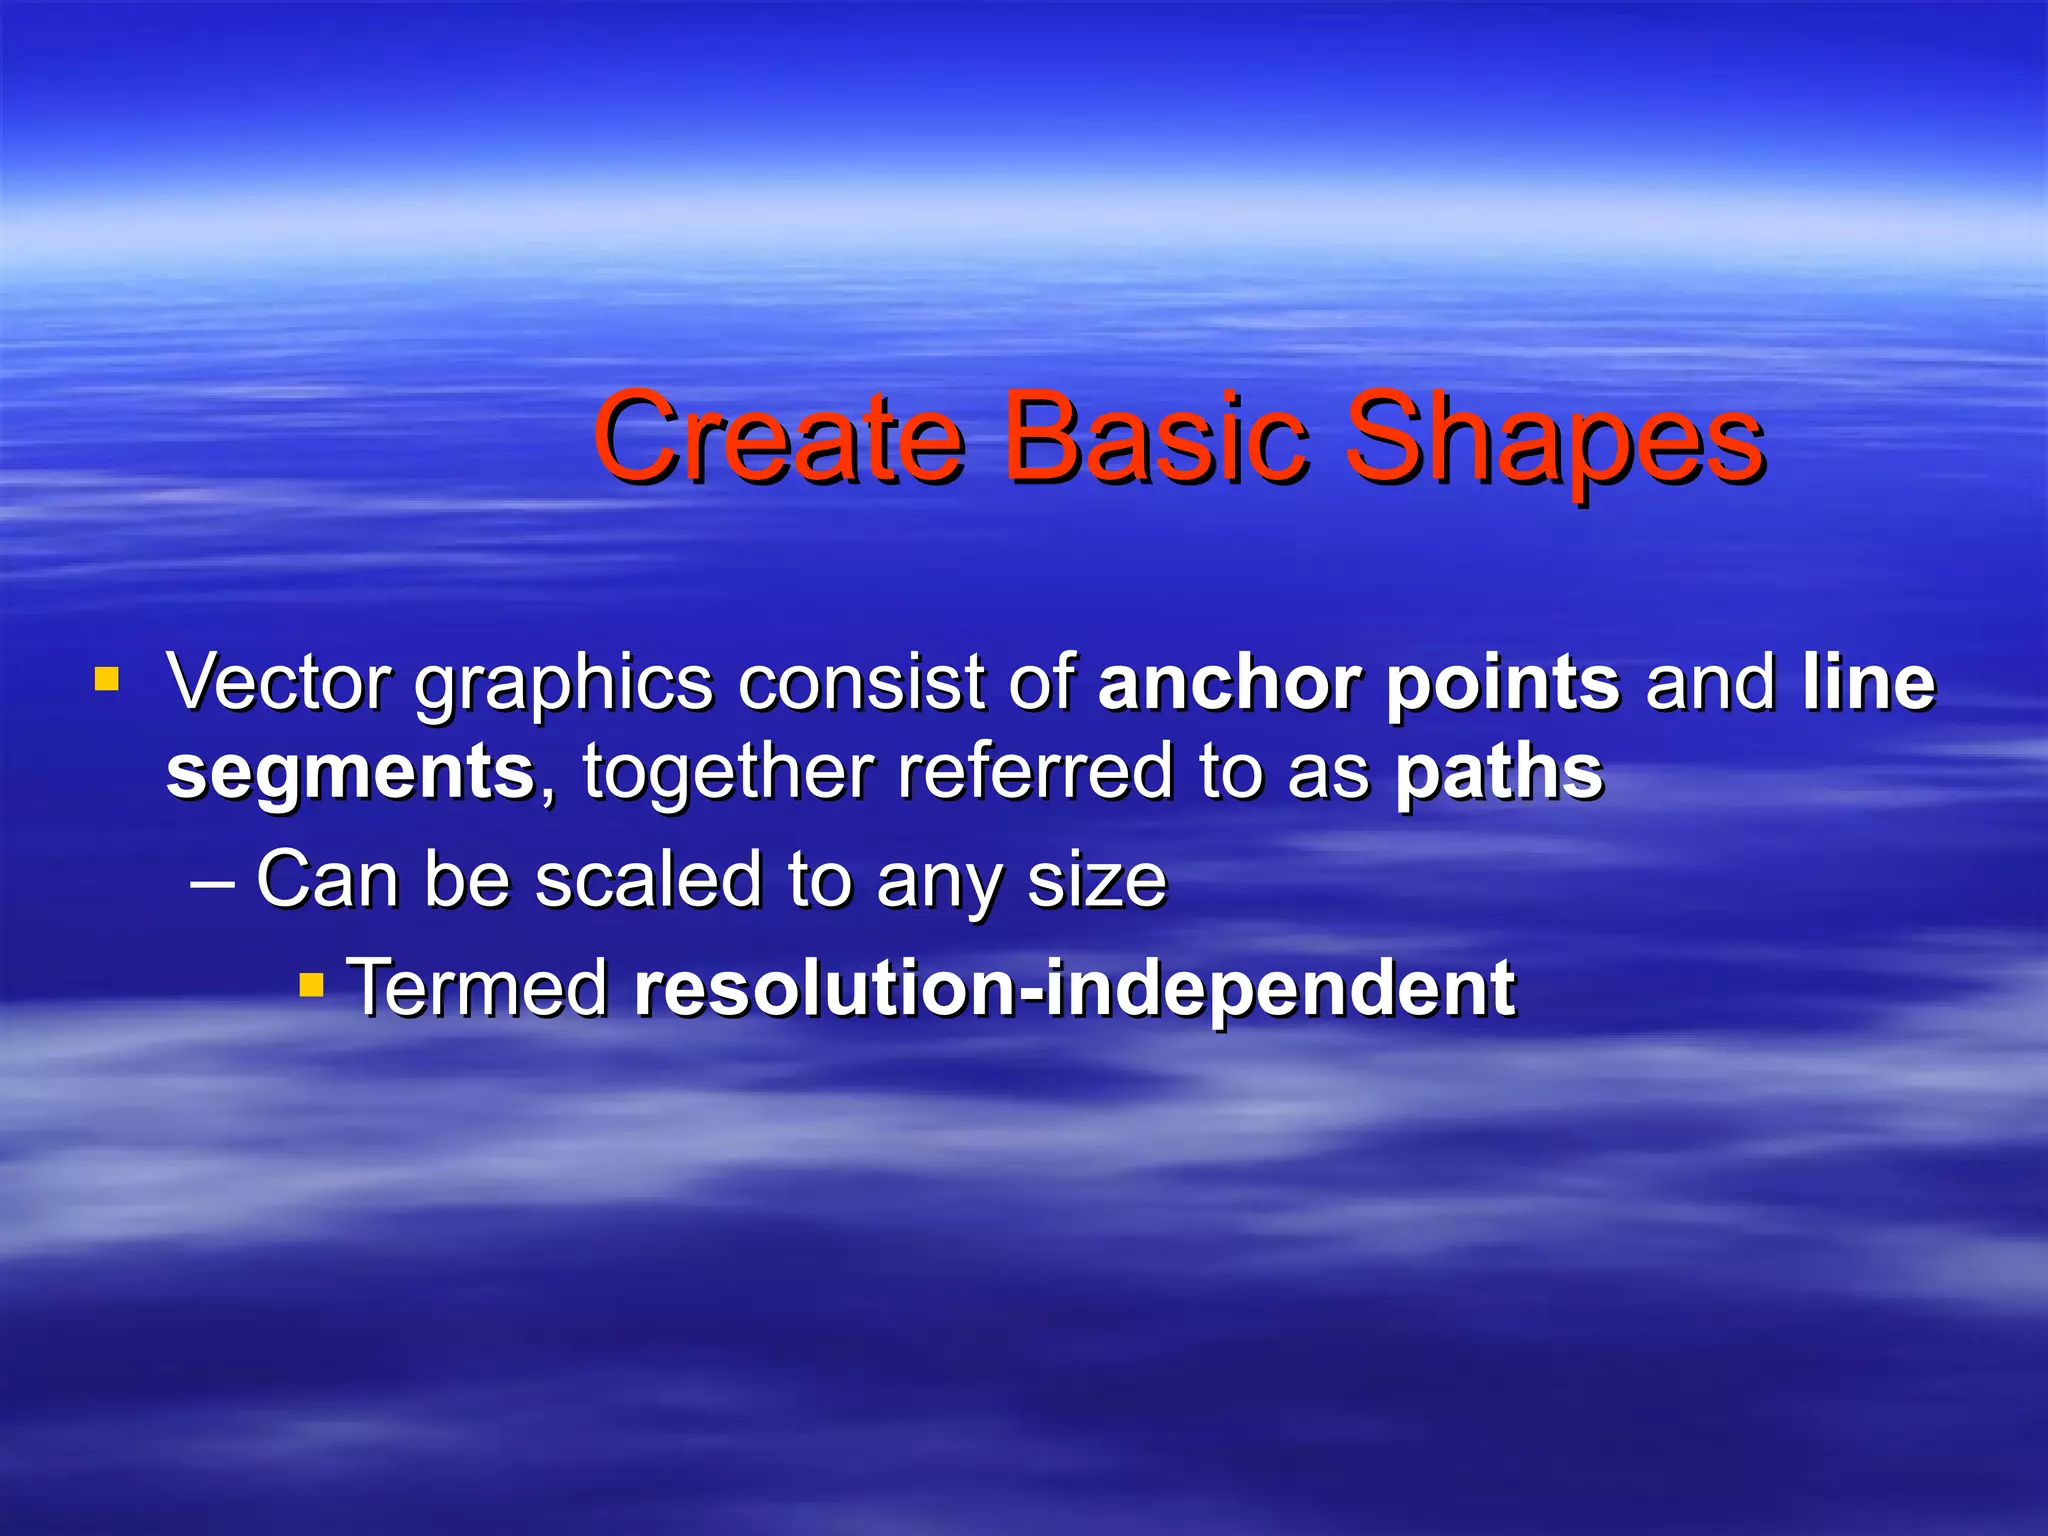
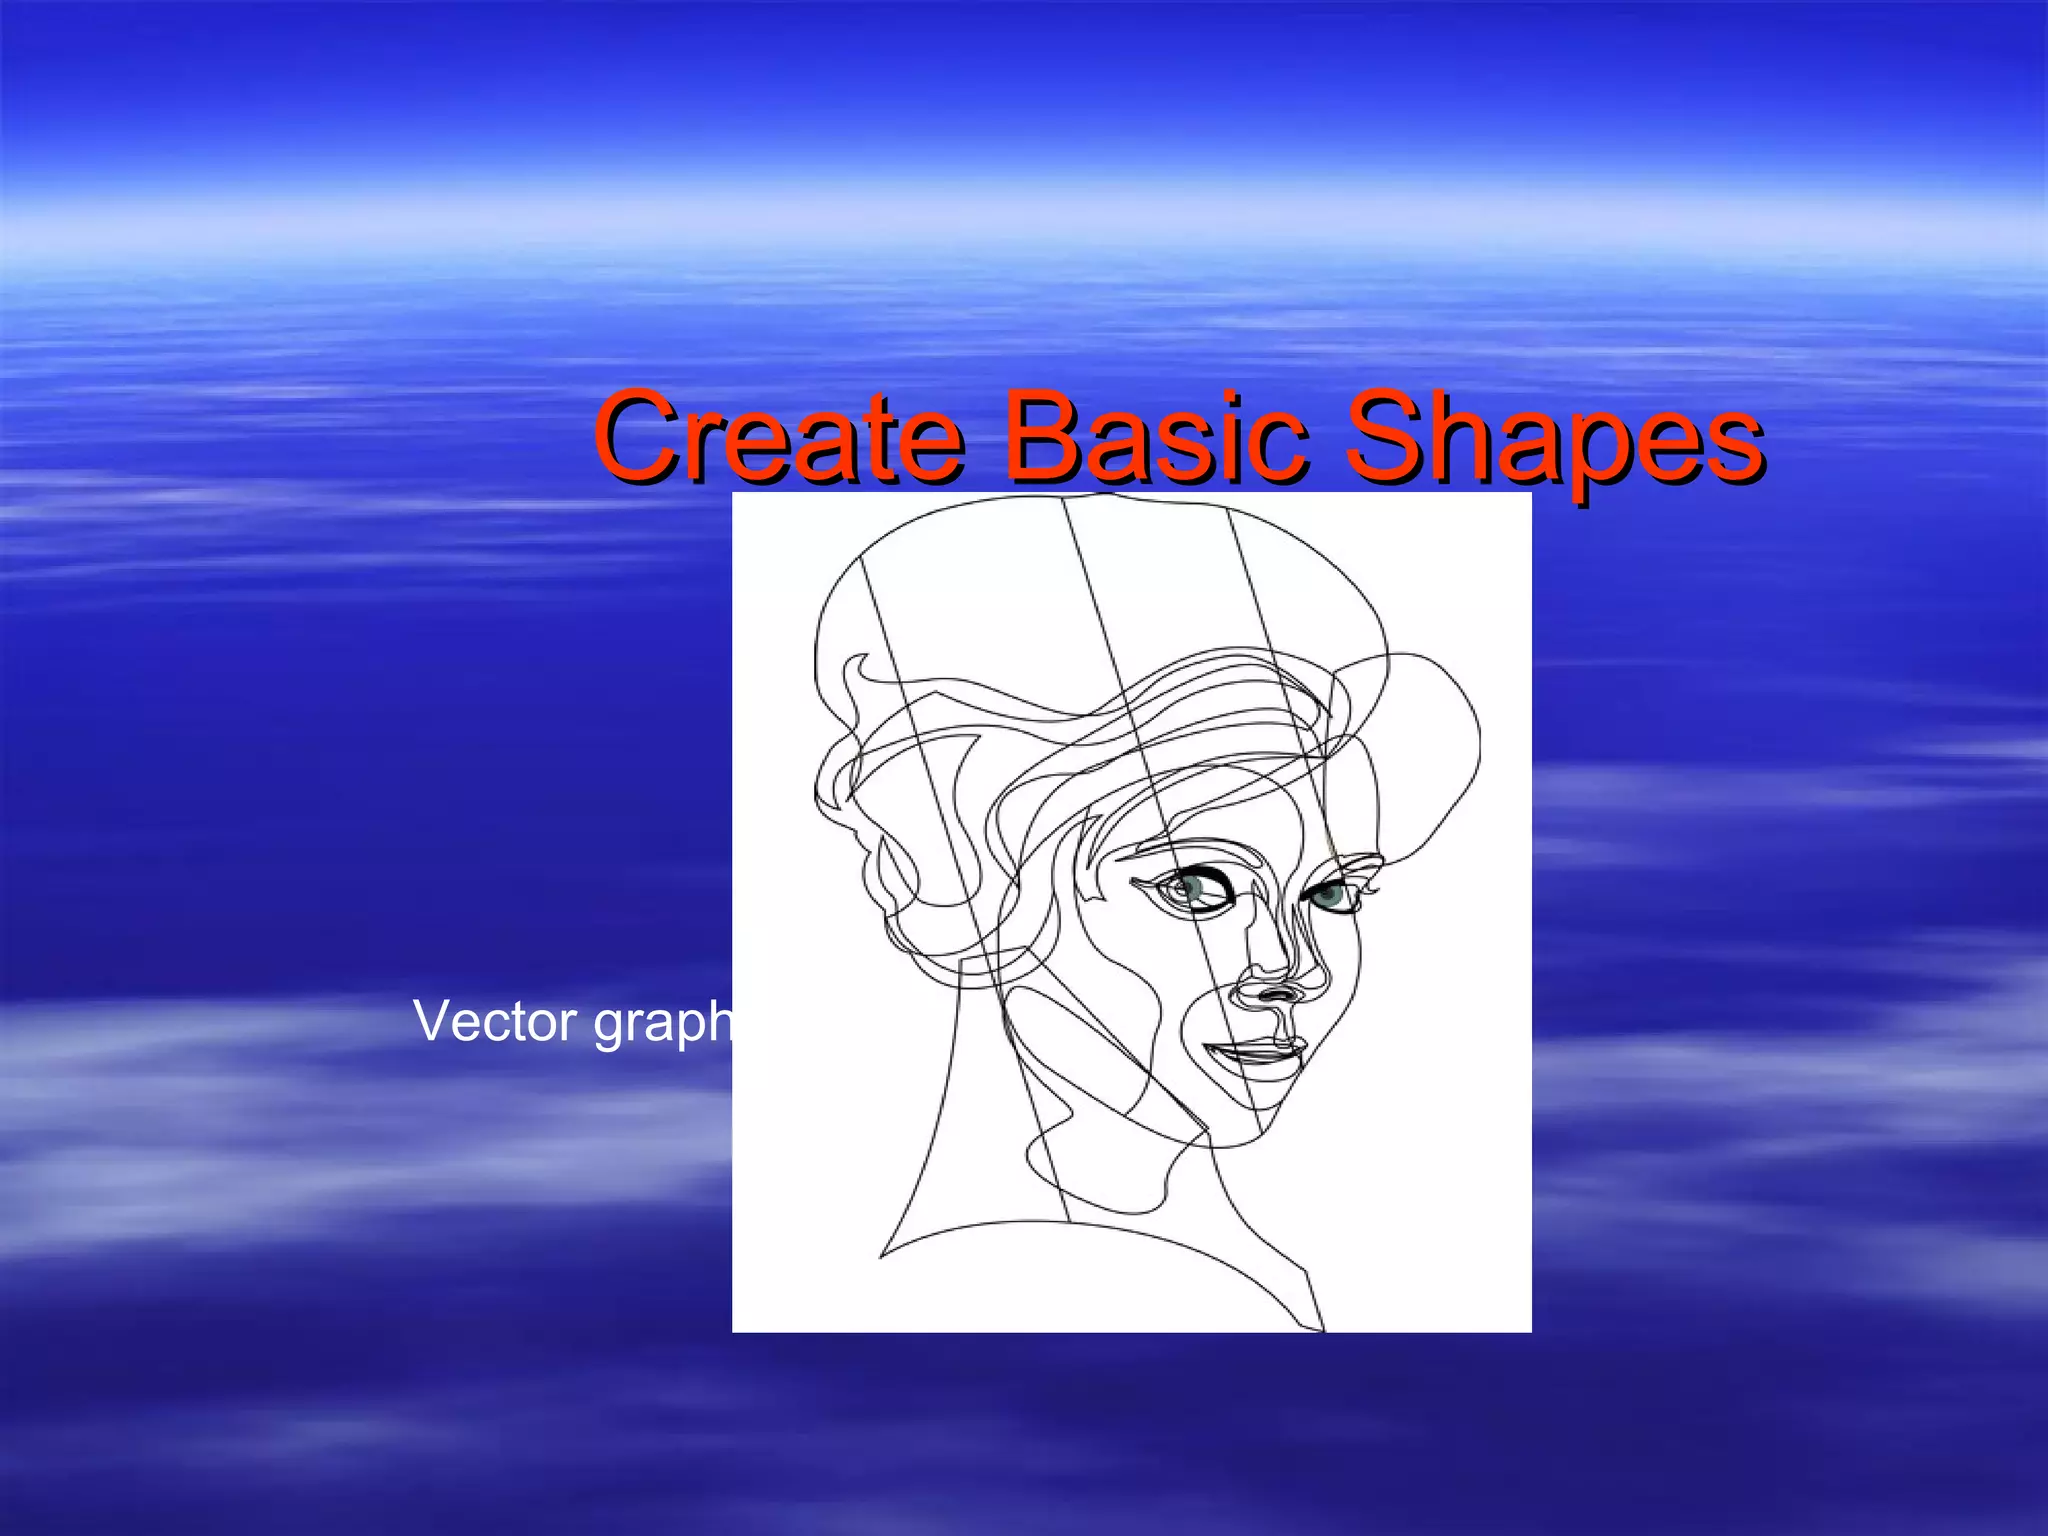
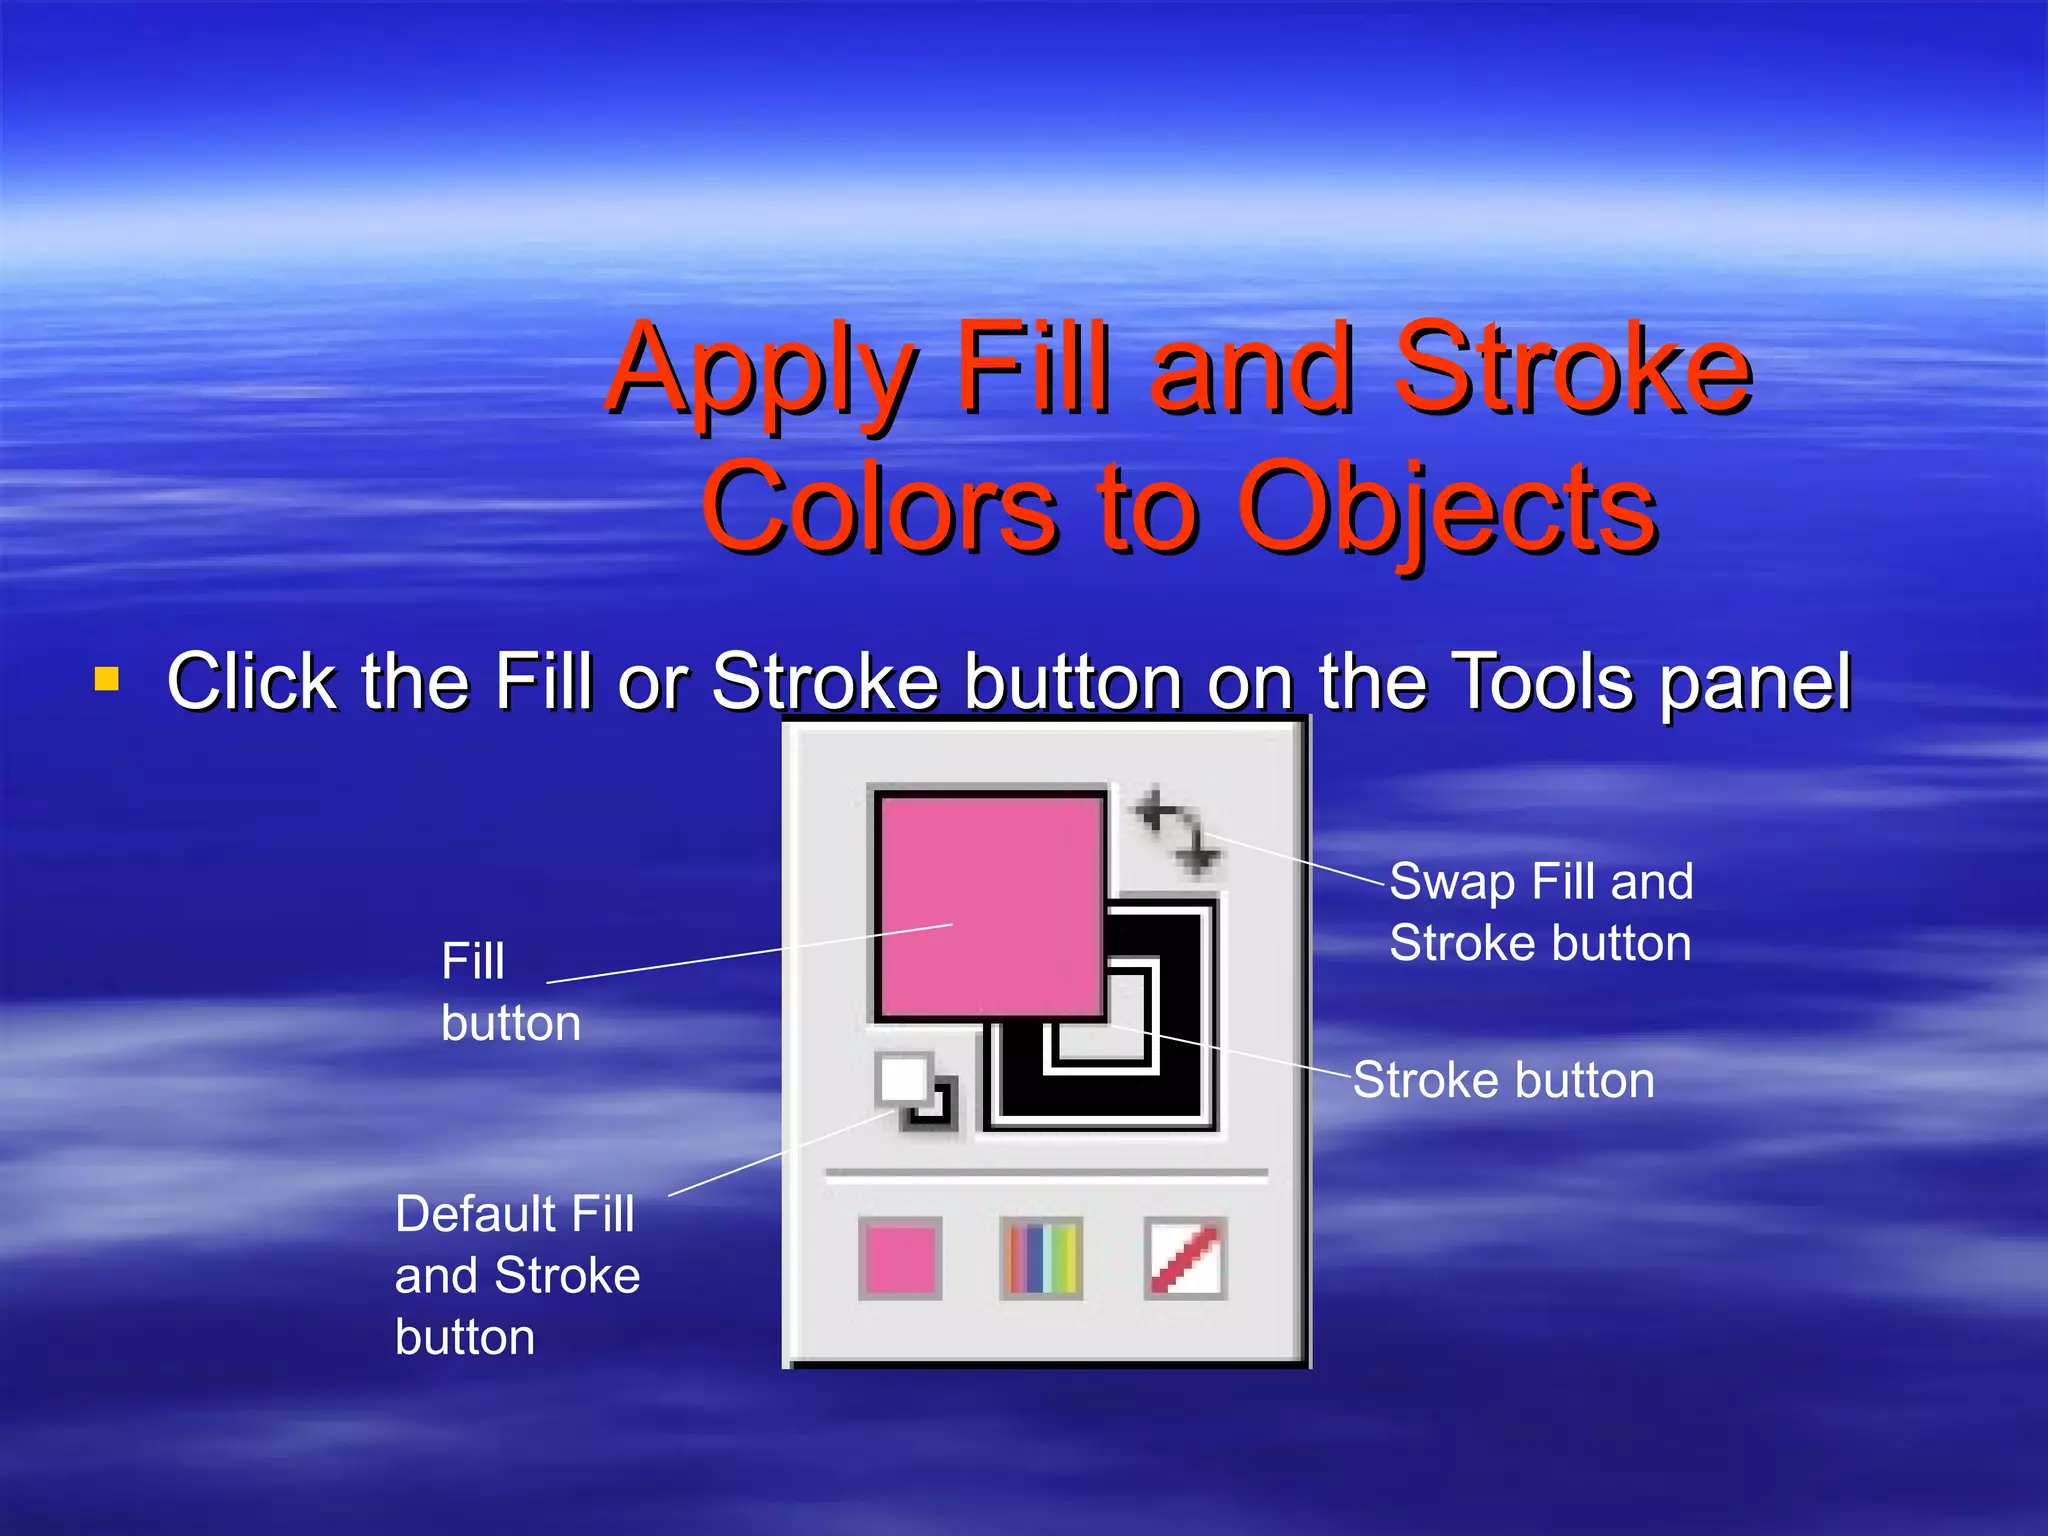
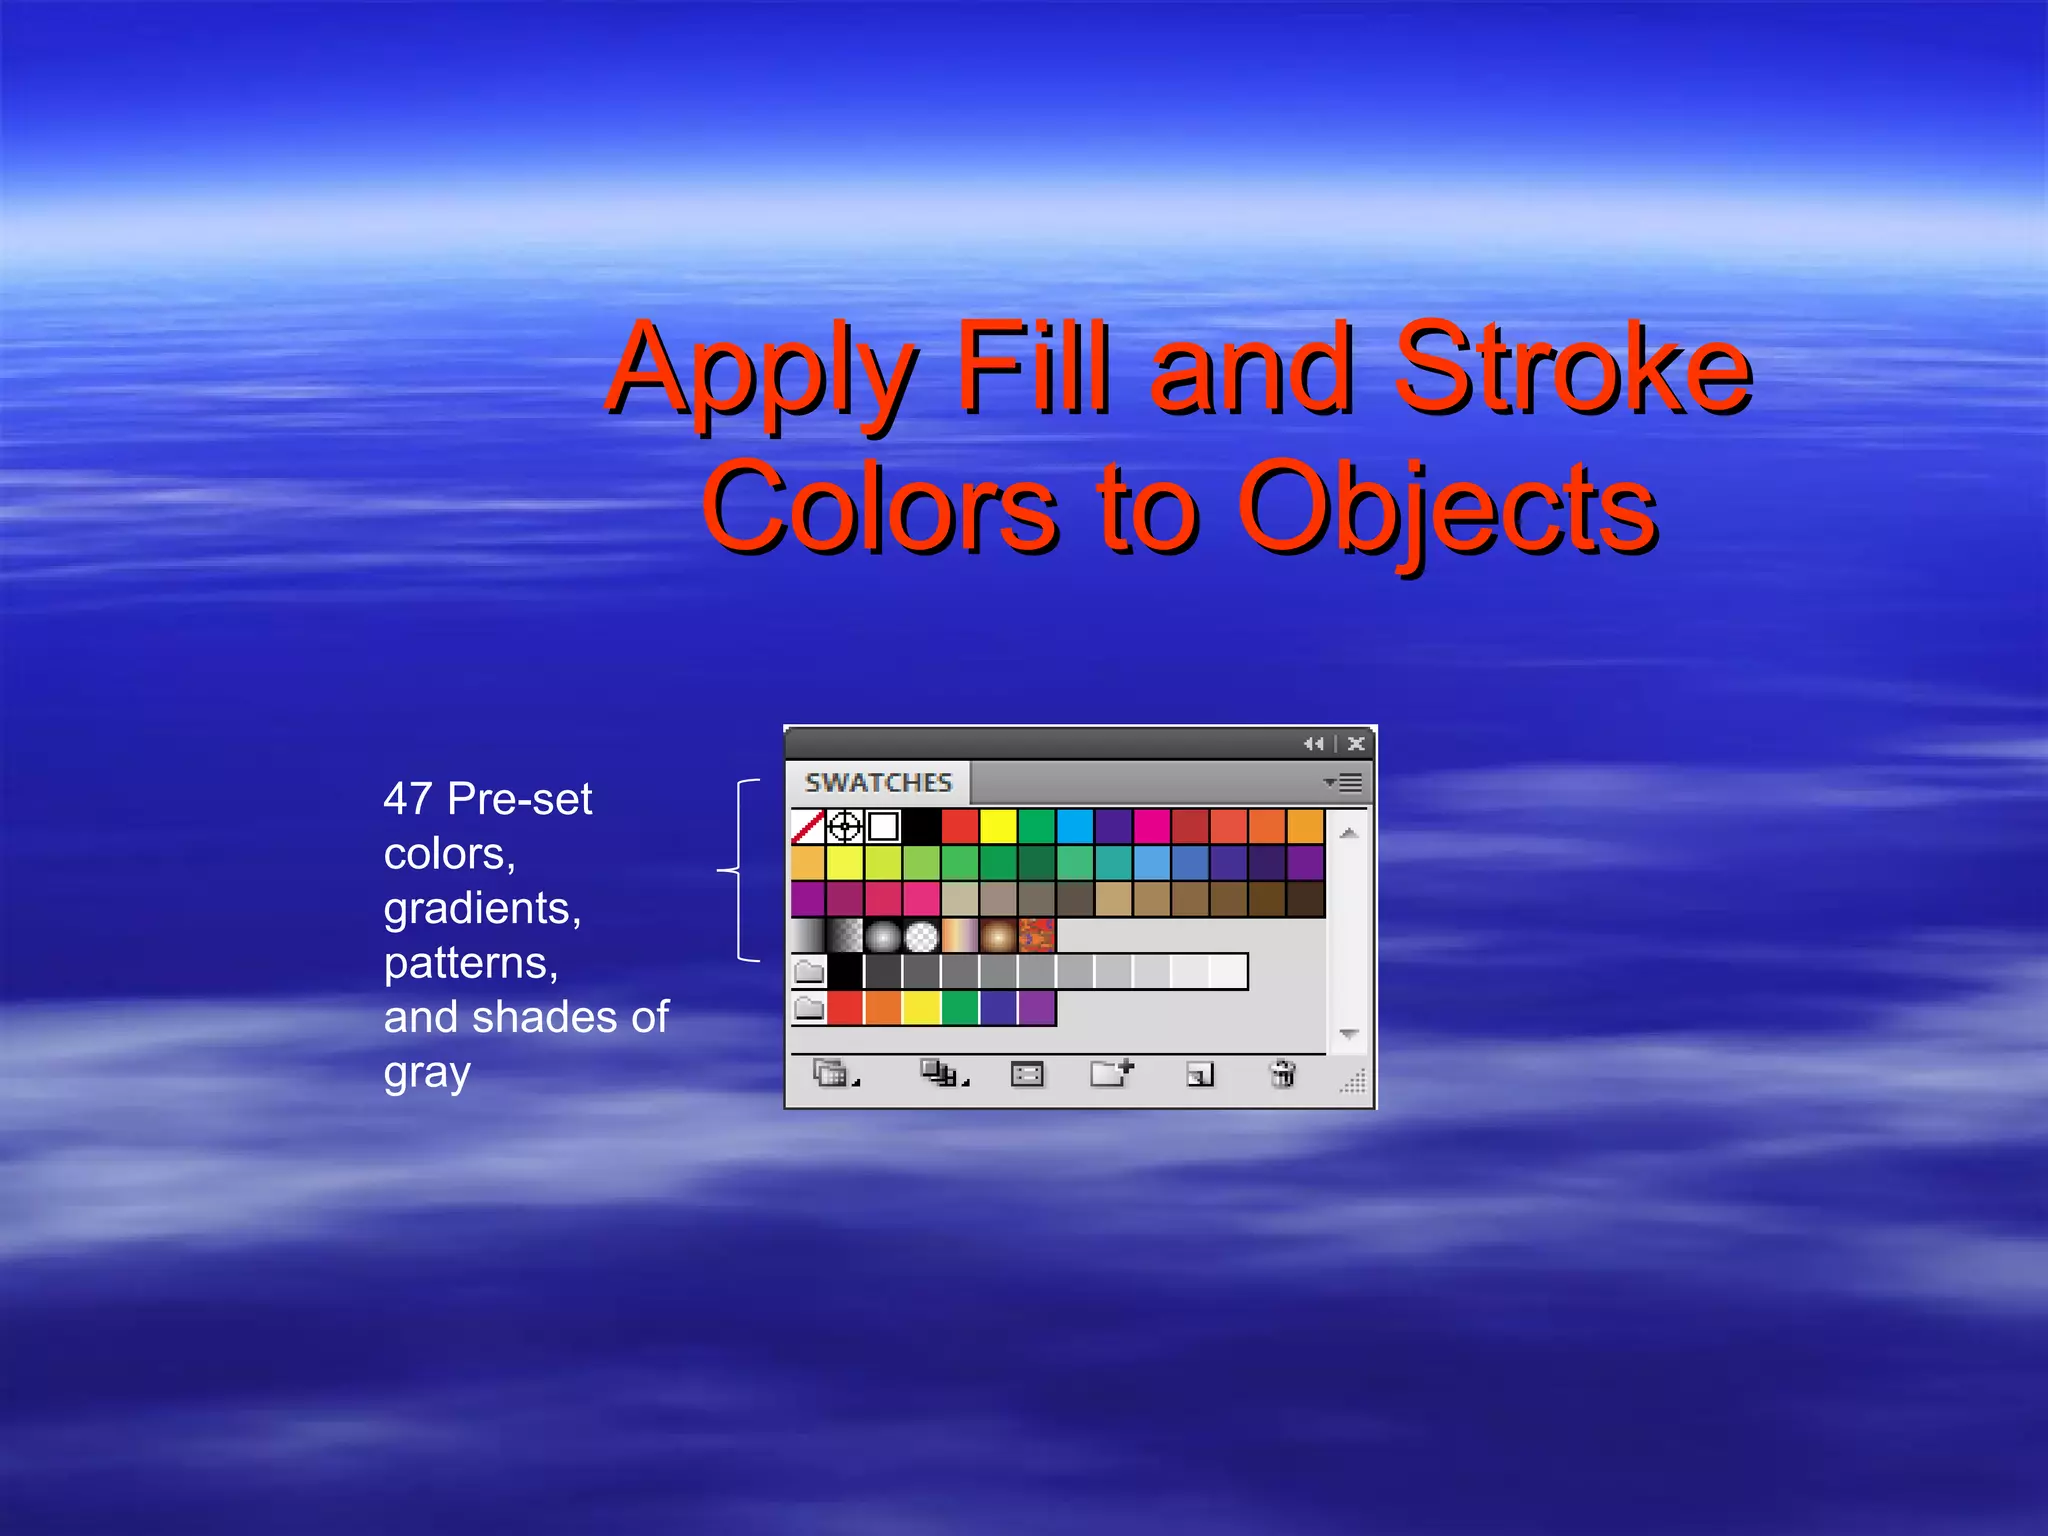
3) Create basic shapes and apply fill and stroke colors using tools and the Swatches panel.


 or [option](Mac) when dragging creates copy of object](https://image.slidesharecdn.com/illustratorassignment1-110210140705-phpapp01/75/Illustrator-assignment-1-31-2048.jpg)


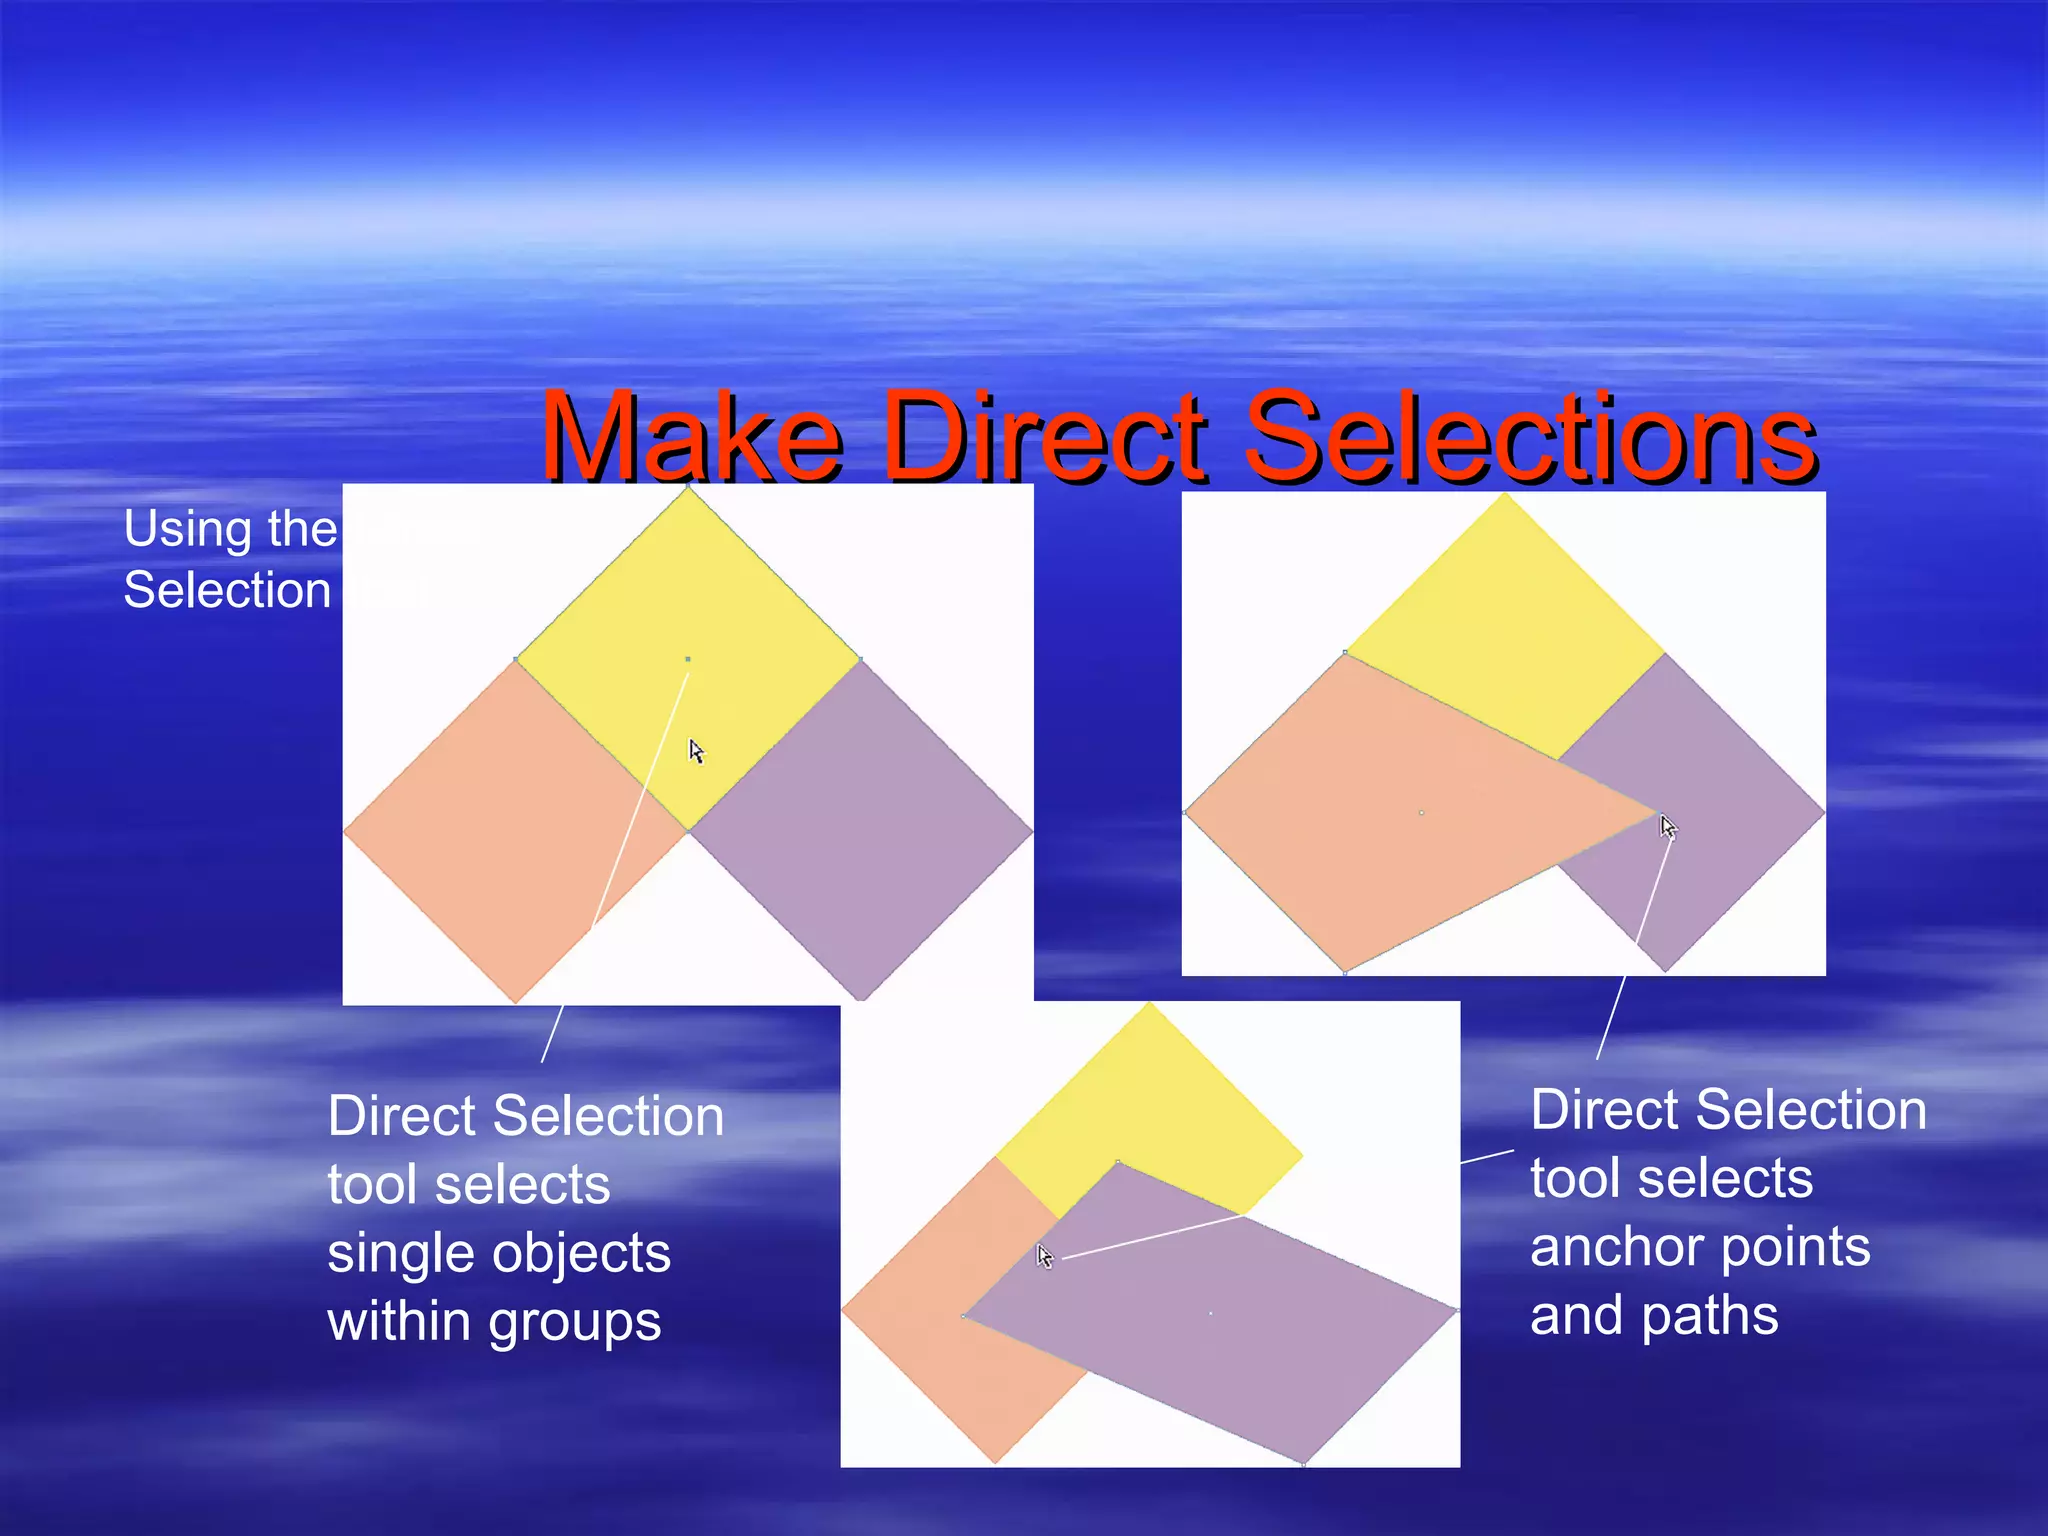
![Make Direct Selections Use the Direct Selection tool to select individual anchor points or single paths of an object Use [Shift] to select multiple anchor points or multiple paths Select multiple paths or anchor points by dragging a direct selection marquee](https://image.slidesharecdn.com/illustratorassignment1-110210140705-phpapp01/75/Illustrator-assignment-1-41-2048.jpg)


![Coded Agents – with UiPath SDK + LangGraph [Virtual Hands-on Workshop]](https://cdn.slidesharecdn.com/ss_thumbnails/codedagentsdeck-251215155422-5497c599-thumbnail.jpg?width=640&height=640&fit=bounds)


