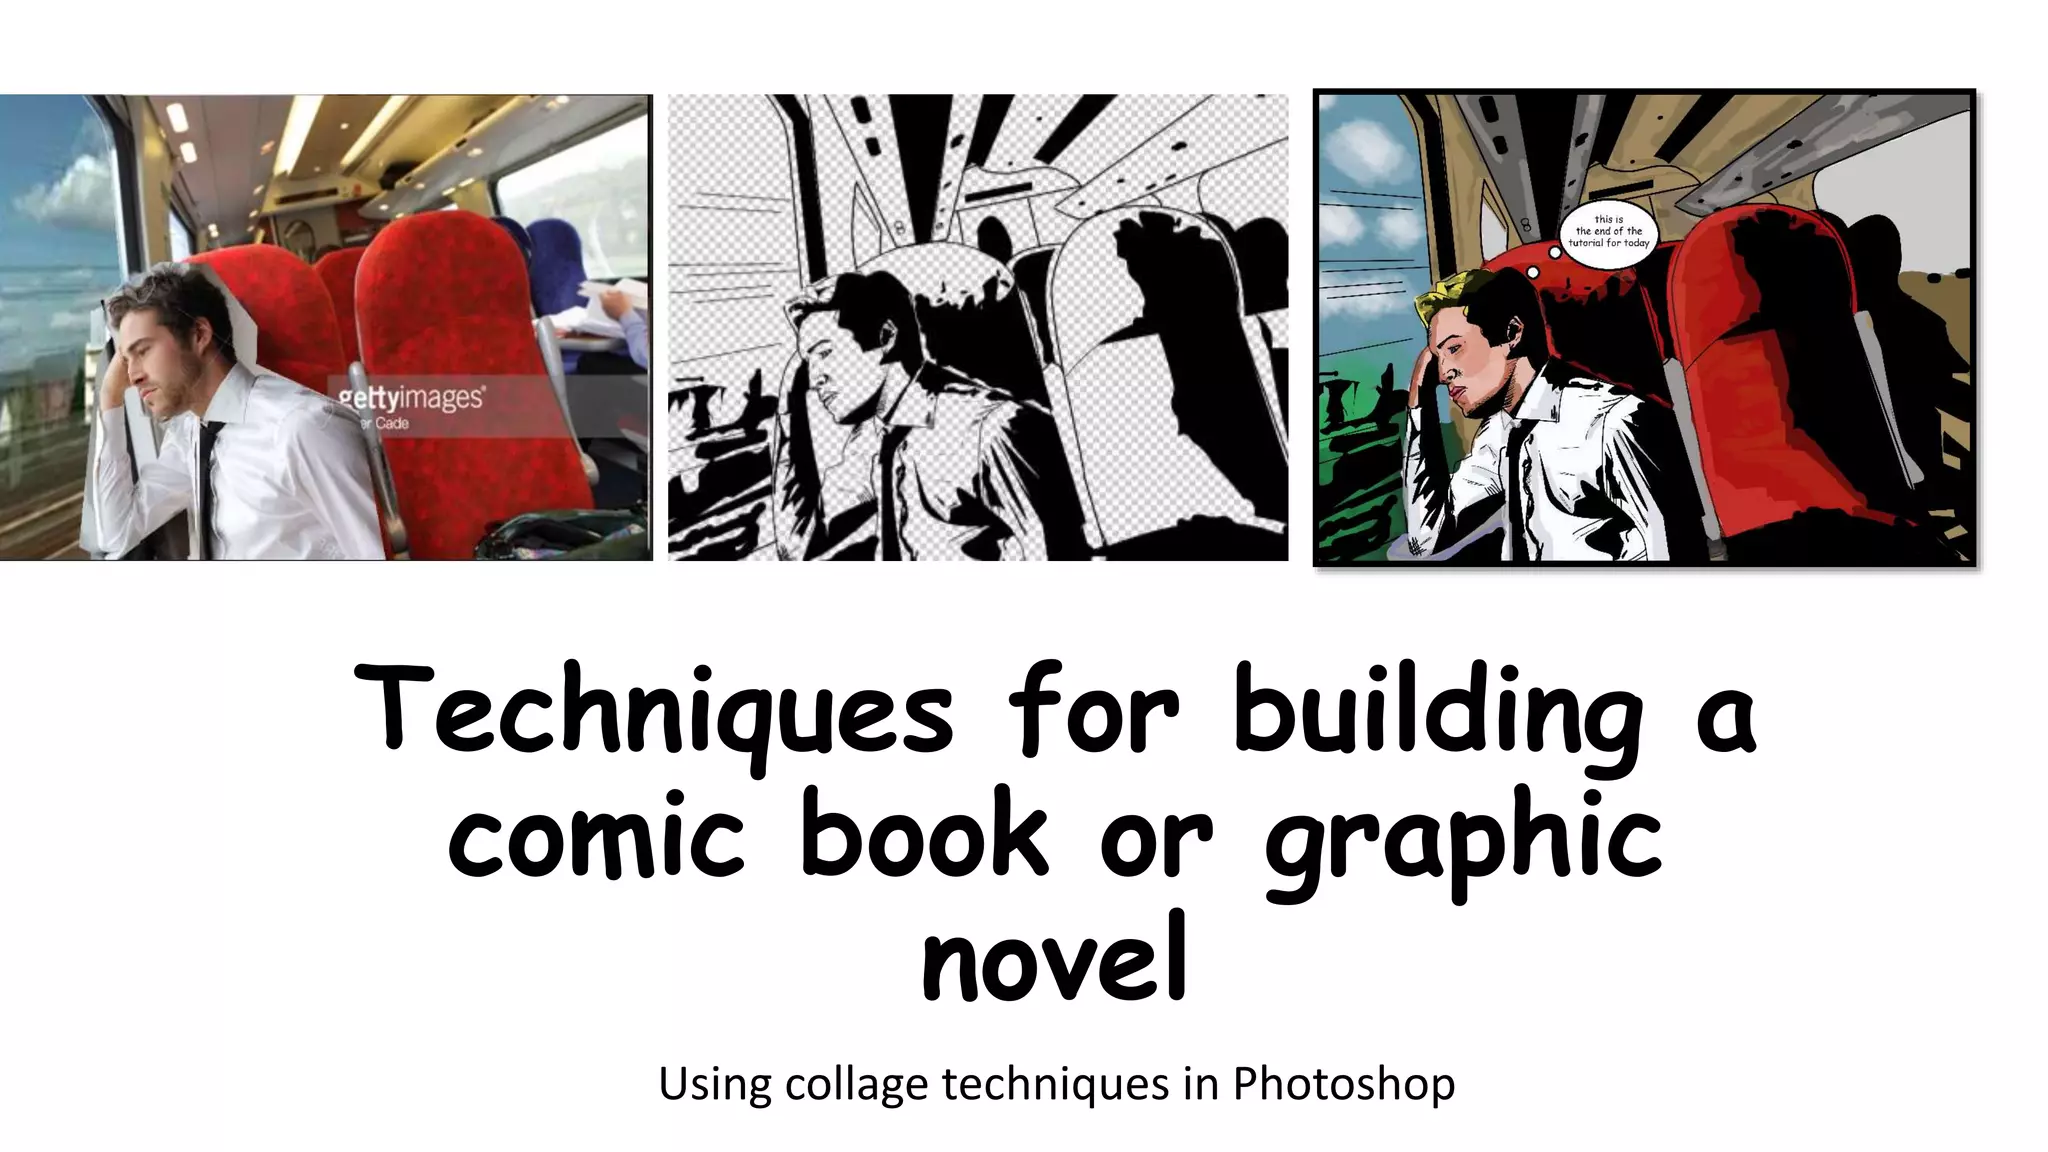
This document provides steps for creating a comic book or graphic novel using collage techniques in Photoshop. The steps include:
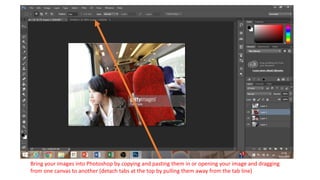
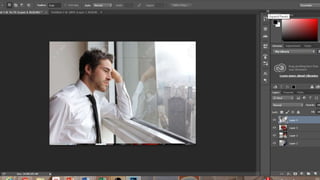
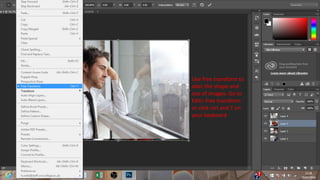
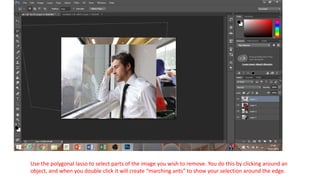
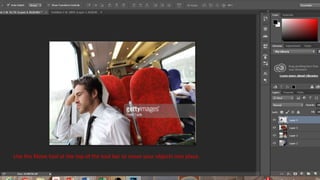
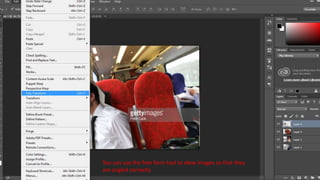
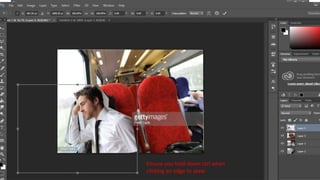
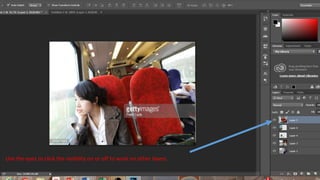
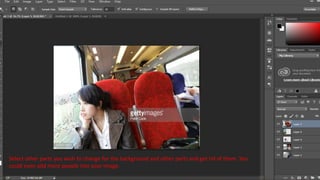
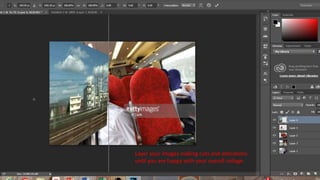
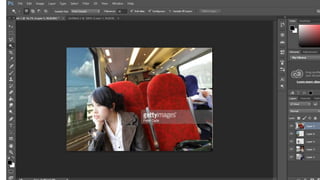
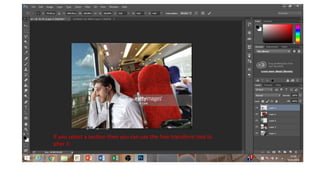
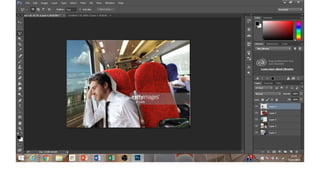
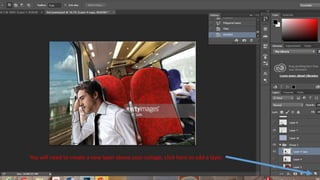
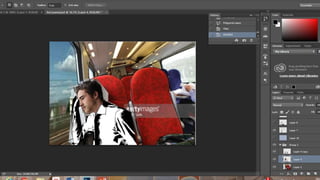
1) Building a collage by bringing images into Photoshop, resizing and positioning them, and removing unwanted areas using selection tools.
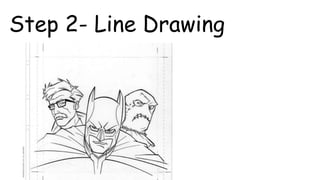
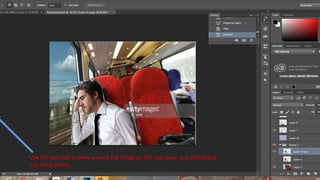
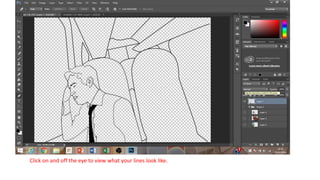
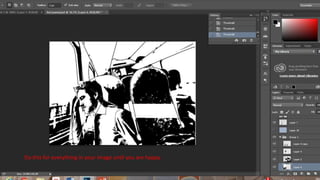
2) Creating a line drawing on a new layer by tracing around images with the pen tool.
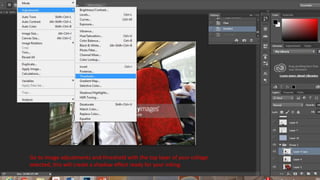
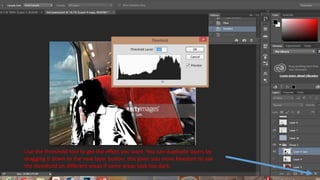
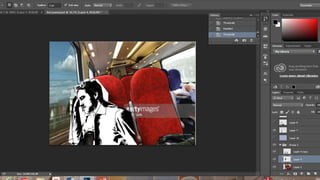
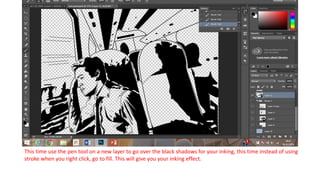
3) Applying a threshold to create shadows and inking over the shadows using the pen tool filled with black.
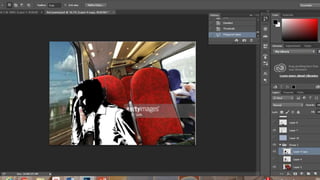
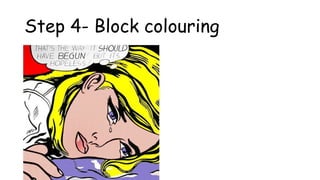
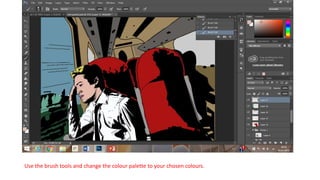
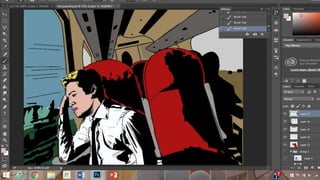
4) Adding block colors on new layers using brush tools.