Download to read offline
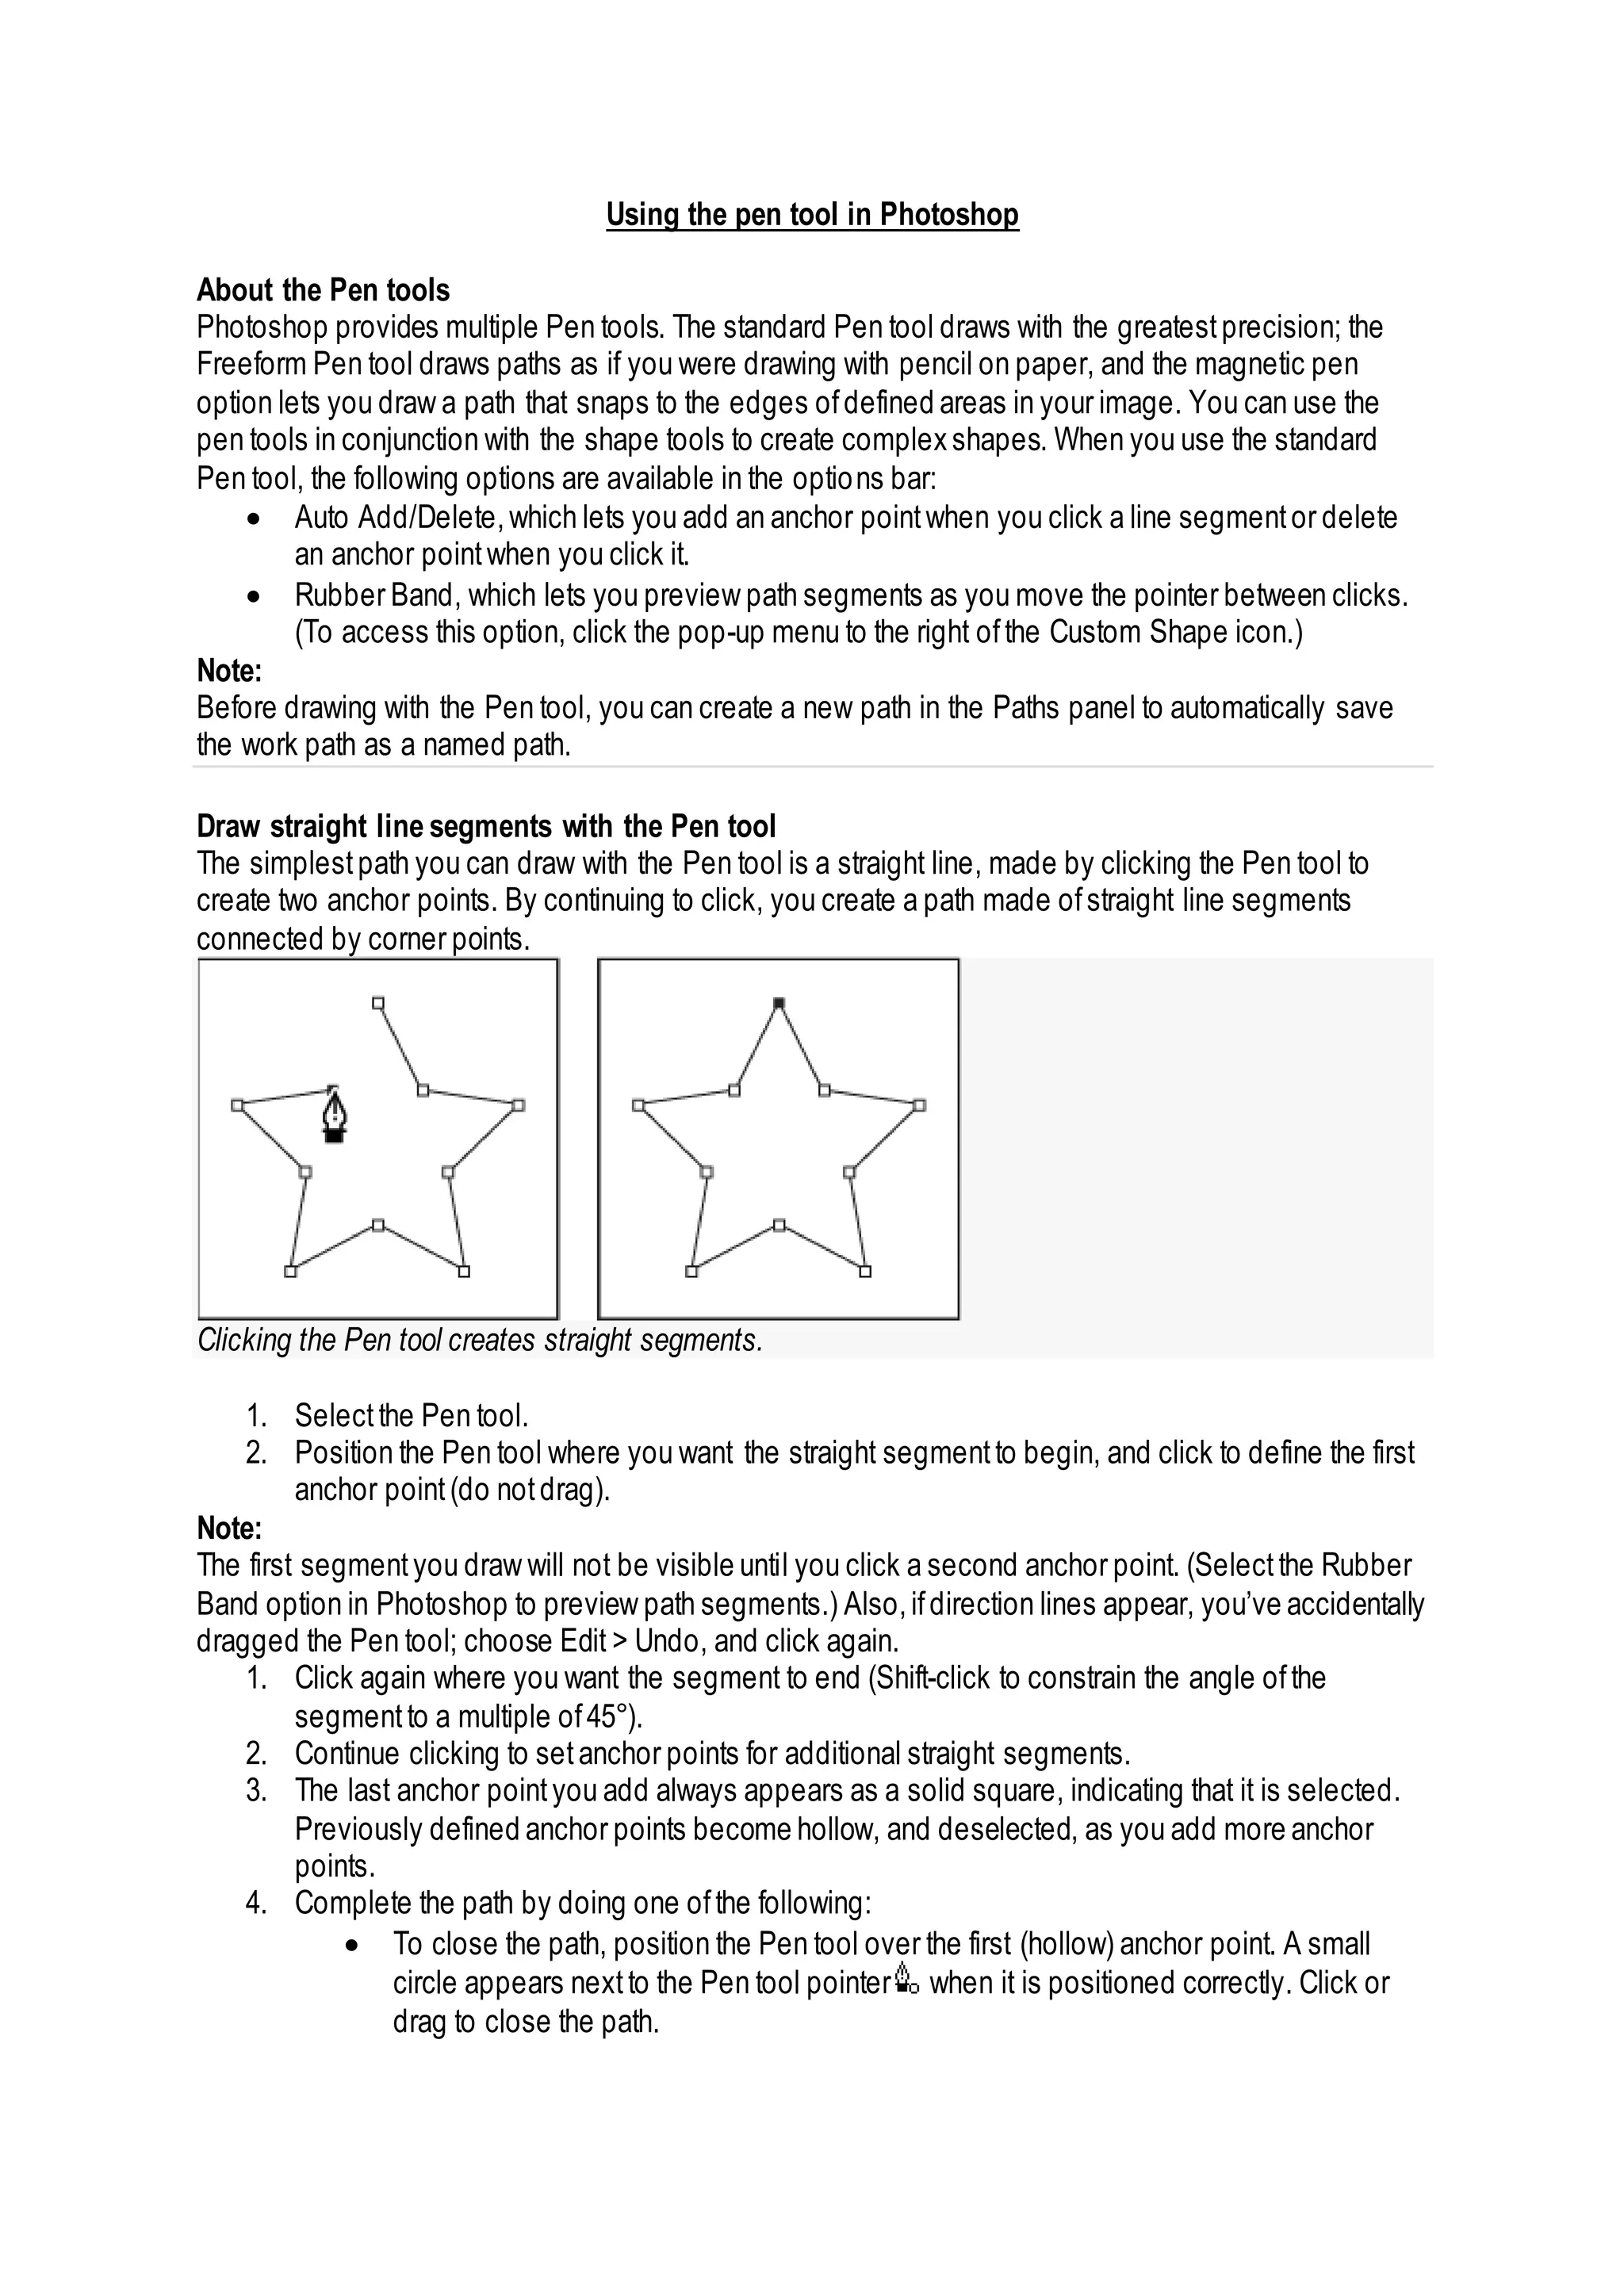
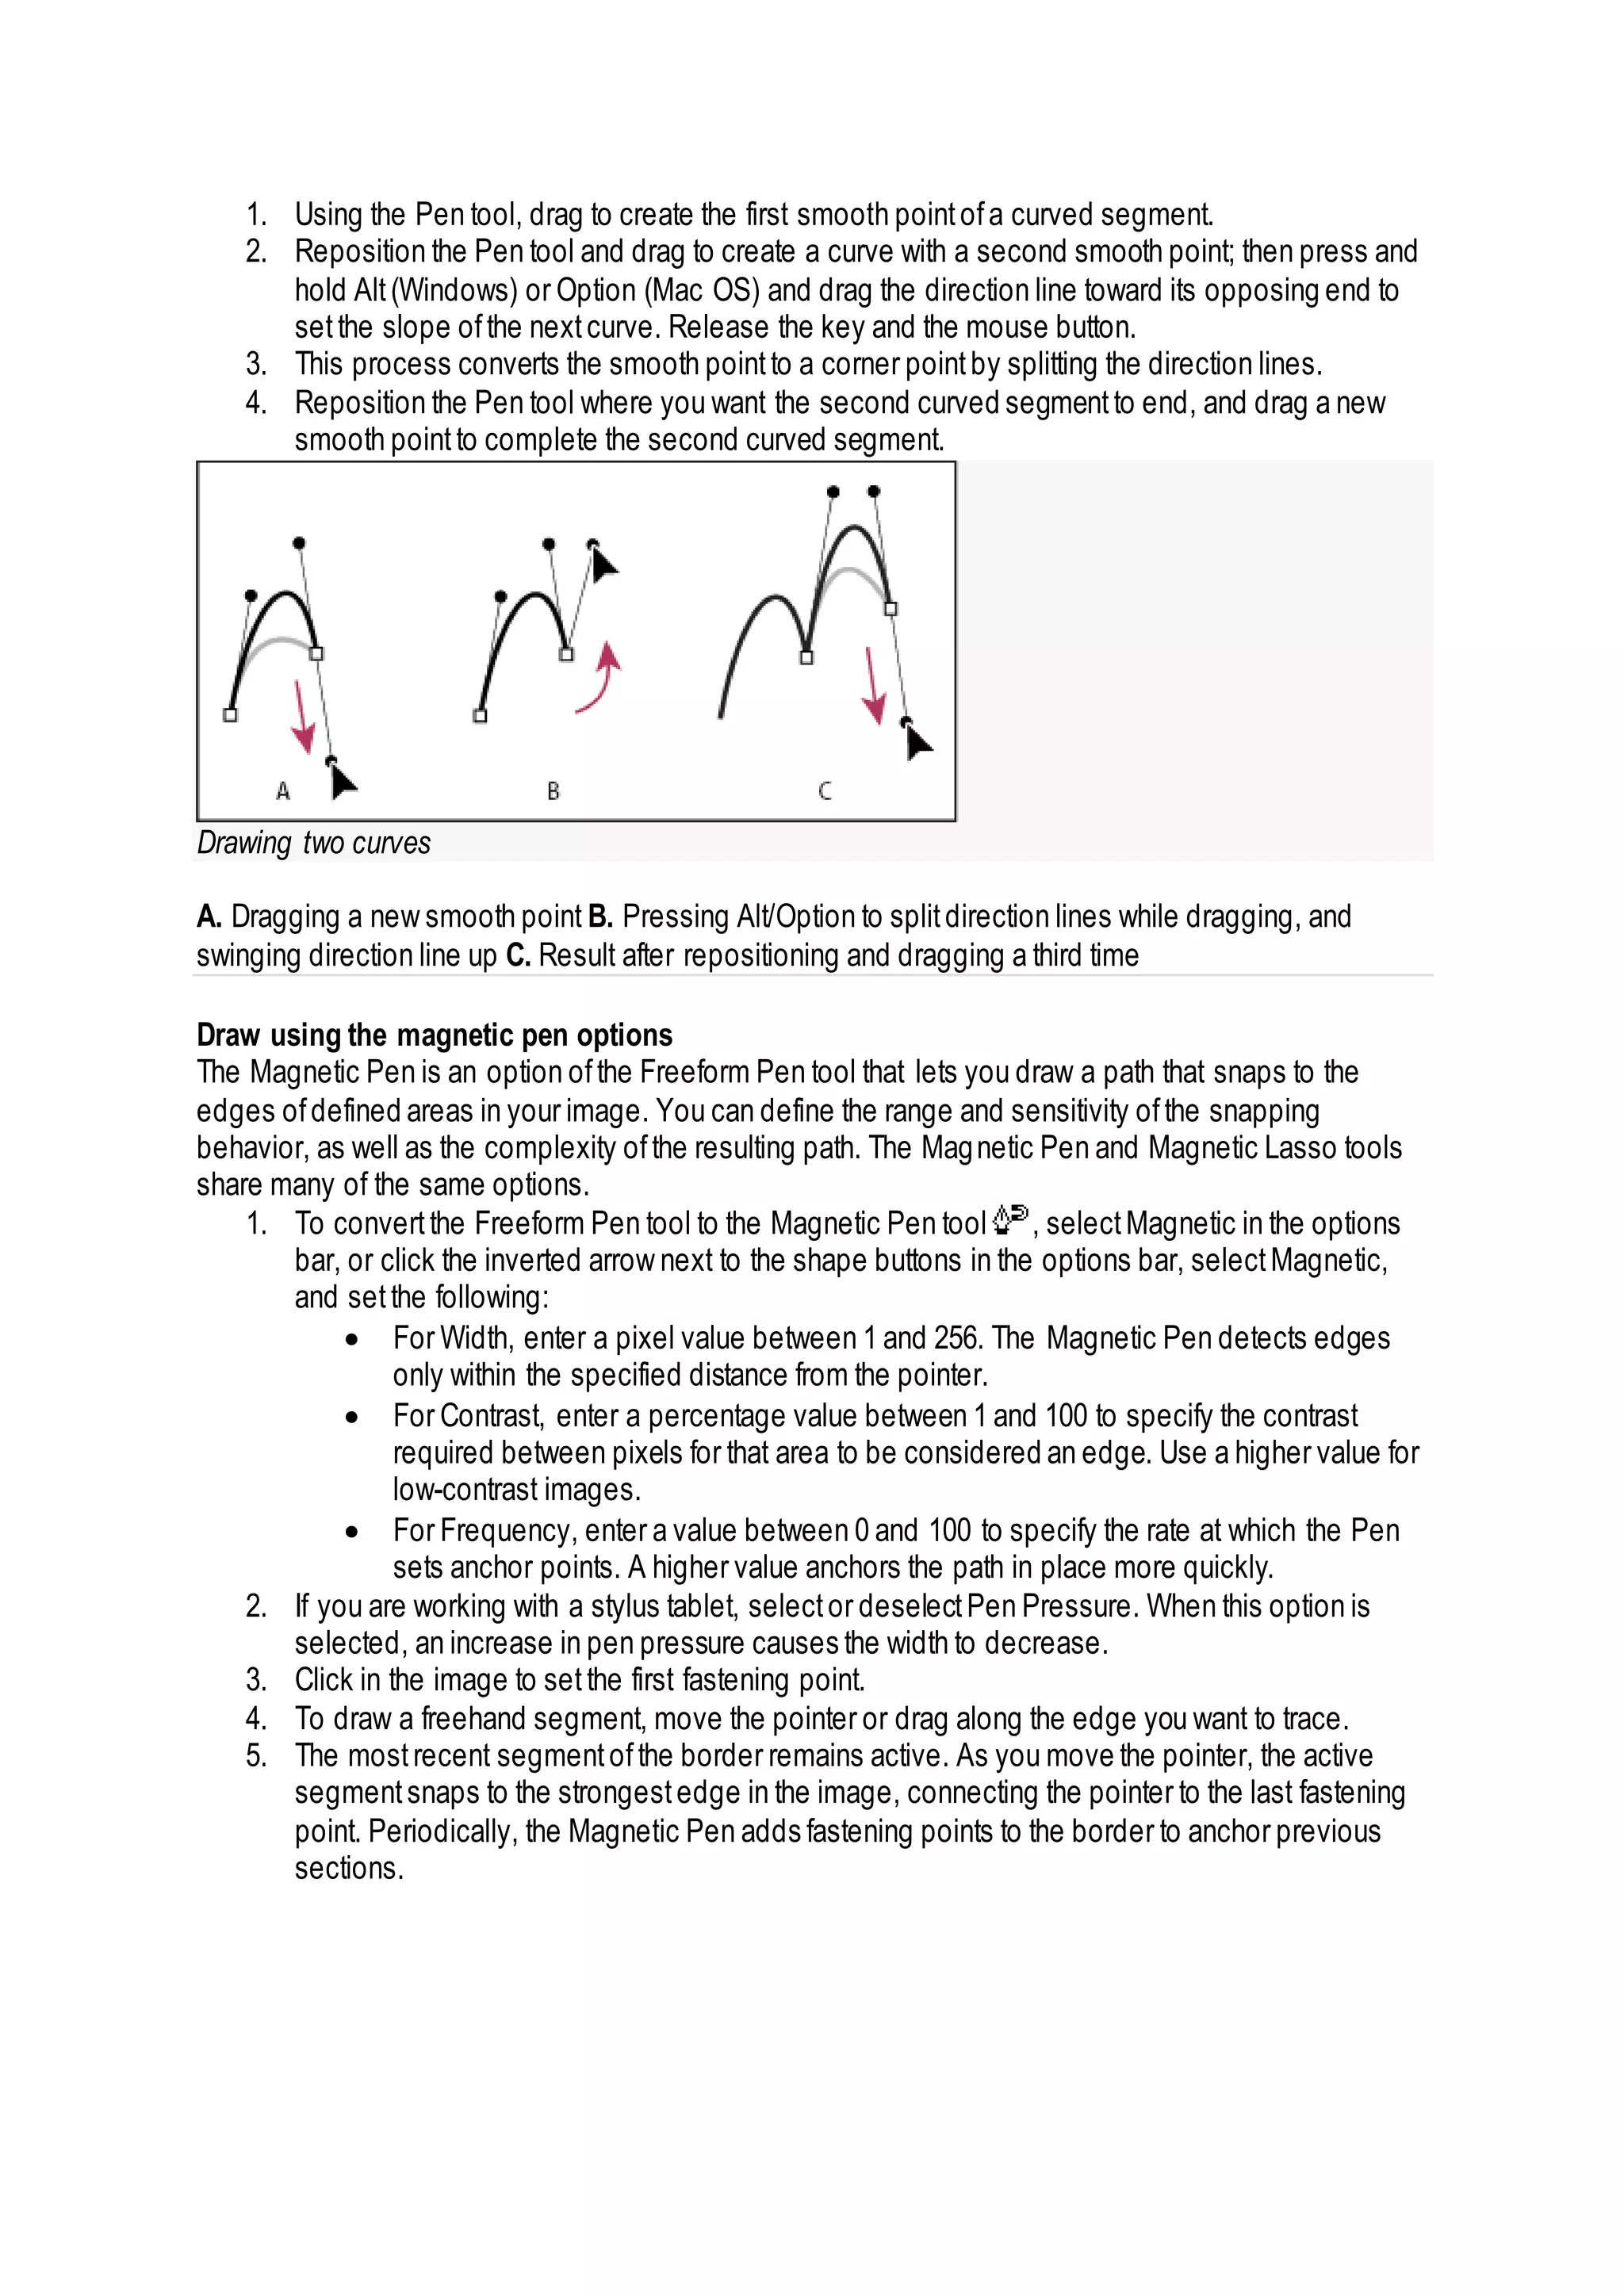
![Click to add fastening points, and continue tracing.
1. If the border doesn’tsnap to the desired edge, click once to add a fastening pointmanually and
to keep the border from moving. Continue to trace the edge and add fastening points as
needed.Ifyou make a mistake, press Delete to remove the lastfastening point.
2. To dynamically modify the properties ofthe Magnetic Pen, do one ofthe following:
Alt-drag (Windows) or Option-drag (Mac OS) to draw a freehand path.
Alt-click (Windows) or Option-click (Mac OS) to draw straight segments.
Press the open square bracketkey ([) to decrease the Magnetic Pen width by 1 pixel;
press the close square bracketkey (]) to increase the pen width by 1 pixel.
3. Complete the path:
Press Enter (Windows) or Return (Mac OS) to end an open path.
Double-click to close the path with a magnetic segment.
Hold down Alt (Windows) or Option (Mac OS), and double-click to close the path with a
straight segment.](https://image.slidesharecdn.com/usingthepentoolinphotoshop-170922135827/75/Image-manipulation-Photoshop-6-2048.jpg)

The document provides instructions for using various pen tools in Photoshop to create paths and shapes. It describes how to use the standard pen tool to draw straight lines and curves by clicking to add anchor points. It also covers using the freeform pen tool to draw paths automatically, and the magnetic pen tool which allows paths to snap to edges in an image. Key steps include dragging the pen tool to extend direction lines to control the shape of curves, and holding alt to convert smooth points to corners when drawing multiple curved segments.


