1) The document provides an overview of techniques used to create a magazine in Photoshop, including changing colors, cutting out images, adding shadows and glow effects, creating shapes and adjusting lighting.
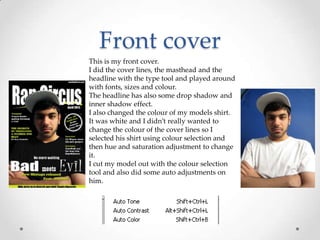
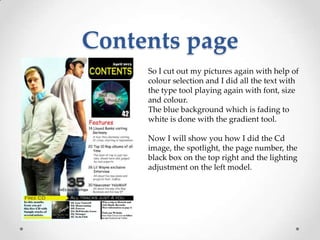
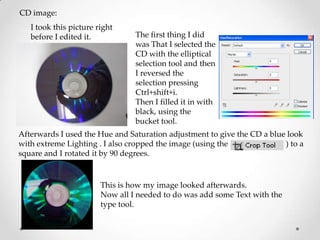
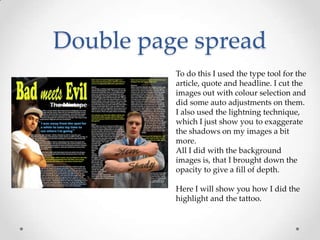
2) Key elements created include the magazine cover with modified text and images, a contents page with fading colors and cut-out pictures, a CD image with adjusted lighting and text, and a double page spread with background images at reduced opacity.
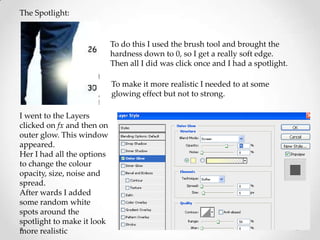
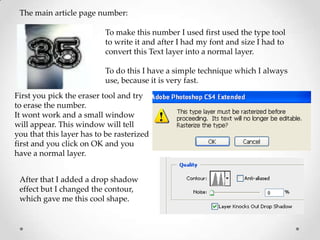
3) Techniques demonstrated include selecting items using various tools, filling selections, adjusting layers, adding layer styles like drop shadows and soft light, and transforming and warping elements.


![Korean cosmetics, [lindsay] sparkling modeling powder mask](https://cdn.slidesharecdn.com/ss_thumbnails/koreancosmeticslindsaysparklingmodelingpowdermask-150423010508-conversion-gate02-thumbnail.jpg?width=640&height=640&fit=bounds)