Downloaded 377 times
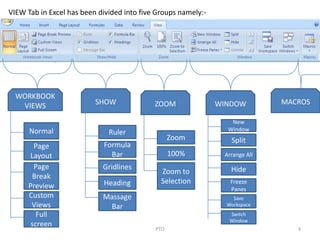
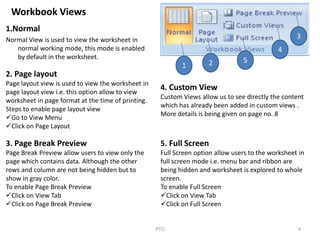
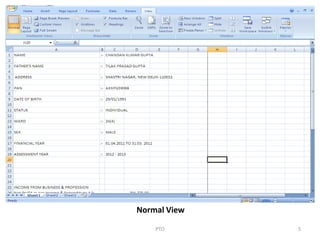

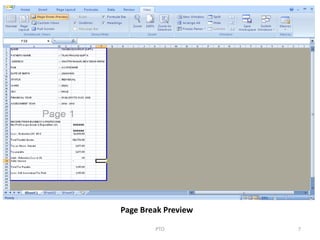
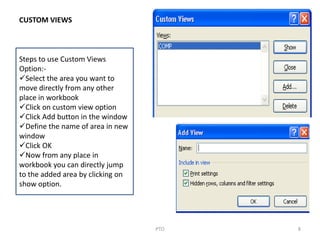
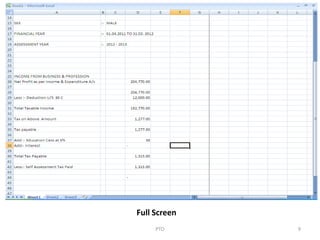
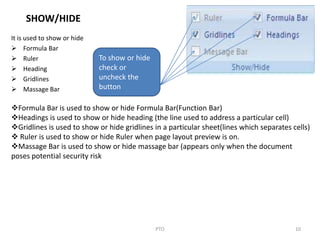
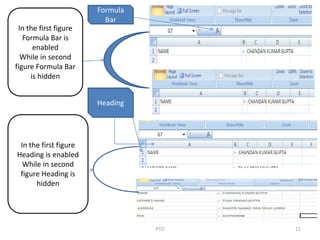
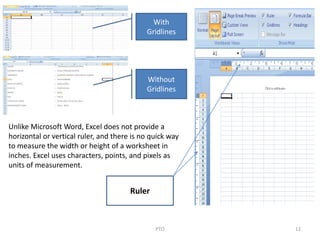
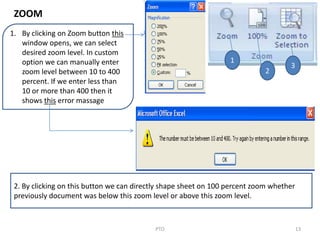
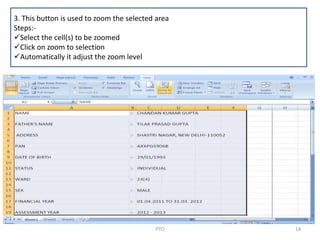
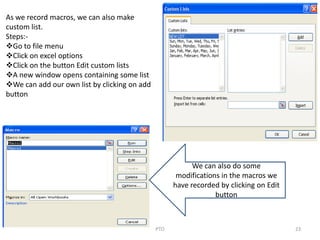
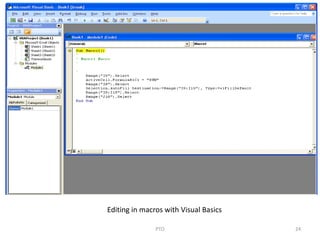


The View tab in Excel allows users to: 1. Change the workbook view between Normal, Page Layout, and Page Break Preview. 2. Show and hide elements like the formula bar, gridlines, and headings. 3. Zoom in and out of the worksheet either manually or to fit a selection. 4. Manage multiple windows using options like New Window, Split, Freeze Panes, and Switch Window. 5. Record and run macros to automate repetitive tasks.