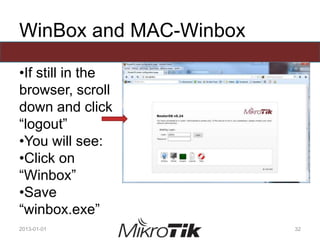
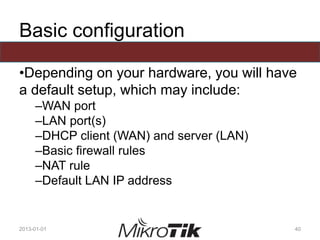
This document provides information about an upcoming MikroTik Certified Network Associate (MTCNA) course taking place from January 1st to 3rd, 2013 in Laval, Canada. The summary includes:
- The course will provide an introduction to RouterOS and RouterBOARD products, giving students an overview of their capabilities and providing a foundation to work with these tools.
- By the end of the course, students will be familiar with RouterOS software and RouterBOARD hardware, able to configure and manage a MikroTik router, provide basic services to clients, and perform basic troubleshooting.
- The schedule outlines the daily timing from 9am to 5pm with breaks, including a 1 hour exam


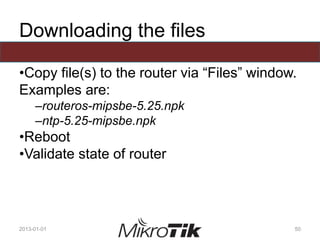
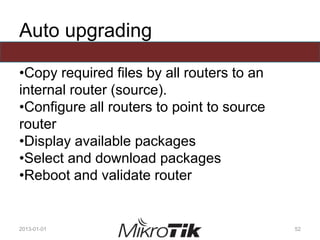
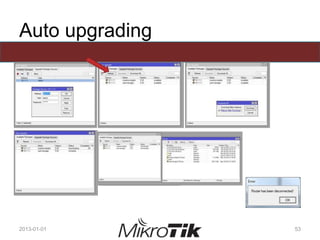
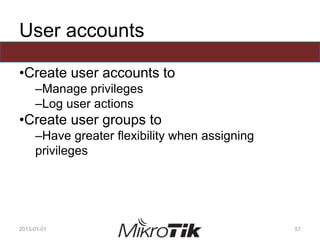
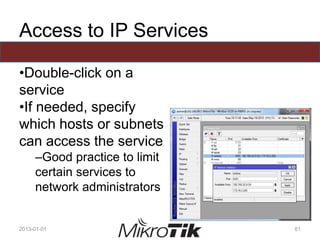
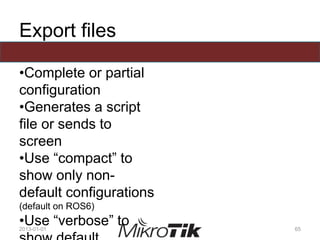
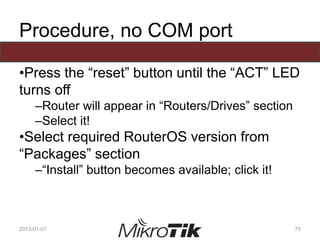
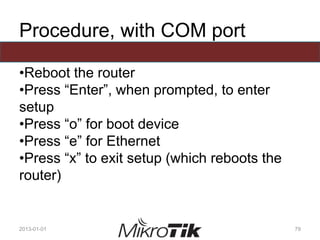
![RouterBOOT firmware upgrade
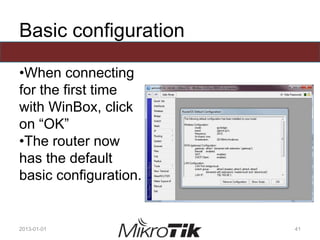
•Check current version
2013-01-01 54
[admin@MikroTik] > /system routerboard print
routerboard: yes
model: 951-2n
serial-number: 35F60246052A
current-firmware: 3.02
upgrade-firmware: 3.05
[admin@MikroTik] >](https://image.slidesharecdn.com/01-2013-mtcnam1introductionenv2final-150806130630-lva1-app6891/85/MTCNA-54-320.jpg)
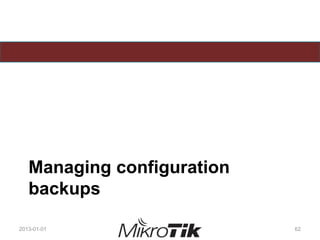
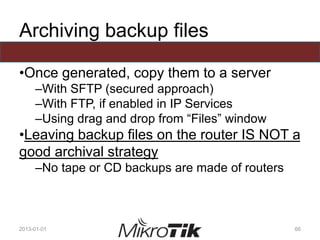
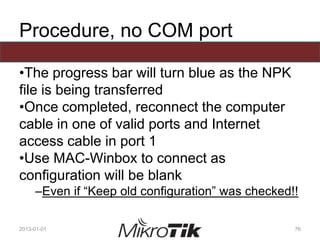
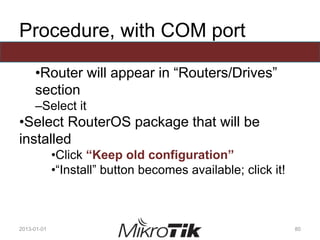
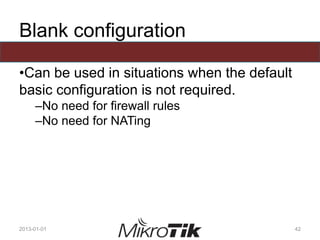
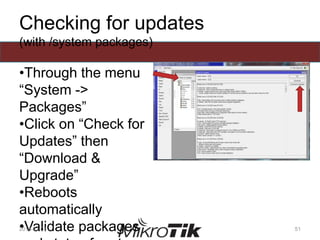
![RouterBOOT firmware upgrade
•Upgrade if required (It is in this example)
2013-01-01 55
[admin@MikroTik] > /system routerboard upgrade
Do you really want to upgrade firmware? [y/n]
y
firmware upgraded successfully, please reboot for changes to take effect!
[admin@MikroTik] > /system reboot
Reboot, yes? [y/N]:](https://image.slidesharecdn.com/01-2013-mtcnam1introductionenv2final-150806130630-lva1-app6891/85/MTCNA-55-320.jpg)