Downloaded 3,616 times


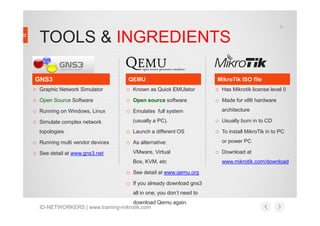
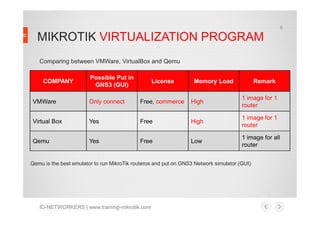

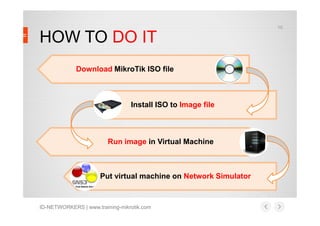
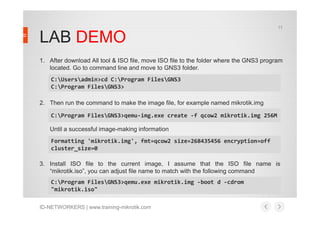
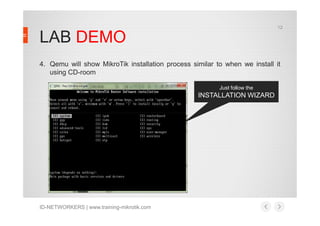
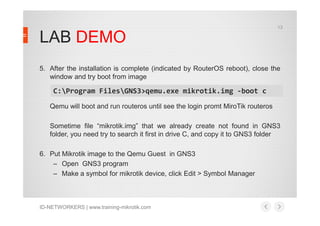
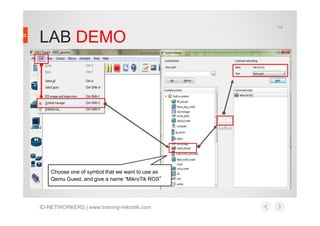
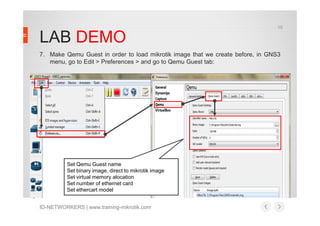
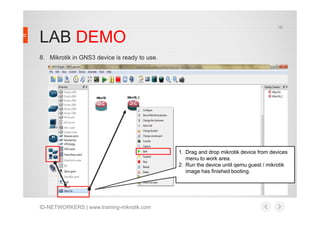

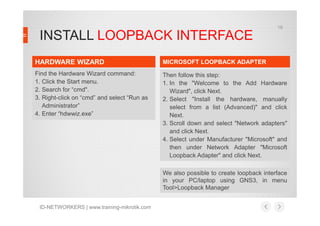
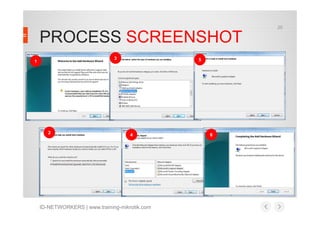
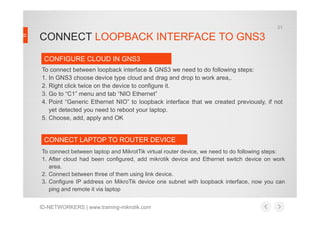


Rofiq Fauzi presented on creating a MikroTik network simulator using GNS3. He discussed how to install MikroTik RouterOS as a virtual machine using Qemu, add it to GNS3, and connect it to the host computer via a loopback interface to allow remote management. This allows testing of MikroTik features and network topologies without requiring physical hardware. Each additional MikroTik router added to GNS3 increases memory usage by approximately 80MB, allowing planning of resource requirements. Fauzi demonstrated the process and configuration steps to set up the simulator.
![[242]open stack neutron dataplane 구현](https://cdn.slidesharecdn.com/ss_thumbnails/242openstackneutron-dataplane-171017004554-thumbnail.jpg?width=640&height=640&fit=bounds)


![Mikrotik Network Simulator (MUM Presentation Material 2013) [COPY]](https://cdn.slidesharecdn.com/ss_thumbnails/mumpresentationmaterial2013rofiqfauzi-131201081201-phpapp01-140420191637-phpapp01-thumbnail.jpg?width=640&height=640&fit=bounds)


