Downloaded 106 times
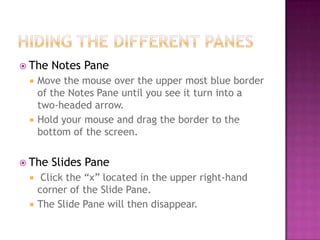
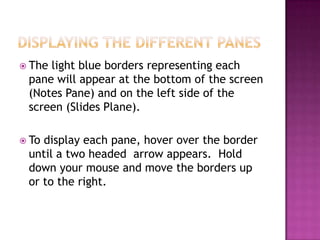
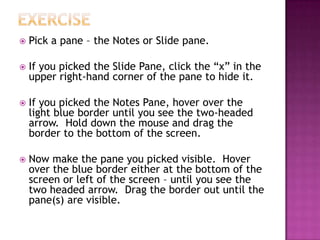
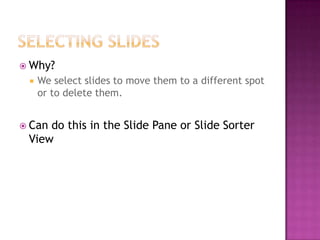
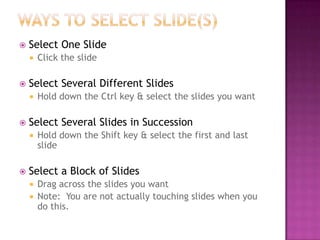
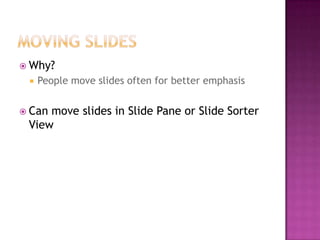
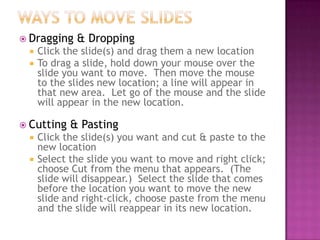
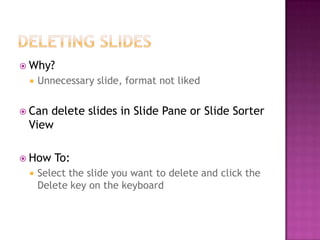
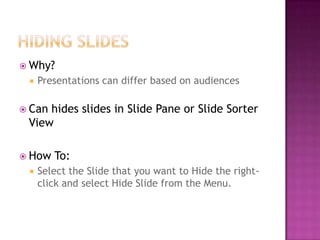
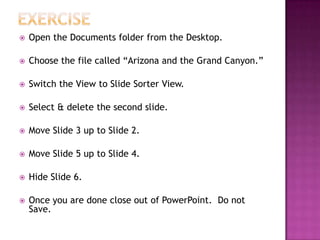
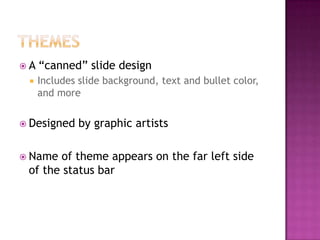
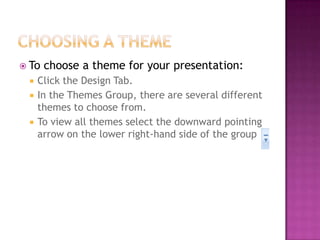
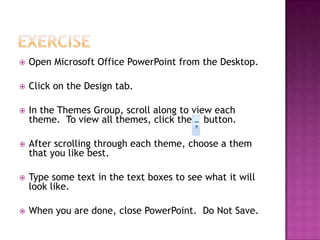
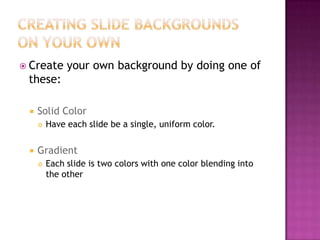
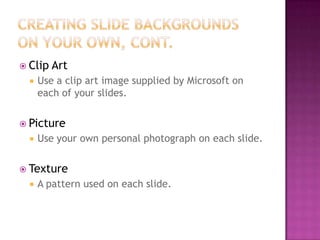
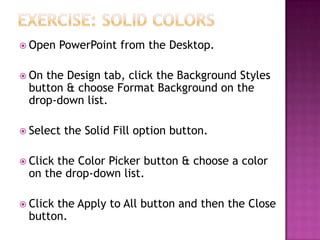
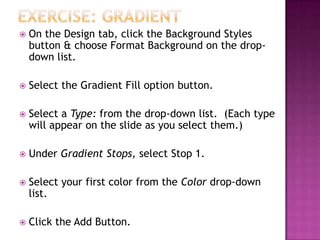
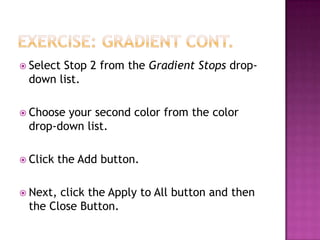

This document provides instructions for various PowerPoint functions including hiding and displaying panes, selecting and moving slides, applying themes and slide backgrounds. It includes steps for hiding and displaying the notes and slide panes, selecting slides, moving slides, deleting slides, applying themes, and setting solid color, gradient, picture, and texture backgrounds. The document concludes with details about the next class which will cover text formatting, text boxes, and lists.