Downloaded 141 times

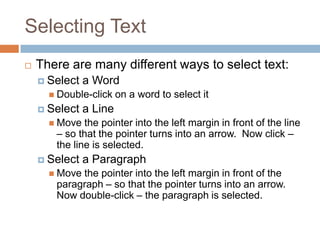
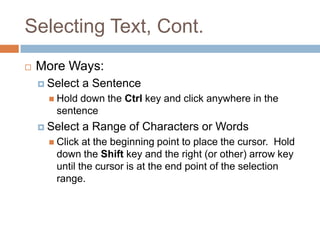

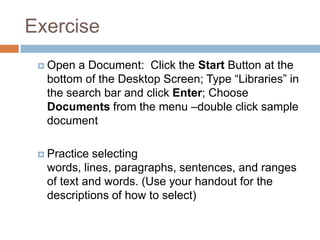

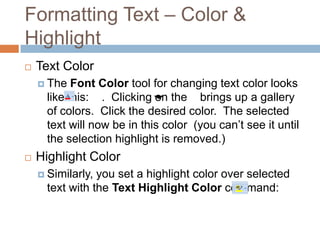


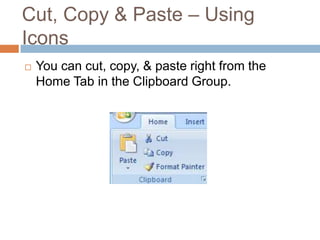
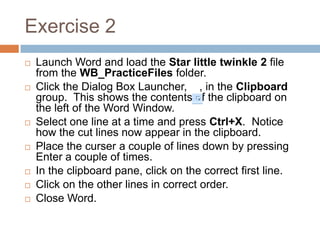
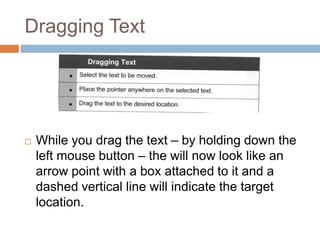
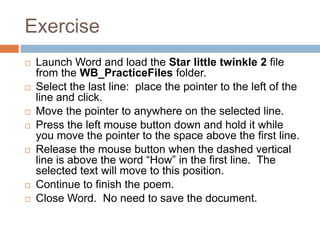
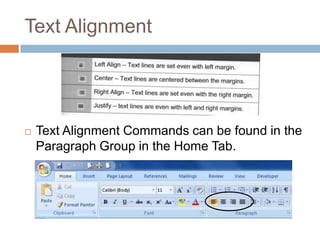


This document provides an overview and exercises for modifying text in Microsoft Word 2007. It covers selecting text by word, line, paragraph, and range; formatting text using bold, italics, color and more. It also covers cutting, copying and pasting text; moving text; and aligning text left, right, center and justified. Step-by-step exercises demonstrate each technique, such as selecting parts of a poem and rearranging the lines using various text editing methods. The document concludes with an overview of text alignment options in Word.