Downloaded 131 times
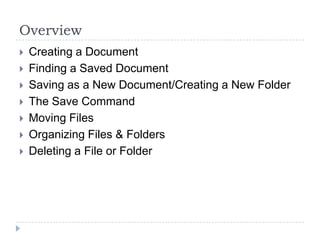
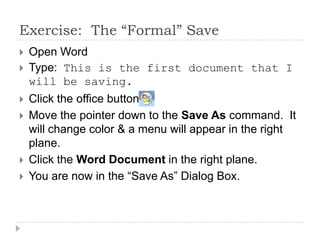
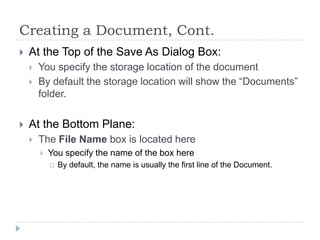
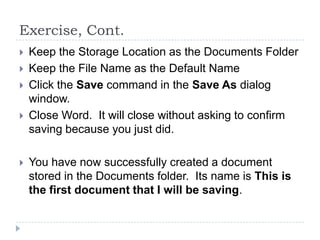
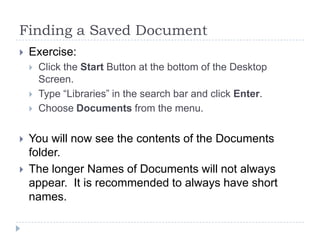
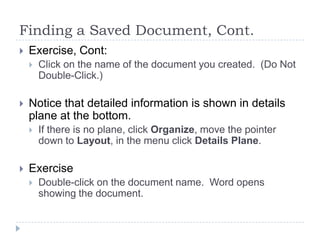
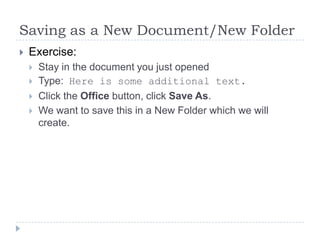
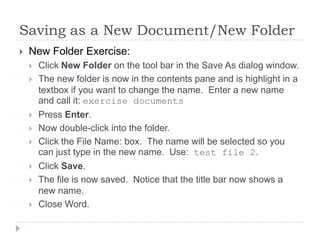

This document provides instructions for creating, saving, finding, organizing, and managing files in Microsoft Word 2007. It includes exercises for creating a new document and saving it with a default name, finding and opening a saved document, saving an existing document with a new name in a new folder that is created, understanding the differences between the Save and Save As commands, moving files between folders, organizing files by date modified, and deleting a file by sending it to the Recycle Bin. The exercises guide the user through the steps to practice each task in Word 2007.