Downloaded 244 times

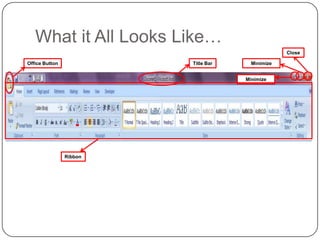
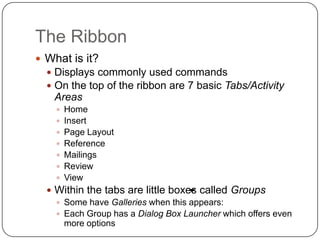
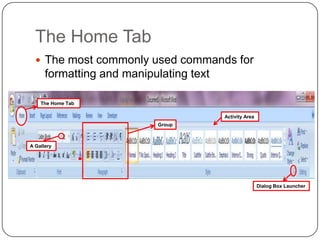
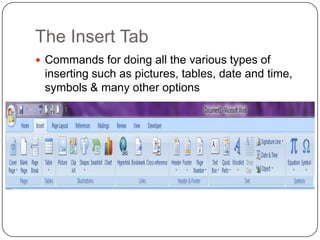
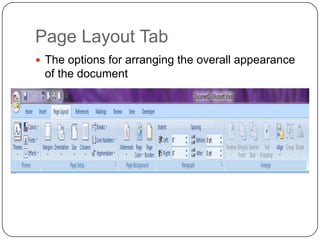
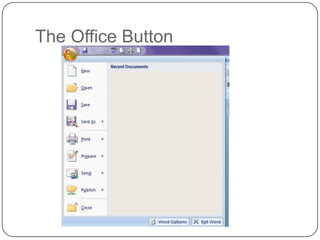
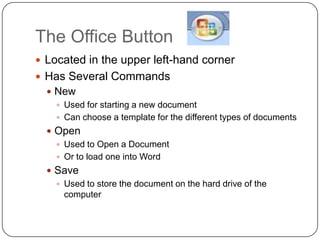
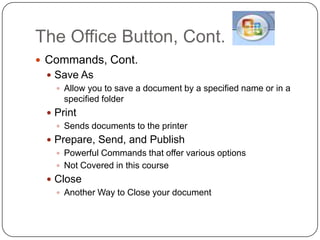
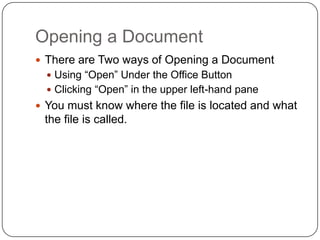
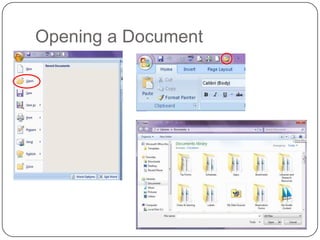

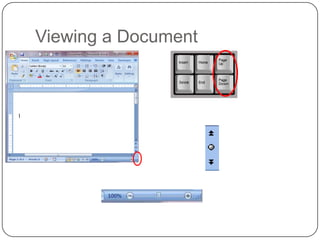
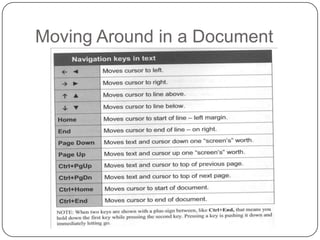

This document provides an overview and lesson plan for a beginner-level Microsoft Word 2007 training course. It covers getting started with Word 2007 and understanding the user interface elements like the ribbon, tabs, groups and dialog boxes. It also explains how to open and view documents, move around in a document, and access help. The ribbon displays commonly used commands organized into tabs like Home, Insert and Page Layout. The Office button in the top left corner allows starting new documents, opening existing ones, saving, printing and more.