 Generally in engineering the articles manufactured consists
of assembly of components therefore:
1) It is not possible to make any part precisely to a dimension,
due to variability of elements in process.
2)It is impossible to measure the exact dimension of part even
it is made.
3)cost of production is very high.
4)The component part must fit in desired way.
The range of permissible difference in dimension
is standardized as limits.
These permissible sizes may exists on either sides
of the actual size.
UPPER LIMIT
The largest permitted size of component.
LOWER LIMIT
The smallest permitted size of component.
 The permissible variation in size or dimension.
 The difference between the upper limit and lower
limit is “tolerance zone”.
 It is also the amount by which the job is allowed to
go away from accuracy.
 In this system dimension of the part is allowed to vary on one side
of the basic size.
example +0.02 -0.01 +0.02 +0.00
25 , 25 , 25 , 25
+0.01 -0.02 -0.01 -0.02
Where 25 is basic size.
 In this system, the dimensions of the part is allowed to vary on both
sides of the basic size.
example +0.02 +0.02
25 , 25
-0.02 -0.01
Where 25 is basic size.
 Maximum size of hole is minimum metal limit(MML).
 Minimum size of the hole is maximum metal limit(LML).
 Minimum size of the shaft is minimum metal limit(LML).
 Maximum size of the shaft is maximum metal
limit(MML).
….
Basic size or Nominal size
It is the standard size of the shaft. The basic size of the
shaft and hole is same.
Zero line
It is the horizontal line representing the basic size.
Deviation
It is the algebraic difference between the actual size and
basic size.
Upper deviation. It is the algebraic difference between the
upper limits and the basic size.
Lower deviation. It is the algebraic difference between lower
limits and basic size.
…
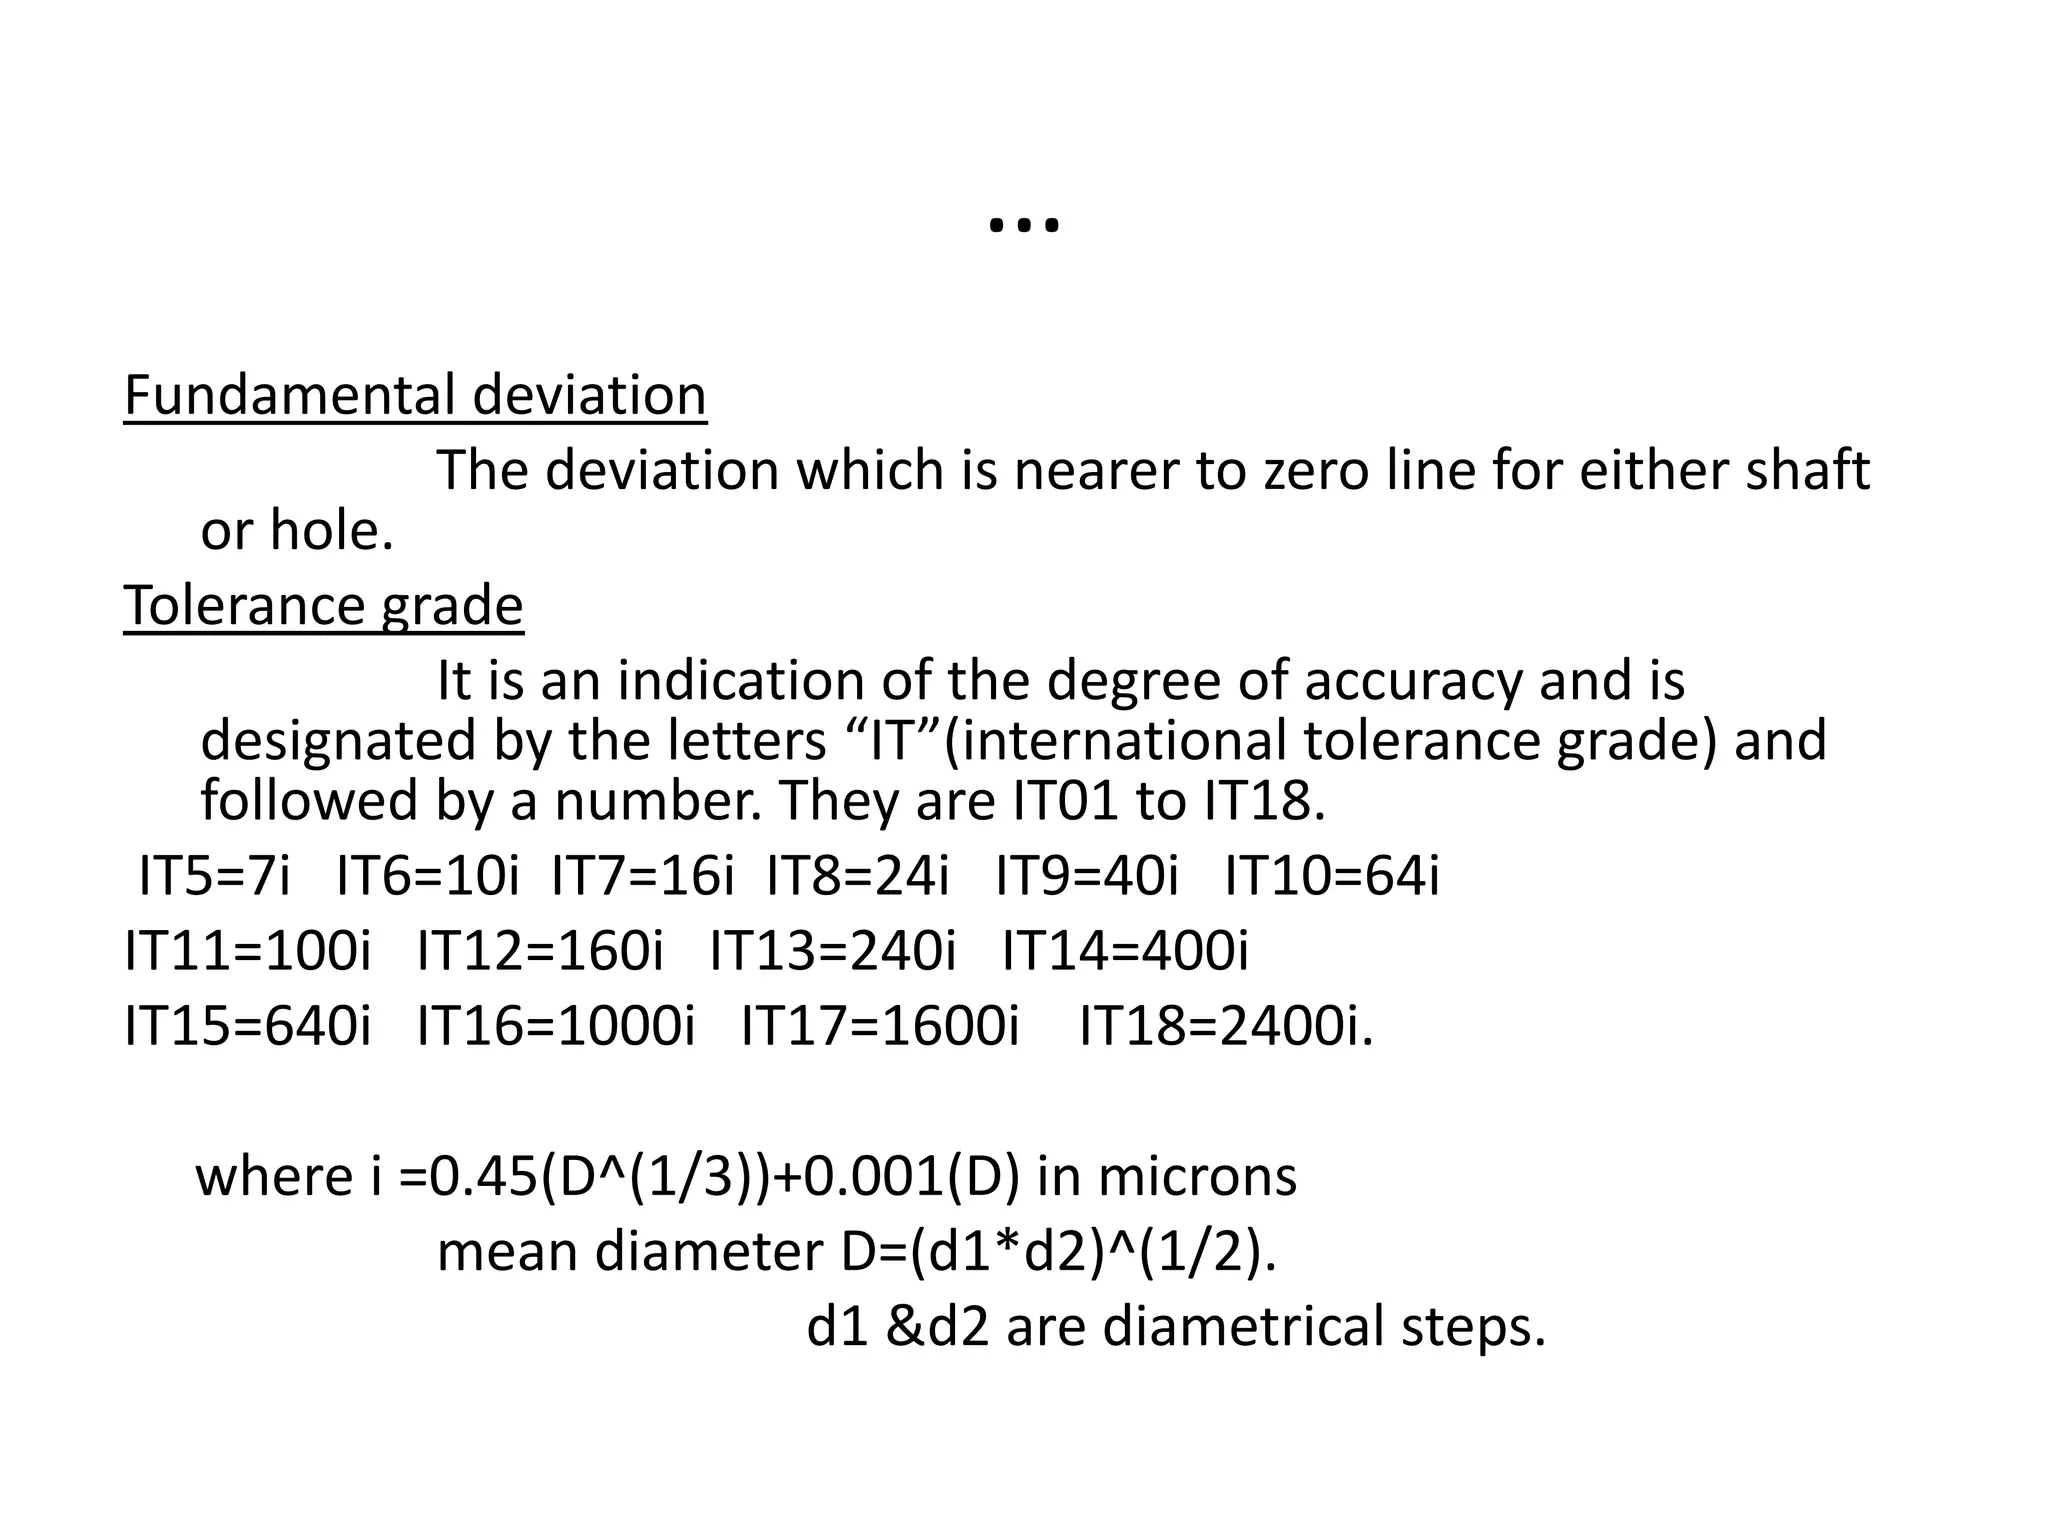
Fundamental deviation
The deviation which is nearer to zero line for either shaft
or hole.
Tolerance grade
It is an indication of the degree of accuracy and is
designated by the letters “IT”(international tolerance grade) and
followed by a number. They are IT01 to IT18.
IT5=7i IT6=10i IT7=16i IT8=24i IT9=40i IT10=64i
IT11=100i IT12=160i IT13=240i IT14=400i
IT15=640i IT16=1000i IT17=1600i IT18=2400i.
where i =0.45(D^(1/3))+0.001(D) in microns
mean diameter D=(d1*d2)^(1/2).
d1 &d2 are diametrical steps.
On the basis of negative ,positive and zero
values of clearance fits are classified as follows
1)Clearance Fit 2)transition Fit 3)Interference Fit
-slide fit -push put -force fit
-easy slide fit -wringing fit -tight fit
-running fit -shrink fit
-slack running
fit
-loose running
fit
 Shaft is always smaller than hole.
 Shaft can rotate or slide through shaft.
 Maximum clearance : difference between max size of the hole
and min size of the shaft.
 Minimum clearance : difference between min size of the hole
and max size of the shaft.
 The min permissible dia of the shaft is larger than
the max allowable dia of the hole.
 The shaft and hole are attached permanently.
 Difference between the max size of the hole and min
size of the shaft is negative.
 Tolerance zones of the hole and shaft overlap
completely or partially.
 It lies between interference and clearance fit.
 Difference between min size of the hole and max size
of the shaft is zero or negative.
 It is an intentional difference between the max
material limits of mating parts.
 The positive allowance is clearance and negative
allowance is interference.
 In this system hole is kept constant and shaft sizes are
varied.
 Lower deviation of the hole is zero (i.e low limit=basic
size) .
 The high limit of the hole and two limits of the shaft are
varied to obtain various fits.
 In this system shaft is kept constant and sizes of the holes
varied.
 Upper deviation of shaft is zero (i.e high limit = basic size).
 Various fits are obtained by varying the low limit of shaft and
both limits of the hole.
 Trail and Error
This method is used when a necessary fit is to
obtain from small number of similar assemblies.
generally used for “one of jobs”, tool room work.
 Interchangeable assembly
In this system components are selected randomly
until they are correctly assembles.
 Selective assembly
In this, components are classified into groups
according to sizes.This is done for all the parts and only
matched groups of mating parts are assembled.

Limits,fits and tolerances

  • 2.
     Generally inengineering the articles manufactured consists of assembly of components therefore: 1) It is not possible to make any part precisely to a dimension, due to variability of elements in process. 2)It is impossible to measure the exact dimension of part even it is made. 3)cost of production is very high. 4)The component part must fit in desired way.
  • 3.
    The range ofpermissible difference in dimension is standardized as limits. These permissible sizes may exists on either sides of the actual size. UPPER LIMIT The largest permitted size of component. LOWER LIMIT The smallest permitted size of component.
  • 4.
     The permissiblevariation in size or dimension.  The difference between the upper limit and lower limit is “tolerance zone”.  It is also the amount by which the job is allowed to go away from accuracy.
  • 5.
     In thissystem dimension of the part is allowed to vary on one side of the basic size. example +0.02 -0.01 +0.02 +0.00 25 , 25 , 25 , 25 +0.01 -0.02 -0.01 -0.02 Where 25 is basic size.
  • 6.
     In thissystem, the dimensions of the part is allowed to vary on both sides of the basic size. example +0.02 +0.02 25 , 25 -0.02 -0.01 Where 25 is basic size.
  • 7.
     Maximum sizeof hole is minimum metal limit(MML).  Minimum size of the hole is maximum metal limit(LML).  Minimum size of the shaft is minimum metal limit(LML).  Maximum size of the shaft is maximum metal limit(MML).
  • 9.
    …. Basic size orNominal size It is the standard size of the shaft. The basic size of the shaft and hole is same. Zero line It is the horizontal line representing the basic size. Deviation It is the algebraic difference between the actual size and basic size. Upper deviation. It is the algebraic difference between the upper limits and the basic size. Lower deviation. It is the algebraic difference between lower limits and basic size.
  • 10.
    … Fundamental deviation The deviationwhich is nearer to zero line for either shaft or hole. Tolerance grade It is an indication of the degree of accuracy and is designated by the letters “IT”(international tolerance grade) and followed by a number. They are IT01 to IT18. IT5=7i IT6=10i IT7=16i IT8=24i IT9=40i IT10=64i IT11=100i IT12=160i IT13=240i IT14=400i IT15=640i IT16=1000i IT17=1600i IT18=2400i. where i =0.45(D^(1/3))+0.001(D) in microns mean diameter D=(d1*d2)^(1/2). d1 &d2 are diametrical steps.
  • 11.
    On the basisof negative ,positive and zero values of clearance fits are classified as follows 1)Clearance Fit 2)transition Fit 3)Interference Fit -slide fit -push put -force fit -easy slide fit -wringing fit -tight fit -running fit -shrink fit -slack running fit -loose running fit
  • 12.
     Shaft isalways smaller than hole.  Shaft can rotate or slide through shaft.  Maximum clearance : difference between max size of the hole and min size of the shaft.  Minimum clearance : difference between min size of the hole and max size of the shaft.
  • 13.
     The minpermissible dia of the shaft is larger than the max allowable dia of the hole.  The shaft and hole are attached permanently.  Difference between the max size of the hole and min size of the shaft is negative.
  • 14.
     Tolerance zonesof the hole and shaft overlap completely or partially.  It lies between interference and clearance fit.  Difference between min size of the hole and max size of the shaft is zero or negative.
  • 15.
     It isan intentional difference between the max material limits of mating parts.  The positive allowance is clearance and negative allowance is interference.
  • 16.
     In thissystem hole is kept constant and shaft sizes are varied.  Lower deviation of the hole is zero (i.e low limit=basic size) .  The high limit of the hole and two limits of the shaft are varied to obtain various fits.
  • 17.
     In thissystem shaft is kept constant and sizes of the holes varied.  Upper deviation of shaft is zero (i.e high limit = basic size).  Various fits are obtained by varying the low limit of shaft and both limits of the hole.
  • 18.
     Trail andError This method is used when a necessary fit is to obtain from small number of similar assemblies. generally used for “one of jobs”, tool room work.  Interchangeable assembly In this system components are selected randomly until they are correctly assembles.  Selective assembly In this, components are classified into groups according to sizes.This is done for all the parts and only matched groups of mating parts are assembled.