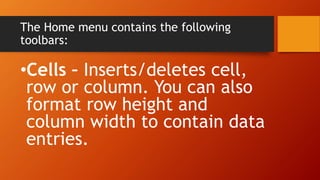
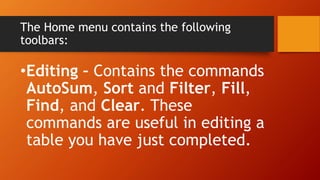
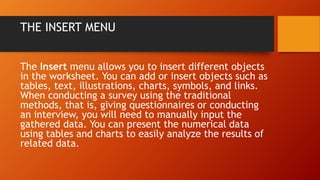
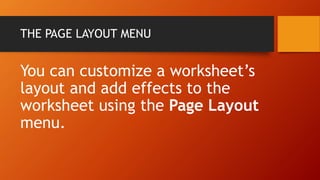
Downloaded 65 times


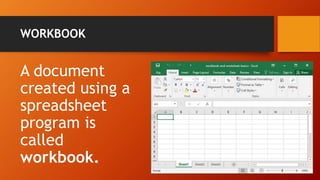
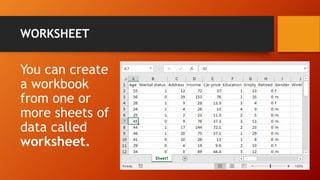
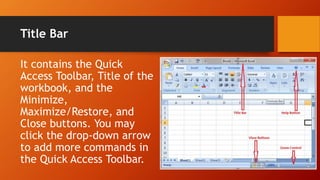
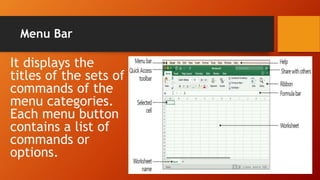
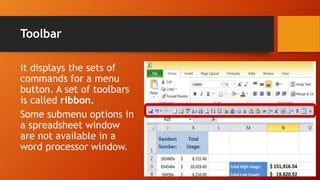
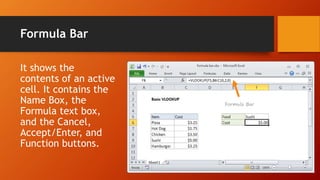
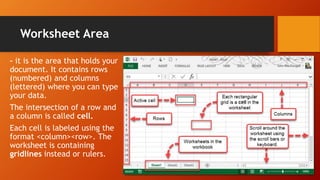
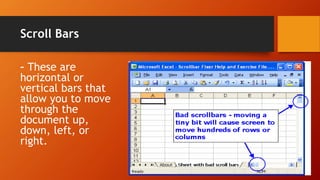
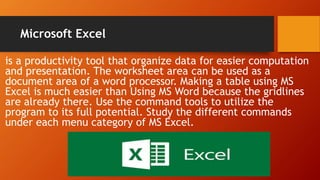

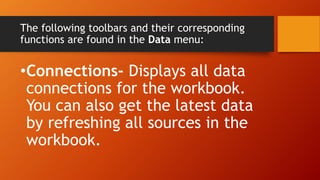
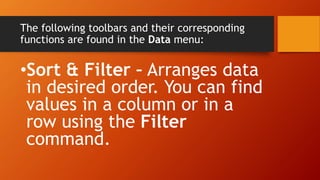
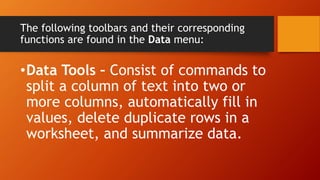
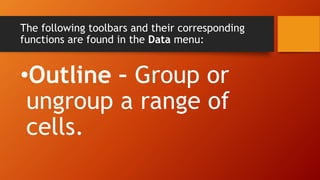
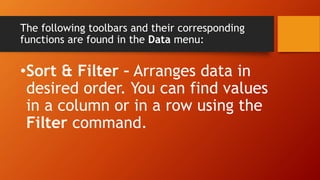
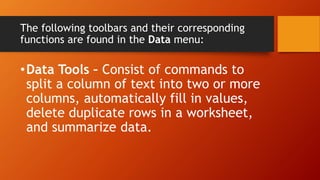
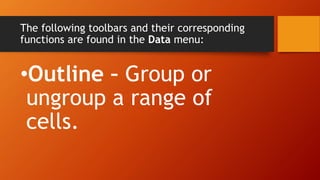
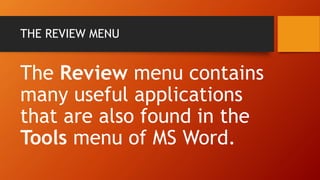


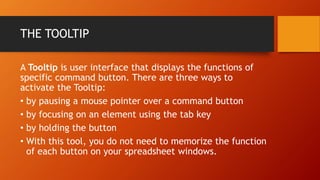

Microsoft Excel is a productivity tool that organizes data for easier computation and presentation. It contains tools like worksheets, workbooks, and commands to format, insert objects, customize page layout, add formulas, sort and filter data, and review worksheets. The various menus and their toolbars allow the user to fully utilize the program. Tooltips provide hints on the functions of command buttons to help the user navigate the spreadsheet without memorizing each button.